The Internals
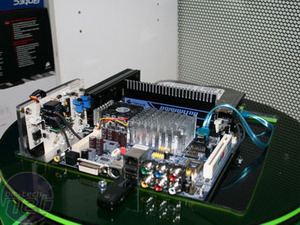
Now it was time to get started on fitting the actual hardware to the case. I didn't include the specs in the intro, so here's the full scoop.The hardware for the Pentagram HTPC is as follows:
- Mainboard - VIA Epia EX1500G
- HDD - 250GB Seagate
- PSU – 120W Pico Psu
- RAM – 1GB Corsair Dominator 8500
- LCD - Matrix Orbital GX
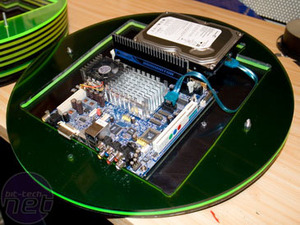
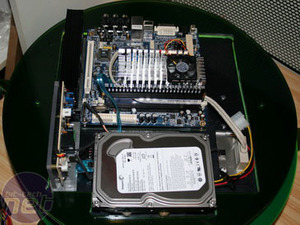
To mount the mainboard, I just cut another acrylic piece in the same dimensions as the board itself, then attached some spacers to it. Then, I used plenty of super glue to affix the whole assembly to the bottom of the case.
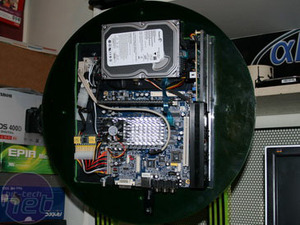
The hard drive plate was made in the same way, but since I had to be able to remove the drive I used bolts to fasten it instead of super glue. I also added some some rubber spacers to the HDD mount in order to eliminate vibrations from the drive.
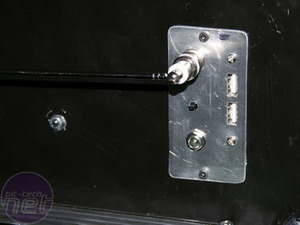
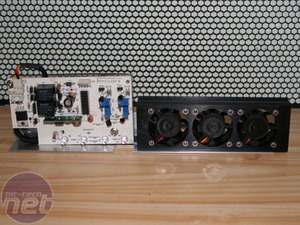
When the mainboard and hard drive were mounted, it was time to start getting the rest of the stuff in there. I was planning on using remote controlled power and reset buttons, so I needed to fit the PCB for that and also some additional cooling. I also needed a backplate to get some additional USB ports, the power connector, antenna mount and a backup power switch in case the remote fails.
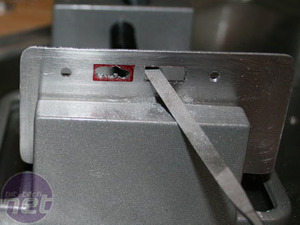
I took a piece of 1mm aluminium, mapped out the holes I needed and started to drill and file like the crazy Swede I am. I didn’t put much work into the power switch (as you can clearly see), its just a small peg that sticks out at the back - but since it wont be visible, that’s just fine. I drilled holes for the antenna mount for the remote system and a hole for the Pico PSU DC adapter.
To provide some additional cooling, I used a fan ramp from a Corsair dominator kit. This was the perfect solution - it had the right size and just enough airflow to keep the very cramped insides cool. The remote control PCB comes from a Logisys remote multi-function panel that I tore to pieces when I made my Puzzlebox 2.0 case. I used a piece of aluminium profile to hold the fans and remote PCB in place.
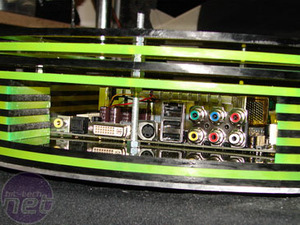
Finally, I cut a hole in the back to fit the back panel and hooked up all the cables. As you can see, it is a tight fit - but it does fit, and that’s the important part.

MSI MPG Velox 100R Chassis Review
October 14 2021 | 15:04




Want to comment? Please log in.