
Stage 1.5 - Sanding
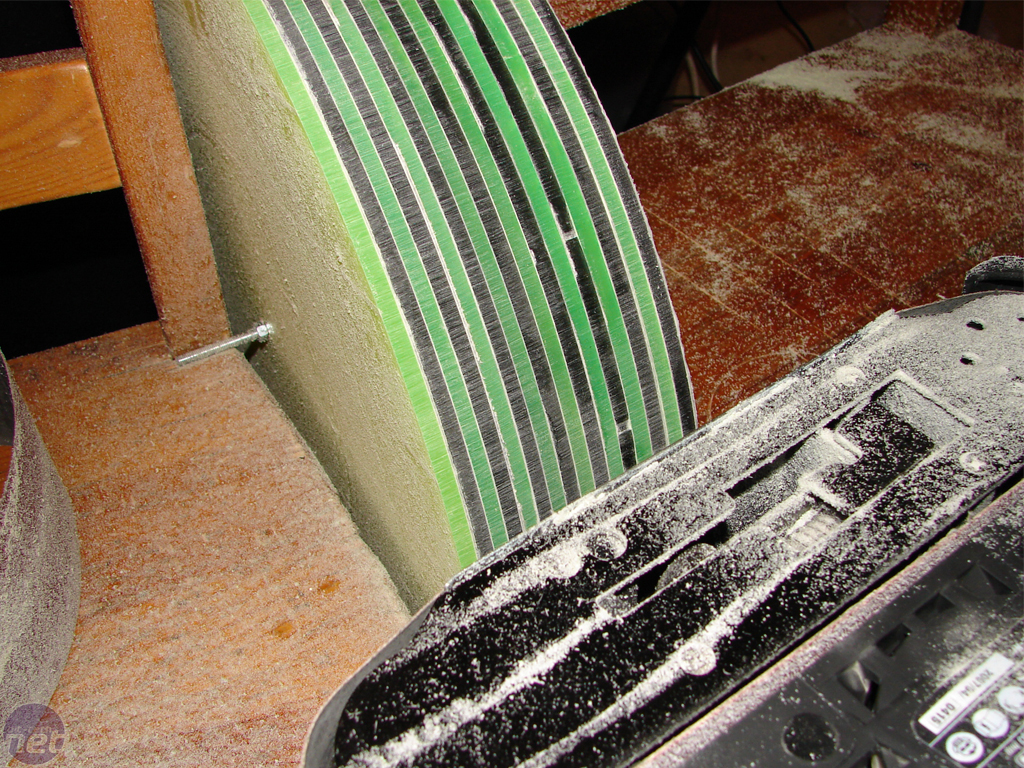
This was by far the worst stage of this project. I had to get each layer of acrylic exactly the same, that meant I had to get a little bit...creative.First of all, I didn’t own any sander that could handle the job I had planned. So, the first thing I had to do was to go out and buy myself a belt sander. After that, I nailed two kitchen chairs together and hung the sheets between the chairs. I used a threaded rod through the centre and some nuts to keep the sheets in place. Then I just spun the acrylic and held the sander to the edge. Clever, no?
I actually thought that the mess made by the cutting was as bad as it could get...but damn I was wrong!
The sanding seemed to go on forever and there really was an awful lot to do. Every time, as soon as I thought that the process was finished I'd find a new little thing that had to be fixed.
Click to enlarge
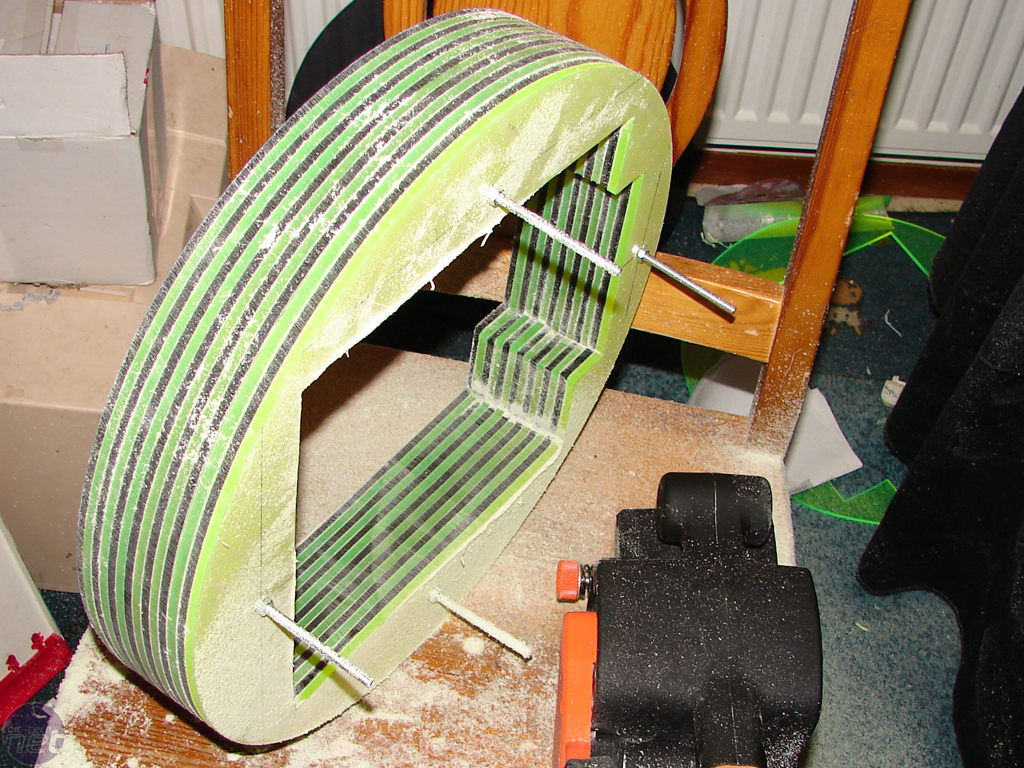
When I sanded the inside I could only use the beltsander for a very small part and I ended up using sand paper and files instead. At this stage I also drilled the four holes and inserted the four threaded rods that would keep this case together.
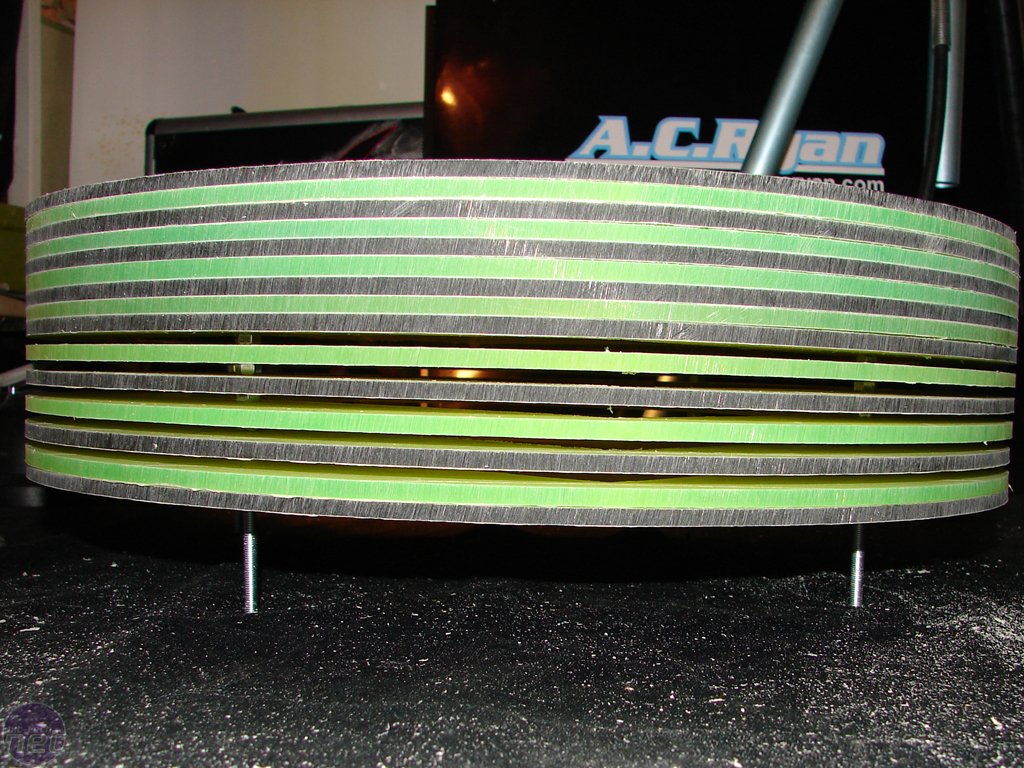
In the above picture, you can see the rough-sanded case. At this stage I also tried out the planned ventilation. Although the Epia doesn’t get very hot, I felt that it would be best to be able to move some air through the case, which I achieved by adding spacers between some of the layers. It’s a very simple but effective way to get some fresh air in there.
Click to enlarge
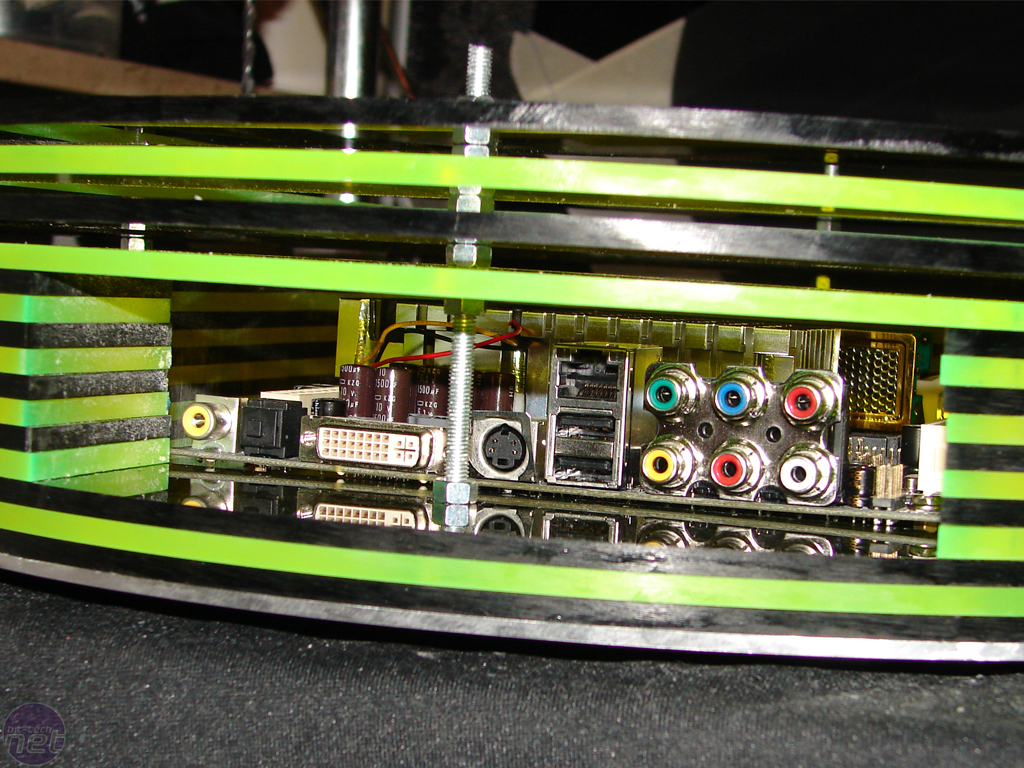
I cut away the "bottom" portion of the sides from 8 layers to give access to the mainboard connectors. I also made one more disc from 4mm aluminium at this time since I noticed that this case would become rather heavy and the 5mm acrylic would not be enough to securely fasten it to the wall. I forgot to take any pictures of this,so you just have to imagine me cutting a 50x50 sheet of 4mm aluminium into a disc shape and painting it black.
RELATED ARTICLES


MSI MPG Velox 100R Chassis Review
October 14 2021 | 15:04

Want to comment? Please log in.