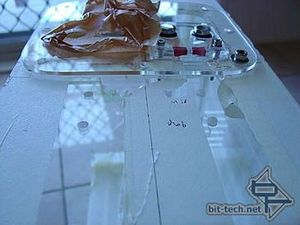
I took a break from drilling and ... did some more drilling! This time the mounting holes in the top of the case.
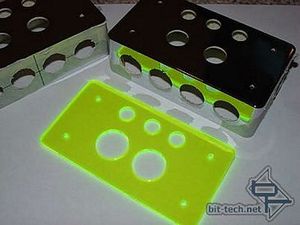
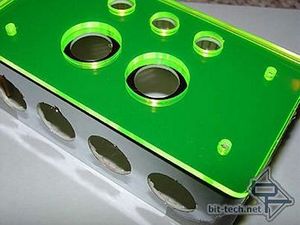
The finished pieces of the junction box. The three small holes in the divider are where the wiring will pass between both the boxes. Note the larger diameter of the two larger holes in the neon Perspex compared to the chrome box. This is because I intended on inserting 3mm LEDs into the gaps here once the box was assembled and I wanted the entire lighty-up part of the LED to be able to fit in here. 3mm thick Perspex = 3mm LED = Perfect! When the boxes are together the 4 LEDs will work well to light all of the edge of the neon green divider - their light maximised by being sandwiched between the two highly reflective surfaces of the chrome boxes.
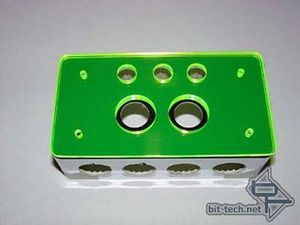
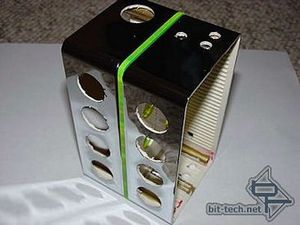
The whole Perspex divider in place and the box screwed together using...
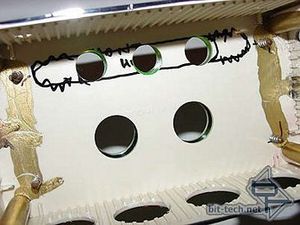
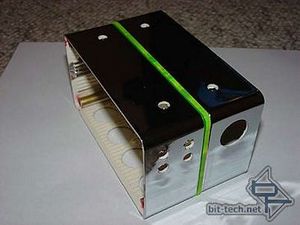
...four short wood screws (I salvaged these out of some old shelves in our spare room at home - hmm, must remember to tell my fiancée not to put anything heavy on those!).
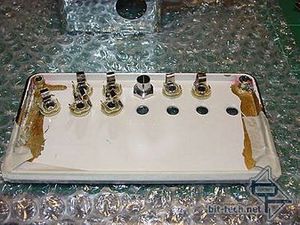
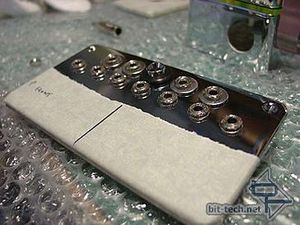
The front facing lid of the box with 3.5 mono jack sockets (to be wired for DC) and a central LED holder. I would have preferred to use proper DC plugs but couldn't find any (or convert any) that I liked the look of. It just meant I had to be a little more careful wiring them and won't be able to plug/unplug them when the PSU is on (or risk a short-circuit) - fortunately, once complete, nothing will require actual plugging in while the PSU is on. I put a rubber surround on the LED holder (to match the ones on the PSU).
Note the stainless steel washers on the top four sockets - these were later removed and replaced with rubber washers. These top four sockets are used as a link in a circuit between four of the front Vandal switches and the LEDs located above them and, as such, I wanted to insulate them from the chrome on the box (which is in contact with all the GND connections). I also had to ream some of the chrome from around the edges of these holes (this is hidden by the rubber washers) to insulate them.

MSI MPG Velox 100R Chassis Review
October 14 2021 | 15:04


Want to comment? Please log in.