
Hardware installation
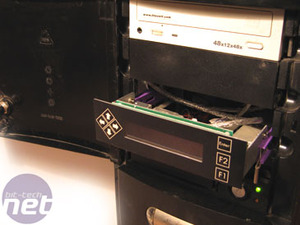
The physical installation, at least in theory, couldn't be easier - just plug it into a USB port, and you're done. In reality, the quirks of our test rig made things a little more challenging.The first obvious issue is that we have an Antec Sonata - an all round great case by all means - however, it has a door that stealths the drive bays. Fortunately, it can be removed, but in truth, any front-mounted LCD like the MX6 is far better suited to doorless cases like the Lian Li PC60 we used for Project Synapse.
The second issue is more serious. The Sonata, and many other cases, employs quick release rails for its 5.25" drive bays: screw them to your DVD drive, and you can slide it in / out just by pinching the tabs. This means none of the usual mucking around with mounting screws, and wondering if you put any on the far side that you can never reach. This is a problem because the mounting tabs on the MX6 are only only 60mm long - long enough to line up with the first row of mounting holes on a conventional case.
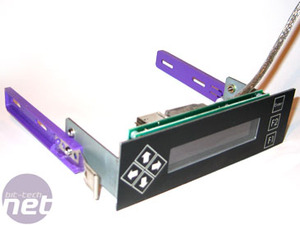
The solution was only partially successful: mount the rails as normal, using only the first set of holes, and just tighten the screw really tightly. The display slides into place and the tabs lock into place, but not securely enough to press the keypad buttons without the whole assembly sliding back inside the case. Prospective buyers with quick release cases like the Sonata might want to consider their mounting options carefully.
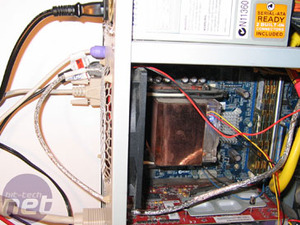
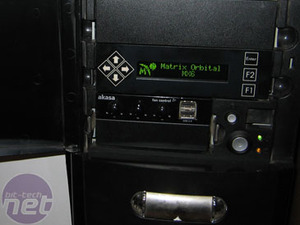
As mentioned earlier, the standard design uses a loop-through USB cable, passing out through an empty PCI backplate and into a rear USB port. If your computer room is as dusty as ours, we'd strongly recommend opting for the internal USB cable and keep that rear PCI plate screwed in place. With power applied, we are greeted by a funky welcome message.
Software installation
The software installation was far easier, thanks to USB.

Just pop the mini CD into the drive (slot-loading users beware!) and participate in the familiar Next - Next - Next - Finish ritutal. The MX6 was detected first time, and the drivers on the CD worked like a charm. Now that Windows knows it's there, it was time to install some software to make it display something useful.
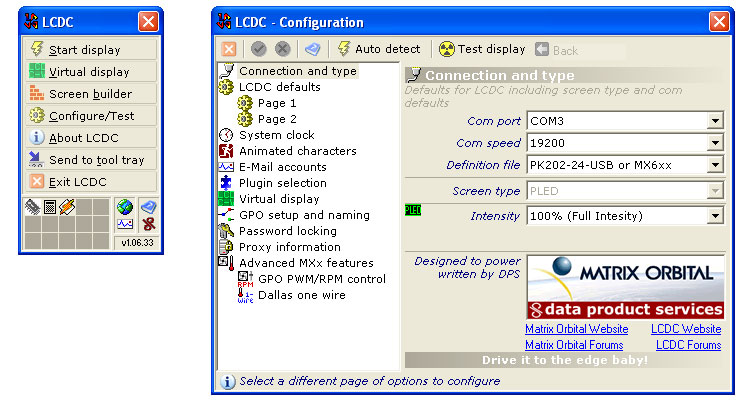
Matrix Orbital bundle LCDC, which would otherwise cost US$19.50 +VAT. LCDC is what you use to program the MX6 (and all other Matrix Orbital displays) to display information on the screen. 'Program' is the operative word - as we will discover, this is no fluffy, Wizard-driven application. Gone are the days when such displays required Visual Basic skills to program your own interface, but users expecting a friendly GUI with simple menu options will very quickly break into a nervous sweat and start reaching for the PDF manual.
Let the fun begin...
RELATED ARTICLES


MSI MPG Velox 100R Chassis Review
October 14 2021 | 15:04


Want to comment? Please log in.