Hypercube² Part II

Written by Gert Swolfs

January 4, 2005 | 00:00

Tags: #andrzej-sekula #case #custom #film #hypercube #led #vincenzo-natali #white-led

Companies: #mod


MOTHERBOARD and BACK PLATE INSTALLATION


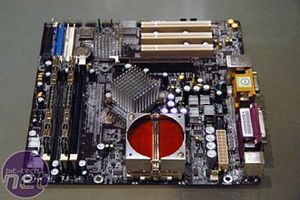
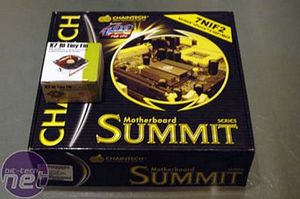
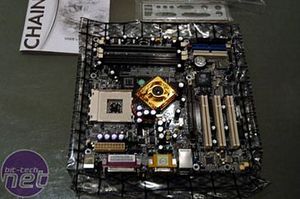
After a long search I found what I was looking for: A micro ATX motherboard with an on-board TV-out, the CHAINTECH 7NIF2. And it is black :) What a treat - I really hate all the brightly coloured motherboards.
Hypercube² Part II Motherboard And Back Plate Installation
Click to enlarge
Hypercube² Part II Motherboard And Back Plate Installation
Click to enlarge

Of course, I was more interested in what was INSIDE the box... ;-)

Hypercube² Part II Motherboard And Back Plate Installation
Click to enlarge
Hypercube² Part II Motherboard And Back Plate Installation
Click to enlarge

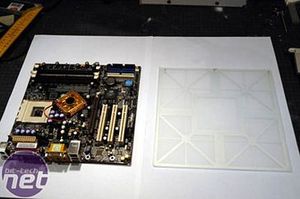
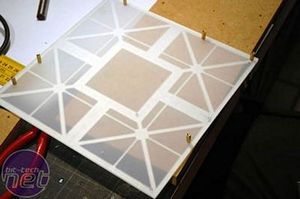
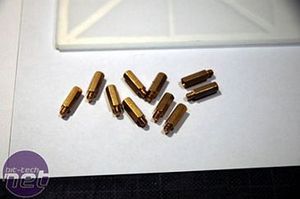
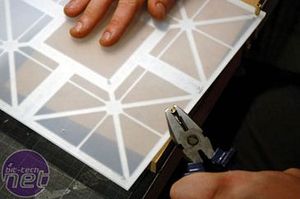
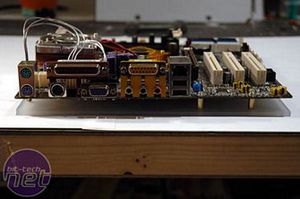
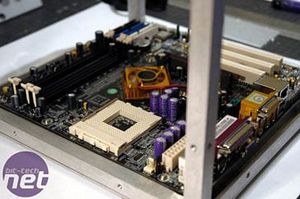
The motherboard will be installed on the bottom plexiplate with standard motherboard standoffs.

Hypercube² Part II Motherboard And Back Plate Installation
Click to enlarge
Hypercube² Part II Motherboard And Back Plate Installation
Click to enlarge

Of course, a standard motherboard tray comes with holes already drilled in the right places... I had to measure and drill my own.
Hypercube² Part II Motherboard And Back Plate Installation
Click to enlarge
Hypercube² Part II Motherboard And Back Plate Installation
Click to enlarge

It turned out to be less of a problem than I thought, and all my measurements seem to be correct.
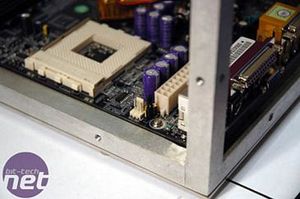
Hypercube² Part II Motherboard And Back Plate Installation
Click to enlarge
Hypercube² Part II Motherboard And Back Plate Installation
Click to enlarge

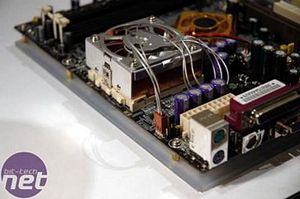
There are a few things on the motherboard that stick out visually, noteably the copper northbridge cooler - this needs a little attention.
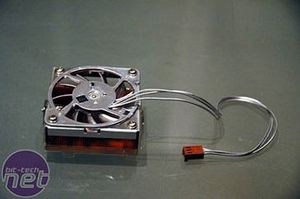
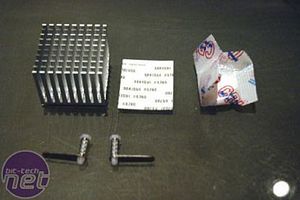
Hypercube² Part II Motherboard And Back Plate Installation
Click to enlarge
Hypercube² Part II Motherboard And Back Plate Installation
Click to enlarge

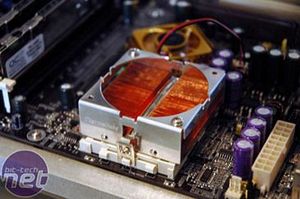
On the left is the low profile CPU cooler from Thermaltake - I had already sprayed it silver from its original black colour. On the right a replacement Northbridge cooler, again, silver so it doesn\'t stand out.
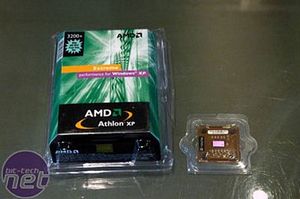
Hypercube² Part II Motherboard And Back Plate Installation
Click to enlarge
Hypercube² Part II Motherboard And Back Plate Installation
Click to enlarge

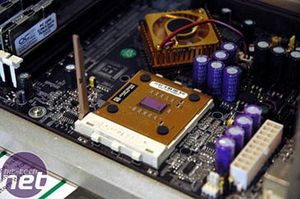
My brand new AMD XP 3200+


Hypercube² Part II Motherboard And Back Plate Installation
Click to enlarge
Hypercube² Part II Motherboard And Back Plate Installation
Click to enlarge

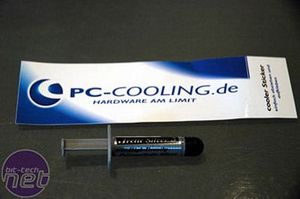
I used Arctic Silver, of course, and mounted the CPU heatsink

Hypercube² Part II Motherboard And Back Plate Installation
Click to enlarge
Hypercube² Part II Motherboard And Back Plate Installation
Click to enlarge

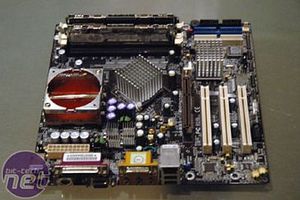
Here is the final motherboard, complete with new Northbridge heatsink, as well as a few smaller ones I added, such as the Southbridge
Hypercube² Part II Motherboard And Back Plate Installation
Click to enlarge
Hypercube² Part II Motherboard And Back Plate Installation
Click to enlarge

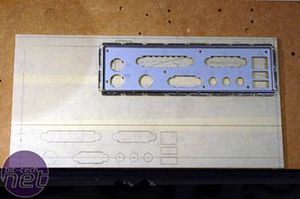
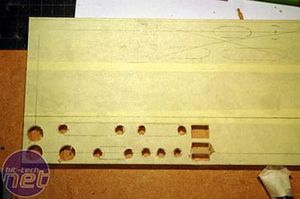
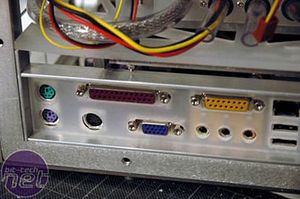
For the backplate I had to make a custom piece out of plexi. The plate that came with the mobo was an easy template. With a drillbit and a lot of filing it was not so difficult to make.

Hypercube² Part II Motherboard And Back Plate Installation
Click to enlarge

Discuss this in the forums
null
YouTube logo
MSI MPG Velox 100R Chassis Review

October 14 2021 | 15:04

In line with recent changes to data protection legislation in the UK and Europe we would like to direct you to our updated Privacy Policy here.