
Back panel
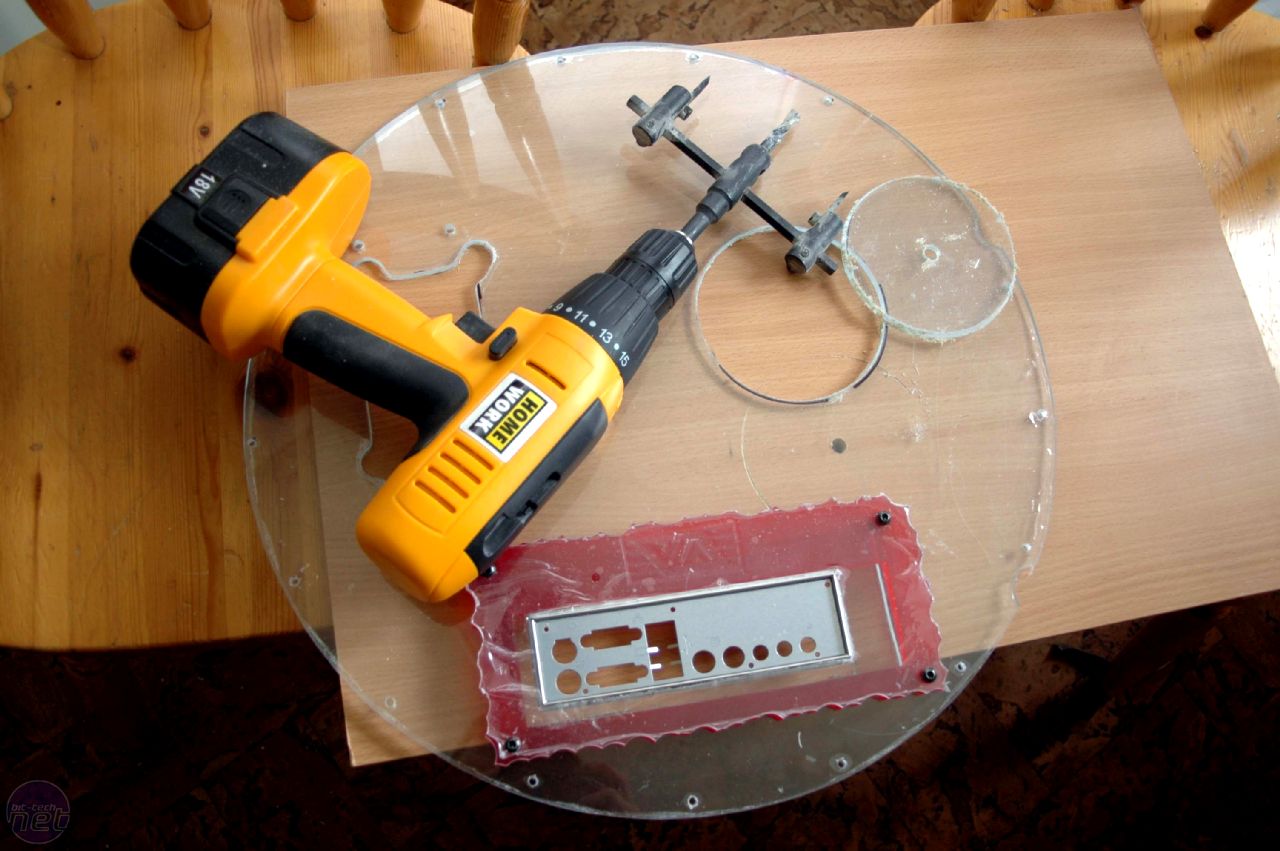
Having already ditched the idea of a sheet aluminium backplate - too dark / not see-through - the next step was to create a circular backplate from 4mm clear plexi.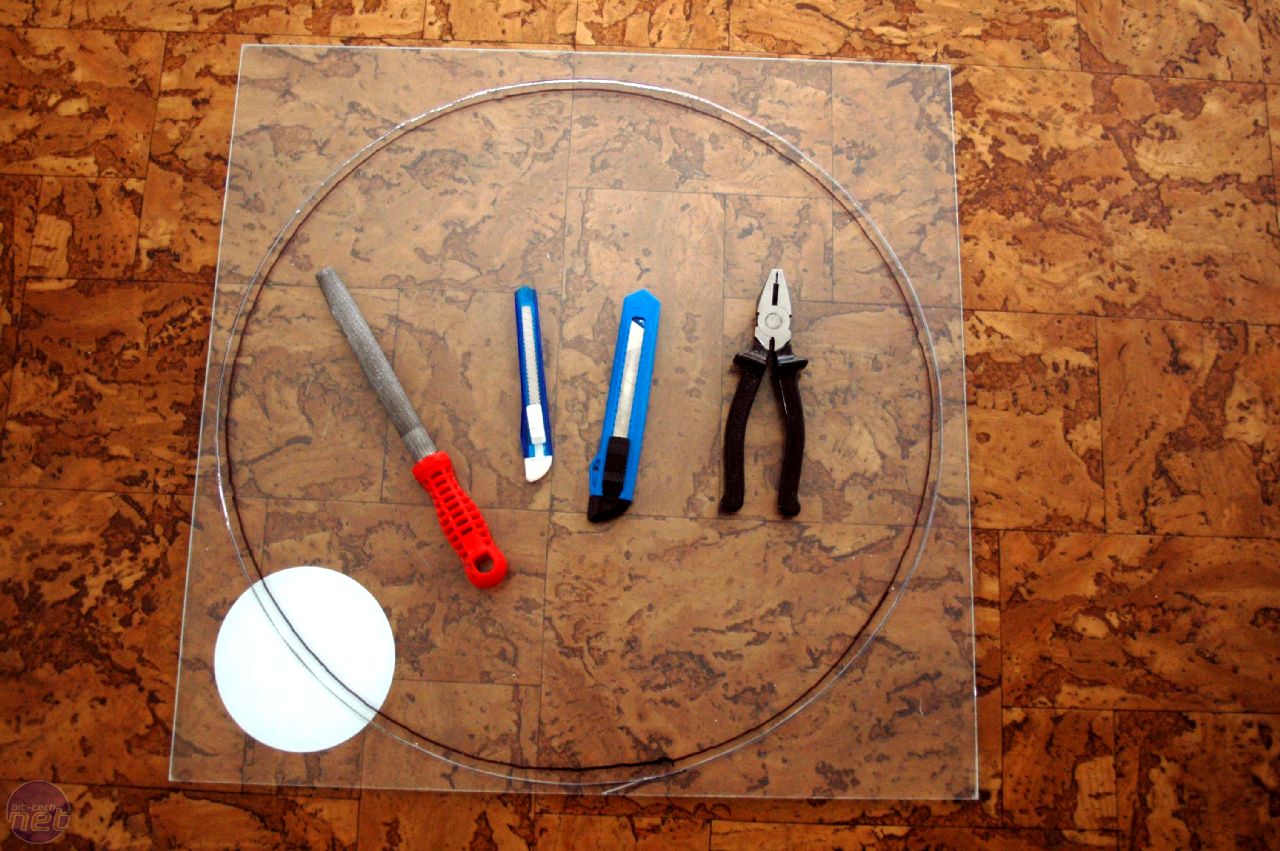

Here are the tools I used: a rounded file, two craft knives and a pair of pliers. Using the alloy wheel itself as a template, I drew a circle and cut it out. Naturally, I also needed a rectangle for the stardard ATX I/O backplate. However, because the motherboard tray sticks out 12mm too far, I had to make this one wider than the regular backplate. In fact, because the motherboard tray itself is slightly wider than even the 17cm-wide EPIA board, this was a very wide slot indeed.
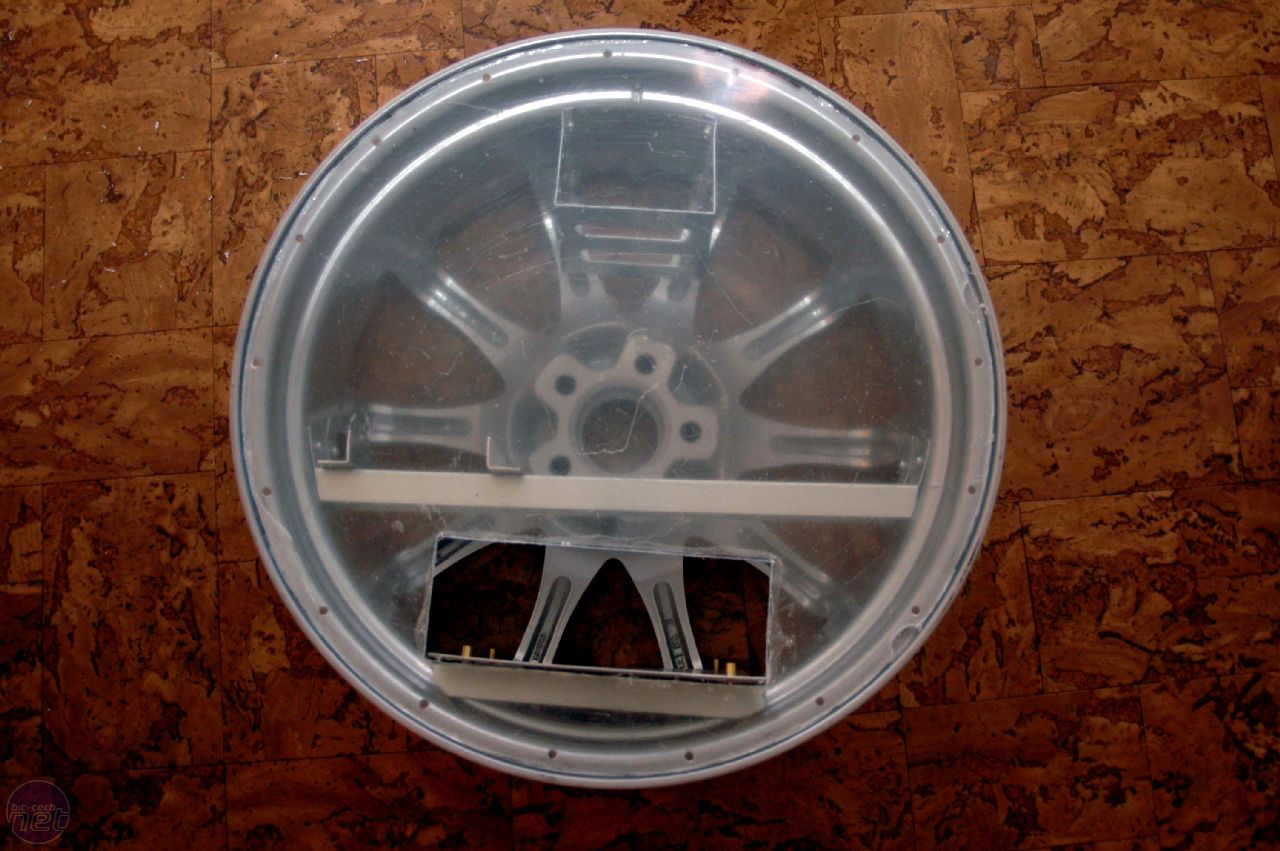
Here is an under construction pic. Don't worry that it looks a bit rubbish right now - it is the end result that counts.
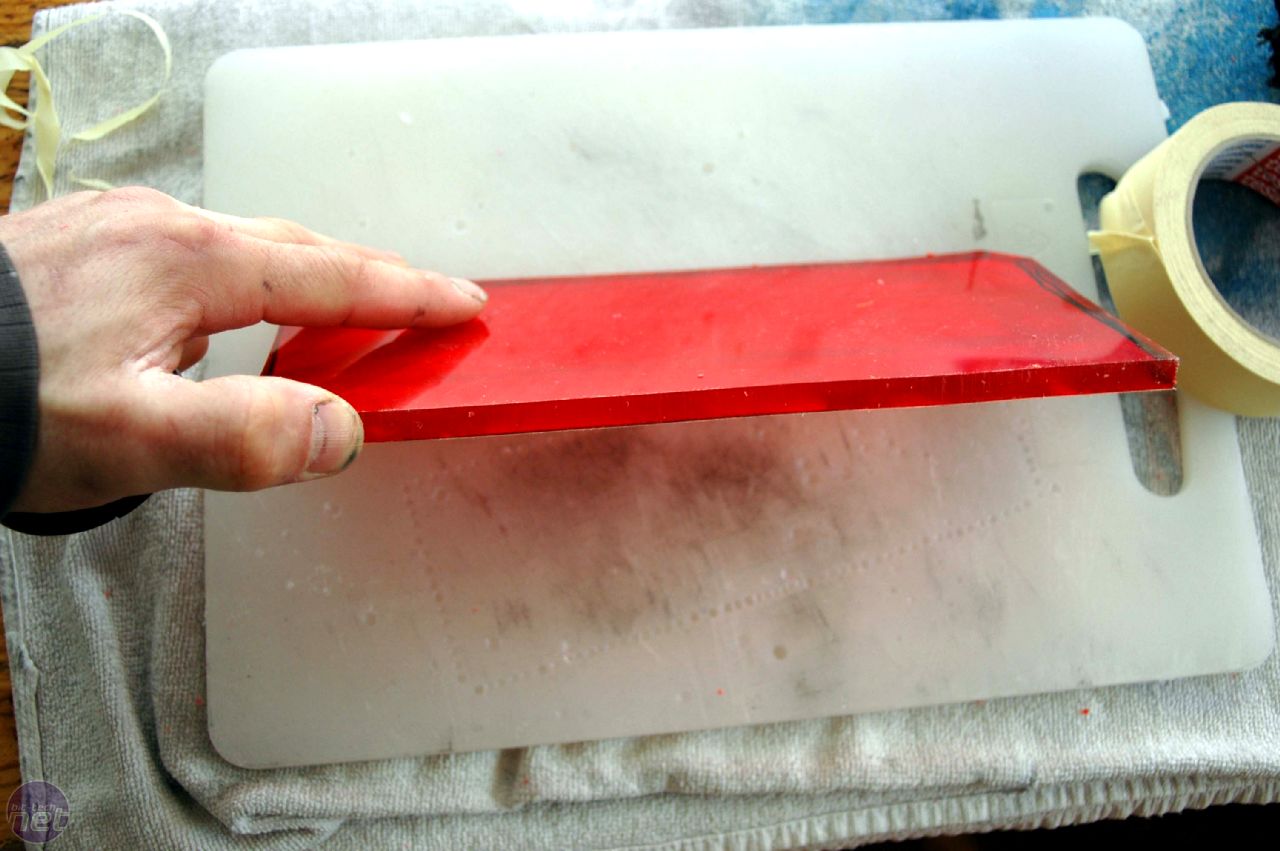
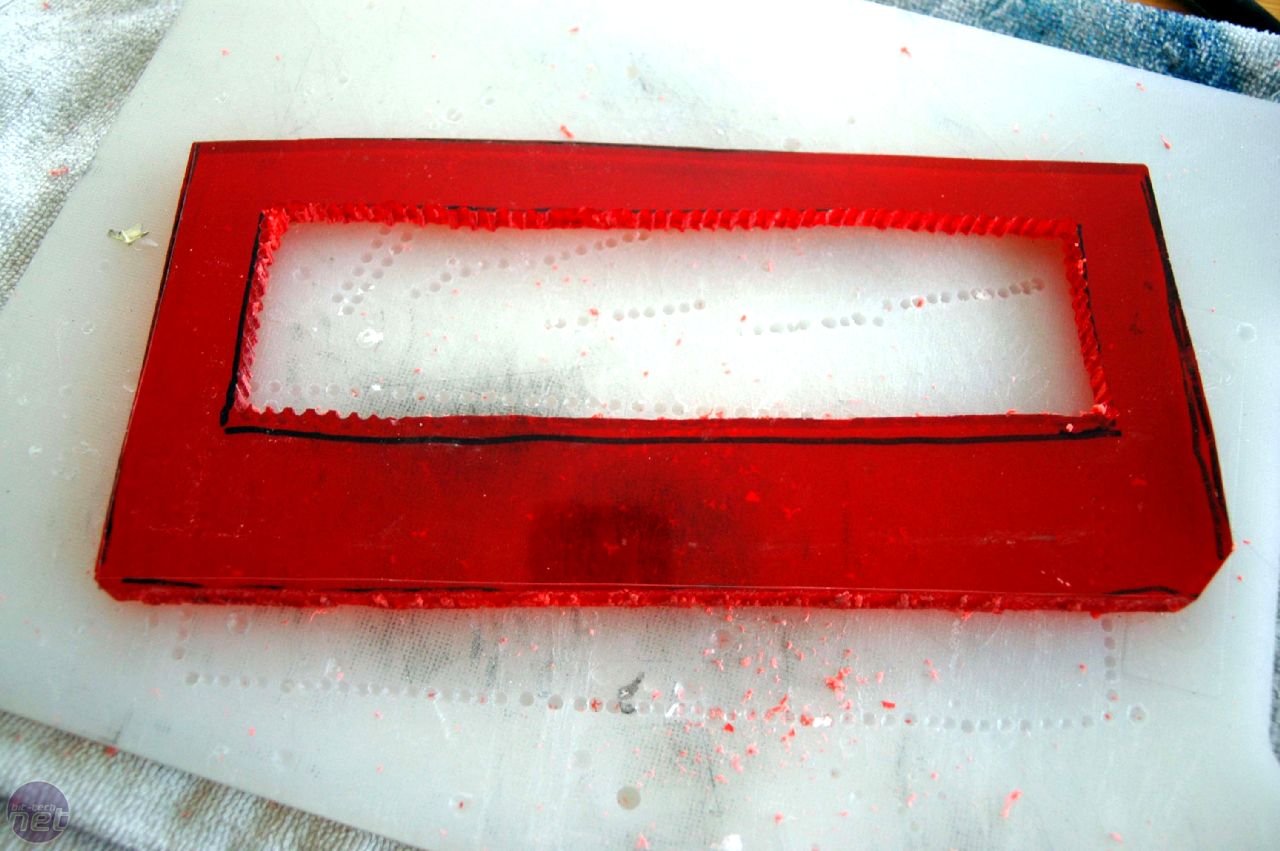
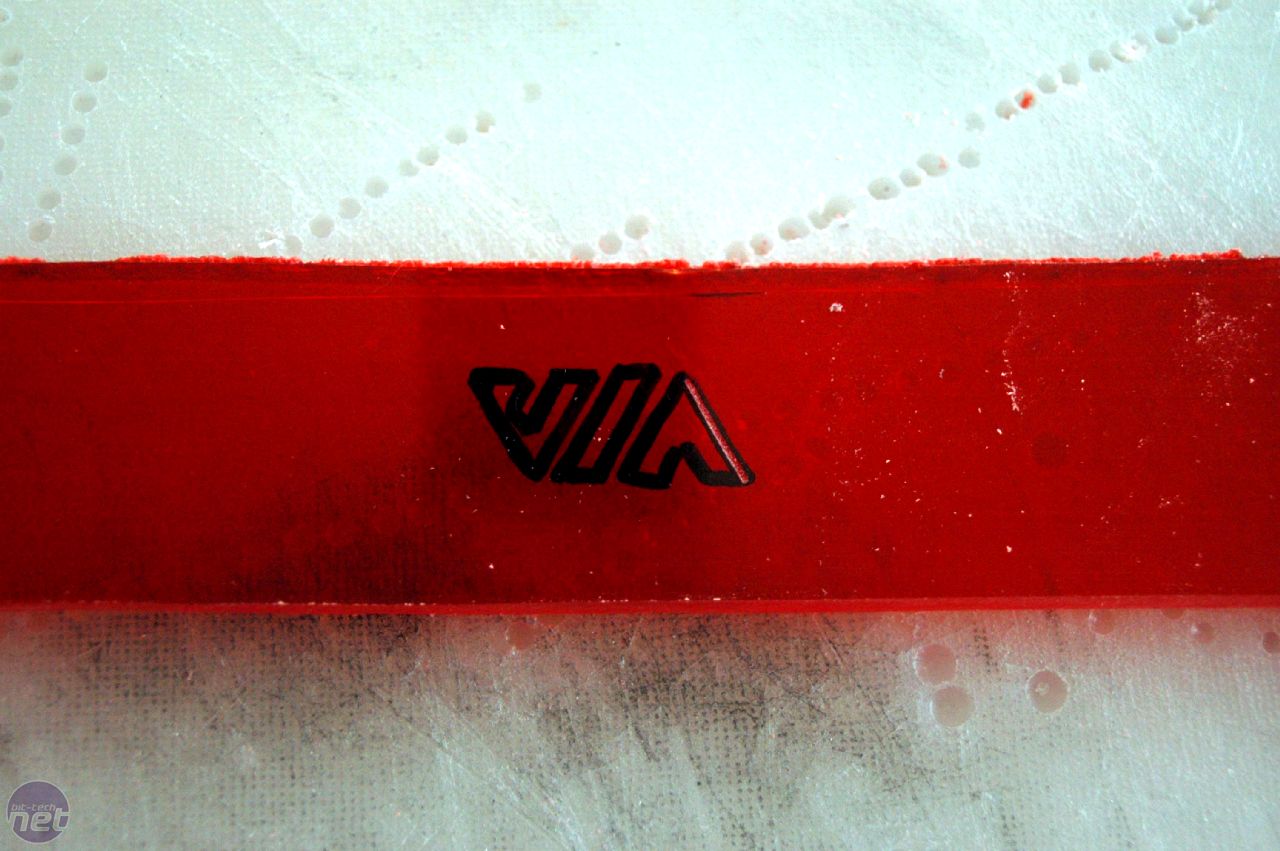
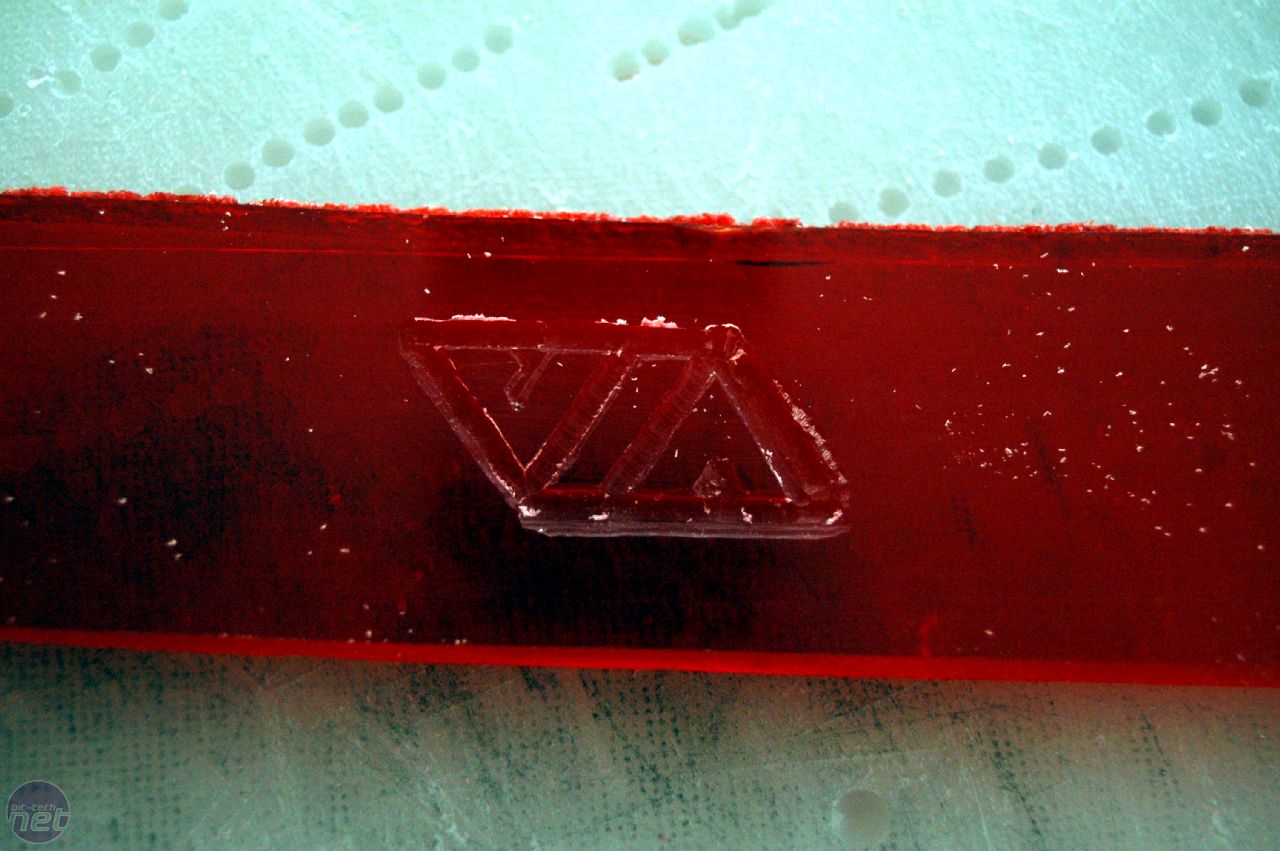
My solution was to take a sheet of 10mm red plexi and cut an even larger rectangle out of it, into which I cut the letterbox slot for the motherboard. The surrounding plexi gives me an opportunity to engrave a little VIA logo.
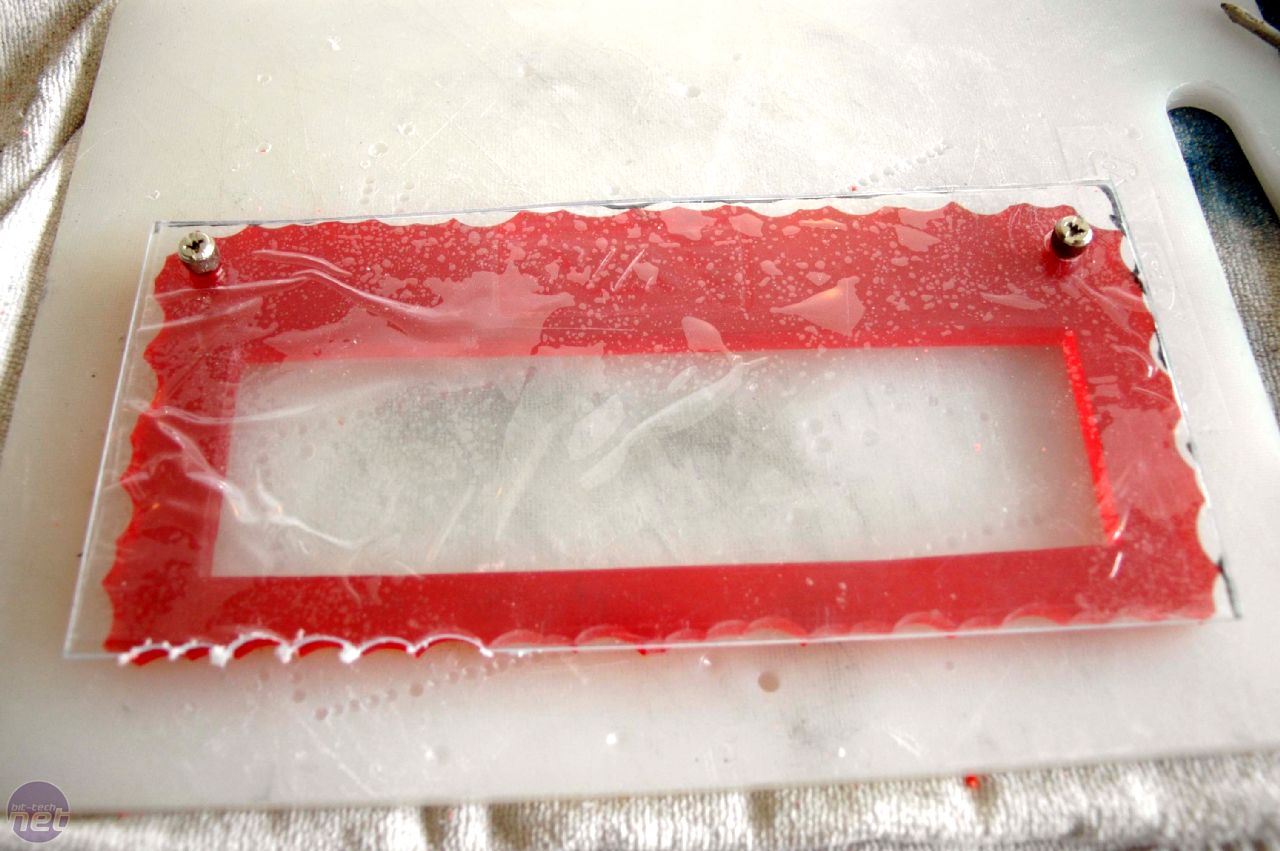
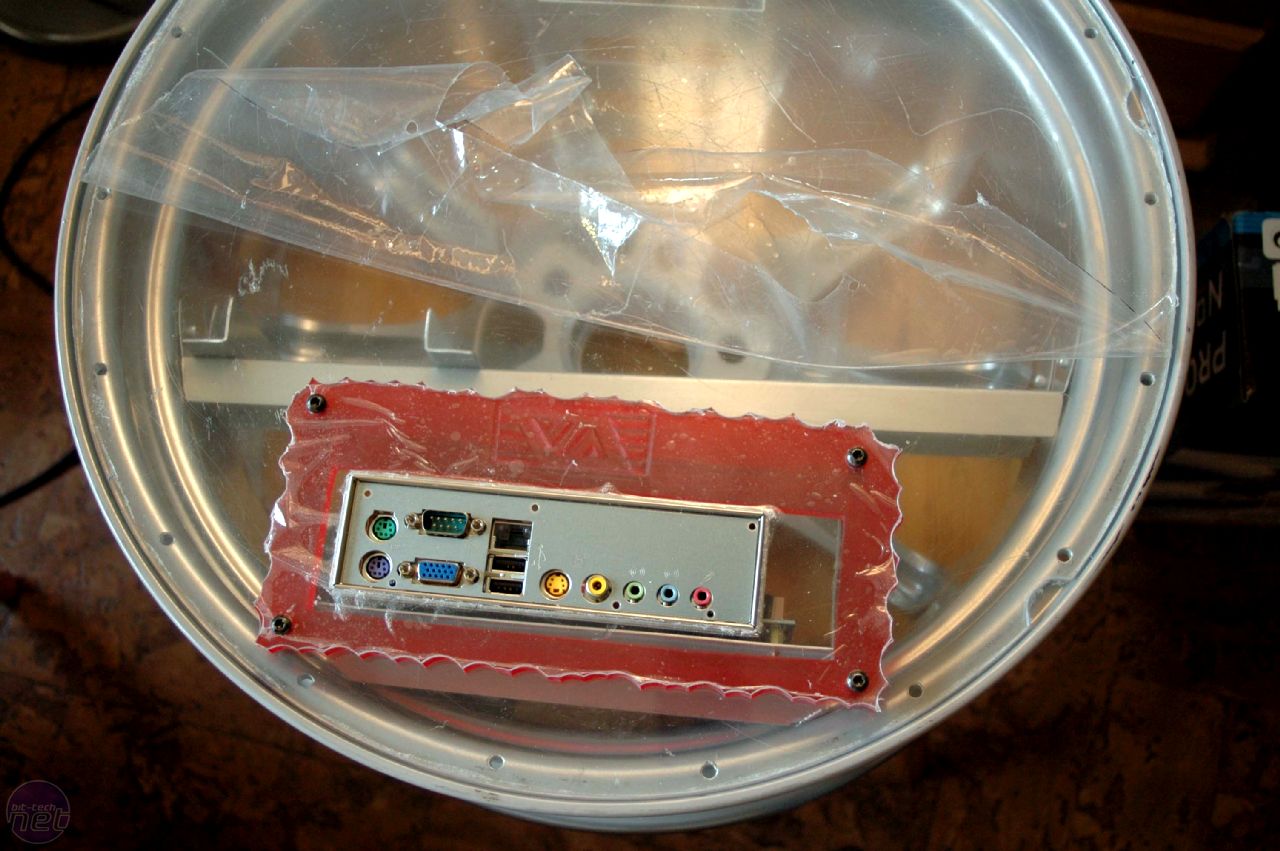
Add another layer of 2mm clear plexi and I'm level with the 12mm protruding motherboard for a flush fit.
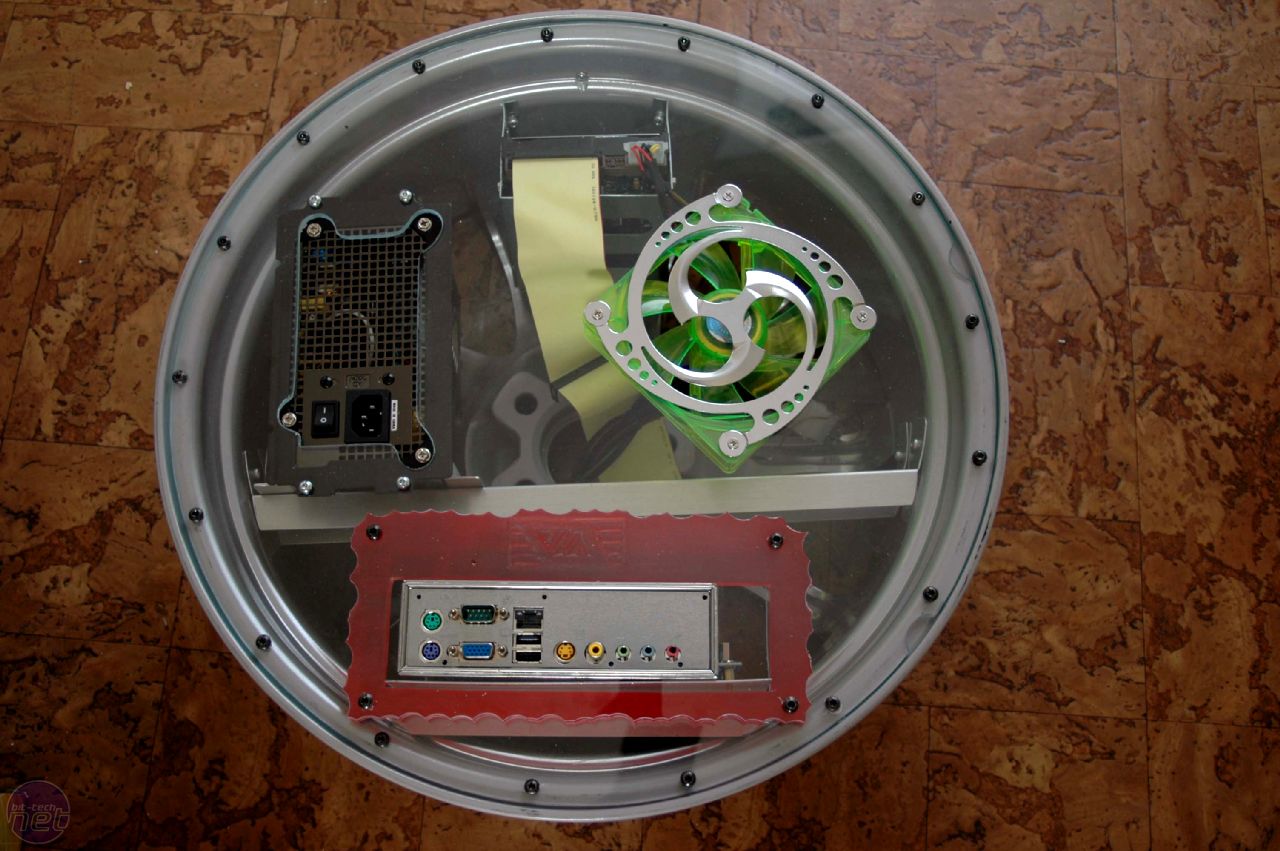
One of the things I love about plexi is that it is so easy to work with. Having decided on a rear 120mm fan (modded to 5v for quiet operation) it took only a couple of minutes to dig out my drill and cutter to create the required hole.
I’m very pleased with the result at this point - it's looking really sweet.
RELATED ARTICLES


MSI MPG Velox 100R Chassis Review
October 14 2021 | 15:04

Want to comment? Please log in.