The pins
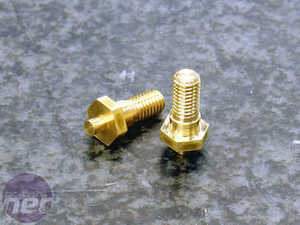
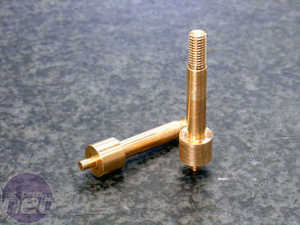
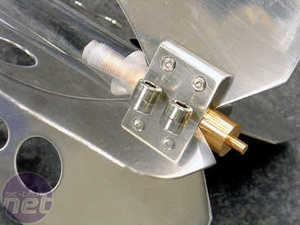
In order to keep friction as low as possible, contact between moving and non-moving pieces must be minimised. Therefore, I designed the pin assembly to be be the only point of contact between the impeller and the rest of the tank. The pins sit in the holes at the top and bottom of the tank, and rotate freely. The impeller trees sit on the pins and also rotate freely around them, creating the fewest points of possible contact.
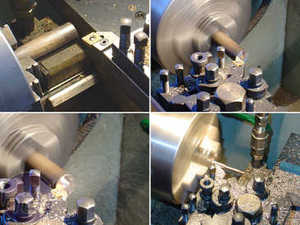
The entire assembly meant very strict tolerances for error - only 0.05mm for the pin-to-base contact, and a mere 0.02mm for the pin-to-tree contact. The pins are machined from a hexagonal brass bar, which allows the un-milled portion to be used with a wrench to tighten the final assembly together. Once milled, the pins are threaded for their final assembly.
The shaft and final impeller assembly
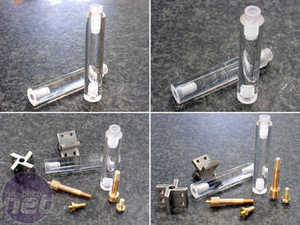
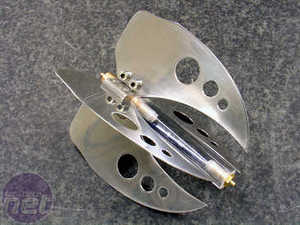
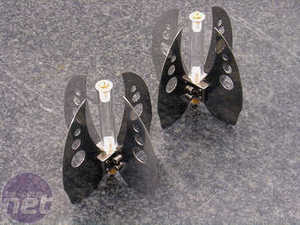
In order to connect the impeller to the top of the tanks, a shaft was necessary. To create this, I took a piece of Perspex rod and threaded it to match the pins.Once the shaft was created, it was time to finally assemble the entire impeller - pin, tree, shaft, pin, and finally the fins.

MSI MPG Velox 100R Chassis Review
October 14 2021 | 15:04




Want to comment? Please log in.