
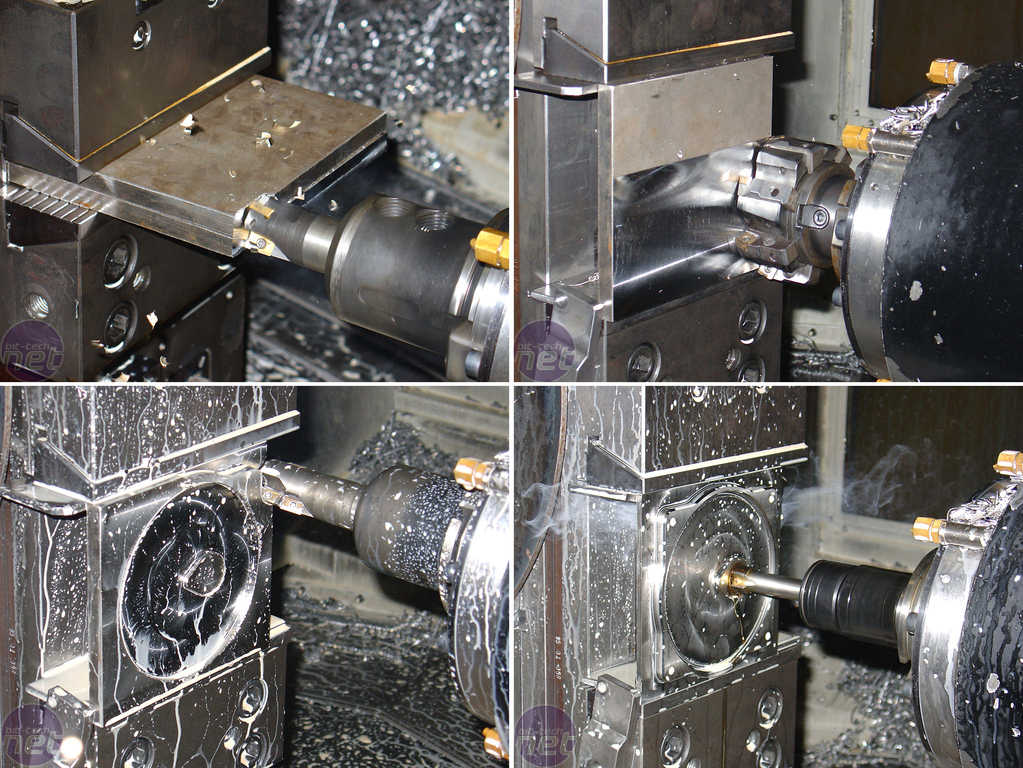
The Tops
The tank tops, just like the bottoms, are manufactured from stainless steel and cut on the CNC centre-mill lathe.Also like the bottoms, each top consists of a circular groove holing an O-ring (for a watertight seal) and a hole for a pin which will support the impeller assembly.
Each tank has a fill port that is 1/2" in diameter, which is drilled off-centre so as to not disturb the impeller assembly. Particular attention has been paid to the external surface of each top, which will be visible when filling the final project.
Because of that, they have been rigorously polished with a set of abrasive compounds.
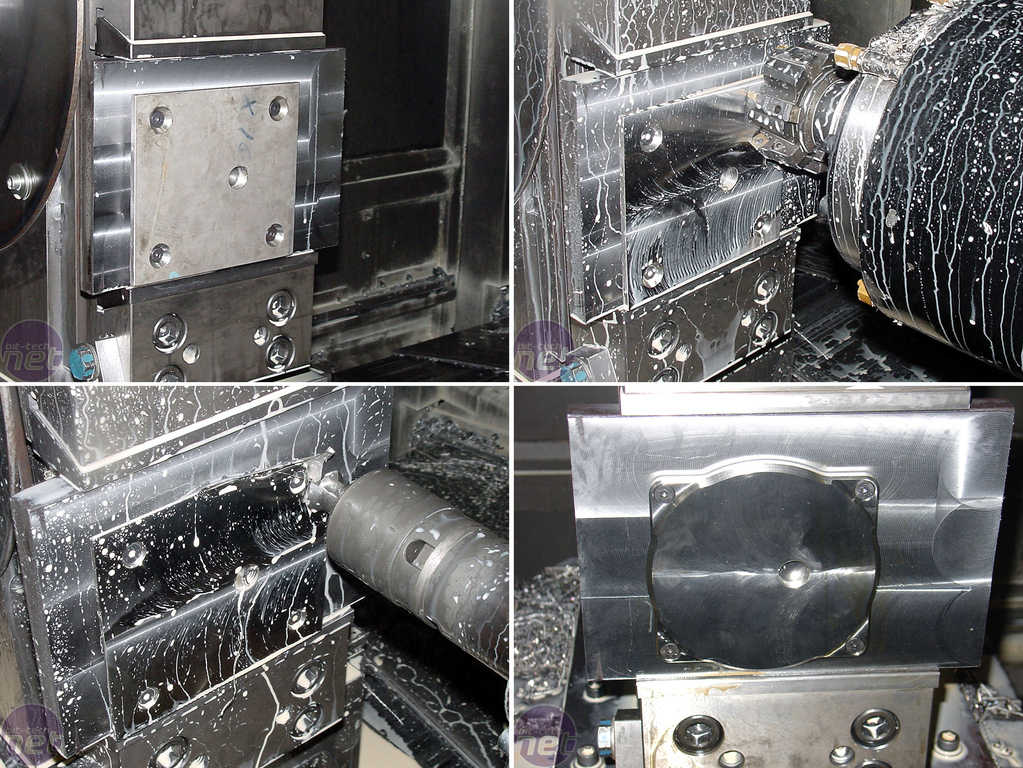

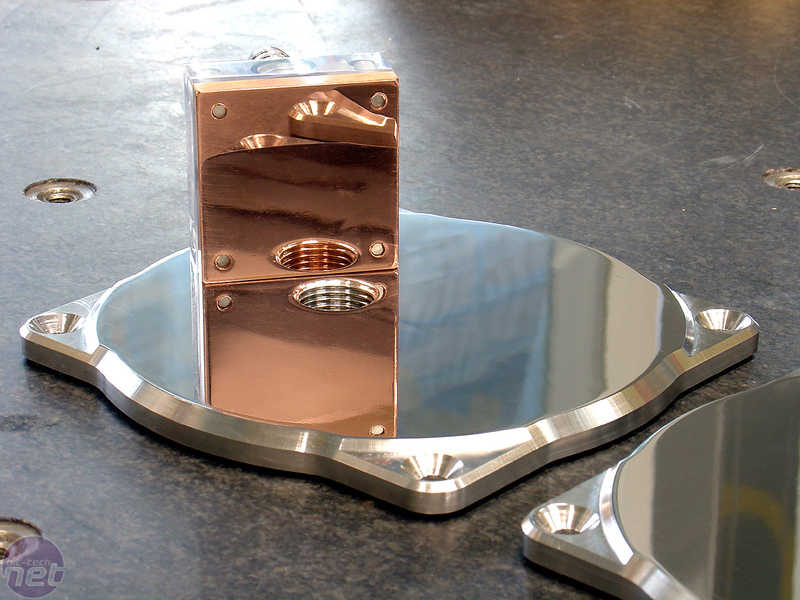
The fill ports are threaded to accept a plug, which is also milled out of the stainless steel. This way, no aluminium is in direct contact with the water.
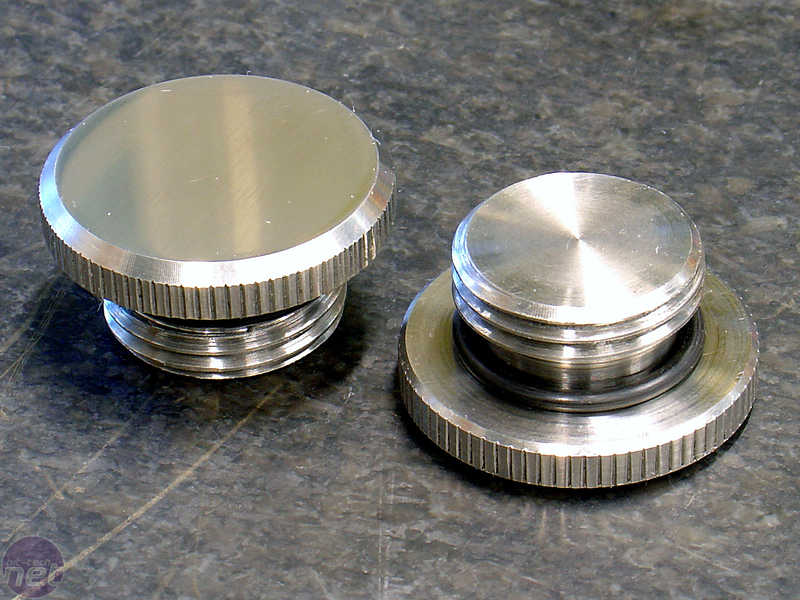
The plugs have been manually cut and then lathed from a piece of steel rod, and have a channel above the threads for another rubber O-ring. This helps ensure another watertight seal. Grooves were also placed on the sides of the plugs to make them easier to turn by hand.
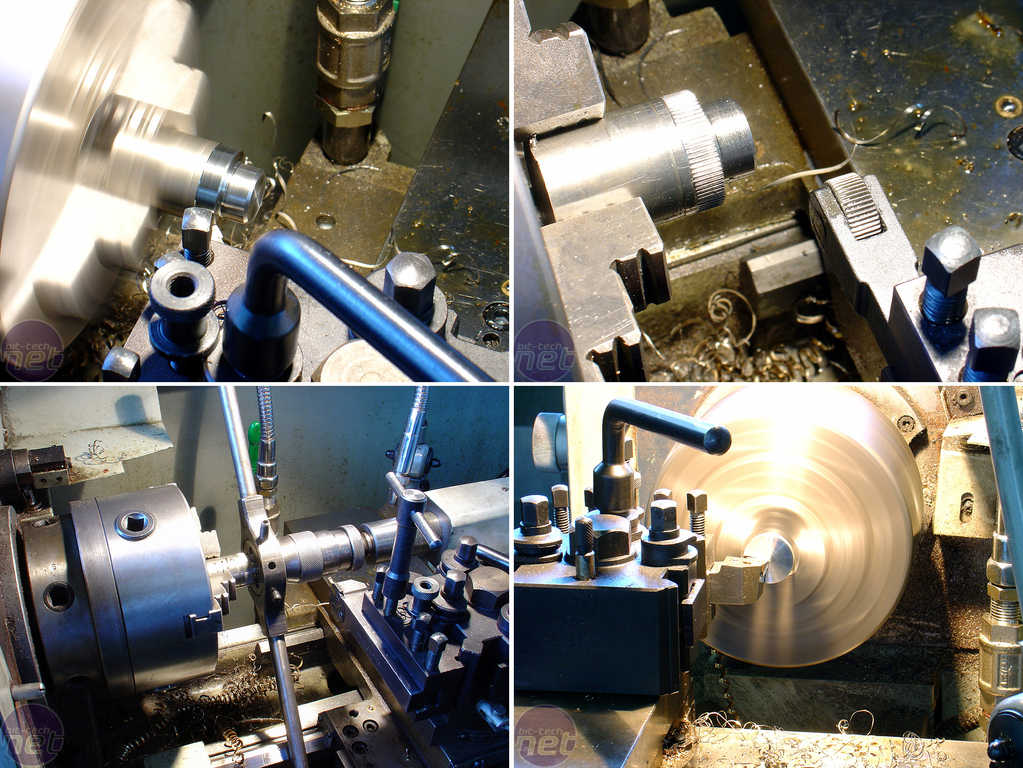
Side Columns
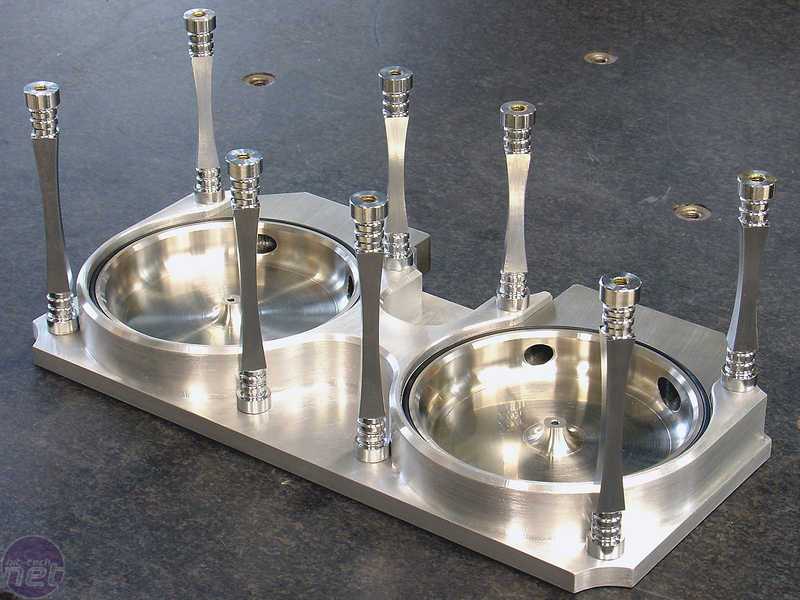
Each tank had four columns connecting the aluminium base to the tank tops, which are machined from brass. The columns provide the pressure that squeezes the Perspex tanks against the O-rings on the tops and bottoms, making the whole assembly watertight.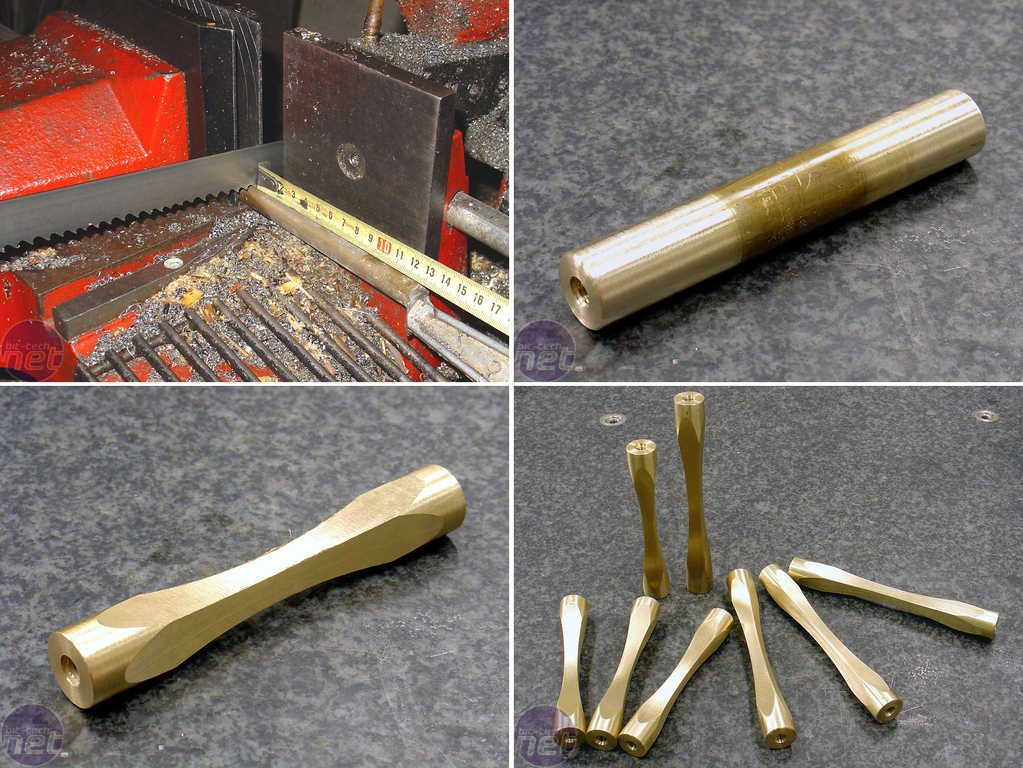

I made several rough versions of the columns at once by using the lathe on a long rod of brass, then cutting the individual columns free with a saw. After they were cut, I used the centre lathe to handle threading the screw holes at either end and the four side indentations. Finally, I used very small tools to generate the finished detail work.
Once the eight columns were finished and treated with a lime compound and abrasive, I gave them a chrome plating so that they would better fit with the stainless steel of the tops.
Test Fit
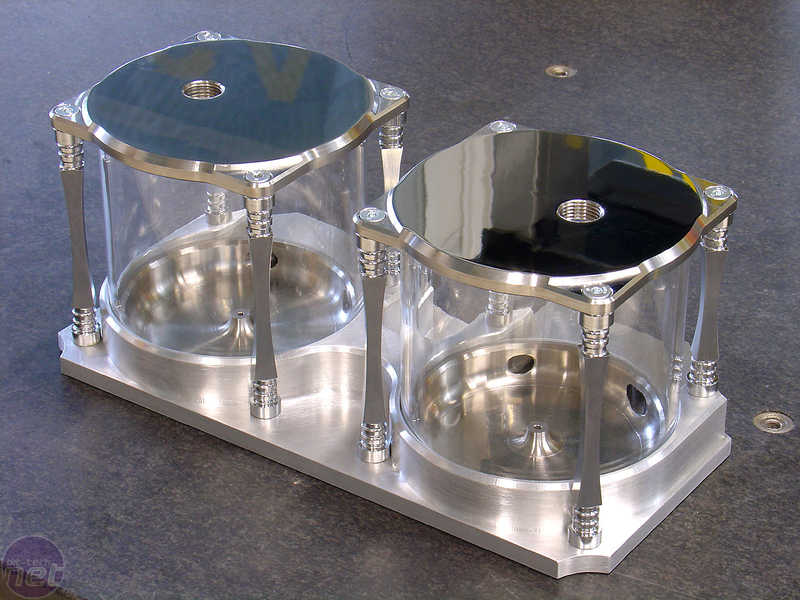
With the construction of the outer reservoirs complete, it was time for a true "test fit."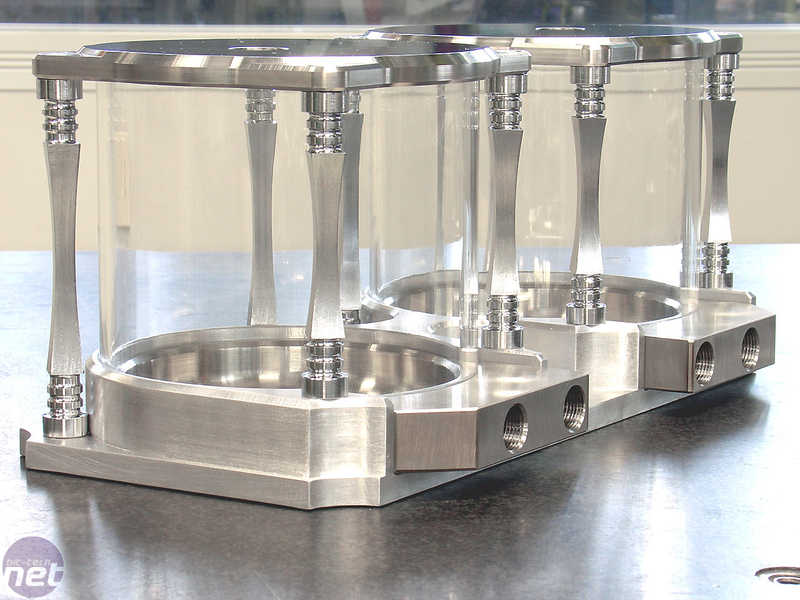
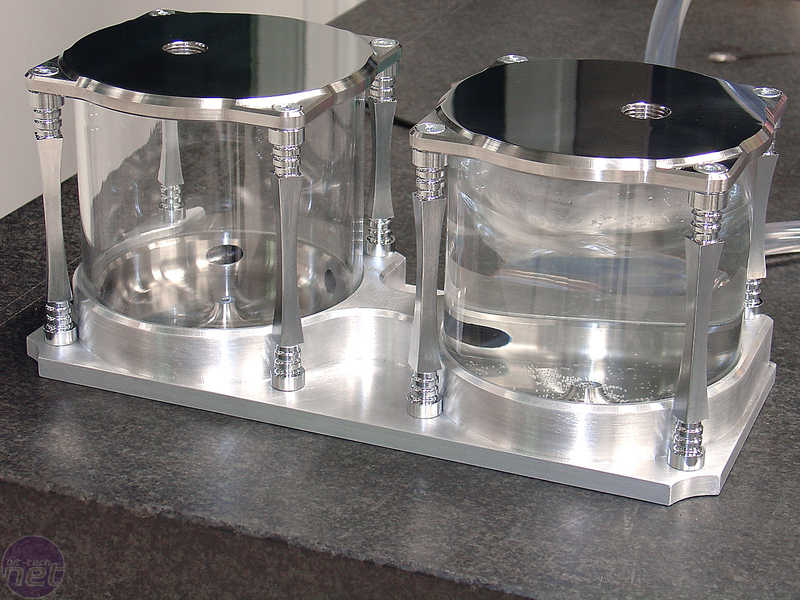
As can be seen in the picture, the actual assembly held water, but what you can't see is the vortex that it created - which was just what I was looking for. For those curious to see the test as I did it, video can be found here, here, and here.
RELATED ARTICLES


MSI MPG Velox 100R Chassis Review
October 14 2021 | 15:04


Want to comment? Please log in.