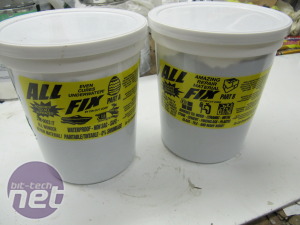
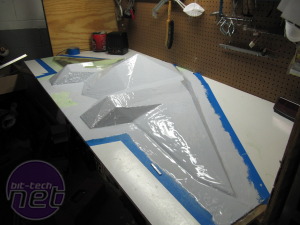
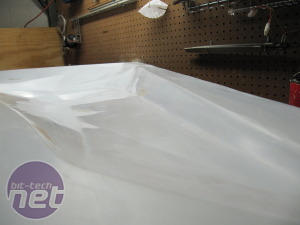
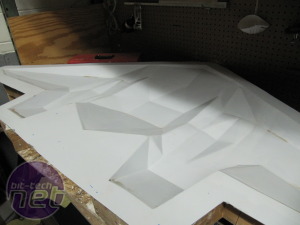
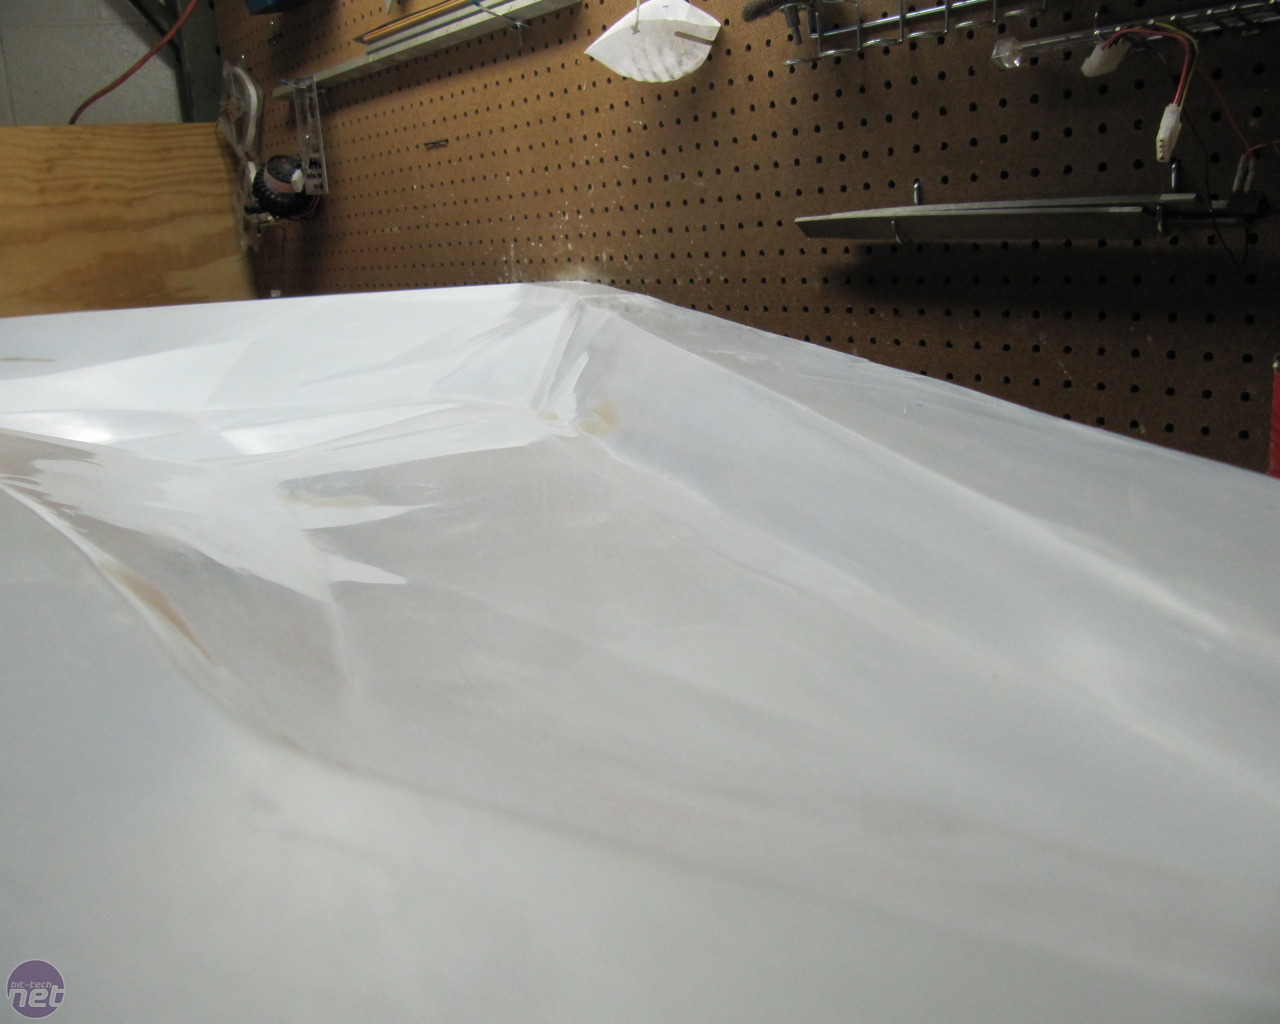
Once the covers were placed on flat ceramic coated surfaces, in which, a layer of play putty was used to keep the covers from sticking to the flat board, the mould-making process could begin. First it is eight to ten coats of wax or PVA, which is preventive release agent.
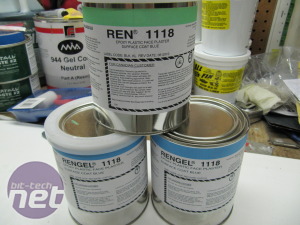
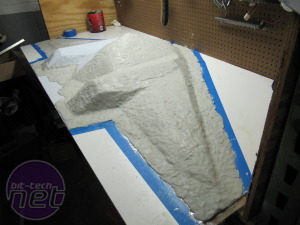
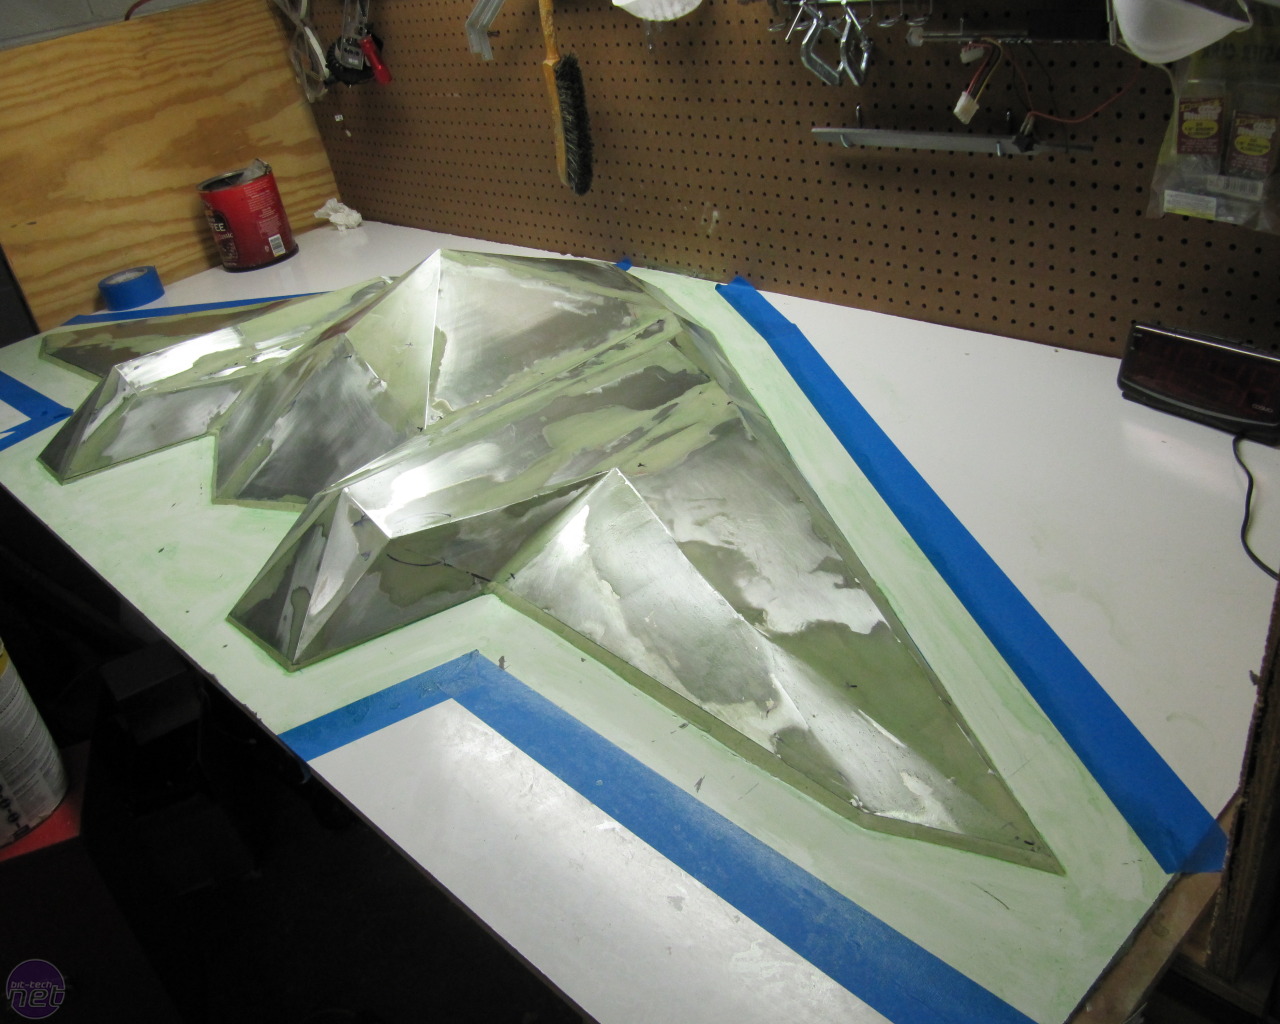
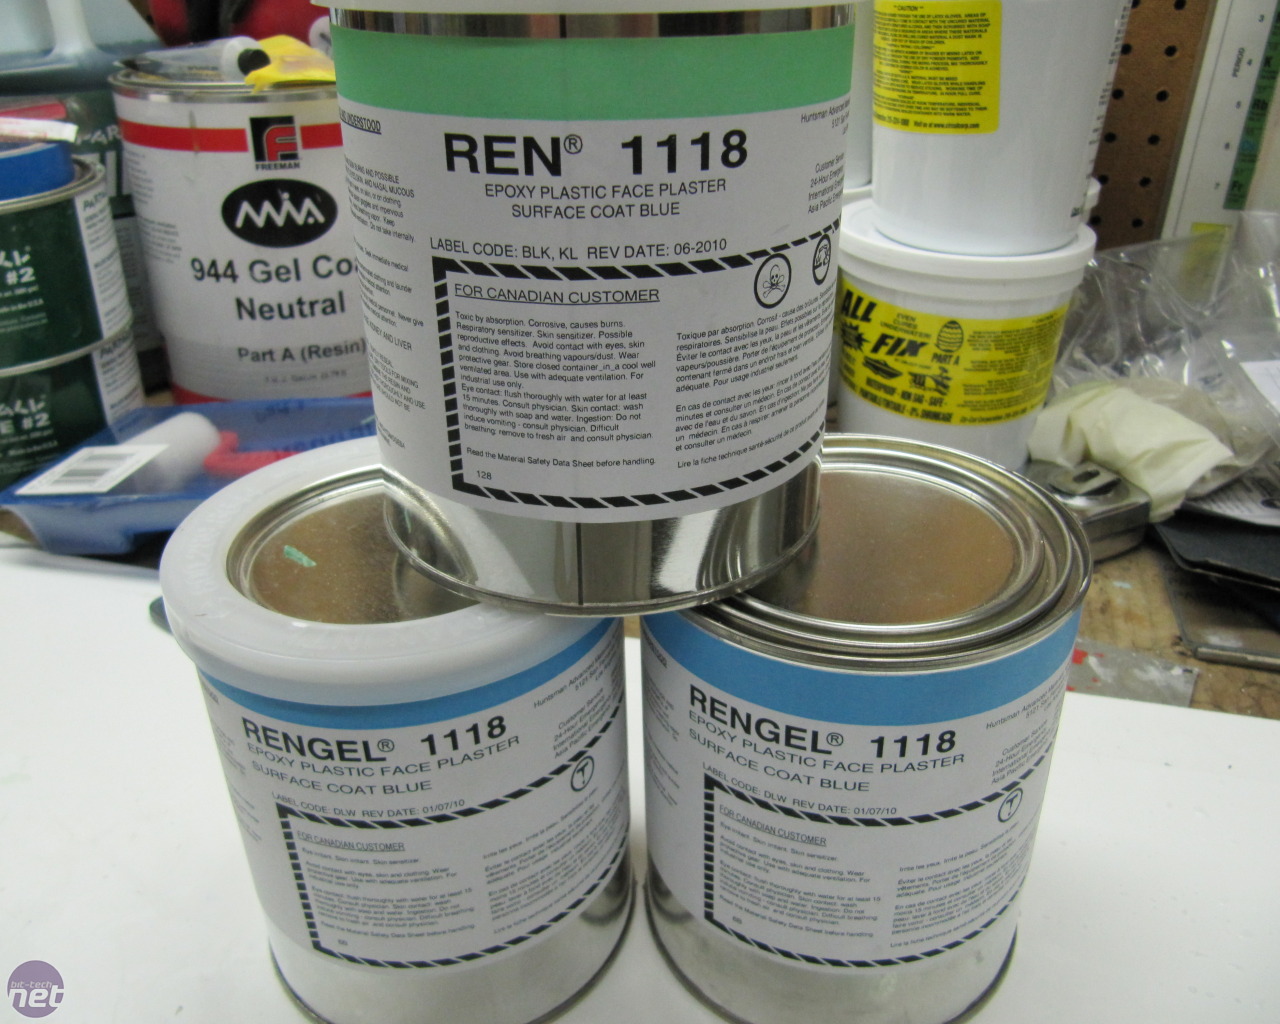
Once the waxing or PVA had dried the gel coat could be applied. I tried to apply it as thickly as possible, but this stuff is really expensive. I got about a 2-3mm coat. I than waited for it to dry and applied short-hair bond-o on the back as reinforcement. Typically matte fibreglass is used along with resin, though I didn't want to try this.
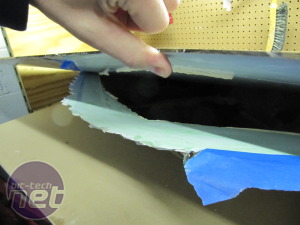

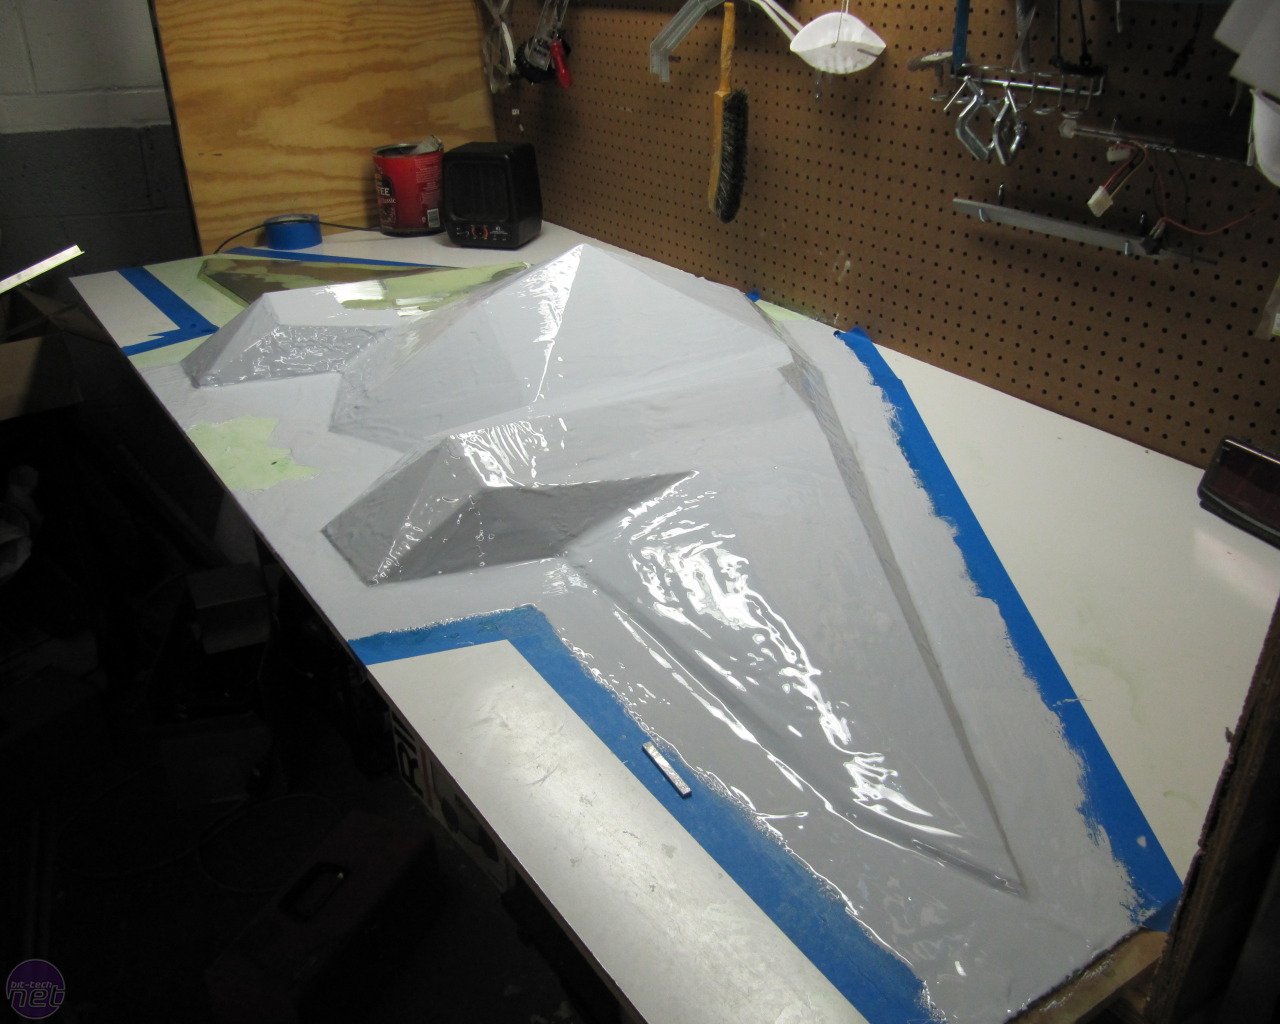
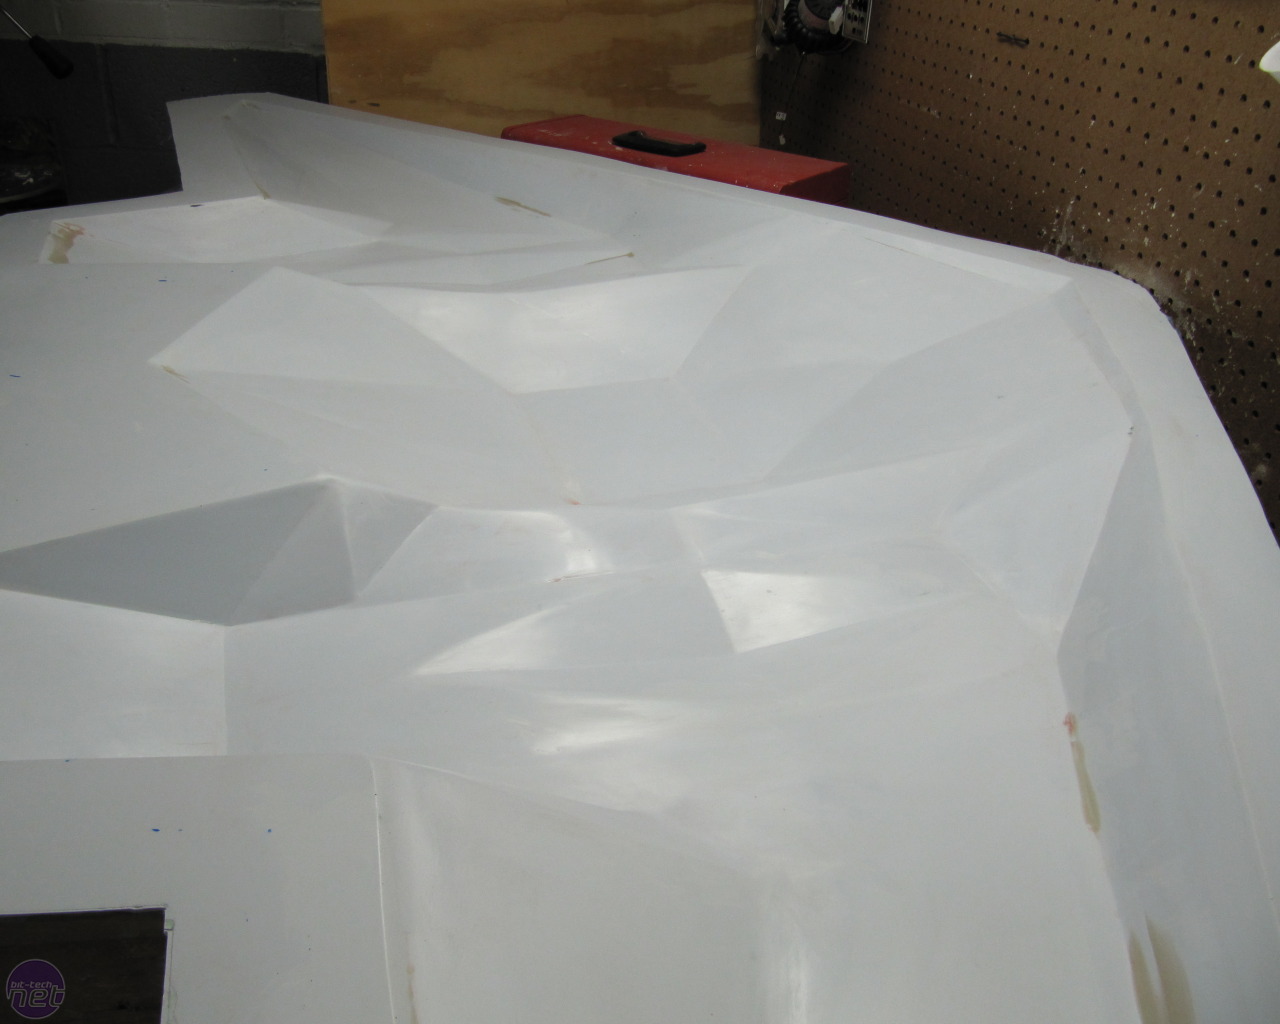
After an anxious overnight wait, it was time to rip out the covers from their moulds.
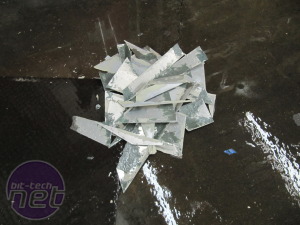
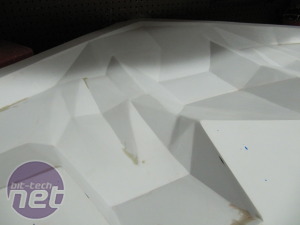

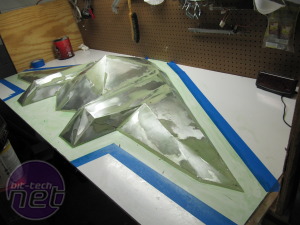
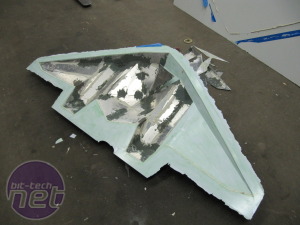
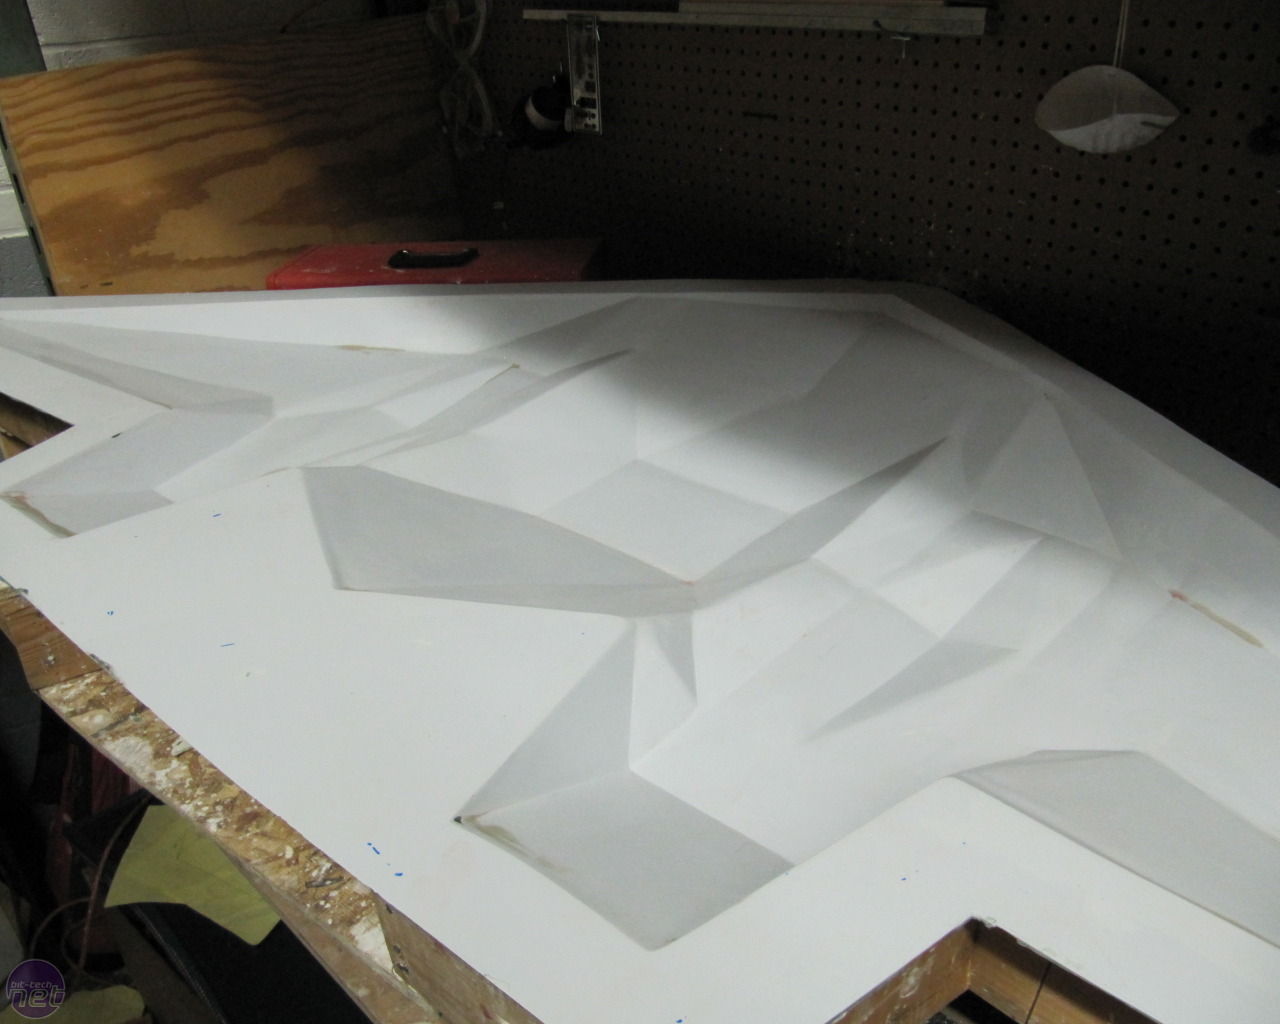
With the covers ripped out, I than had the task of sanding the imperfections out of the gelcoat, so I had a completely flat surface. If these covers were stamped from one continuous sheet of aluminium I wouldn't have these imperfections.
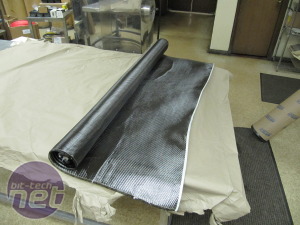
I ordered the carbon fibre and all the necessary other materials needed for the vacuum resin infusion process. Thus began the real challenge! I researched endlessly for hours on the process, reading others' tutorials and watching videos.
Click to enlarge

Click to enlarge
Once the waxing or PVA had dried the gel coat could be applied. I tried to apply it as thickly as possible, but this stuff is really expensive. I got about a 2-3mm coat. I than waited for it to dry and applied short-hair bond-o on the back as reinforcement. Typically matte fibreglass is used along with resin, though I didn't want to try this.


Click to enlarge


Click to enlarge
After an anxious overnight wait, it was time to rip out the covers from their moulds.

Click to enlarge

Click to enlarge
With the covers ripped out, I than had the task of sanding the imperfections out of the gelcoat, so I had a completely flat surface. If these covers were stamped from one continuous sheet of aluminium I wouldn't have these imperfections.

Click to enlarge
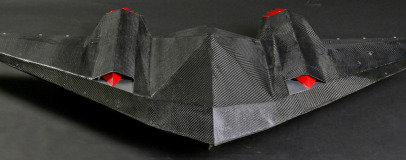
I ordered the carbon fibre and all the necessary other materials needed for the vacuum resin infusion process. Thus began the real challenge! I researched endlessly for hours on the process, reading others' tutorials and watching videos.
RELATED ARTICLES


MSI MPG Velox 100R Chassis Review
October 14 2021 | 15:04

Want to comment? Please log in.