
Test Fitting
At this point I had the case and the design, so I only needed to get everything fitted into the case. The huge tripple 140mm-fan radiator I was going to use caught me by surprise with its sheer size, and I had to remove most of the front of the case to install it.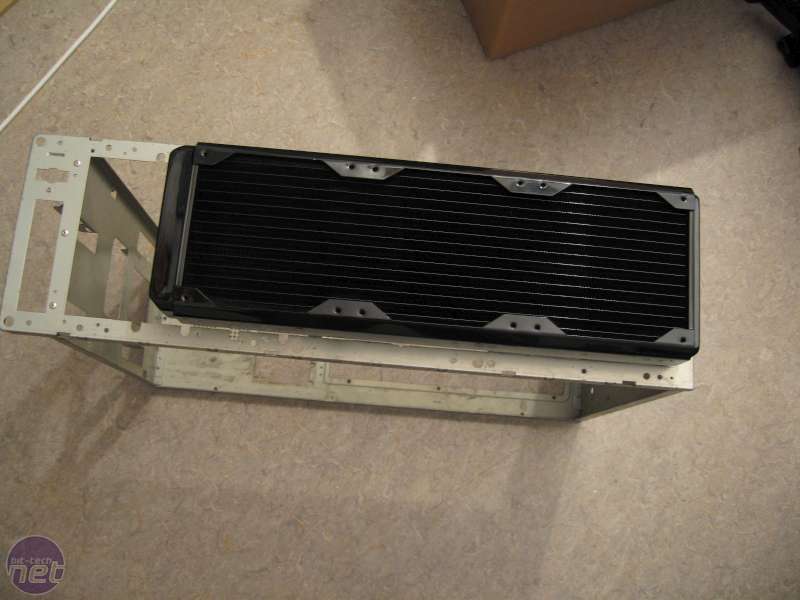
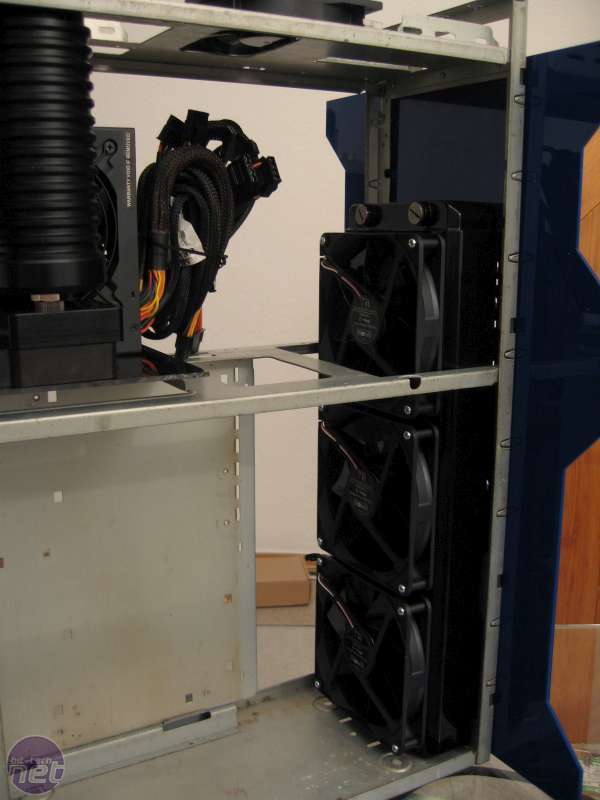
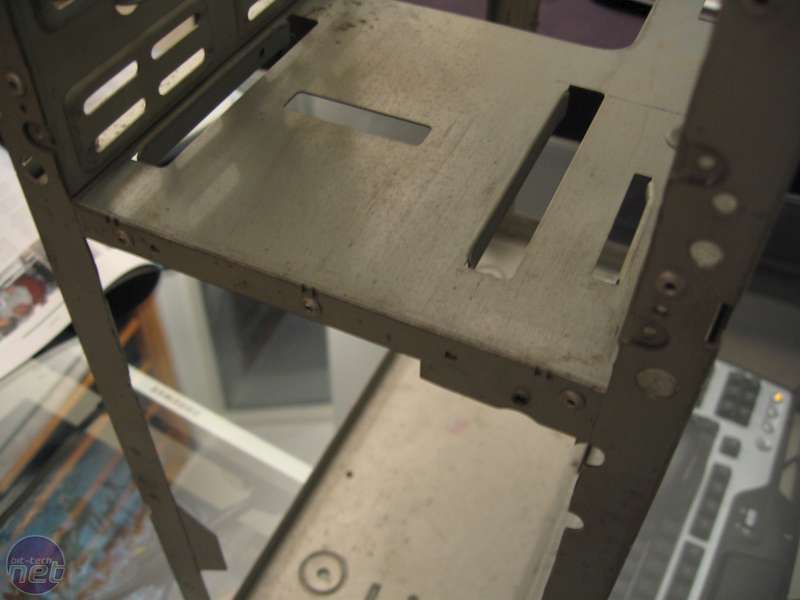
I also had to saw off some of the internal division plate to make room for the radiator, and the width of the radiator also meant that the 5.25in bay holders had to go. I didn't use these for anything, though, so it didn't really matter.
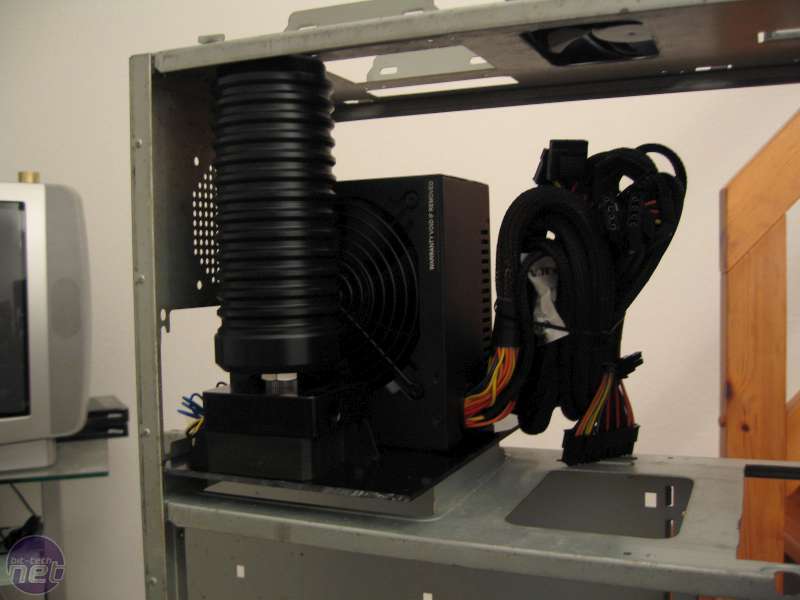
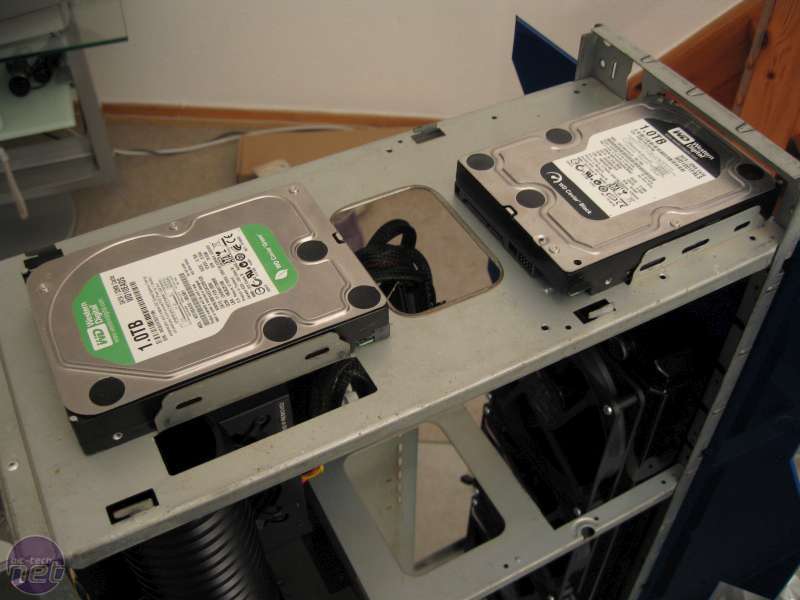
In the back of the case, I also decided on the position for the PSU and the pump/reservoir combo, and in the top I tried to decide whether to go with one or two hard disks.

Cutting the Acrylic
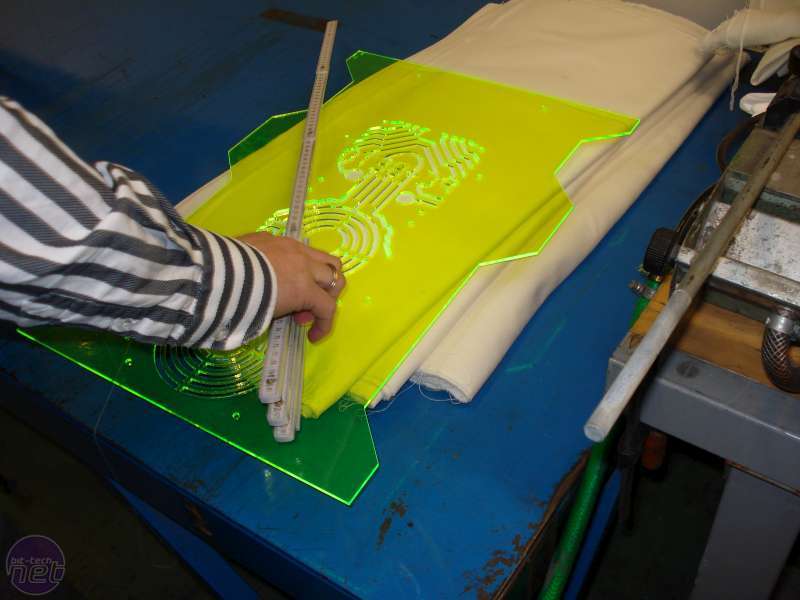
As the design drawings show, I had decided to go with a green colour scheme. PCBs are normally green, so this was an easy decision. After the acrylic had been cut, the next step was to bend the front section.
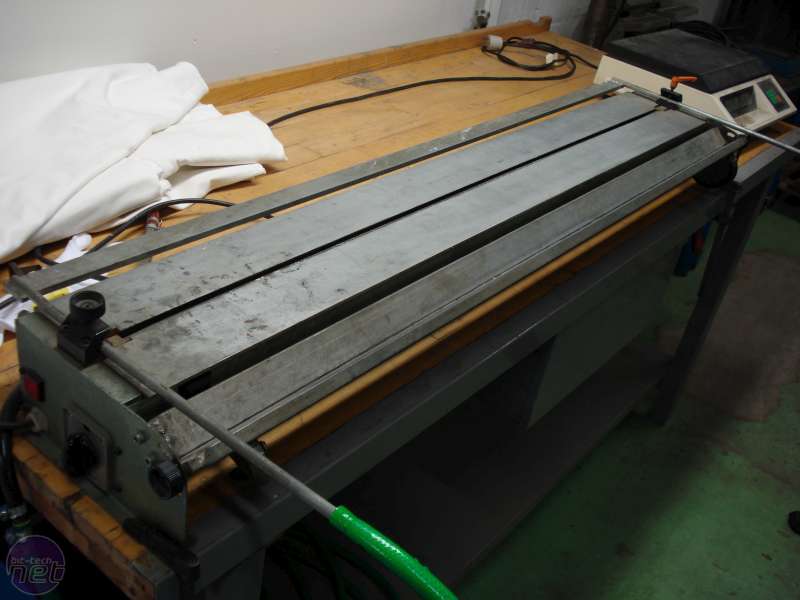
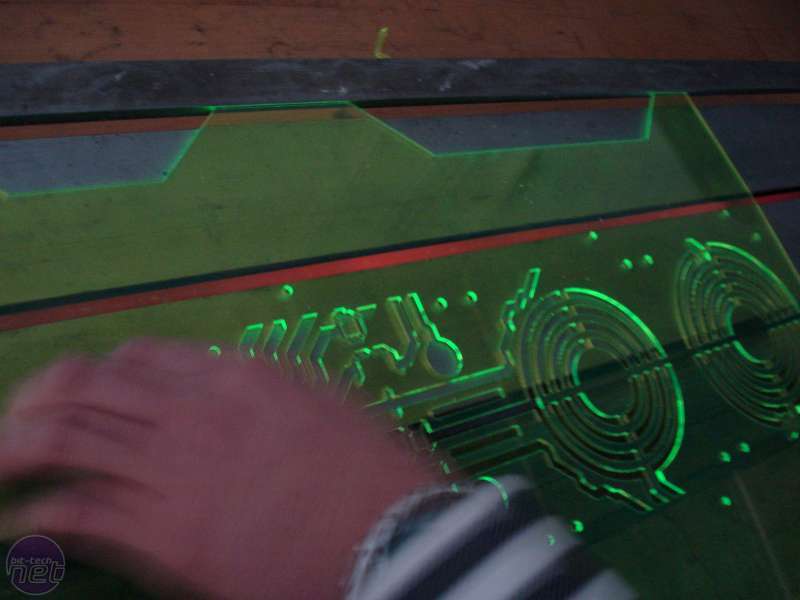
As I discovered with the test piece I had cut, there was no way this could be done with a standard hot air blower, so professional equipment was needed. For this, I used this monster of an acrylic bender to make perfect 90-degree angles.
RELATED ARTICLES


MSI MPG Velox 100R Chassis Review
October 14 2021 | 15:04

Want to comment? Please log in.