Project N.V. by Hans Peder Sahl (p0Pe)
October 16, 2013 | 10:09
Companies: #aquacomputer #bit-tech #corsair
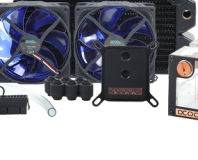
Everyone with an Aquaero knows the wiring mess such a device can create so I got two of the covers made for these from E22.biz. These were originally made for the Poweradjust, and had to be modified a bit to fit the Aquaero also. To cool the devices down, 6x40 mm fans were used, and they only spun up when the devices hit a certain temperature.
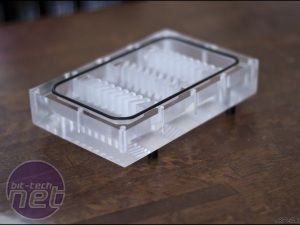
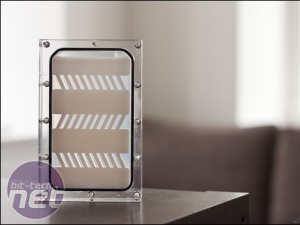
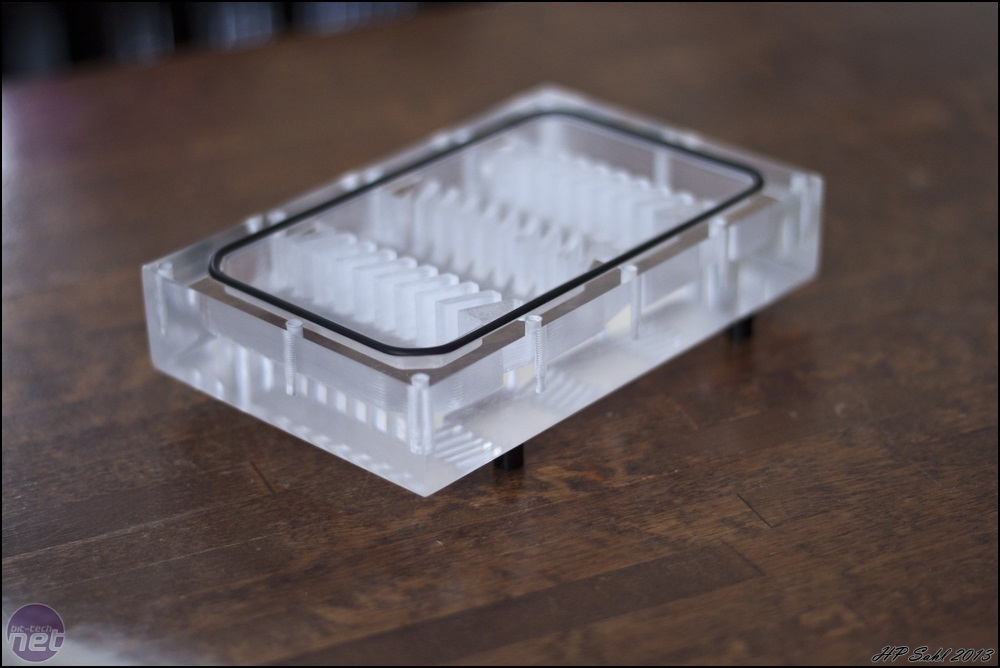
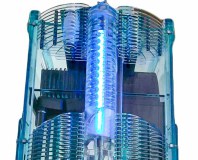
If you have seen my previous mod, Project M8, you might recognize this reservoir style as I made one almost like it for that build, only in black POM. To get this build to be different, all reservoirs were made in solid acrylic so that it would be like a window in the case.
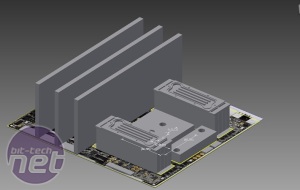
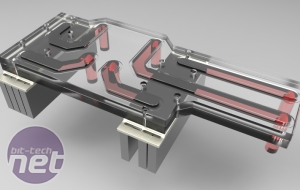
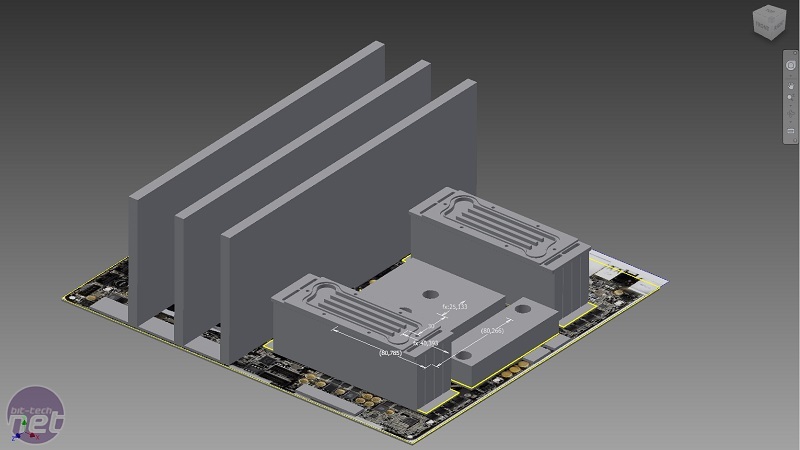
Now, with all this hardware I figured I really had to do something unique, and as I love to work with water cooling, it has to be related to this. I quickly made a mockup in my 3D program of the hardware and started to think about what could be done. I had a faint idea of something I wanted to try, but did now know how it would end up.
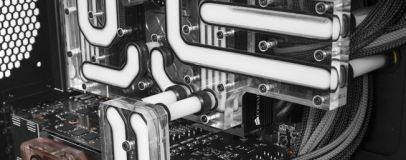
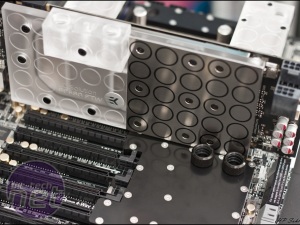
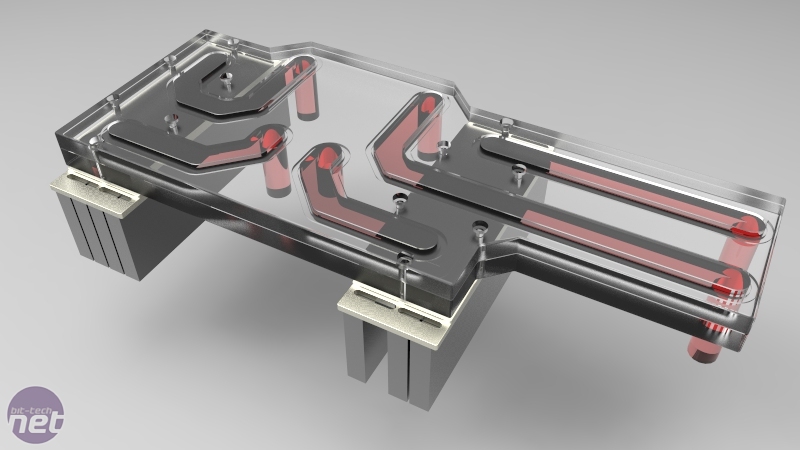
After some very long nights, what you see here is the result. The idea was to have all main components connected together without a single strand of tubing. To do this I took two 10 mm acrylic plates and sandwiched them together with channels in between. In each side of the plate there was direct access to the EK ram blocks that I made a replica of so that I could fit the bottom of the 10 mm acrylic plate to this. This was, however just a mockup, and I needed to get the final parts before I could make the measurements fit to the mm.
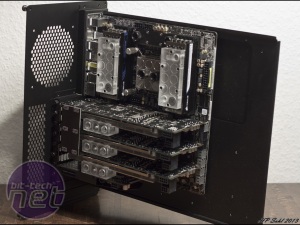
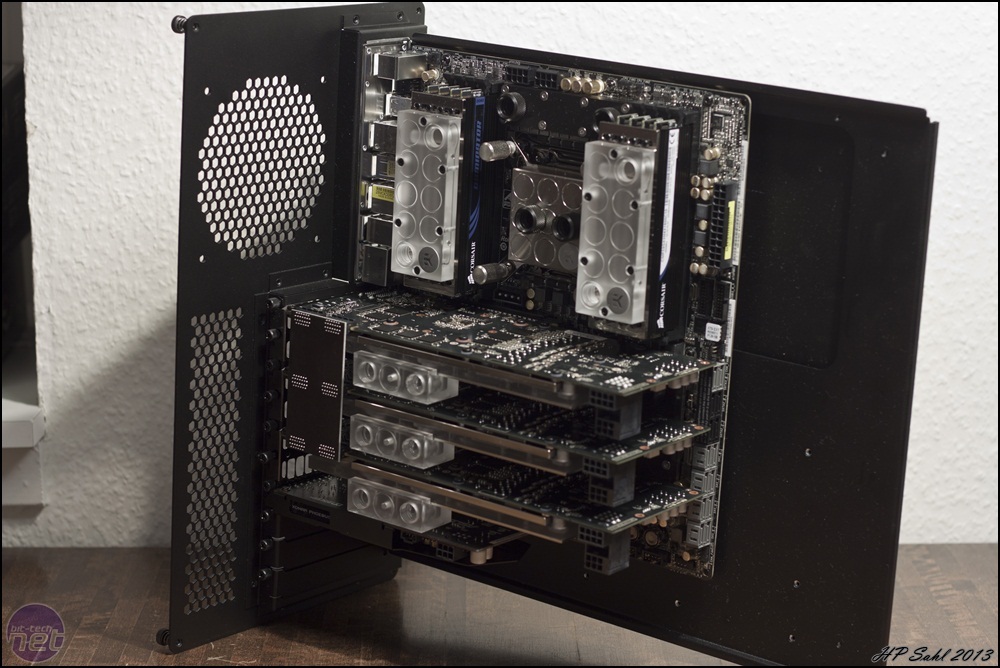
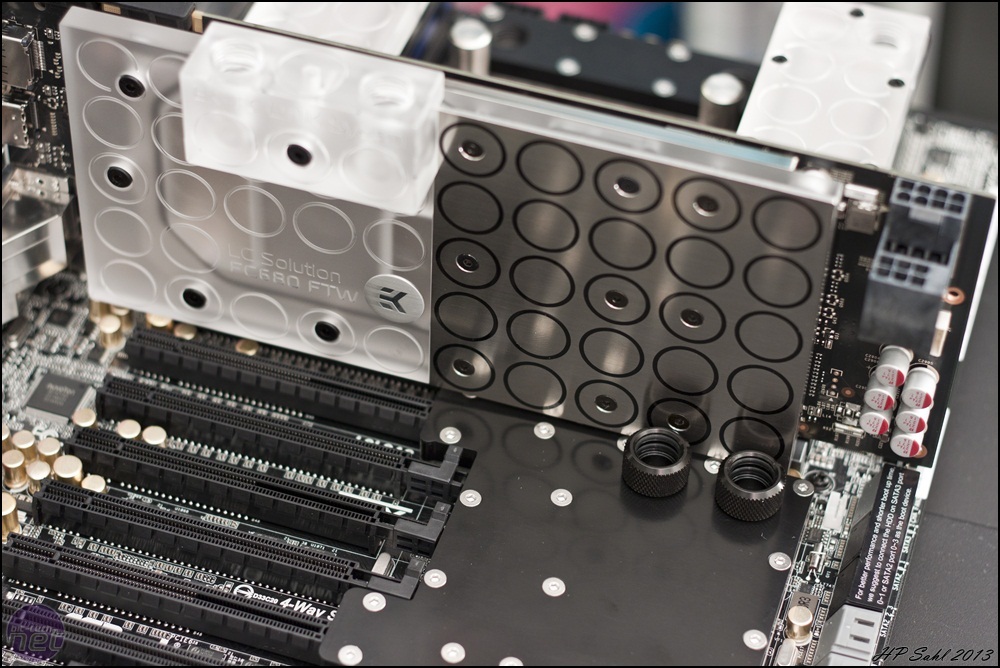
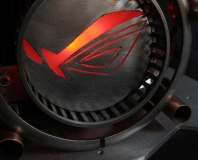
And so it began. I got the waterblocks mounted on the motherboard, and could start measuring the distance between all the components in both the x,y and z axis as I needed it all to fit together within very small tolerances as a wrongly placed hole could mean that the hard tubing I was using would be sitting at an angle in the fitting, and create a leak.

Click to enlarge
If you have seen my previous mod, Project M8, you might recognize this reservoir style as I made one almost like it for that build, only in black POM. To get this build to be different, all reservoirs were made in solid acrylic so that it would be like a window in the case.
Click to enlarge
Now, with all this hardware I figured I really had to do something unique, and as I love to work with water cooling, it has to be related to this. I quickly made a mockup in my 3D program of the hardware and started to think about what could be done. I had a faint idea of something I wanted to try, but did now know how it would end up.
After some very long nights, what you see here is the result. The idea was to have all main components connected together without a single strand of tubing. To do this I took two 10 mm acrylic plates and sandwiched them together with channels in between. In each side of the plate there was direct access to the EK ram blocks that I made a replica of so that I could fit the bottom of the 10 mm acrylic plate to this. This was, however just a mockup, and I needed to get the final parts before I could make the measurements fit to the mm.
Click to enlarge
And so it began. I got the waterblocks mounted on the motherboard, and could start measuring the distance between all the components in both the x,y and z axis as I needed it all to fit together within very small tolerances as a wrongly placed hole could mean that the hard tubing I was using would be sitting at an angle in the fitting, and create a leak.
RELATED ARTICLES


MSI MPG Velox 100R Chassis Review
October 14 2021 | 15:04

Want to comment? Please log in.