
Reservoir
In the beginning, I designated the front of the case 'reservoir territory' and drew a simple tube. Putting the reservoir on the front was for easy filling, and if it leaked, spillage would run down the outside and not into something expensive. This placement made it something of a hood ornament, so there was a lot of internal debate on how to complicate a simple tank.
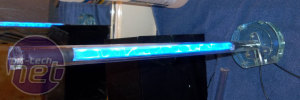
For starters, I put both ports on the bottom to avoid routing tubes through the upper chamber. I wanted the coolant to drop from the top of the res, so a second smaller tube was added to flow to the top. A plasma cathode was added to the center because I needed light somewhere. Why not in a crazy under-water spiral waterfall?
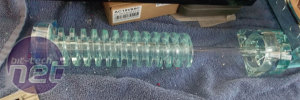
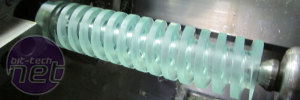
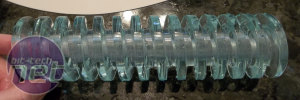
I contacted someone about a spiral reservoir core they had made, but they didn't have the resources to make one in clear material. Thinking I might be able to machine one myself somehow, I fused a 10 inch stack of discs into a billet. I wasted a lot of time trying to work out a low-budget milling solution with no luck, Fortunately, I had fallen in with a bad crowd at this time. I did some design work for Bill from Mnpctech in exchange for getting the spiral machined.
Almost as an afterthought, I added an access plate in the bottom so I could clean the insides. Putting several months into the sanding and polishing made me think this was a good idea. I'm sure someone will ask: The little tube in the top attaches to an accordion bottle hidden in the louvers. I didn't like the idea of pressure buildup cracking all that work, so I added some insurance.
Aesthetics
A big part of what into GG was purely for aesthetics. At some point those aesthetics eclipsed the plan for functionality. The outside is essentially a clear box, so the shape of the insides are equally important. All the black plastic covering the components has to be pleasing to the eye, while hiding wiring as much as possible. Most wires are routed into the main duct that channels the air passing over the drives into the motherboard cover.
Louvers are a primary design feature on GG. I needed something to hide the fact I basically built a dull box, and man, I made a lot of louvers. I used to like them -not so much anymore...Let me just say this: Kids, Don't do louvers. Once you start, you end up doing more and more until it spirals out of control.
The pump was one of my earliest victims. It sits out in the open, so I dressed it up with a custom top that hides the motor housing. The corner pillars hide vibration dampening grommets. The Noctua fans are covered as well as any exposed radiator surface. I added more louvers to the GPU cover to break up the big black blob, and there's a ton of louvers to get rid of the big flat spot on the front of the case.
The motherboard cover and ducting took a long time to evolve. (Well, let's call the ducting conduit. There isn't much room for airflow with all the wires stuffed in there.) I positioned the top just barely over the memory heatsinks and left the bean shape of the manifold partially exposed. The opening gave me a way to remove the lid without dismantling the cooling loop. The GPU cover had to be made in two parts to maneuver it around the SR1 radiator fans. I made it large enough that I can hopefully swap graphics cards without major surgery.
In the beginning, I designated the front of the case 'reservoir territory' and drew a simple tube. Putting the reservoir on the front was for easy filling, and if it leaked, spillage would run down the outside and not into something expensive. This placement made it something of a hood ornament, so there was a lot of internal debate on how to complicate a simple tank.
Click to enlarge
For starters, I put both ports on the bottom to avoid routing tubes through the upper chamber. I wanted the coolant to drop from the top of the res, so a second smaller tube was added to flow to the top. A plasma cathode was added to the center because I needed light somewhere. Why not in a crazy under-water spiral waterfall?
Click to enlarge
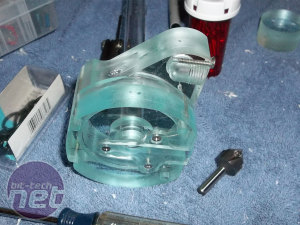
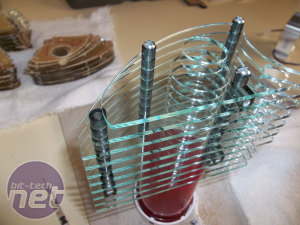
I contacted someone about a spiral reservoir core they had made, but they didn't have the resources to make one in clear material. Thinking I might be able to machine one myself somehow, I fused a 10 inch stack of discs into a billet. I wasted a lot of time trying to work out a low-budget milling solution with no luck, Fortunately, I had fallen in with a bad crowd at this time. I did some design work for Bill from Mnpctech in exchange for getting the spiral machined.
Click to enlarge
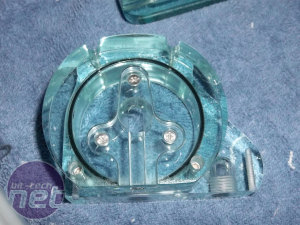
Almost as an afterthought, I added an access plate in the bottom so I could clean the insides. Putting several months into the sanding and polishing made me think this was a good idea. I'm sure someone will ask: The little tube in the top attaches to an accordion bottle hidden in the louvers. I didn't like the idea of pressure buildup cracking all that work, so I added some insurance.
Aesthetics
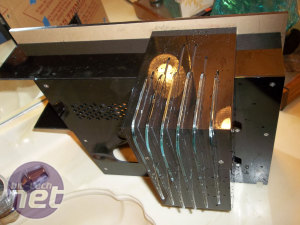
A big part of what into GG was purely for aesthetics. At some point those aesthetics eclipsed the plan for functionality. The outside is essentially a clear box, so the shape of the insides are equally important. All the black plastic covering the components has to be pleasing to the eye, while hiding wiring as much as possible. Most wires are routed into the main duct that channels the air passing over the drives into the motherboard cover.
Click to enlarge
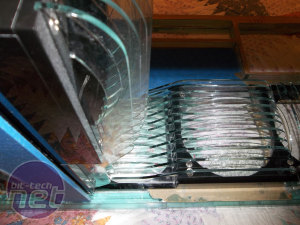
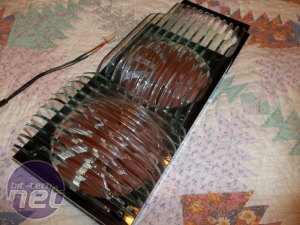
Louvers are a primary design feature on GG. I needed something to hide the fact I basically built a dull box, and man, I made a lot of louvers. I used to like them -not so much anymore...Let me just say this: Kids, Don't do louvers. Once you start, you end up doing more and more until it spirals out of control.
Click to enlarge
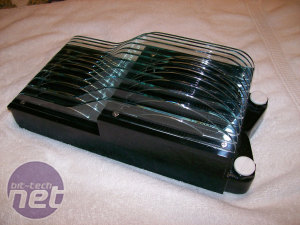
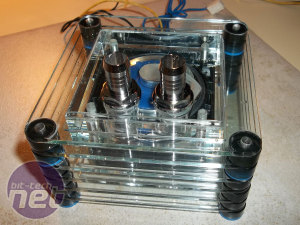
The pump was one of my earliest victims. It sits out in the open, so I dressed it up with a custom top that hides the motor housing. The corner pillars hide vibration dampening grommets. The Noctua fans are covered as well as any exposed radiator surface. I added more louvers to the GPU cover to break up the big black blob, and there's a ton of louvers to get rid of the big flat spot on the front of the case.
Click to enlarge
The motherboard cover and ducting took a long time to evolve. (Well, let's call the ducting conduit. There isn't much room for airflow with all the wires stuffed in there.) I positioned the top just barely over the memory heatsinks and left the bean shape of the manifold partially exposed. The opening gave me a way to remove the lid without dismantling the cooling loop. The GPU cover had to be made in two parts to maneuver it around the SR1 radiator fans. I made it large enough that I can hopefully swap graphics cards without major surgery.

MSI MPG Velox 100R Chassis Review
October 14 2021 | 15:04



Want to comment? Please log in.