Cosmos Dragon by Martin Blass
November 9, 2009 | 09:11
Companies: #bit-tech #coolermaster #cooler-master #dremel #lian-li #mod #silverstone

Finishing up
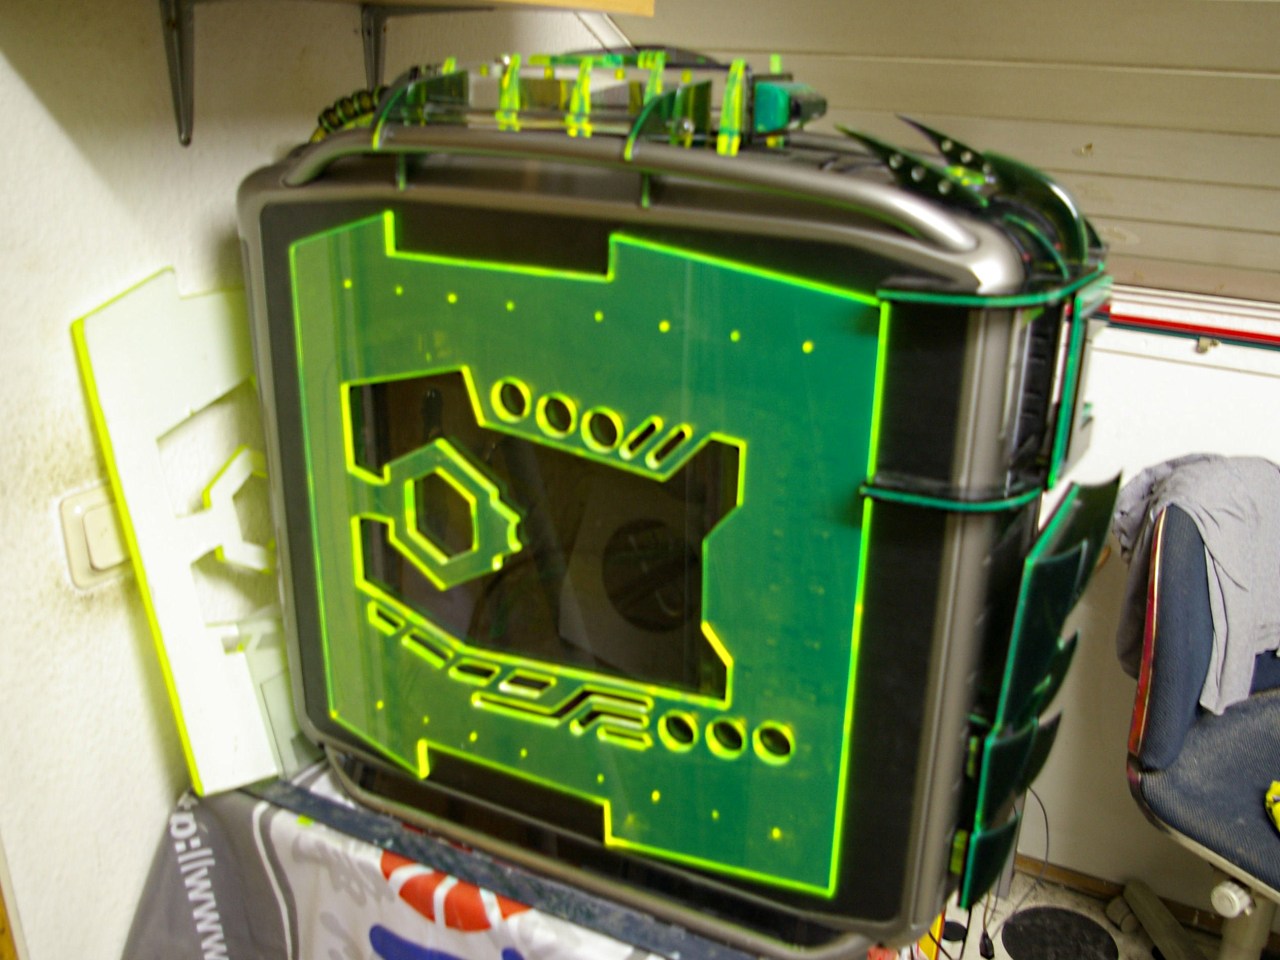
With all parts in place we could drill holes for the side panel LEDs. After that we disassembled the side panels so that the upper layer and the original panel could be painted with the rest of the case. After the painting was complete, all parts needed a fair amount of time to dry so that the clear coat hardened and was scratch resistant.In that time we prepared a lot of the electronics. We soldered about 200 LEDs to various parts of the Cosmos Dragon (including the side panels and reservoir) and made some custom connectors for the TFT and the iMon.
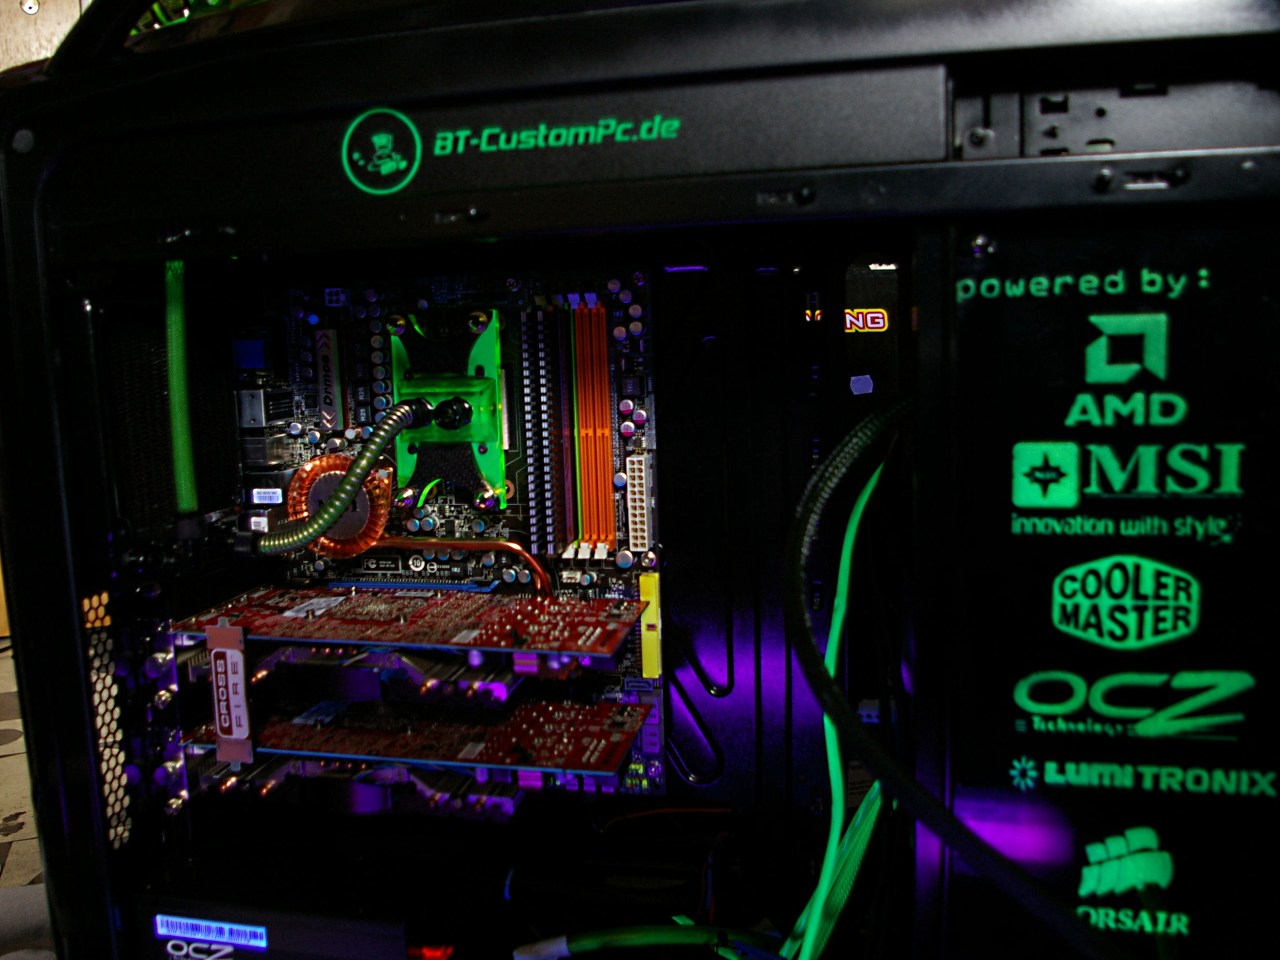
We also made some quick-release connectors for the side panel LEDs so that the side panel could be removed easily. Finally, we installed the actual PC hardware in the case and an OS so that we could take a working PC to the CeBIT exhibition (earlier this year), where it was exhibited at the MSI booth.
Click to enlarge
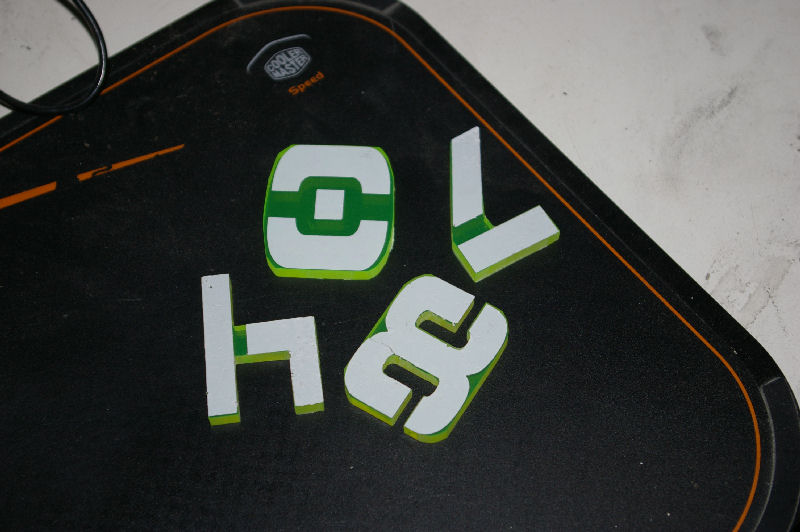
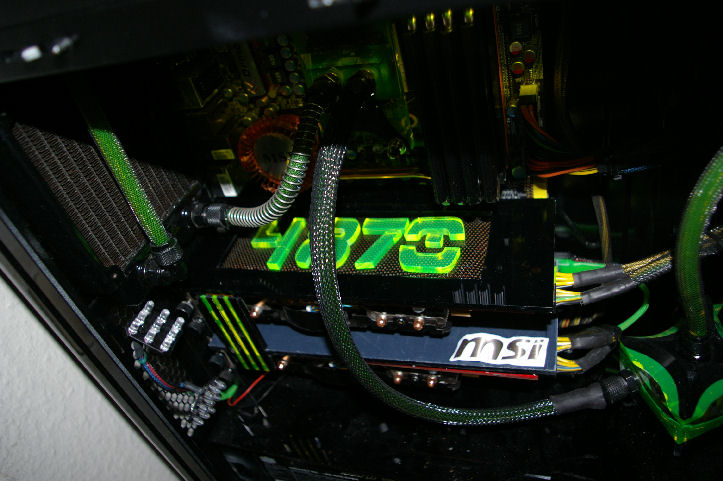
When we got back from CeBIT, we started to make some graphics card covers so that the red PCBs of the graphics cards were covered up. For these, we cut two identical Plexiglass pieces. Inside each cover we fitted some mesh so that the air circulation was not totally absent. On top of the mesh we put some custom-made Plexiglas numbers advertising the fact that the graphics cards were Radeon HD 4870s.

Click to enlarge
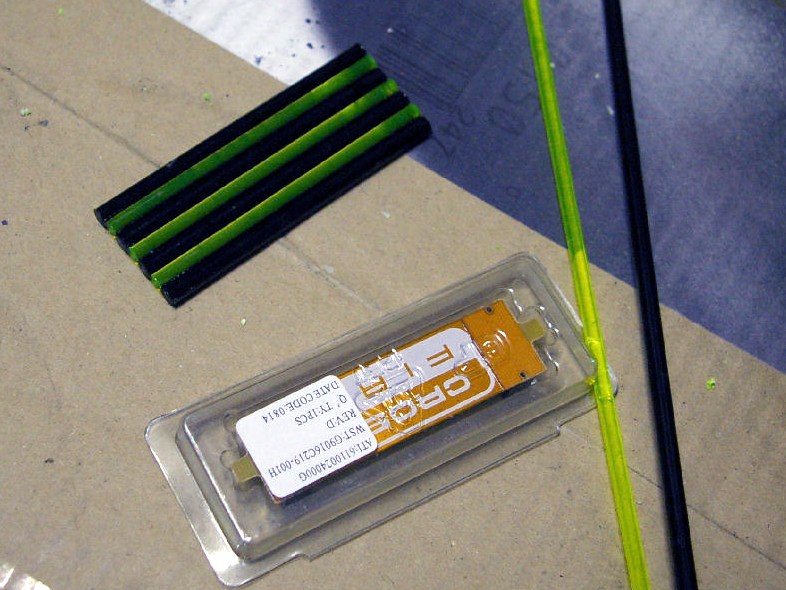
The CrossFire cable connecting the two HD 4870’s also received a makeover to match the colour scheme of the case. We took some Plexiglas rods, cut them to the right length and then glued them together.
Click to enlarge
After letting the glue dry we used a belt sander on both sides to achieve a flat surface so that the CrossFire bridge could be mounted on it easily. Overall we used more than three square meters of Plexiglas, about 250 LEDs and moe than 300 custom-made parts in this mod!
RELATED ARTICLES


MSI MPG Velox 100R Chassis Review
October 14 2021 | 15:04


Want to comment? Please log in.