Front USB Ports
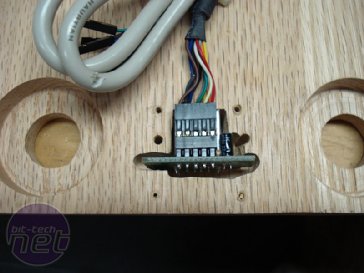
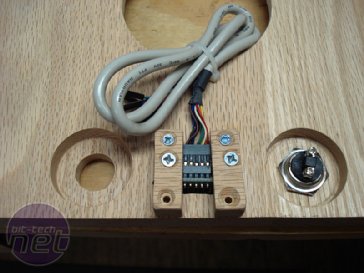
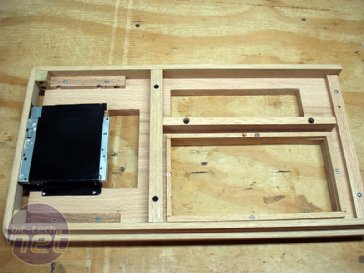
I bought a USB/Firewire card but since Firewire was surplus to my requirements, I dremeled out the solder leads and cut off the part of the card with the Firewire jack. I cut the initial 5/8in square hole with the scrollsaw, and then used the Dremel to ream out the area to be cut out for the card to fit flush with the front. I also cut notches in two small pieces of wood to hold the card in place.Motherboard Tray
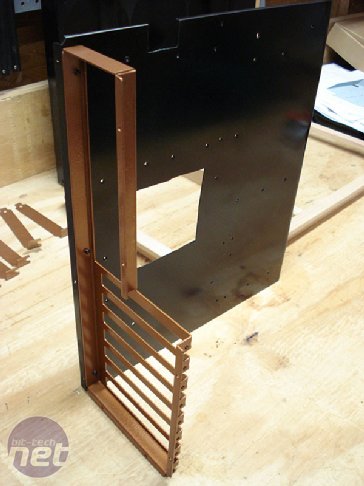
I trimmed the MB tray that I got from Performance-Pcs.com. The L shape on the edges was 1/4in, but I didn't want that much, so I cut the edges down to less than 1/8in. I also cut out under the CPU area for a bit of airflow. I painted the back panel in hammered copper along with the PCI slot covers, and riveted it back together.Air Chamber Shroud and Radiator Mount
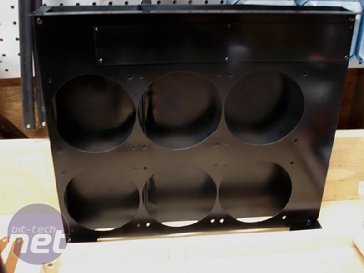
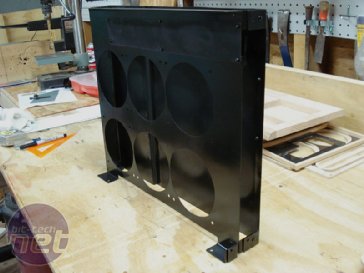
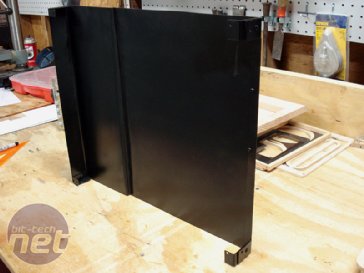
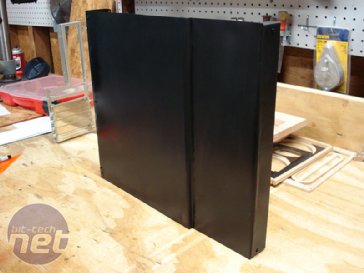
I spent a good bit of time messing with this shroud. Since it wasn't originally a part of the design as I added it, I hadn't really thought through the tabs I would need on the rads mount to attach to the shroud. So I had to cut and rivet tabs to the rads mount so that the shroud and rads mount screw together easily for stability, but also so that the rads mount can easily be removed if needed.I also had to mount a piece to cover what were going to be wiring holes in the rad mounts piece because if I left them, then air would shoot back into the case. Bending the air shroud by hand was a real pain. I got a piece of 18 gauge aluminum for this. The hard part was getting the 3/8in bend in the middle to allow room for the pump to mount between the shroud and the hard drives mount. I will have a bending brake when I do this again!
Base
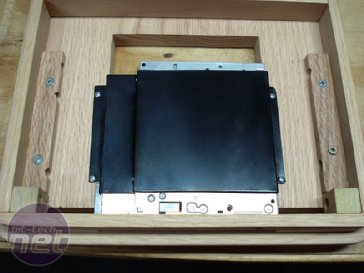
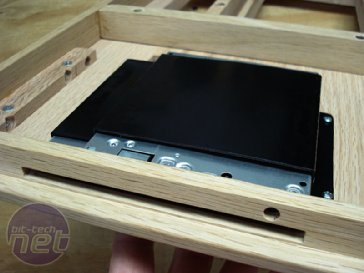
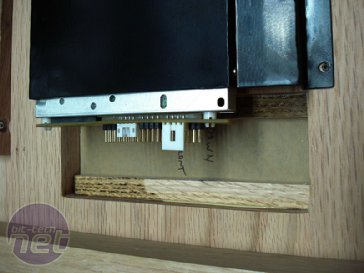
I added some cleats and mounted the base trim to the bottom piece. I screwed the base on instead of gluing as I want to be able to remove it should I need to make any adjustments to the DVD area later. My concern here is how well the slot loading DVD drive itself will hold up as I read mixed reports as to their reliability. I figure if I ever need to switch to a tray loading drive instead, I would want to be able to remove the base trim to adjust the front slot dimensions.I made the mount for the DVD drive. This is made of one piece of 18 gauge aluminum that I bent using a bench vise, muscle, and hammering. I frankly wasn't expecting it to turn out the first time around, but it did. The drive is screwed into the mount.
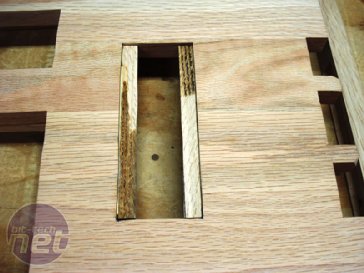
In my design, I left an open area above the drive for the cables to come through. I cut two cleats, and cut a piece of smoked acrylic (still has paper on in pic) into which I will cut slots for the cables. I used a SATA drive adapter board for the DVD drive that I bought since the drive has an IDE interface.

MSI MPG Velox 100R Chassis Review
October 14 2021 | 15:04




Want to comment? Please log in.