
The Body
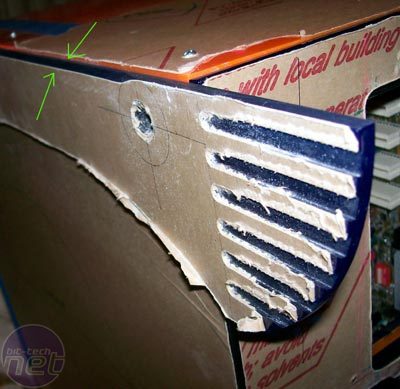
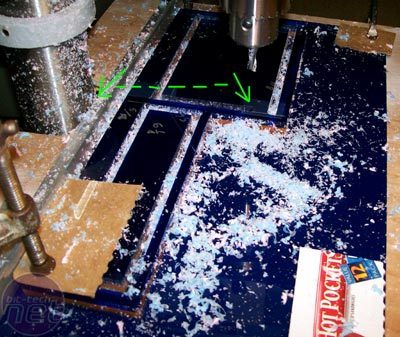
The frame for Bloo Balls is loosely based on another mod of mine called Hypno-Toad. This time, I used 1/4" plexiglass, which should be fairly stable.I also glued an extra layer around the mounting points of each of the side panels. This is not so much for extra strength, but to help hold the other panels square. It also hides any awkward fitting of the panels. I glued three layers together to form the rear I/O panel, and milled the holes out with my poor, overworked drill press.
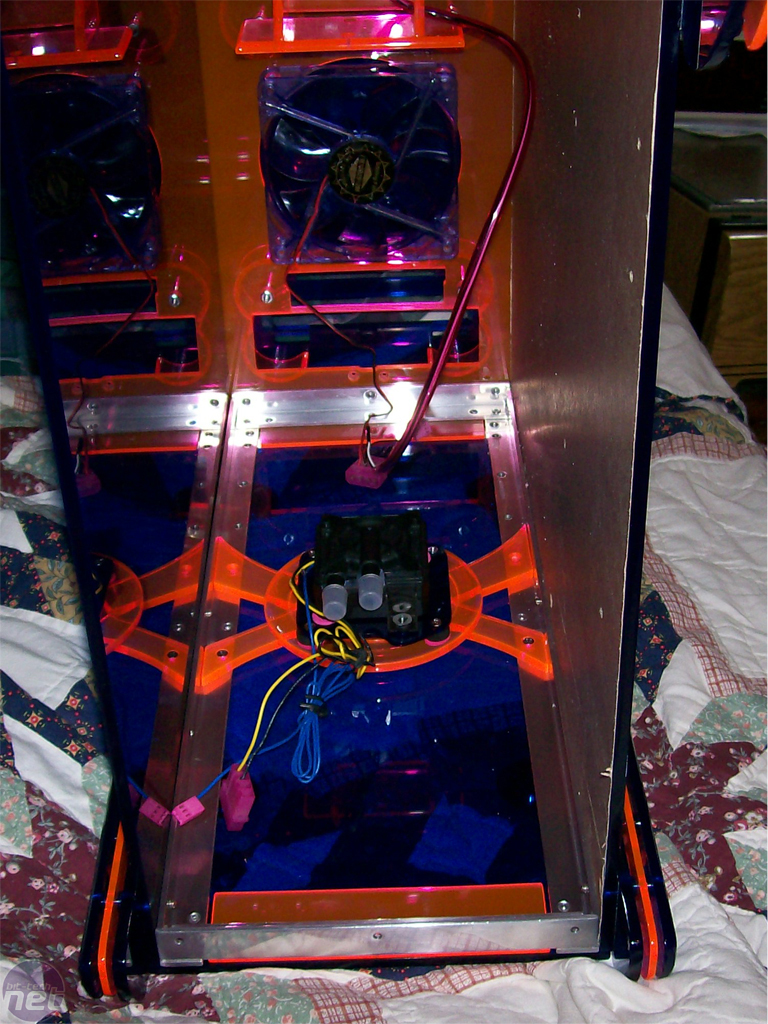
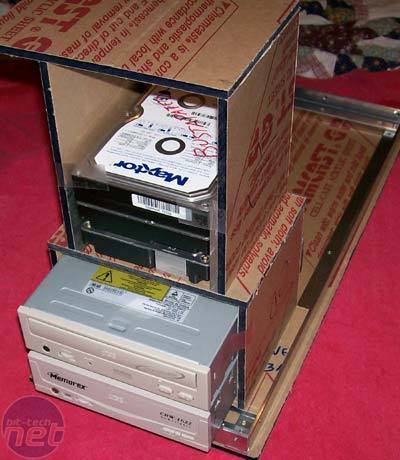
The polished aluminium frame was kept minimal, and ended up looking like Swiss cheese after I added all of the mounting points. The main body is actually kept quite solid by the drive bay and power switch assembly, which form a triangular brace on the base and front panel.
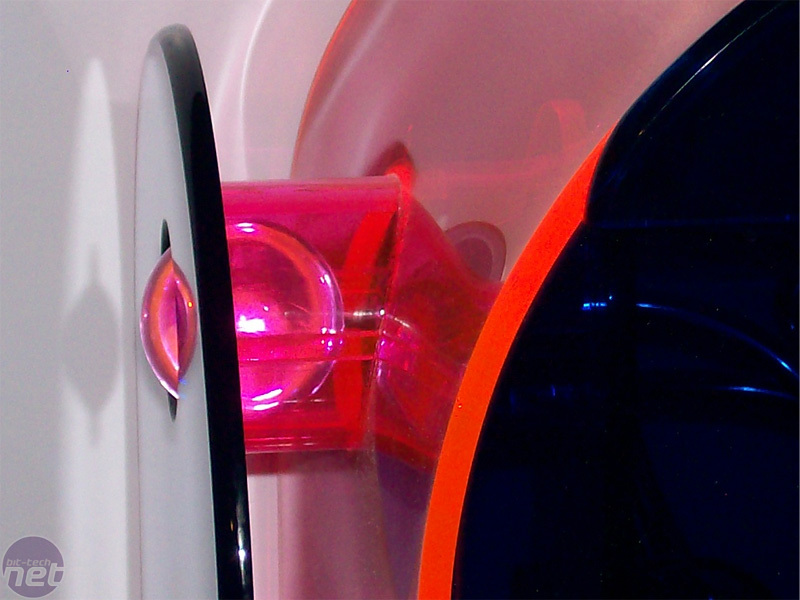
Speaking of the power switch...a good way to hide something’s obvious function is to make it so big that it becomes a decoration. Bloo’s power switch is front and centre - tucked behind a 1 1/2 inch acrylic marble. Once properly back-lit, it looks more like the evil eye of HAL9000 than a power button. The Bloo-shaped front plate hides the drives, USB ports, and doubles as a fan guard.
Click to enlarge
The double layer side panels were almost required to help hold the case square under all the weight. Even the decorations on the back originally had a function - they were to keep the cables from getting damaged if I needed to tip the case onto its back for any reason. Remember, this all started because I was sick of getting cut up and undoing a puzzle box every time I was trying to get access to things!
Milling the I/O ports out on a drill press had difficulties. The cuts were longer and deeper that the press layout could handle. However, you work with what you've got.
Click to enlarge
I kept use of aluminium angles to a minimum. I would have done away with them completely if everything in the case didn't mount to them. Like everything else in Bloo, I polished the heck out of it. All the screws were resurfaced and polished too.
Click to enlarge.
You should be able to see the recycled power switch here, hidden behind the big marble. I surf-shopped for several months looking for something that would fit the two inch tube. I even browsed a few wiccan supply shops (online - that was creepy enough). The power switch, optical and floppy drive (Yes, I still use a floppy!) stick slightly out of the front of the case and seat on the fanguard/frontplate.
Click to enlarge.
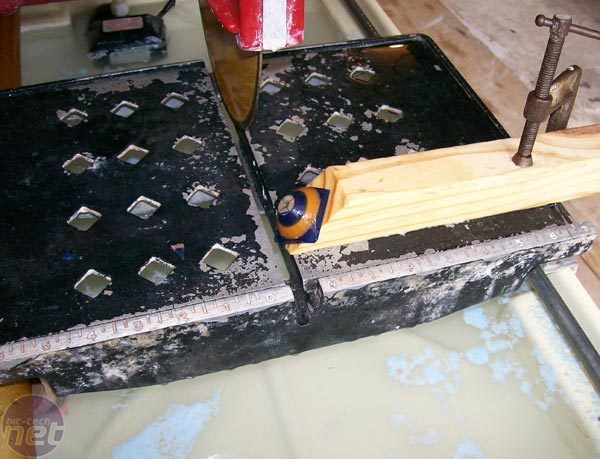
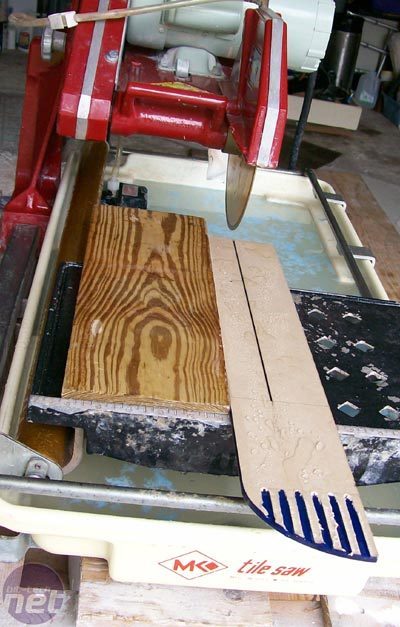
Most of the plexiglass cutting was done with tile saws, and the case feet are a good example of the wet saw’s versatility. Having a tile saw made all of this cutting incredibly easy. I was able to cut very thick material, and even do some freehand cutting without any risk to my fingers. Its only weakness is it can't shave off an edge less than 1/16 of an inch. The blade will slip off the cut.
RELATED ARTICLES


MSI MPG Velox 100R Chassis Review
October 14 2021 | 15:04

Want to comment? Please log in.