
Form Fitting
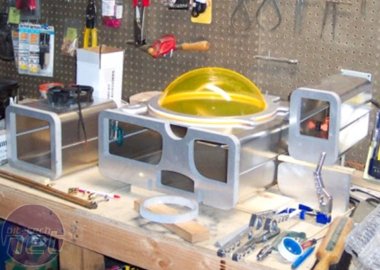
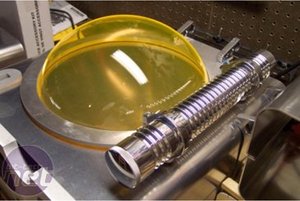
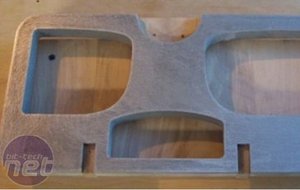
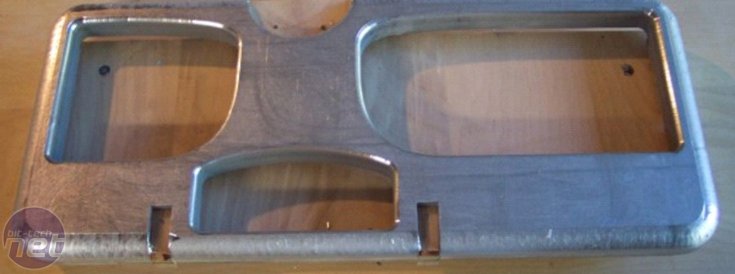
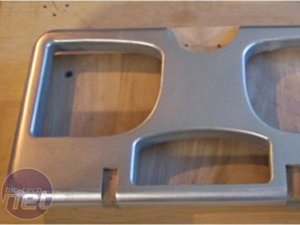
The bezels were going to put a real test on my limited tools, but determined to try something crazy, I had them water cut from 3/4" aluminium by Billet Machine in Oregon. They also cut some brackets to support the power supply pod, a ring for the bubble and outriggers to hang the pump out in front. The bubble (there are four of them here, but more on that later) were custom blown from 1/8" thick acrylic by Global Plastics in Canada.
With all of this "stuff" gathered together, I made a mock-up that quickly filled my little workbench.
A brief test-fitting of the pieces and it's time to get to work...
Shape Me
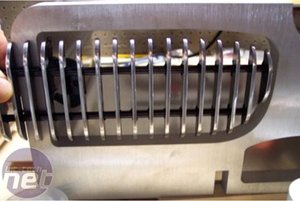
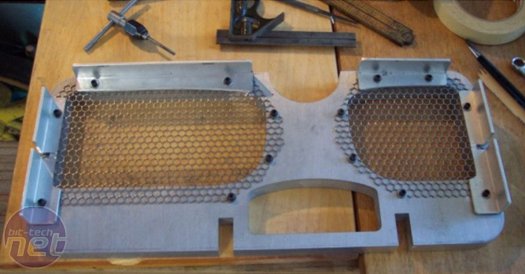
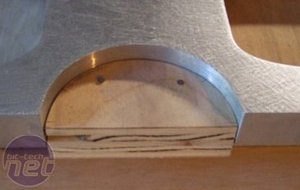
Here's where using 3/4" thick aluminium for the bezels got tricky... my tools at the time were by and large meant for working with wood. Determined to put some "shape" into these hefty chunks of metal, I relied almost entirely on a table mounted belt sander, a router and some hand held power sanders.First up was sizing these thick hunks of aluminium to match up with the formed aluminium pod halves, carefully marking them and then sanding them to size on the belt sander. Grilles were made from mnpctech's modding mesh and brackets were cut from aluminium angle, which was then mounted into drilled and tapped holes on the back sides of the bezels.


RELATED ARTICLES


MSI MPG Velox 100R Chassis Review
October 14 2021 | 15:04

Want to comment? Please log in.