
Installation
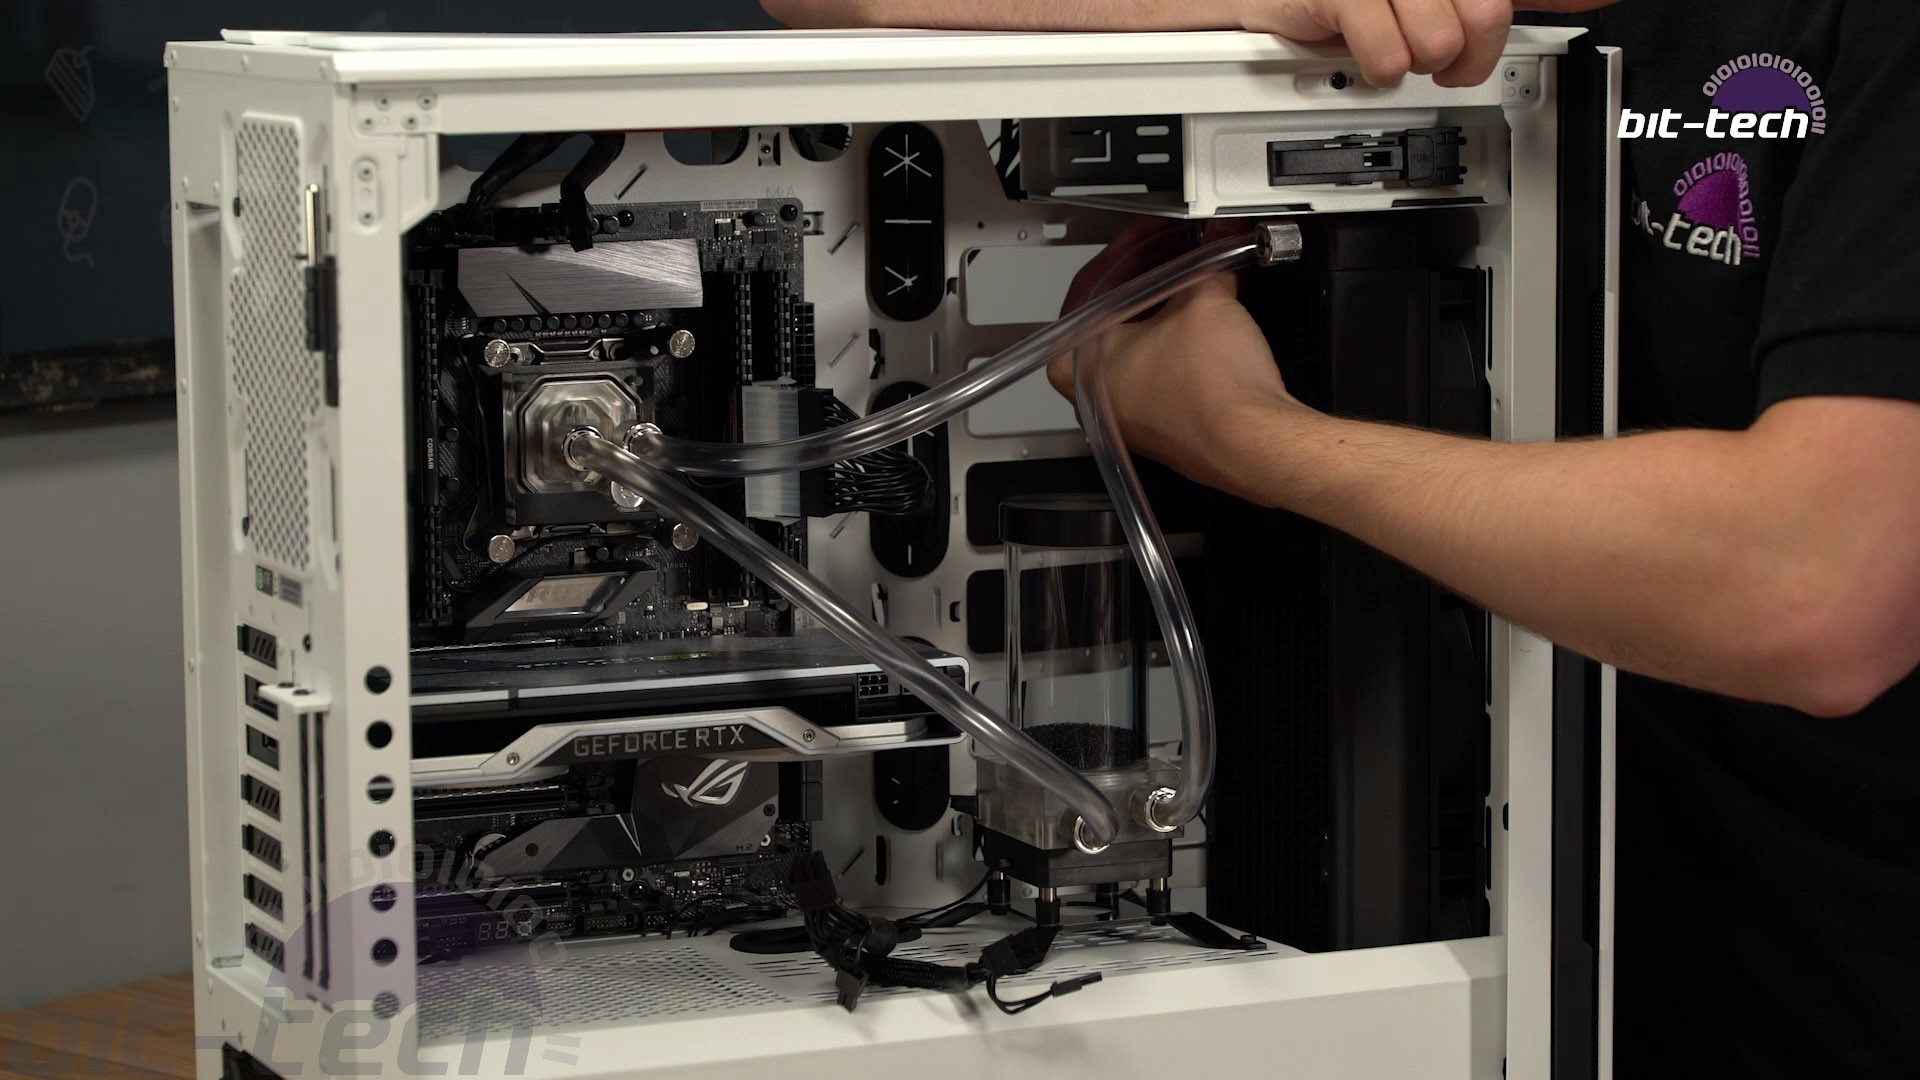
As you would imagine from a soft tubing kit, installation was a pretty swift process. Not having to bend tubes nor carefully line things up makes soft tubing particularly quick to install, hence why it's very beginner-friendly. There were, however a few issues along the way that we'll touch on below.
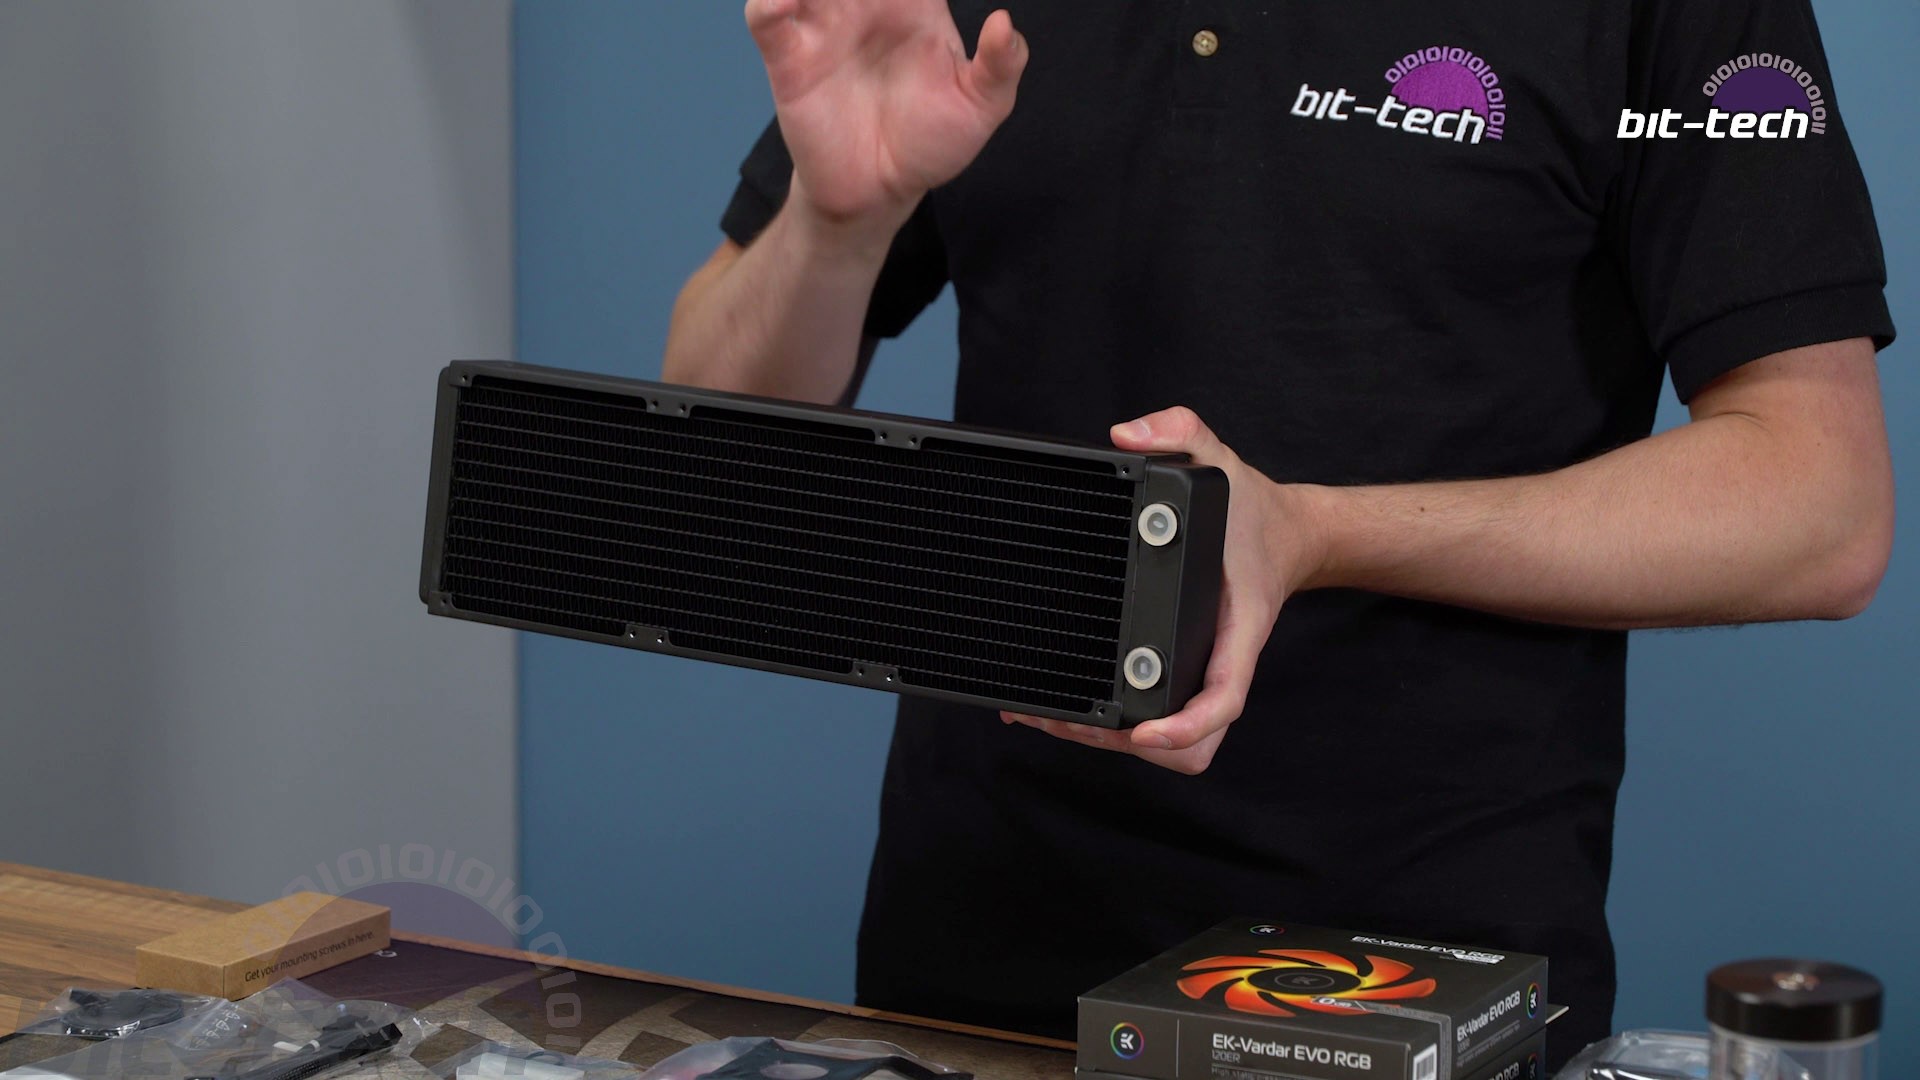
The CPU block was blissfully simple to install. EK provides clear instructions in the booklet if you haven't done it before. As for radiators, well, radiators are radiators. Just remember to place the ports the correct way around! EK's radiators have ports on only one side, so mistakes are surprisingly easy to make - we only just caught ourselves in time to save some embarrassment.
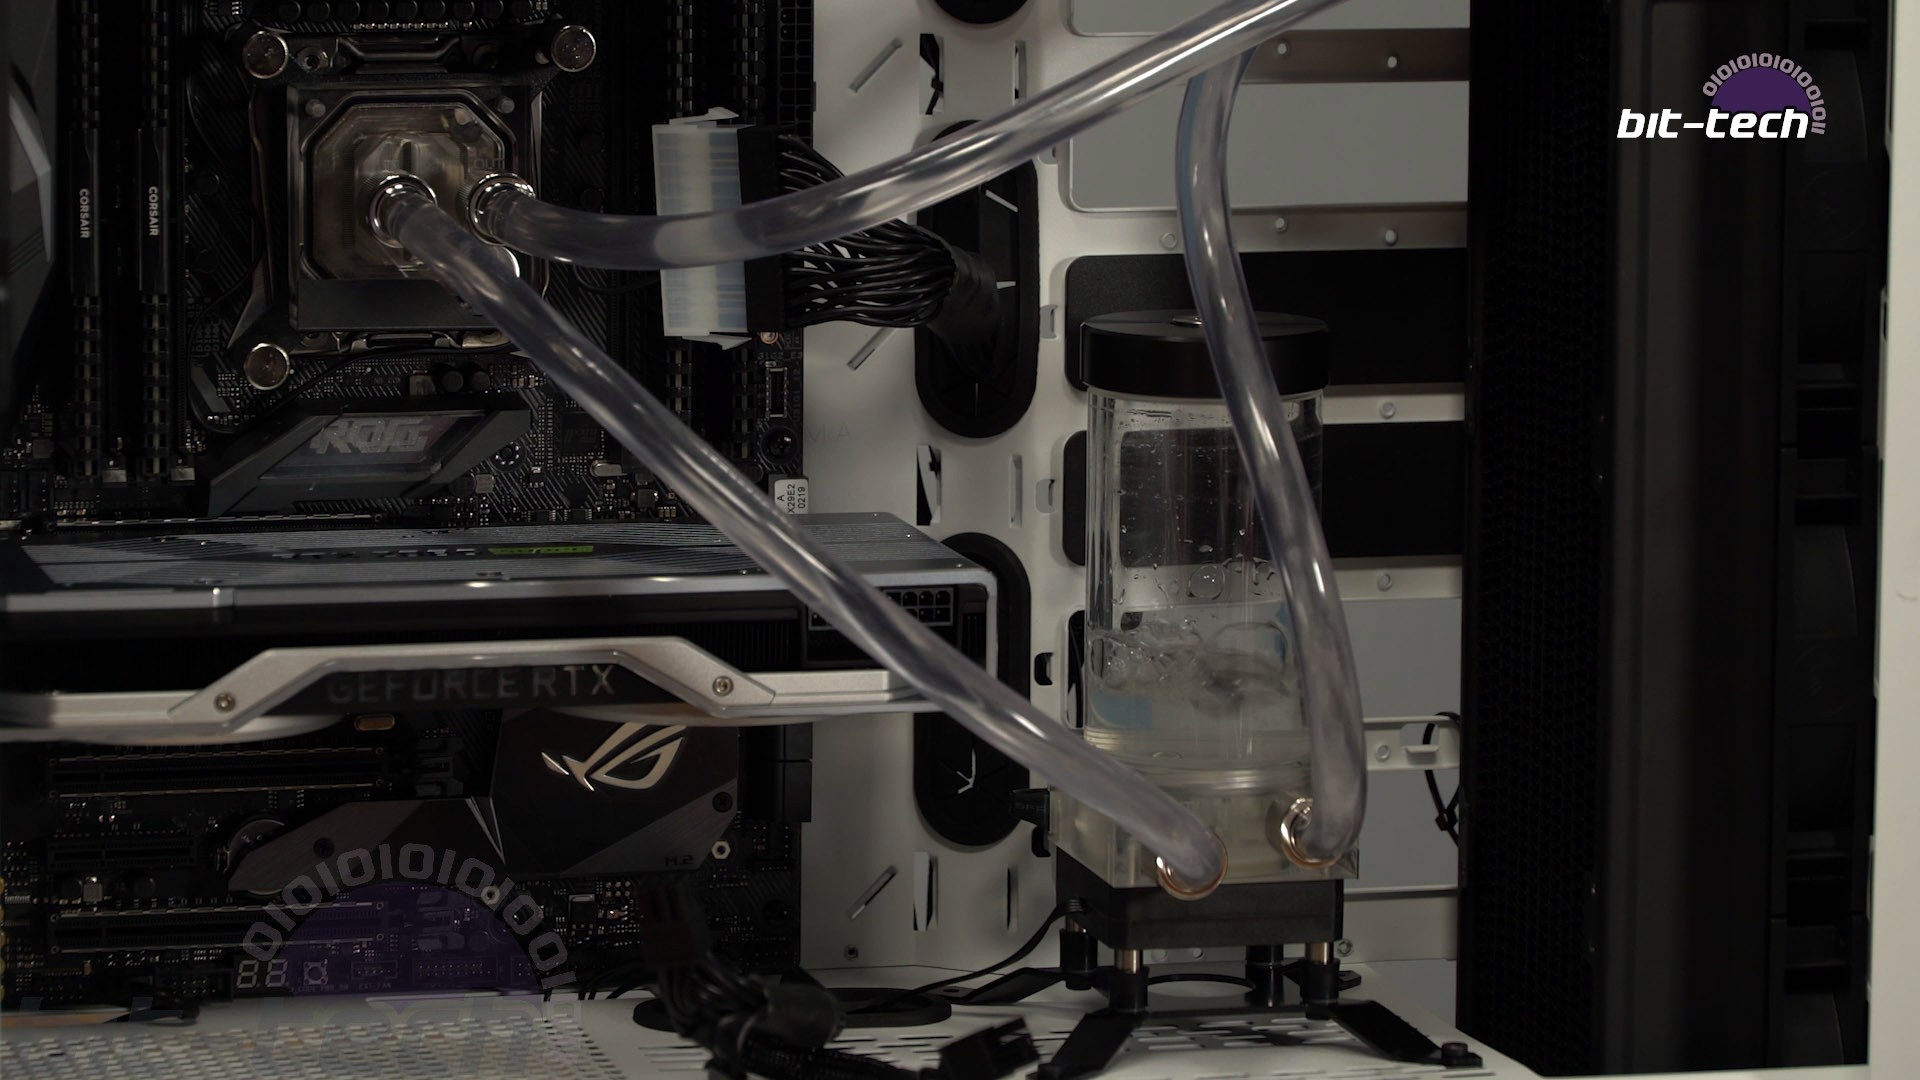
The main troubles relate to the pump/res mounting and fittings. While the 120mm bracket for the pump is great, not having a tube clamp significantly reduces its practicality. You can only mount to the bottom of the pump, which means the bracket has to be placed horizontally on the floor of the case or on the PSU shroud. We were a bit lucky in that our case has a bunch of slots that can be used for this purpose, but some cases won't have these on their shrouds. Normally, that would mean you could attach the bracket on the radiator up front or simply a front fan mount, but because there's no tube clip, you would have to place the reservoir sideways so that it lies horizontal. This definitely can be done, but it's impractical in many scenarios.
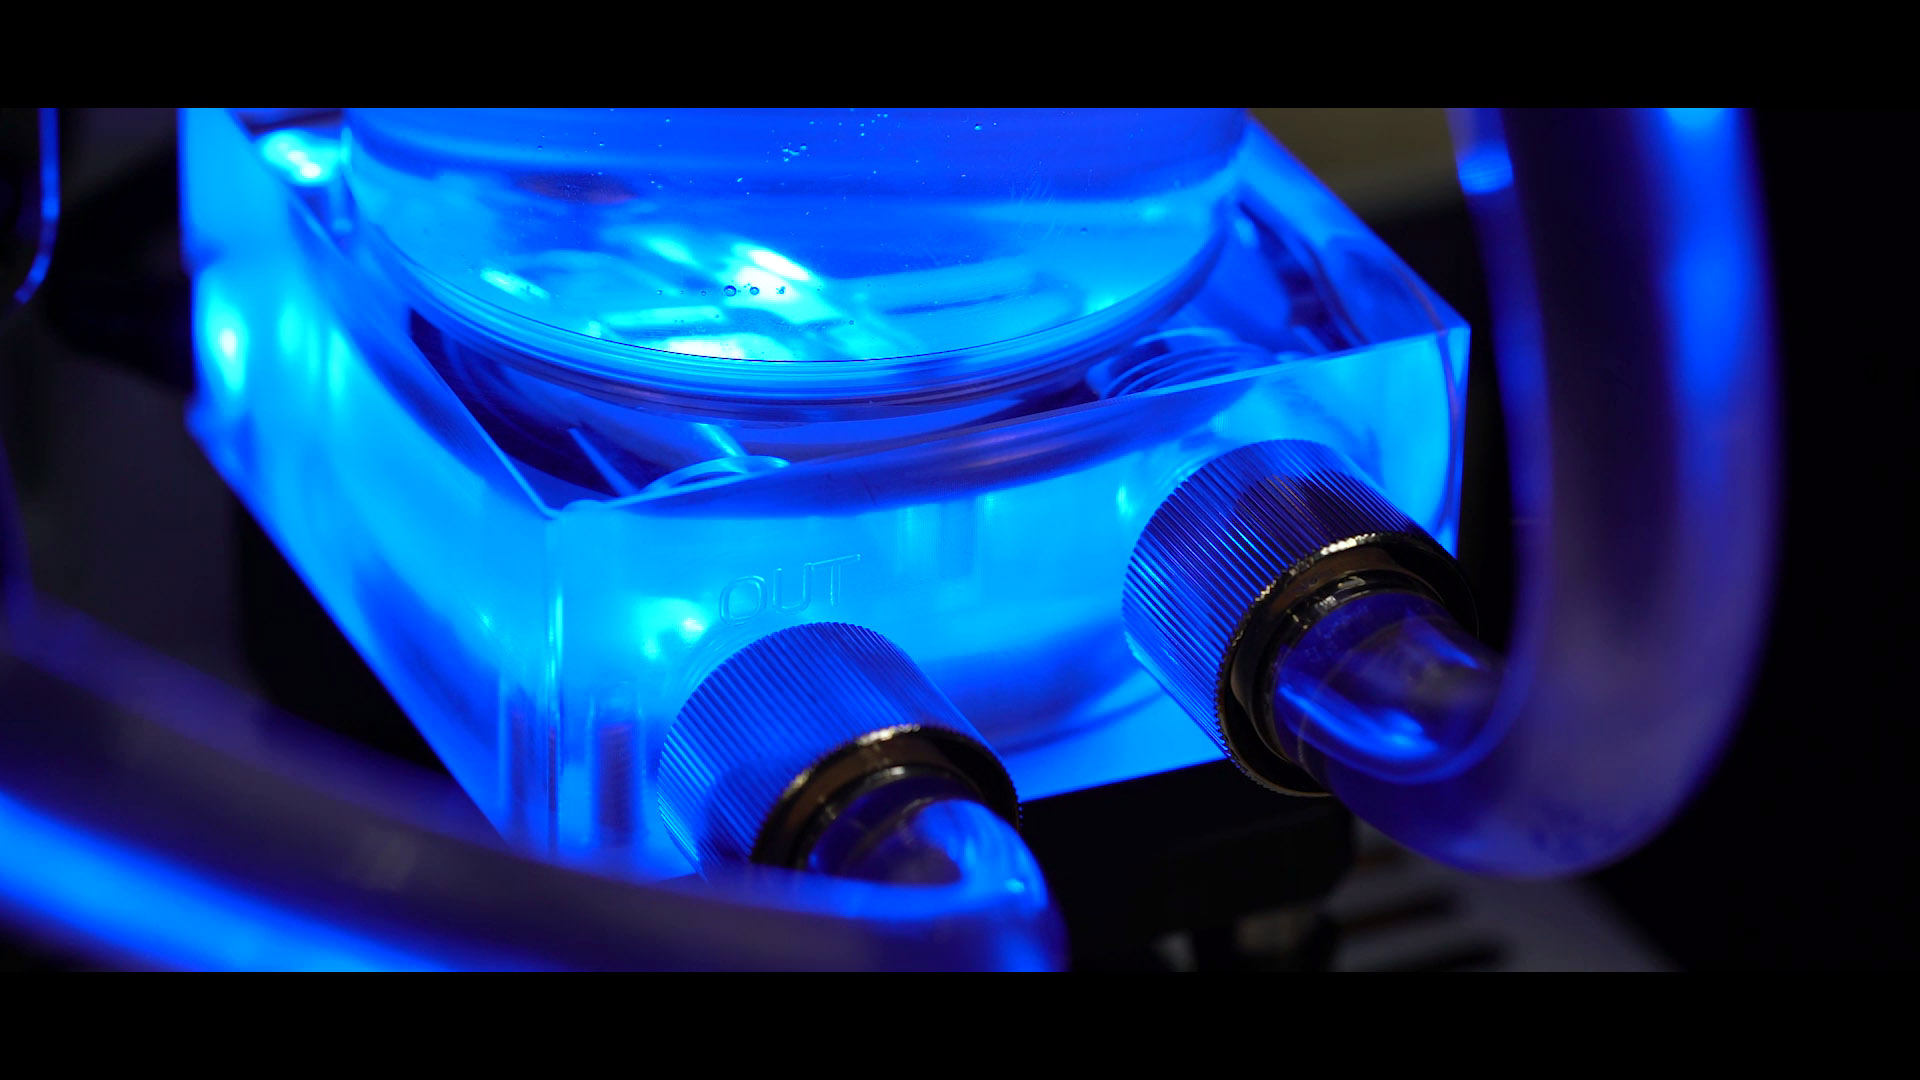
The other issue is the lack of angled adaptors. Generally, soft tubing won't really need many of these, as the tube can do almost all the work. However, soft tube does kink when bent too tightly, which can be easily avoided with angled adaptors in many tight spots. For our test system, the main issue was with the connections to and from the pump top. The EK-Uni bracket essentially meant the reservoir could only be pushed back so far inside the case, and the only orientation we could realistically use was having the inlet/outlet facing the window, as one side was next to the radiator and the other below the GPU. The thing is, the tubes only just fit in that orientation without kinking; they're resting against the window in the setup. Two 90-degree adaptors would have solved this so easily and would give the system a great look too. Again, this isn't some deal breaker, but it's a little annoying and could potentially make things tricky in a less forgiving chassis.
The final trouble was with filling. EK provides a handy adaptor for the pump so that it can be powered directly via a SATA power connector (the pump normally runs off a four-pin PWM fan header), which is a good move, especially with the provided bridging plug, as it allows you to very easily fill and leak test without powering on any other components.
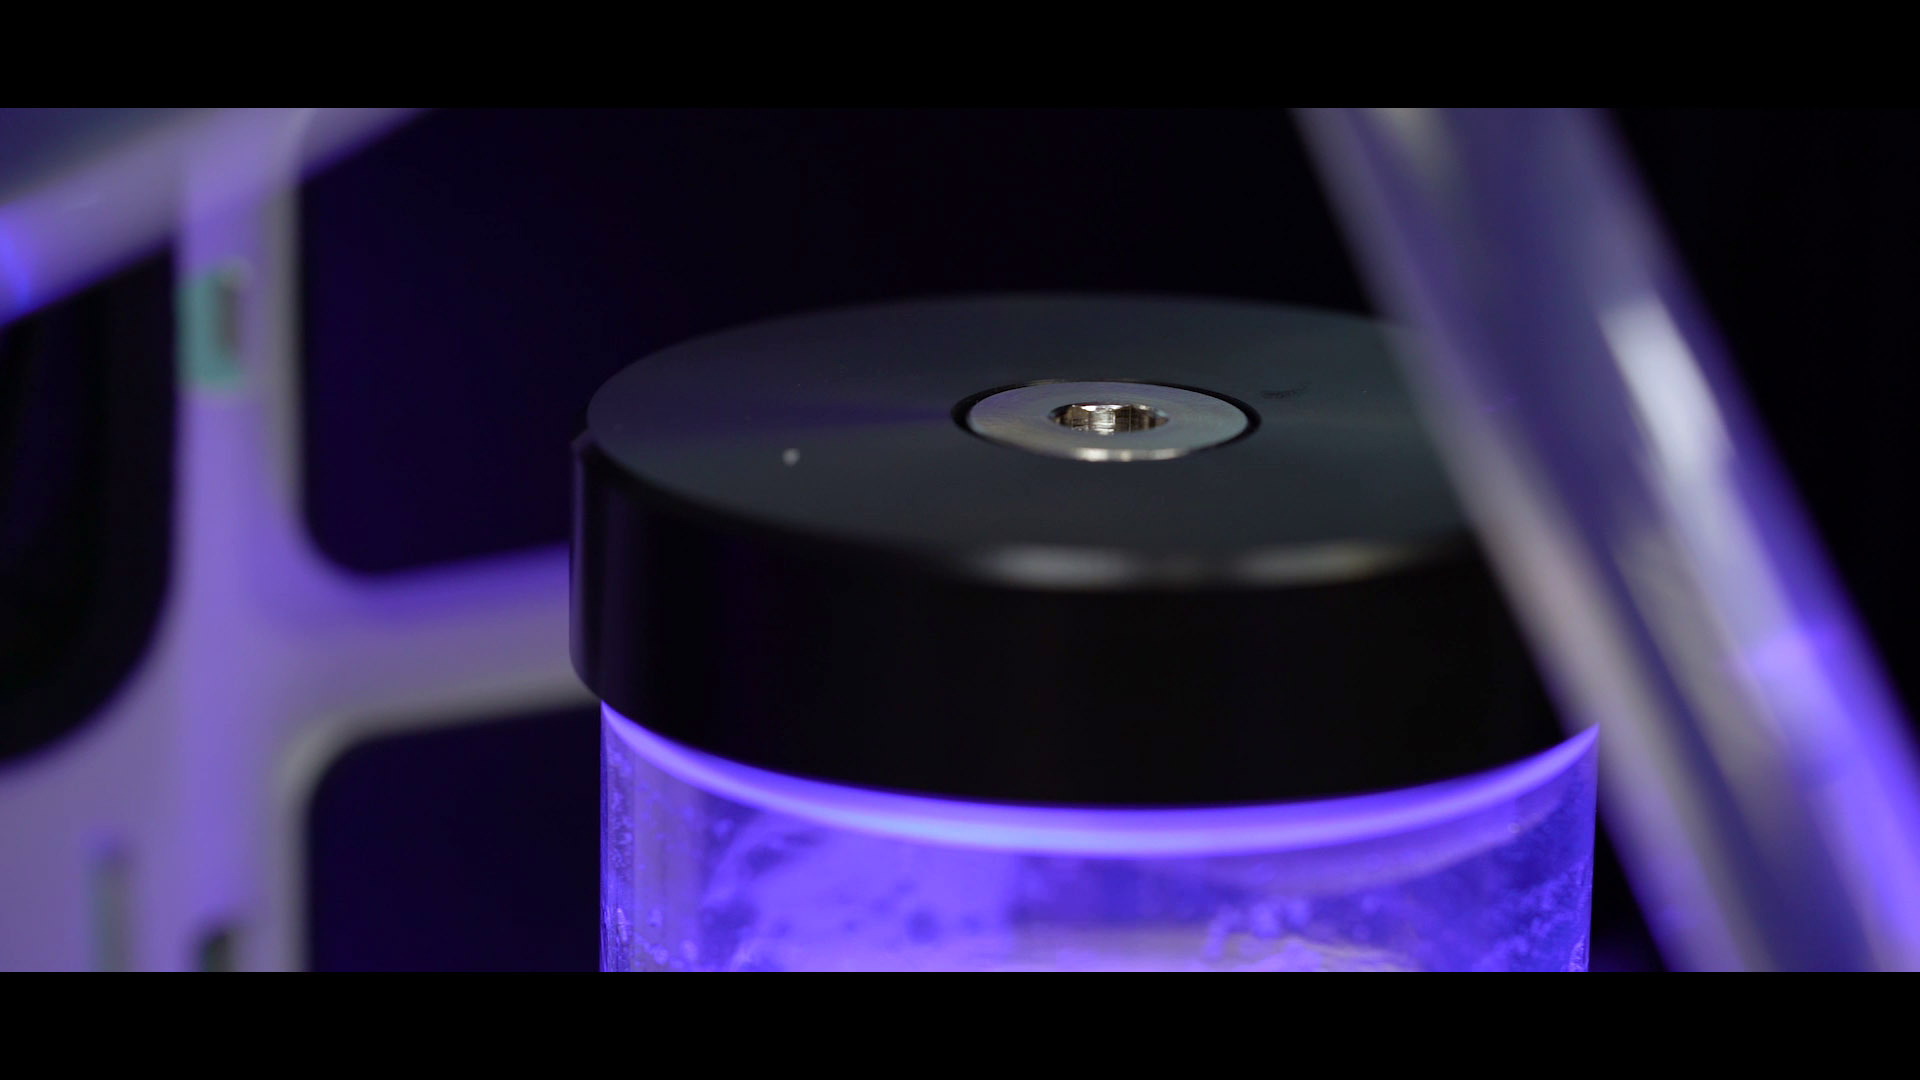
The issues stem from how you're actually expected to put the coolant into the loop. The top of the reservoir has a port which you can use to fill the system, but it has a recessed stop plug in it. EK's done this for years now; the plugs are recessed for aesthetic purposes, but that does mean you need a tool to undo them. For some reason, our kit didn't have the correct size Allen key for this, so we were looking around for something to undo this top with. It's fine if you do have an Allen key set somewhere, but the 6mm size (we think that's the right one) is a bit uncommon. The instructions actually don't bother with this and instead just say to take the top off and pour the coolant inside. This presents its own issues, though, as unscrewing the top can lead to accidentally unscrewing the bottom! Fortunately, we noticed that we'd unwittingly loosened the base of the reservoir from the pump top before filling; it wouldn't be so good if it loosened during the fill process, that much is sure.
We also encountered a minor snafu in trying to use the reservoir filter that's included. We attempted to use it, figuring it would help the system bleed air faster by disrupting the flow. Unfortunately, what actually happened was that it destroyed the flow entirely and prevented the system from ever filling, so we fished it back out and threw it to the side. We've always left them out before, and it looks like we'll continue to do that. It's not even listed in the instructions as a step, so it seems even EK doesn't think they're that important either - perhaps it's just a legacy inclusion?
Bleeding took a fair bit of time, as the SPC doesn't have all that much grunt to it - nothing some vigorous tilting can't solve, however. The flip side of having reduced flow is that air also doesn't get sucked back into the loop as easily, which is what we experienced when bleeding the Thermaltake kit. We left ours for about an hour or so to bleed as much as possible, cycling every so often to push air out along with tilting and shaking. Before testing, we did check to see that air wasn't flowing around and that there were no bubbles in the block - hurrah for acrylic!


MSI MPG Velox 100R Chassis Review
October 14 2021 | 15:04


Want to comment? Please log in.