
Interior
Magnets hold both side panel doors in place, so accessing the internals could hardly be easier. The top hinge on both sides has a screw locking the panels in place, so these need undoing if you want to lift the panels off completely. The front and roof panels are not detachable by default, but as you’ll see there’s no need for them to be so.
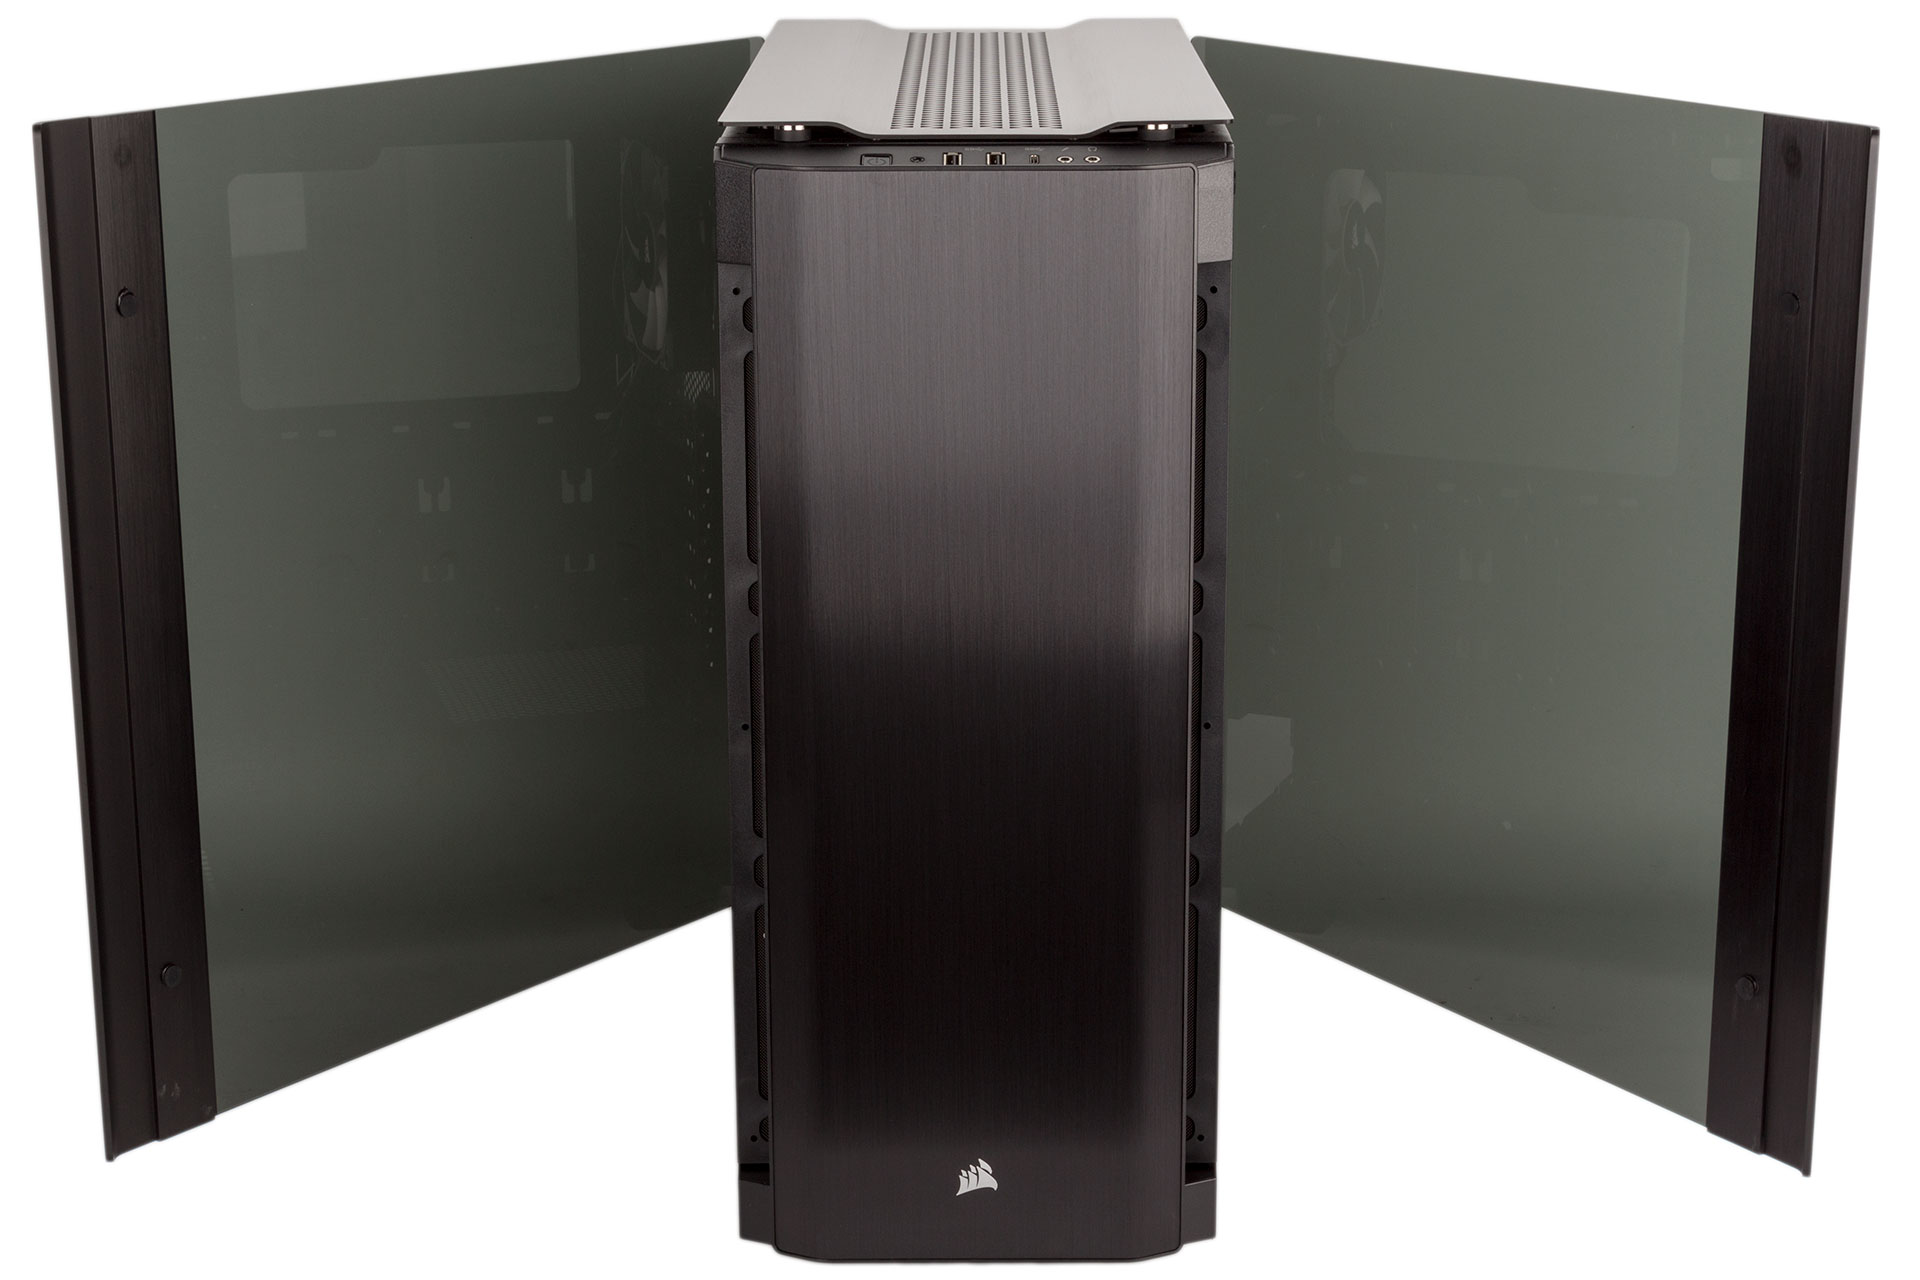
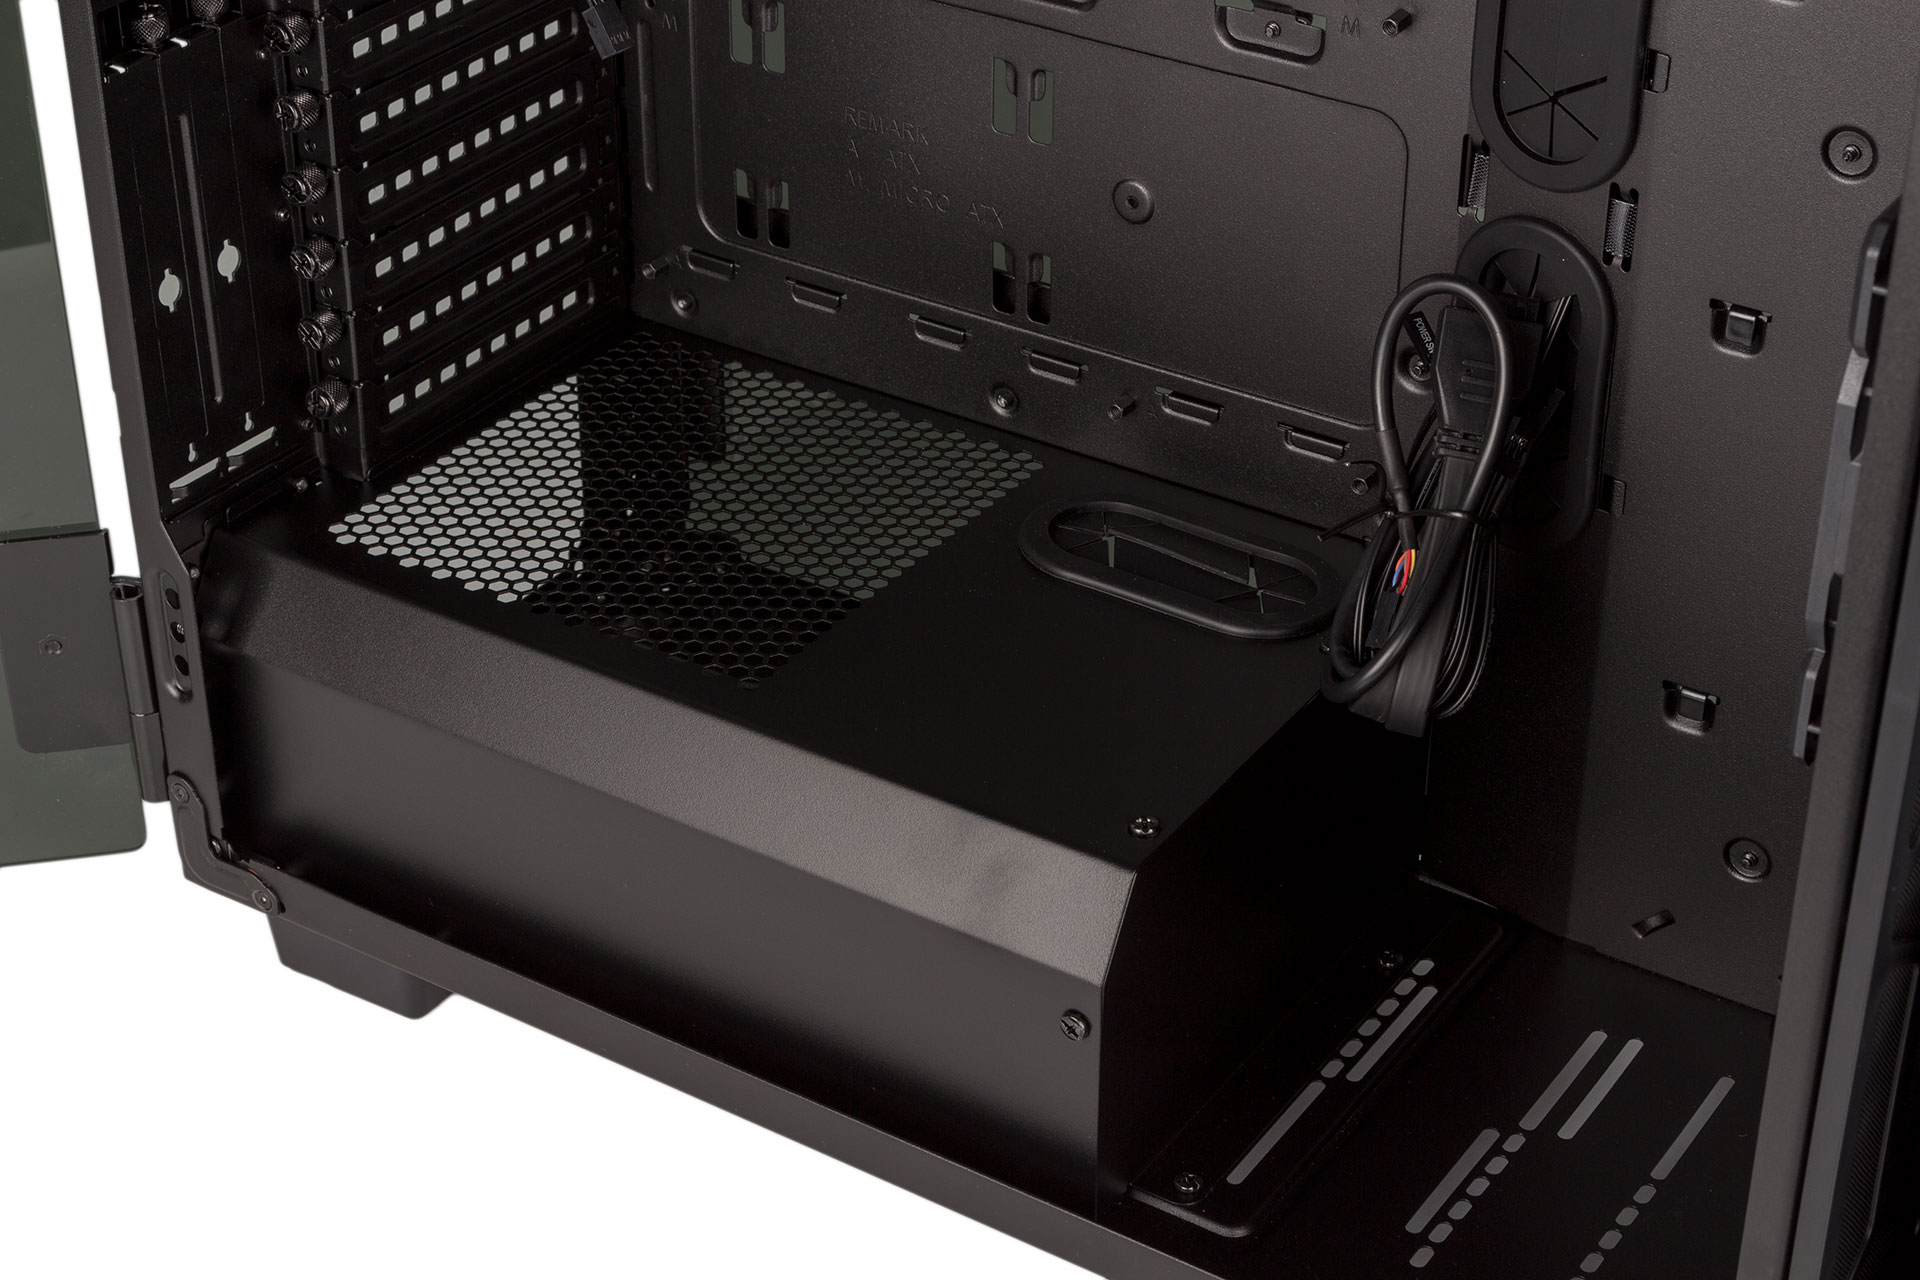
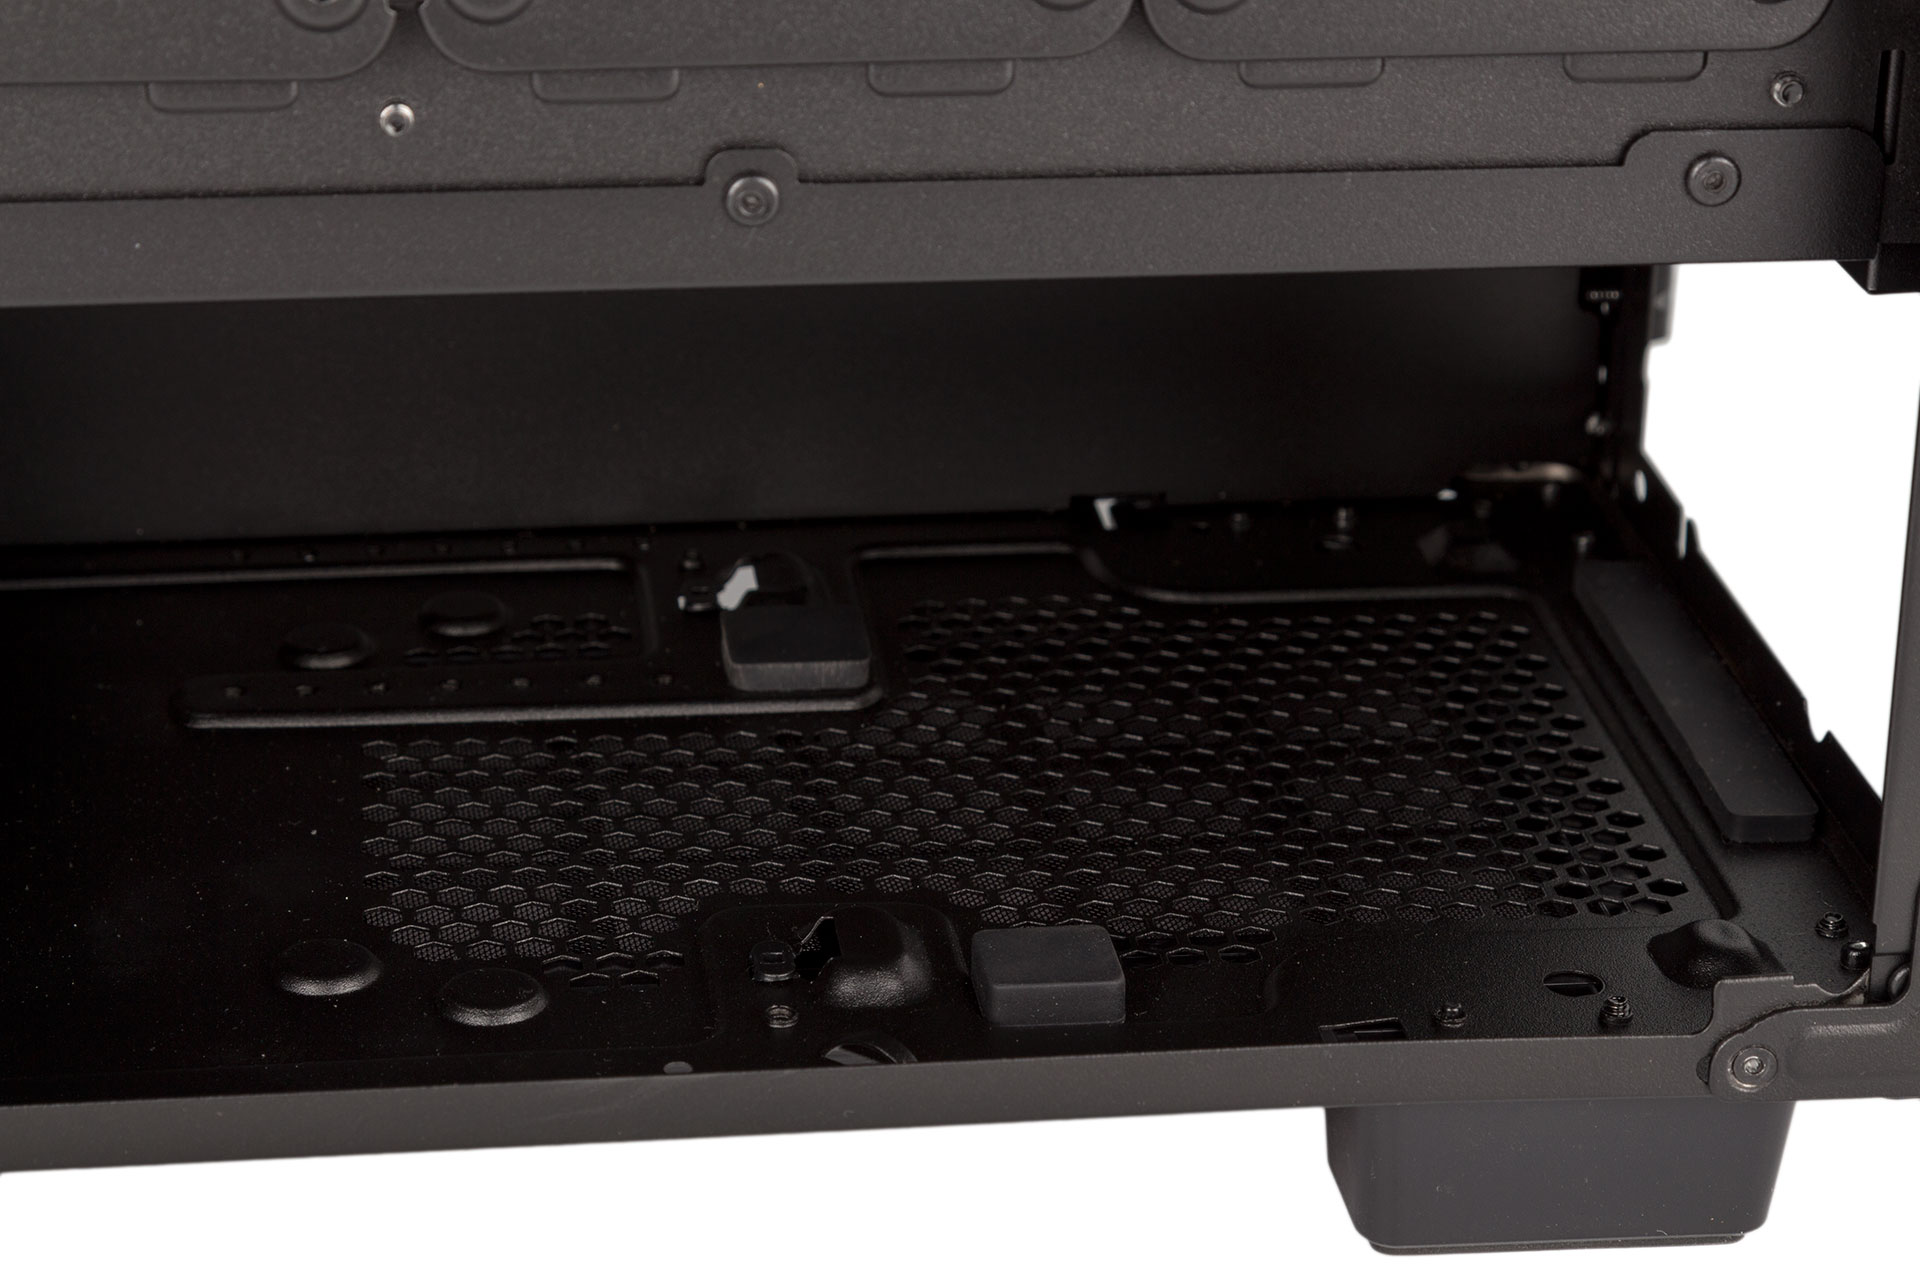
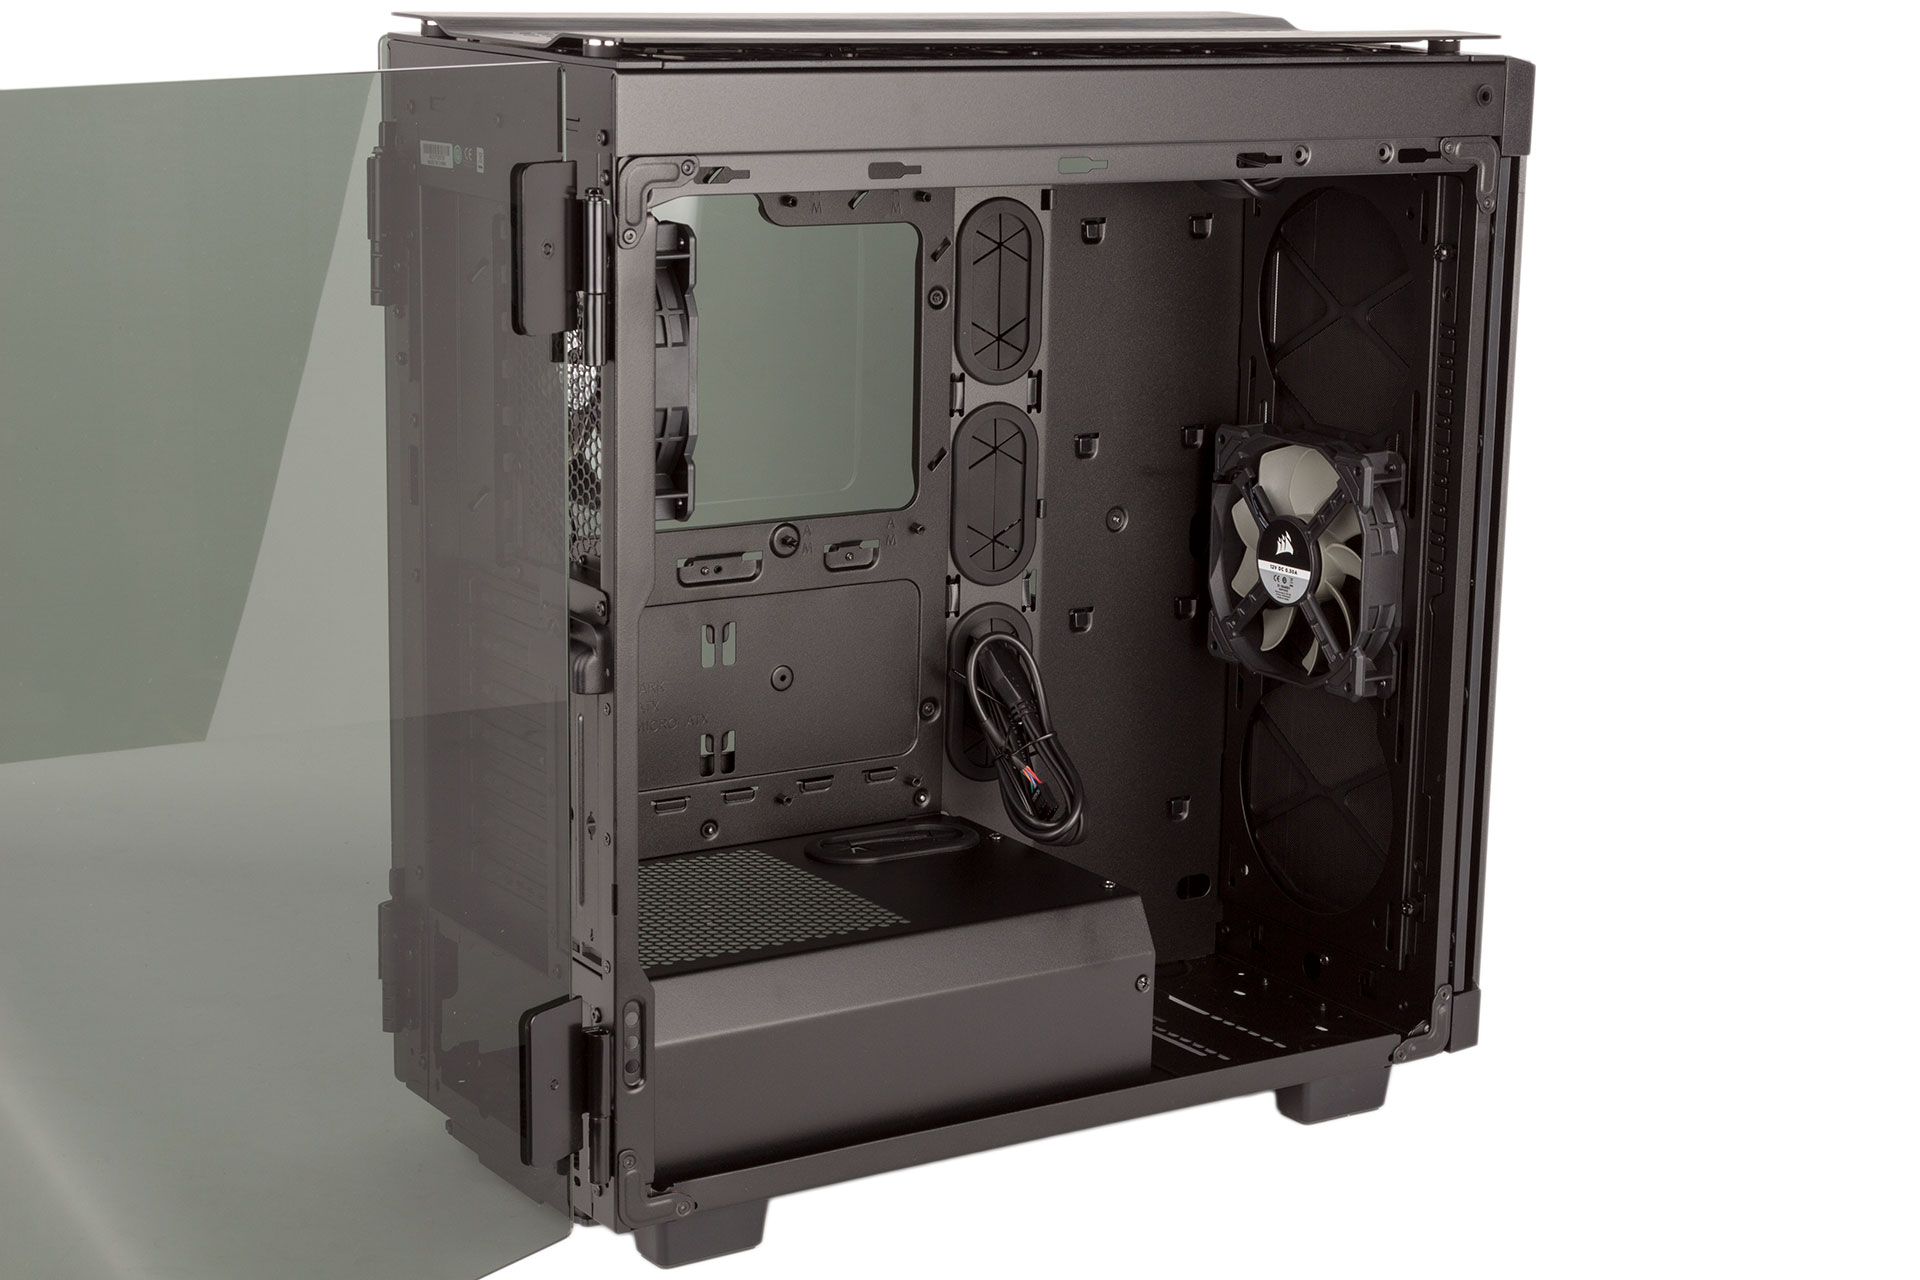
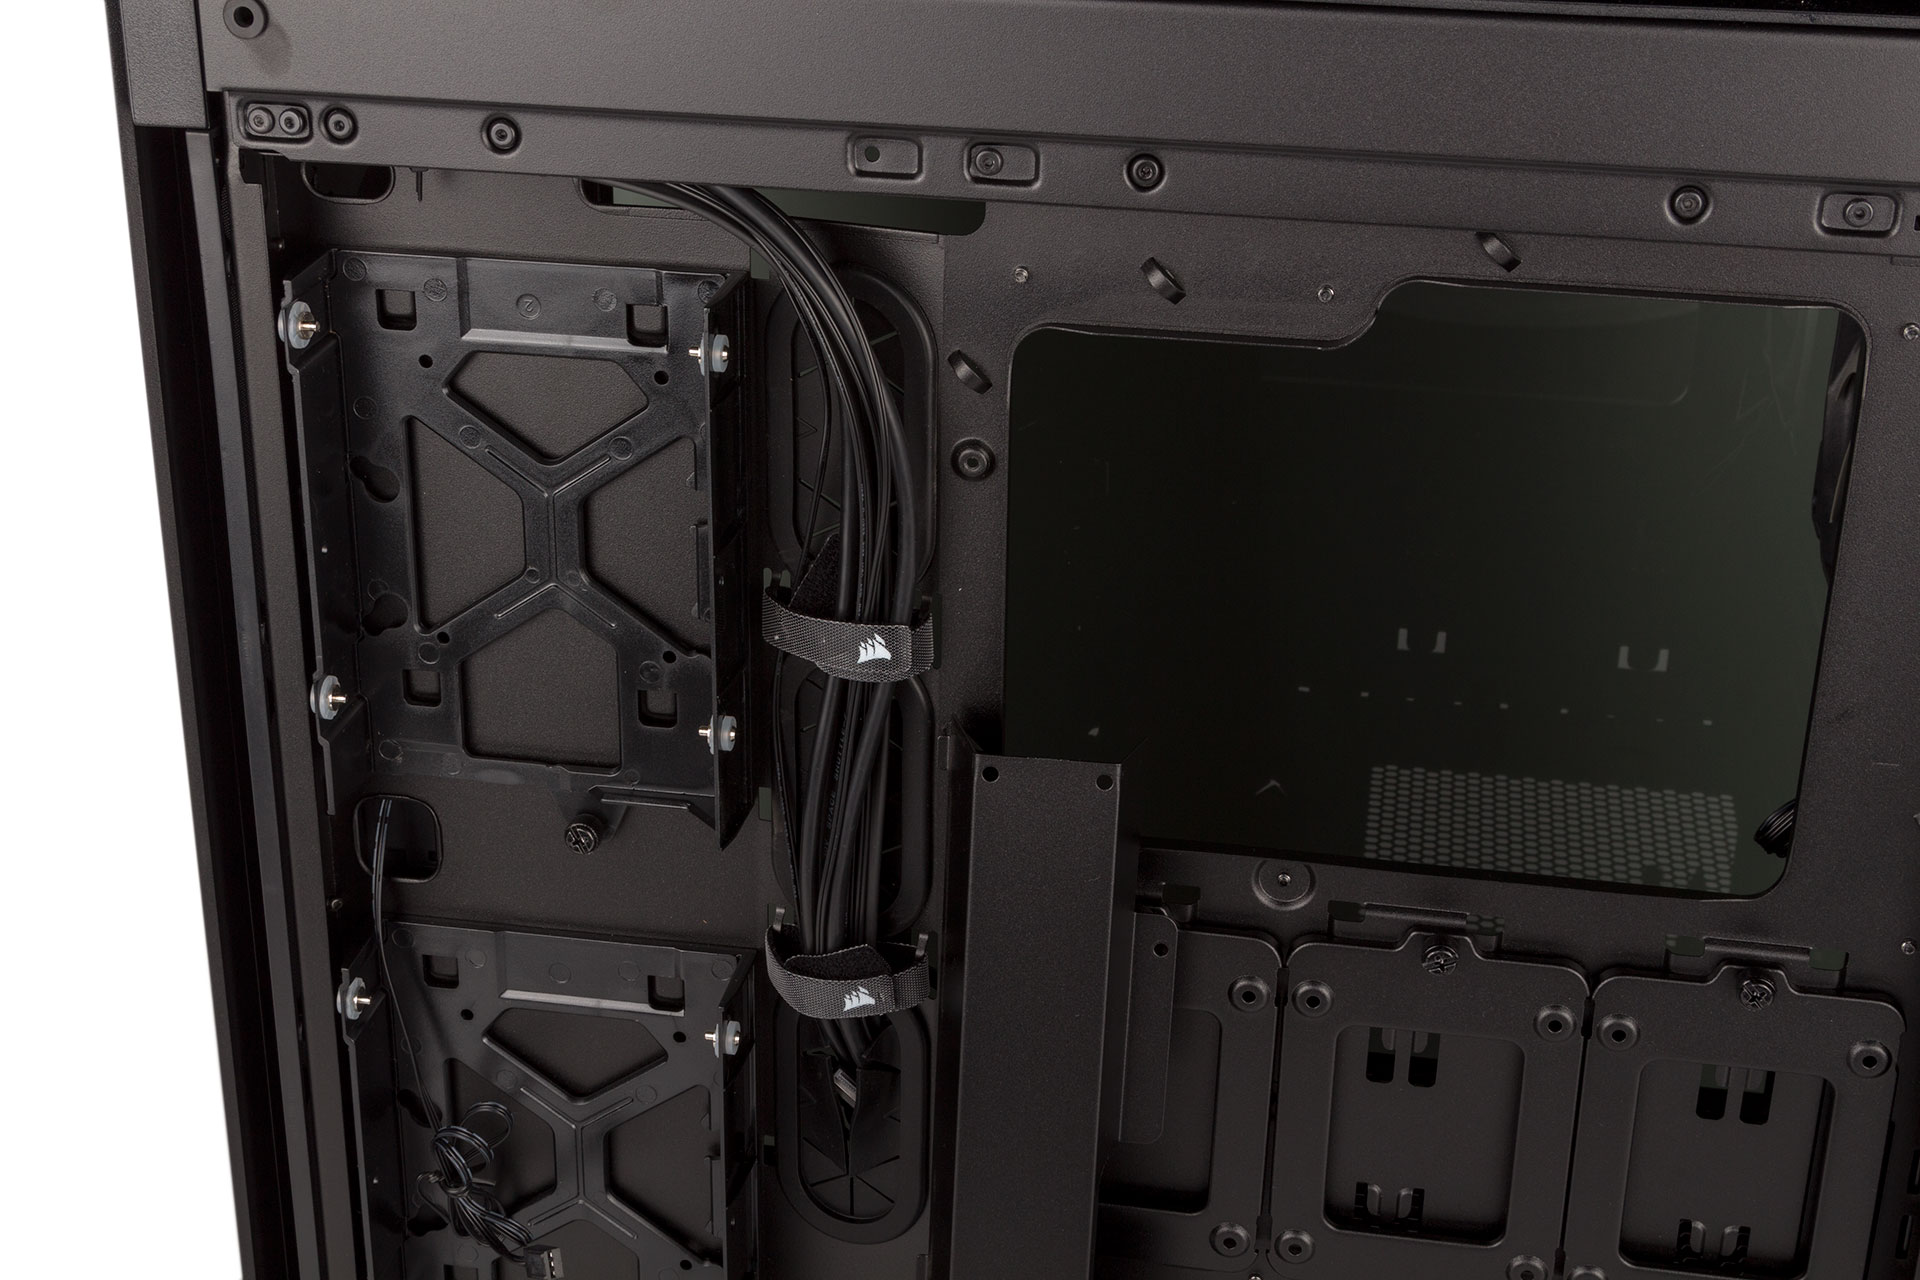
Inside, the design is very fitting for the current era. A perforated PSU shroud keeps this messy component hidden, but it doesn’t extend the full depth of the case, instead leaving the bottom-front area clear for water-cooling hardware. Thankfully, the point where it stops is also walled off with some vertical steel, which will stop any cables spilling out and defeating the point of the shroud. There’s no optical drive support, and all other drives are moved to positions behind the full-length motherboard tray.
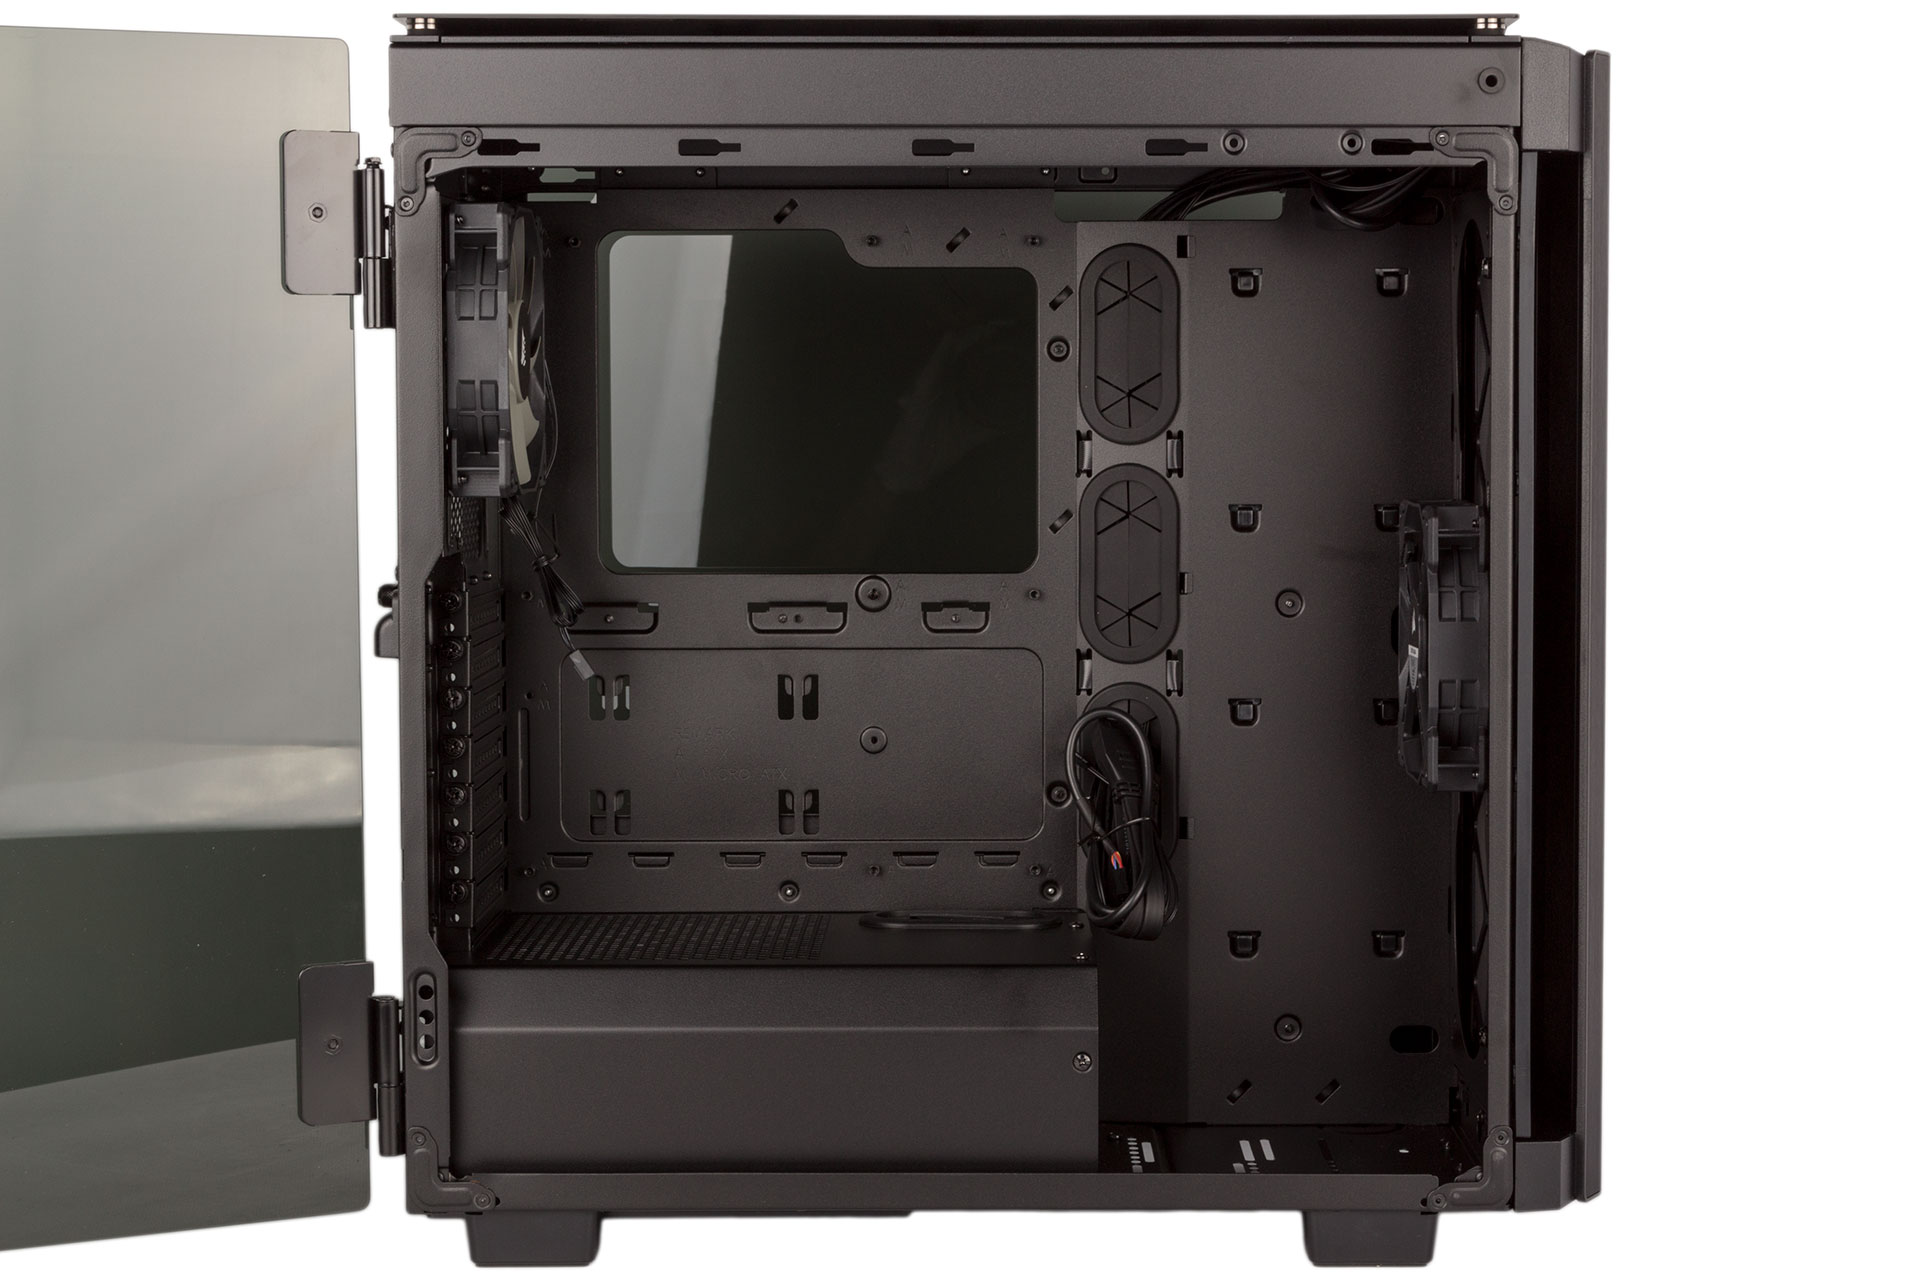
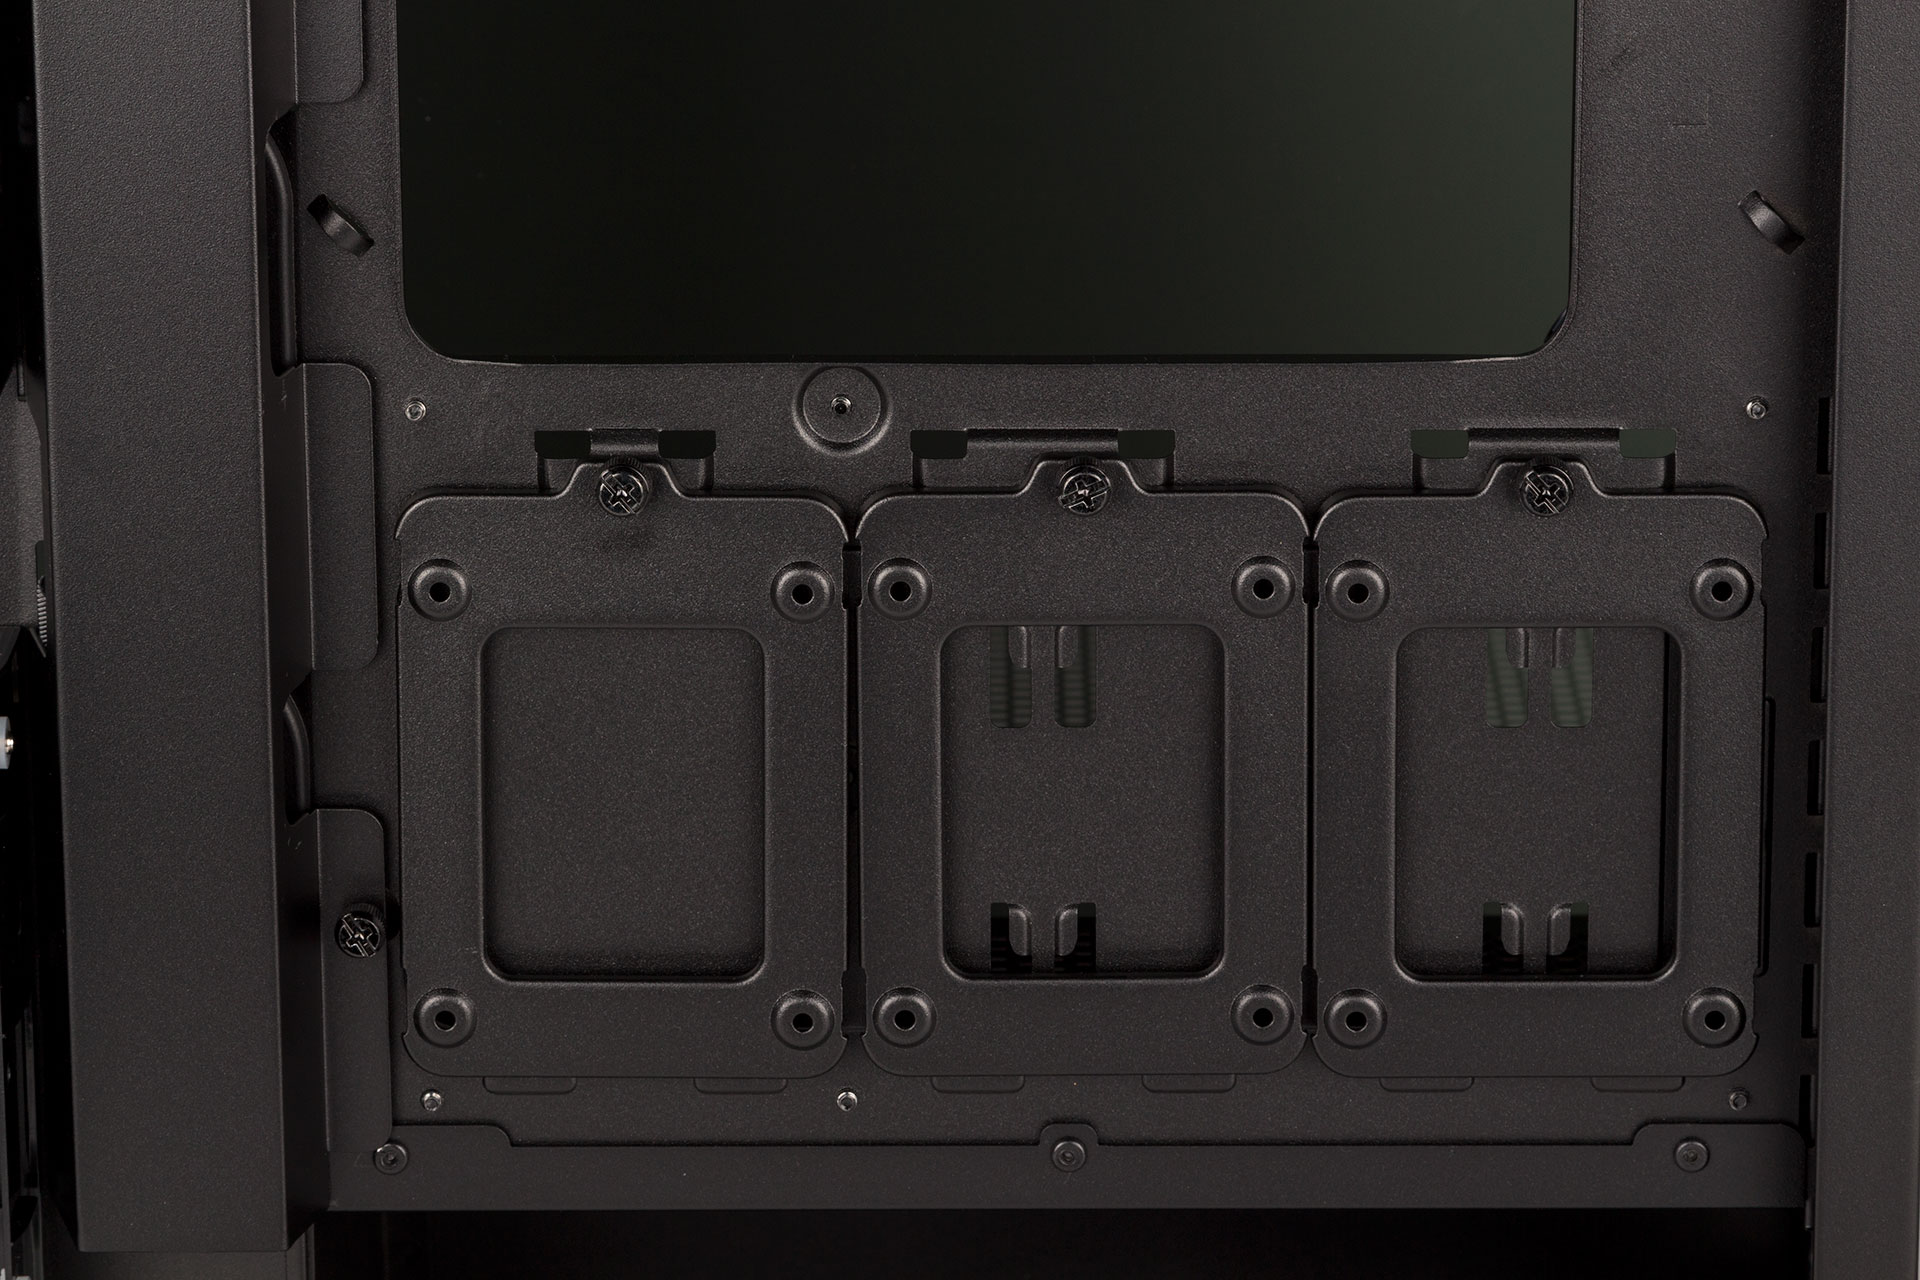
The build process is slick in the 500D. Pre-installed motherboard mounts and PCI thumbscrews help you along the way in the main area, and the rear of the motherboard tray is also user-friendly. Note that – as usual – if you actually want to use the vertical GPU mounting you will need to purchase the necessary bracket and riser cable separately. The power supply has rubber pads to rest on, and all drives are installed on individually removable trays secured with thumbscrews.
In total, you can install up to three 2.5” drives and a further two 3.5” (or 2.5” again) models using the aforementioned trays, with the larger plastic ones also having rubberised, tool-free mounts for 3.5” drives. Corsair does not offer a solution for installing additional drives in the main cavity like many manufacturers do with modular (sometimes aftermarket) brackets, so if you have a stack of 3.5” drives from previous builds this isn’t the case for you. Still, for most new builds, this should be an adequate level of support.
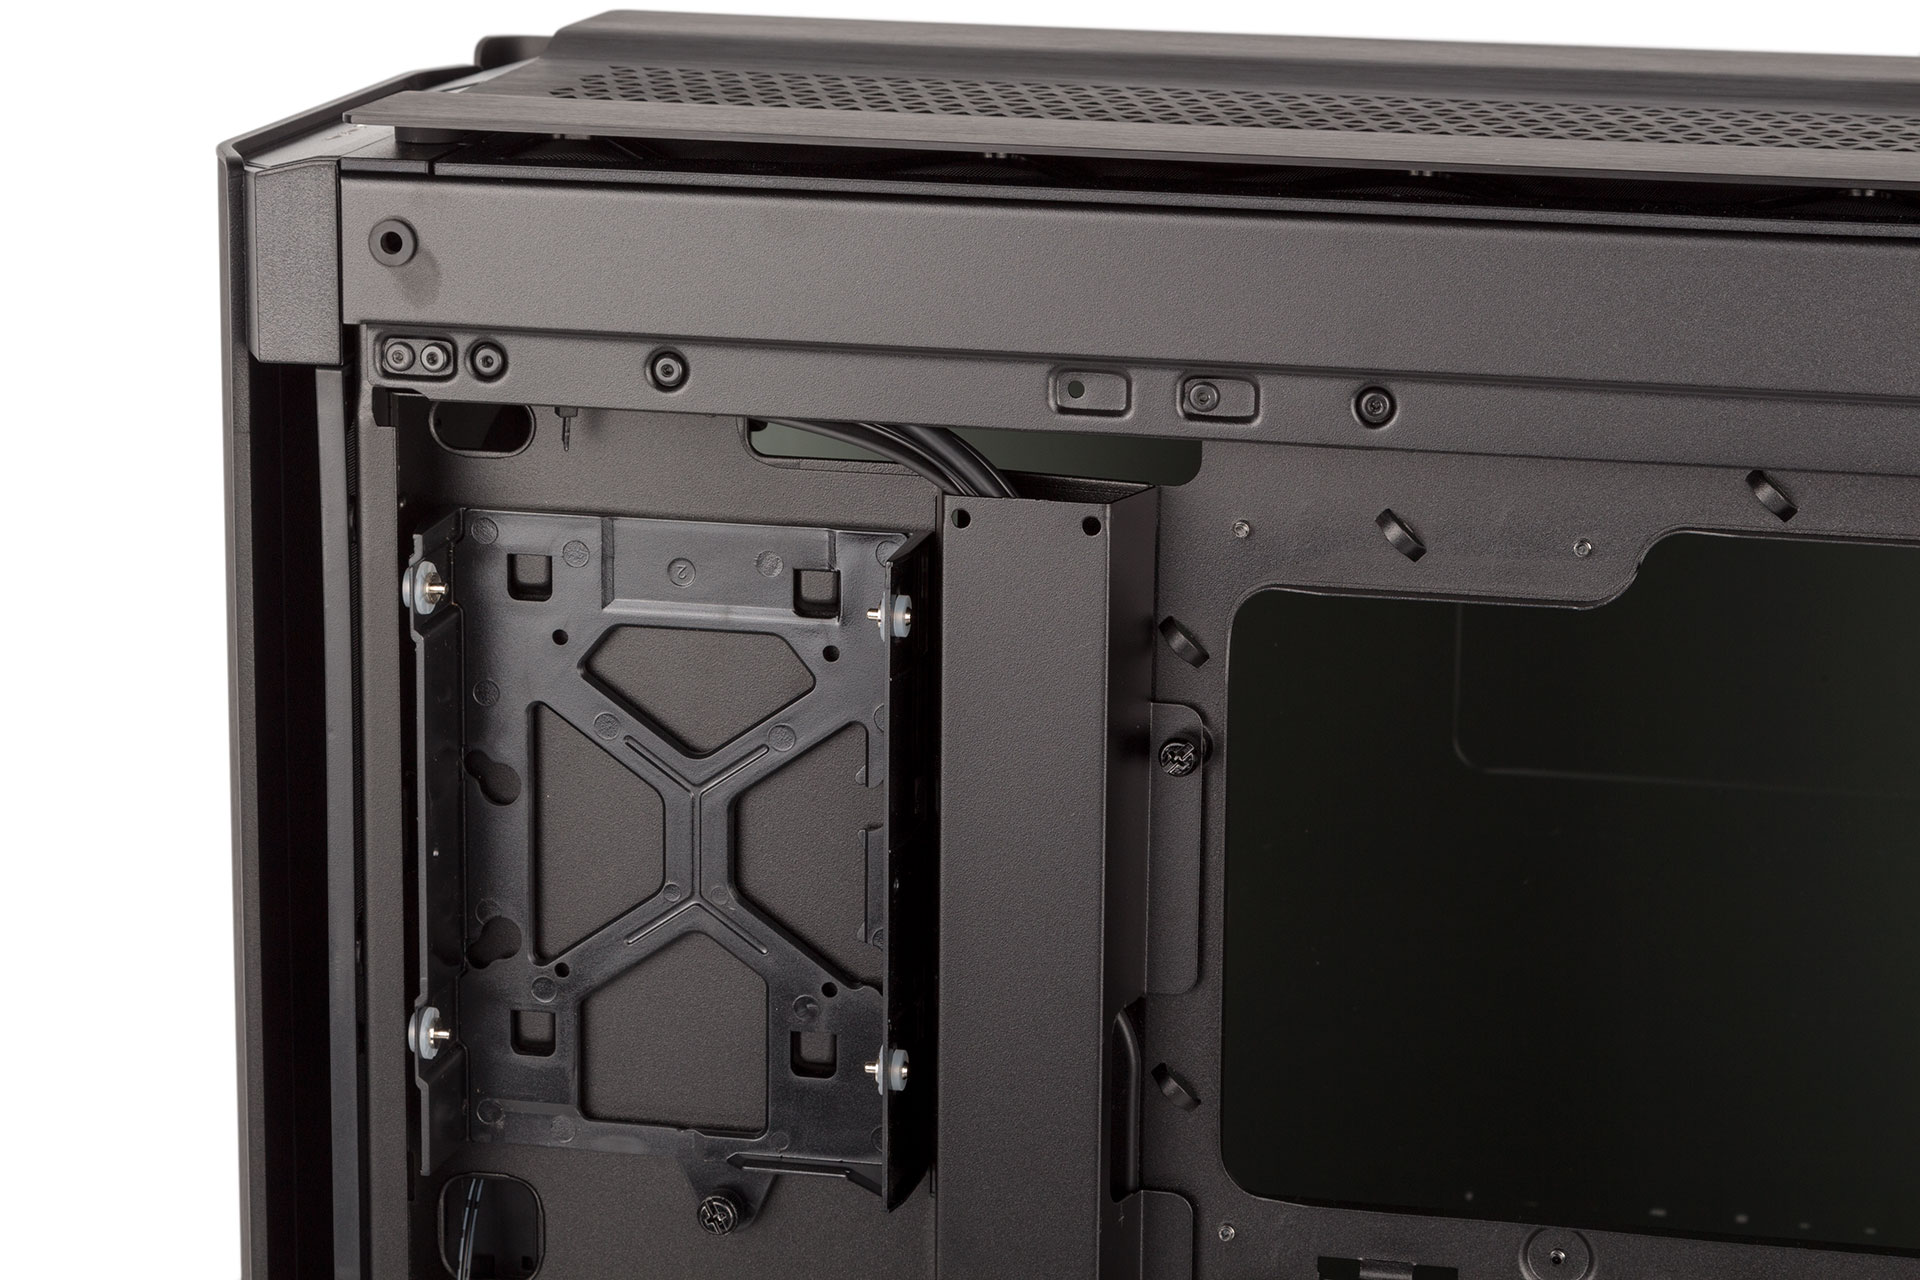
Three main cable routing holes line the side of the motherboard area, each fitted with a rubber grommet. There’s also a single hole in the PSU cover, again with a grommet, which is suitable for front I/O cables and PCIe connectors. We’d prefer this to be closer to the tempered glass panel and have multiple smaller holes near the bottom of the motherboard. You also get space above the motherboard tray, so you shouldn’t need to have much cabling on show at all.
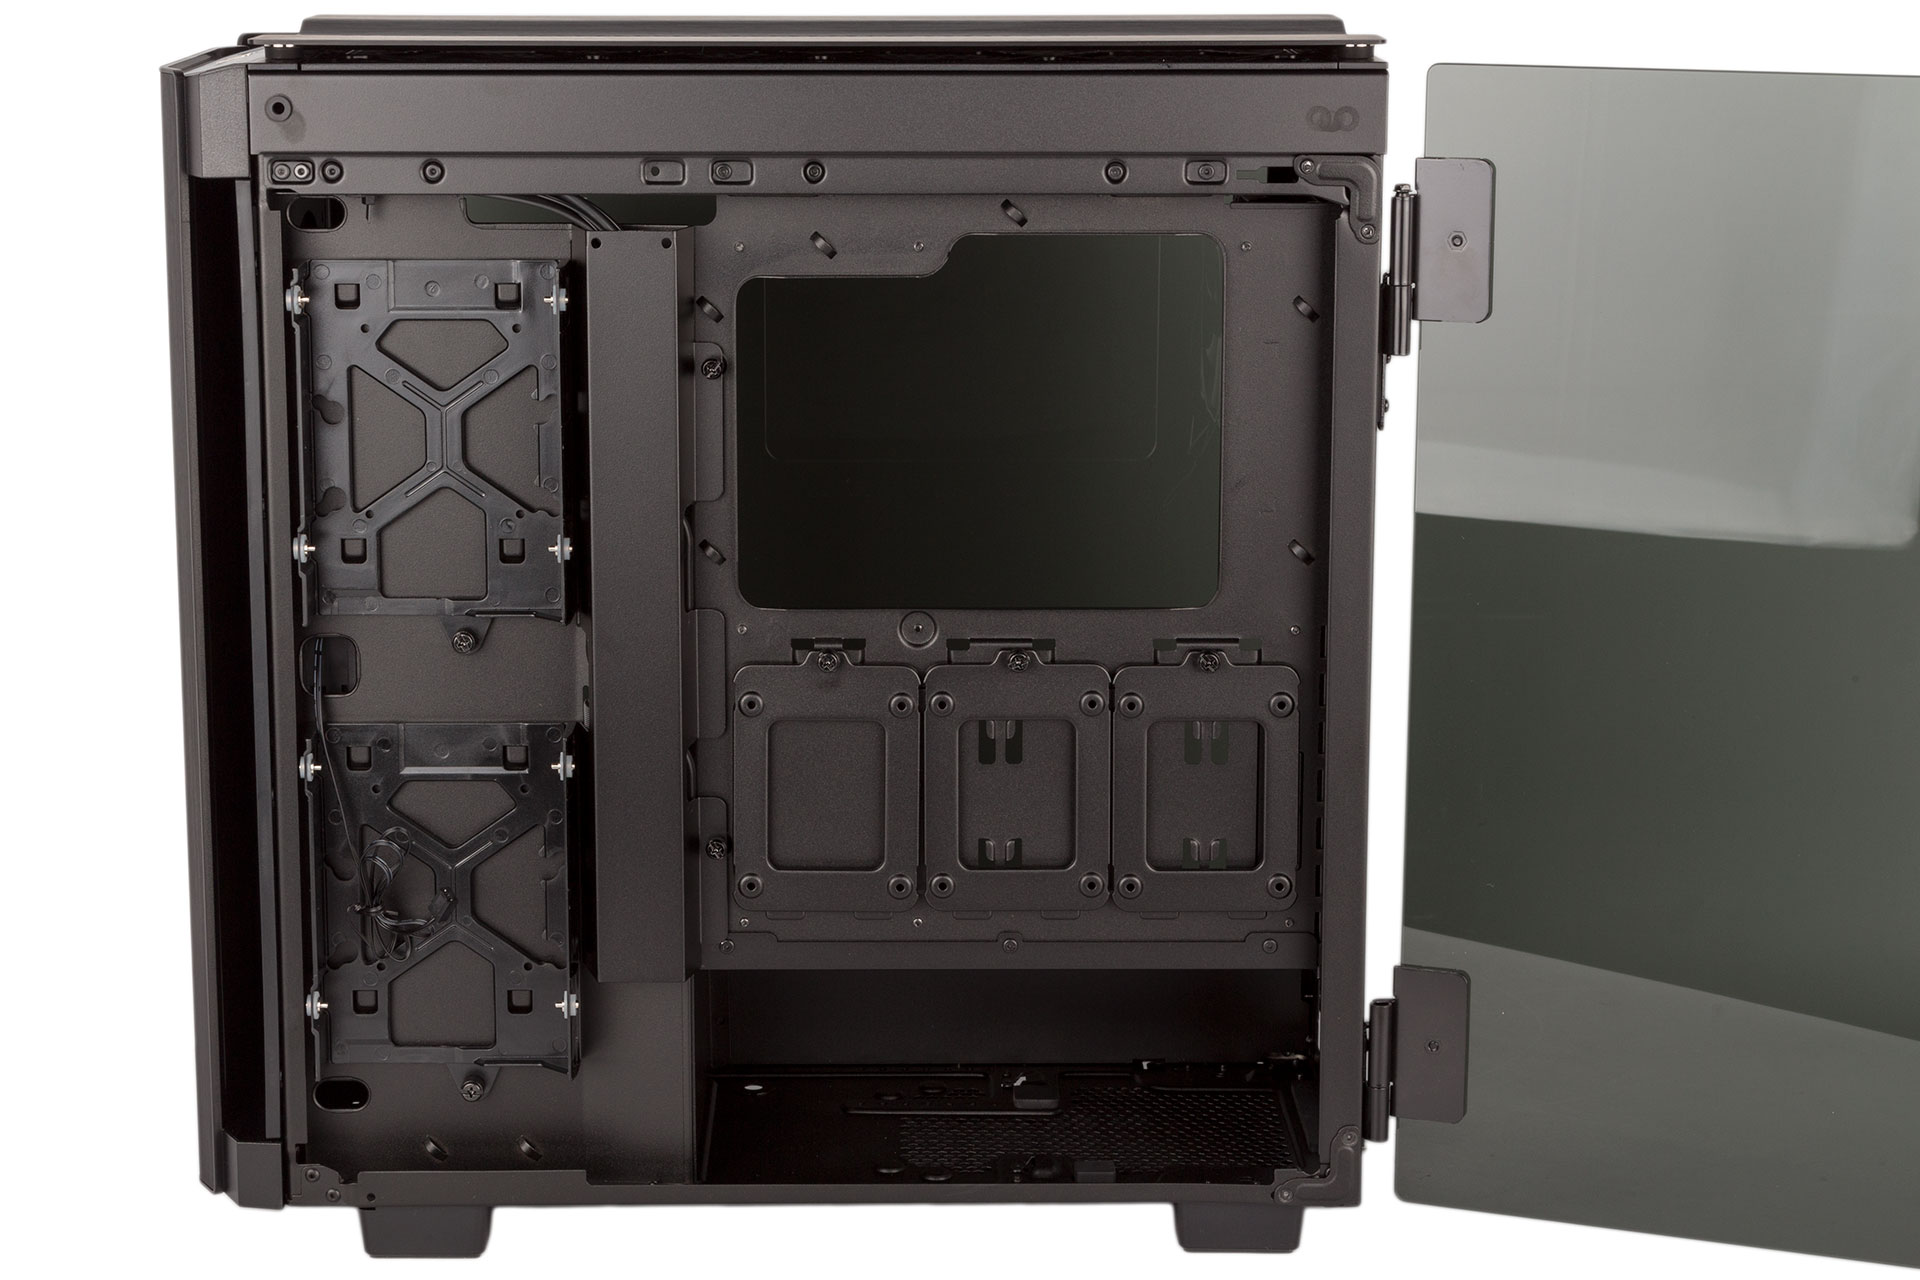
Meanwhile, behind the motherboard tray, Corsair has fitted a bracket that covers the main channel, which is an important consideration when you have a tempered glass side panel on this side. The bracket is fixed with thumbscrews, and with it removed you have a pair of Velcro cable ties to work with. To be honest, it could do with being a bit wider, but with this and the area beneath the PSU shroud, you should be able achieve neat cabling with relative ease.
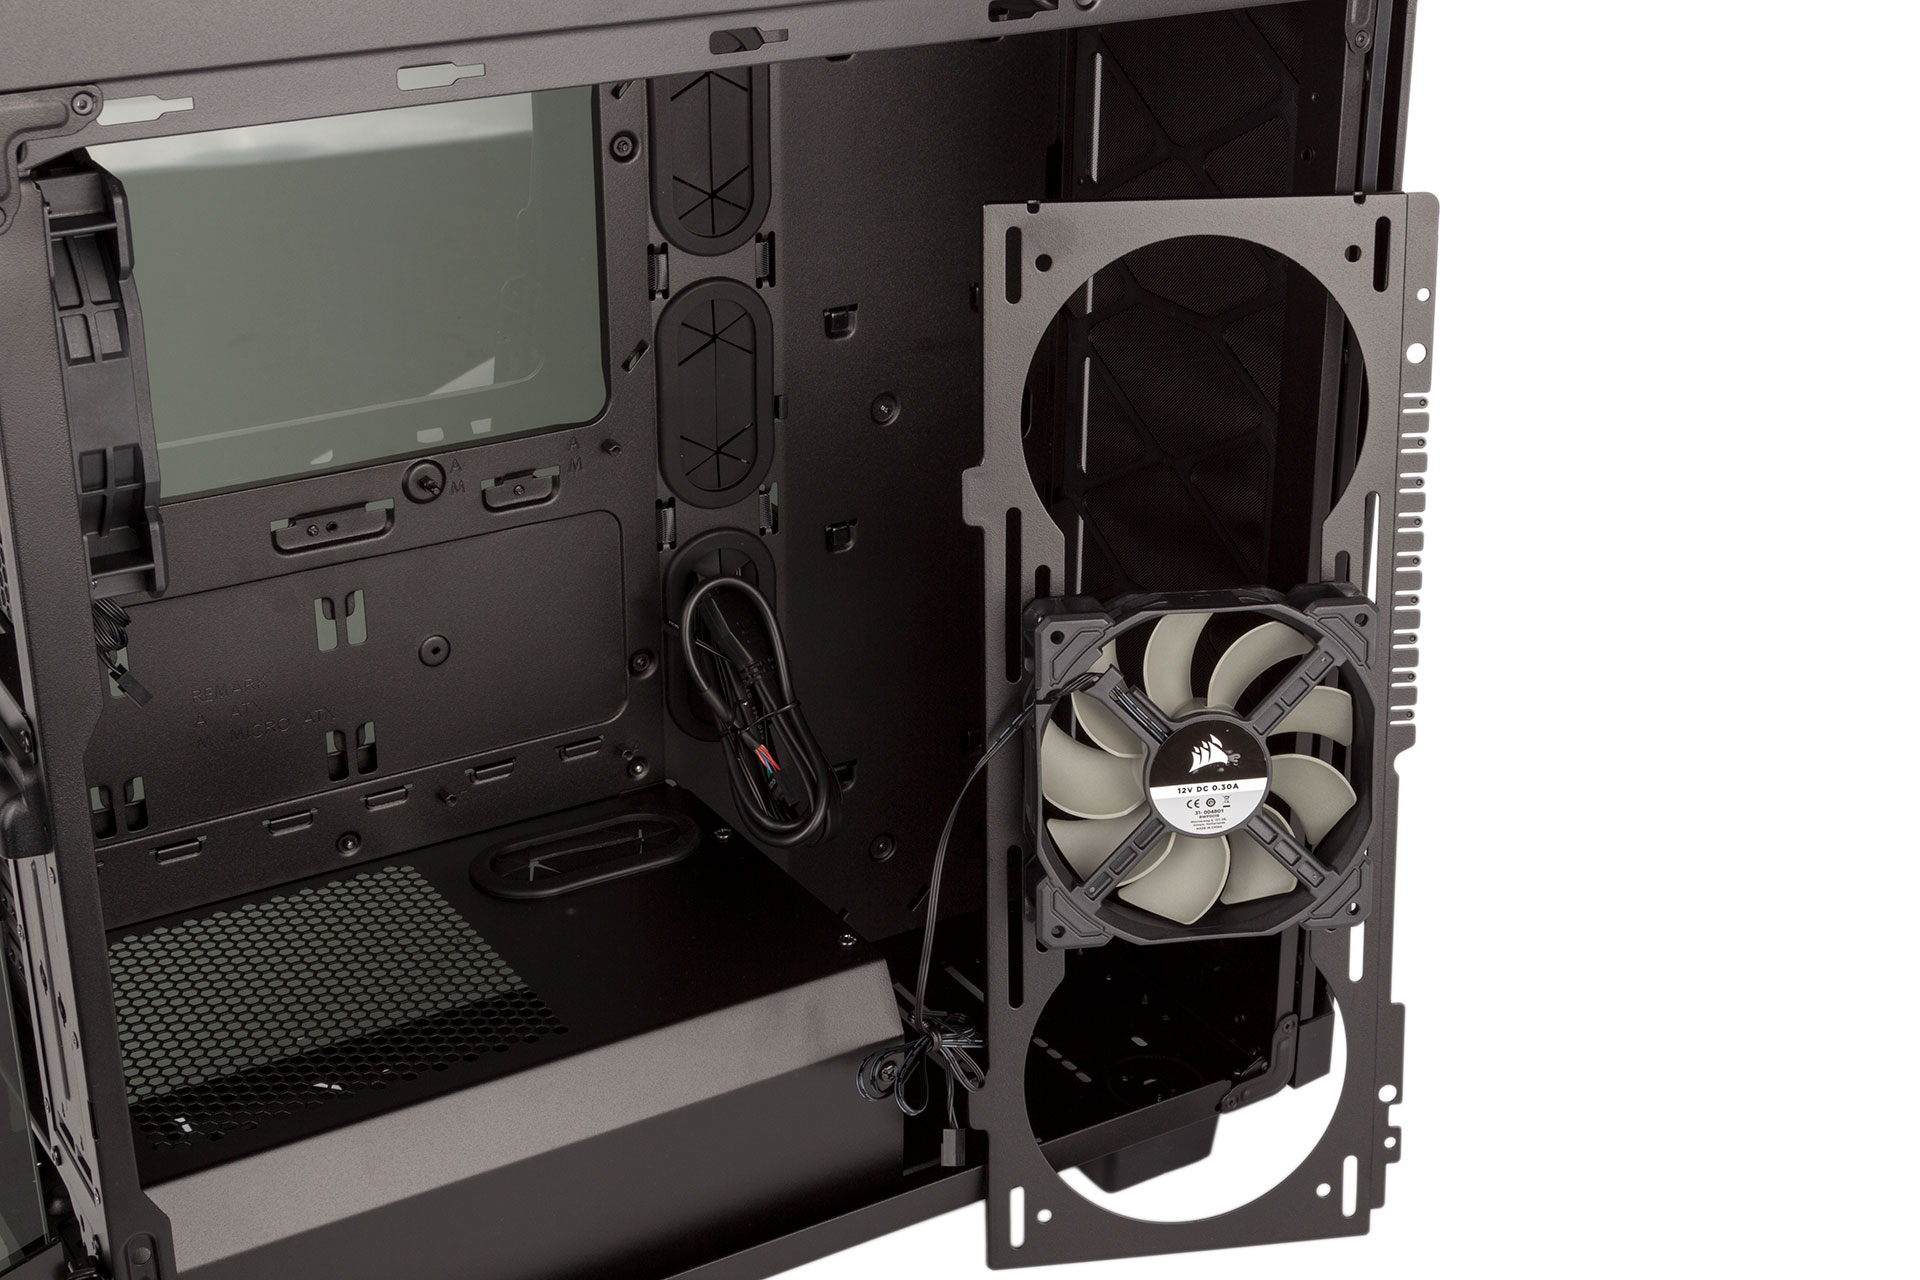
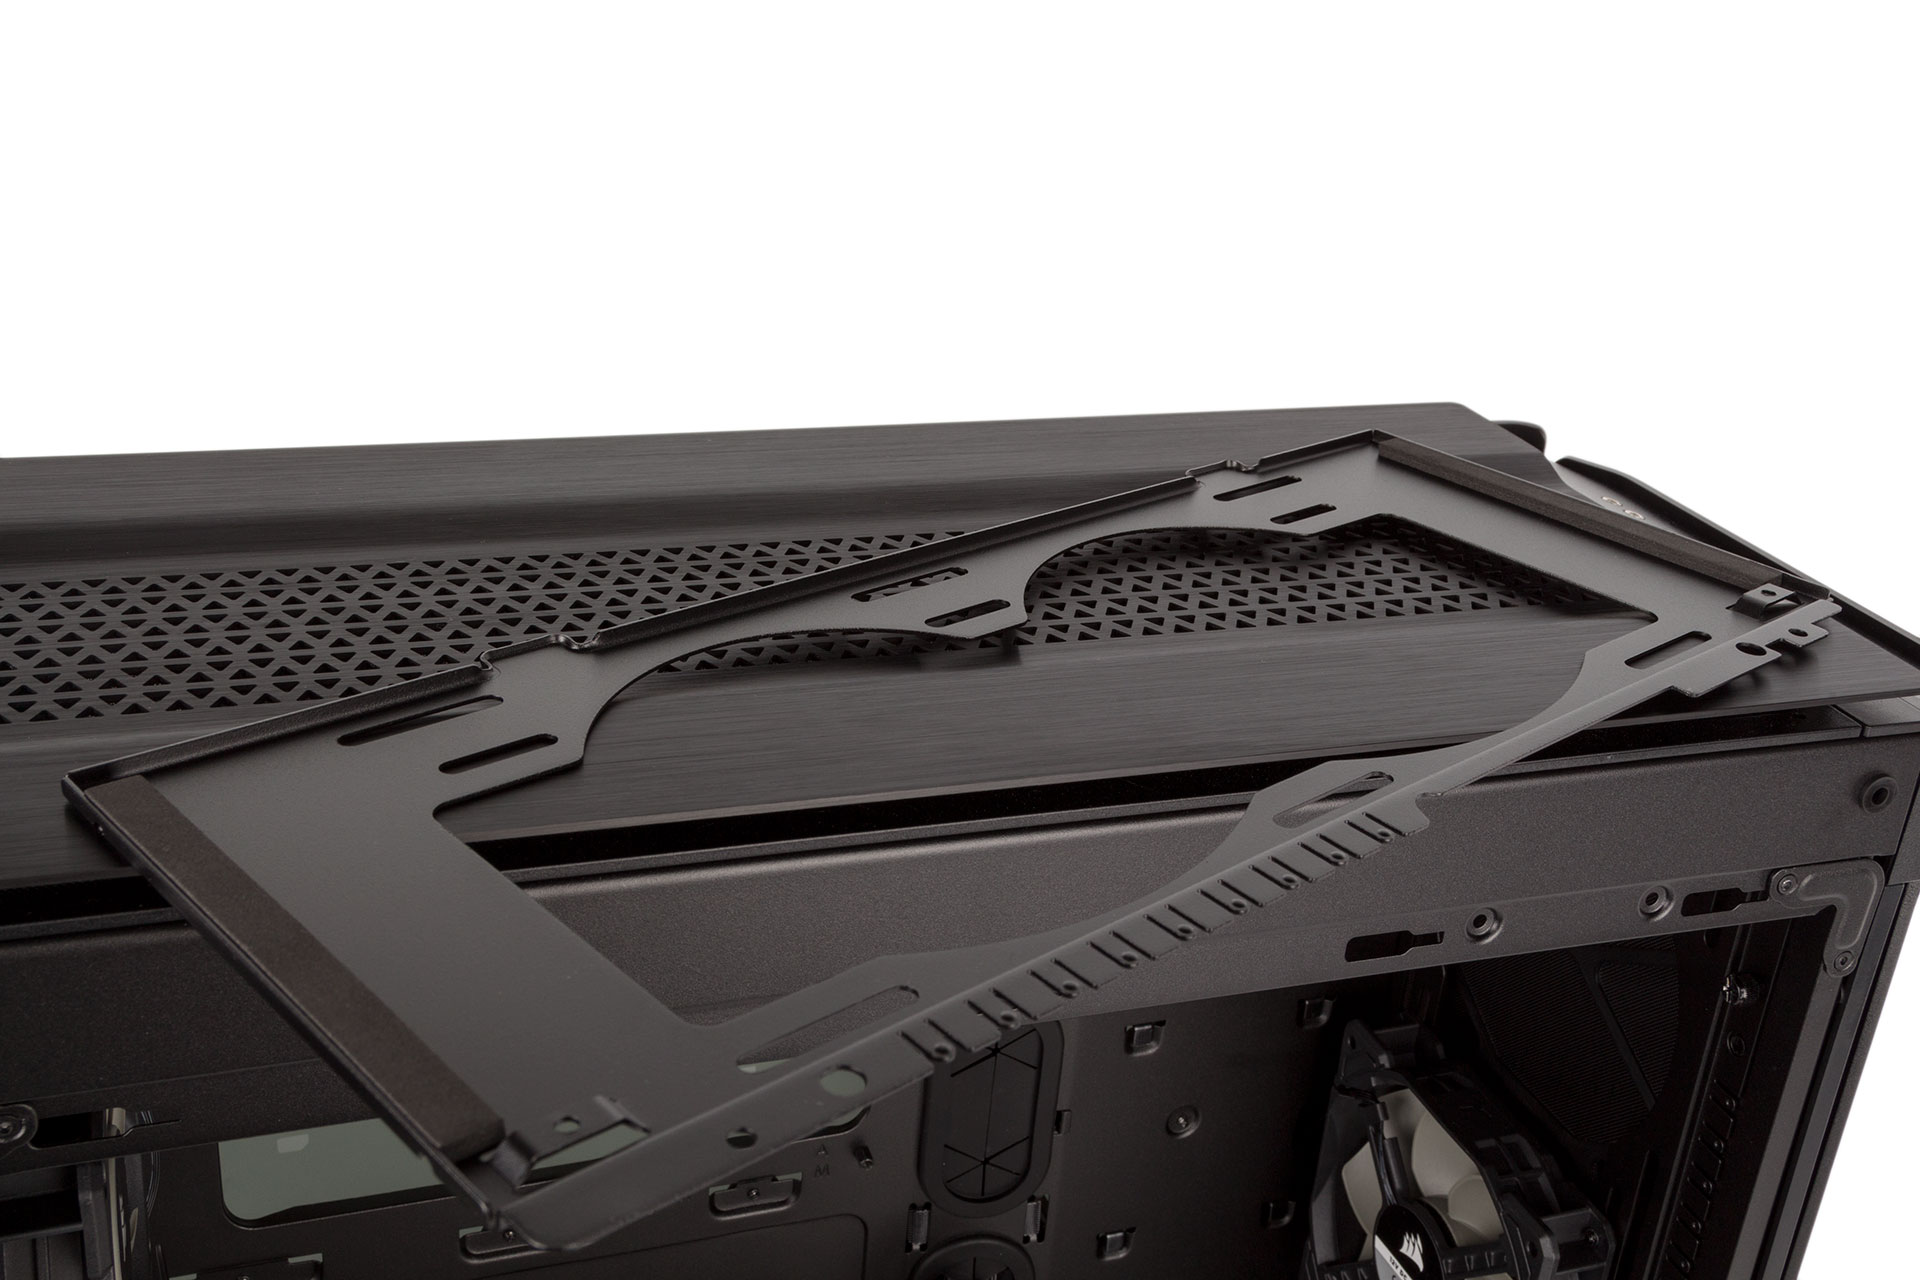
Instead of having to pry off the front and roof panels to install fans and radiators, Corsair utilises removable internal brackets that allow you to fit all your hardware outside of the case, which will definitely be appreciated if working with large radiators. The brackets then slot into place and are secured with a pair of thumbscrews. The 500D supports 360mm and 280mm radiators in the front, while the roof can accommodate 240mm or 280mm models, with the mounts for the former being offset away from the motherboard too. We were also thankful to note the presence of mounting struts for pumps/reservoirs cut into the floor, although there are no built-in anti-vibration solutions.
RELATED ARTICLES


MSI MPG Velox 100R Chassis Review
October 14 2021 | 15:04

Want to comment? Please log in.