Interior
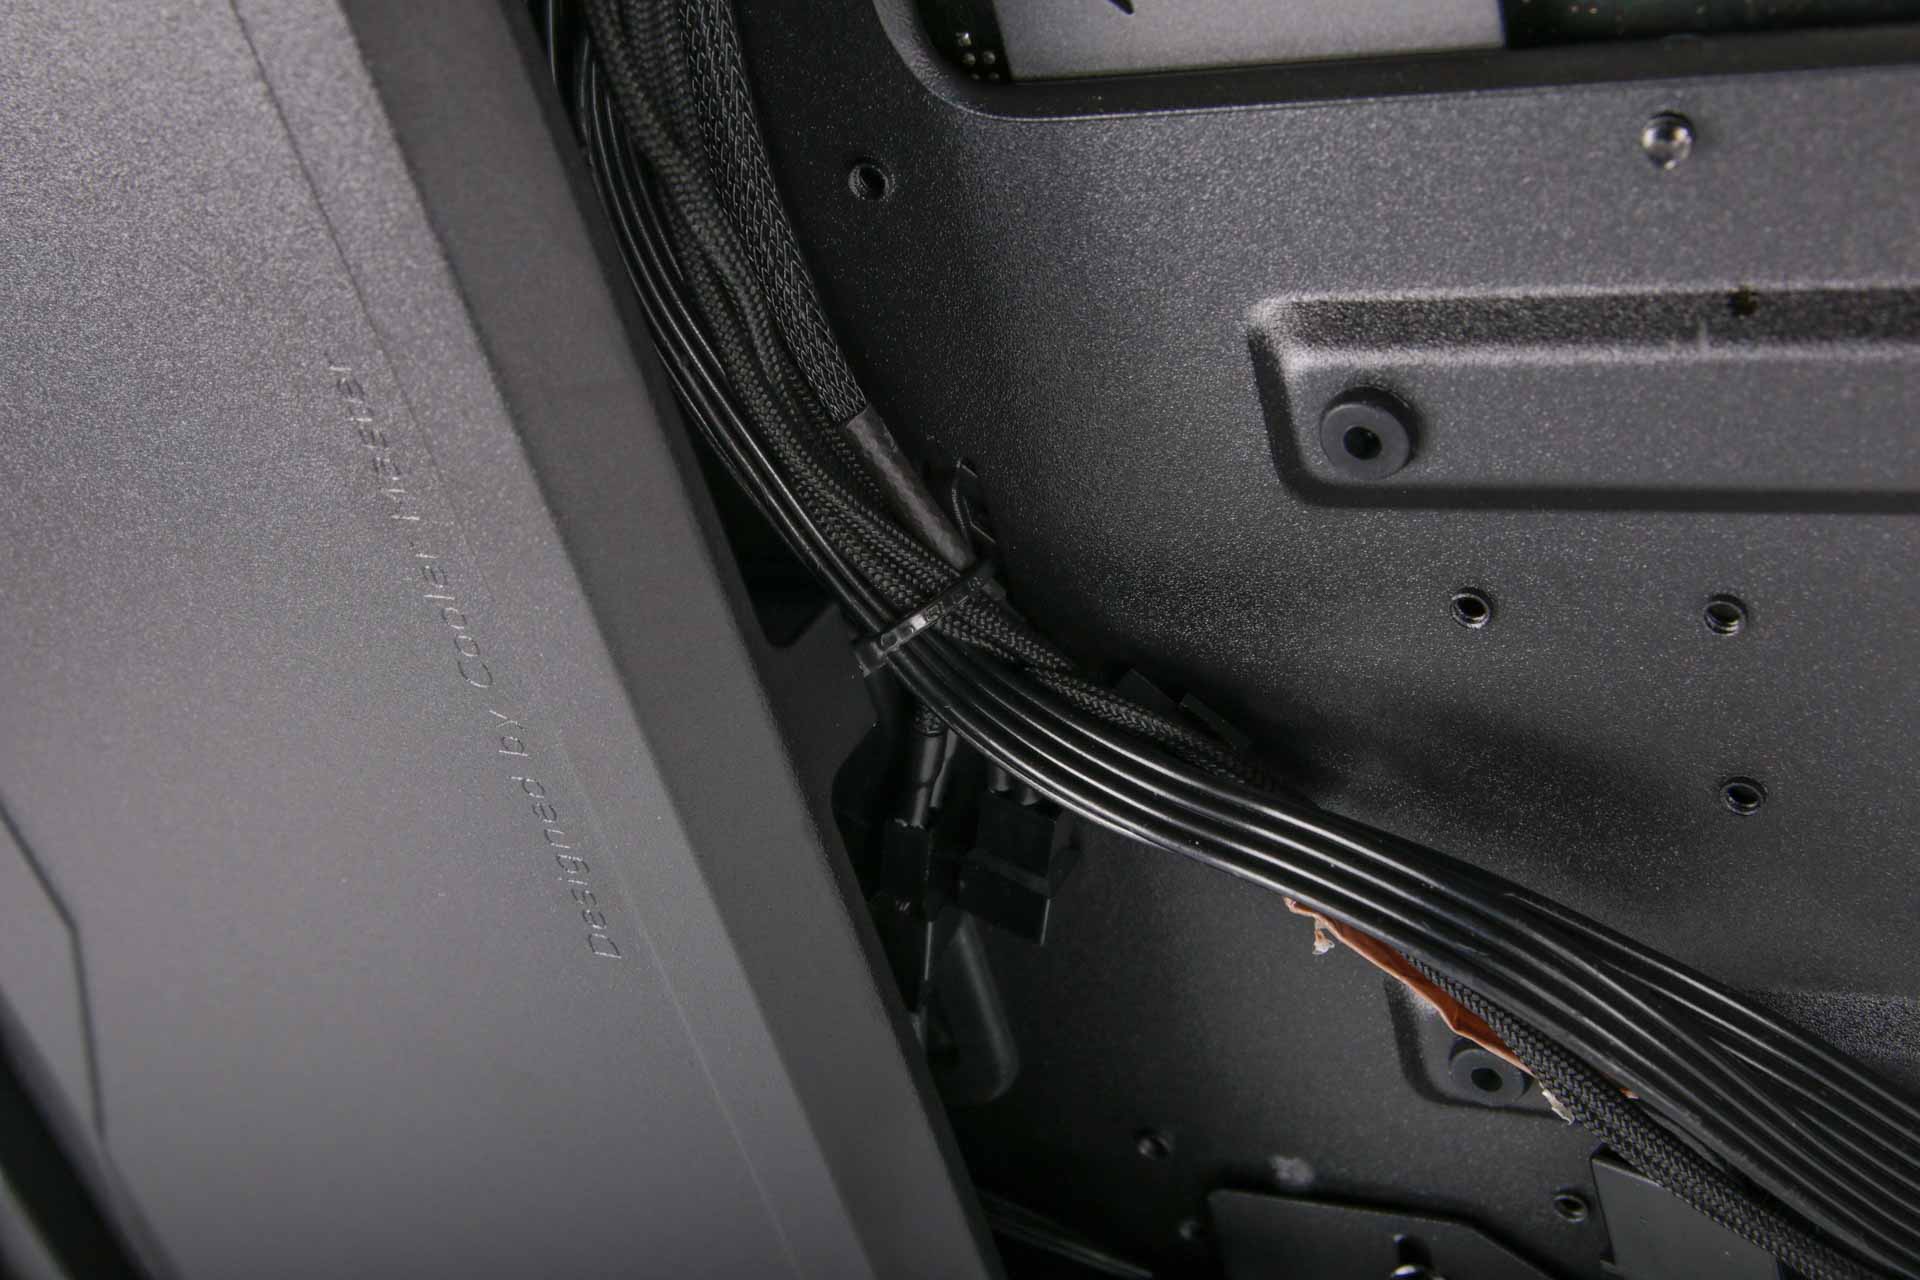
The motherboard tray features a large cut-out area that's backed by a removable fascia that hides the rear of the motherboard so not to spoil the view through the rear glass side panel. There are plenty of cable routing holes, although the only areas large enough for the bigger cables are the grommeted ones in the tray itself. The hole in the top left of the tray that allows the eight-pin EPS12V connector to pass through is also not large enough for some connectors, including that on our Fractal Design power supply, which has a plastic flange at the base where the two four-pin connectors are held together. Separating the two allowed us to get them through the hole.
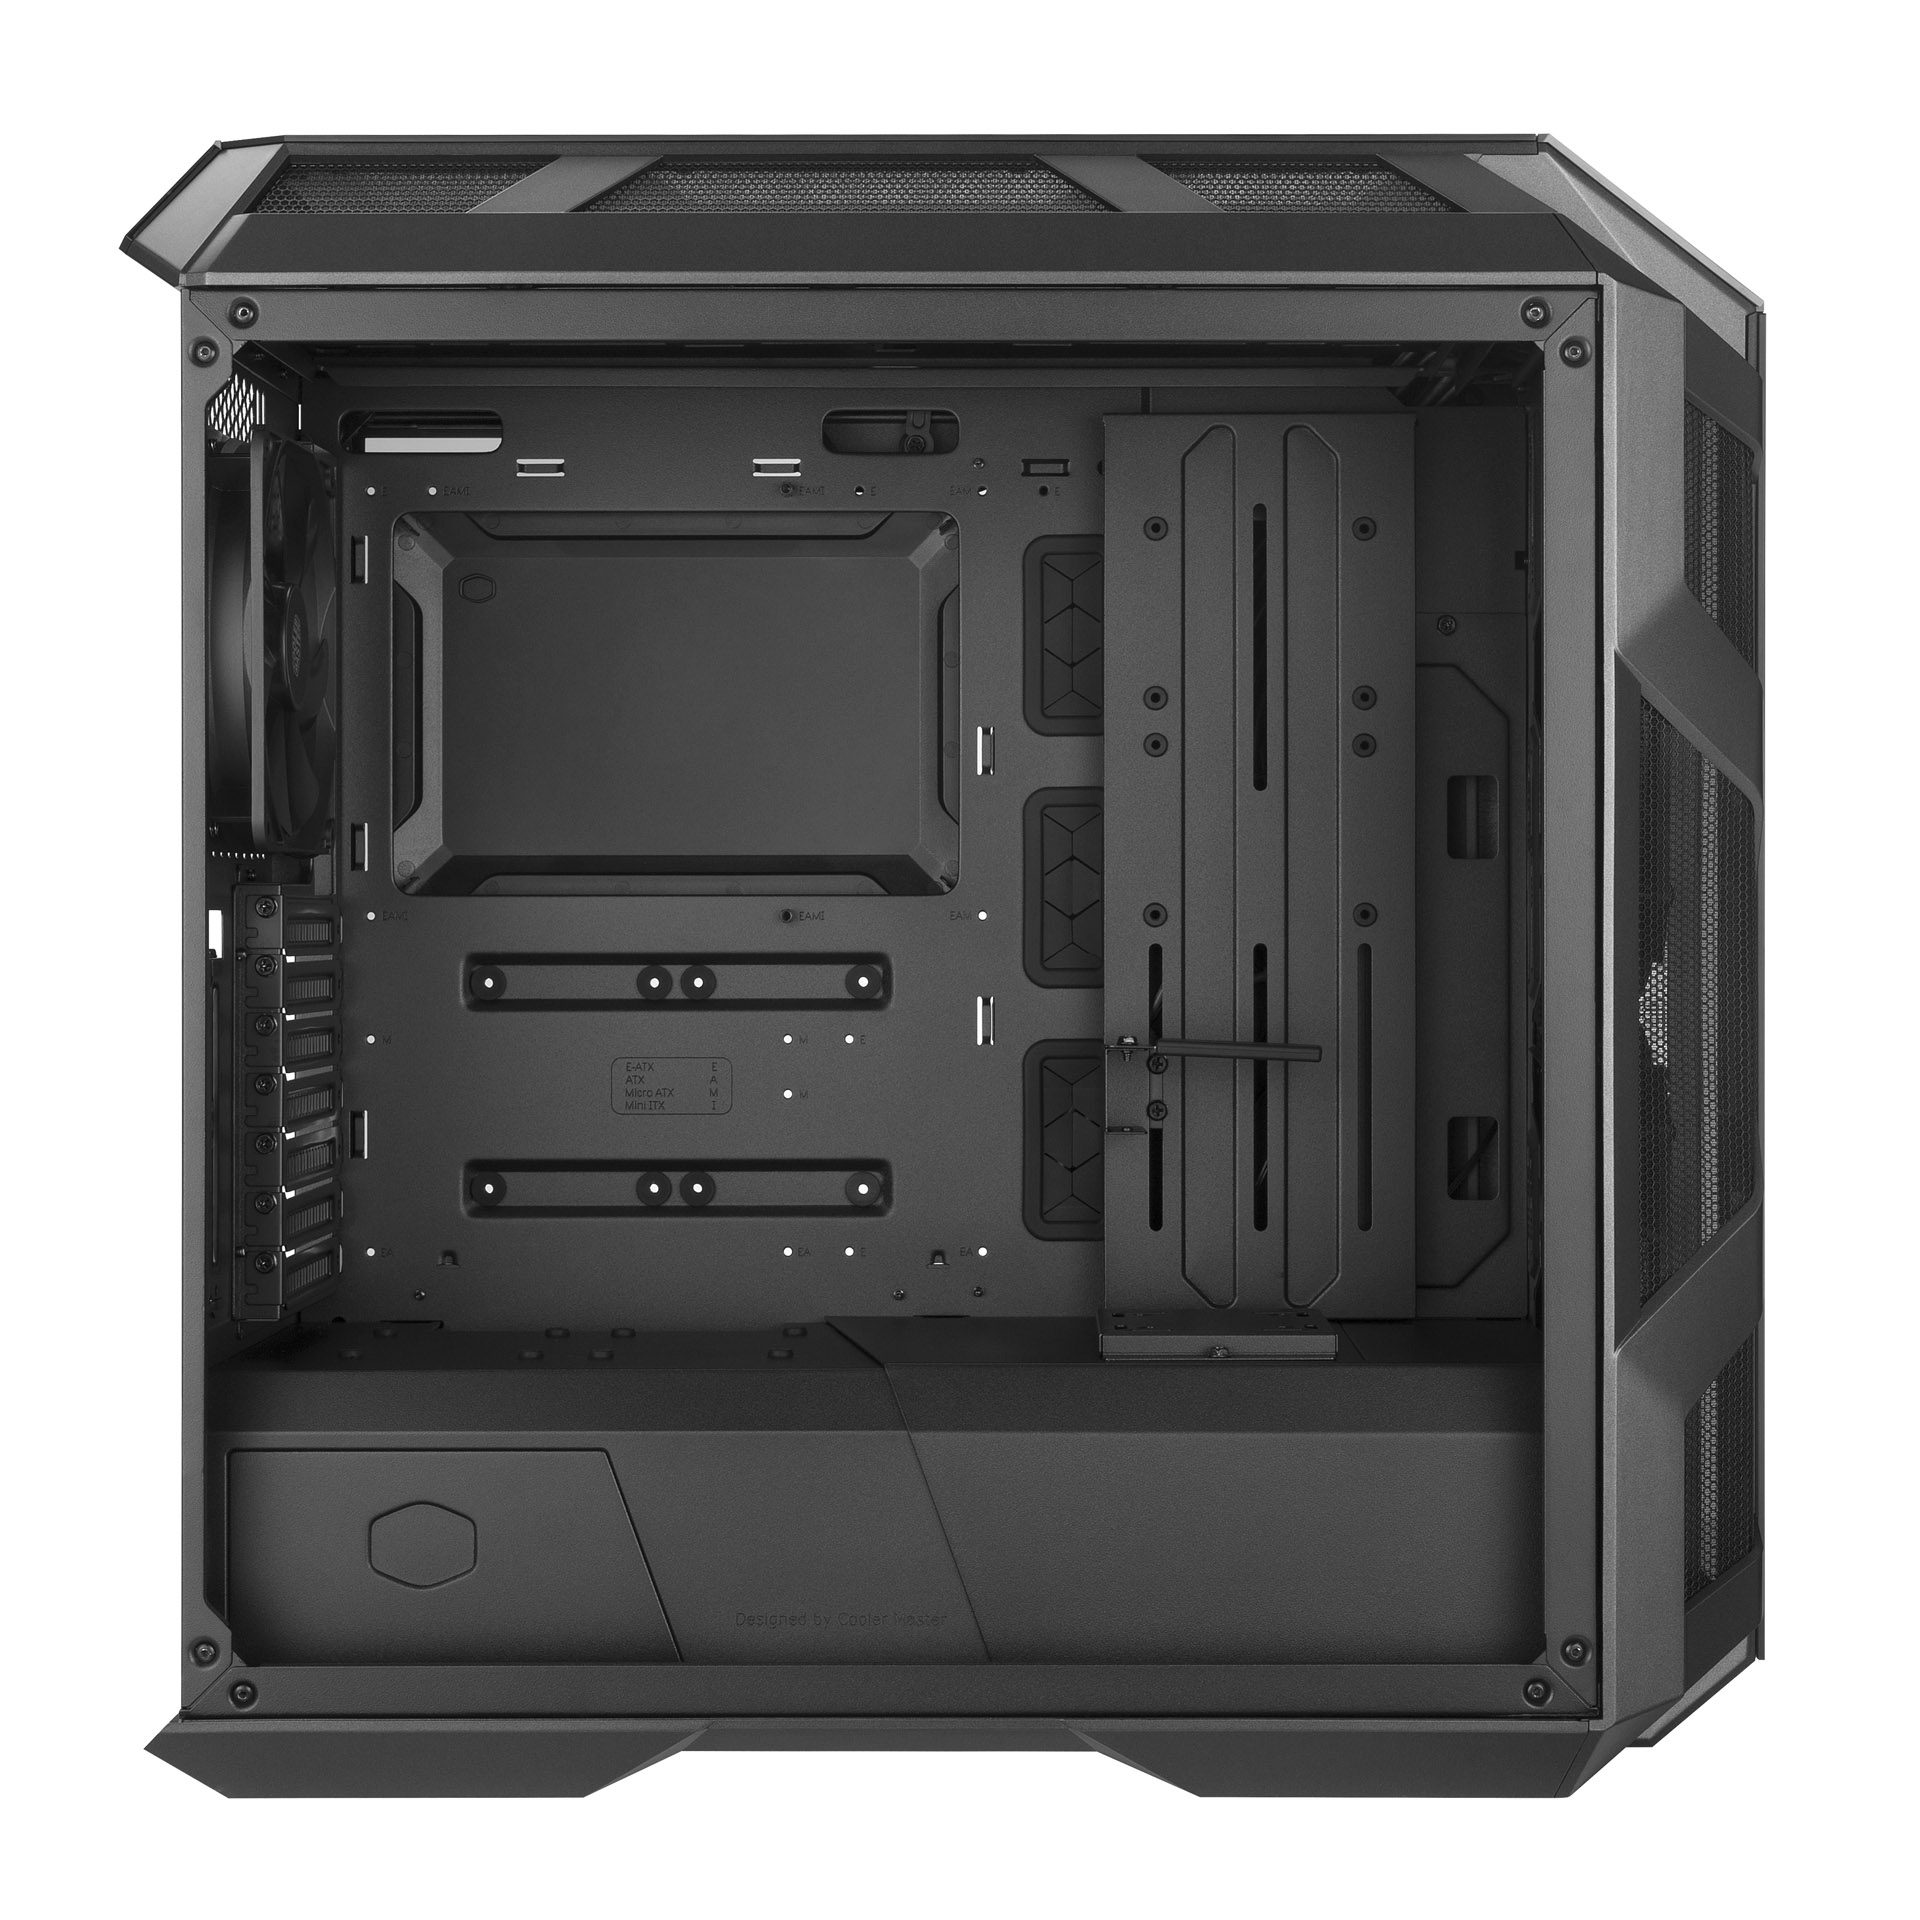
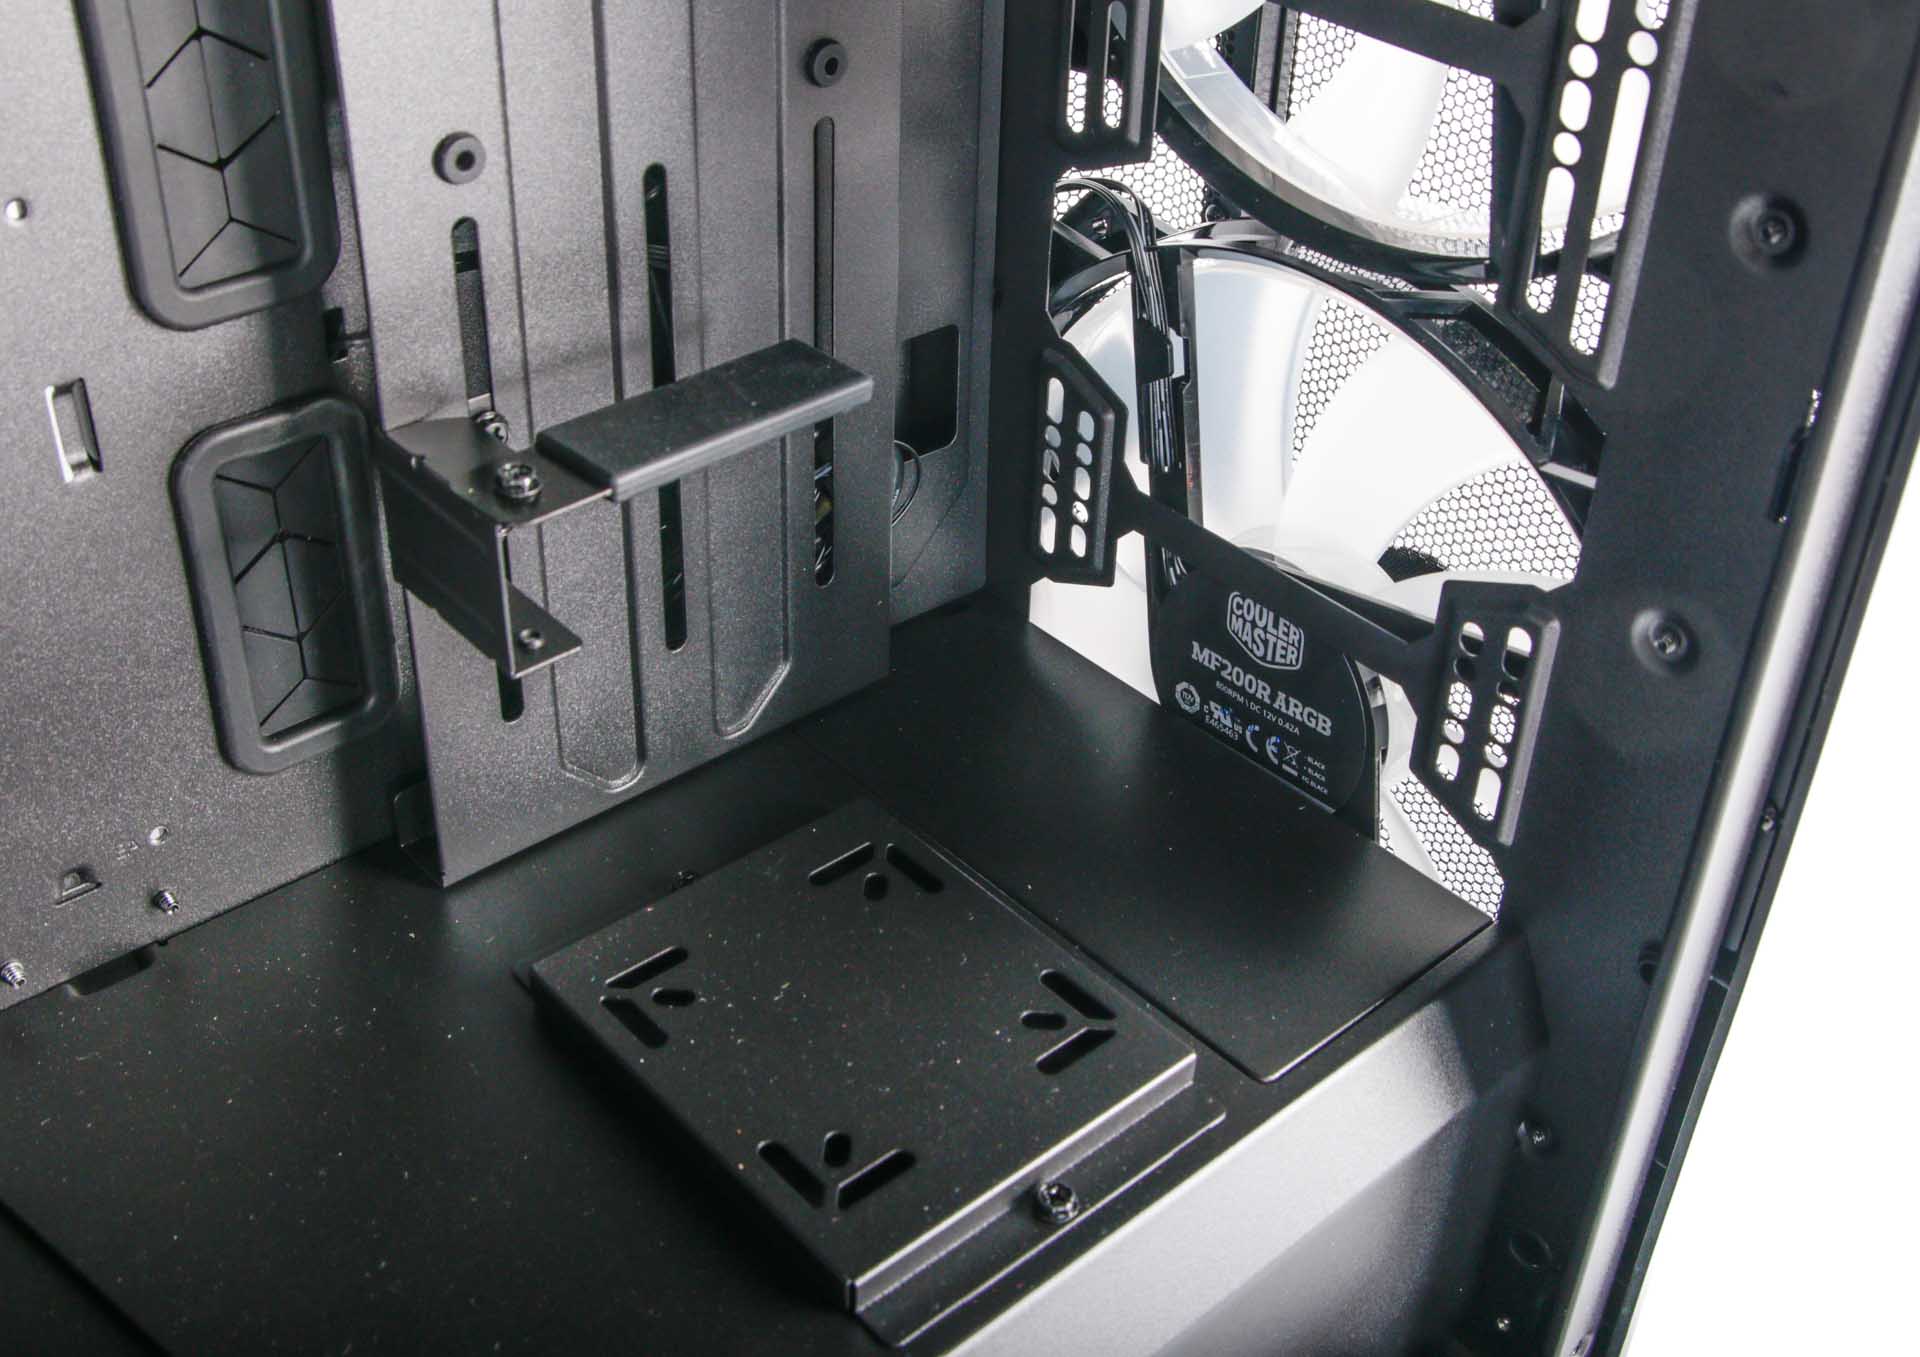
Cooler Master includes a couple of additional items compared to the H500P inside, including an adjustable support for graphics cards that prevents sag (particularly useful for heavy water-cooled cards), which is mounted on a cable cover that doubles as a reservoir mount as well as offering a pair of 2.5" SSD mounts, with a further two of those behind the motherboard hidden from view. There's also a separate universal pump mount for the likes of the Laing D5 and DDC on top of the removable PSU cover. Like the H500P, the H500M supports vertical GPU mounting, but only through extras purchased separately.
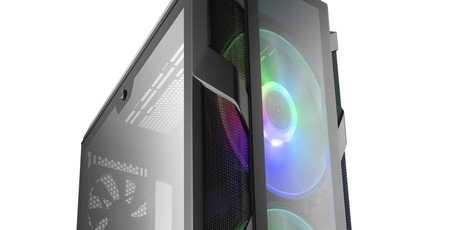
The case is clearly geared for positive air pressure out of the box, with a pair of 200mm MF200R fans in the front, while the roof can play host to two more or a pair of 140mm fans. The front has space for a trio of either 120mm or 140mm fans as well, but while you can fit a 360mm radiator here, only up to 280mm models are supported or a single 200mm radiator, although removing sections of the PSU cover does allow for essentially unlimited clearance.
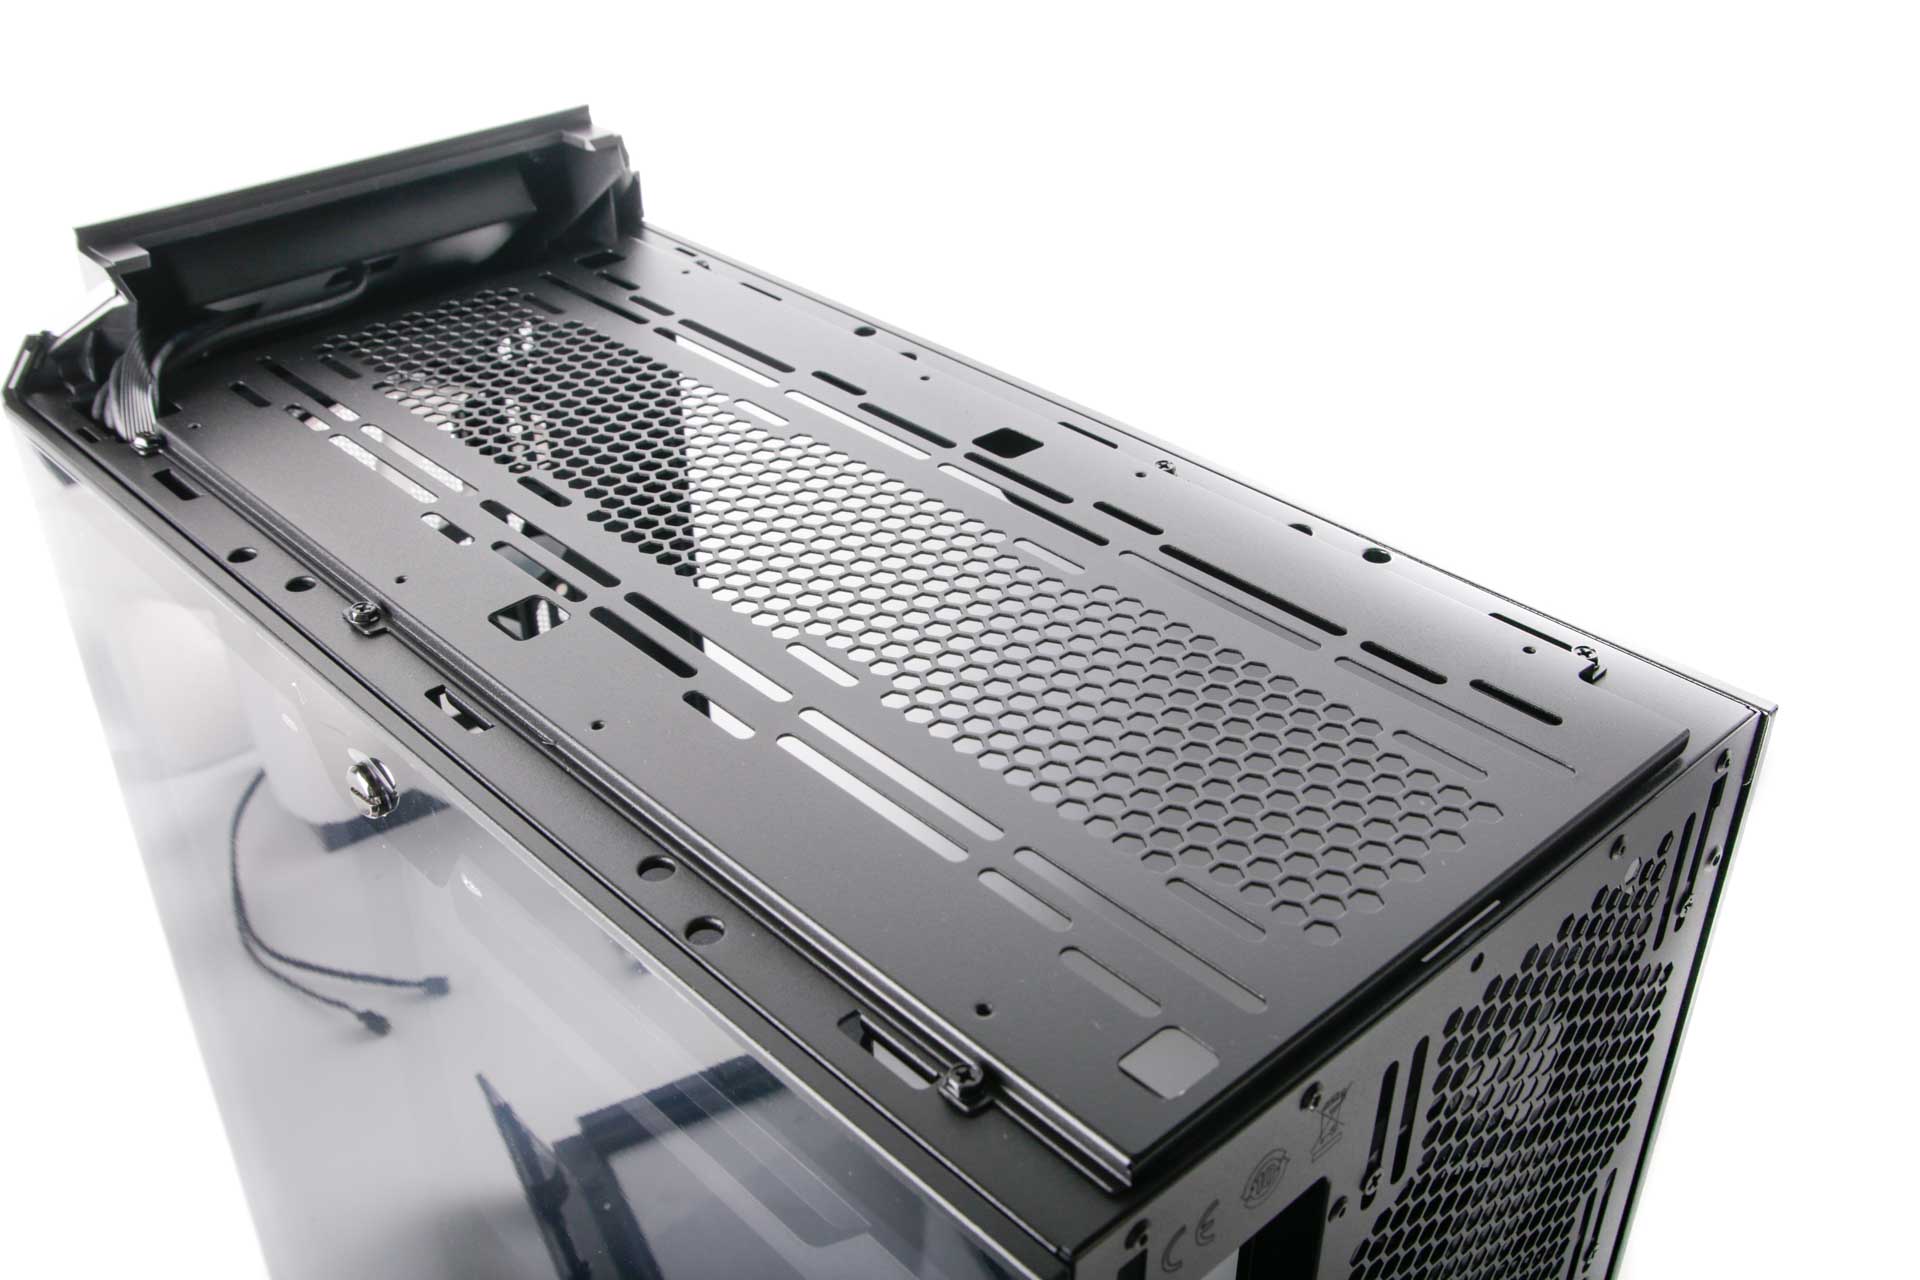
The roof lacks support for 200m radiators despite having space for 200m fans, so here you'll be limited to either 360mm or 280mm radiators, and with 43mm clearance that essentially limits you to half-height models too. The roof fan mounts are located in a removable plate, which should make installing your cooling hardware here that bit easier.

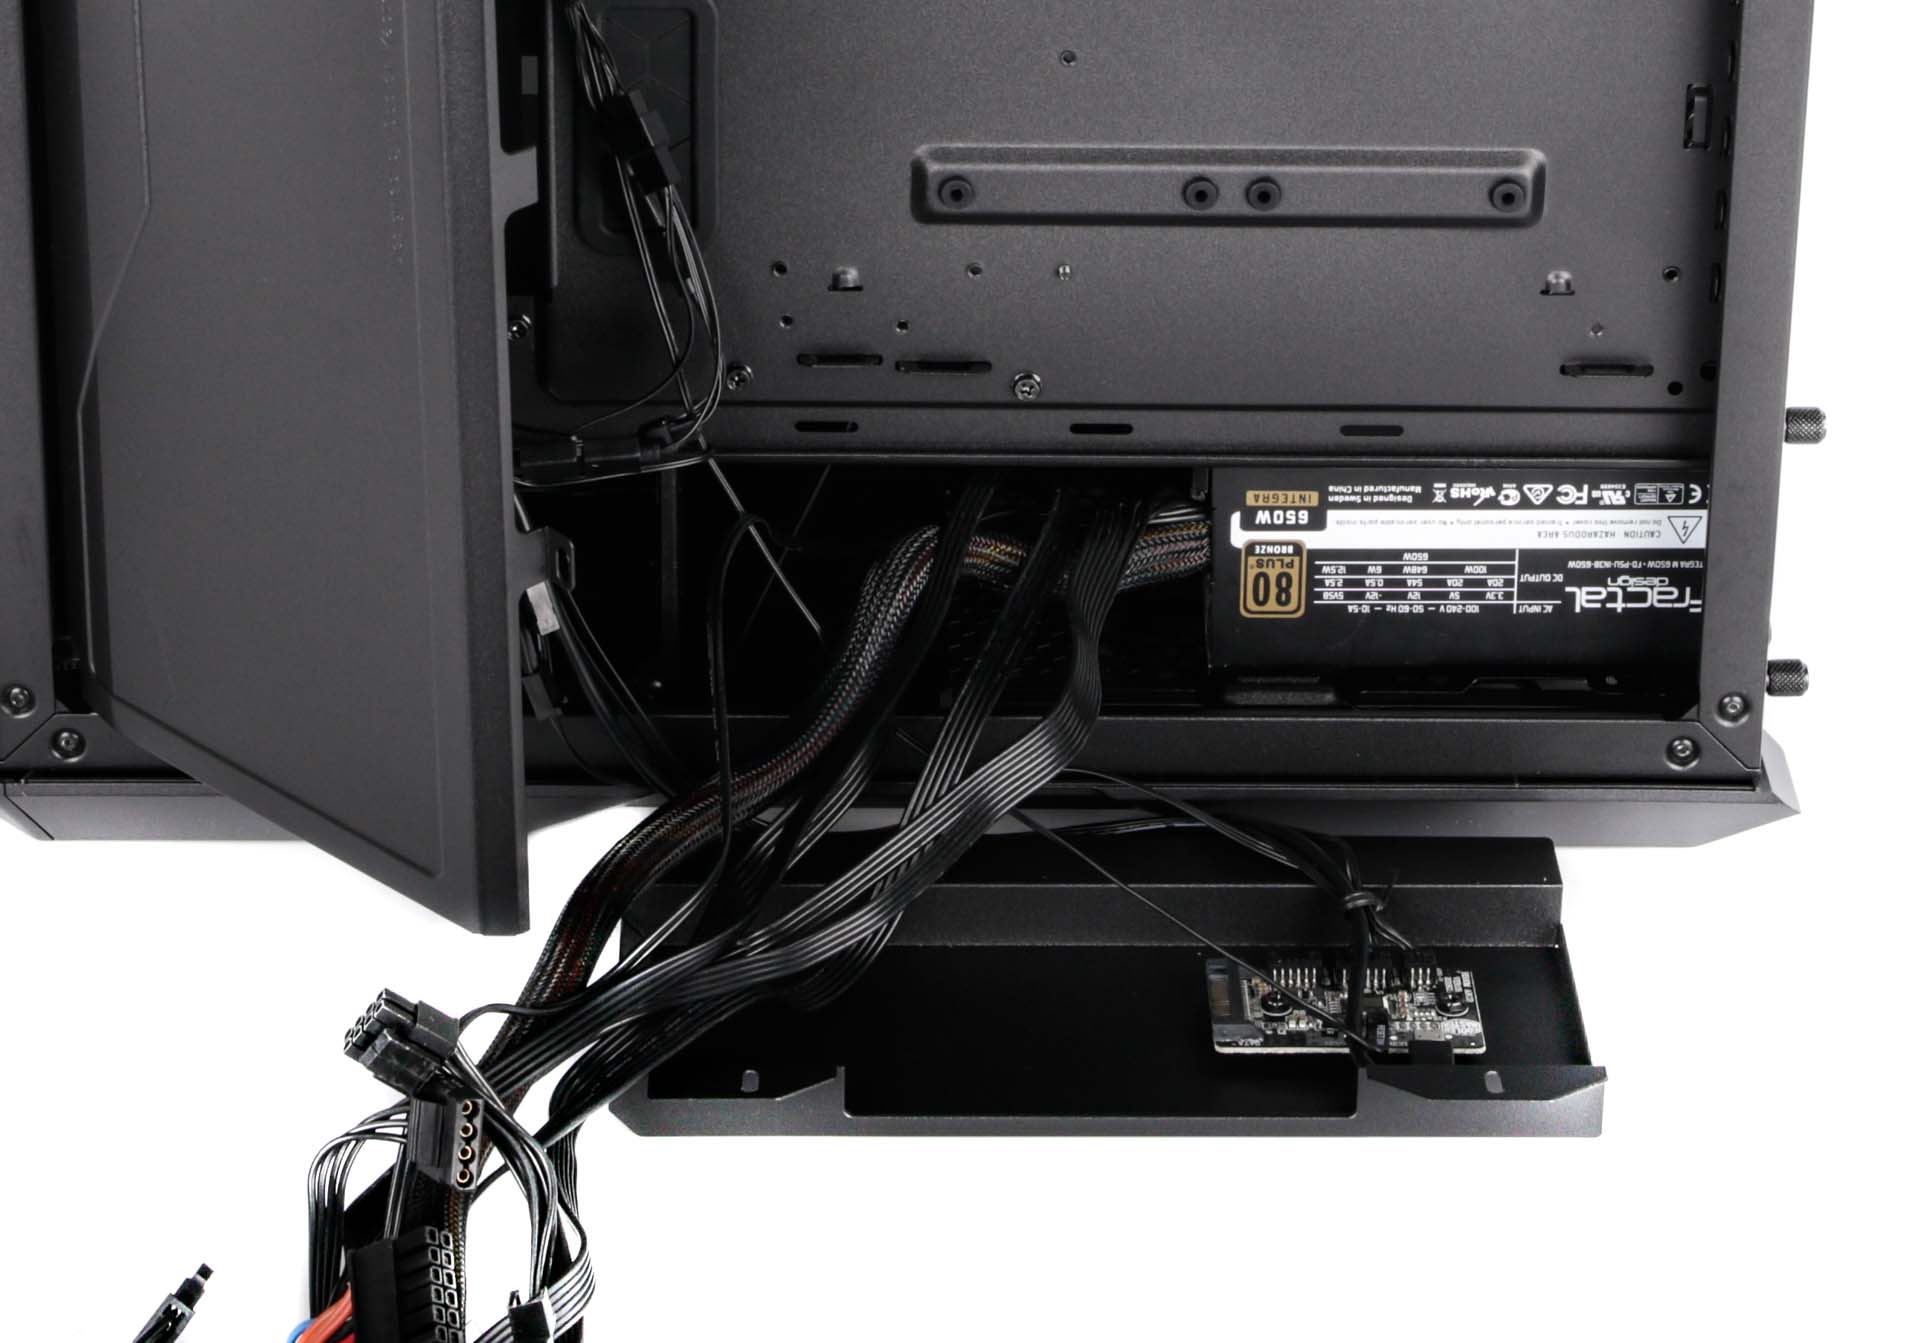
The trickiest part here, though, was the large plate on the left, specifically its mounting points. These, unfortunately, line up with the cable tie anchor points on the motherboard tray, which means that using the latter to group even a couple of cables together easily leads to you not being able to secure the cable cover plate. Moving the anchor points even an inch to the right would have solved this, but the end result is that things get decidedly fiddly when your build progresses to the rear panel and cable routing.


MSI MPG Velox 100R Chassis Review
October 14 2021 | 15:04

Want to comment? Please log in.