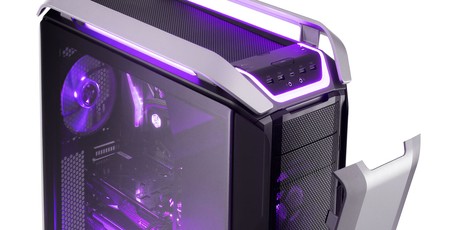
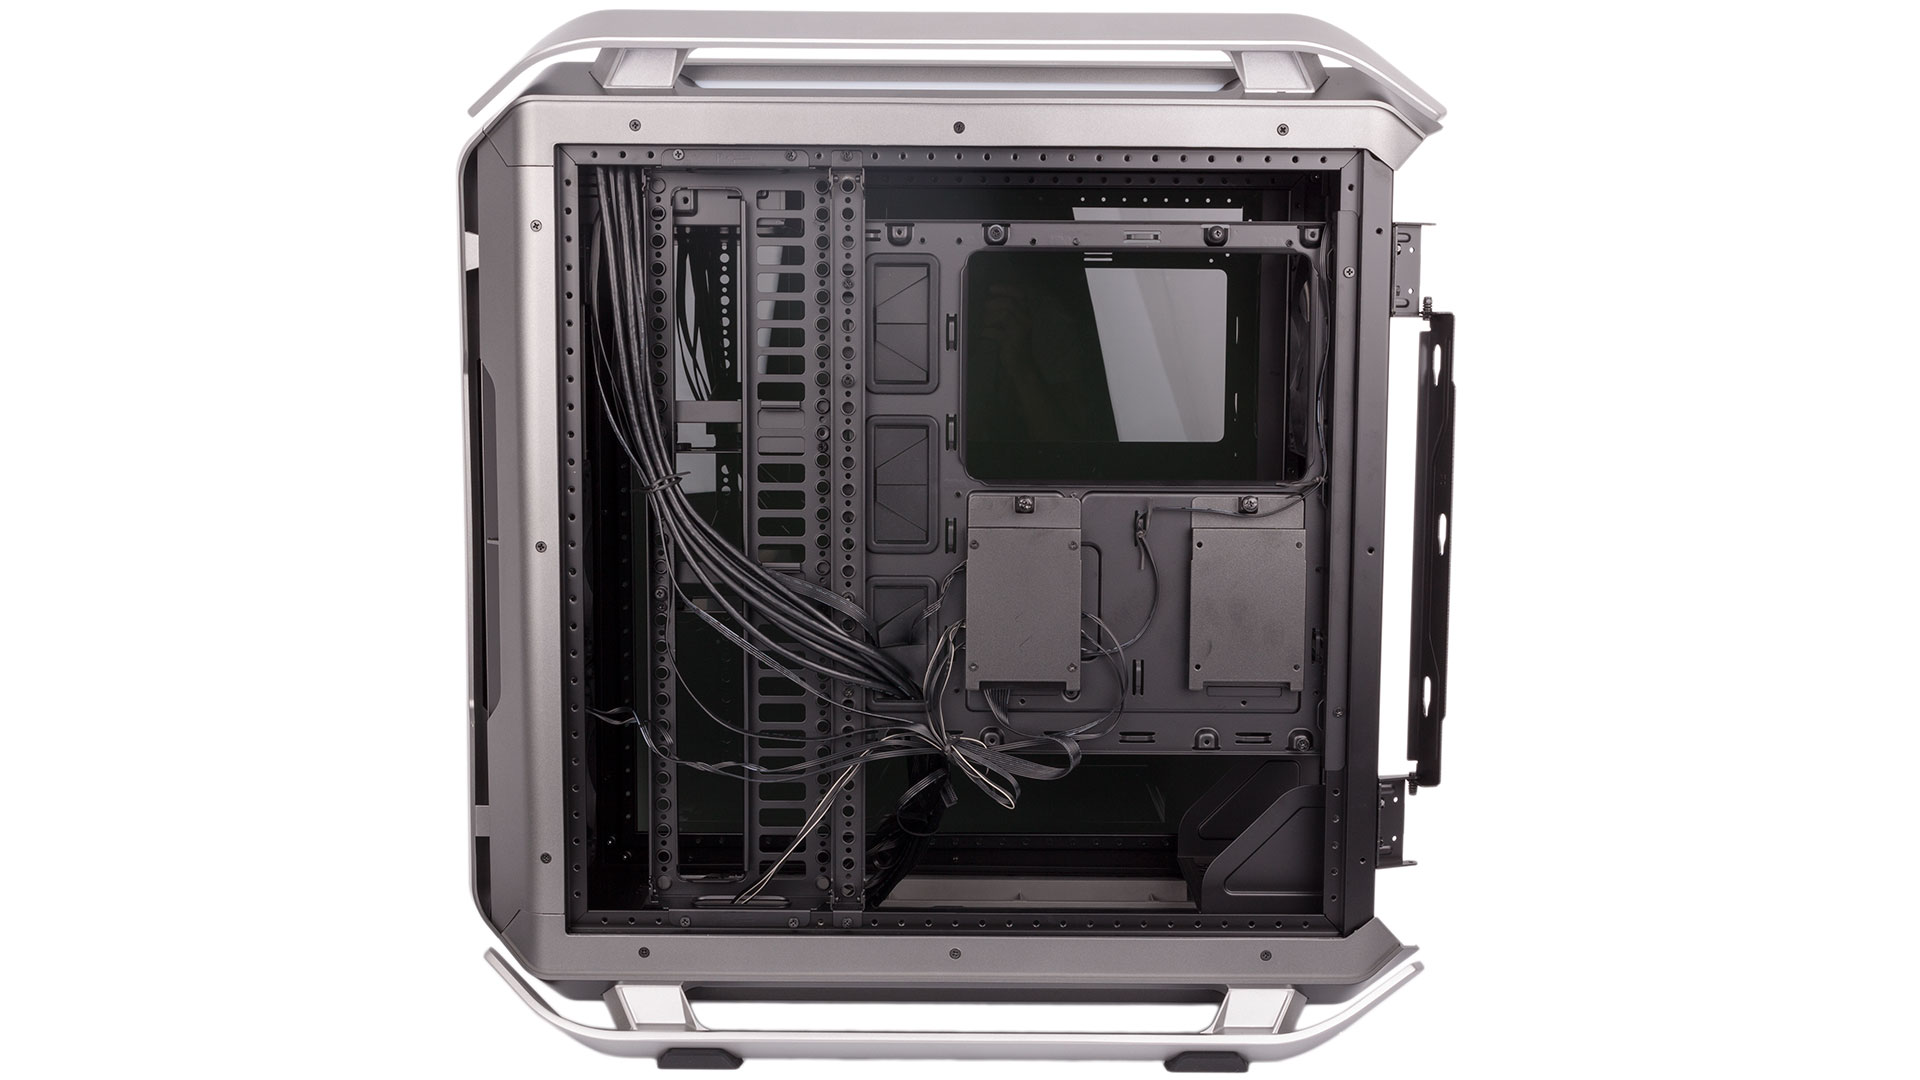
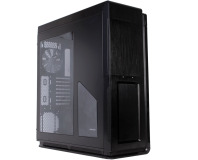
Interior
Both side panels are doors that open with a simple tug from the front and then lift out of their hinge mechanisms without fuss. The ease of access doesn’t stop there, as the front, roof, and bottom mesh sections can all be removed without screws.
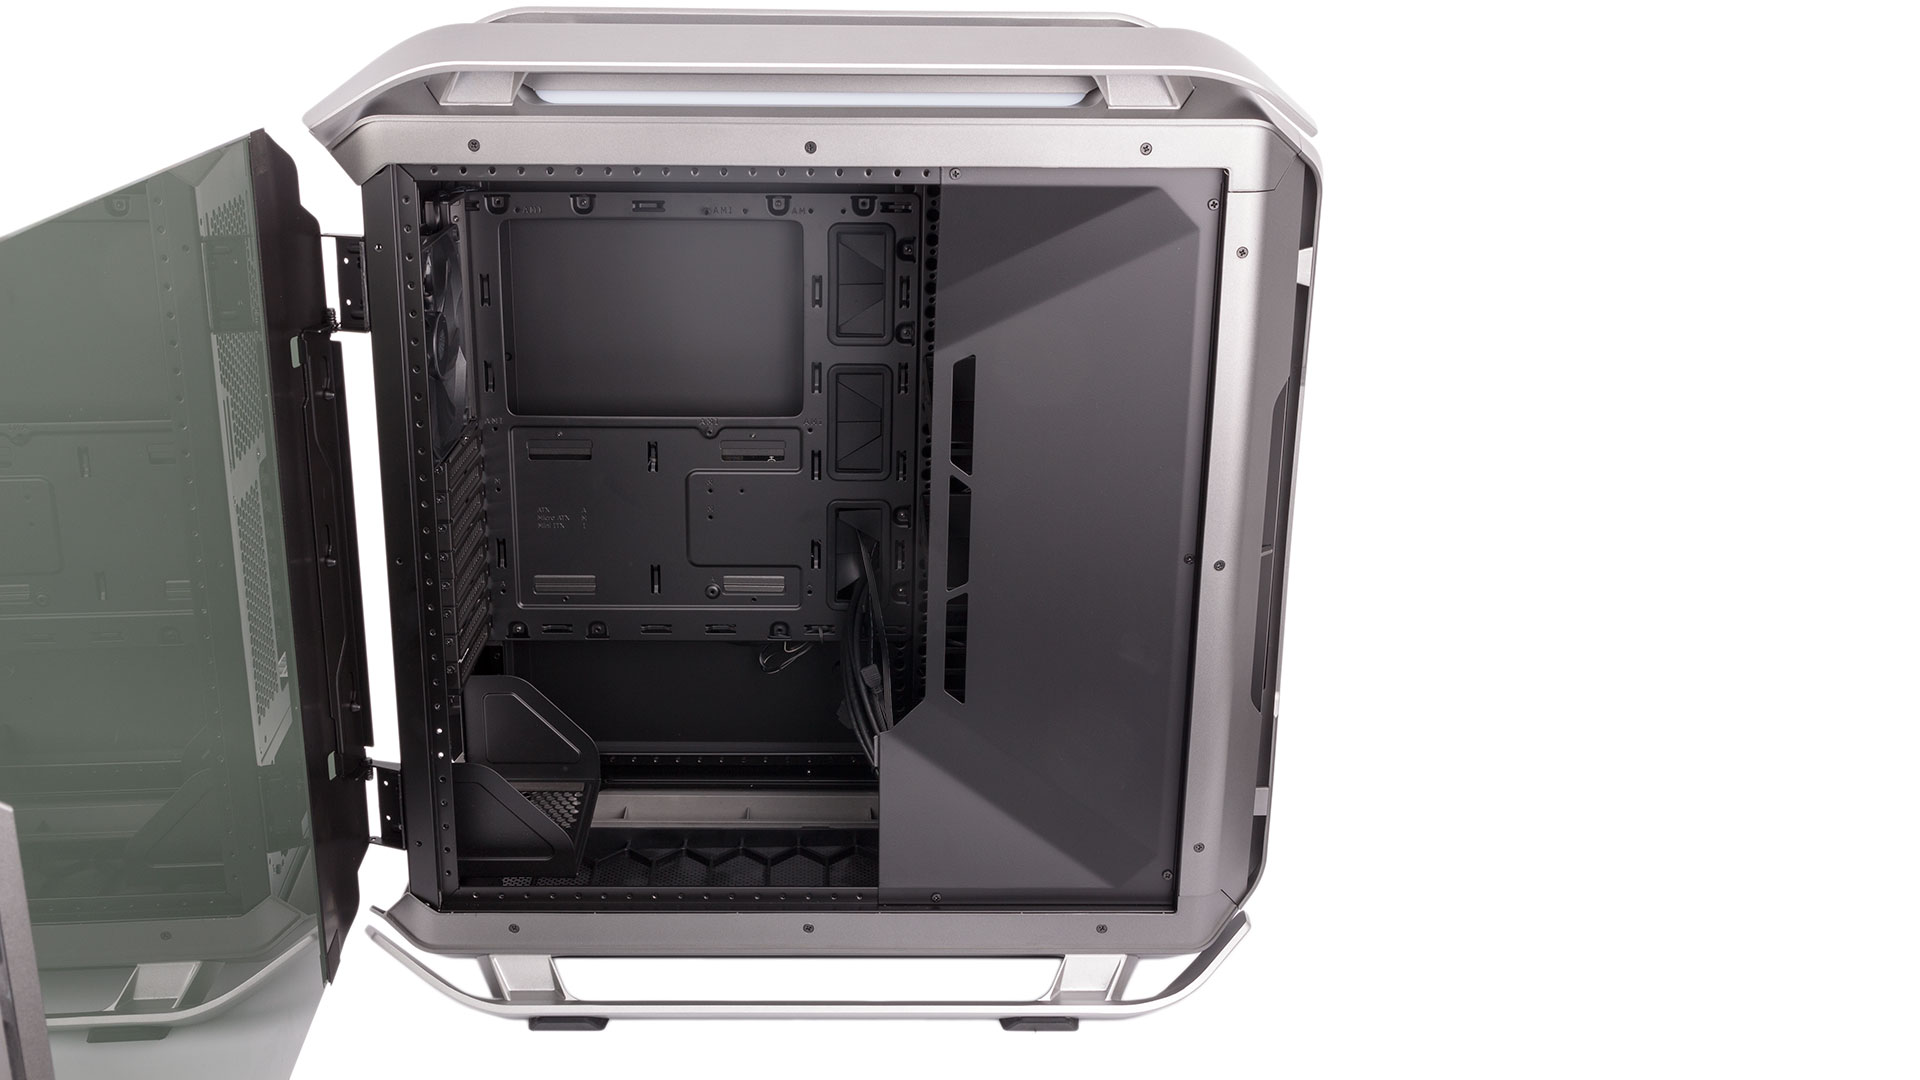
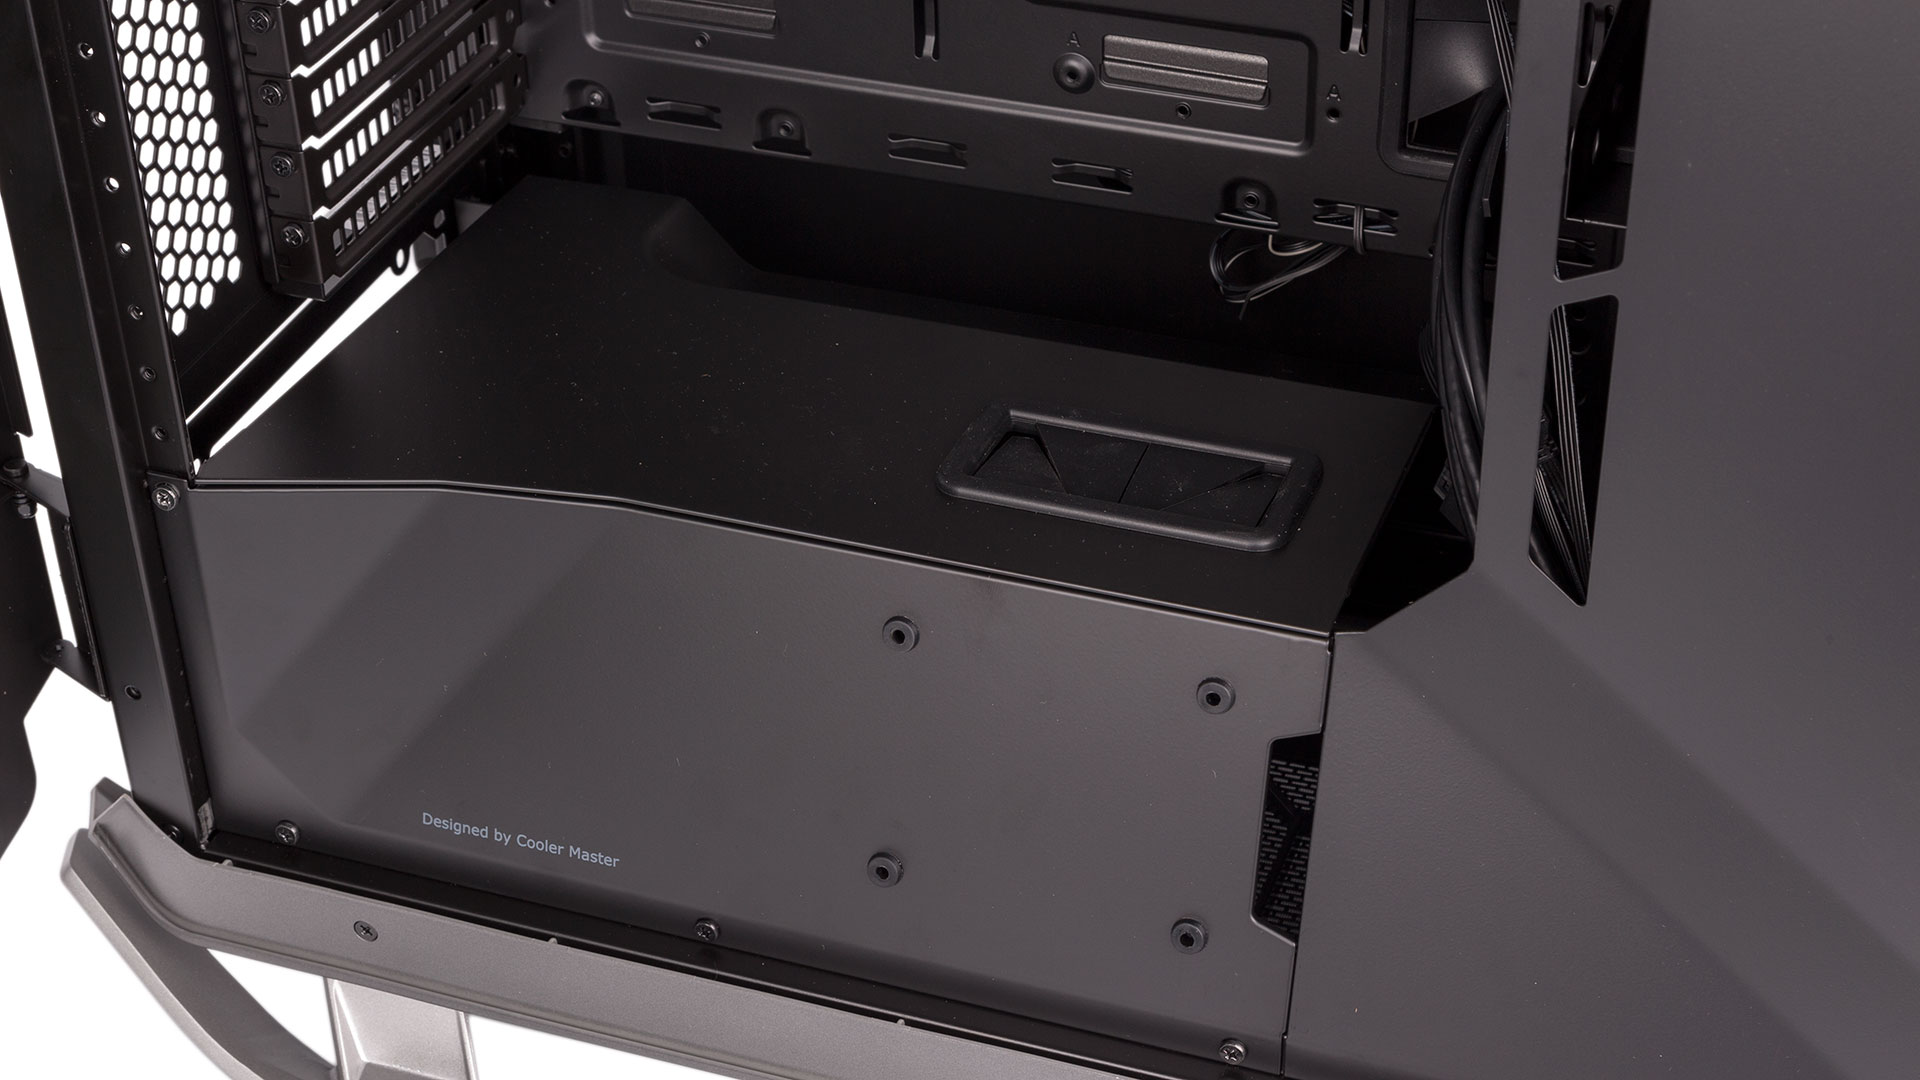
Inside, the default configuration is a standard full-tower layout, and Cooler Master has added PSU and storage covers to the main space and a cable routing cover to the area behind the motherboard tray. These could be stronger, to be honest – they’re all made of plastic – but they do their jobs well and each one can be independently removed. This is a theme that’s continued throughout the C700P, as a key feature of this case is its modularity and consequentially its flexibility with regards to layout. And we don’t just mean an ability to house lots of drives or radiators, though that applies as well. The combination of the modular frame and removable motherboard tray lets you invert the layout completely (the side panels can be swapped around to support this) or even switch to a chimney-style rotation with top-to-bottom airflow. The former is a 28-step process, as it’s a full inversion including all the hard drive and PSU brackets, but the manual walks you through it very well.
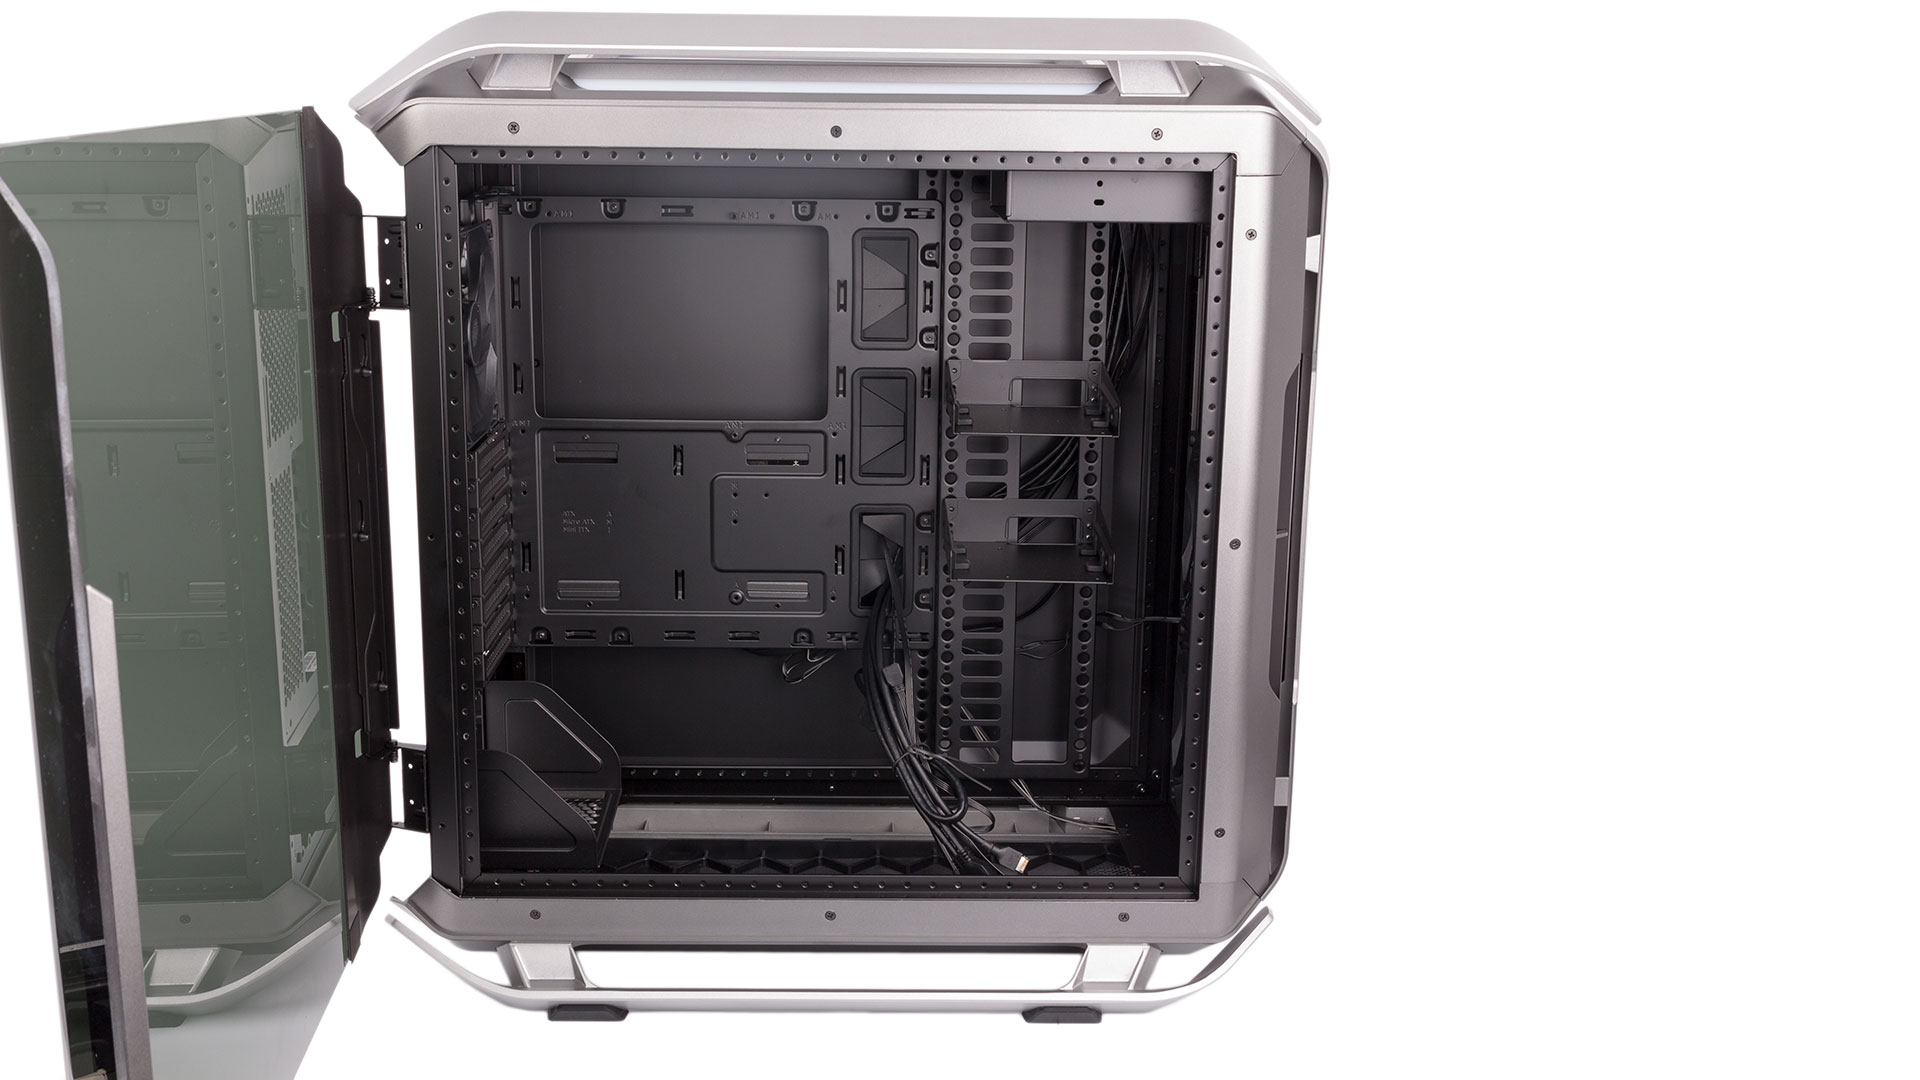
As you would expect from such a large case, there is ample room for practically any component. E-ATX motherboards are supported, while clearance for CPU coolers and GPUs are set at a whopping 198mm and 490mm (320mm if it’s in line with a HDD bracket).

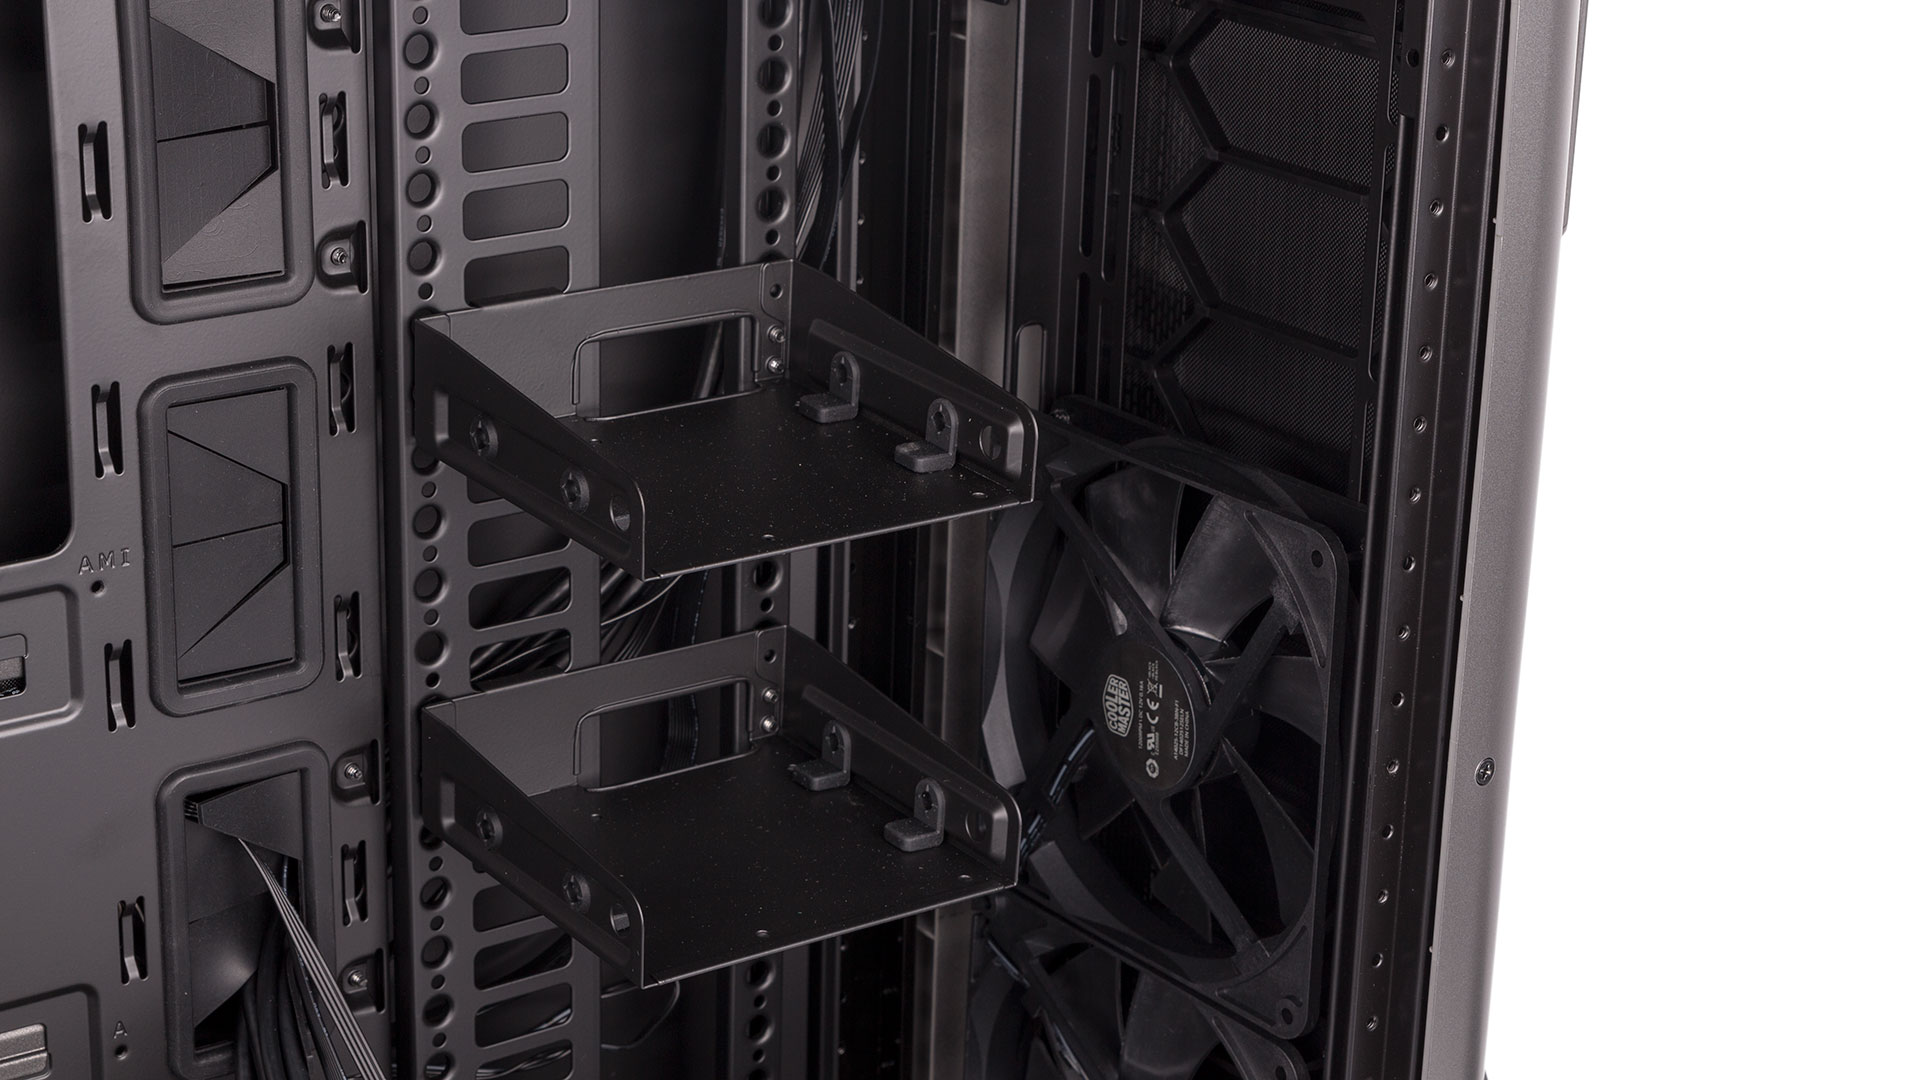
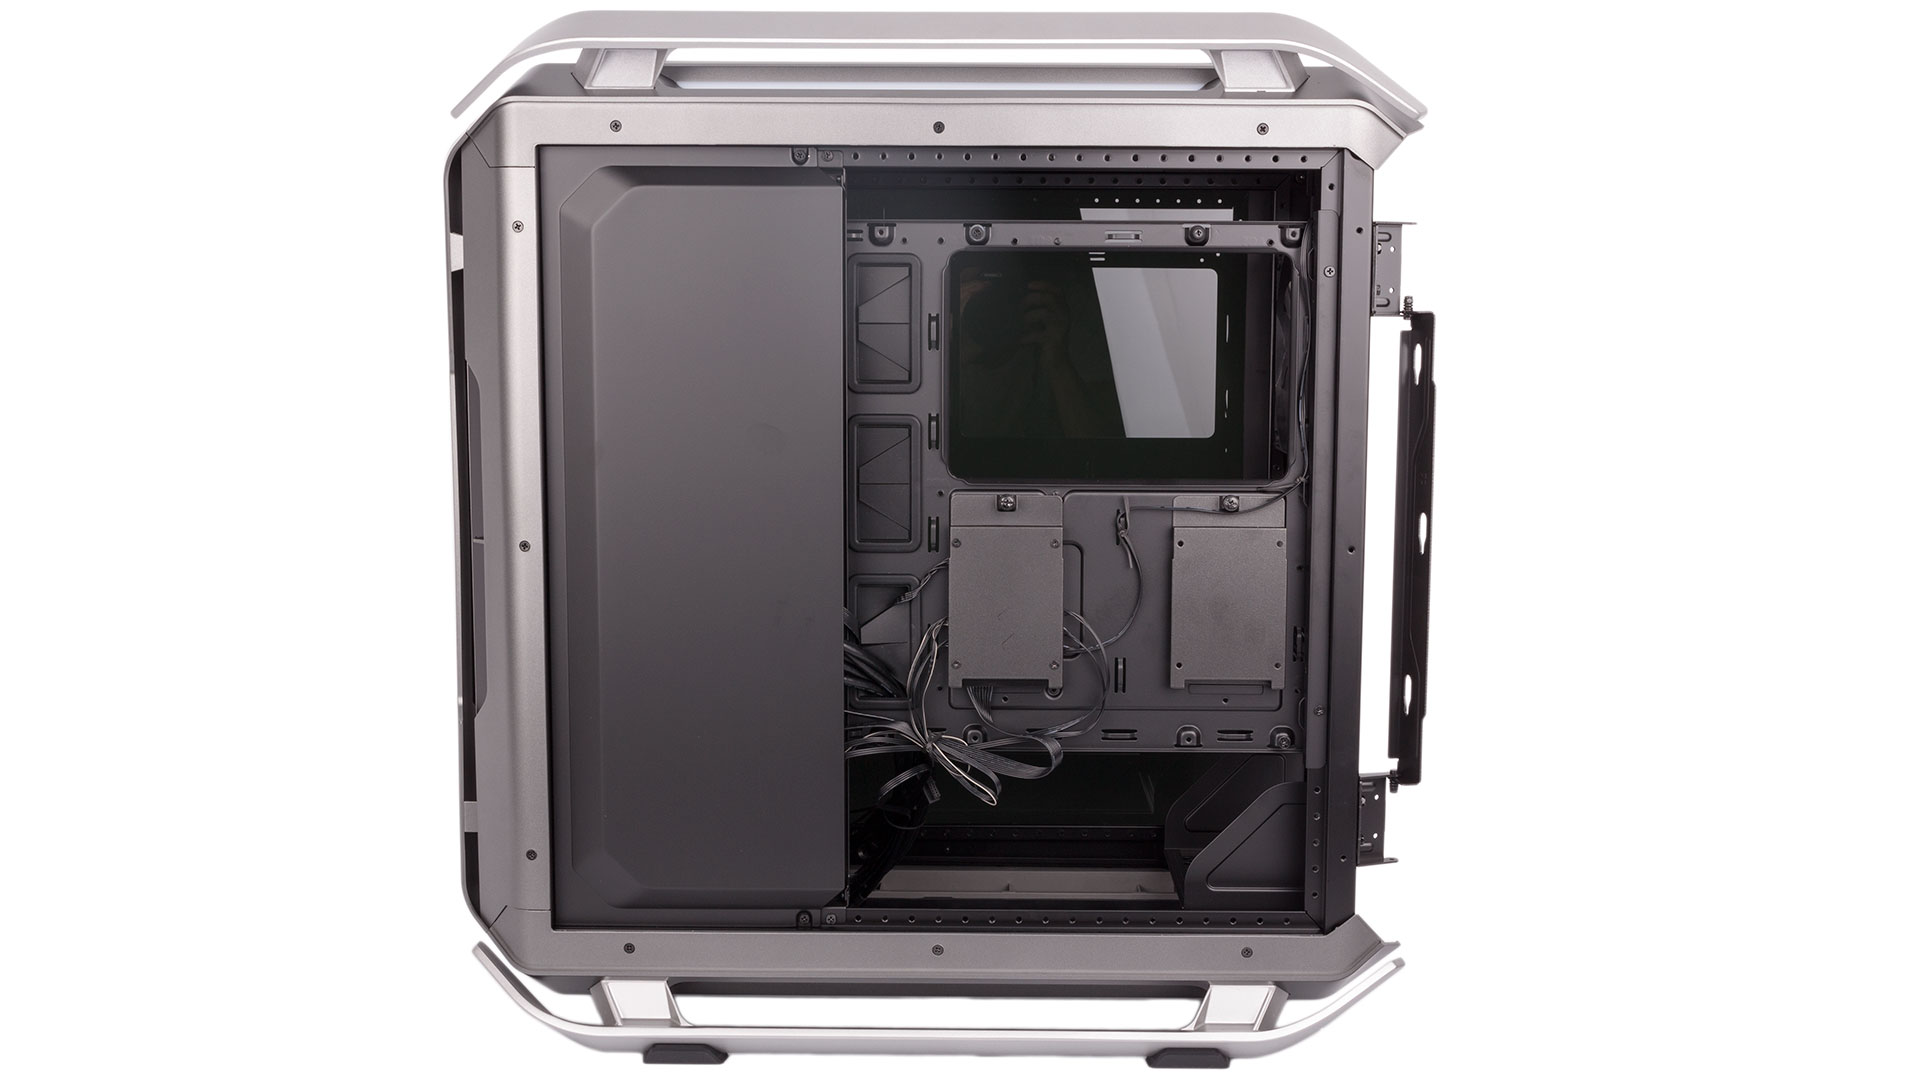
A pair of 3.5”/2.5” drive trays are fitted to the front section, hidden by default by the storage bracket. The modular bracket into which they’re screwed allows you to move them up and down at will and also install extra drive trays (available to buy through the CM Store), although you do need to remove the cable management cover to gain the necessary access. The trays have heavily rubberised sections to help dampen vibrations from 3.5” drives as well.
While 5.25” drives have largely fallen out of fashion, it makes sense to include support for them in a PC this size, especially when you can easily remove the singular drive cage. Alternatively, two 5.25” drives (or a double bay reservoir) can be installed using an optional bracket that’s secured to the sides of the case.
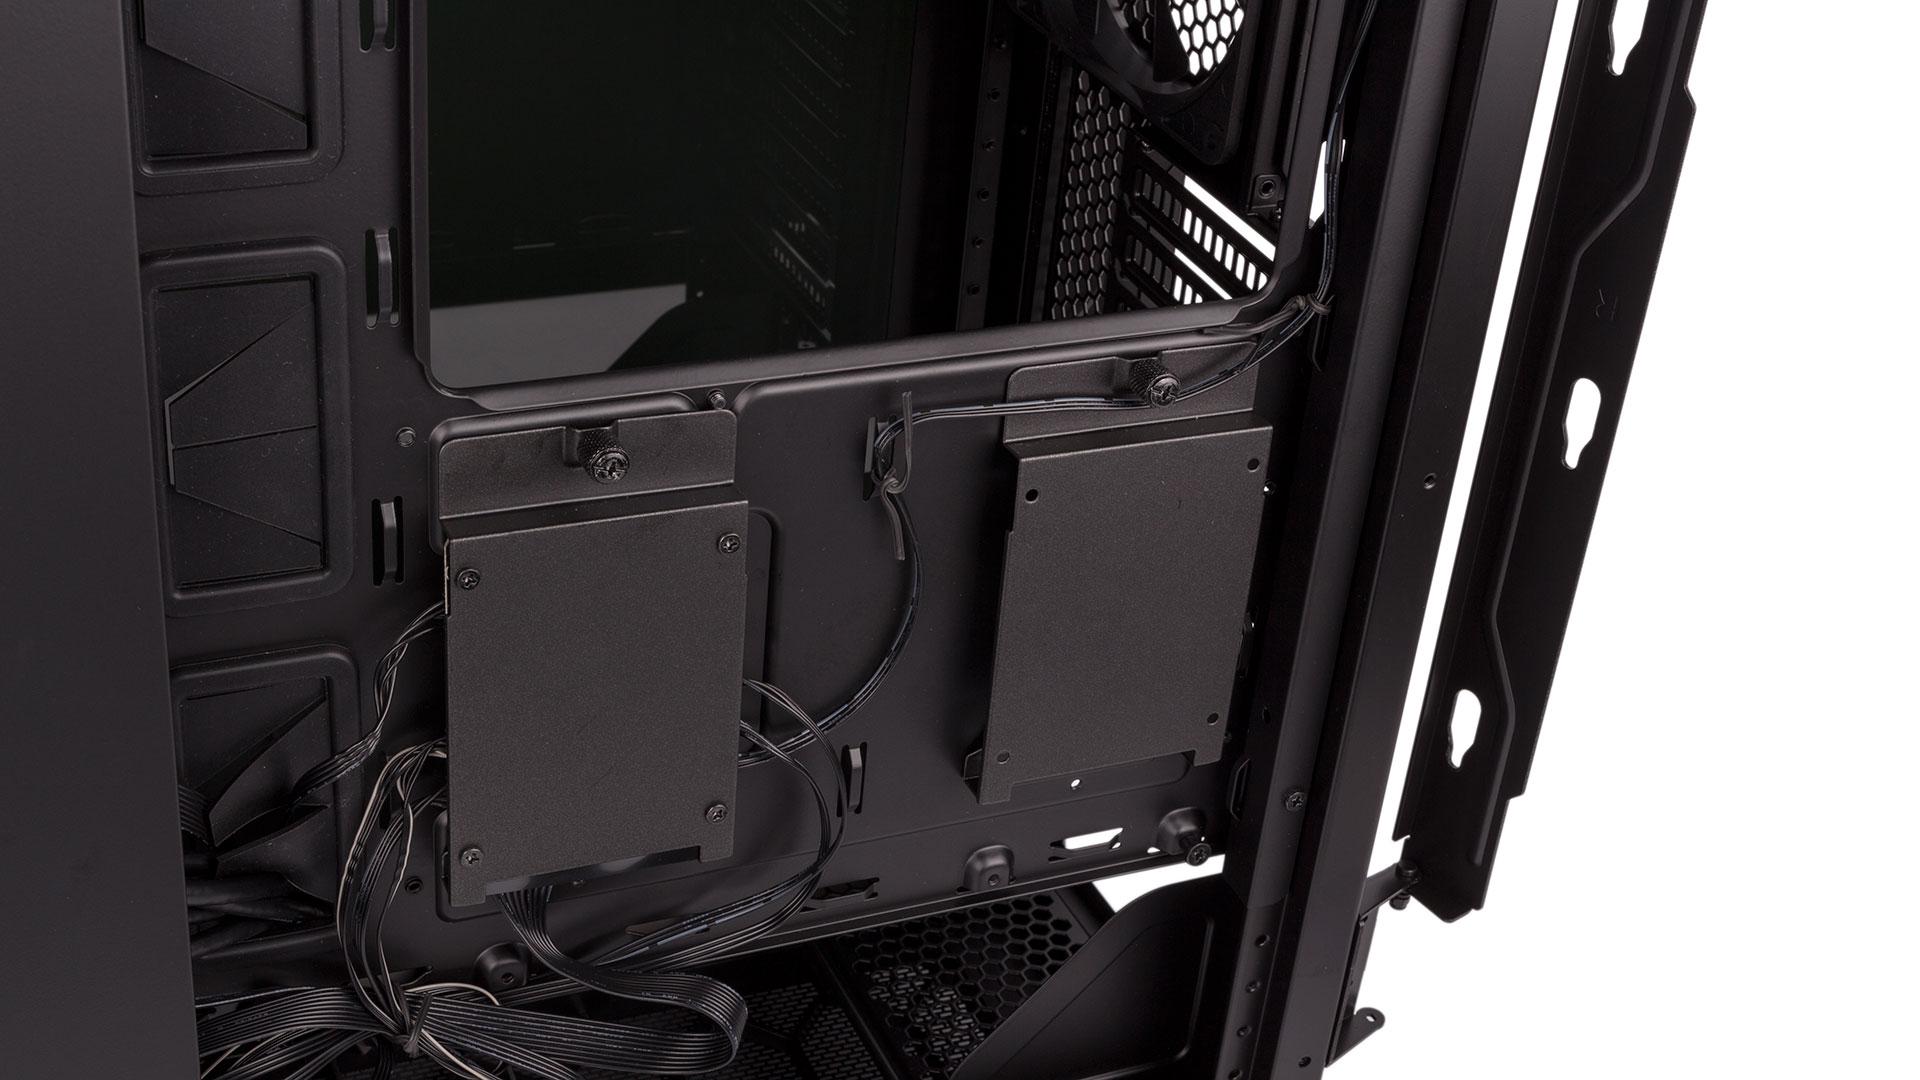
You get two SSD trays fixed to the rear of the motherboard, although one is occupied by the fan and RGB control PCB. However, you can use the rubber mounting holes on the side of the PSU cover to mount a second SSD with relative ease.
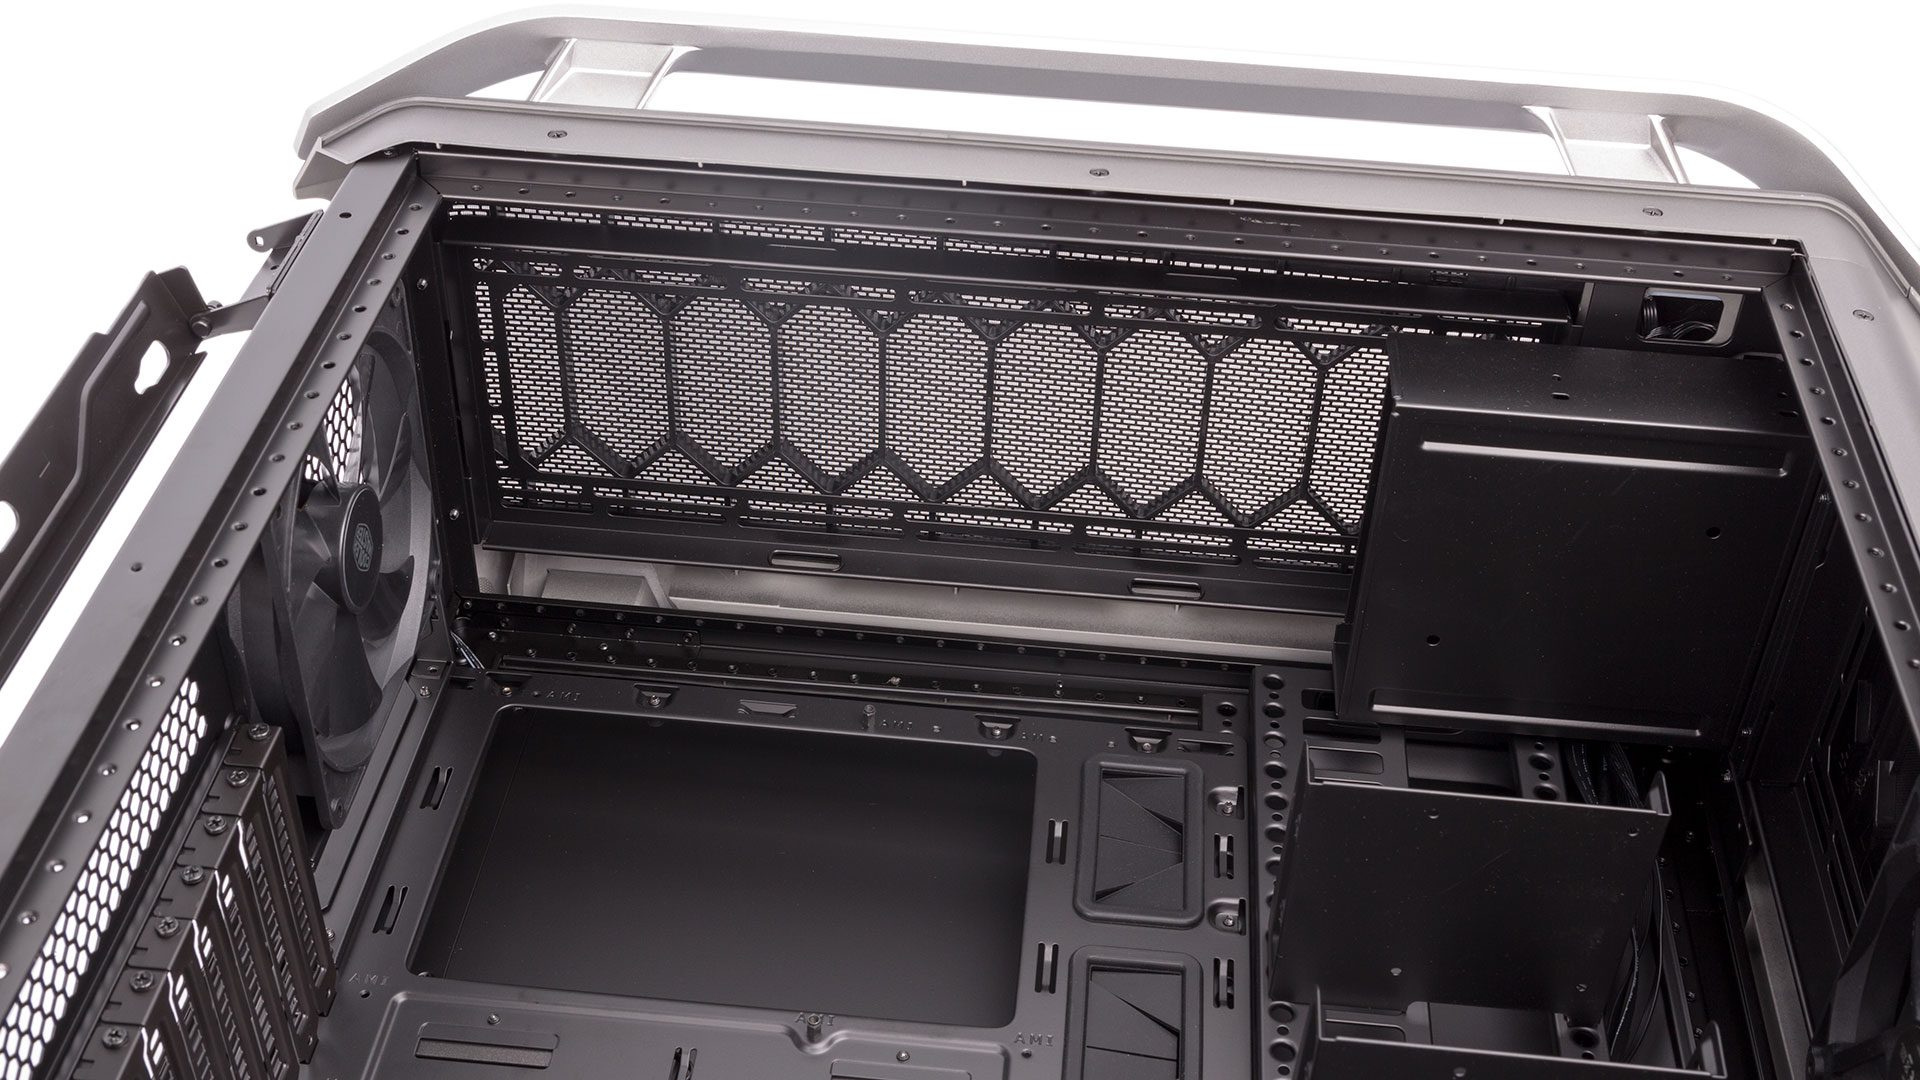
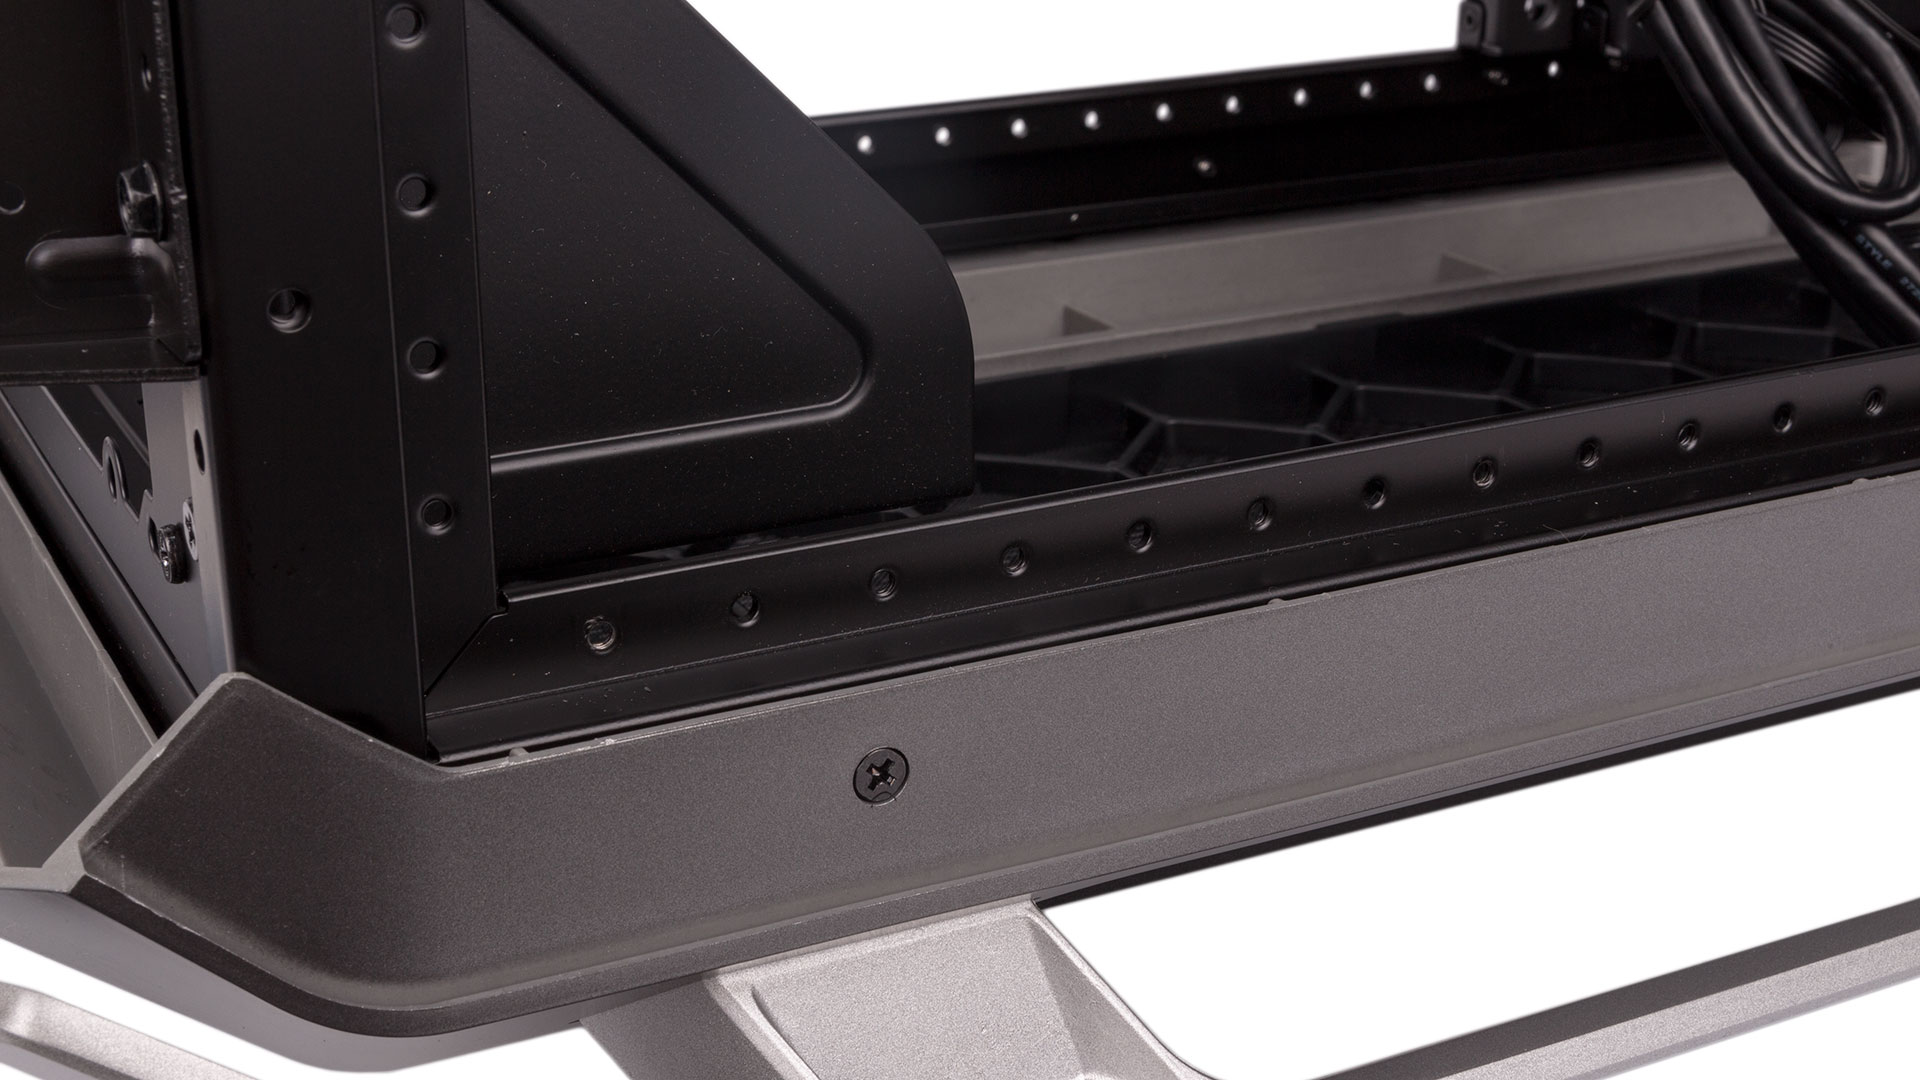
As you might expect, liquid-cooling is well-catered for. Both 360mm and 420mm radiators are supported in the roof (80mm depth limitation), while 360mm and 280mm ones can go in the front bracket (90mm depth limitation). In both positions, use of the largest supported radiator will mean having to remove the optical drive cage, which is a standard sacrifice. The individual brackets are easily removed as well, so you can do the fiddly work outside of the case. In fact, you can even install the two brackets along the bottom of the case instead, and Cooler Master sells a 240mm bracket that can be mounted here as well without impacting on the PSU in a standard tower layout. We can’t imagine you will struggle to find suitable places for pumps and reservoirs, but we do think it’s a shame not to see these given a bit more attention in a case such as this.
All three fans and each of the RGB sections come pre-connected to the single-PCB controller. This is powered by a single SATA connection on the board itself, and outputs to six fan channels and three RGB channels, with three and one free for use respectively out of the box. There is also a final RGB connection, but this is an input and is what you connect to your motherboard header in order to activate the M/B RGB control on the front panel. Each channel is capable of outputting up to 1.5A by itself, but the total output across all nine channels cannot exceed 4.5A.
The cable management bracket will take care of your messy cables for the most part, but the motherboard tray is littered with grommet-covered routing holes, and there's one specifically for PCIe power cables in the PSU bracket. In short, there's no excuse for an untidy rig here.
RELATED ARTICLES


MSI MPG Velox 100R Chassis Review
October 14 2021 | 15:04


Want to comment? Please log in.