bit-tech Mod: Be Quiet! build: The Build
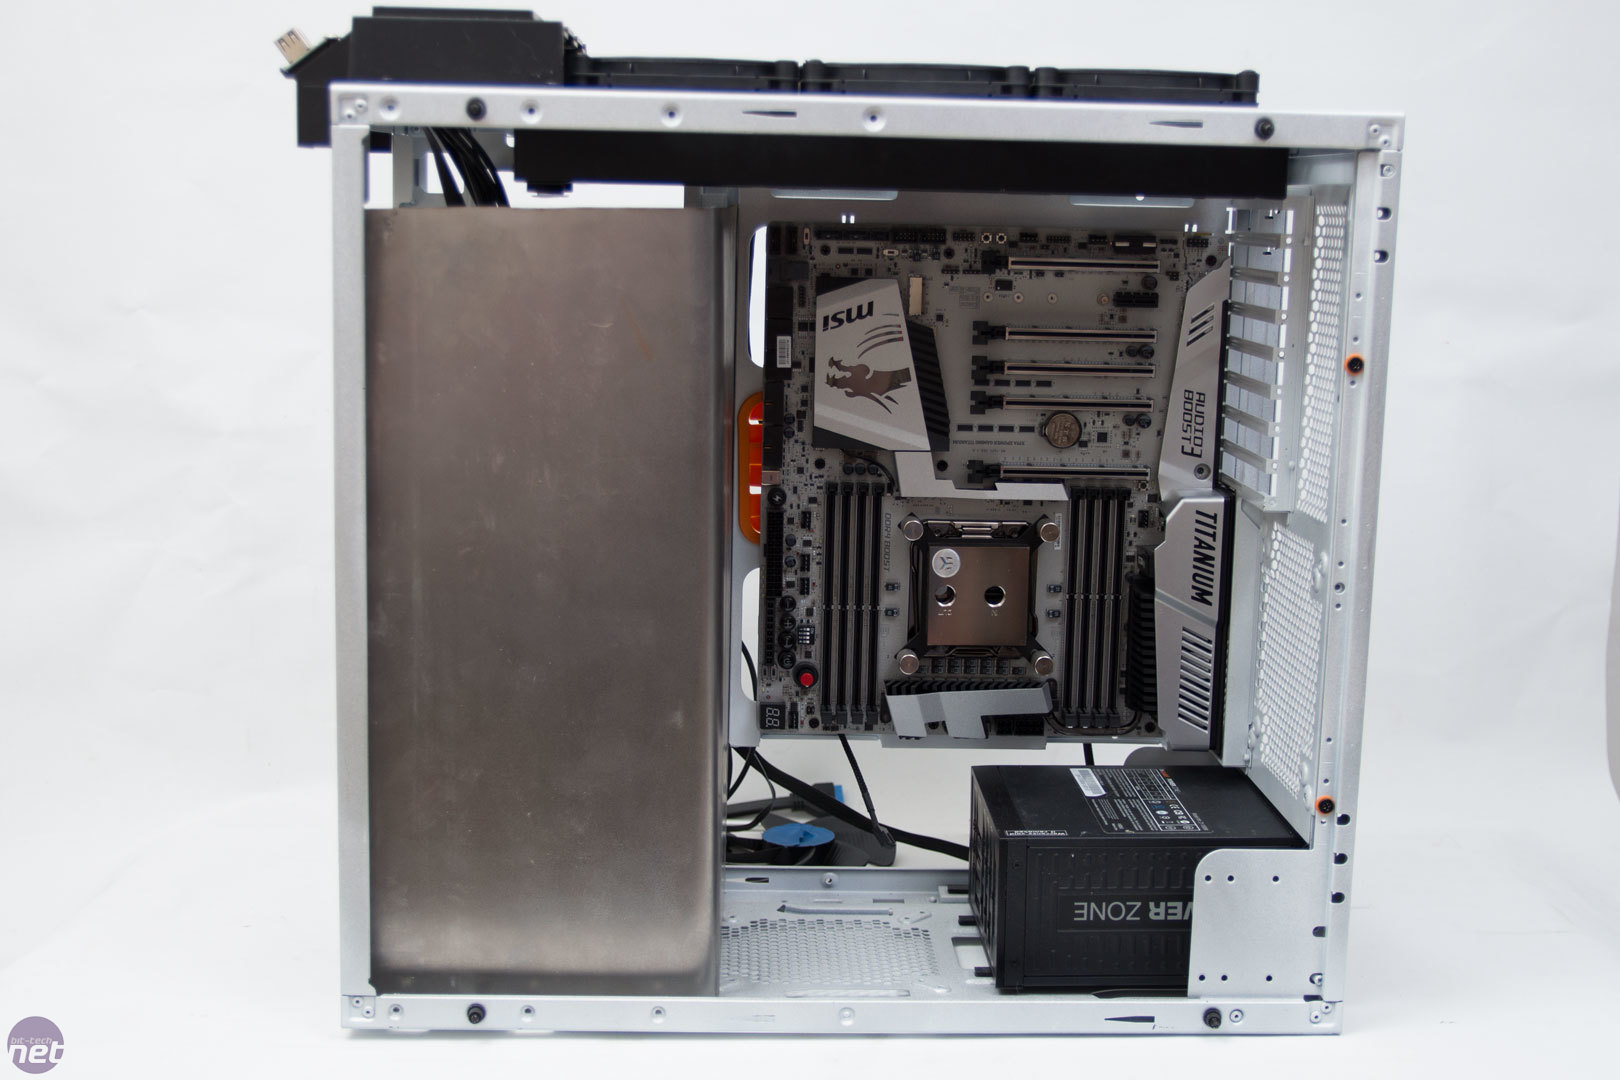
Now the spraying was mostly done and I had the case back together, it was time to get working on the actual build.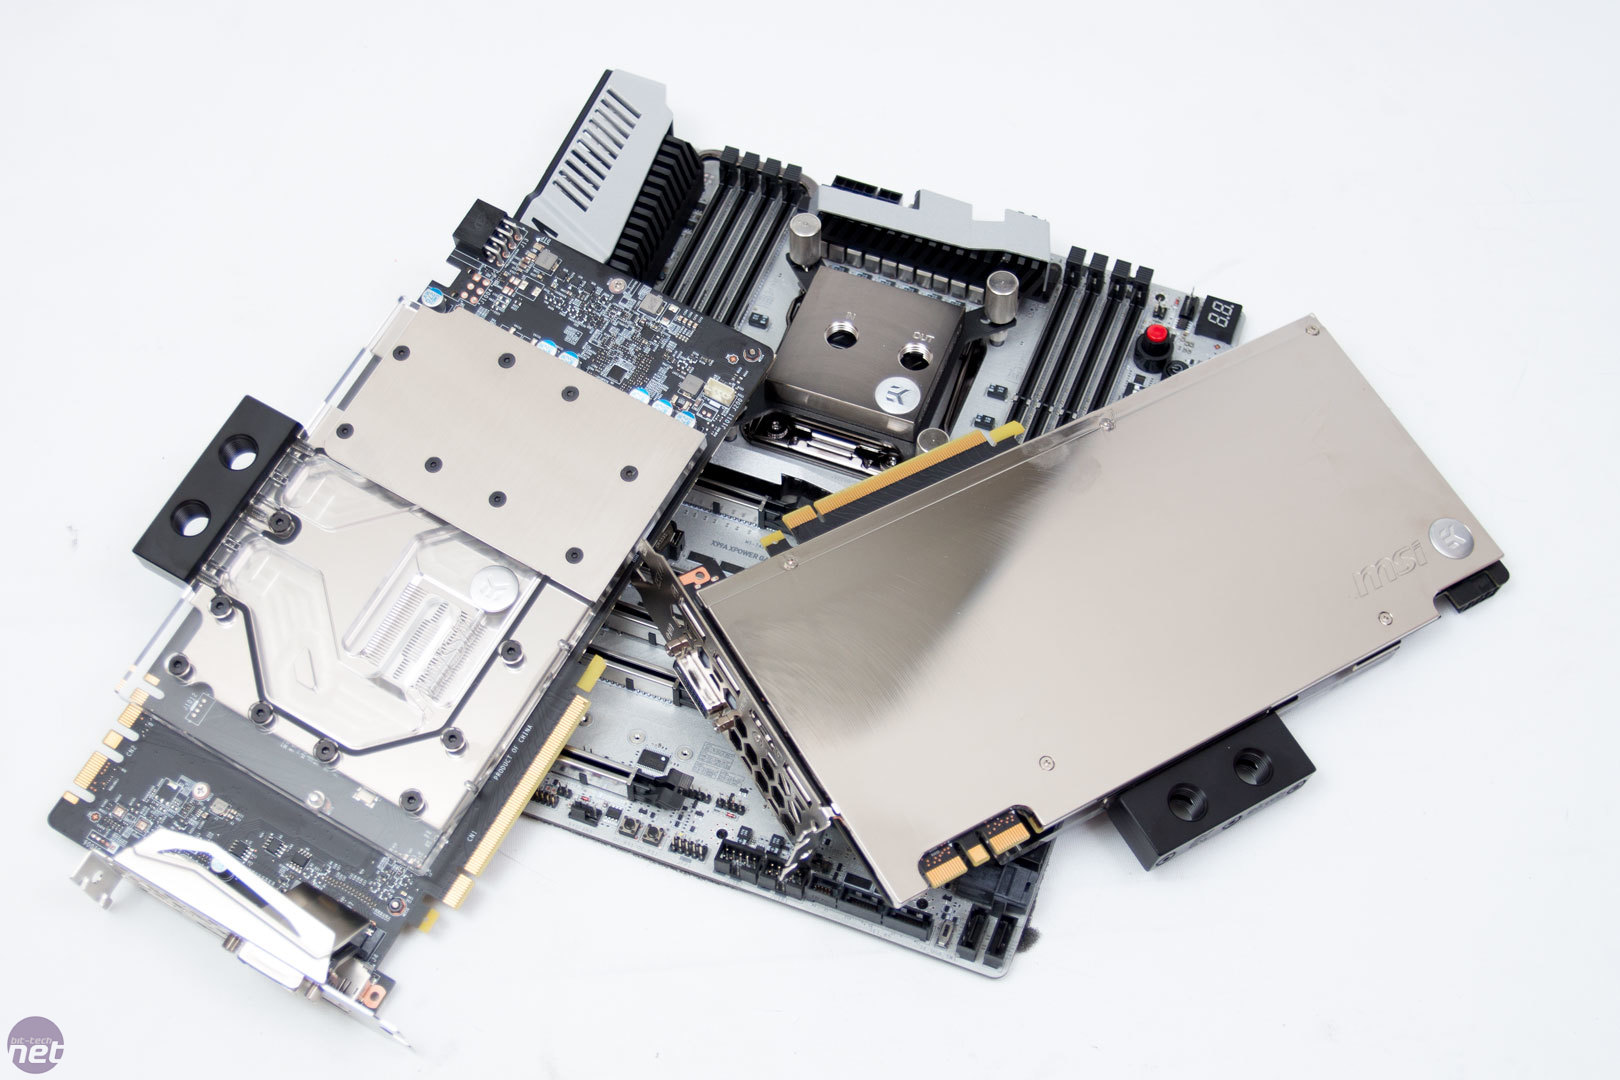
Click to enlarge
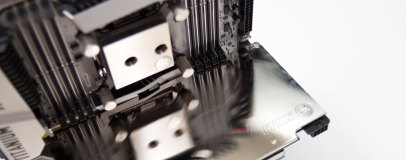
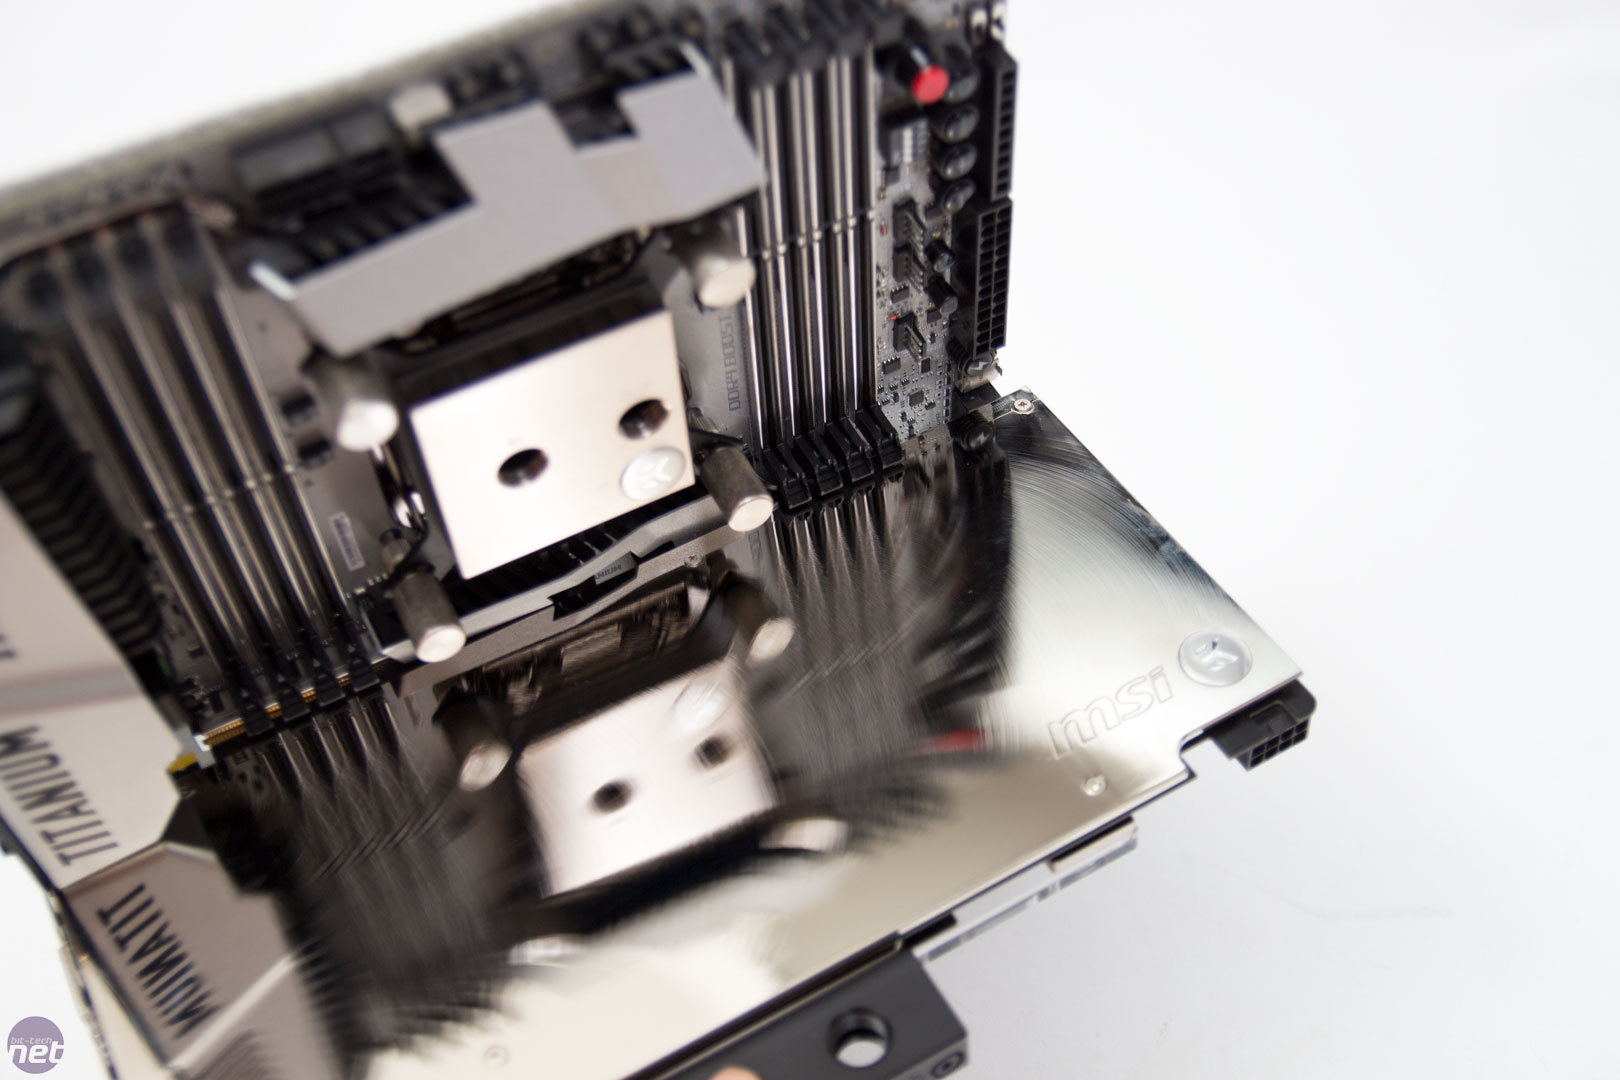
To start this off, I fitted the EK water blocks to the MSI X99A XPower Gaming Titanium motherboard and the two MSI GTX 1070 Armor 8G OC graphics cards.
One day, I will do a few different guides on how to fit a water block, as I have been asked multiple times. It really isn't hard, and with most of the different manufacturers, detailed instructions are provided.
Click to enlarge
I really like the look of this combination; the titanium board and the chrome colours really do go together well. When I saw this, I did think about leaving the motherboard this way around, but then I remembered how much I love inverted cases.
Click to enlarge
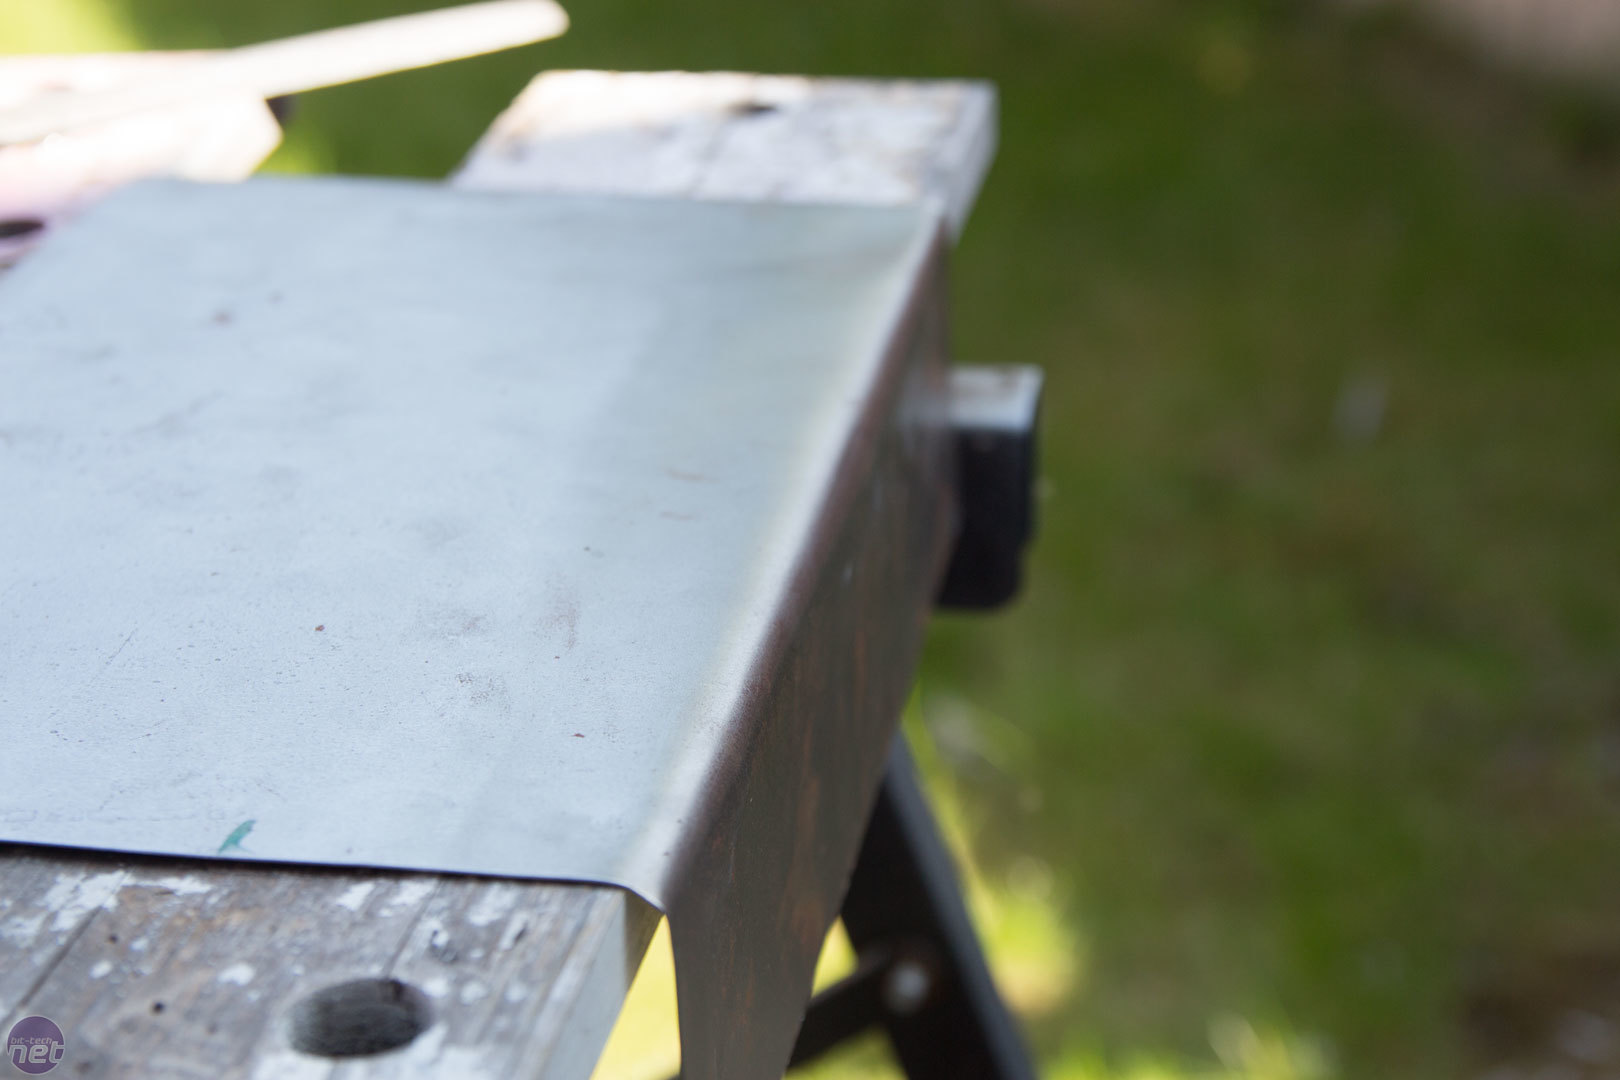
I didn't really have a plan for this build, so I just started to play around with how things were going to fit and which parts I wanted in it. I had some scraps of aluminium kicking around, and one bit gave me a nice idea.

Click to enlarge
I found some nice new aluminium and bent it. Unfortunately, I do not have a bending brake which would have made this step so much easier. Instead, I had to use clamps, weight and sheer force to bend the panel. It looks quite rough at the moment, but with a rubber hammer and some blocks of wood, this can be straightened out.

Click to enlarge
After making the panel out of some new aluminium, the same bit of scrap that I used before was repurposed for a second idea. Alas, it was too small for its intended use, so I will need to remake it, but at least the idea was born.
Click to enlarge
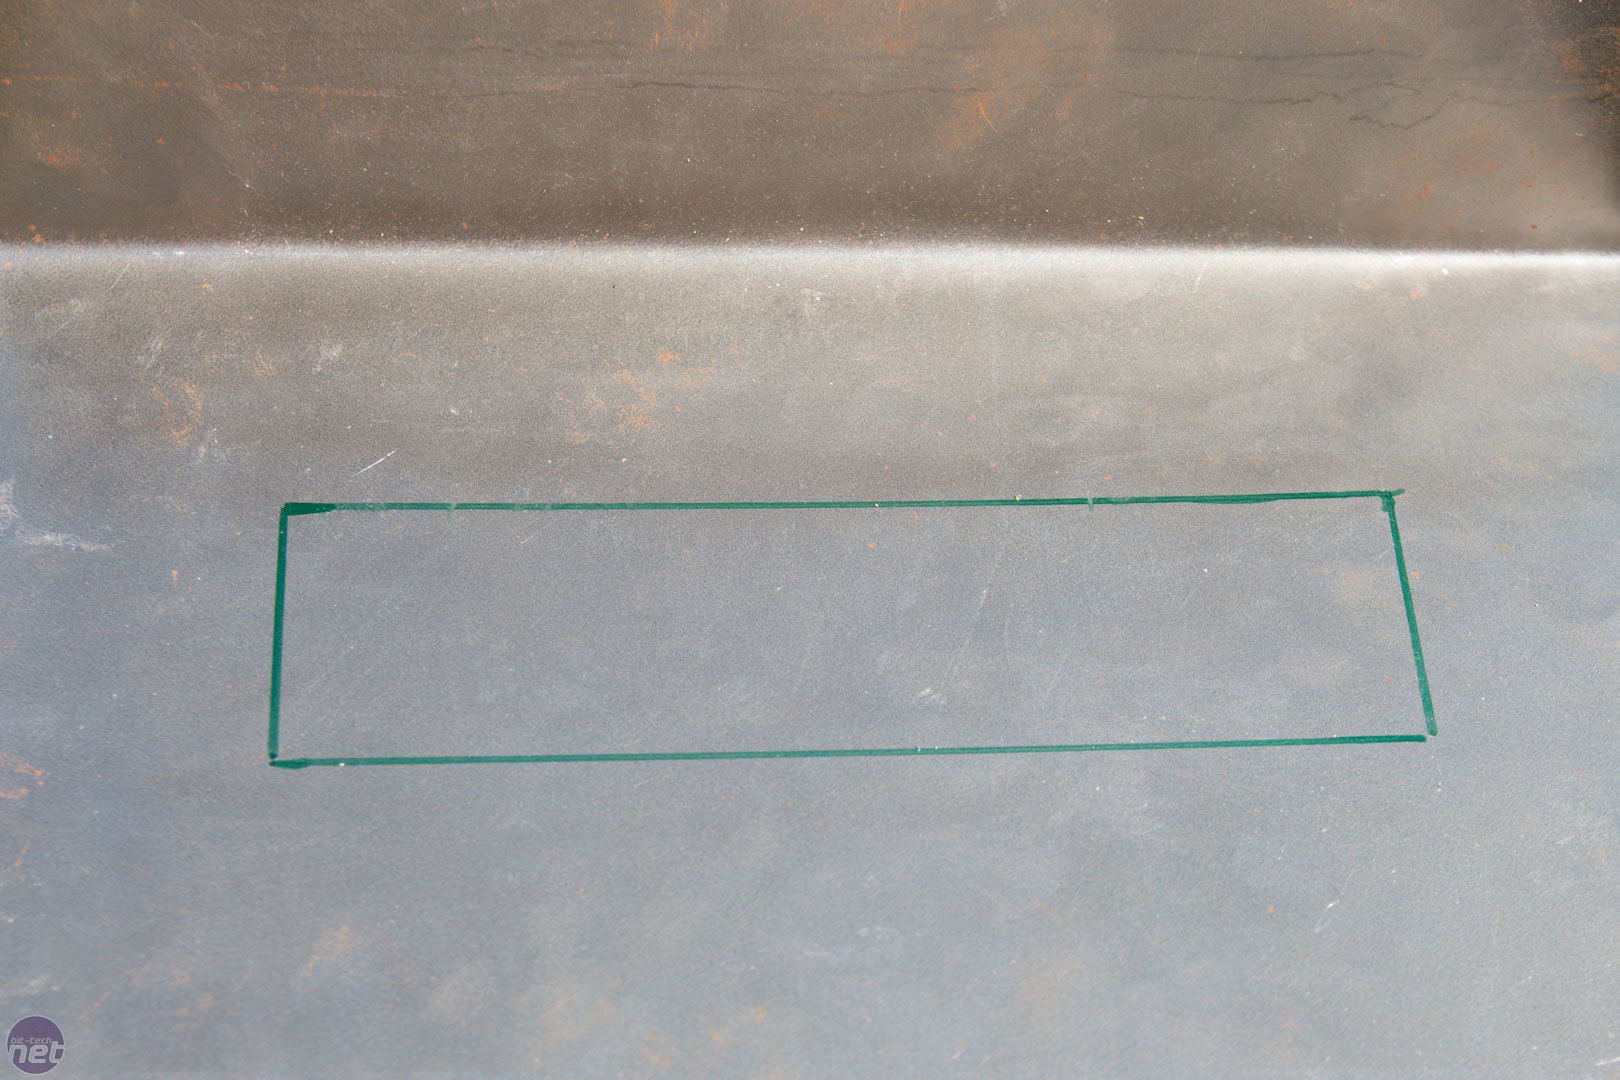
Now the proper panel was cut, I could start to put my plan together. The first job was to draw and cut out this rectangle. As this is thin aluminium, you can use multiple tools to do this. A jigsaw, Dremel, nipper, or shears were all available to do the same job. I went with a jigsaw and got a good result.
Click to enlarge
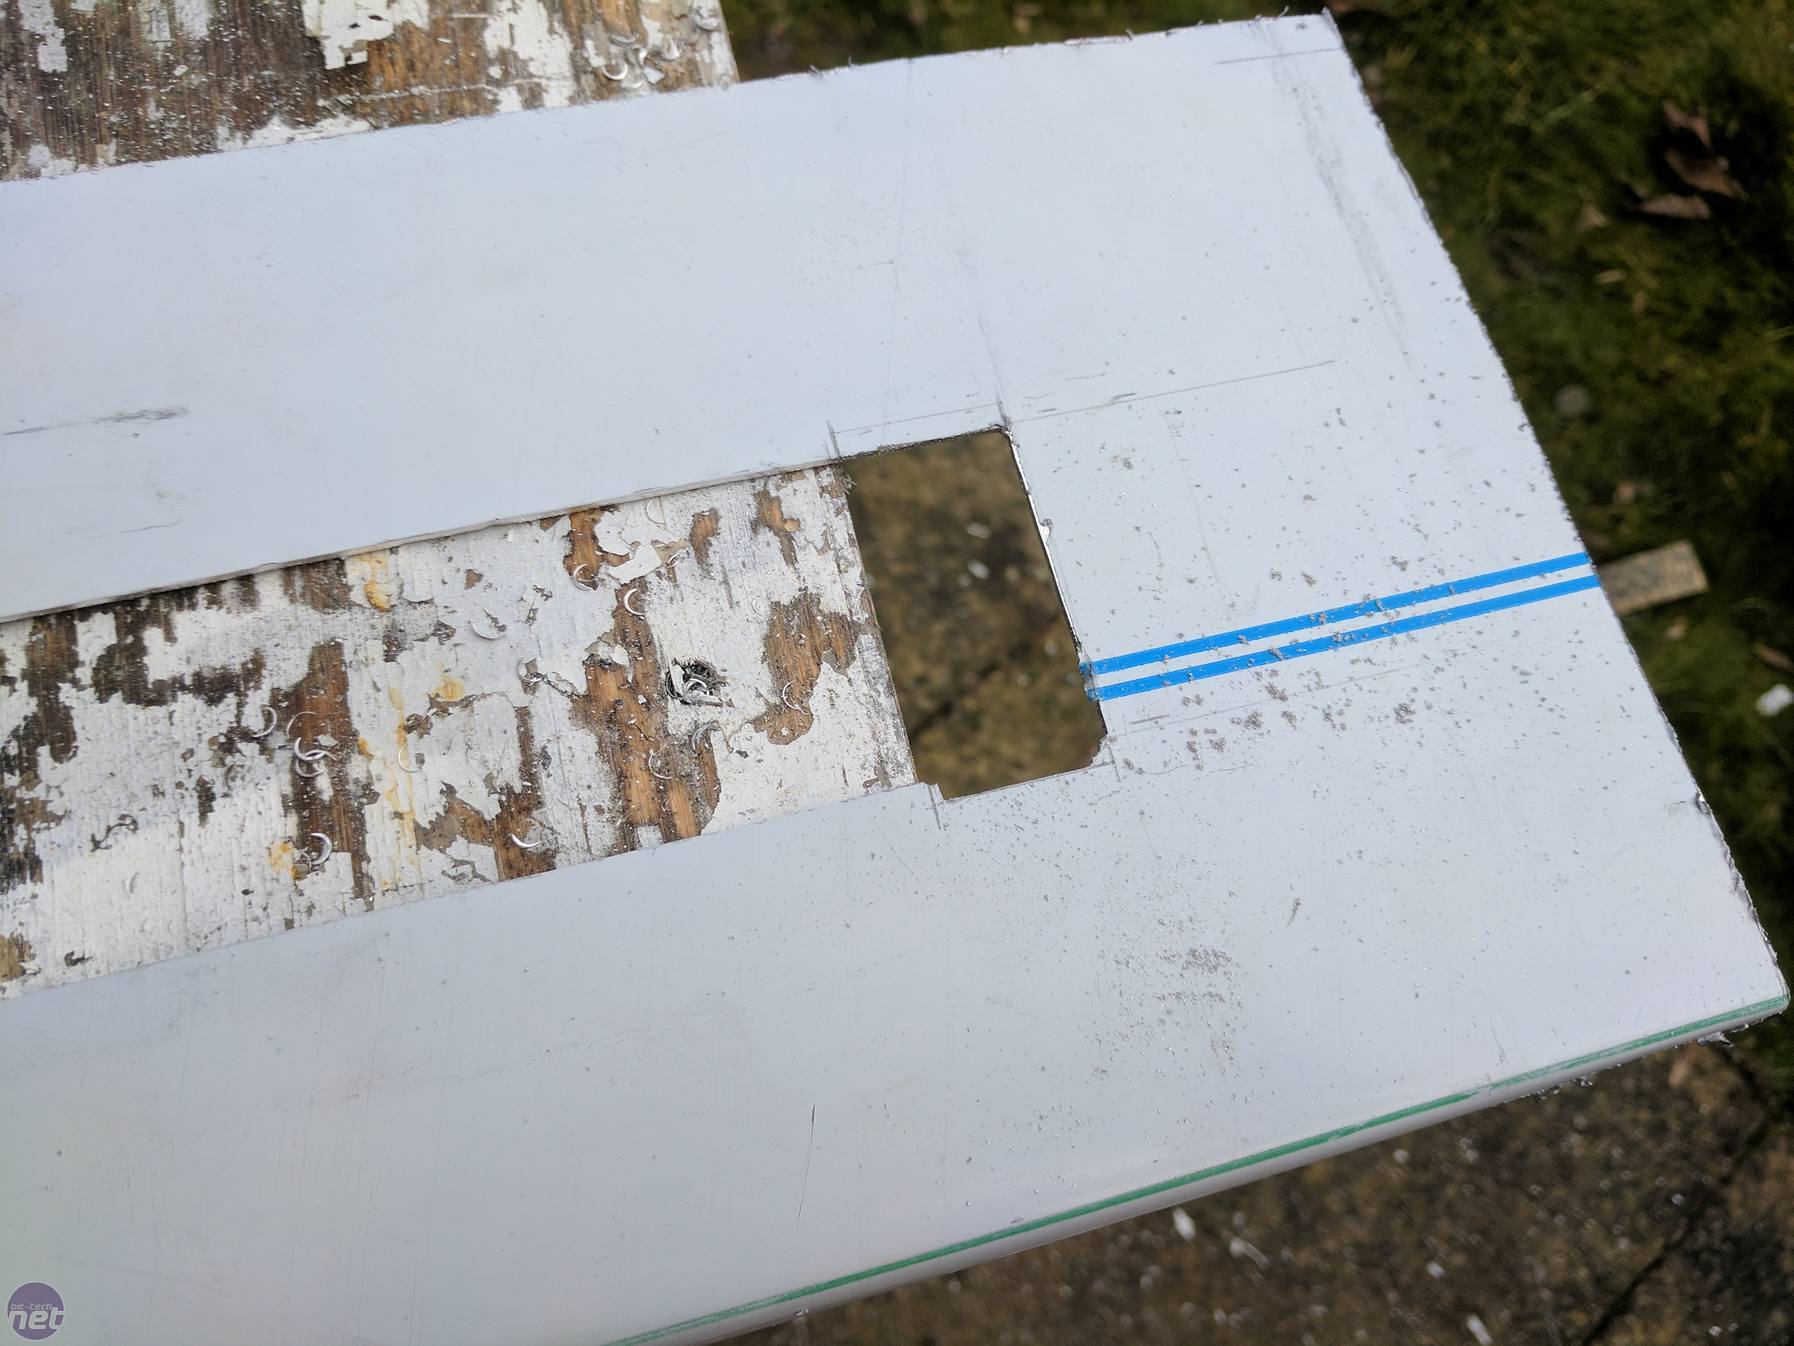
Using a flat-faced file, I then started to add a little detail to the cover. Have you figured out what this is going to be yet?
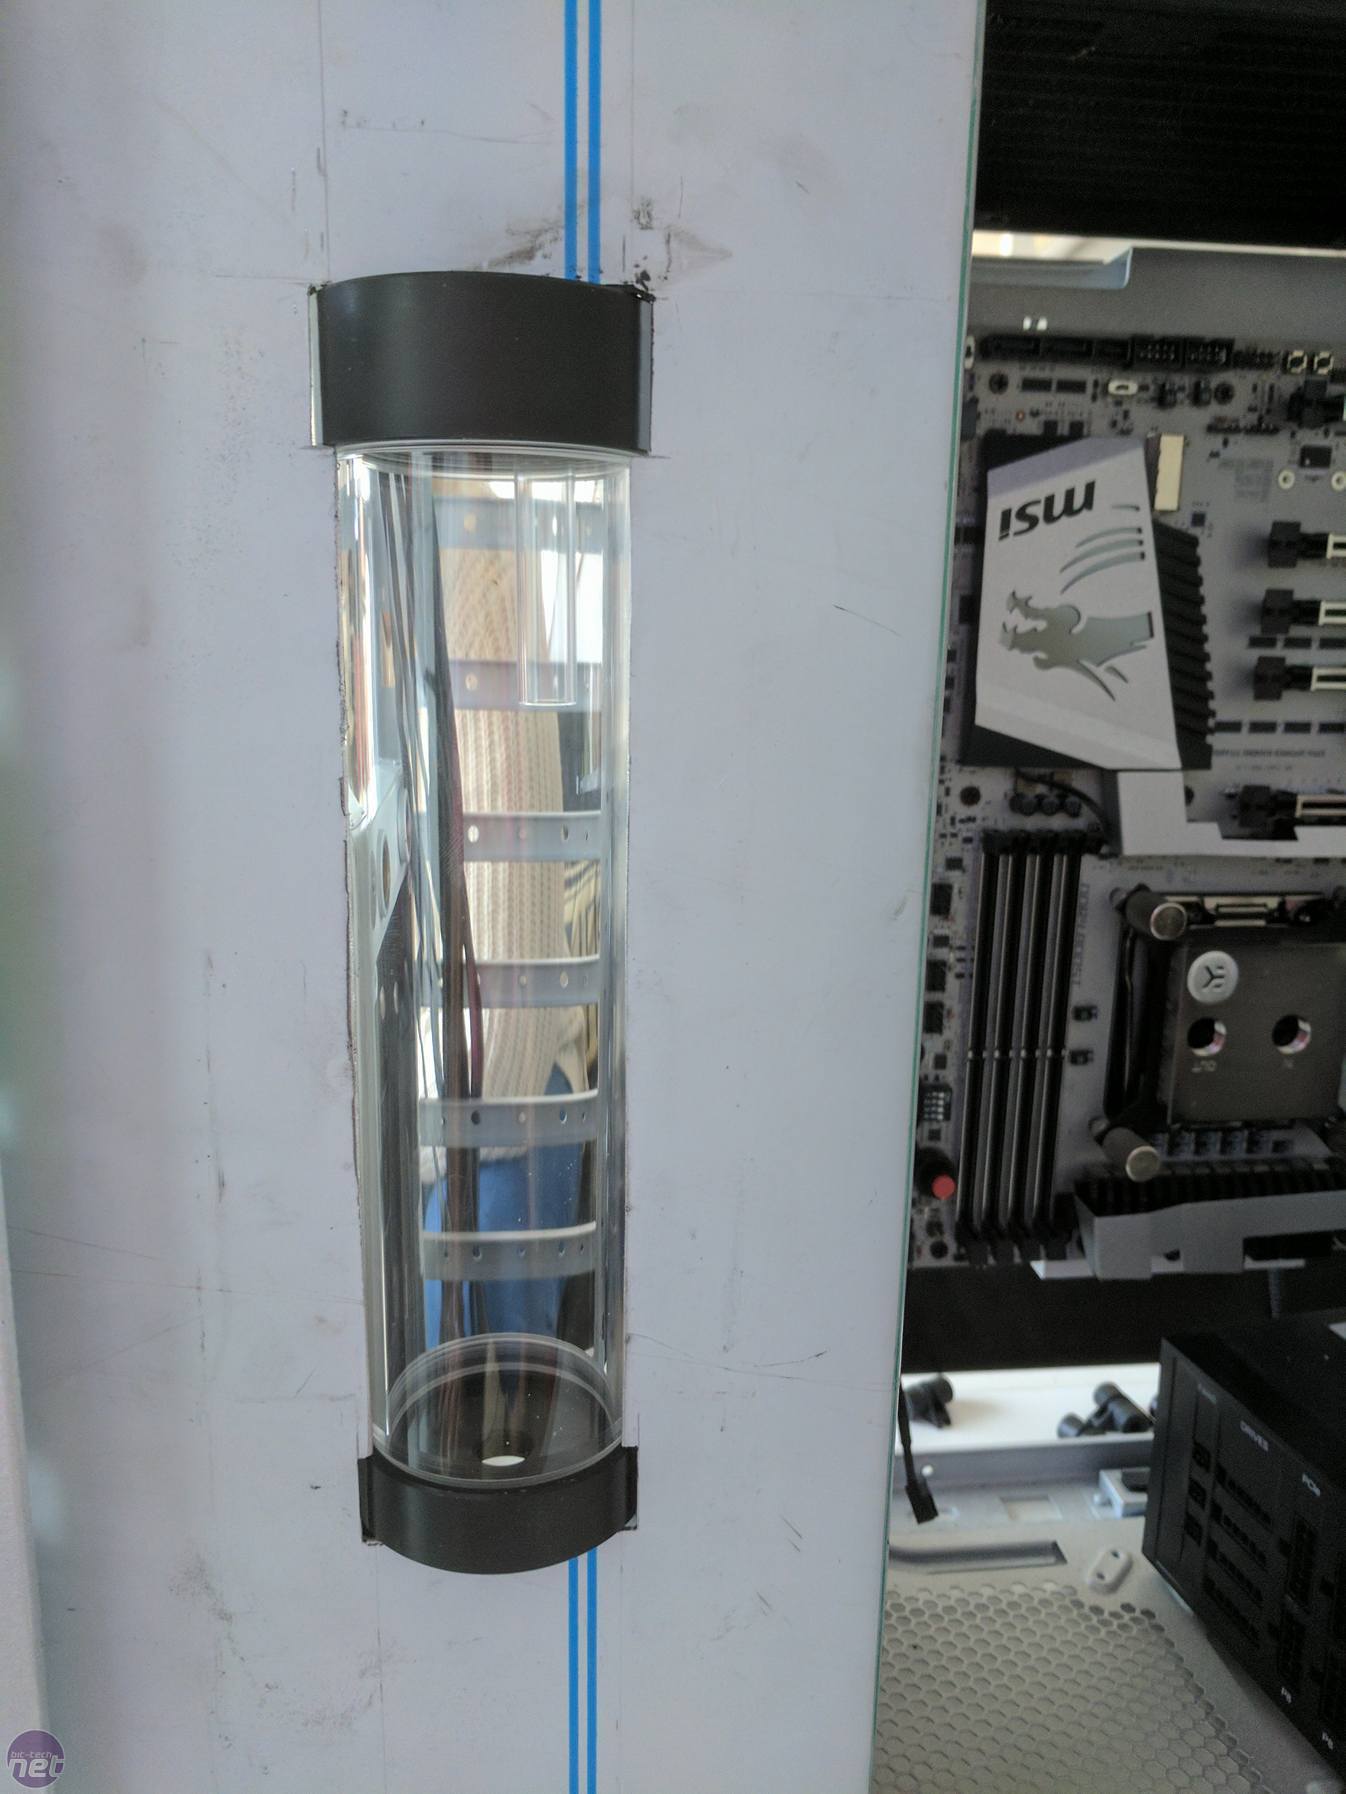
Click to enlarge
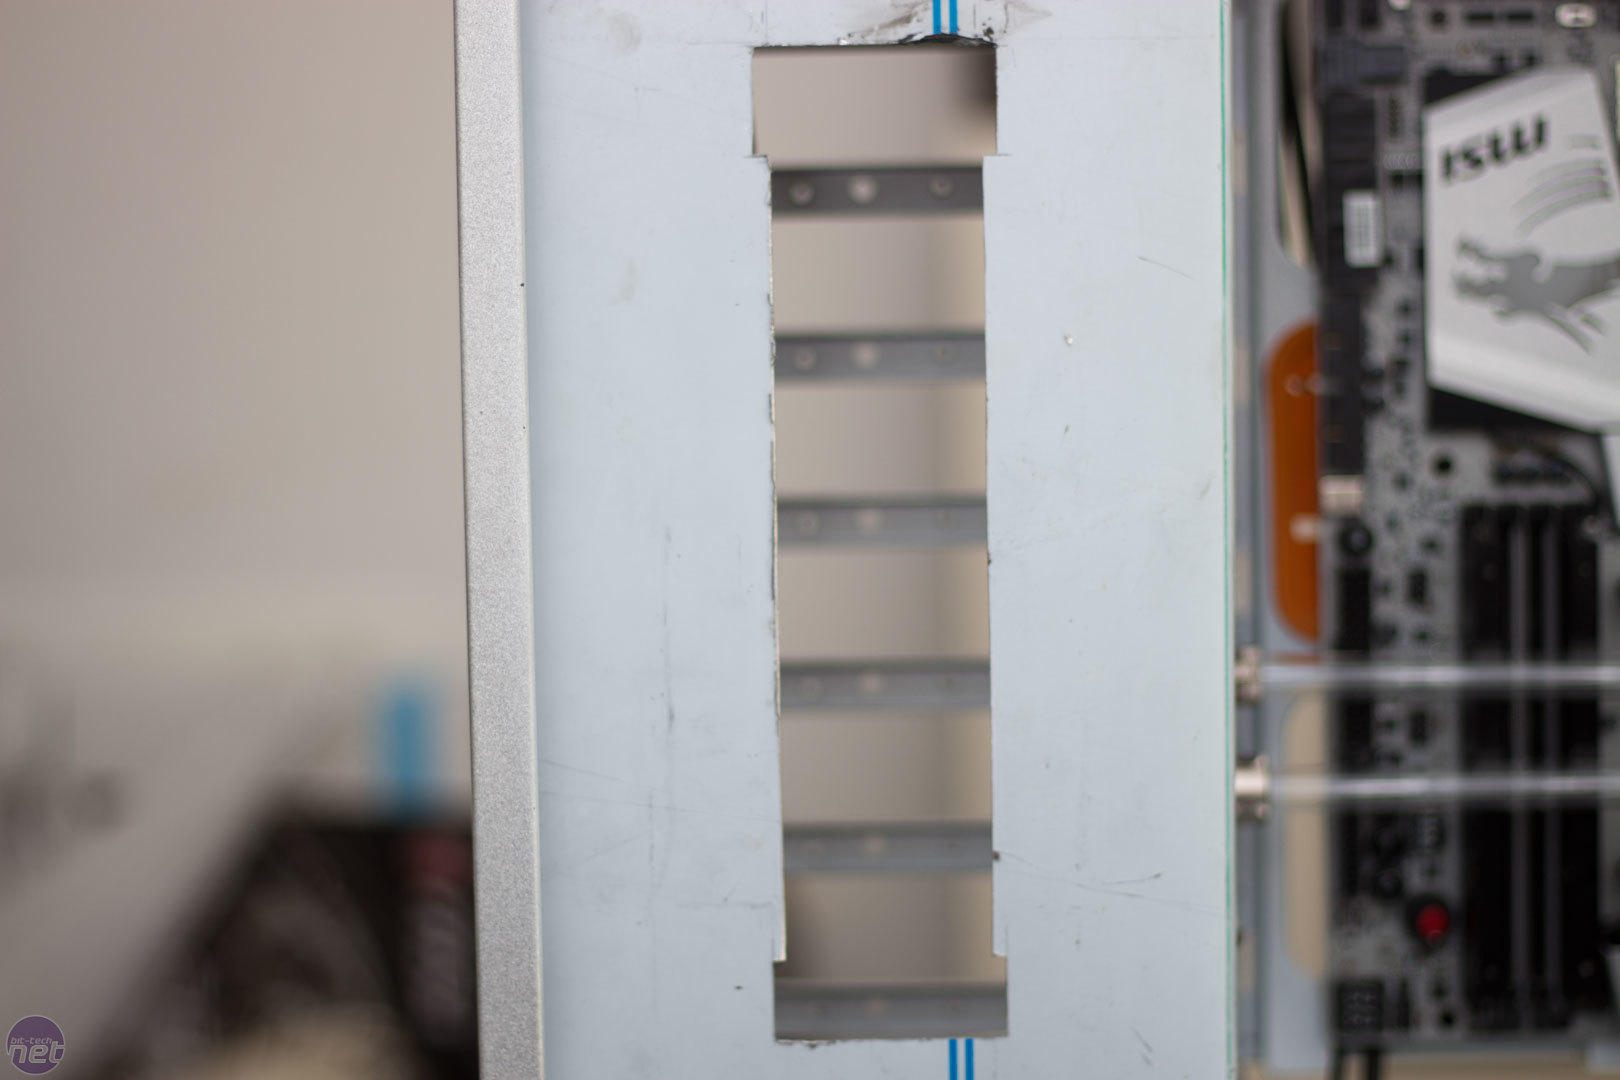
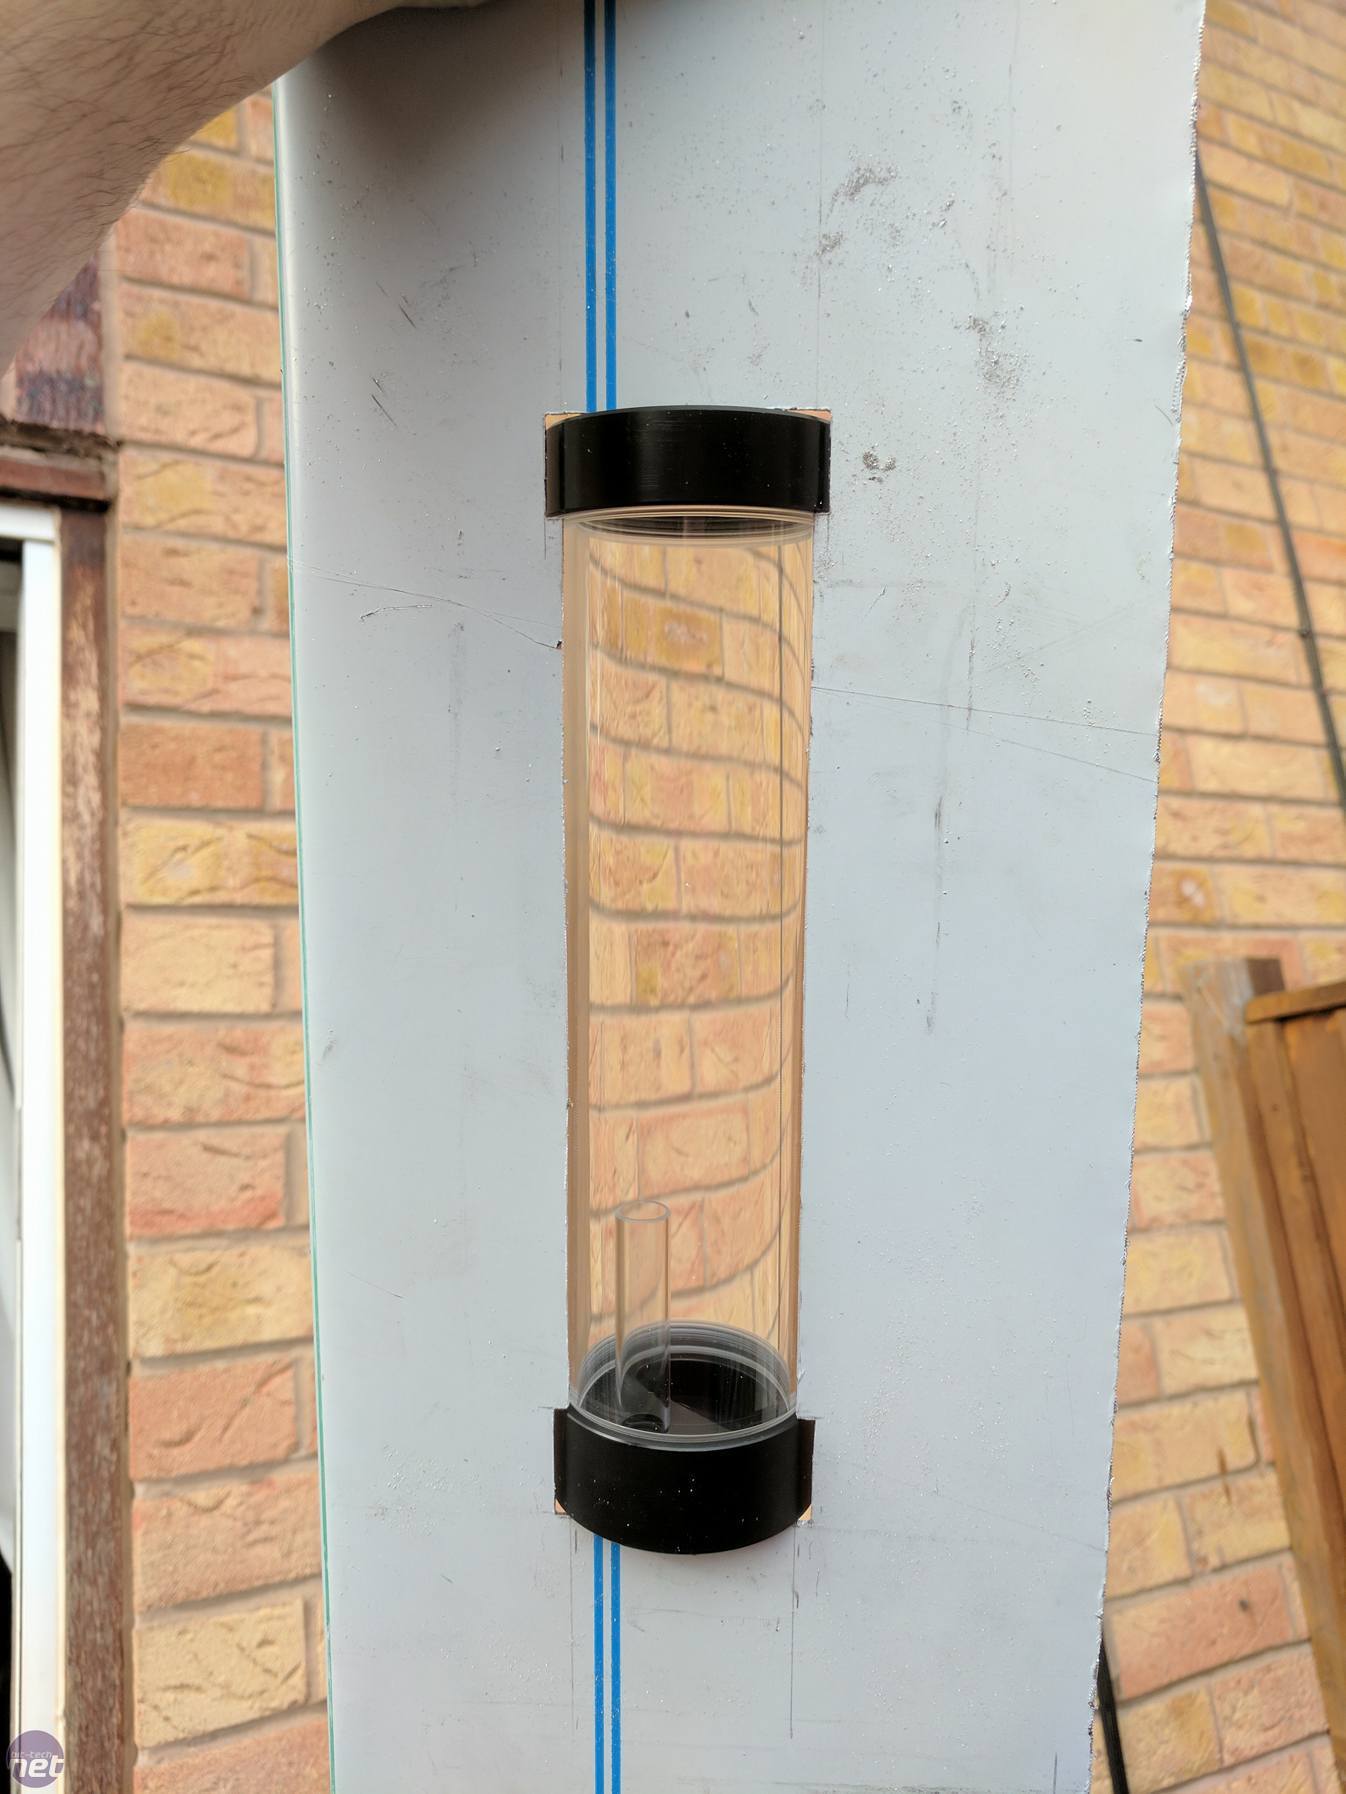
Yup, that is correct, this is going to be a little reservoir window. I wanted just a little bit of the reservoir to poke through. I also wanted to use the middle hole on the bottom of the reservoir as an outlet, so I needed it to be less than half way through.
Click to enlarge
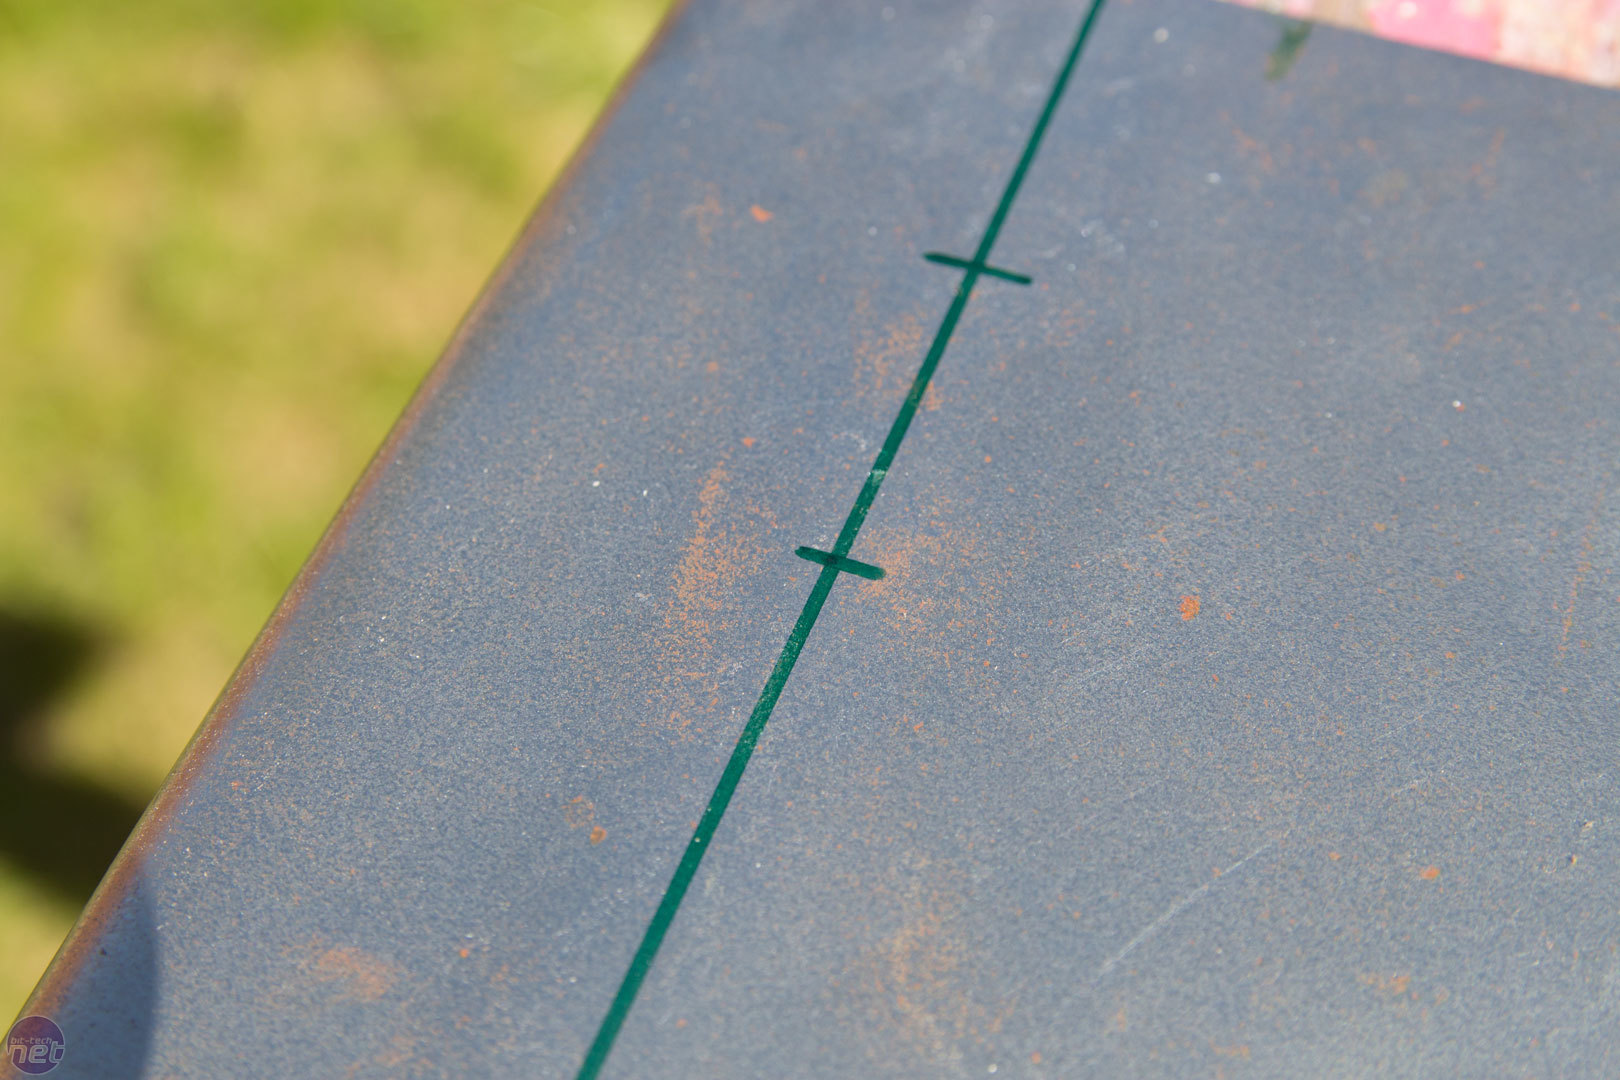
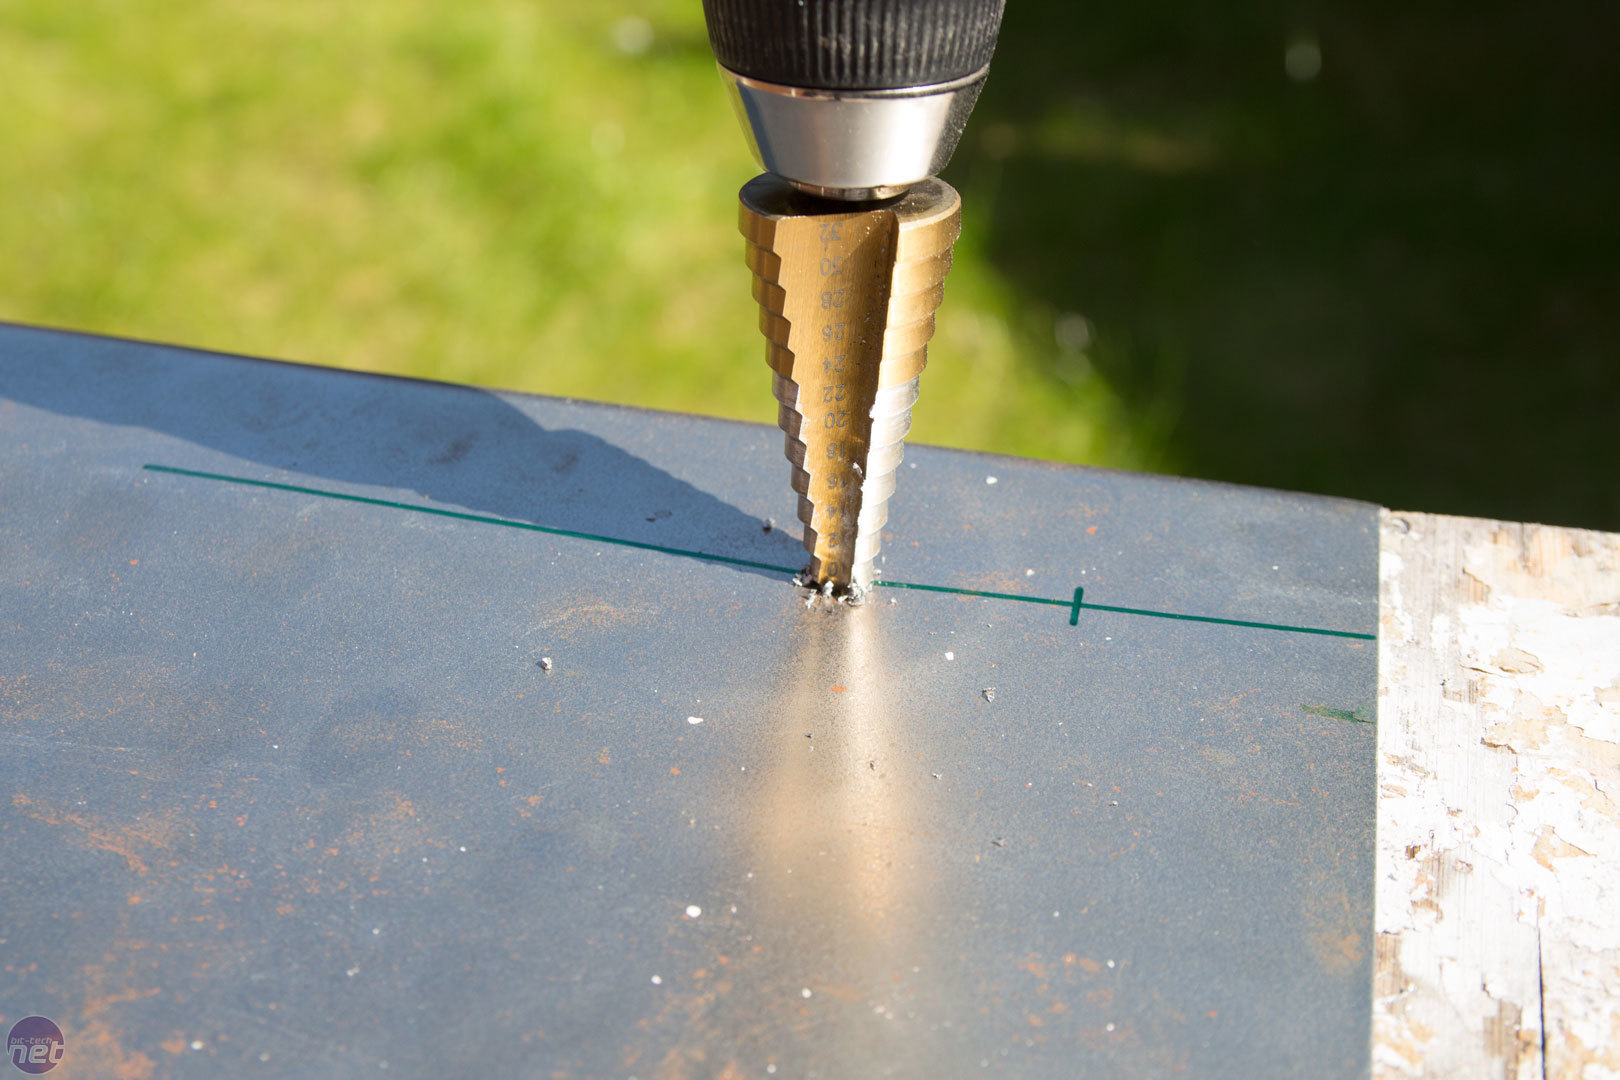
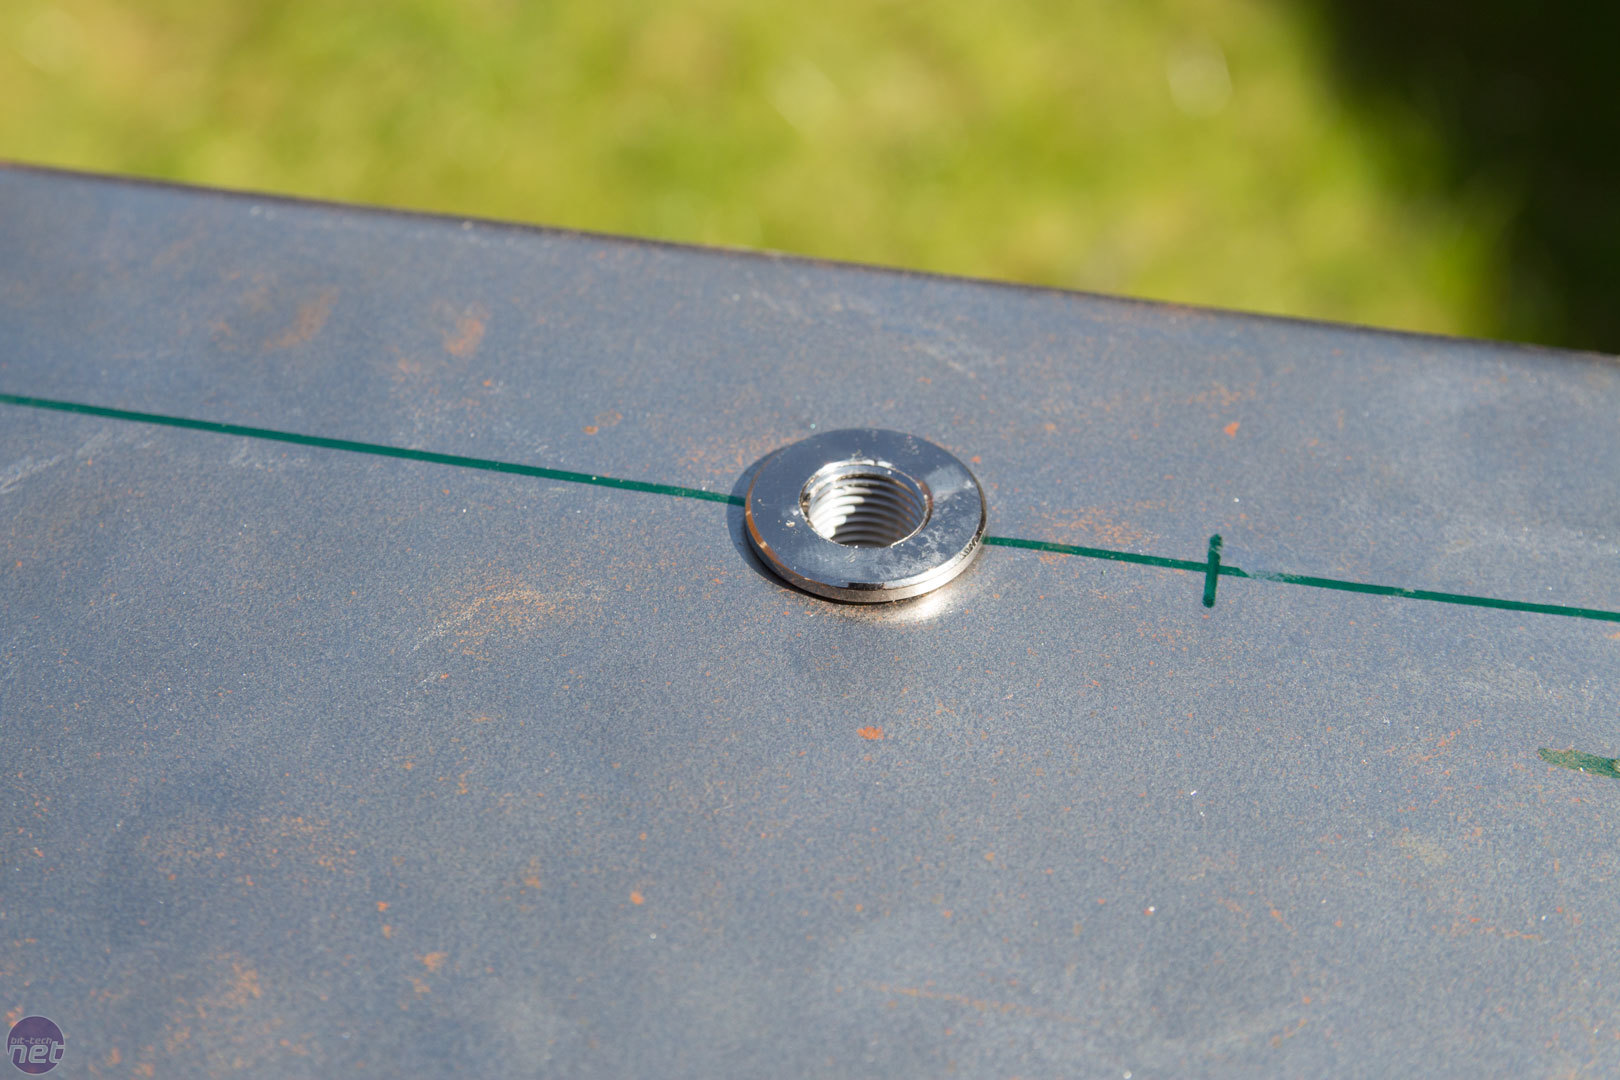
Now this was in place, it was time to spin the CPU block 90 degrees and continue working with the aluminium. After marking out some measurements using a scribe (then having to go over it all with a green Sharpie so the lines would show up on the camera!), I used a centre-punch and then a step-bit to create some nice circle holes. When working with thin aluminium, make sure you are careful not to put too much pressure on the drill, as it will bend the aluminium!
Click to enlarge
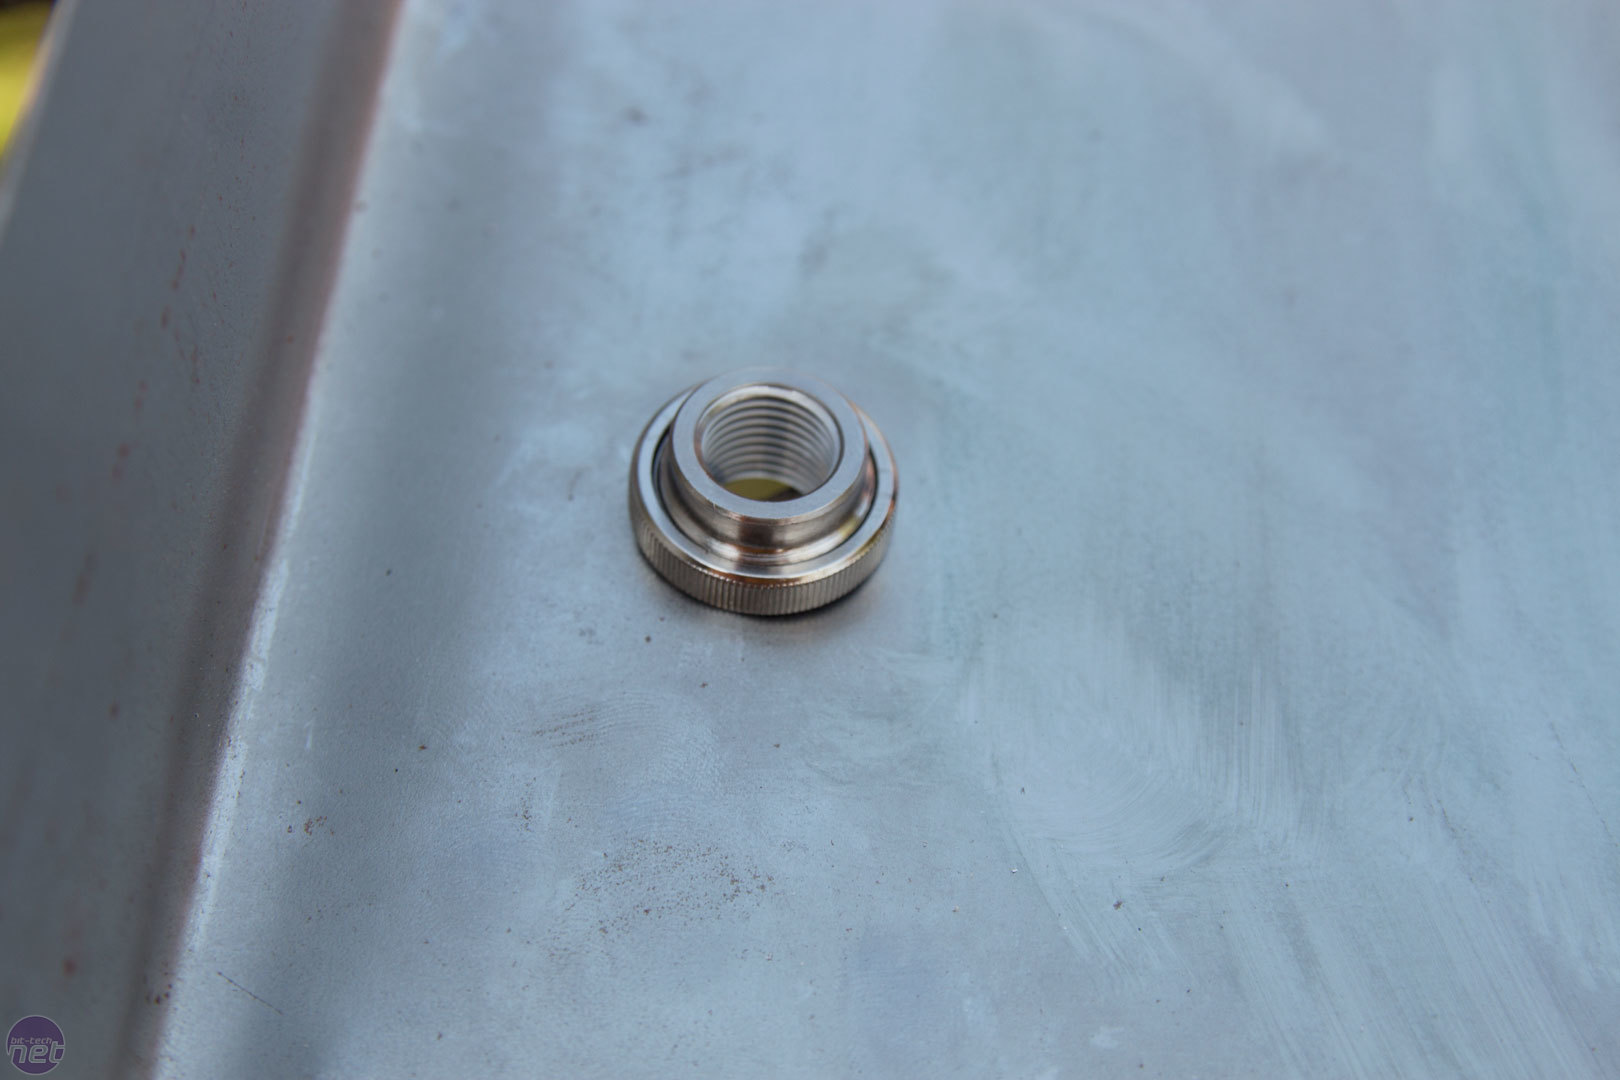
Once I had made two holes, it was time to put the EK pass-through fittings in the holes. These fittings are great. The little lip around the outside hides any messy edges from the drilling and the ring that holds the fitting in place.
Click to enlarge
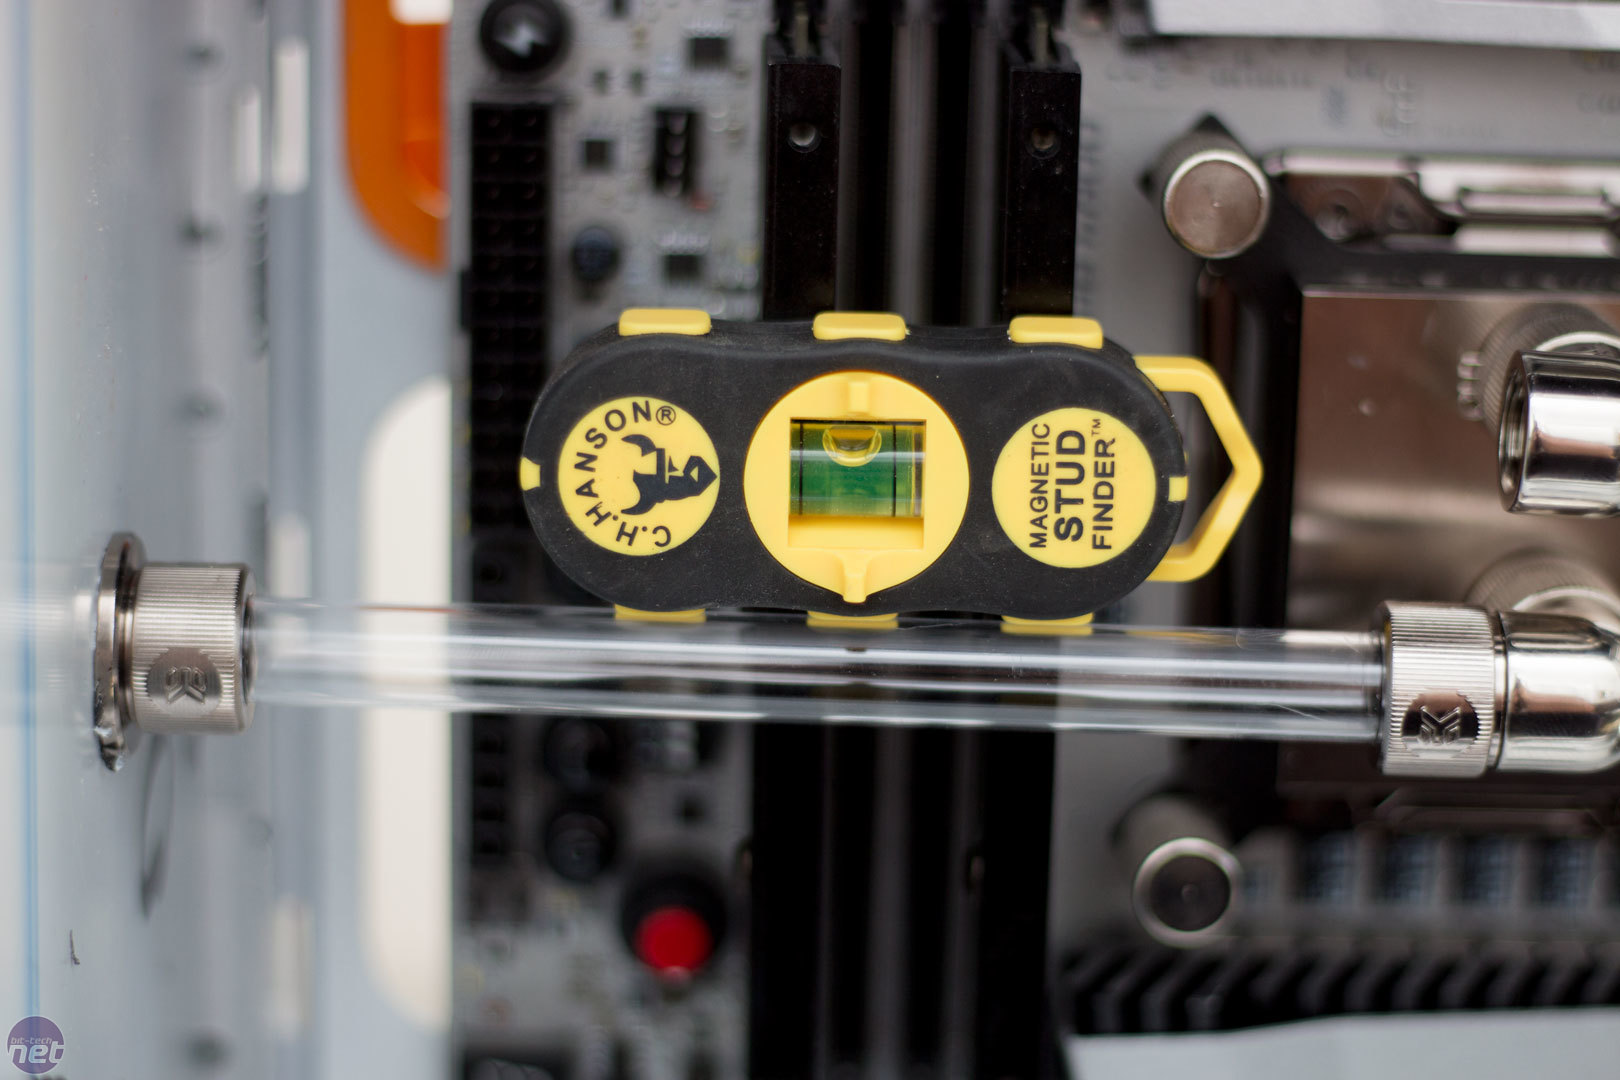
It was now time to ensure everything was level. I didn't have a small enough spirit level to use, but I did find this stud finder in my toolbox. Although I used a level and measured numerous times, the top tube didn't fit perfectly flush. Luckily, because of the EK pass-through fitting having a flange bigger than the hole, I was able to file the hole down slightly, and it will keep the mistake hidden.

Click to enlarge
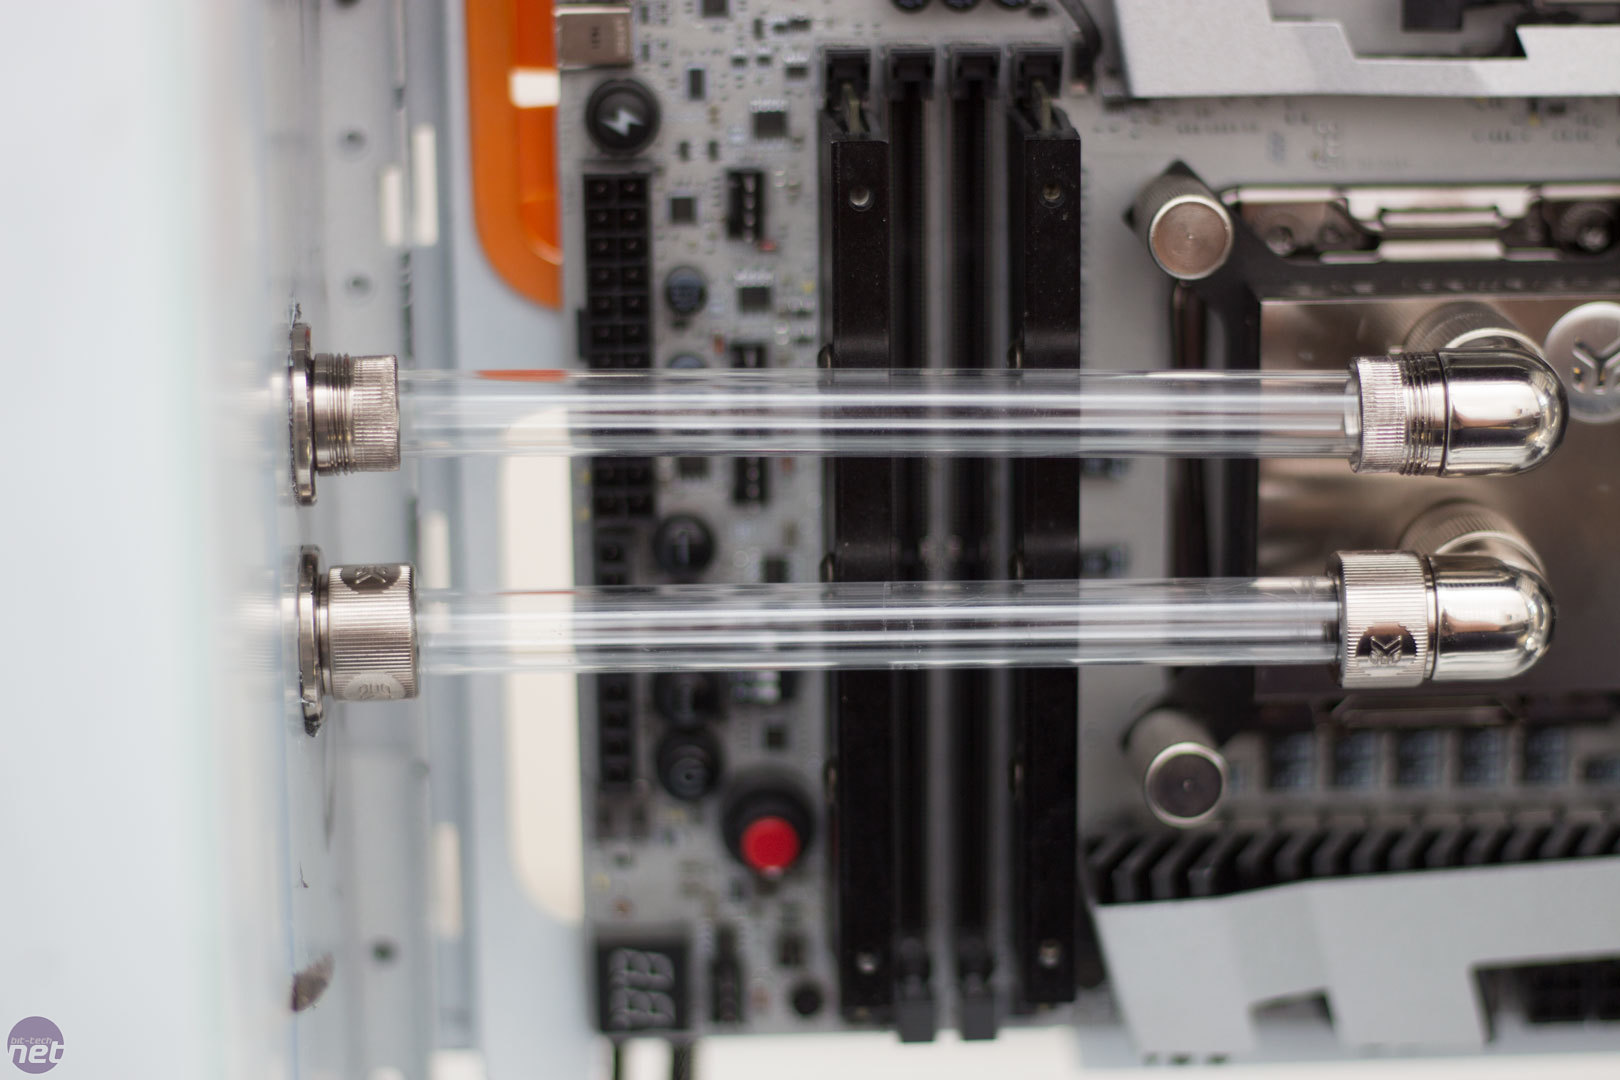
Once these tubes were correct, I then started with the GPUs. I wanted to do the same with them, so it was time for more measuring, drilling, and cursing.
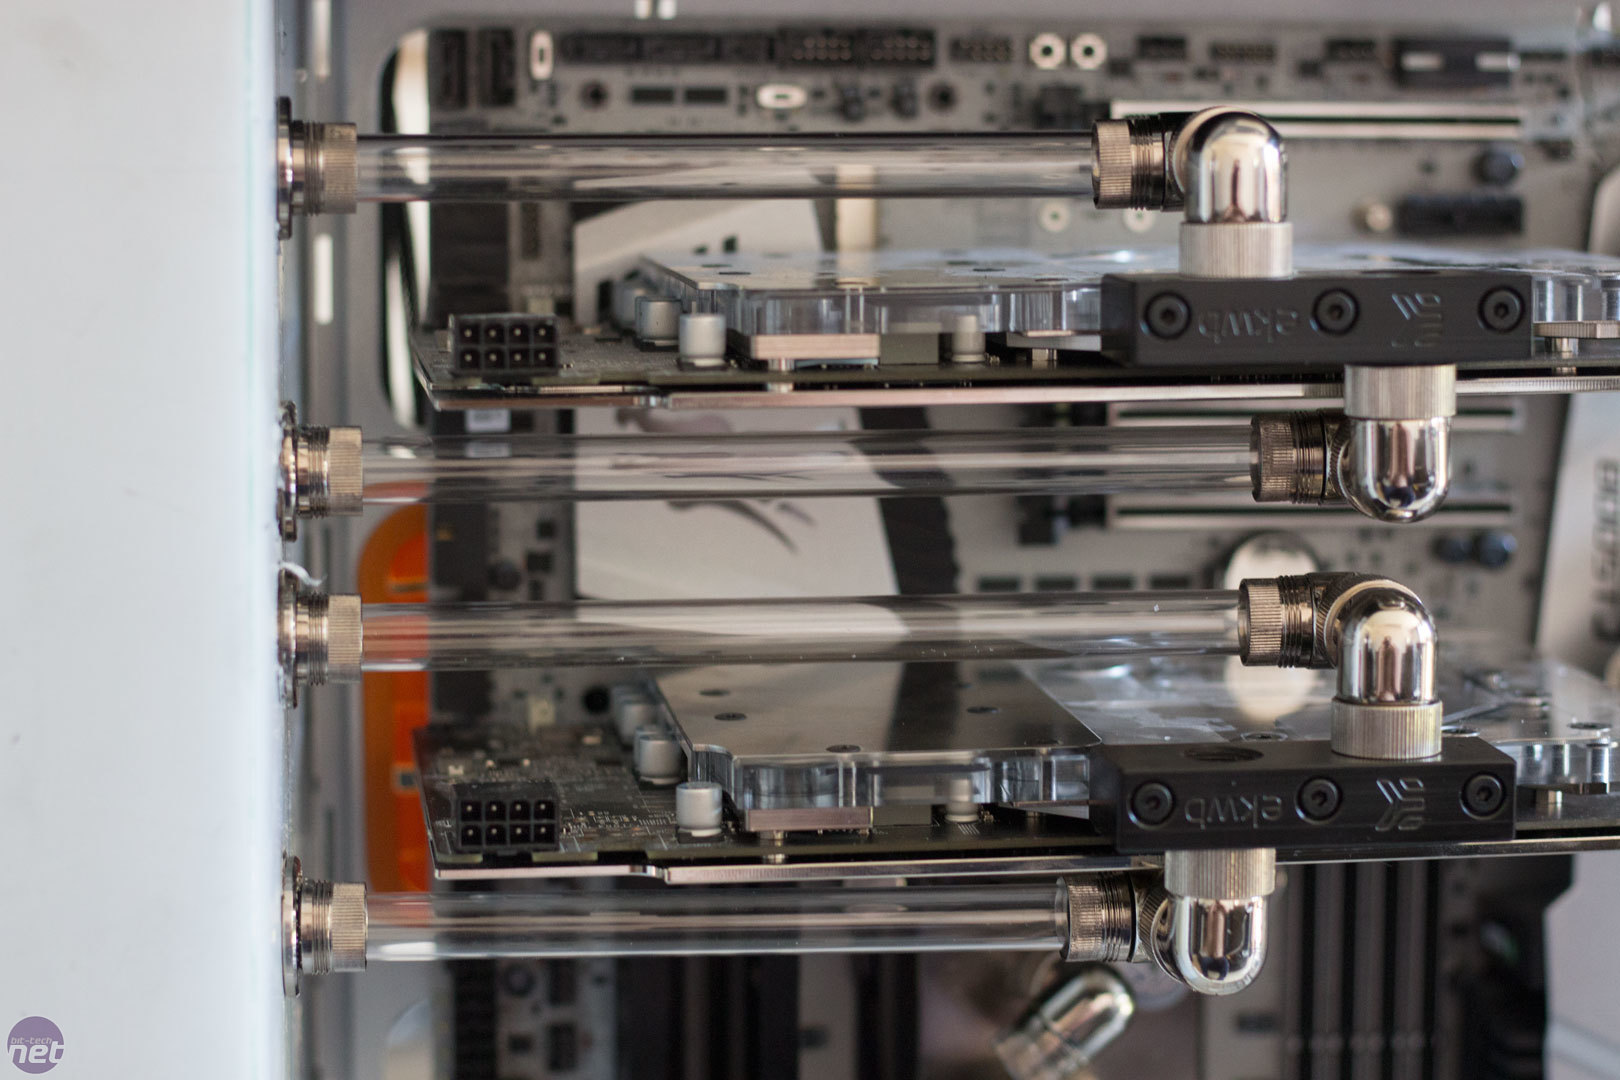
Click to enlarge
This is the end result of the GPU tubing. All of them are showing level with the stud finder and also a small spirit level, but because of the weight of the GPUs, they don't look 100 percent, which is slightly annoying to say the least. I will have to solve that problem too! GPU sag can be solved in a few different ways, and the metal PCI-E slots that the MSI board has have helped a huge amount, but when you have parallel lines running either side of the GPU it is a little bit more obvious.
Well, that is where I am going to leave this build for now. I have a lot more to do: sleeving, more painting, figuring out the loop behind this panel I have made, and also making a PSU cover.
Hopefully, I will be able to get the majority of this done over the next week or so, but again, I am very busy with other bits and bobs! Work hard, play hard, mod hard!


MSI MPG Velox 100R Chassis Review
October 14 2021 | 15:04

Want to comment? Please log in.