Water-Cooling with Hardline Tubing Guide: PETG and Acrylic
January 26, 2018 | 18:30
Companies: #alphacool #thermaltake
Hardline Tubing: PETG
Let's begin with PETG, the comparative newcomer to the scene. The basic tooling that you need is largely the same as acrylic but just a bit more forgiving. I'm going to be demonstrating how to bend the tubing; if you're going with only straight runs you can ignore much of it and stick to the cutting and prepping sections
Tube Prep and Tools
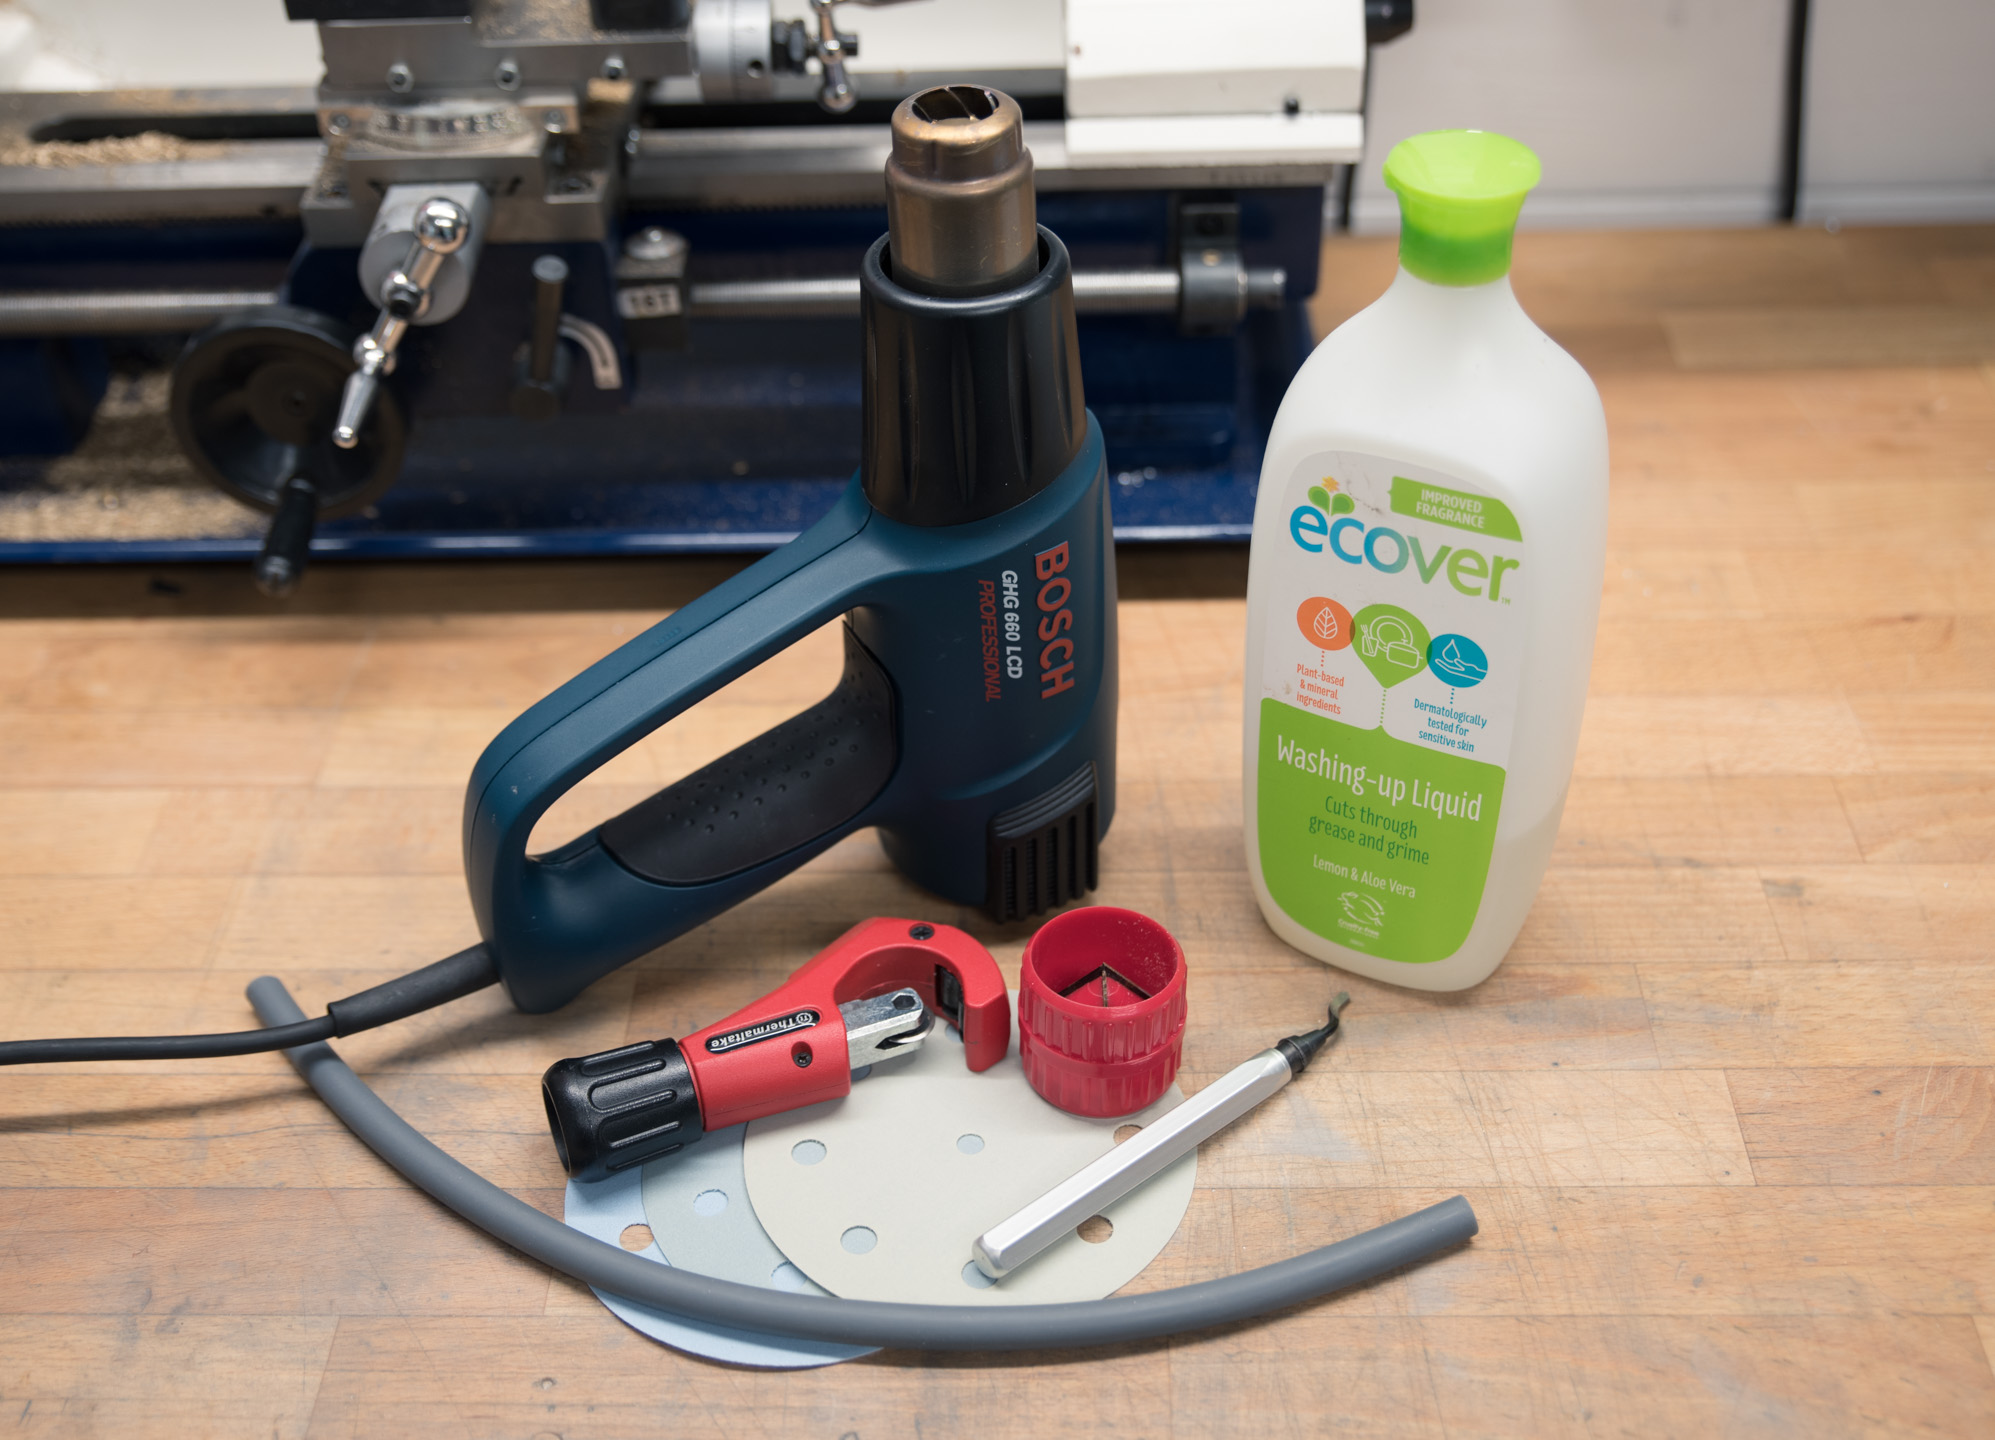
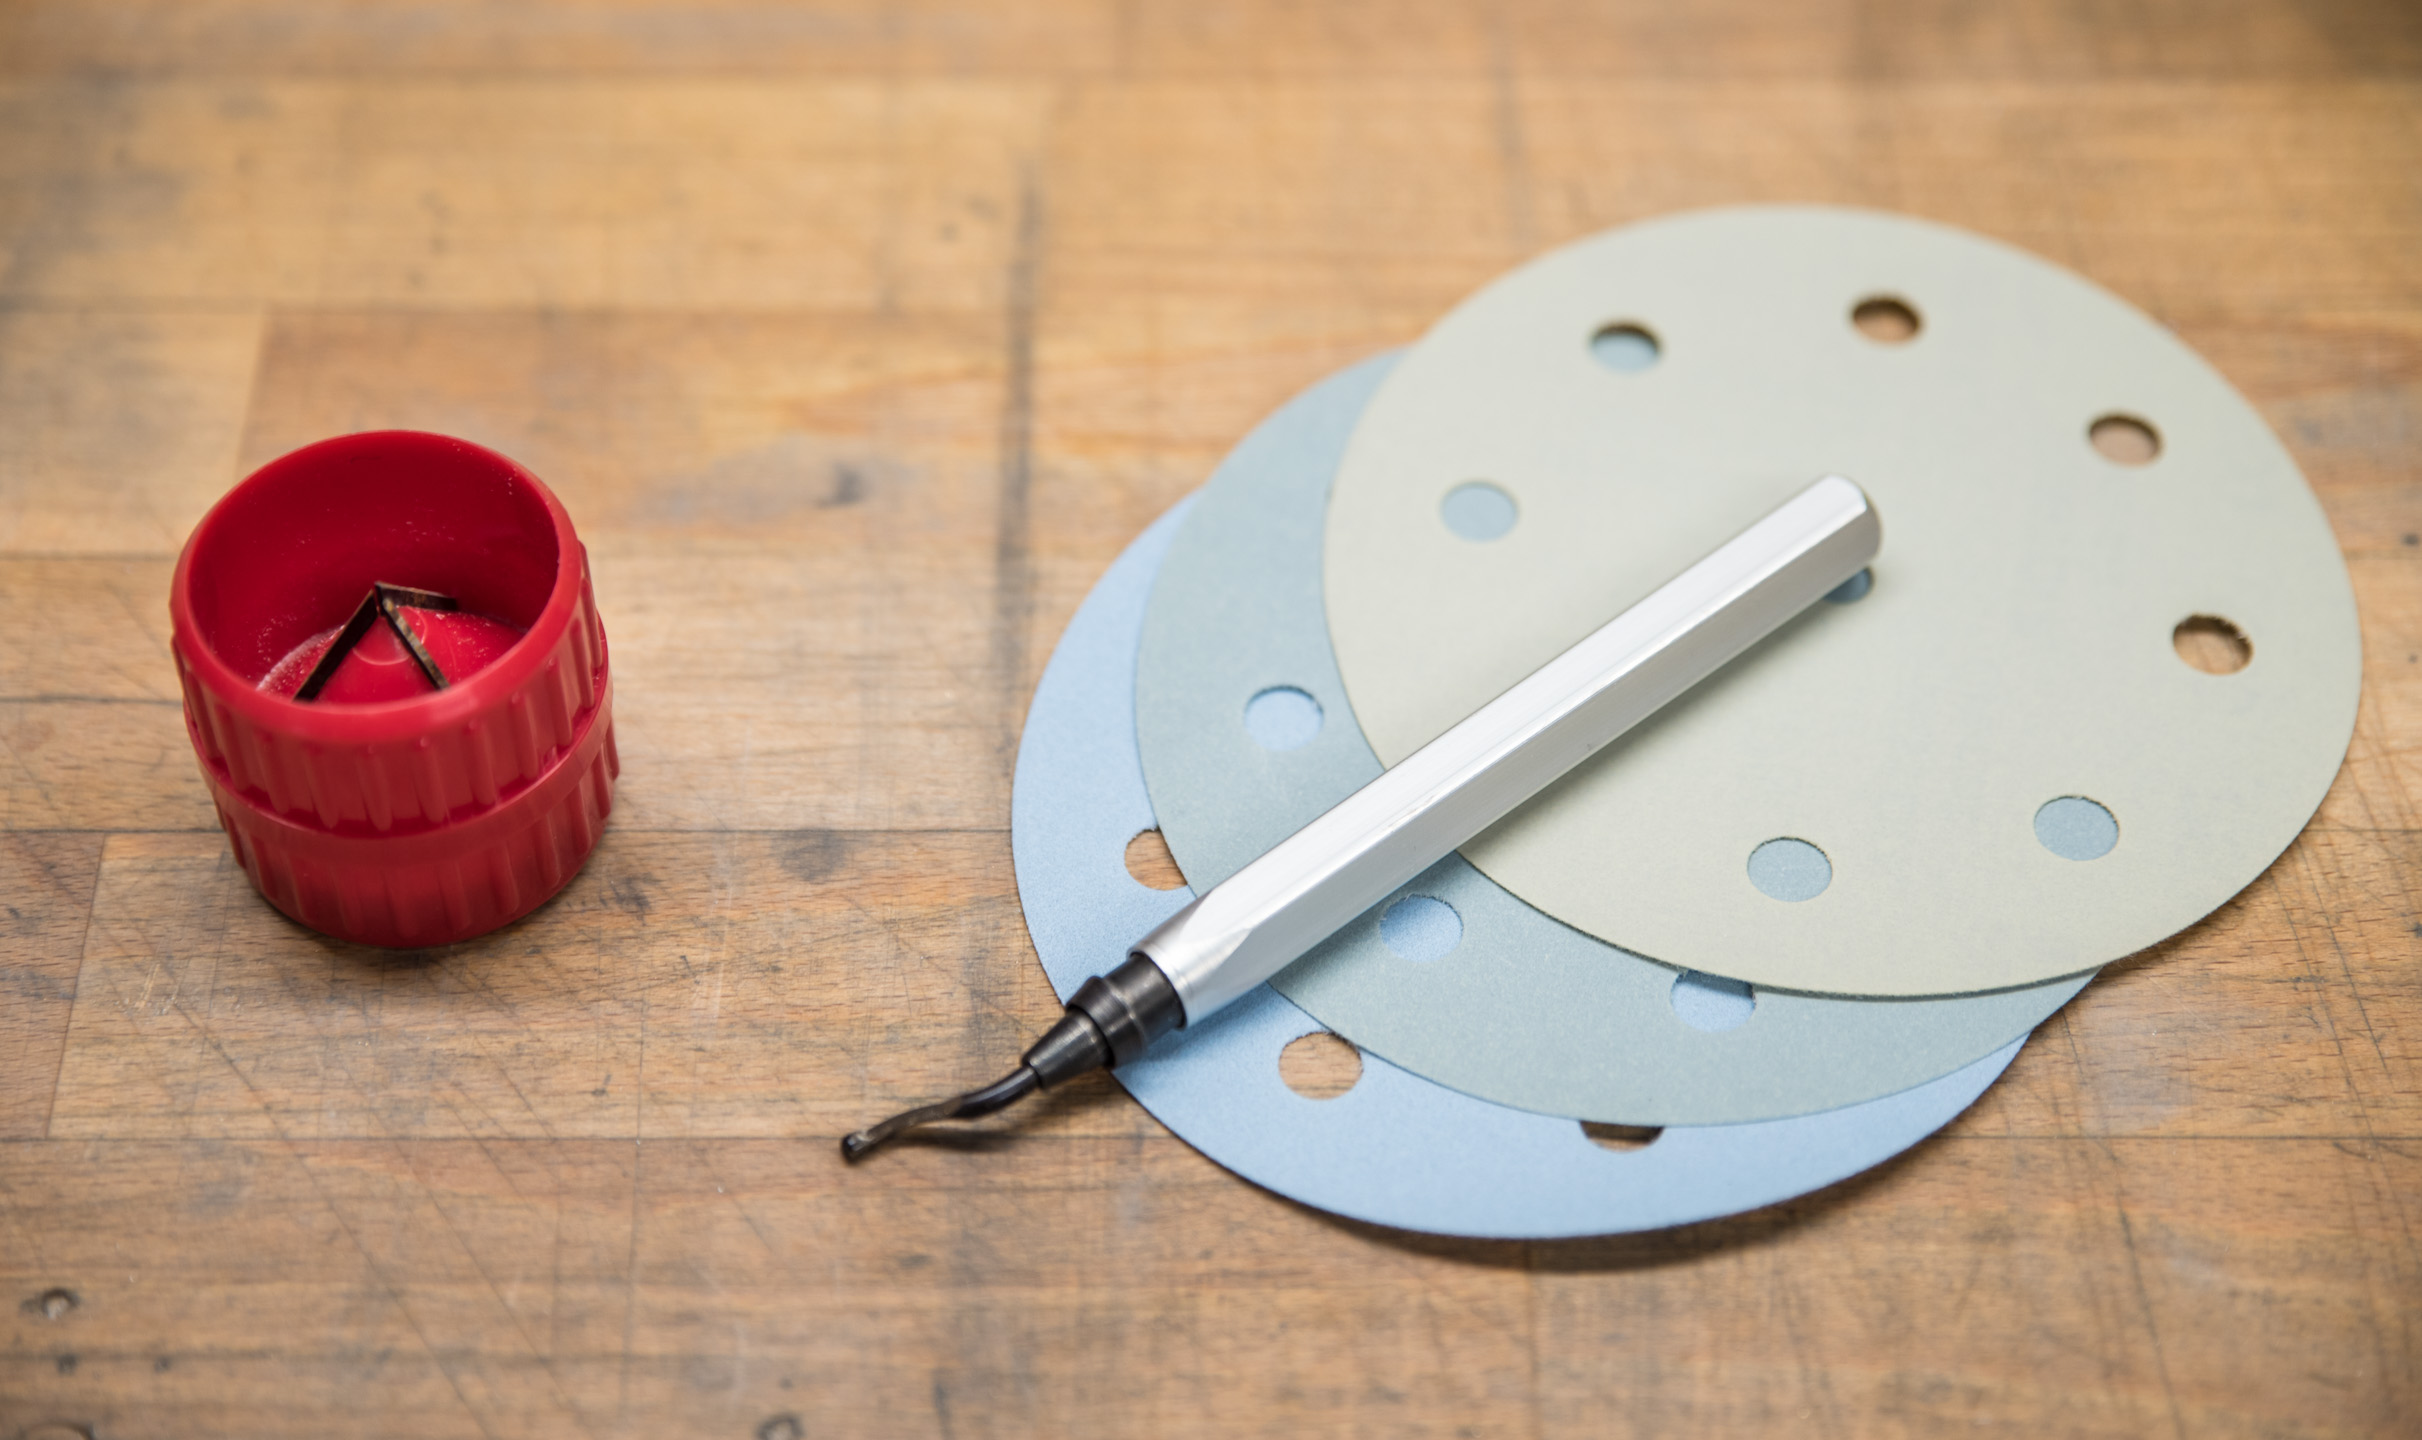
Working our way around, we have a heat gun, some dish soap, a silicon bending cord, a ratchet tubing cutter, sand paper, and two deburring tools. The red kind on the left is the one you'll commonly find included in kits or cheaply online. They work well enough, but I find they can leave a rough edge sometimes. Personally, I like using a rotating blade-type deburring tool, which can be found cheaply on Amazon and similar, along with some sand paper. They do the same job; the left tool will be quicker, the right-hand tool set will leave a cleaner result.
As you can imagine, the first step is to measure and mark your tubing so that you can cut it to size. I like to use a craft knife to mark the tubes, as it's a fine line, but a permanent marker works well, too. Dry-wipe markers also work but can be fiddly later. It's worth mentioning that, if possible, you should try to overestimate things; you can always shorten the tubing later, but you can't make it longer.
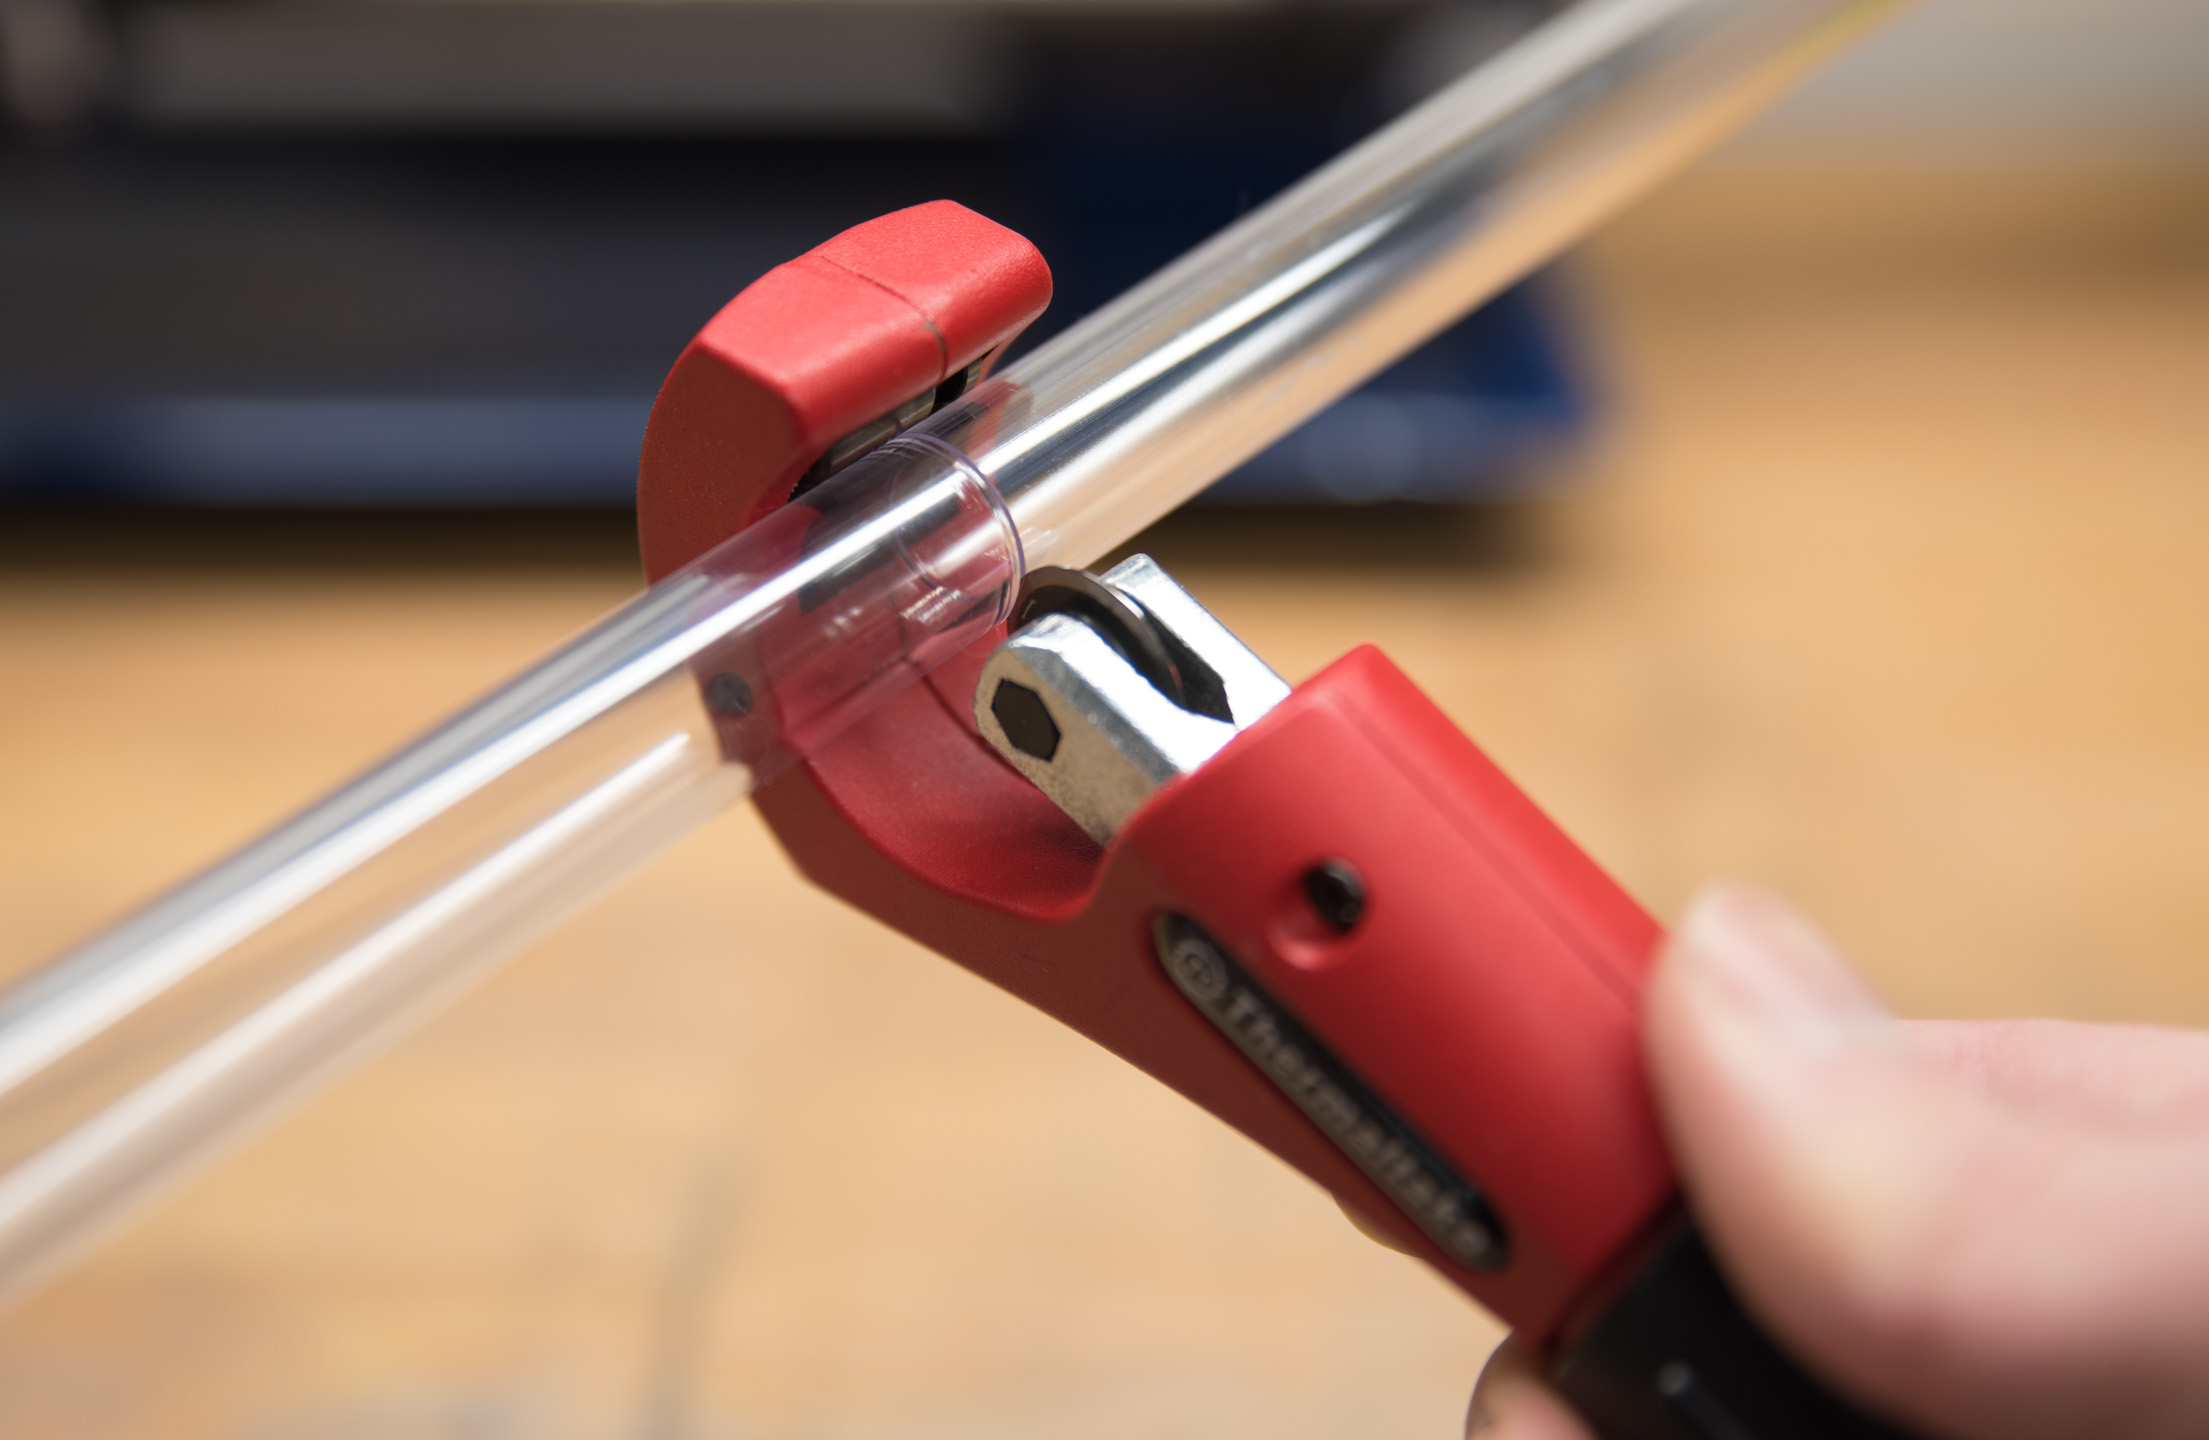
Once you know where you will cut the tube, go ahead and place it into the cutter and line it up. I like using these classic pipe cutters for PETG, as it's very easy to produce a precise, perpendicular cut with them. They can be found in kits (like this Thermaltake one) or in the plumbing section of a hardware store. You can of course use a handsaw, Dremel, or jigsaw for this as well, or even a ratchet scissor-type cutter if you're feeling determined. Simply rotate the tube and the blade will cut into the plastic; turning the handle pushes the blade further in, so keep doing this until the cut piece pops off.
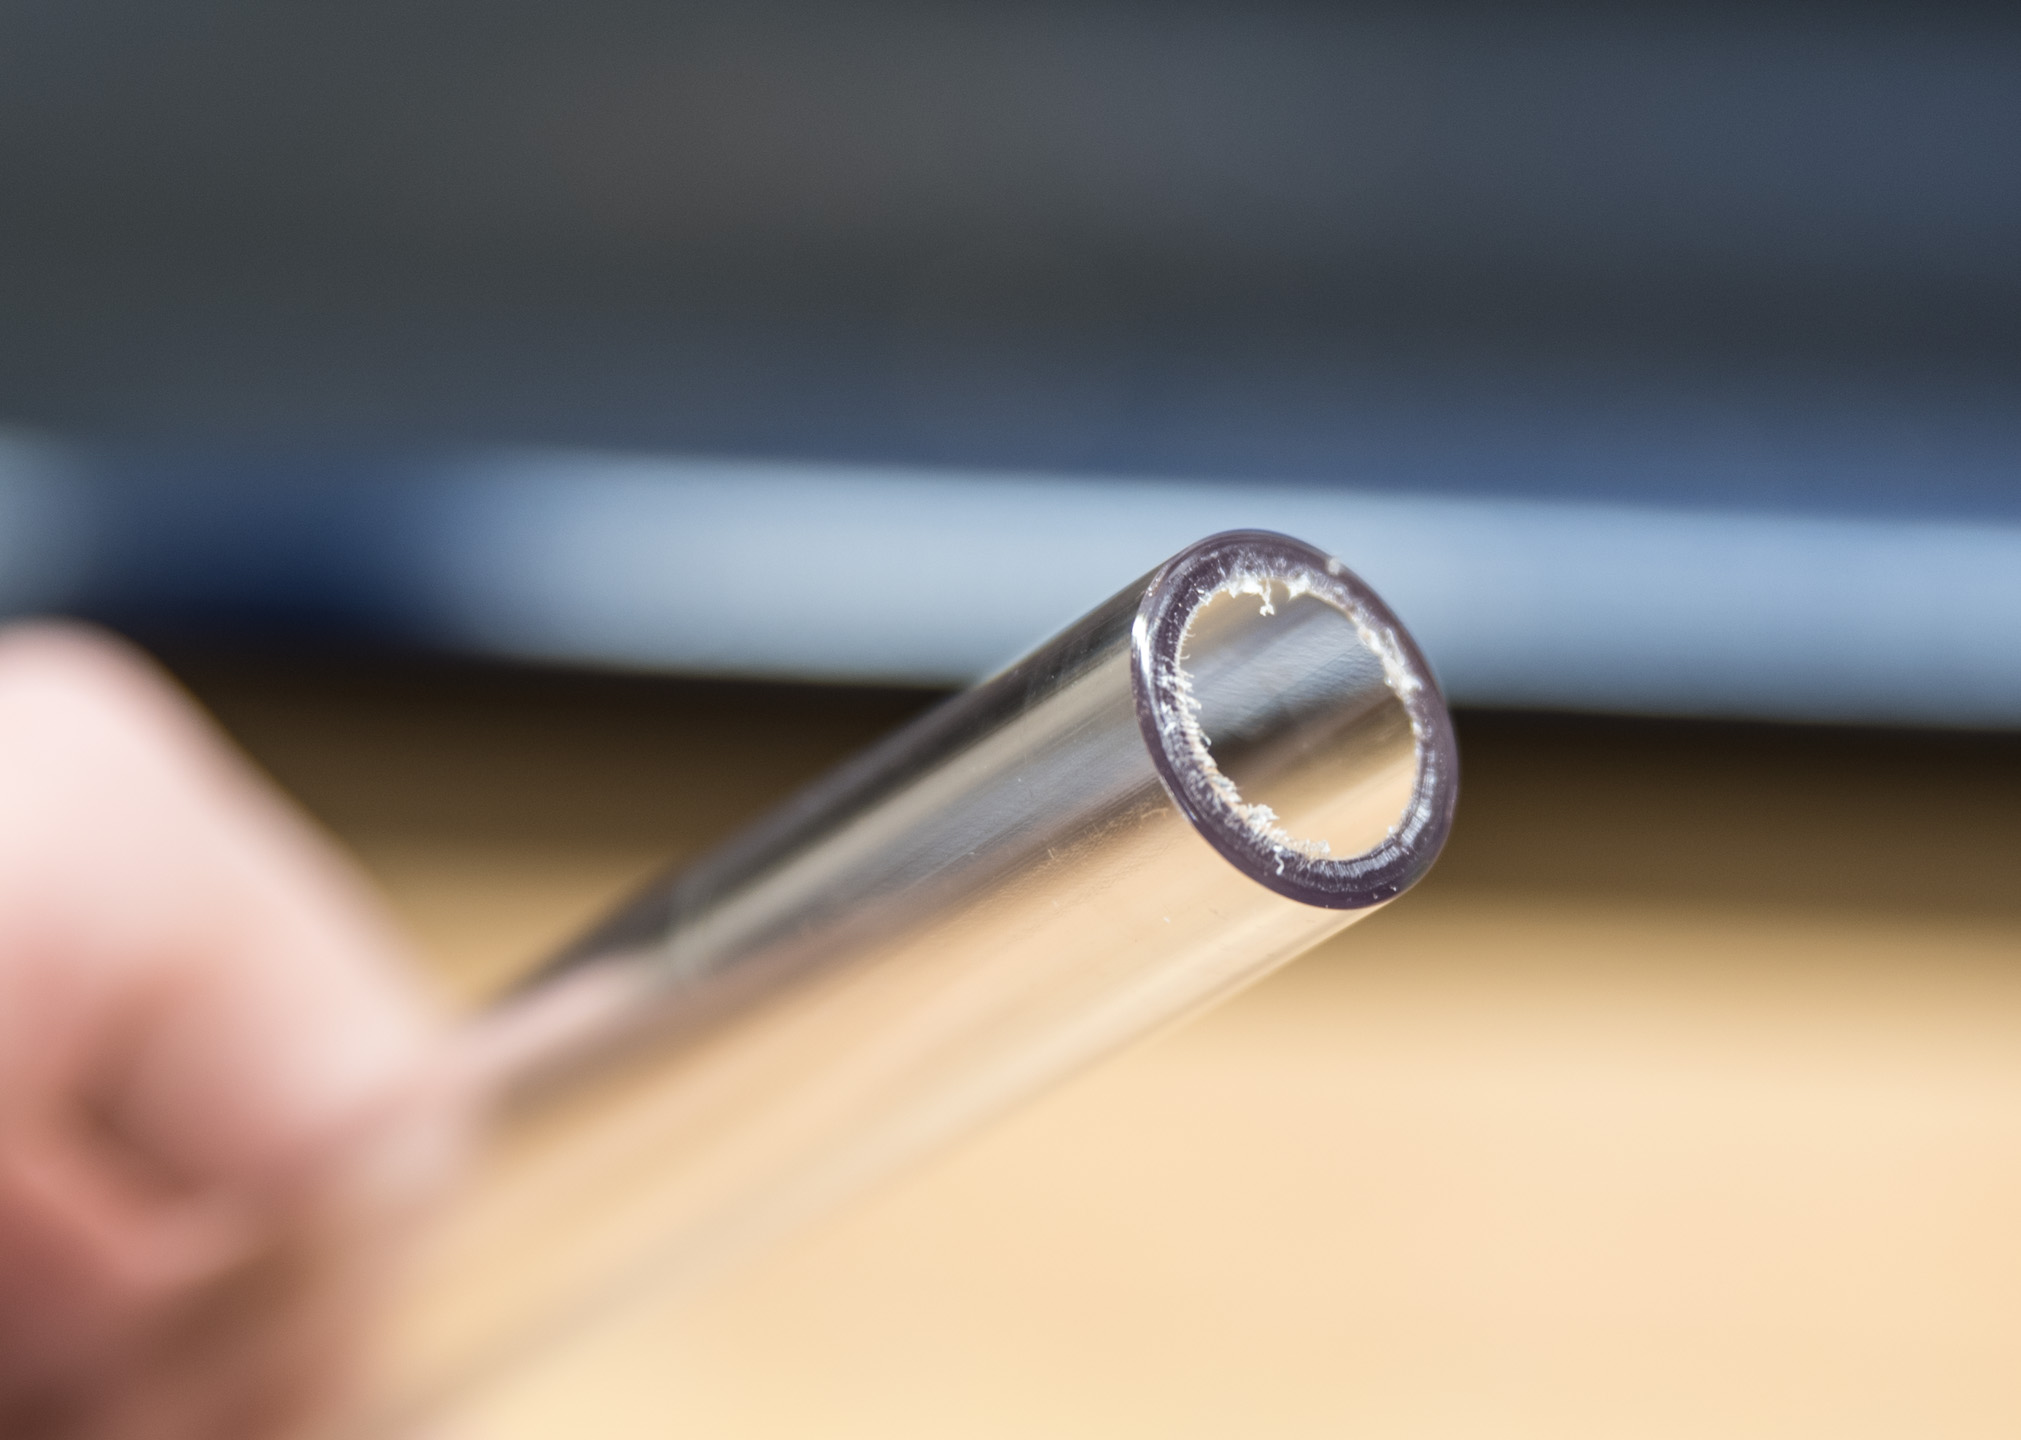
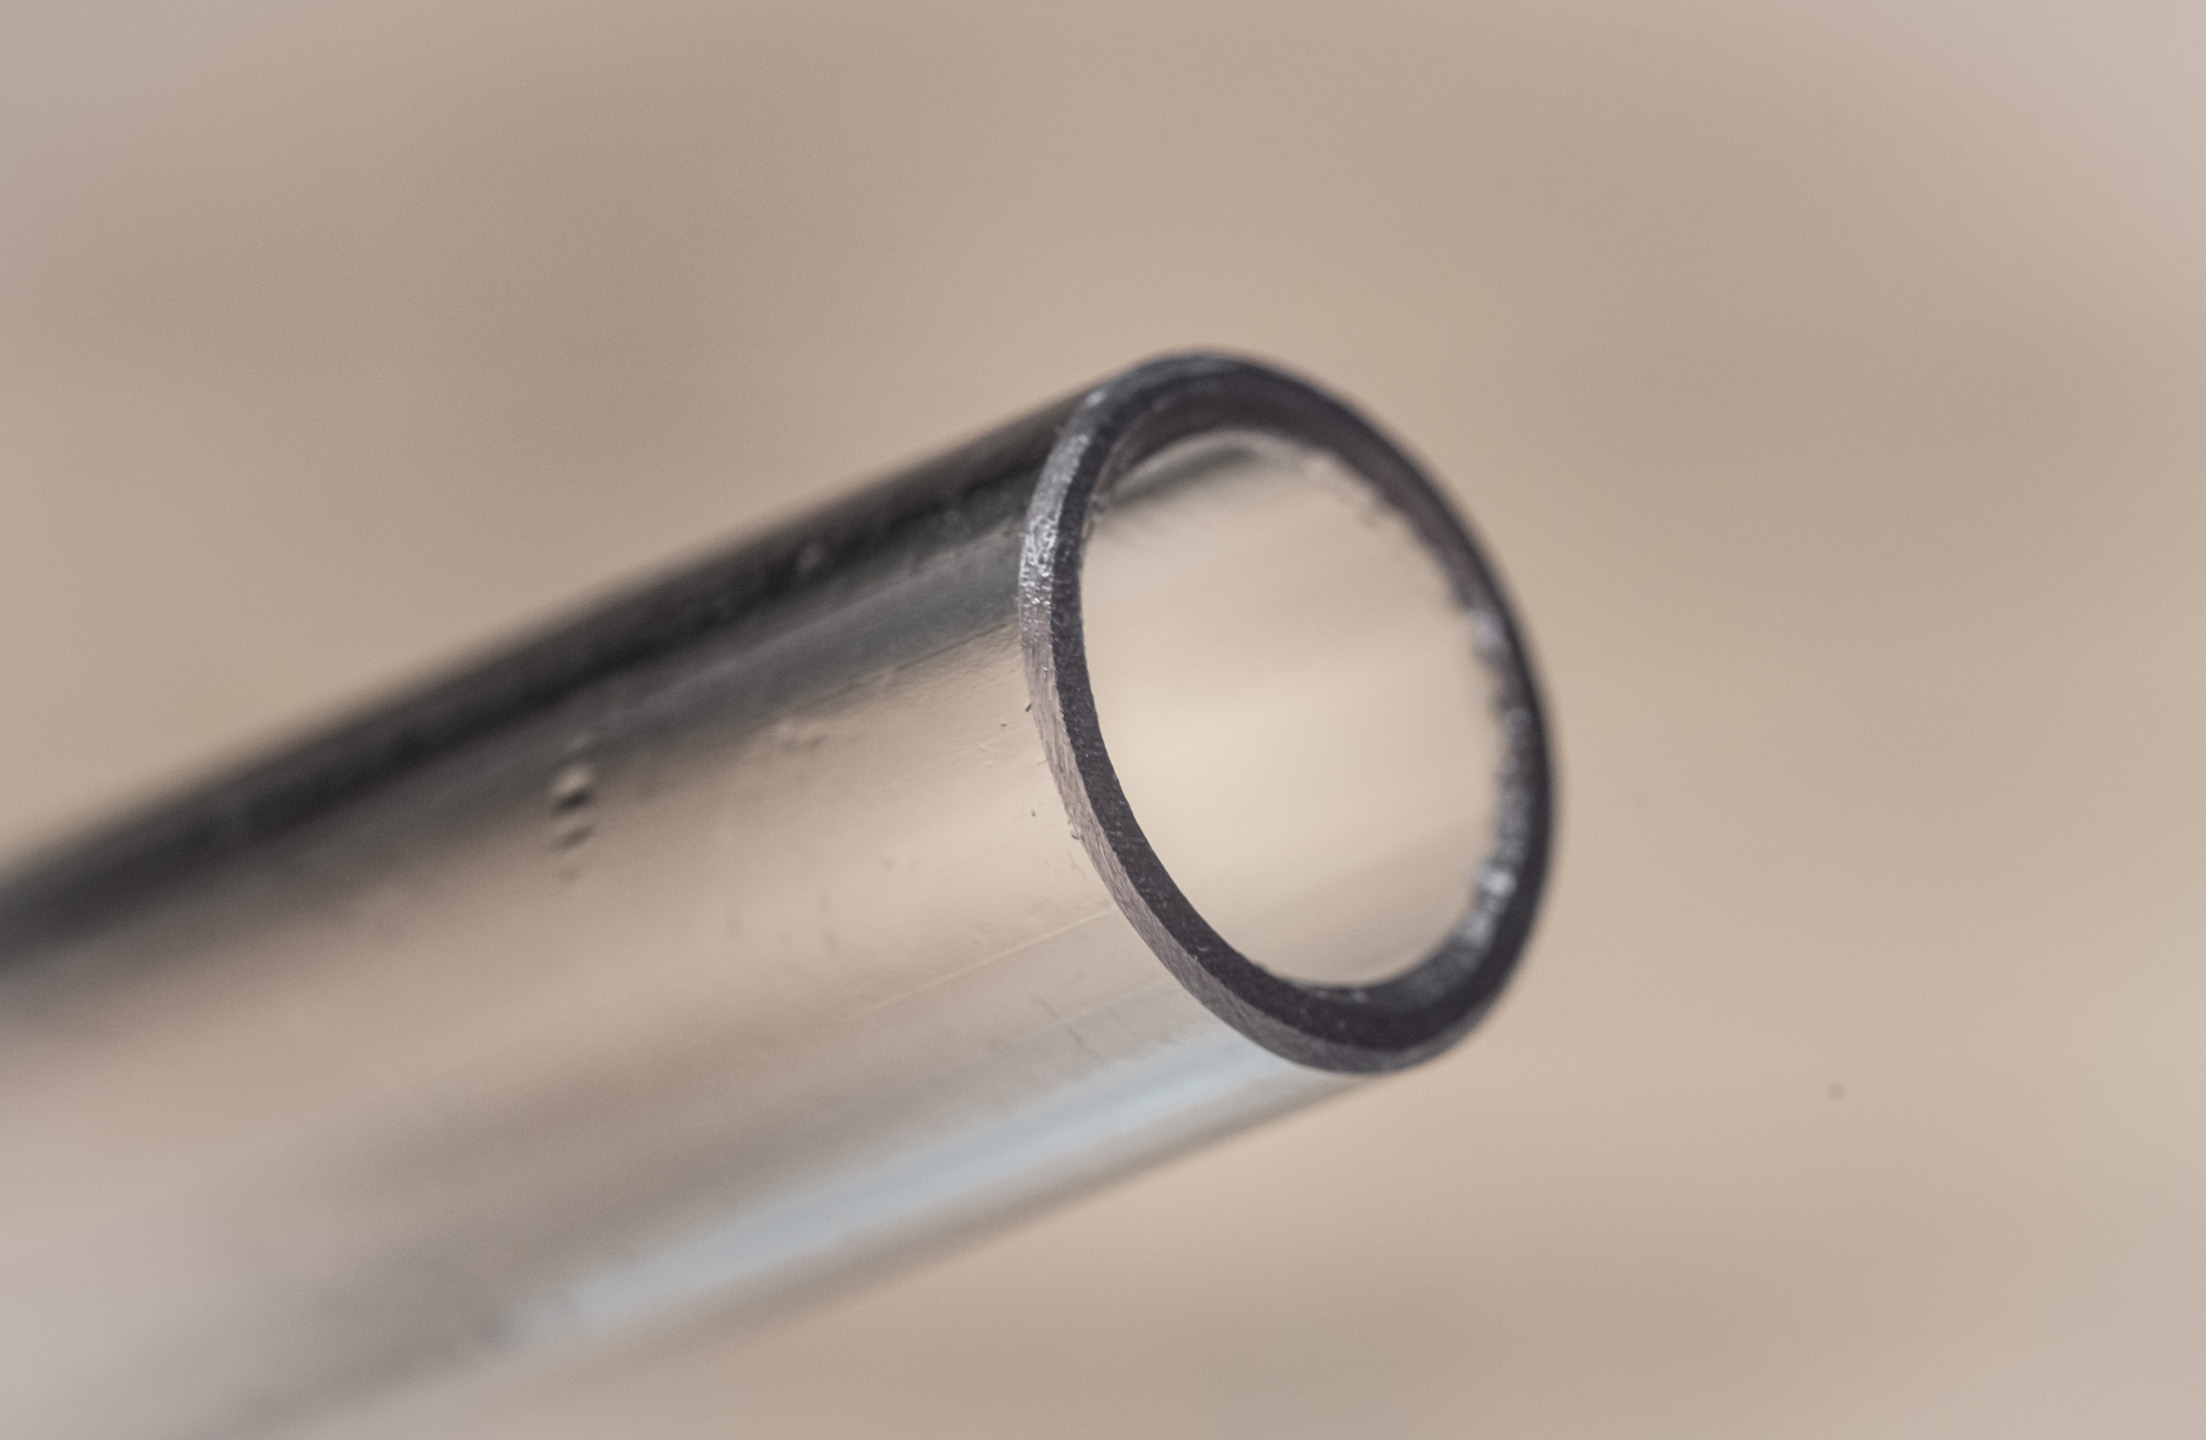
You'll notice, however, that the end is rather messy. We need to clean this up so as not to damage the fittings. The vast majority of fittings make use of O-rings that compress around the outside of the tube, so if the end is messy, there is a chance it can damage them when you insert the tube, compromising the seal.
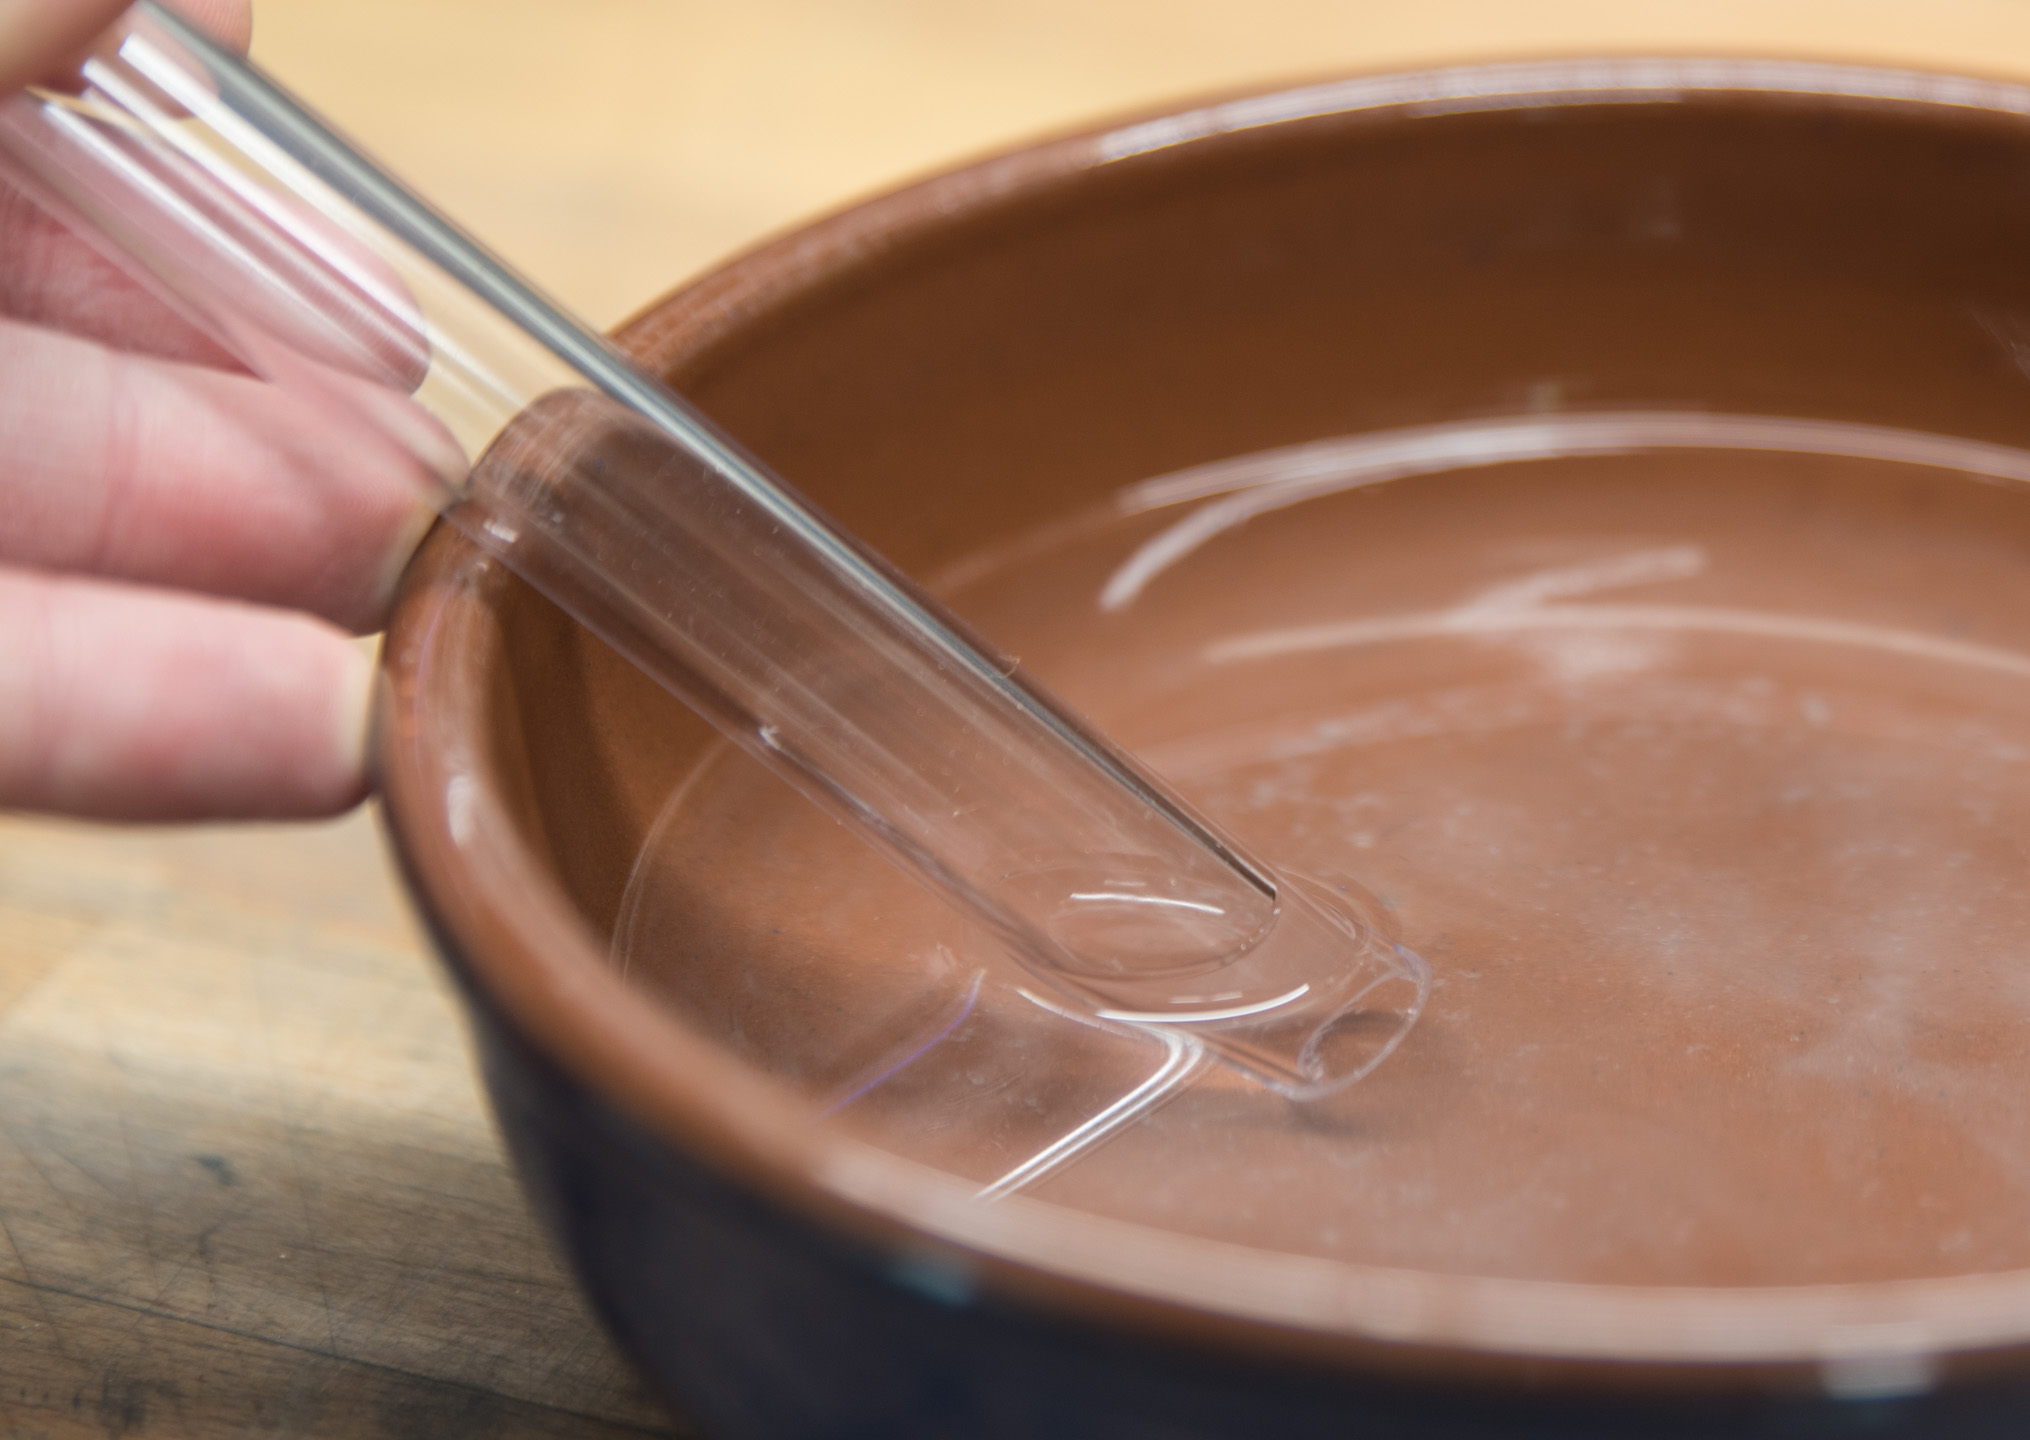
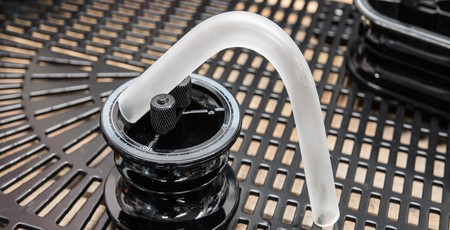
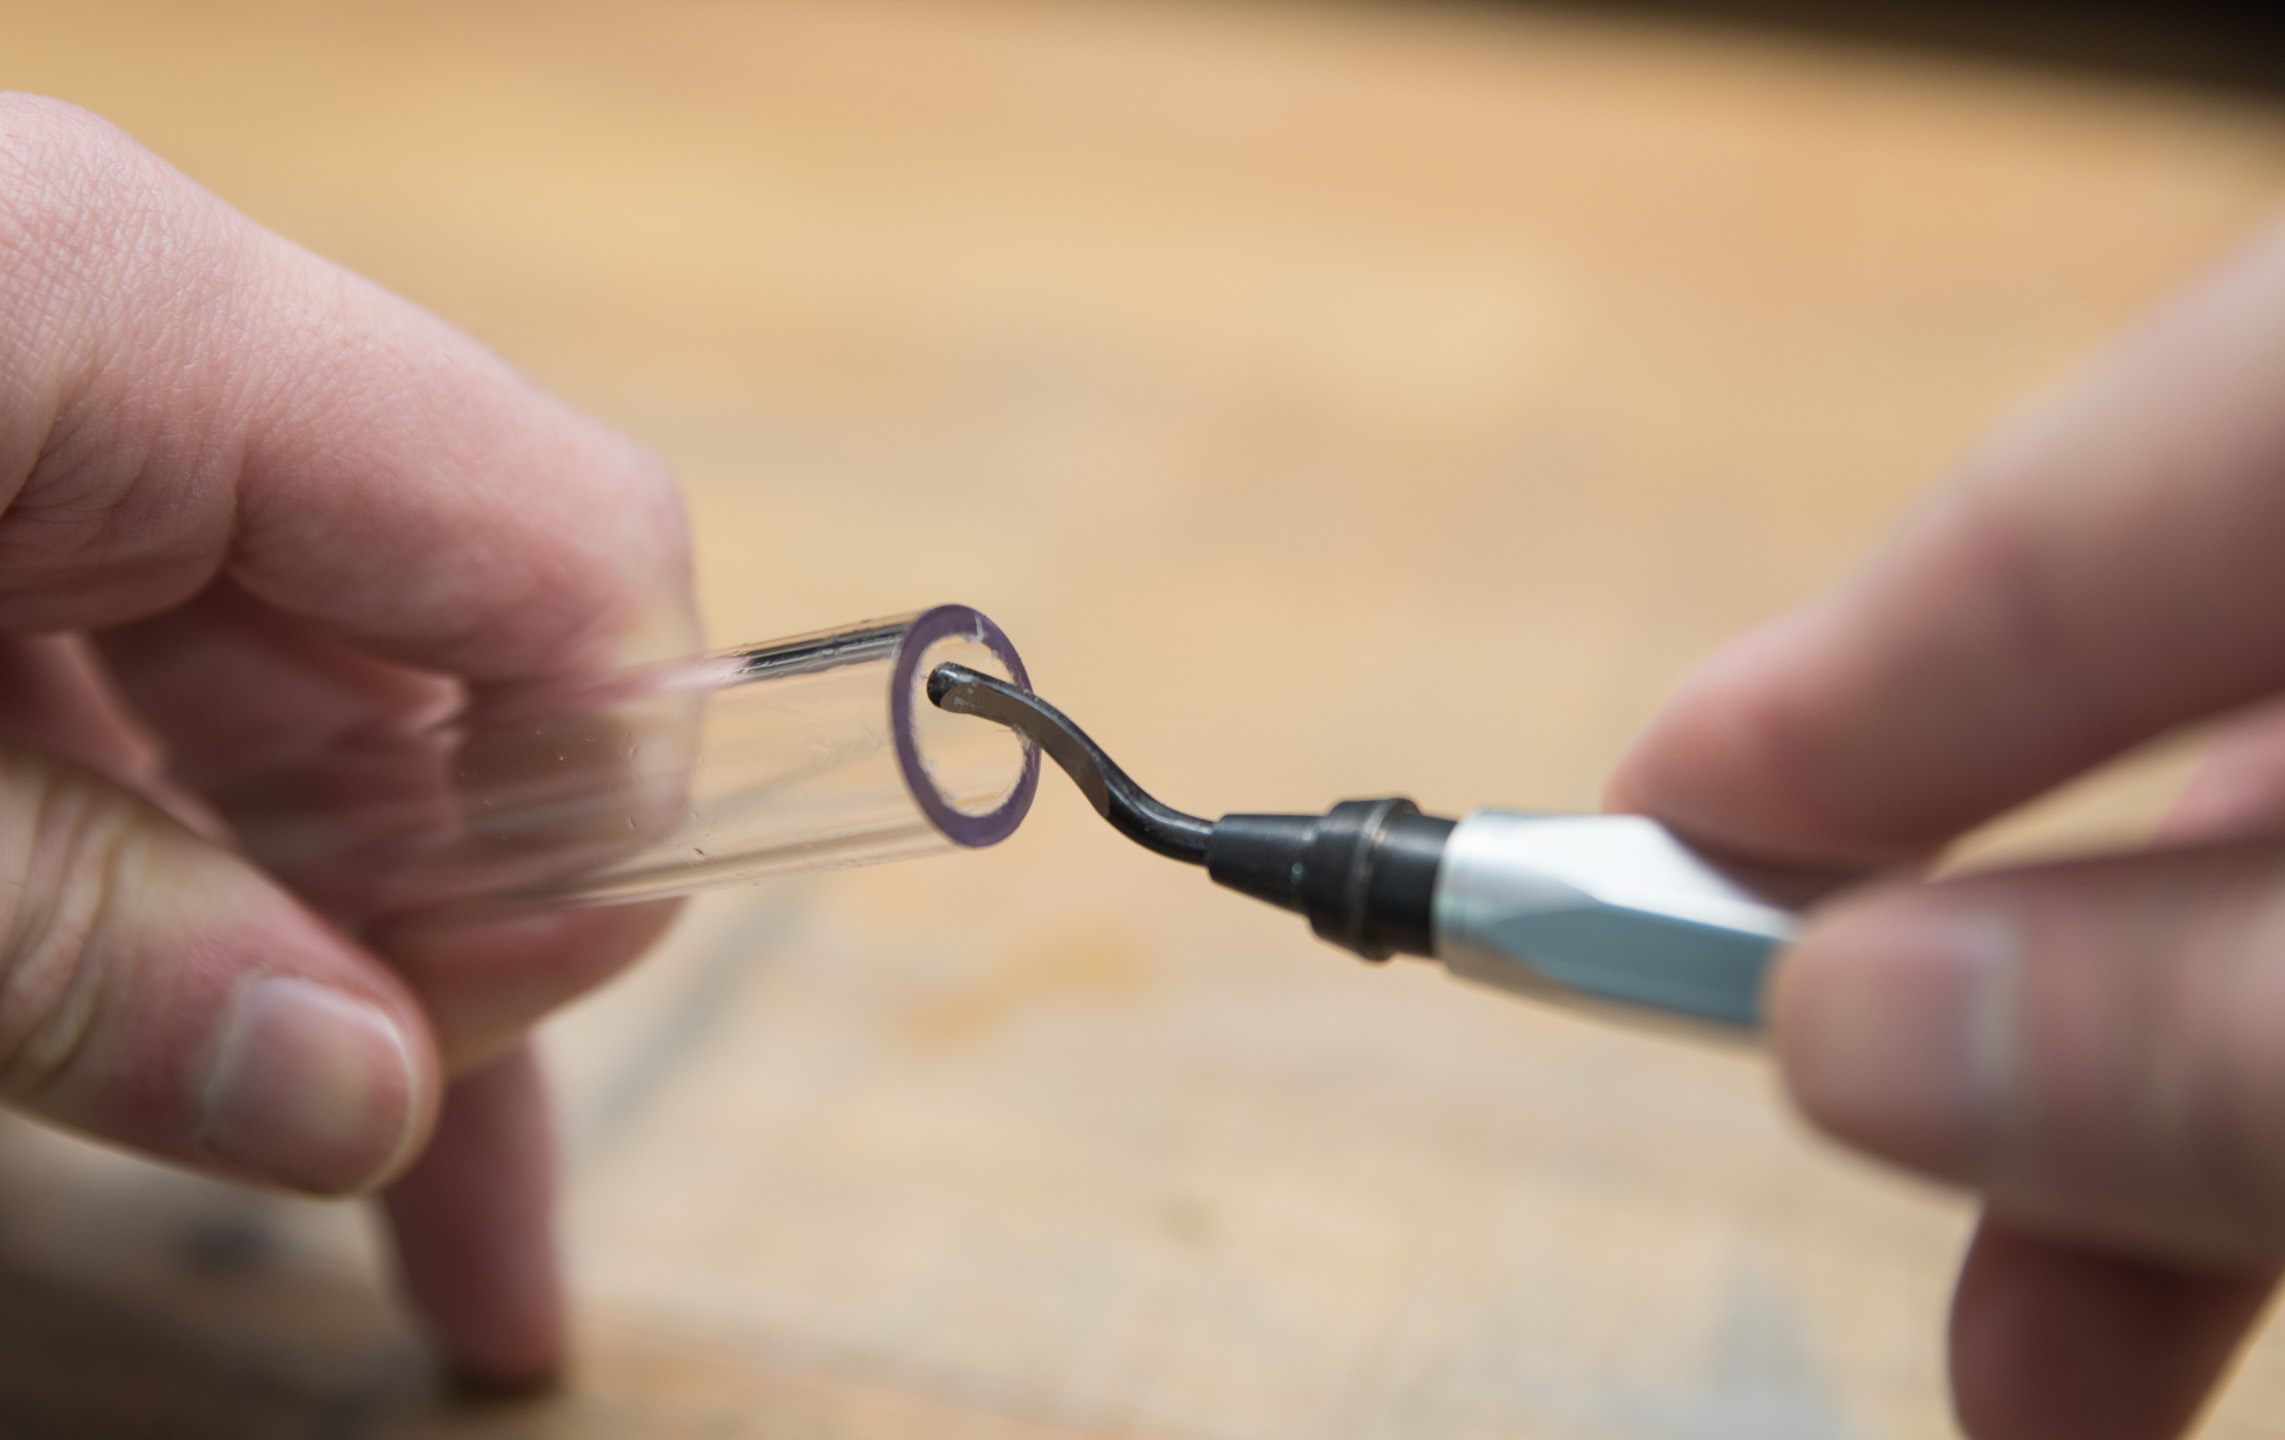
To accomplish this, first I like to wet the ends of the tube, as this helps to achieve a smoother chamfer. We're going to want an edge that won't catch on the o-rings later, keeping them healthy.
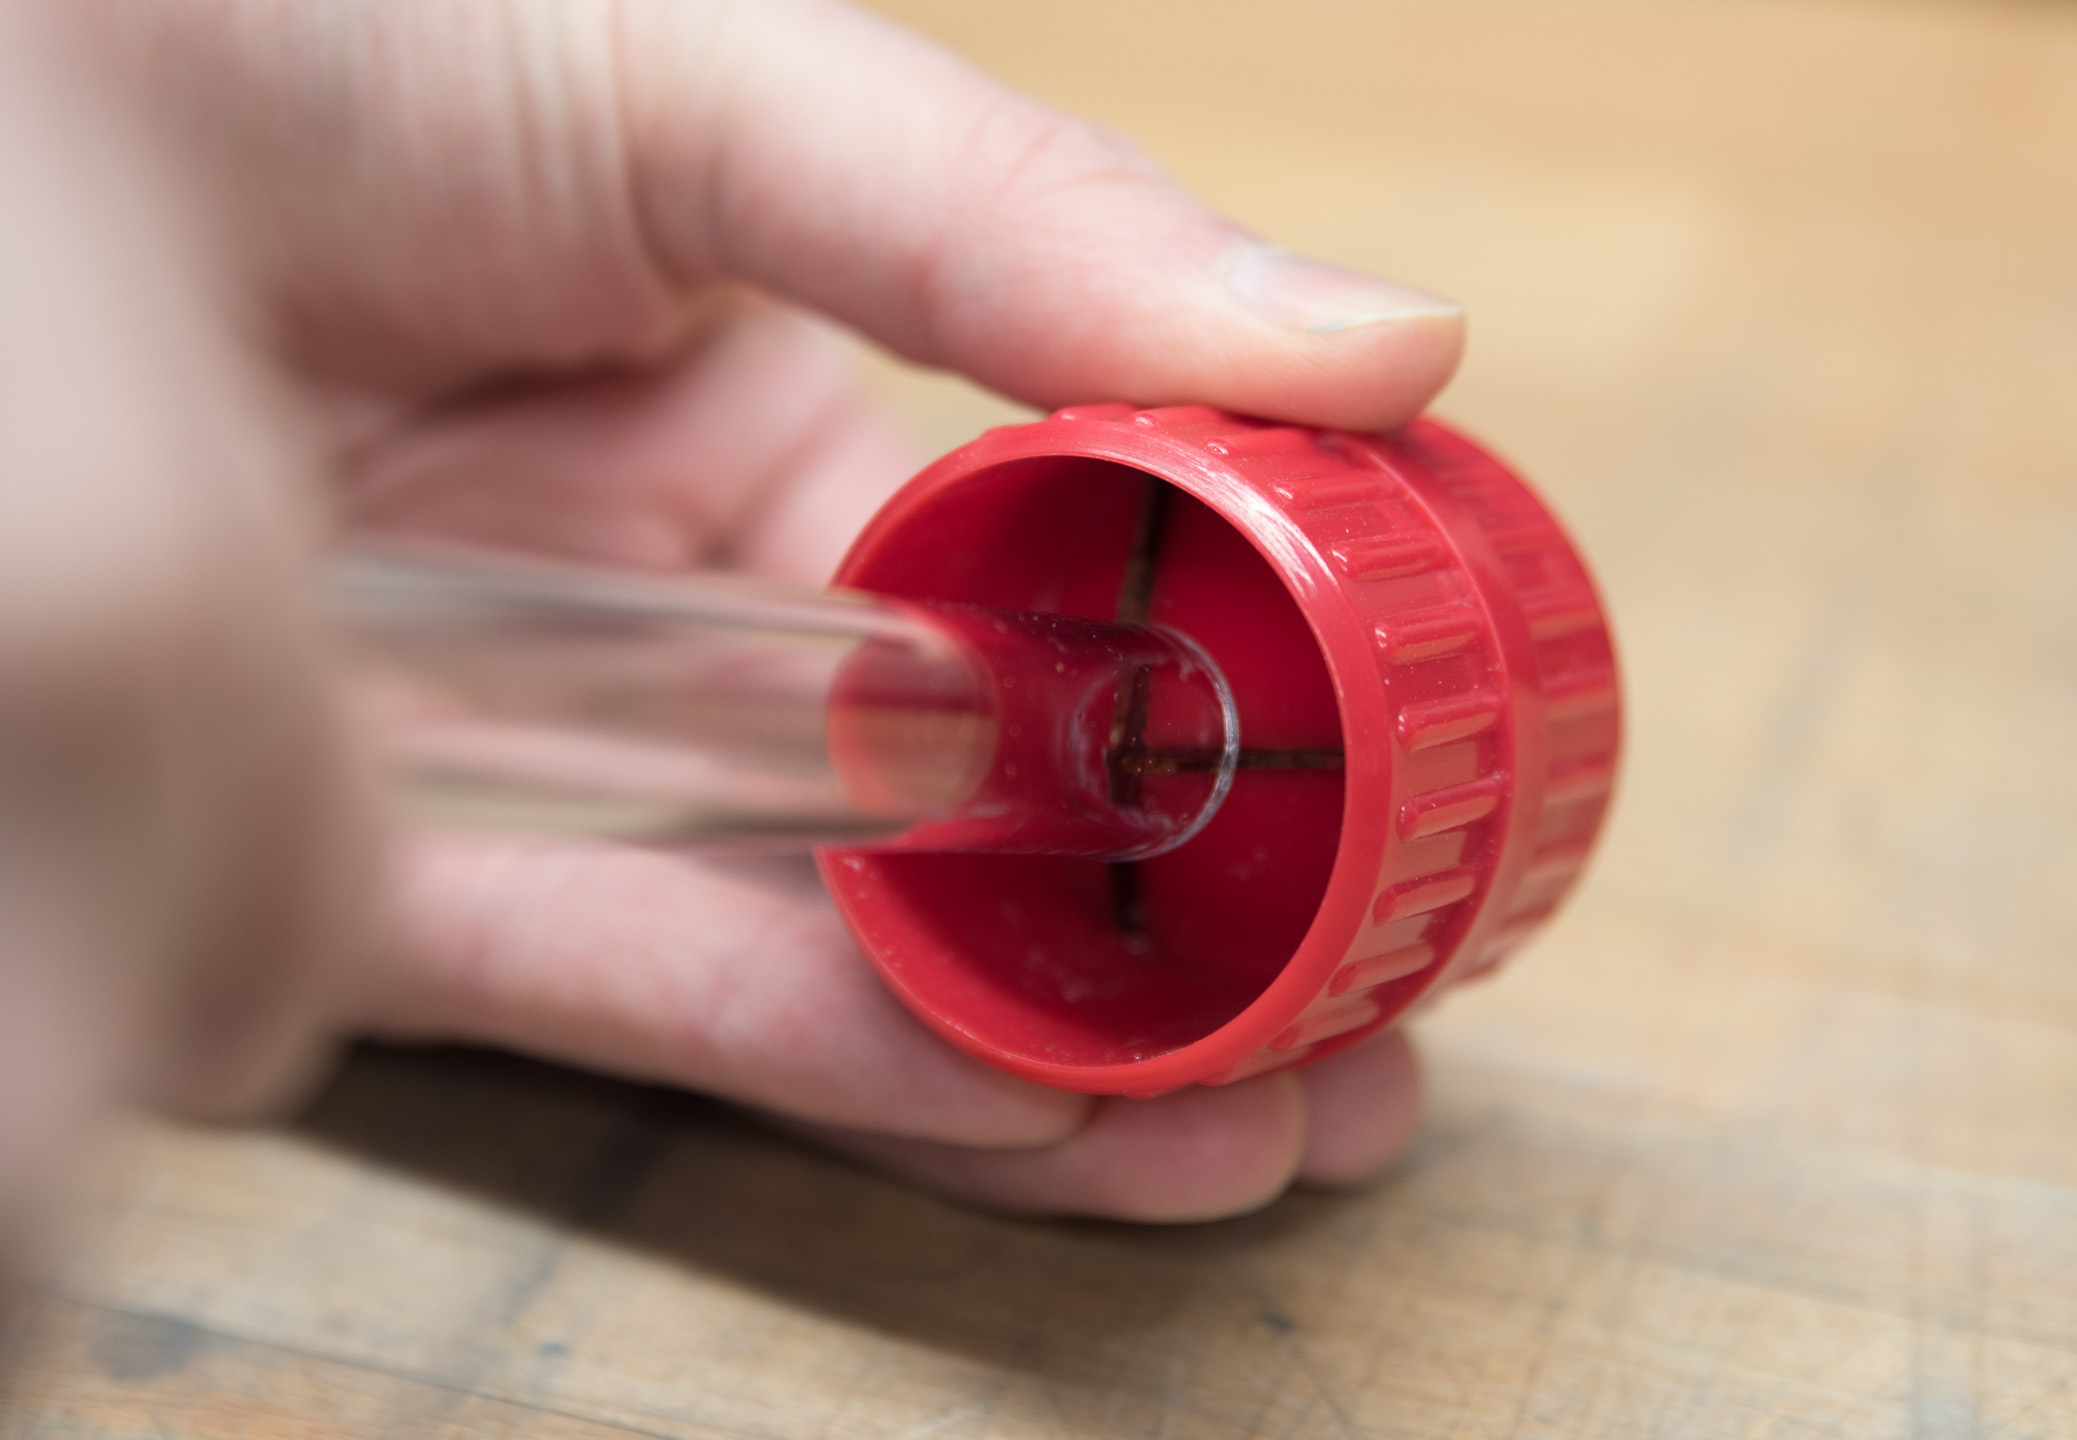
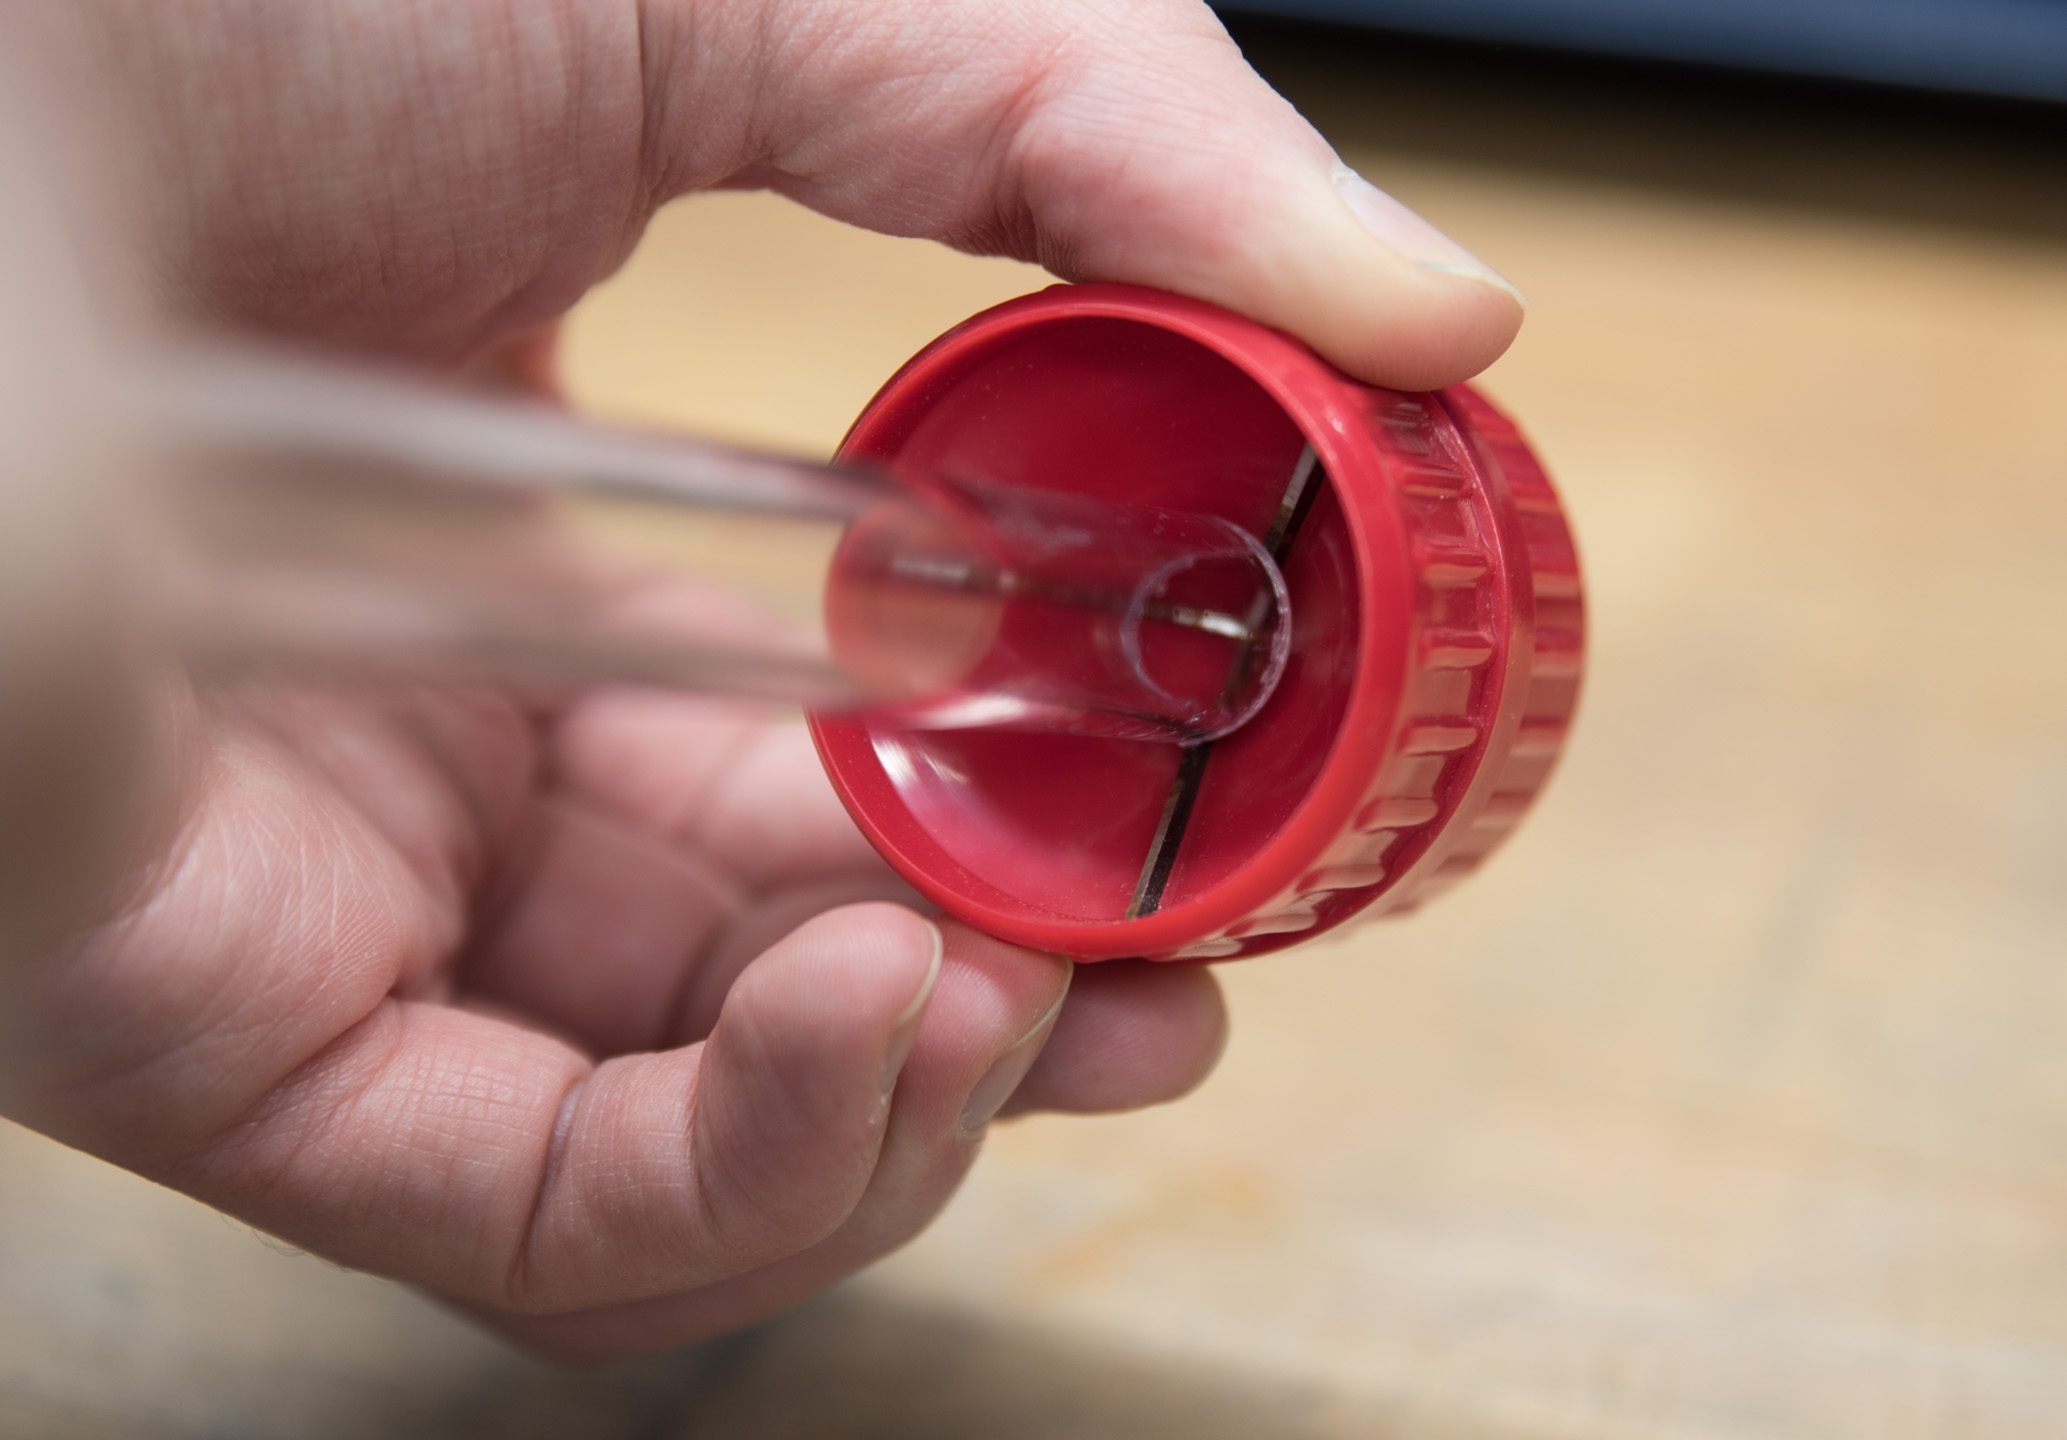
Carefully spin the chamfer tool; it will cut into the edge of the tubing and remove the burrs to leave a chamfered edge. With PETG, this can be a bit of a pain, as it has a tendency to stick, so it may take a few attempts to get a clean cut. An alternative is to use a deburring tool on the inside of the tube and some sandpaper on the outside. It takes a bit longer, but you get a better result. I prefer that method for said reason, but both will work fine.
Our tube is now prepared; it's off to bend it!
RELATED ARTICLES


MSI MPG Velox 100R Chassis Review
October 14 2021 | 15:04

Want to comment? Please log in.