Water-Cooling with Hardline Tubing Guide: Brass and Carbon Fibre
February 1, 2018 | 14:00
Companies: #alphacool
Following on from our previous PETG and acrylic guide, this time the flavour of the day are the "unbendables", i.e. pre-fabricated tubes such as brass and carbon fibre.
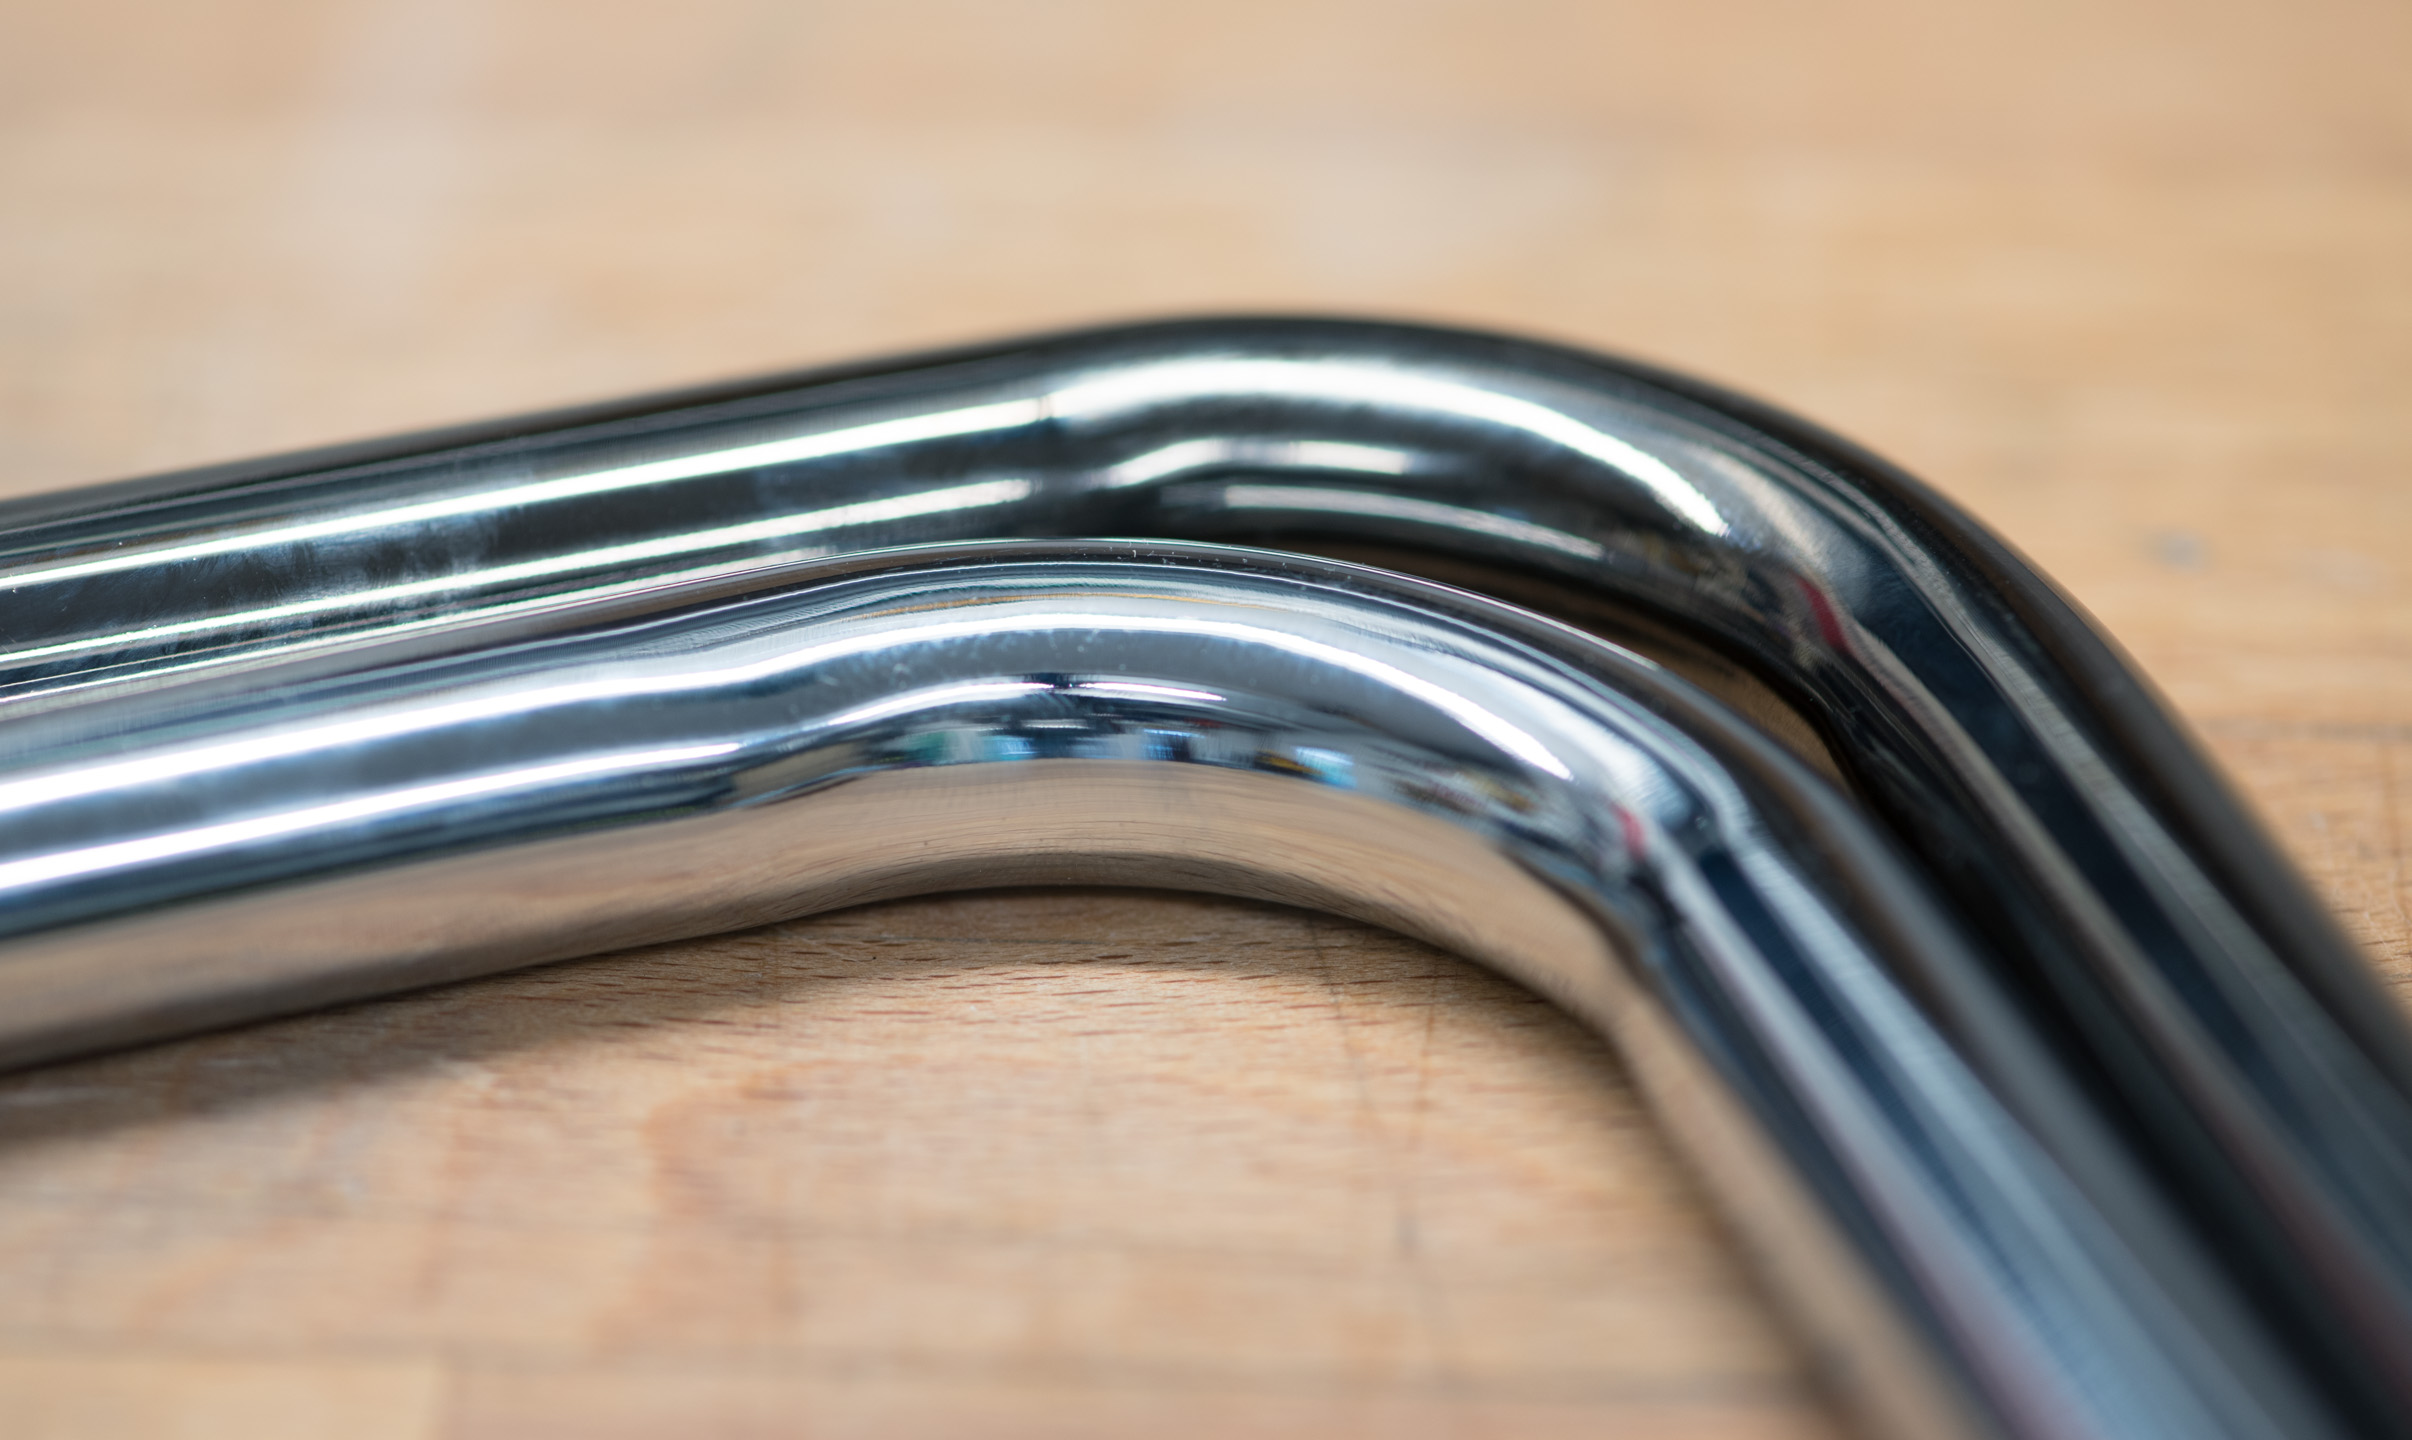
Hardline Tubing: Pre-Bent Brass
Whilst brass certainly can be bent (one would assume since the bends had to get there somehow...) it's not necessarily something that people are kitted out to do at home, especially if finishes have been applied to the tubing already.
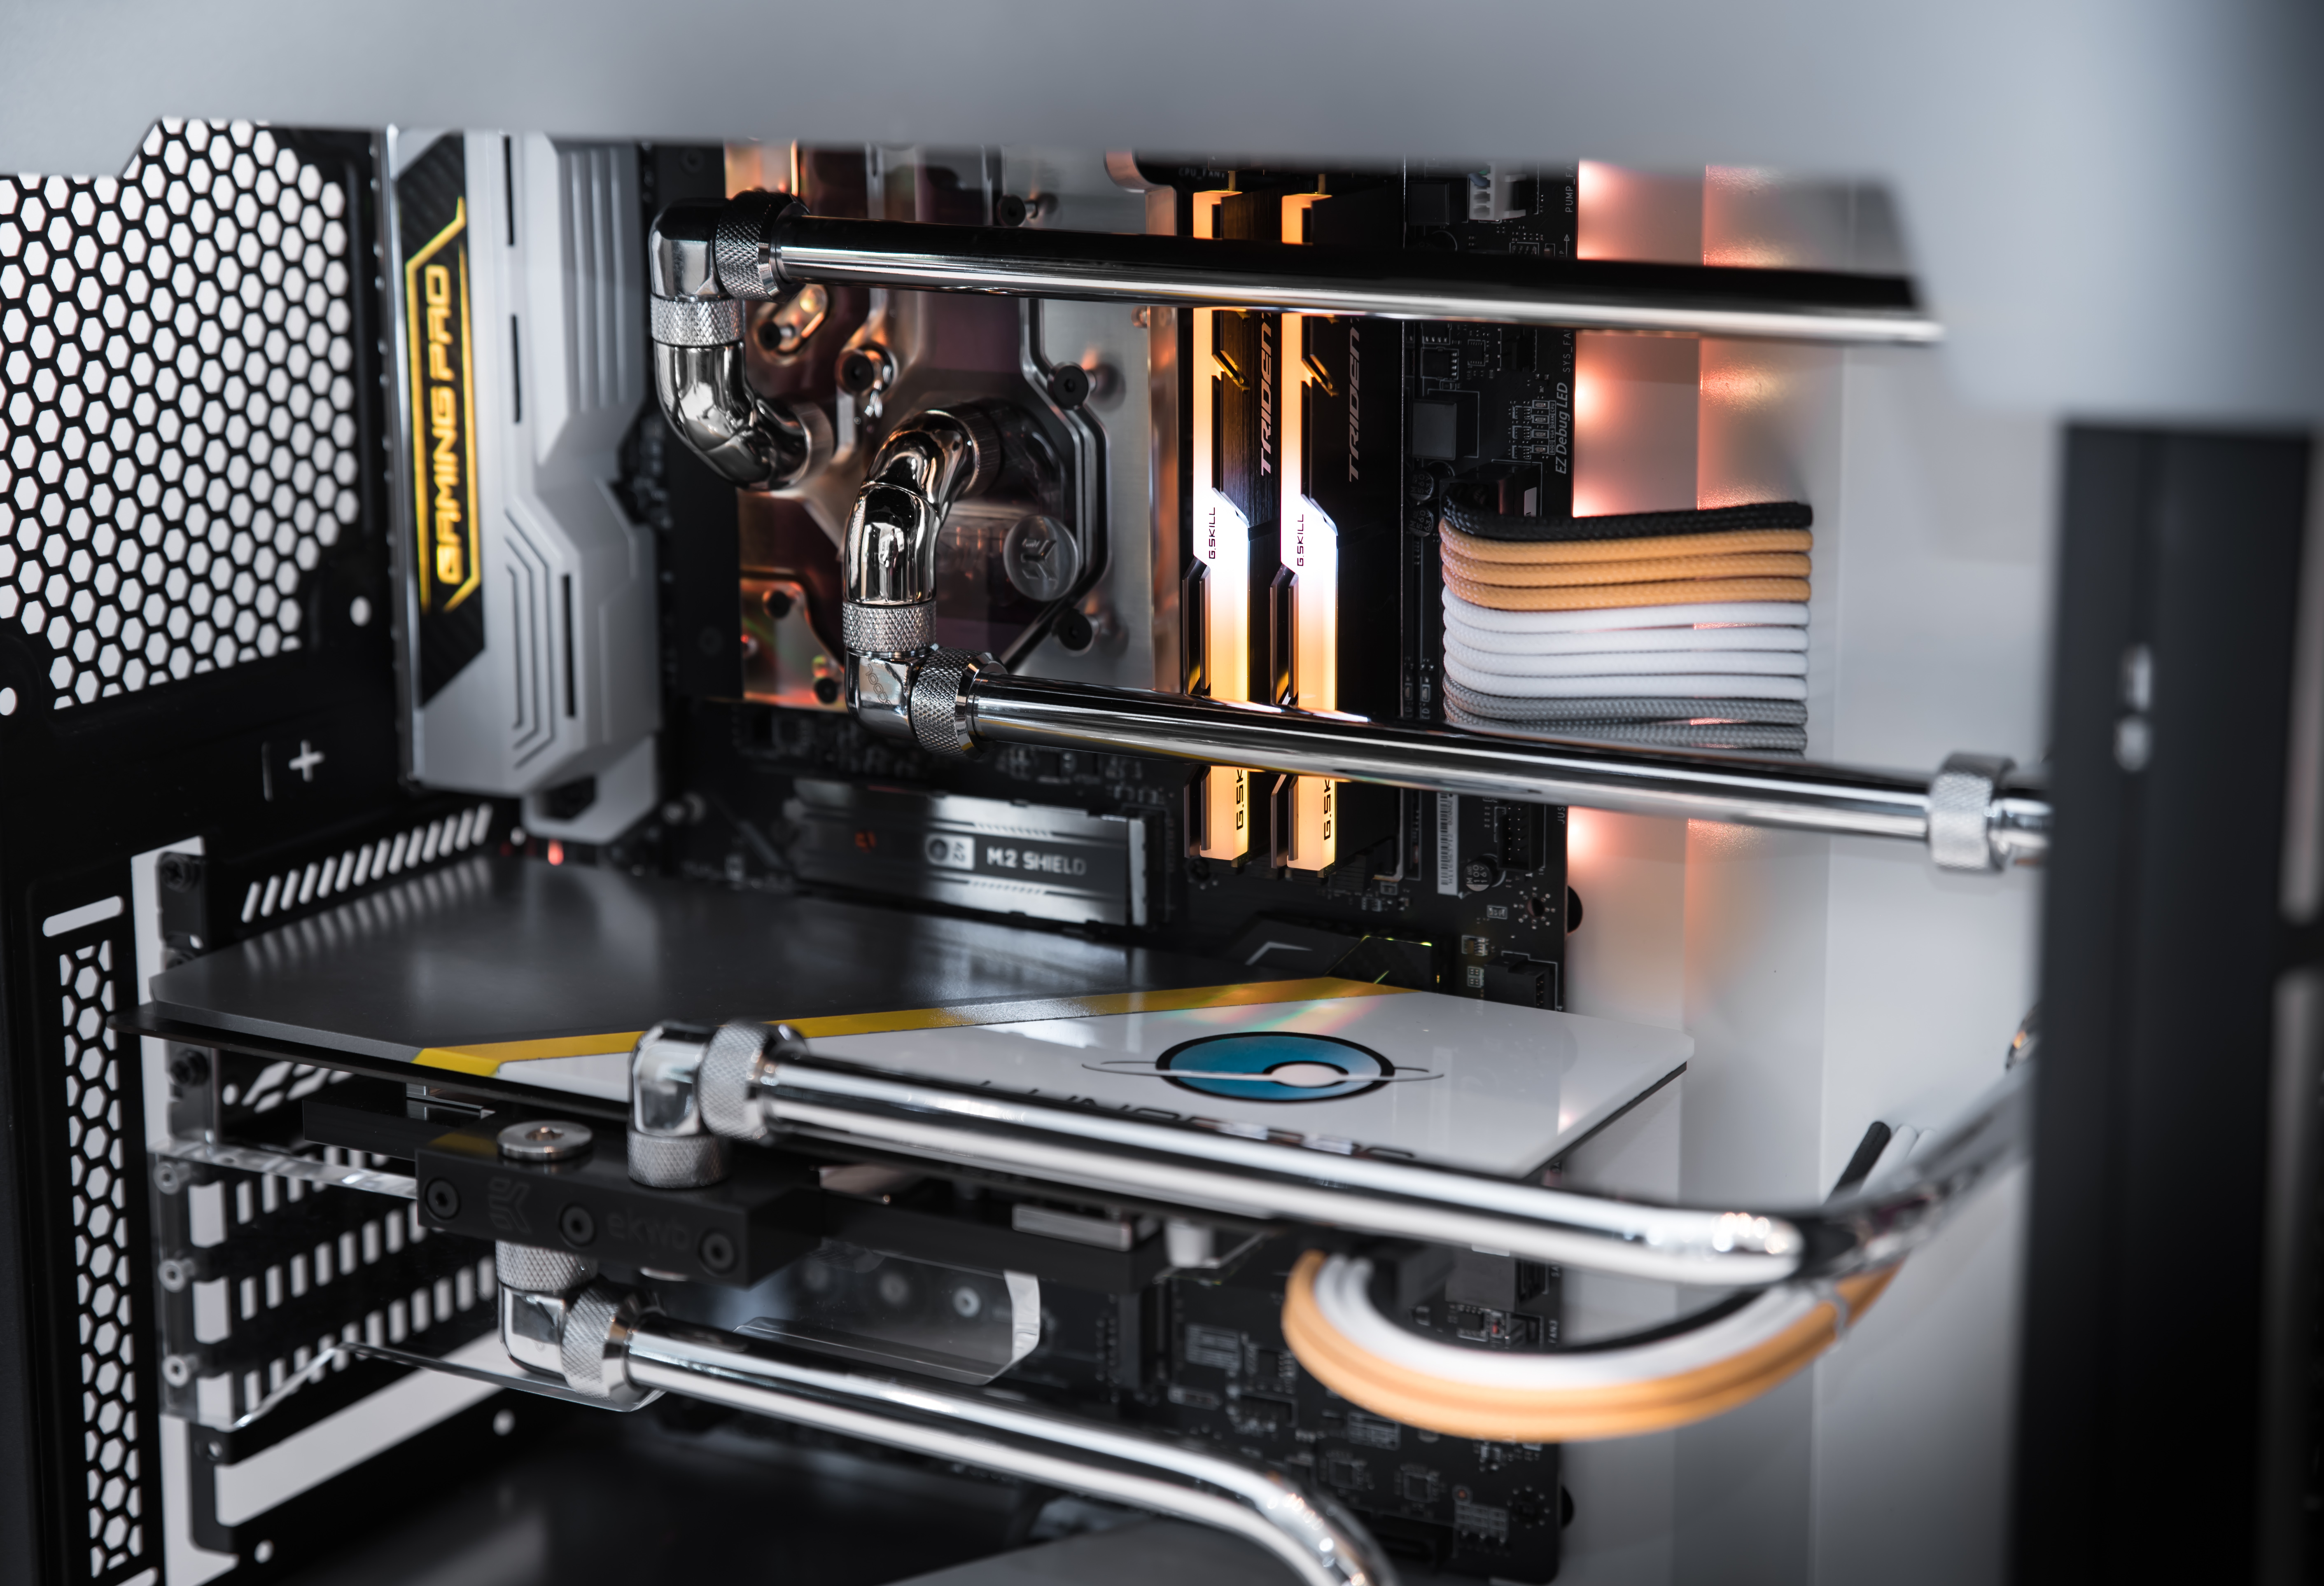
Thankfully, you can buy pre-fabricated sections that contain particular angles in them such as 90° and 135°, and these allow you to achieve the smooth bends often found in metal tubing based cooling systems without the tooling expense and expertise. I've used them before, and the results can be quite striking. In this guide I'll be looking closer at the 13mm chrome-plated brass tubes from Alphacool, but the techniques will largely be the same for other materials like copper or steel (the latter needing to be cut with a saw).
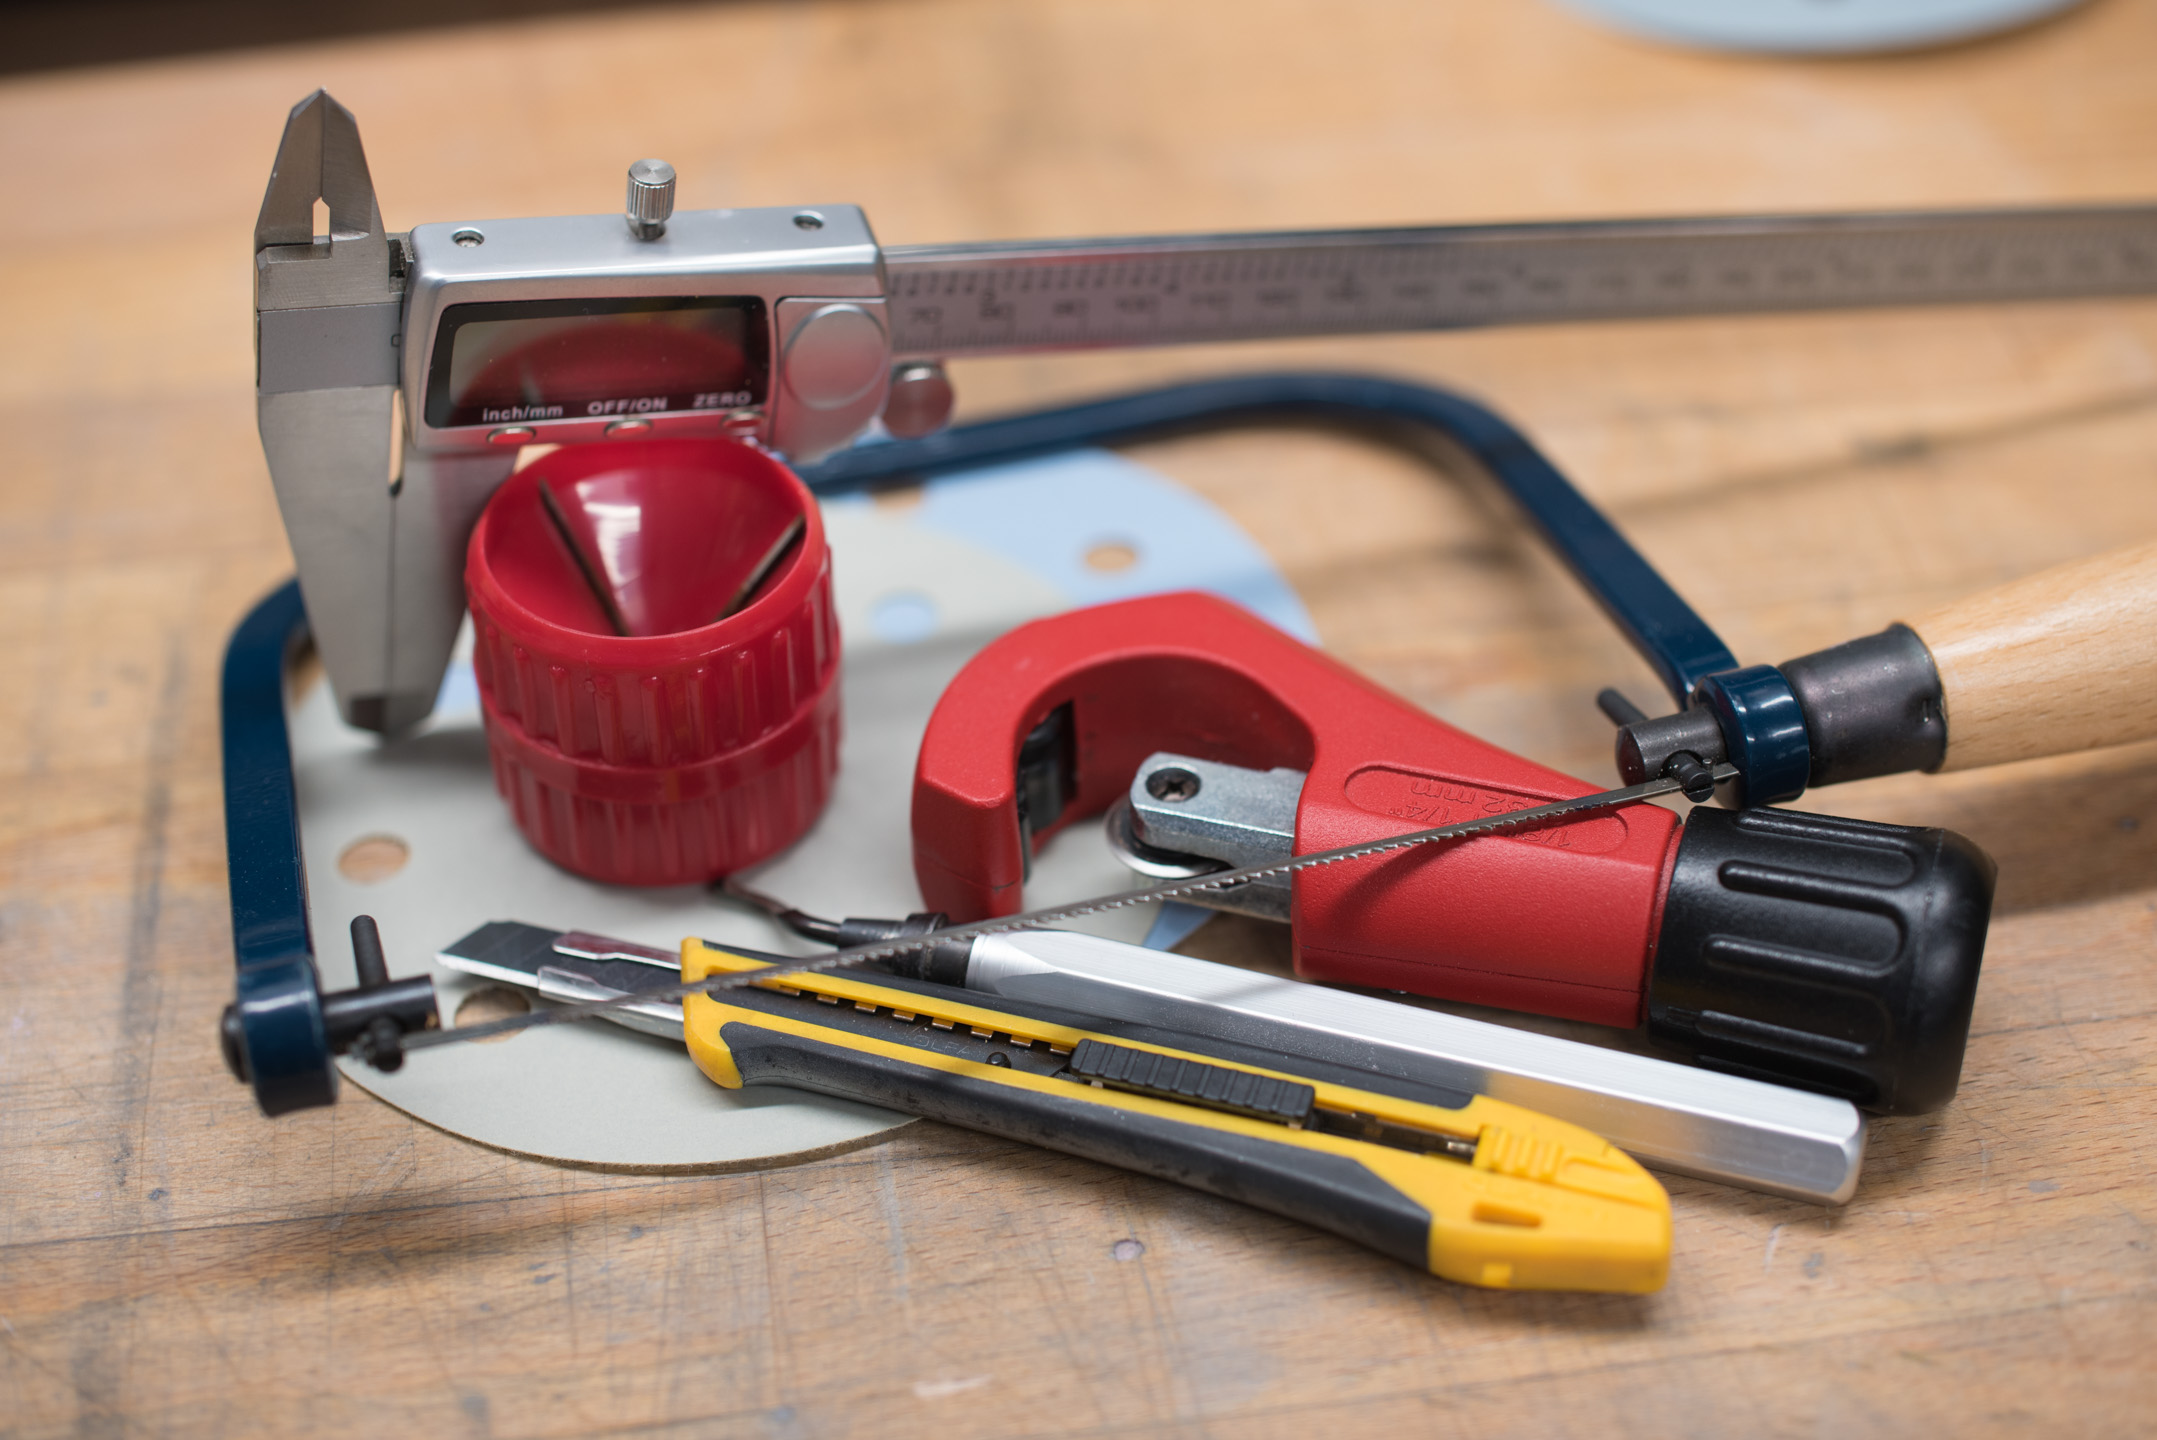
Finishes and the Tools
The Process
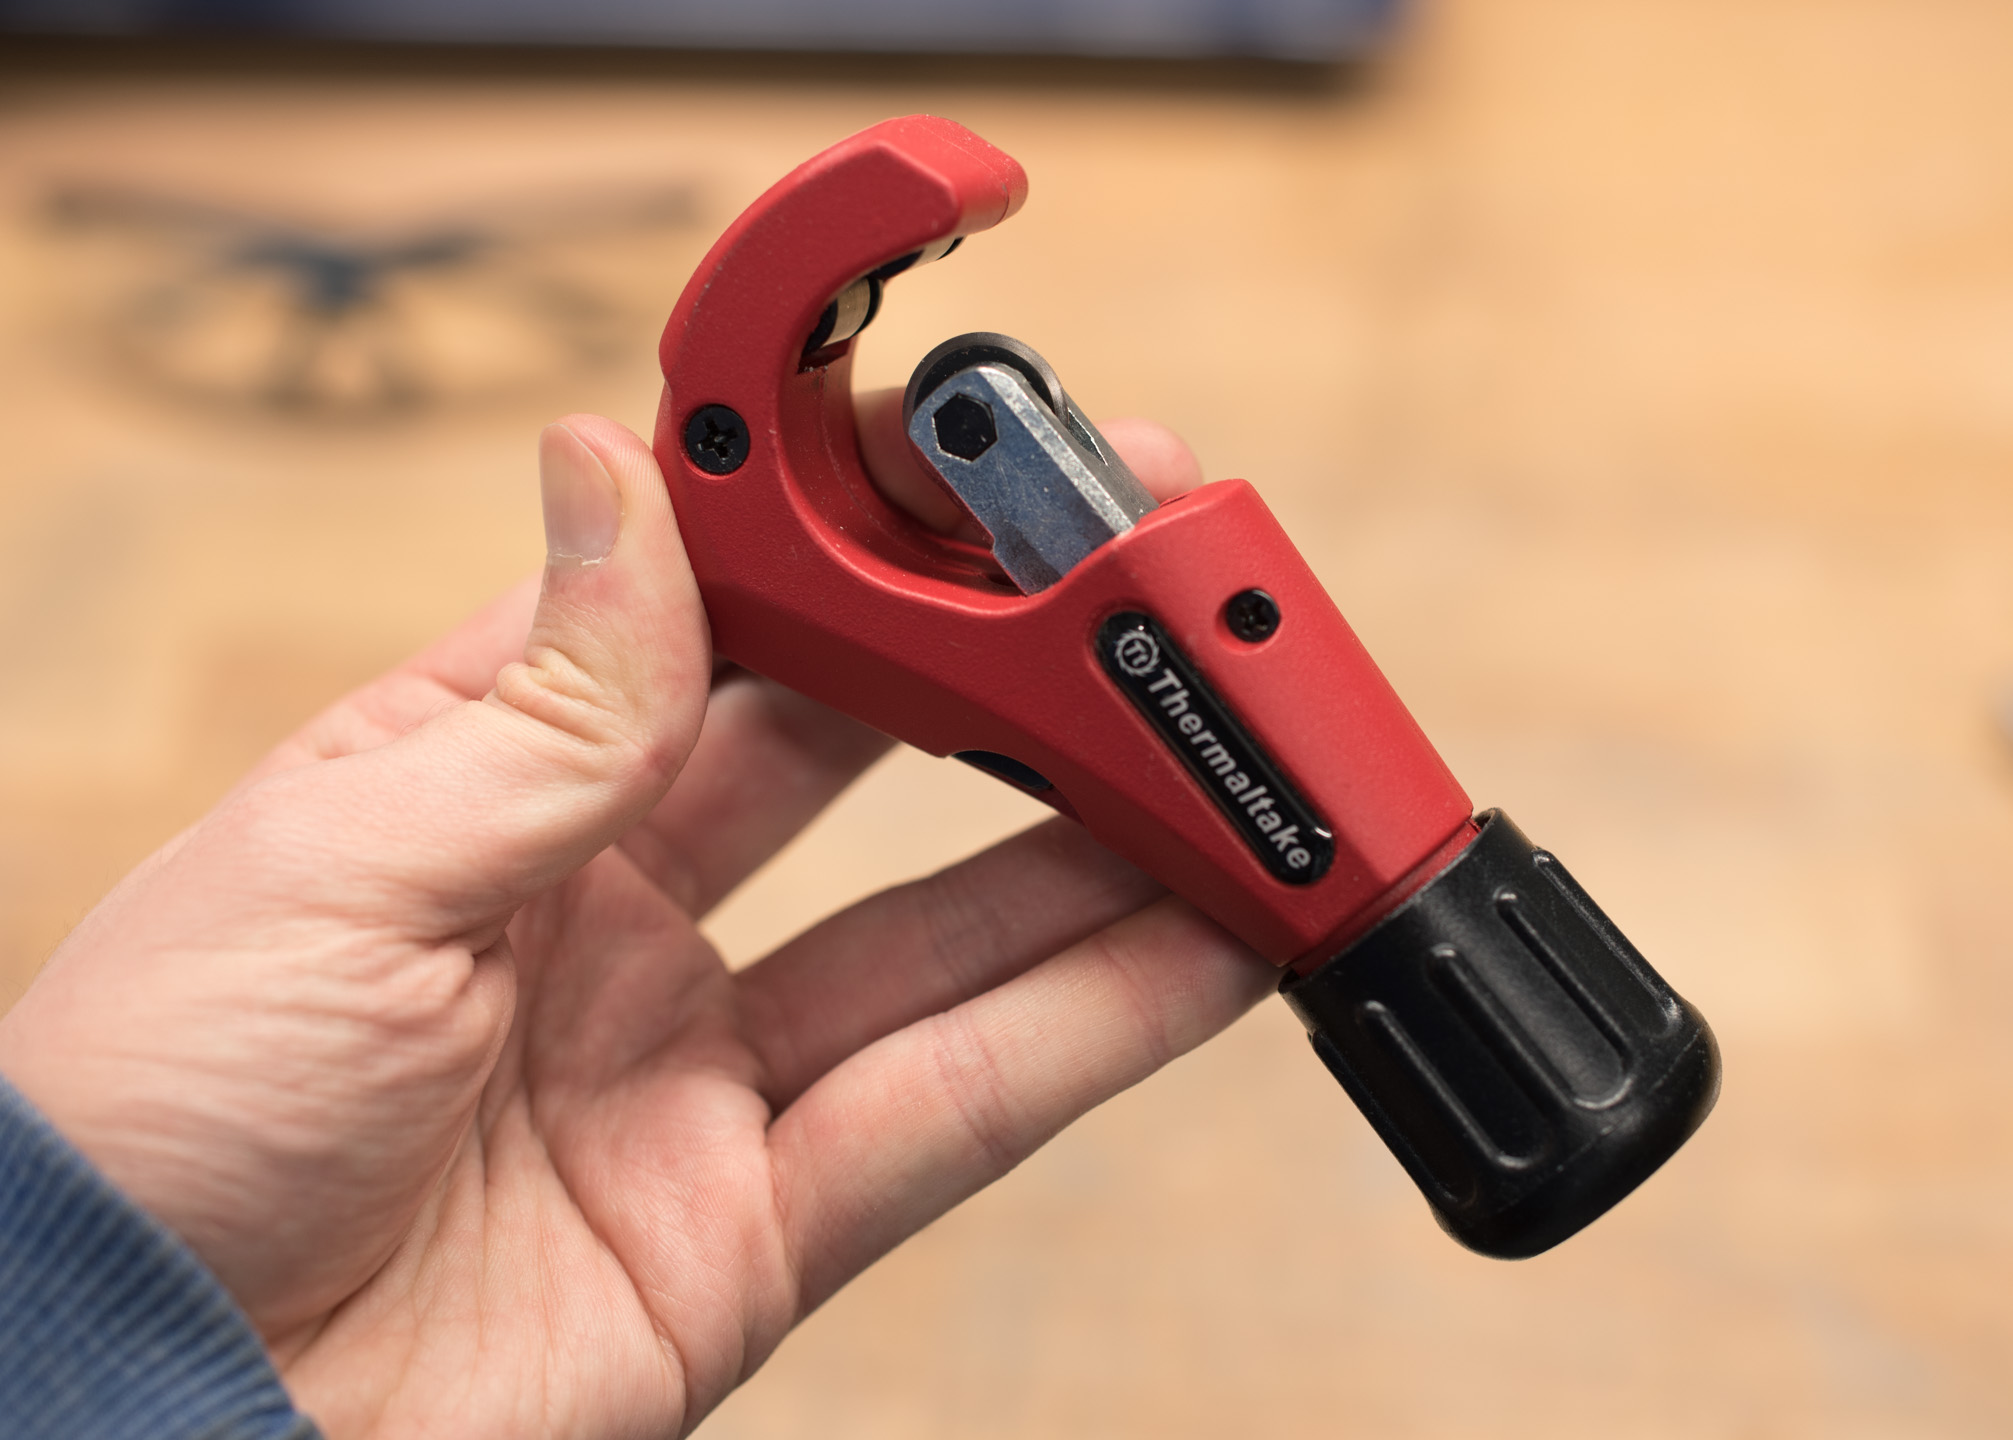
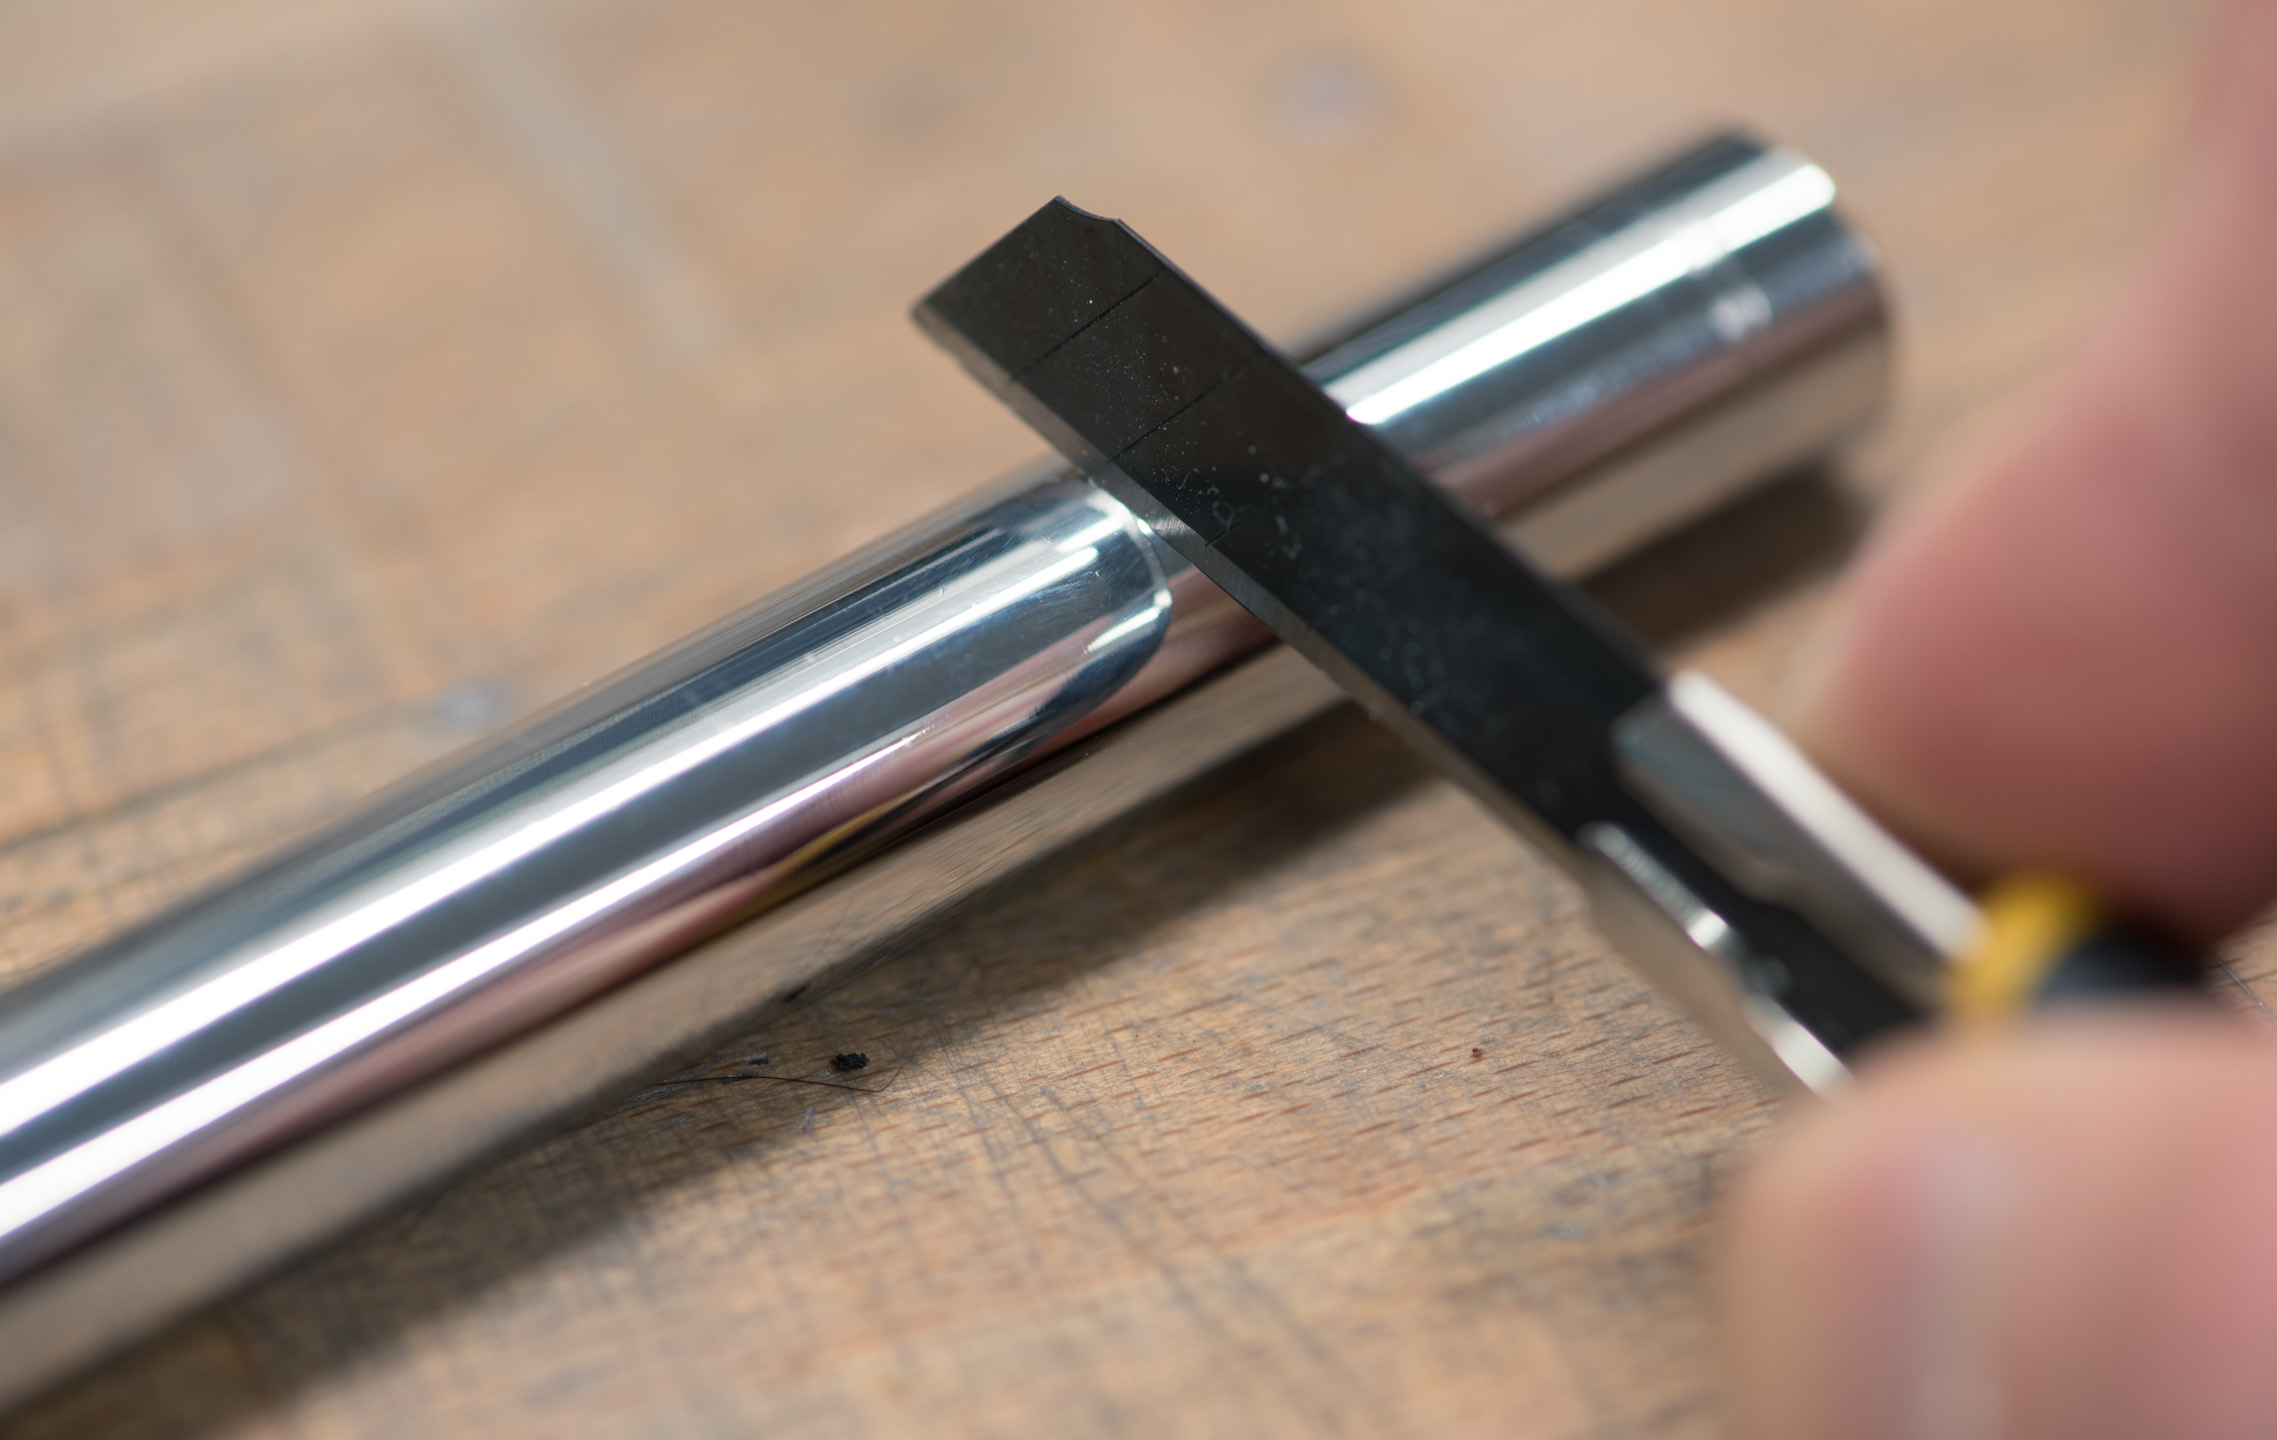
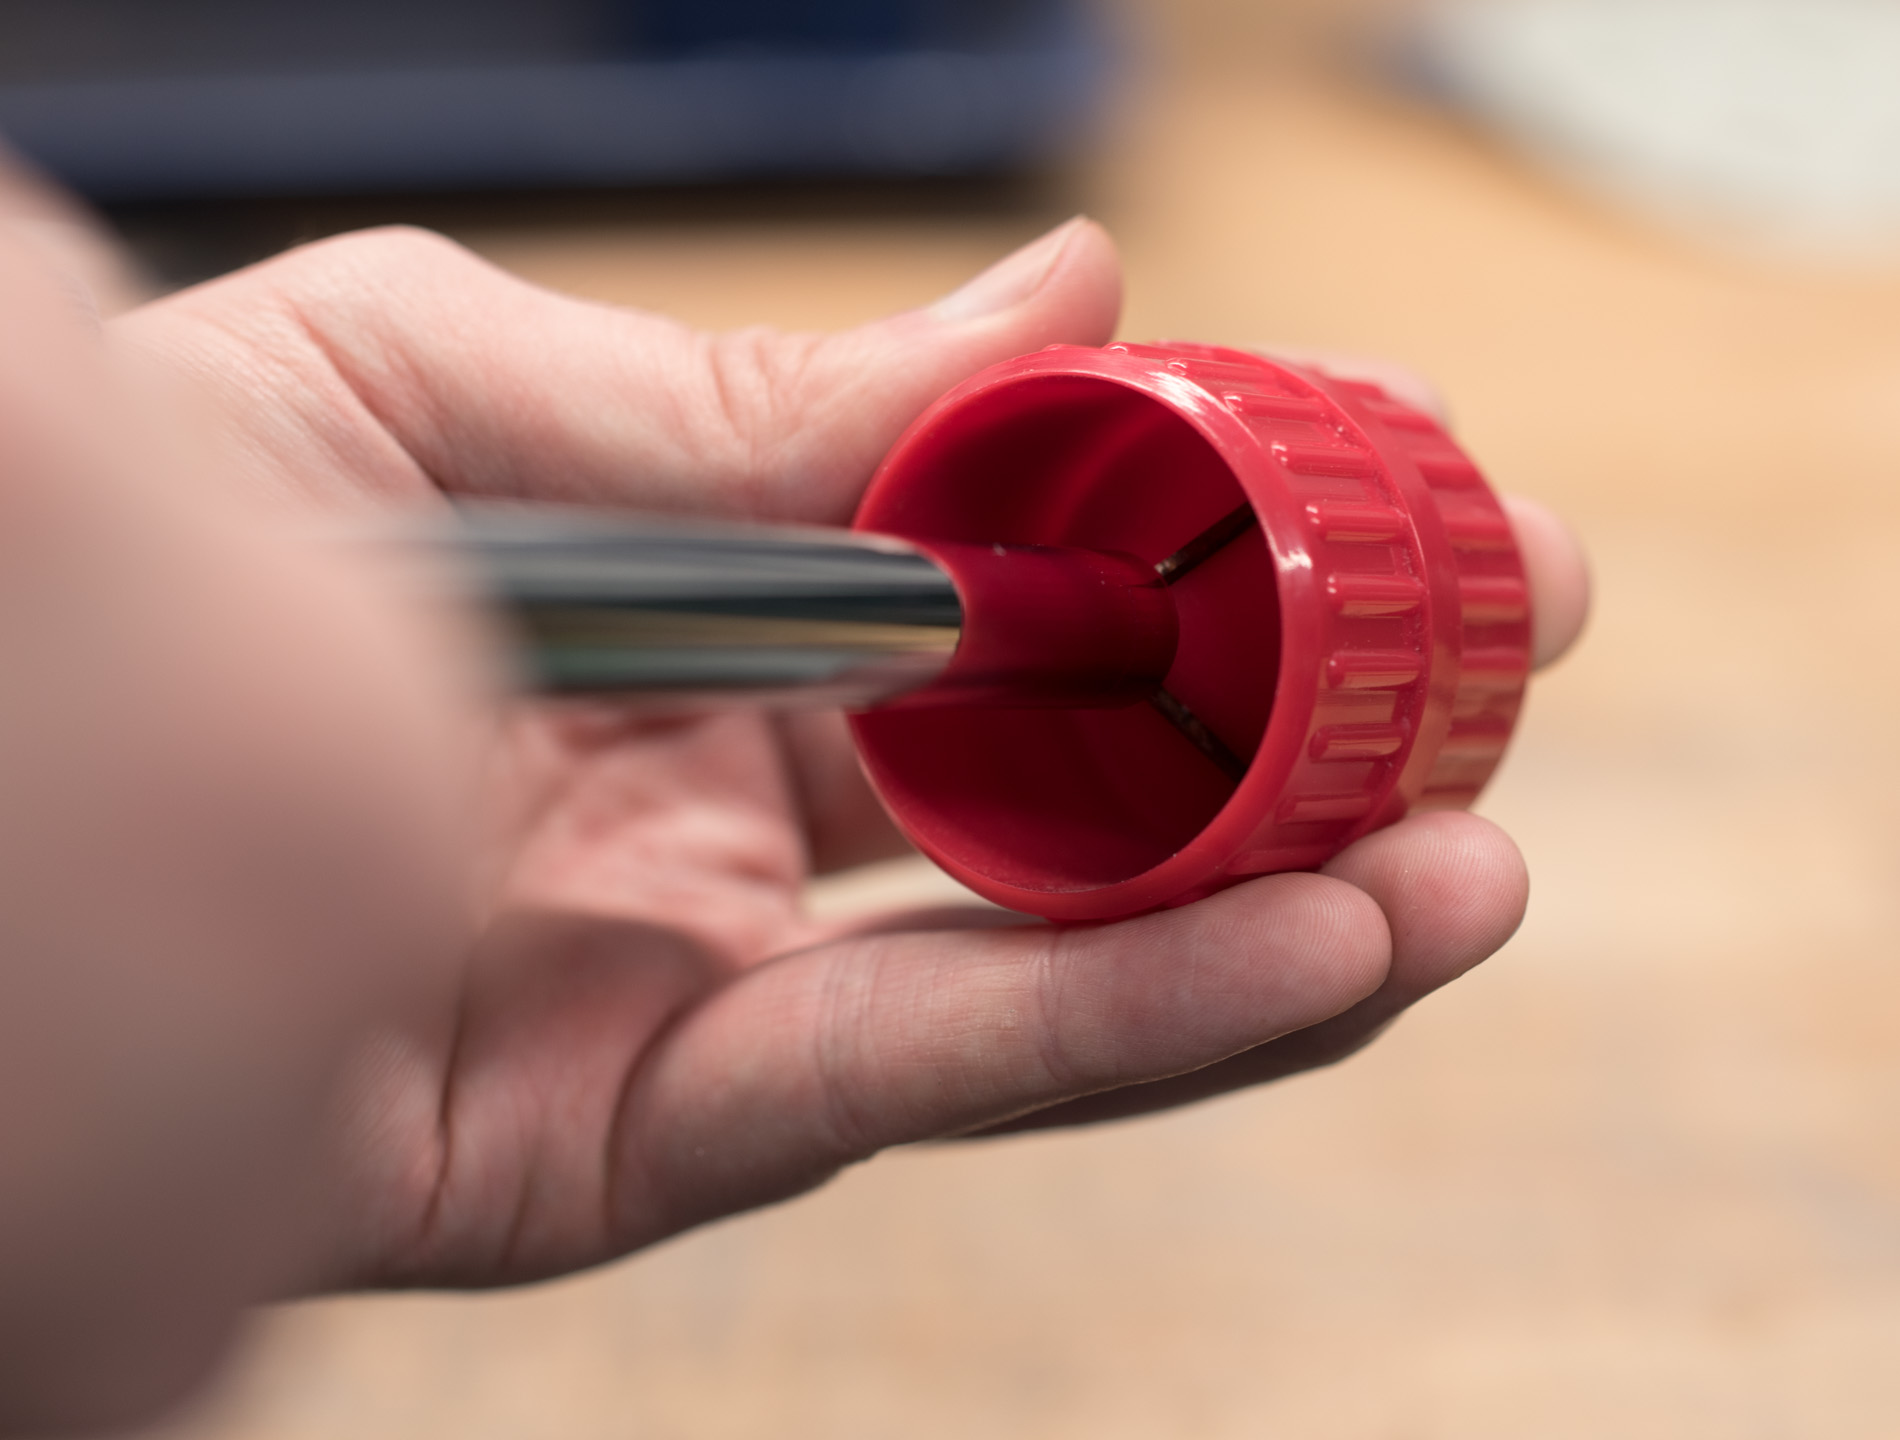
If you've read through the previous PETG and acrylic guide, then this section will feel very familiar, as it's largely the same. I first like to score my intended cutting point with a sharp craft knife, as it leaves a very precise mark that's easy to pinpoint with the cutter or a saw. For working with brass and copper, I like using a compression-style tubing cutter. Although for very thick walled tubes like these Alphacool ones it's a fair bit of effort to do by hand, I like that they produce no mess and are precise and quiet.
Planning is paramount; certainly with pre-bent sections I would advise leaving the tubes too long at first and then trimming to size at the very end. You can always make it shorter, but longer is a no-go. We will be having a closer look at planning a rigid tubing loop in a future article, but until then I would suggest measuring as often and as accurately as possible the placements of the various parts you intend to use. Using devices like pipe cleaners to simulate tubing runs is an effective approach I've seen some use before, and if you intend to use a lot of tube, then working with PETG or acrylic first for rough-runs works too since they're so much cheaper per metre.
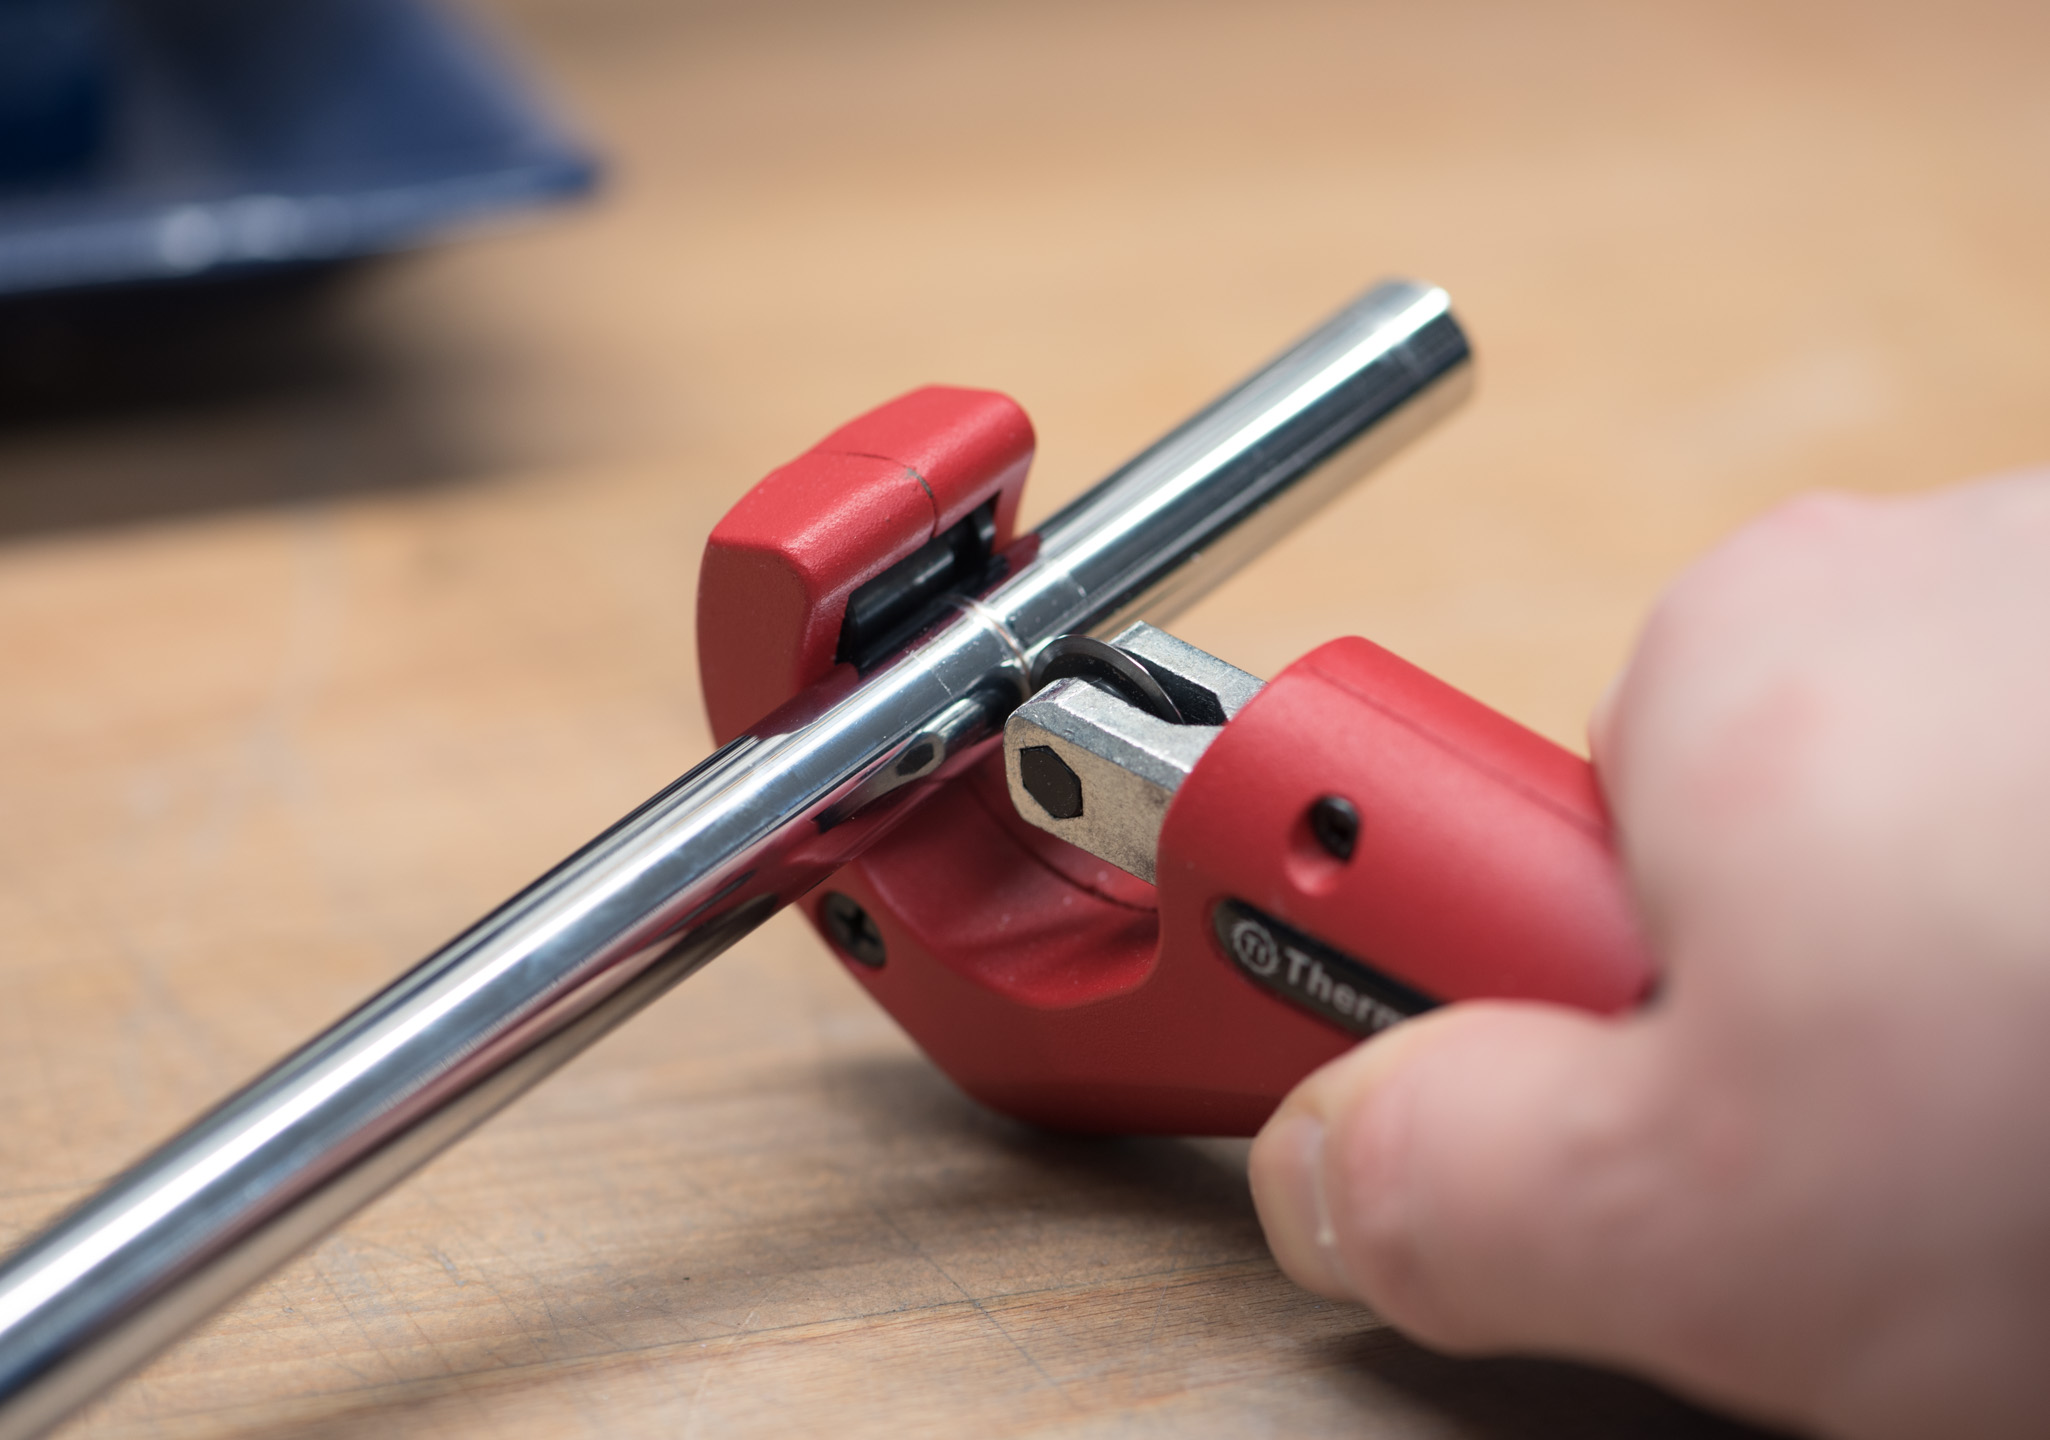
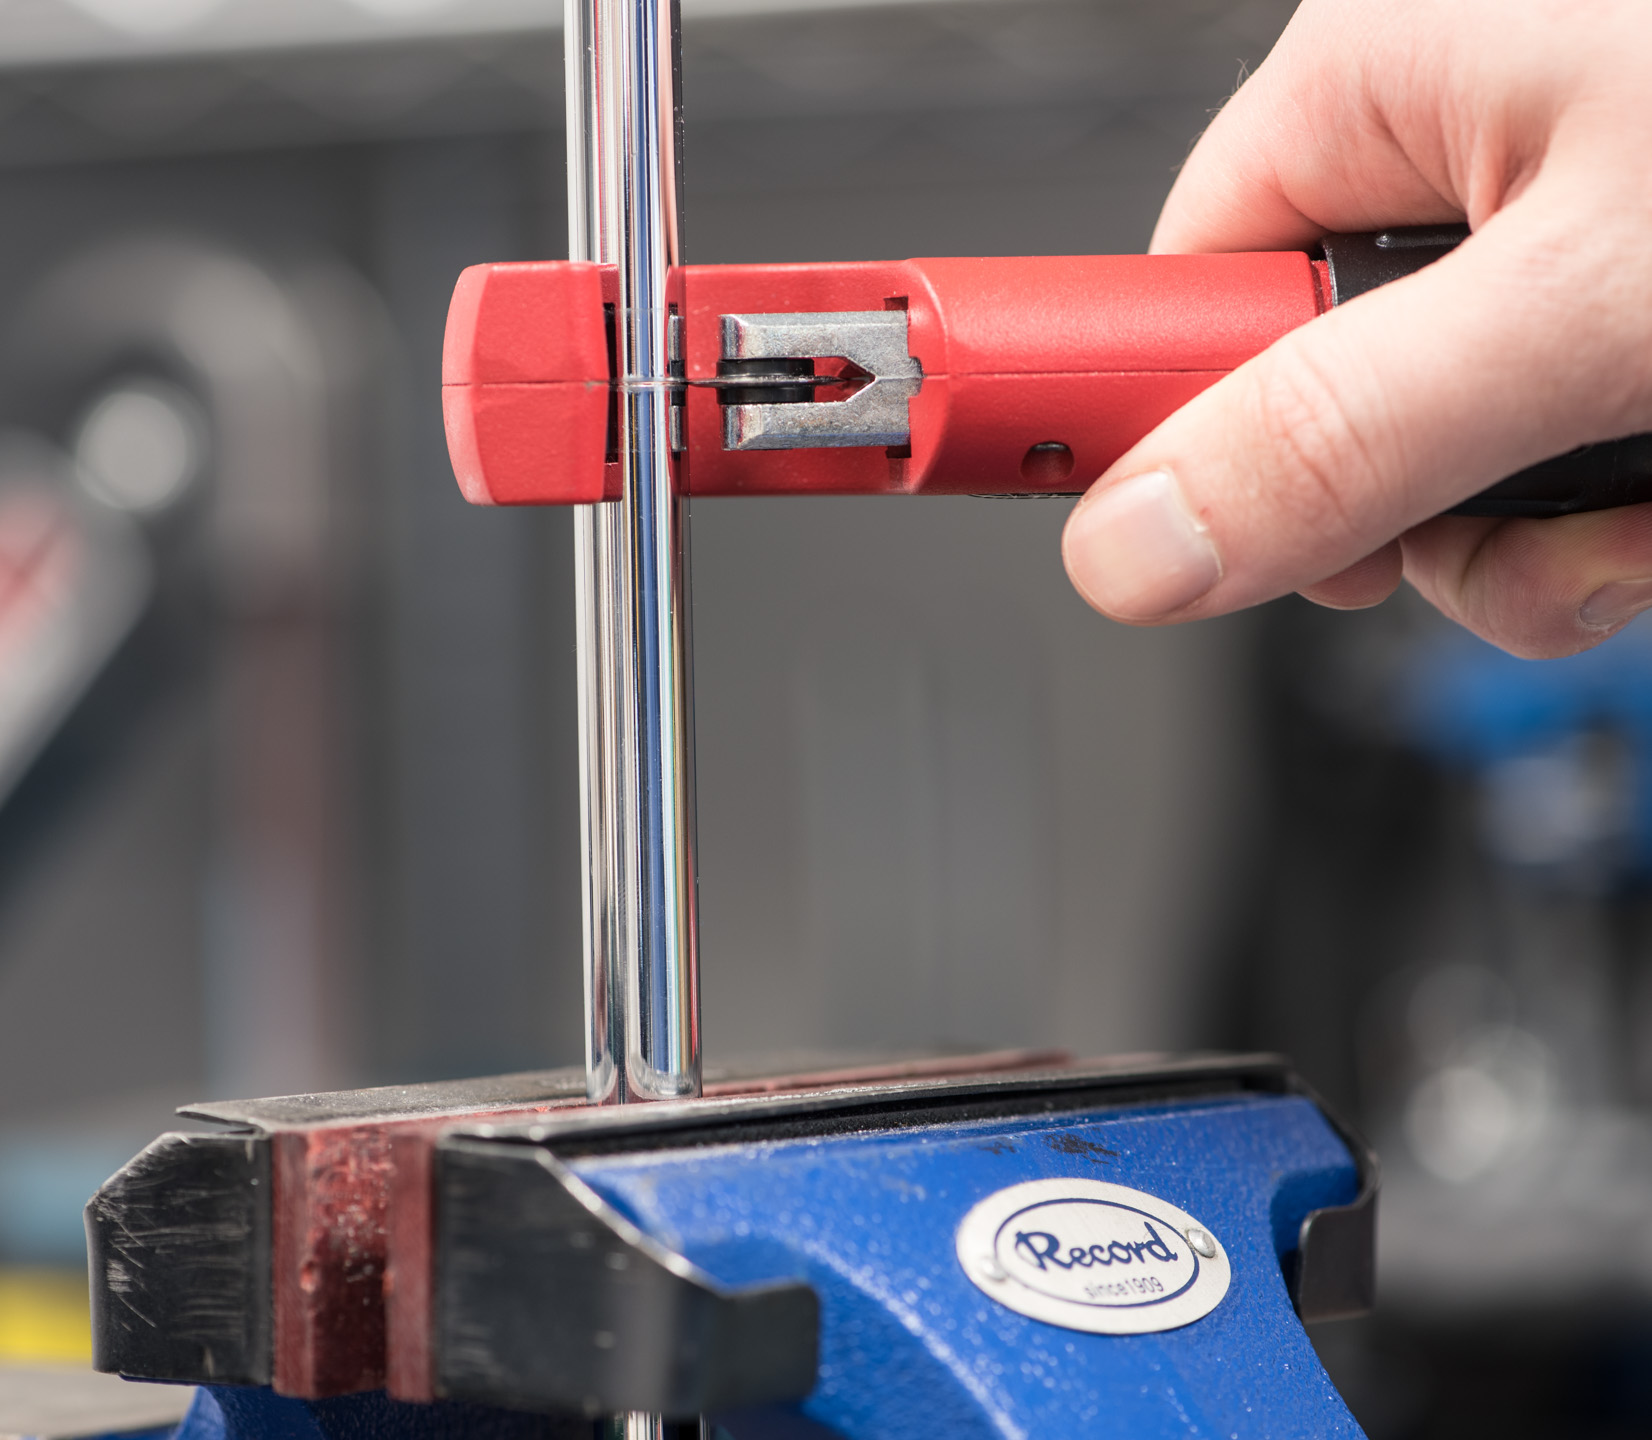
Slicing through the tube with a pipe cutter can be a bit of a drag, so rather than rotating the tube I prefer to hold the tube still and turn the cutter, just be careful that the tool doesn't drift when doing this. Certainly for thicker walled tubes I like to get a hand from my bench vice, although clamping to the table also works. I'm careful to make sure that I use some leather jaws and only light pressure, else the surface or the shape of the tube will be distorted.
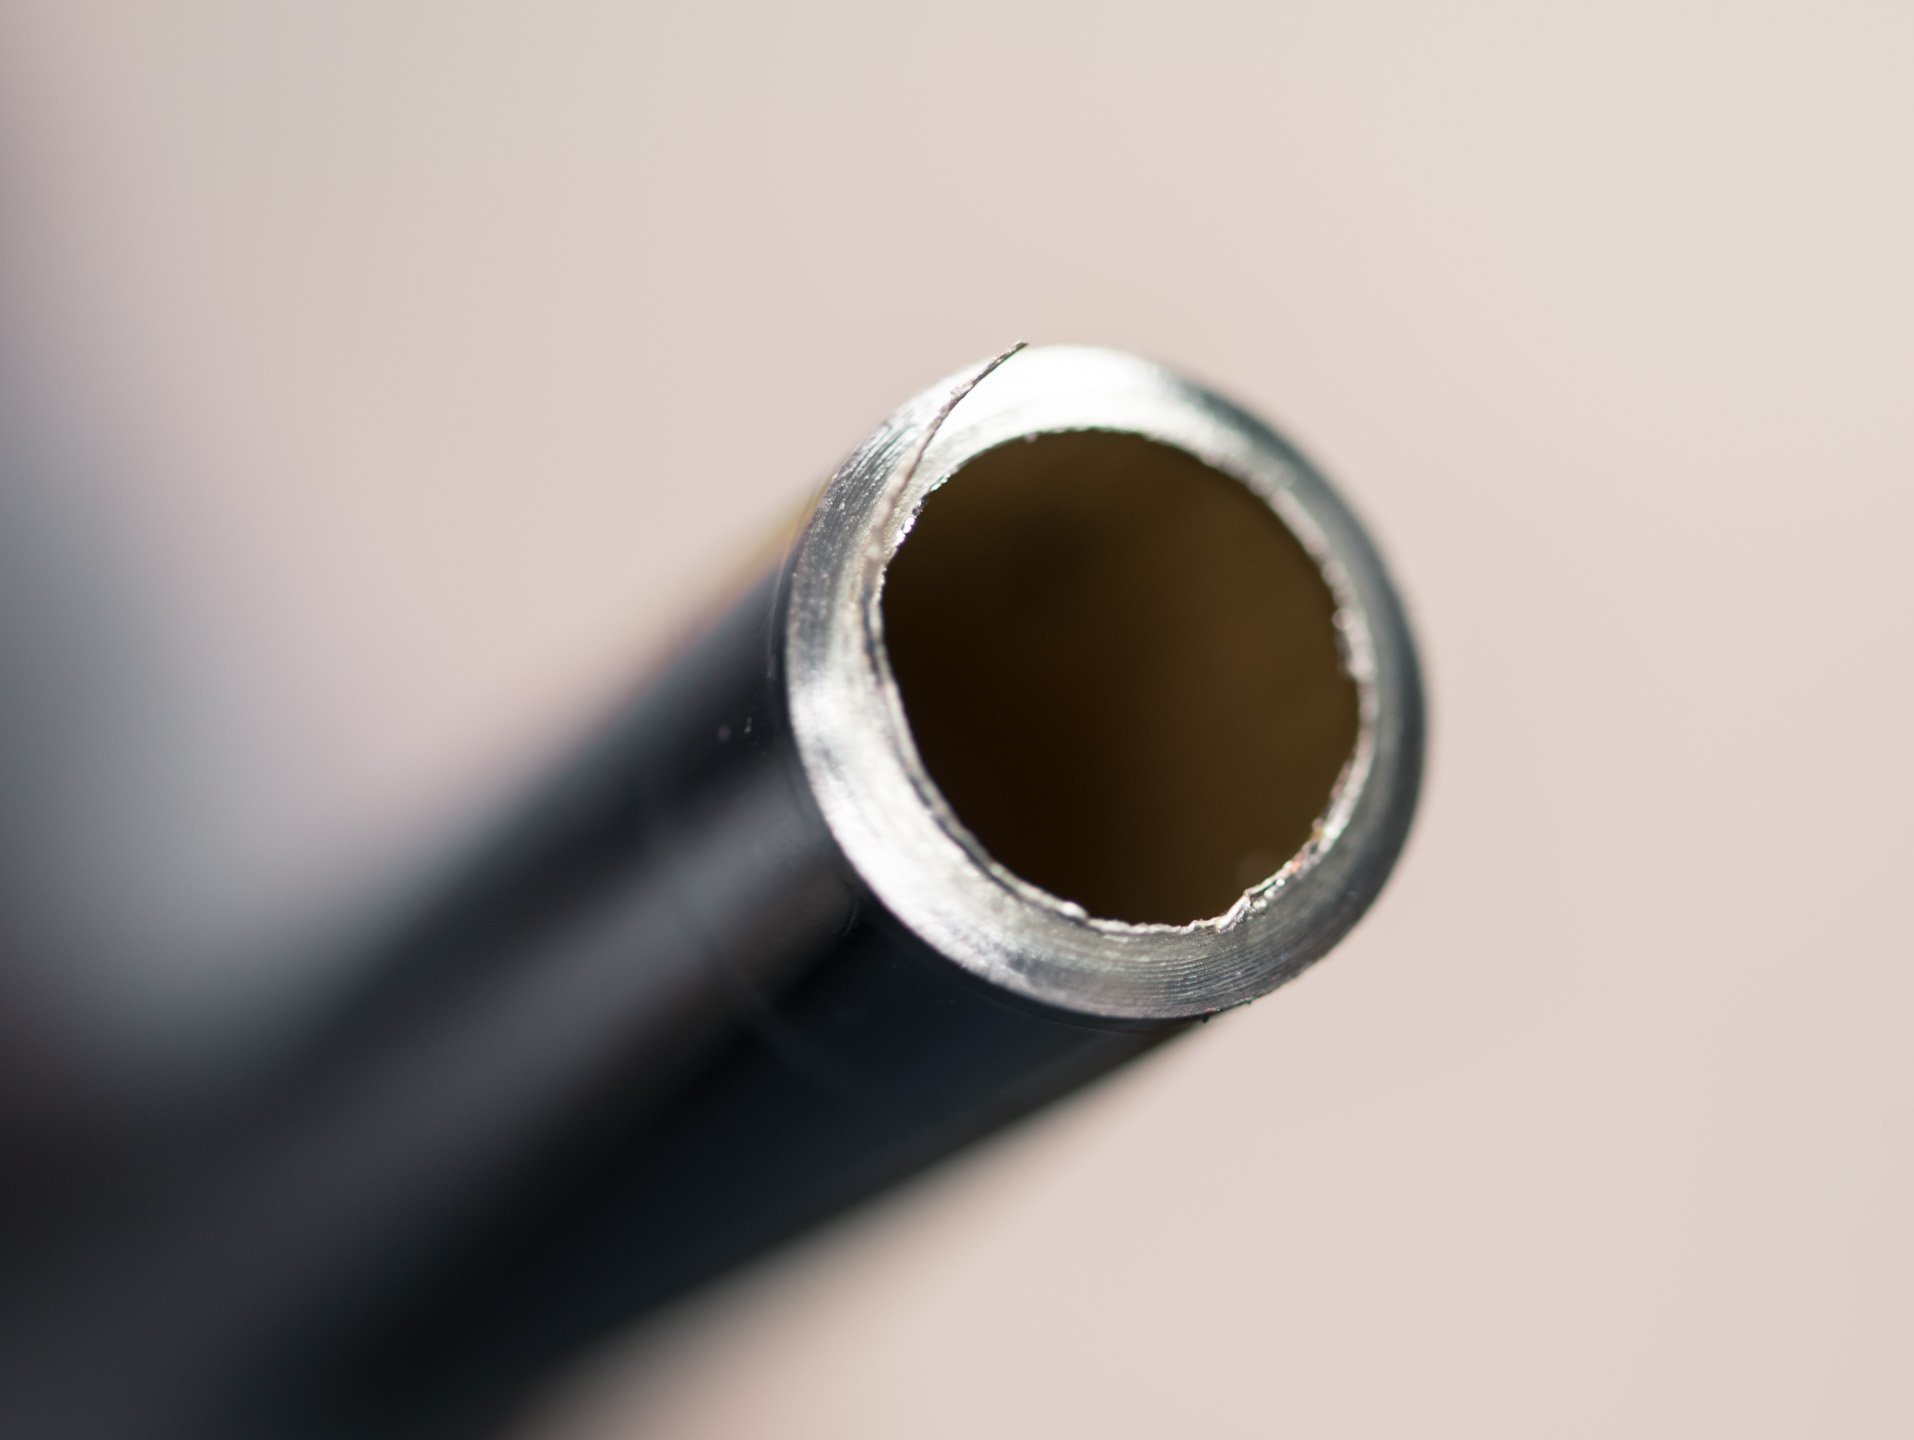
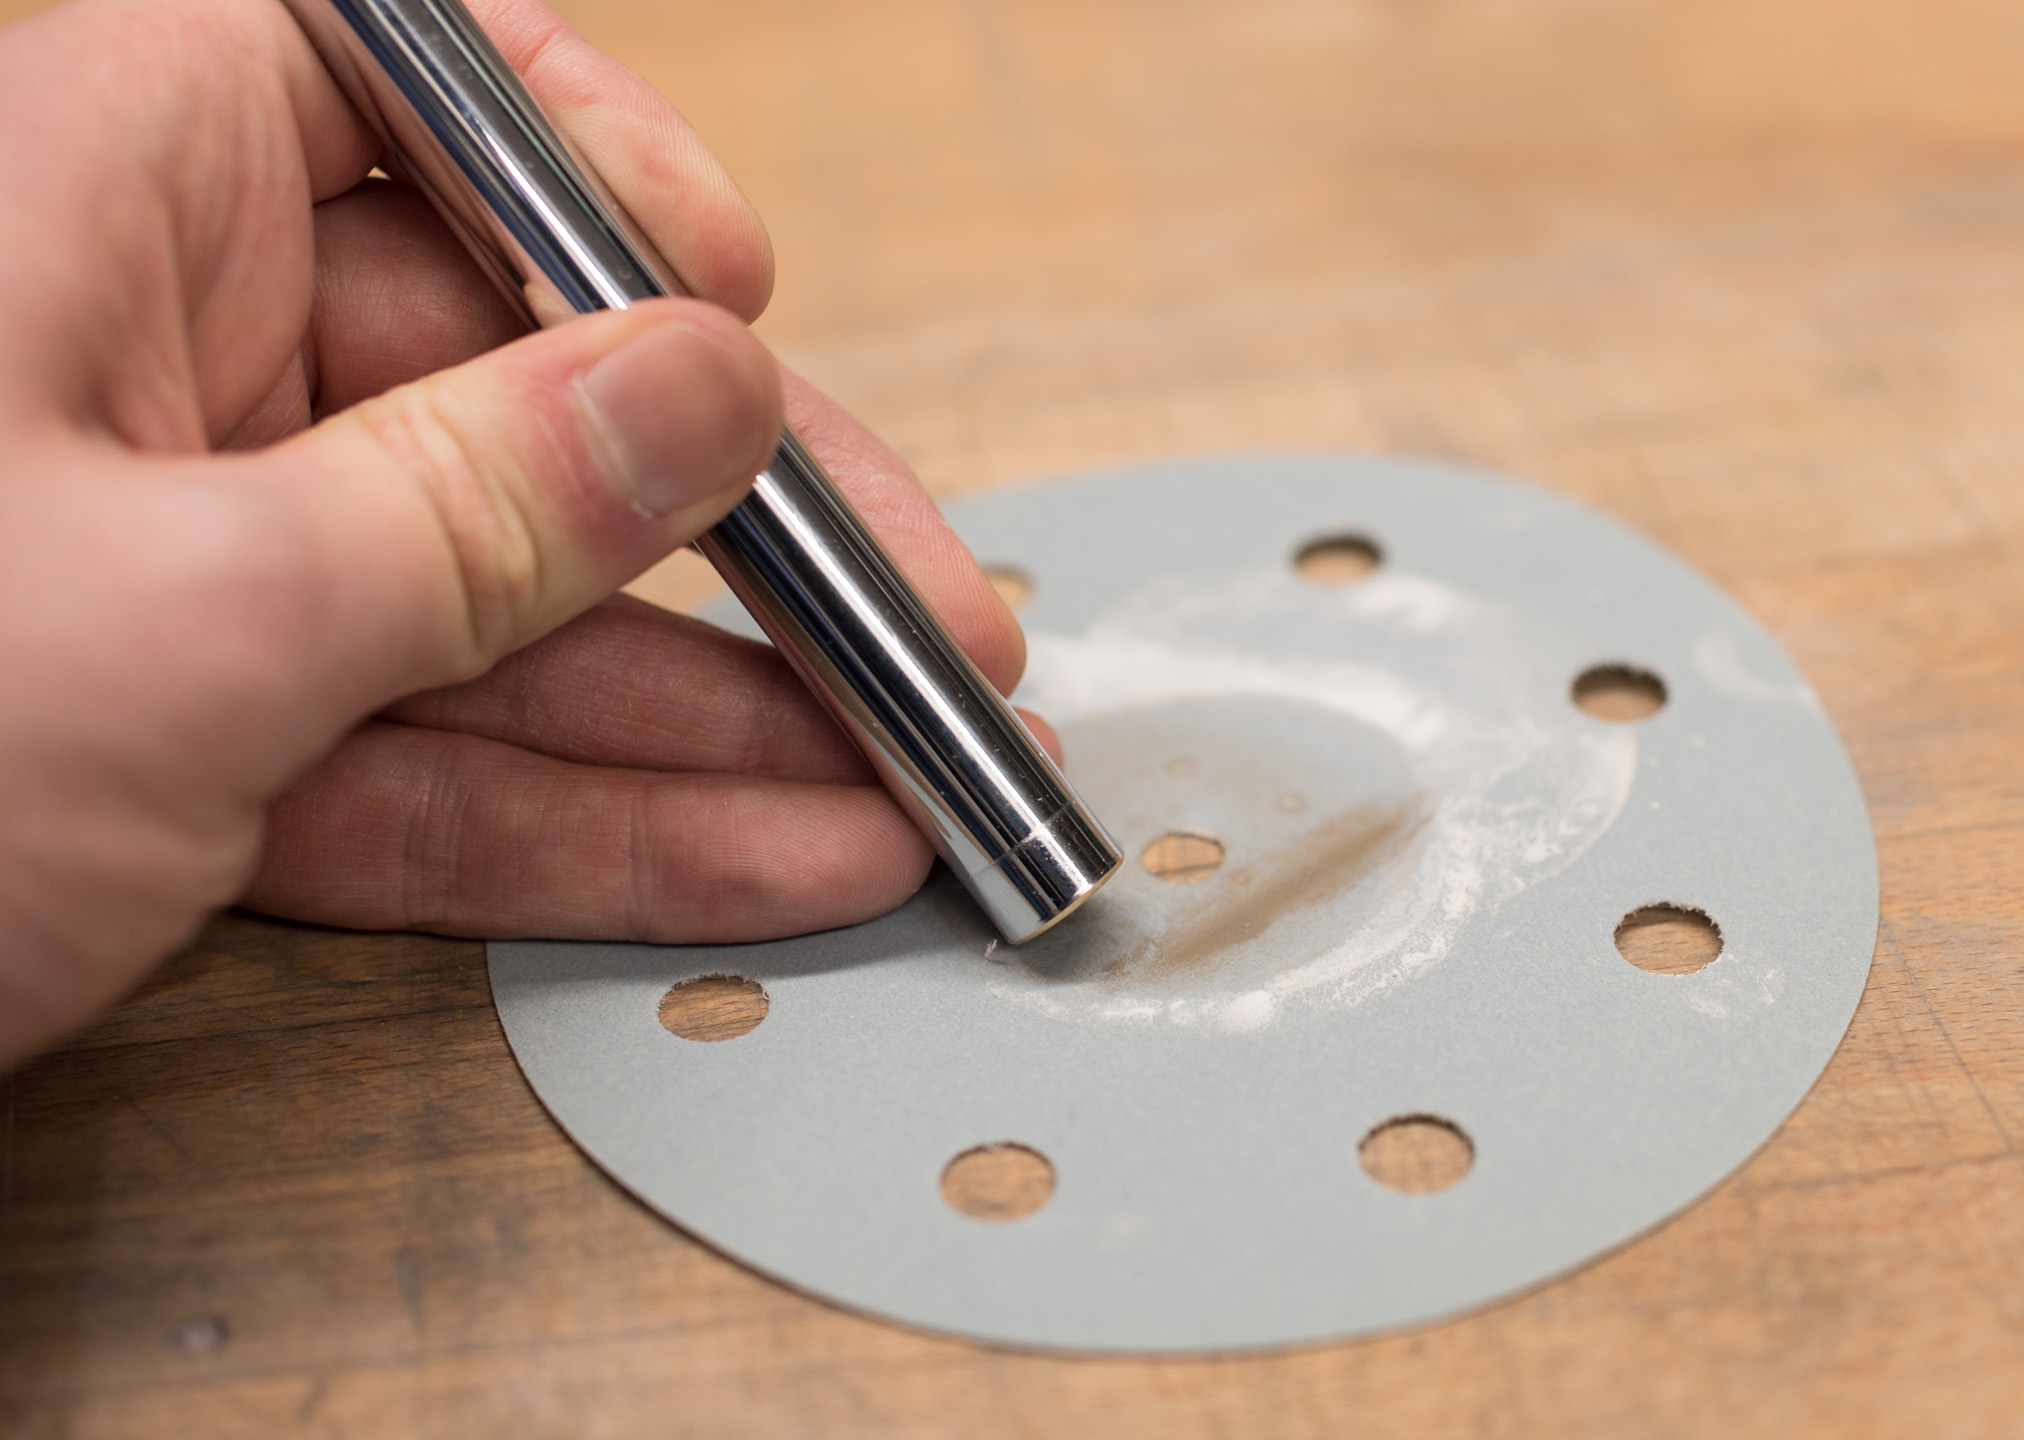
Ahh yes, our friend internal burrs. Well, dealing with these again is simple. Tube chamfer tools do quite a decent job, although certainly on the cheaper ones you can blunt the blades fairly swiftly. On brass, I find you get a better finish by using a standard deburring tool as pictured earlier with the silver handle, and the handy thing is that they take the same amount of time too. I would generally advise also sanding the ends flat first, which only takes a few moments with 320-grit paper.
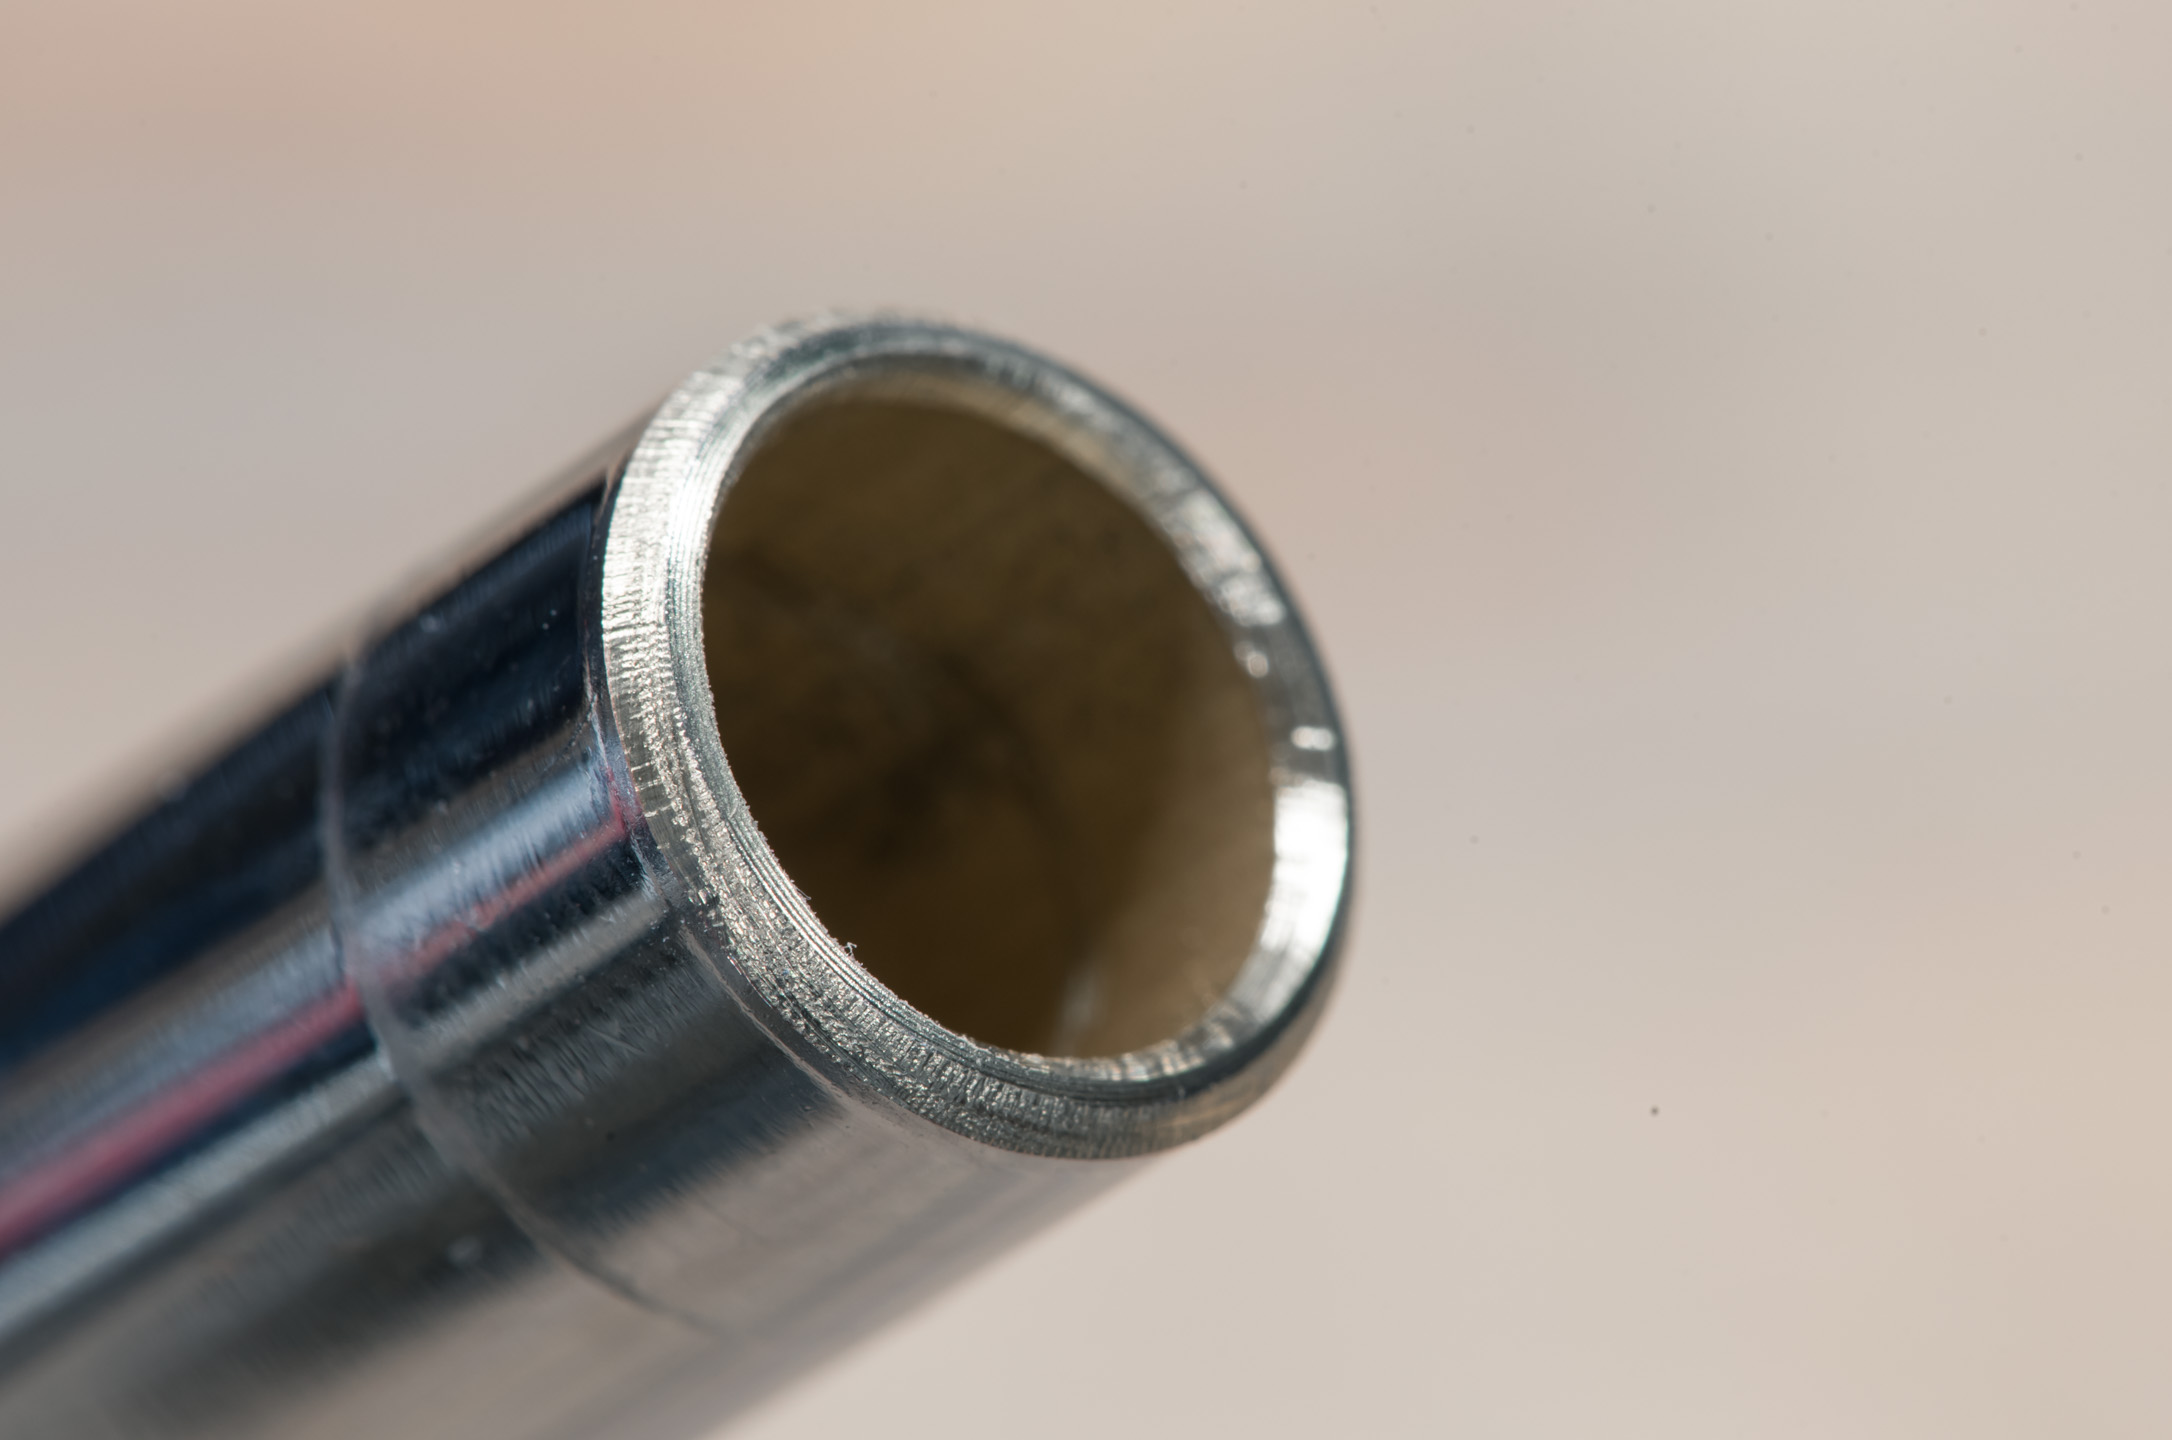
As you can see above, the chamfering tool does quite a decent job of cleaning up the edges. It's a little rough, but it won't cause any issues at all; the main problem really is that it can blunt the blades, as they're often pretty cheap. I like to use the other tool since the blades are replaceable and you can buy them cheaply in large packs, plus they're handy for cleaning up cuts in sheet material too. The outer bevel is important, as it helps to preserve the o-rings inside the fittings when you insert the tubing, something you may do several times while trying to figure out correct lengths etc.
I'll be having a brief look at rigid compression fittings later in this article, so if you're curious as to why the bevel helps, more info is on page three.
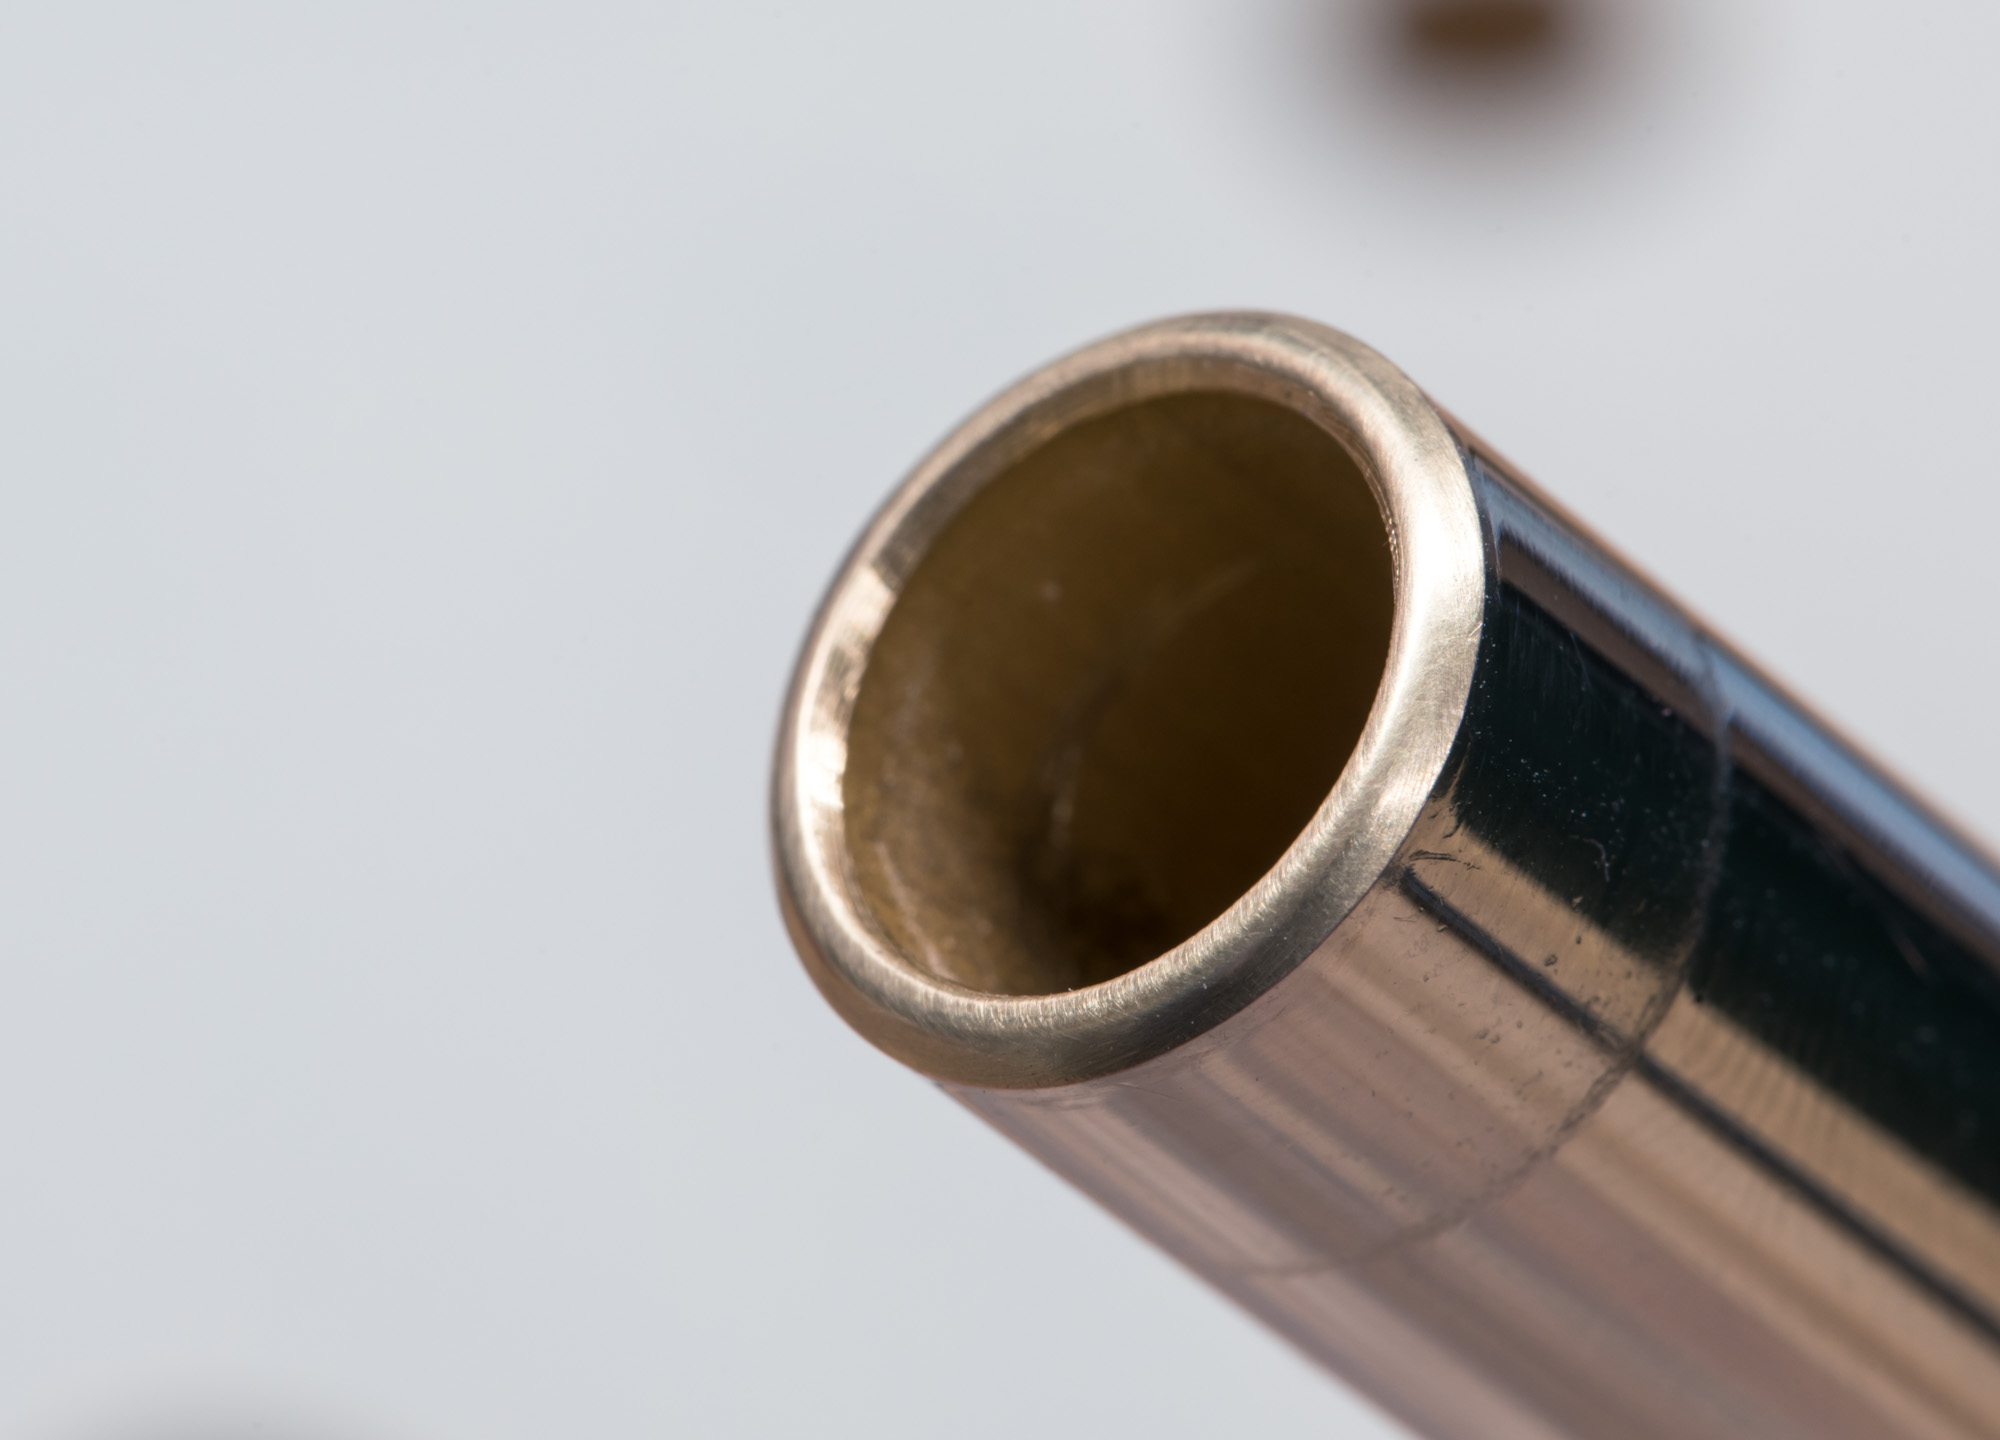
Since I suggest sanding the ends flat anyway, it only takes a few seconds more to do the bevel at the same time, then it's a few seconds more with the deburring tool for the inside. You can see how much smoother the end is after using this method. Will it make a difference? Honestly, no; the other tool works fine, but it's not much more effort really, and now you can feel nice and smug.
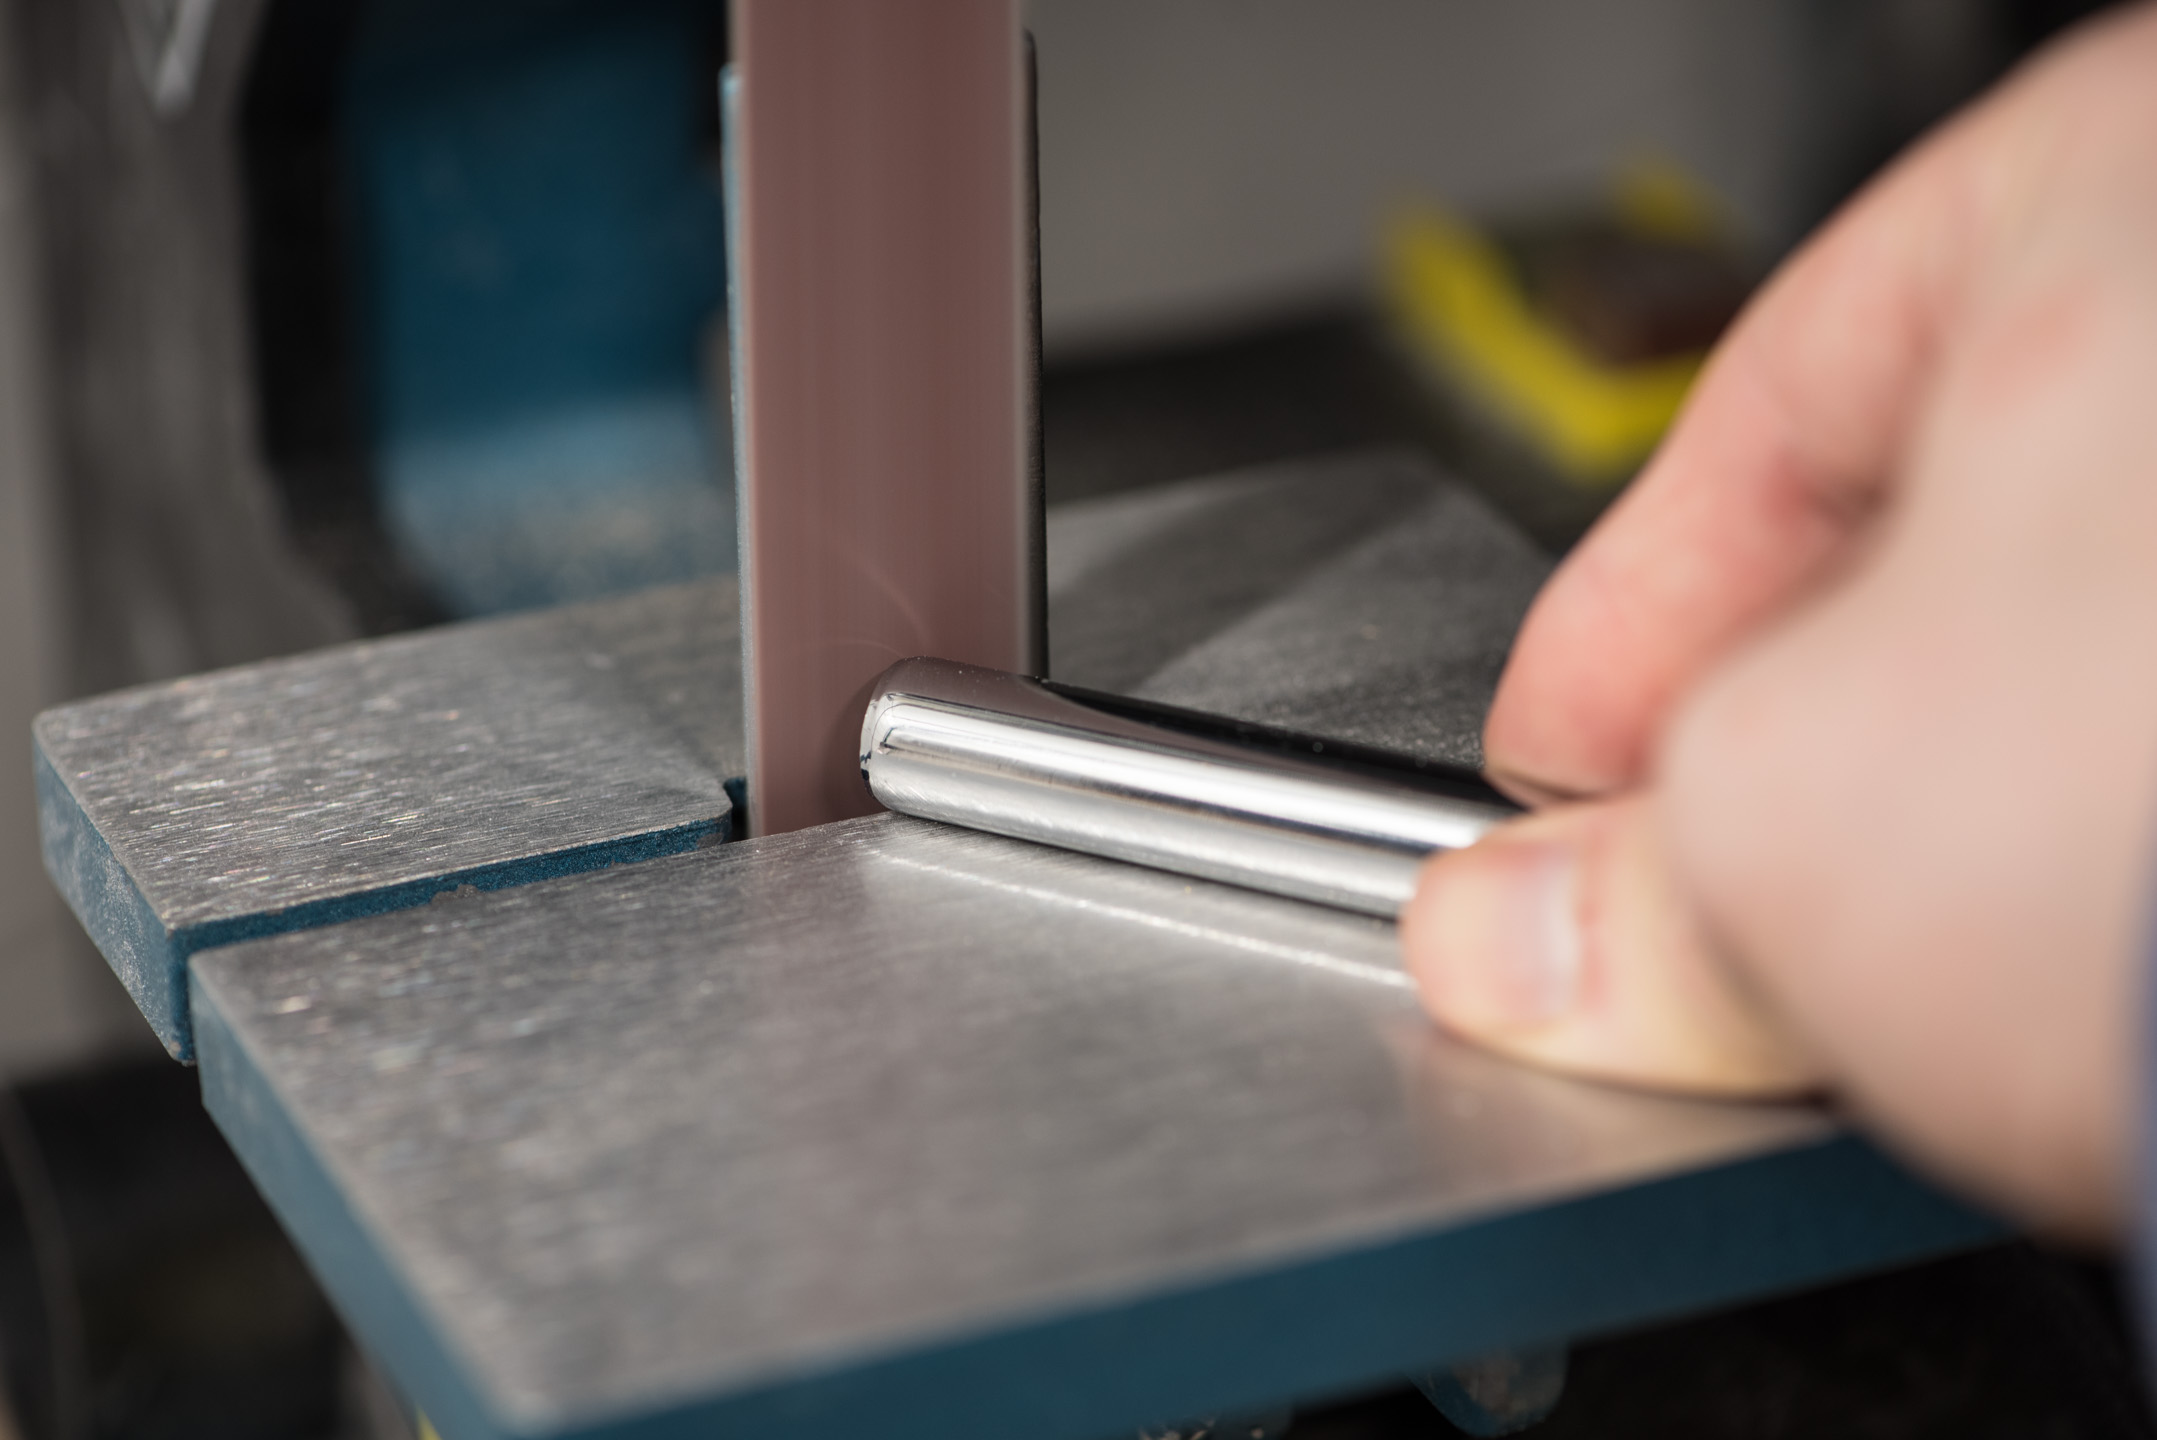
Or, if you want to feel extra smug, you can use a belt sander to accomplish the same thing. Mine is a cheap 720mm one I picked up online for £70. Although it's not particularly fancy, it's small and eats through metal like nobody's business. I definitely suggest this tool for other cutting work at home, and if you have one it's great for this application.
RELATED ARTICLES


MSI MPG Velox 100R Chassis Review
October 14 2021 | 15:04

Want to comment? Please log in.