How To Leak Test a Custom Water-Cooling Loop
November 22, 2018 | 22:00
Companies: #alphacool #aquacomputer #ekwb #thermaltake
Leak testing your new custom loop is one of those essential steps that can send shivers down the spines of even hardened water-cooling enthusiasts. Whilst it's fair to say that with experience one becomes accustomed to the risks of fluid flowing around the PC, the threat of needing to tear down the loop to fix a faulty fitting or tighten a connection somewhere remains very real - especially when working to a deadline or competitively.
Wet or Dry?
If you're new to water-cooling, leak testing can be a daunting task indeed. Adding the coolant to the loop naturally feels quite risky and for good reason; it's a soul crushing experience when you discover something's not watertight and the coolant's leaked into some of the components. That said, there's a whole host of methods for ensuring that even if there are leaks, your hardware will remain safe. The crucial point here is just to be calm and methodical with things - try to avoid rushing or doing it under pressure, as that's when mistakes are most likely to happen.
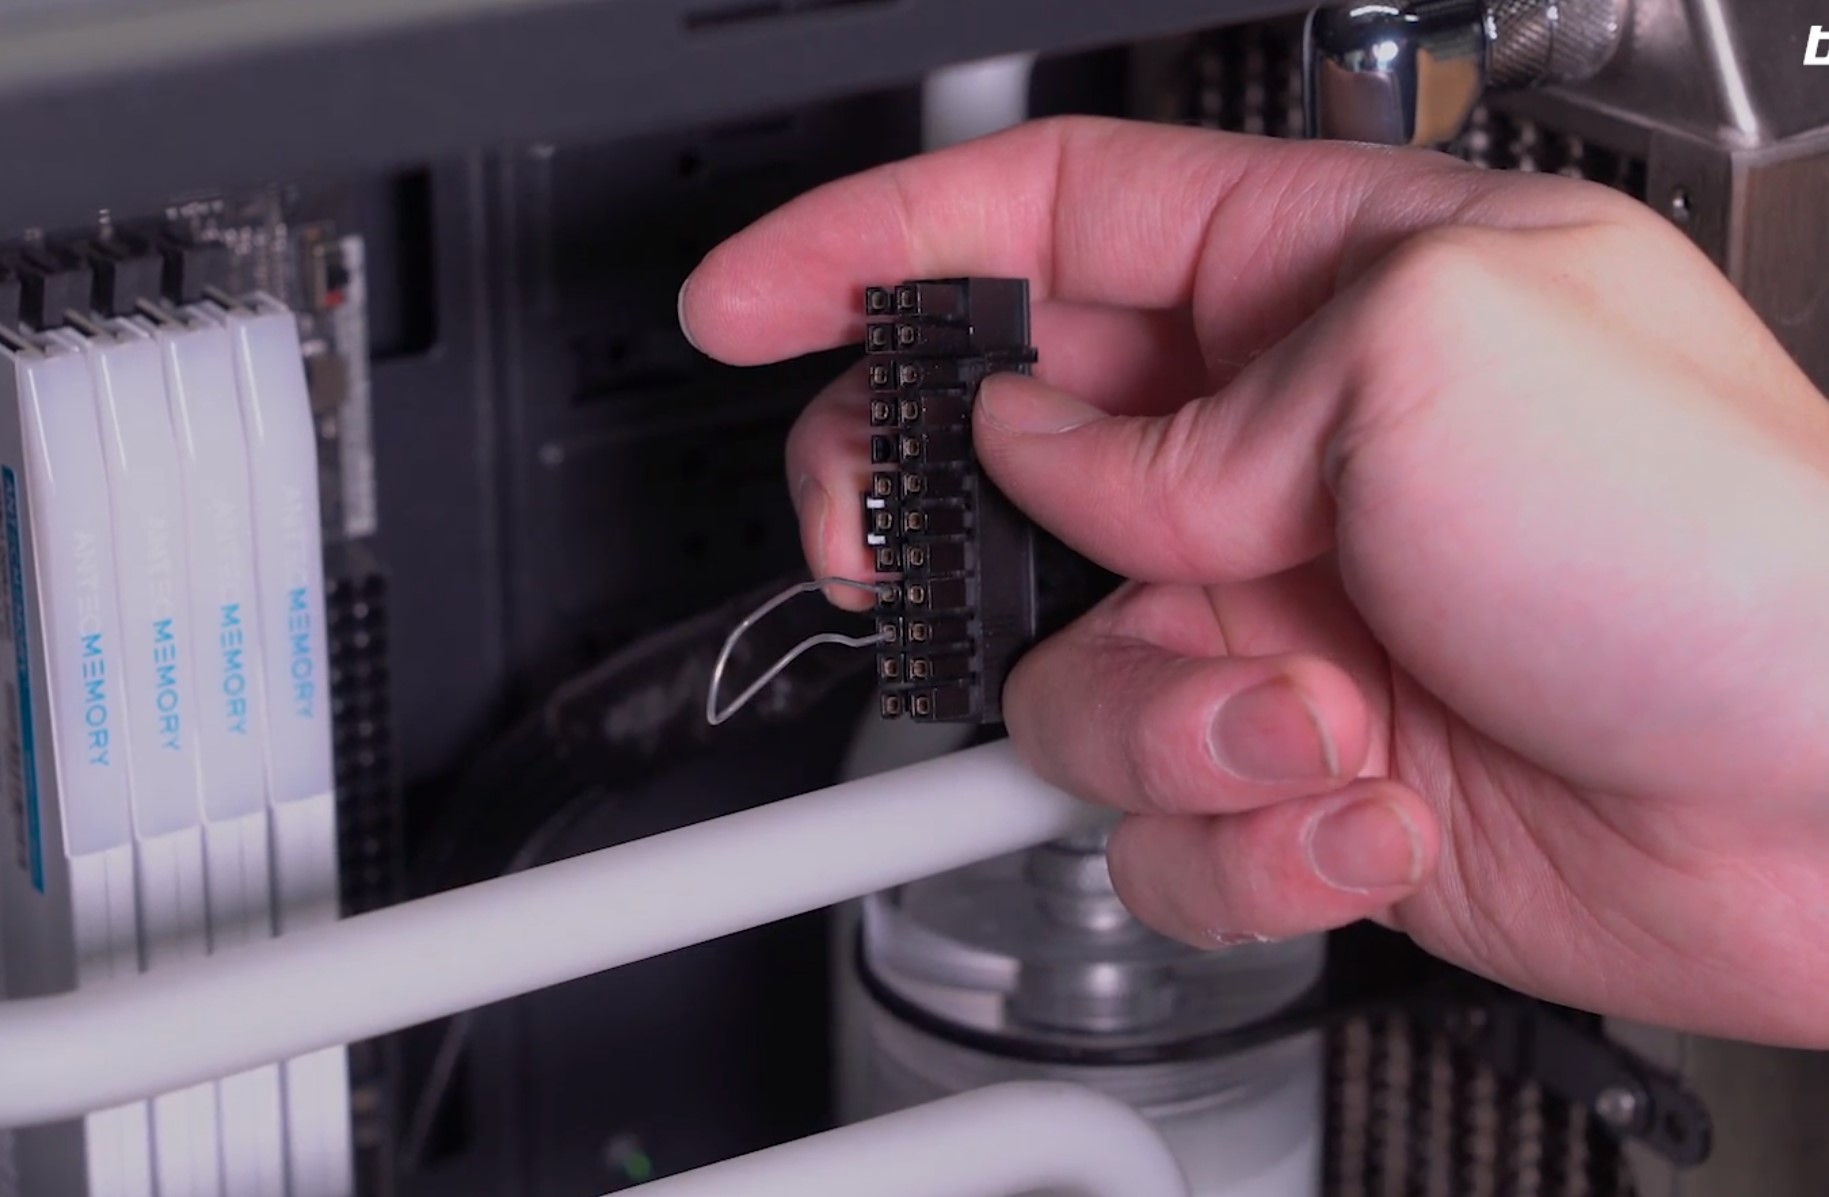
The traditional method is gloriously simple. You just need a number of paper towels/tissues and a paper clip or bridging plug so that you can jump the power supply. The principle is very simple: First, disconnect the 24-pin from the motherboard and remove the other cables from the main components too (except for the pump, which must remain connected). This ensures there's no power going through the system when you add the coolant. However, the power supply won't start, as it's not connected to anything that can send the PS_ON signal needed to trigger it. In order to power the pump, therefore, it's necessary to jump the power supply. Some units come with bridging plugs (a female connector with a single wire in it bridging two pins) in their accessories pack nowadays, but if yours doesn't you can either pick one up online or follow our guide on How To Bridge Your Power Supply - all you need is a paper-clip or something similar.
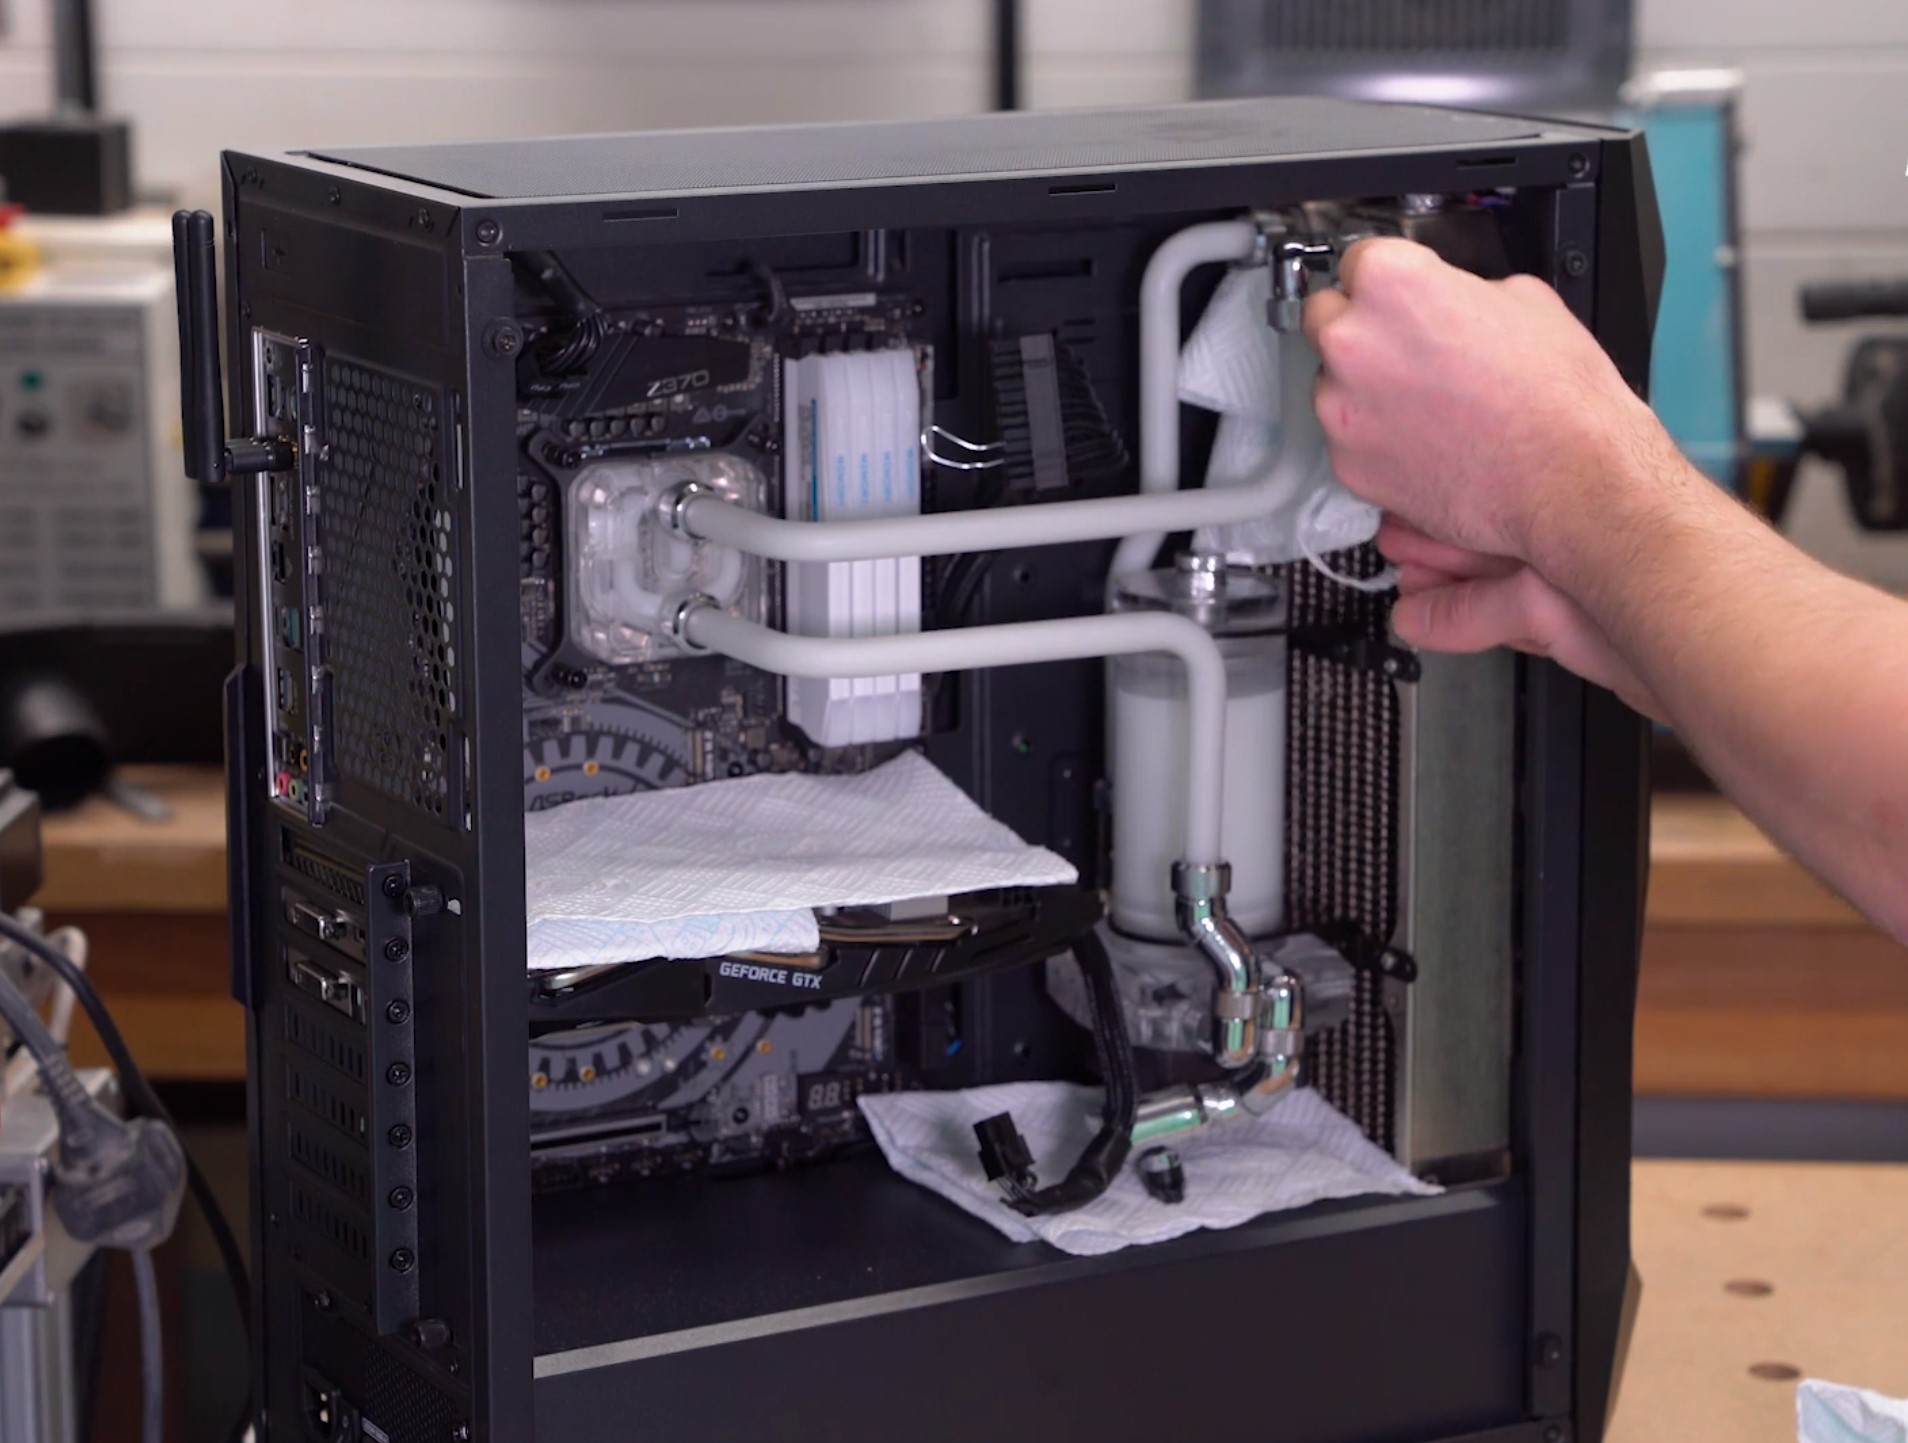
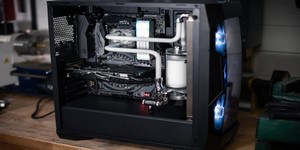
With the PSU still off at the back of the unit, you now need to place paper towels strategically around the rig. It's a good idea to put them by fittings and around important areas like the CPU socket or GPU blocks. These towels serve two purposes in that they both absorb any coolant spills, but they also act as markers so that you can spot leaks more easily. In particular, if you use blue paper roll, even clear coolant will darken the colour considerably, making it easier to spot any moisture. When you're comfortable with the coverage, it's time to add the fluid.
I find the best way to add coolant to a reservoir is with a squeeze bottle fitted with a long nozzle. Syringes work well too but take much longer, plus you have to deal with purchasing a suspiciously capacious one... Fill the reservoir up to close to the top, then place the fill cap back on (important, as sometimes coolant can splash back when you cycle the pump). Next, we're going to cycle the pump by switching on the power supply using the rocker switch on the back of the unit. When switched on, the pump will whirr away and begin pushing the coolant through the loop.
It's absolutely essential to make sure the pump never runs dry!
To avoid this, simply switch the power supply off when you see the coolant level in the reservoir drop to the bottom. Then all you have to do is top up with more coolant and repeat until the loop is full. As the loop fills up, keep an eye on the towels and components, check areas where you feel there may be greater risk. If you find a leak, assess what sort of one it is and take appropriate action. If it's from a block, you may wish to drain the loop and refill it later. If it's from around the base of a fitting, it may just need to be tightened a little, in which case you can keep going.
If coolant does unfortunately seep into a component such as between the PCB and the water block of a GPU (not uncommon with vertical GPU mounts nowadays) then drain the loop, take the component out, and dry it. Nothing will happen to the hardware when off, but it can take ages for moisture to evaporate from within a part, so you definitely want to do something about it.
If you're leak free, simply leave it for a few hours and come back. Four hours or overnight are pretty decent lengths of time; you want to give it a bit of time just in case there's a very slow leak.
Air Pressure Testing
The traditional method works well enough, but there's another popular technique, which is using air pressure to test whether the loop is properly sealed. A handy product for this is the Dr Drop from Aquacomputer, but you can always make one yourself too. The Dr Drop is essentially a little manifold connected to a manometer and a small bicycle pump. The idea is that you connect the Dr Drop to your loop or the component you want to test then pump air into the system. If the loop is able to hold pressure, then it should in theory be watertight too.
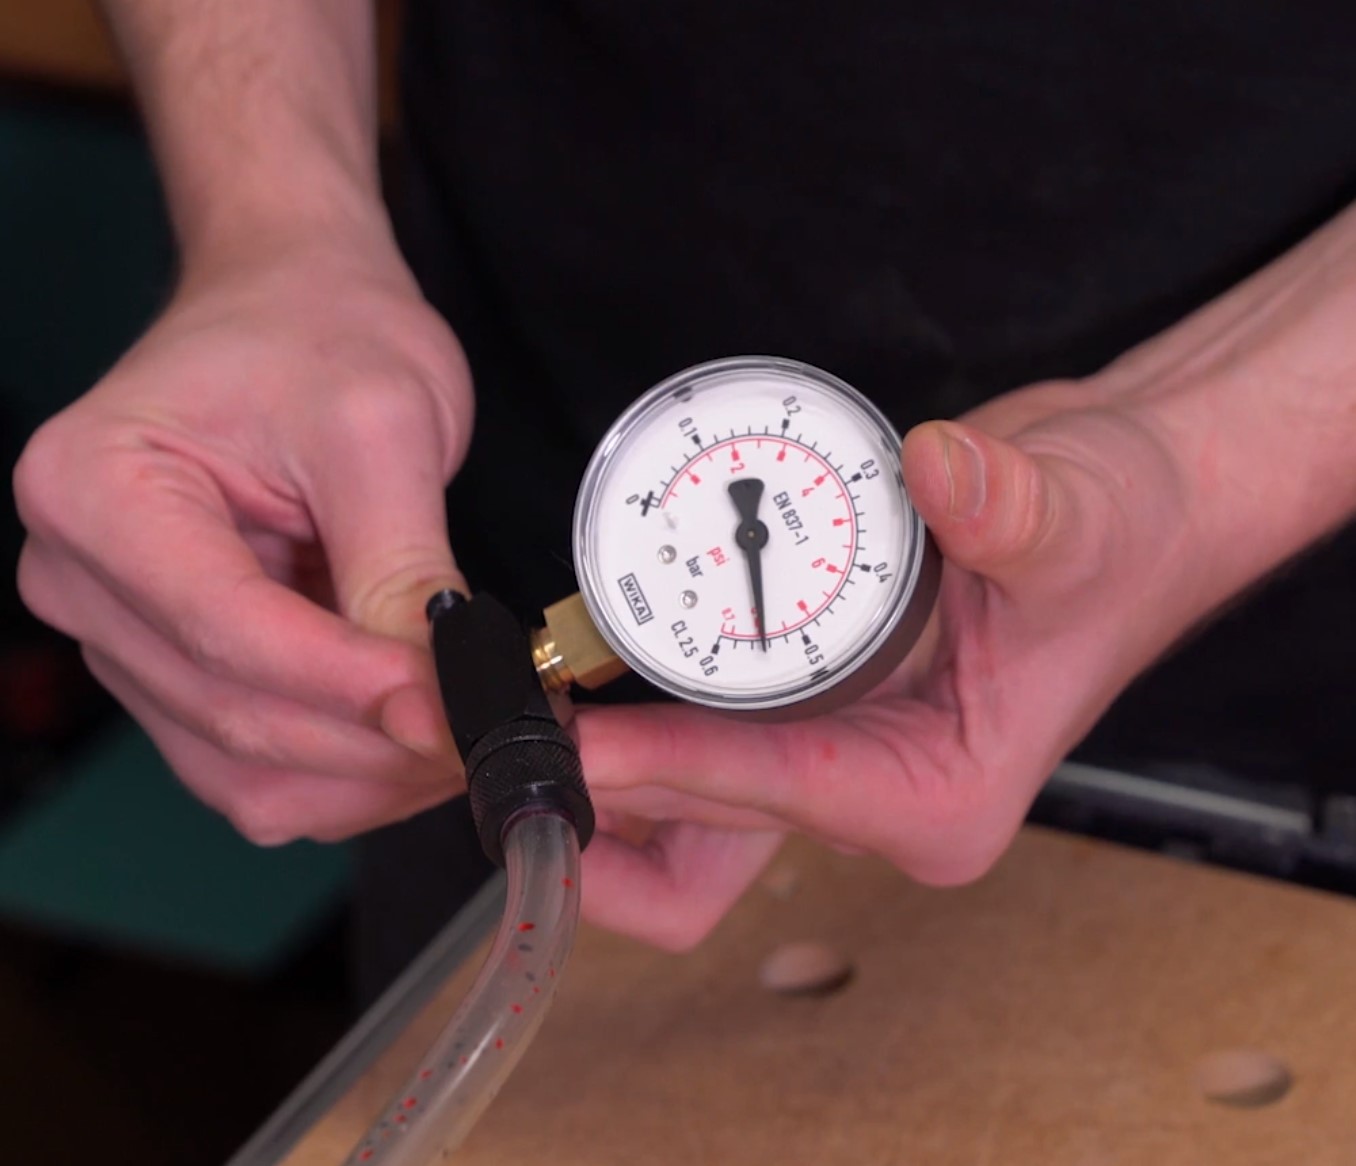
Like with traditional testing, you want to give it a bit of time (although not too long, as the Dr Drop isn't completely airtight itself, meaning you may get false results). You also don't want to over-pressurise the system. Most components will only be rated to 0.5-0.6 bar, so that's the range you should stick to. If your system can remain at a constant 0.5 bar for 15-30 minutes, then there's a good chance it's going to be watertight.
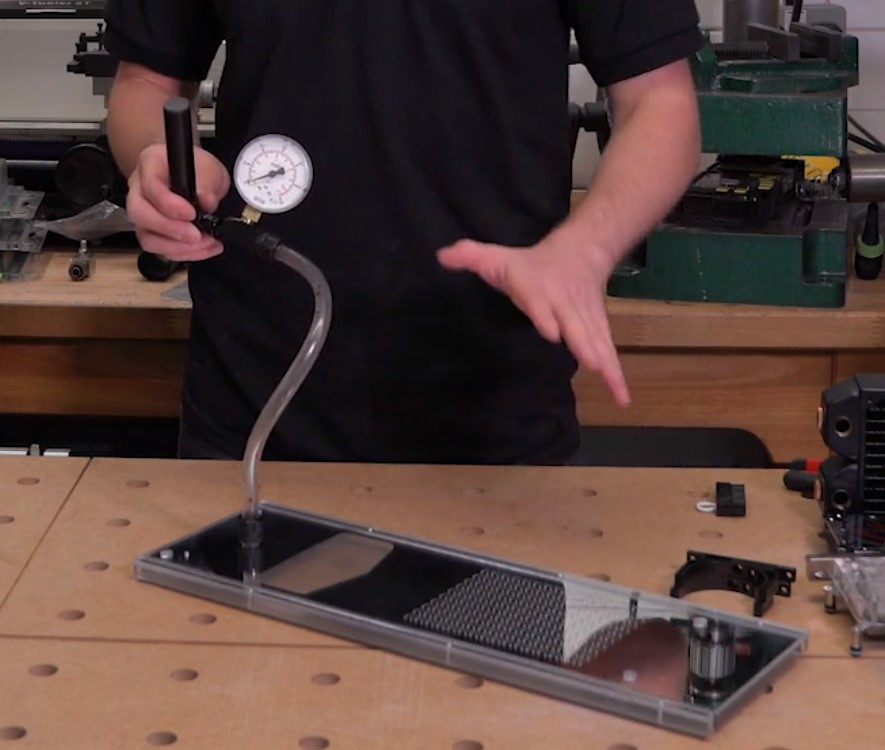
Aside from being very quick, the handy thing about this method is the flexibility it has. I make a lot of acrylic distribution panels, and testing those outside of their intended use case with real liquid can be a serious pain. Similarly, you can quickly test individual parts like water blocks or radiators using this technique. If you have a particularly complex loop going on, air testing can be a huge time saver, as draining a large system can take a while. To aid in spotting potential leaks, you can rub a little soapy water around fittings or block terminals, that way you will be able to see air escaping by bubbles forming.
RELATED ARTICLES


MSI MPG Velox 100R Chassis Review
October 14 2021 | 15:04

Want to comment? Please log in.