SSD Modding: Vinyl, Painting, Brushed Aluminium, and More
June 16, 2017 | 14:20

Brushed Aluminium and Window Mod
The last mod we're doing is more long-winded, and it will depend on what look you want as to where you stop in the guide. You will see a battle-scarred look, a polished aluminium one, and a brushed aluminium look. If you are interested in any of those, keep reading!
Click to enlarge
The first thing to do is open the SSD, and this will void your warranty (YAY!). The PCB only takes up about 2 thirds of the enclosure, so you could actually do a mod which shortens the length of the SSD too. I just didn't have time to fabricate a new enclosure after I found this out. The Corsair SSD comes apart quite easily; you simply prise open the case and all will be revealed. Some other SSDs require you to remove screws, and a lot of them are hidden under stickers.

Click to enlarge
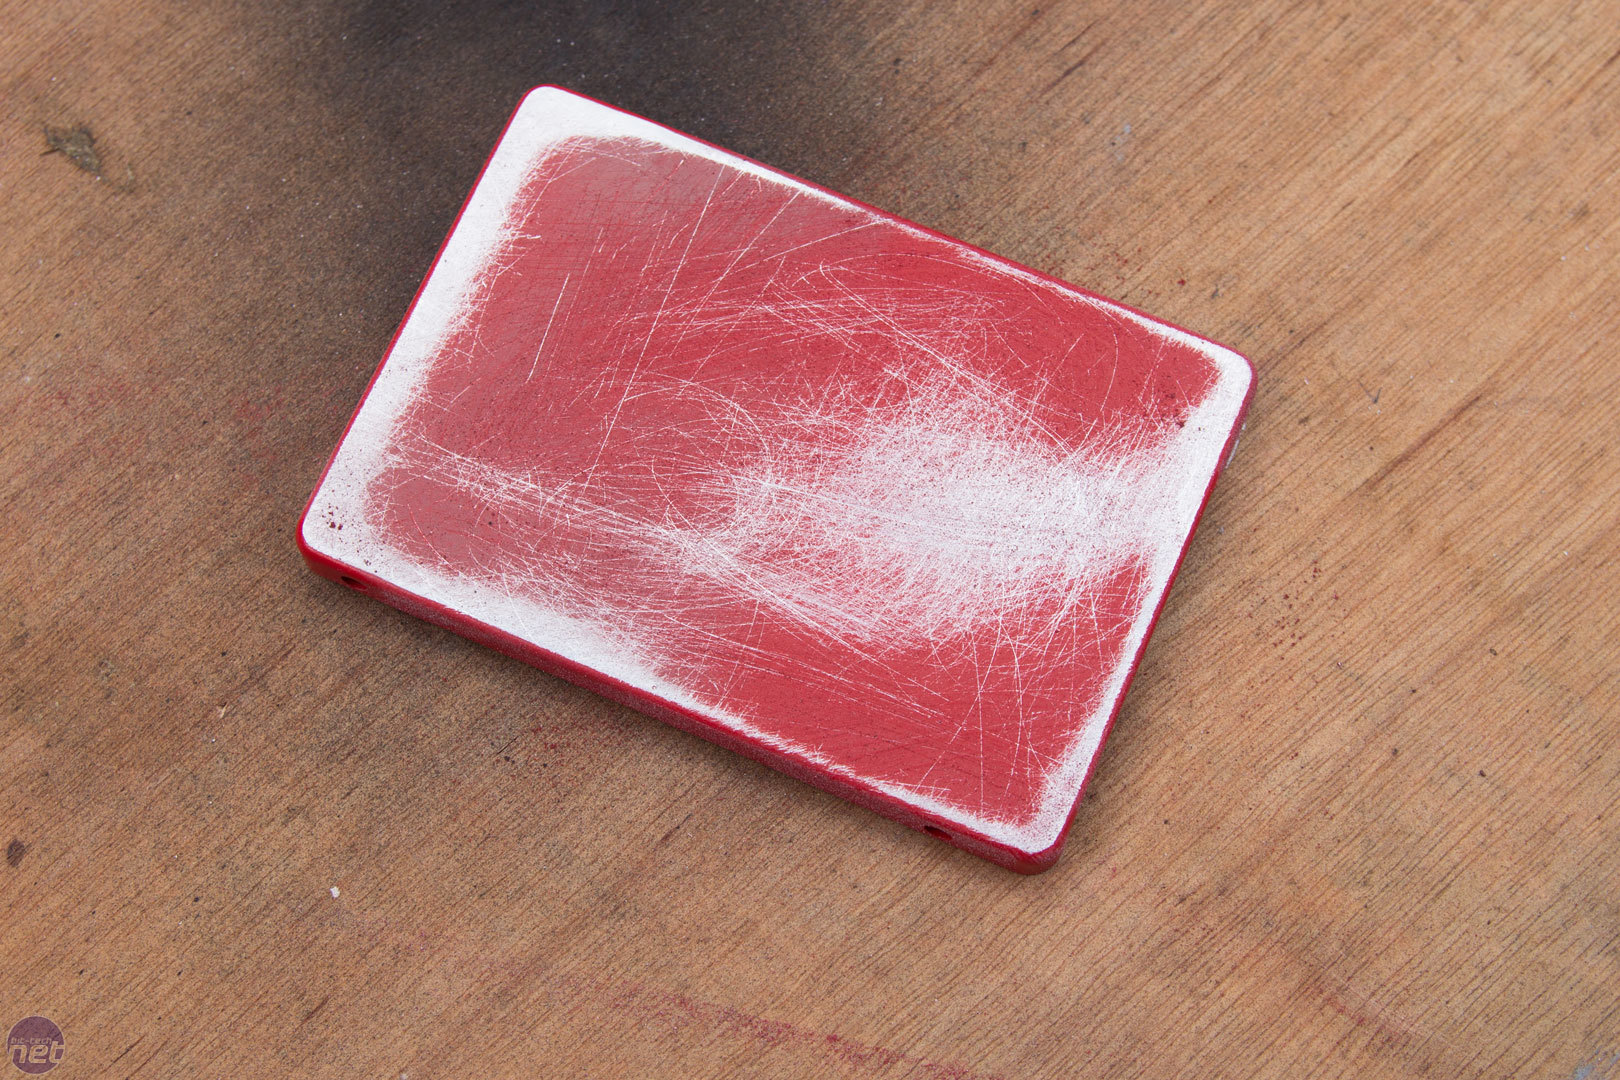
For the next bit, we're going to need a range of grits. I think the finest I used was 2,000 in the end. You will also need other tools, but I will go through them when I get to them. For a scratched/weathered/battered SSD look, all you need is some coarse sand paper.
Click to enlarge
Simply go to town on the SSD with the coarse sandpaper and scratch it as much as possible. If you're building a post-apocalyptic themed PC, for example, this could look great. You could also hit it with some black spray paint after the initial scratching and sand it again to give it some shading and detail.
Now that we have a really scratched up, battered SSD case, it's time to get it looking pretty again. These SSD cases are made of aluminium, so you can do quite a bit to them. Plastic is often used on other models, however, so it's best to check beforehand if this sort of mod is what you're after.
Click to enlarge
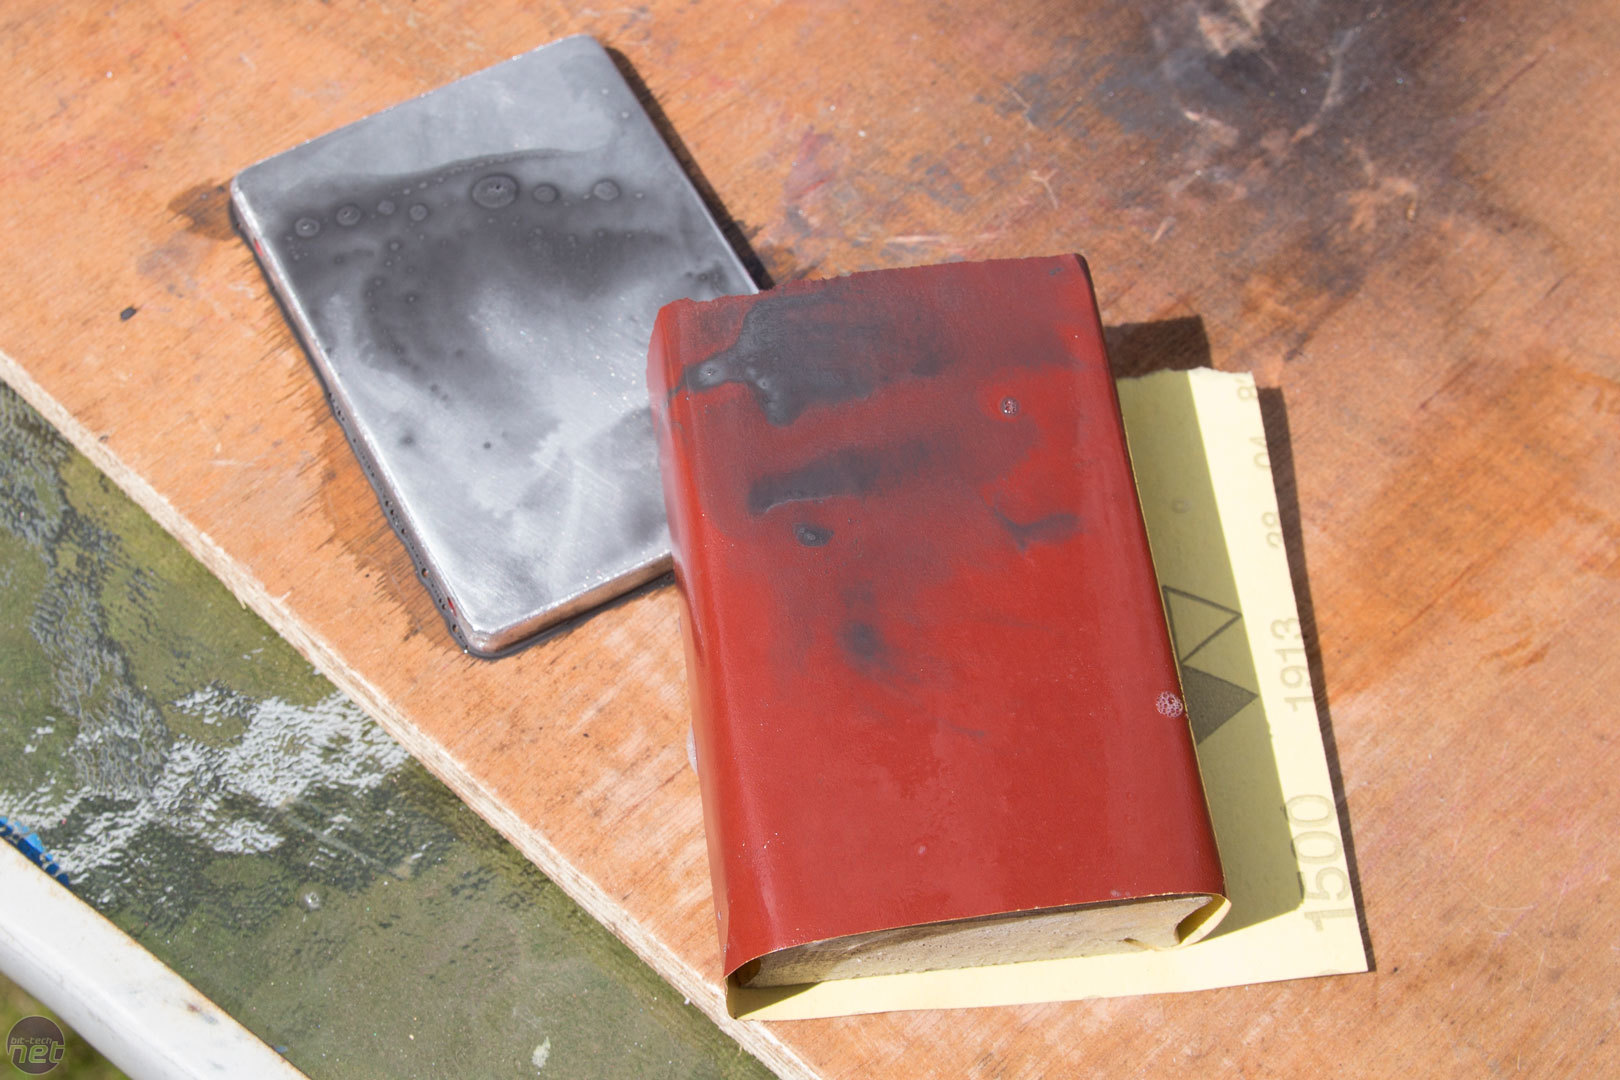
If you increase the grit on your sandpaper, you'll be able to get it looking rather smooth and shiny. I went from the coarse sandpaper used previously to something very fine at around 2,000 grit. I'm using wet and dry, and a bit of water and washing up liquid helps things along nicely. It helps the paper to glide along the metal and also helps to stop the fine sandpaper getting clogged as much while allowing the particles to rinse from the material freely.

Click to enlarge
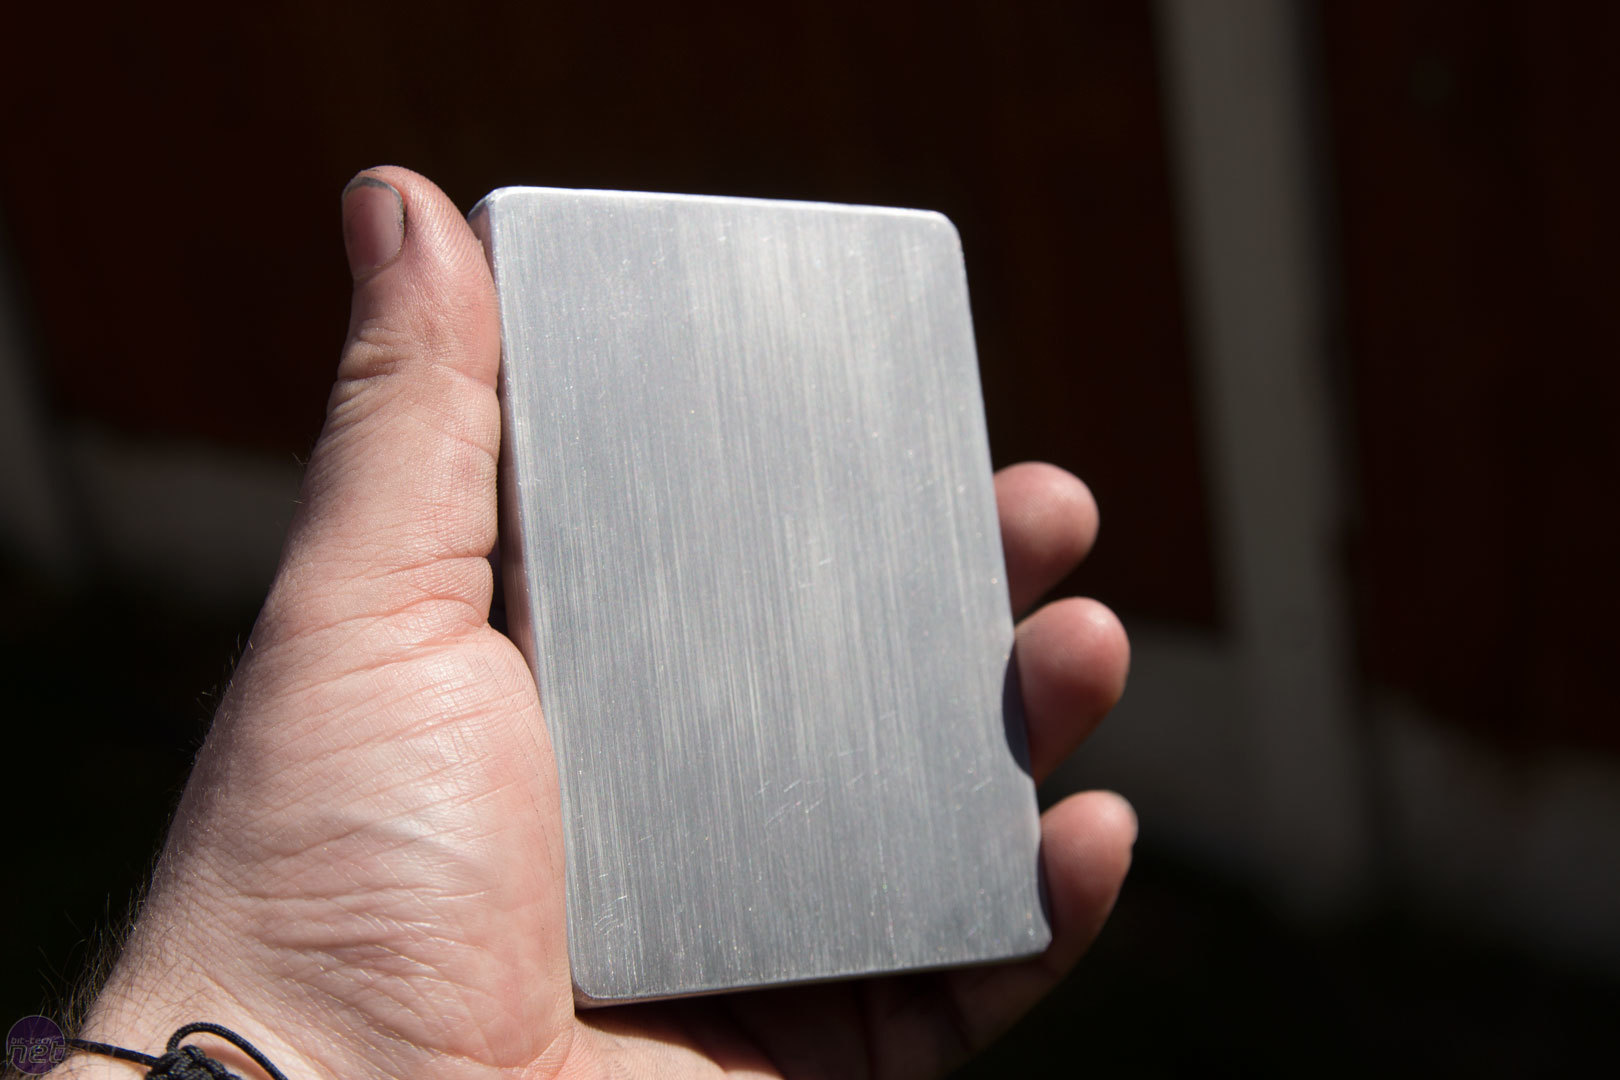
Once it's nearly finished, it should look something like this. If I had kept going, I could have removed the rest of the scratches. The water and soap have left some streaks too, but that isn't a problem at all - just polish them out. You could either stop here and have a natural metallic finish or polish it all up and get a mirrored finish. Just be sure to use a clear coat over the aluminium afterwards to keep the shine, as aluminium oxidises quickly.
Click to enlarge
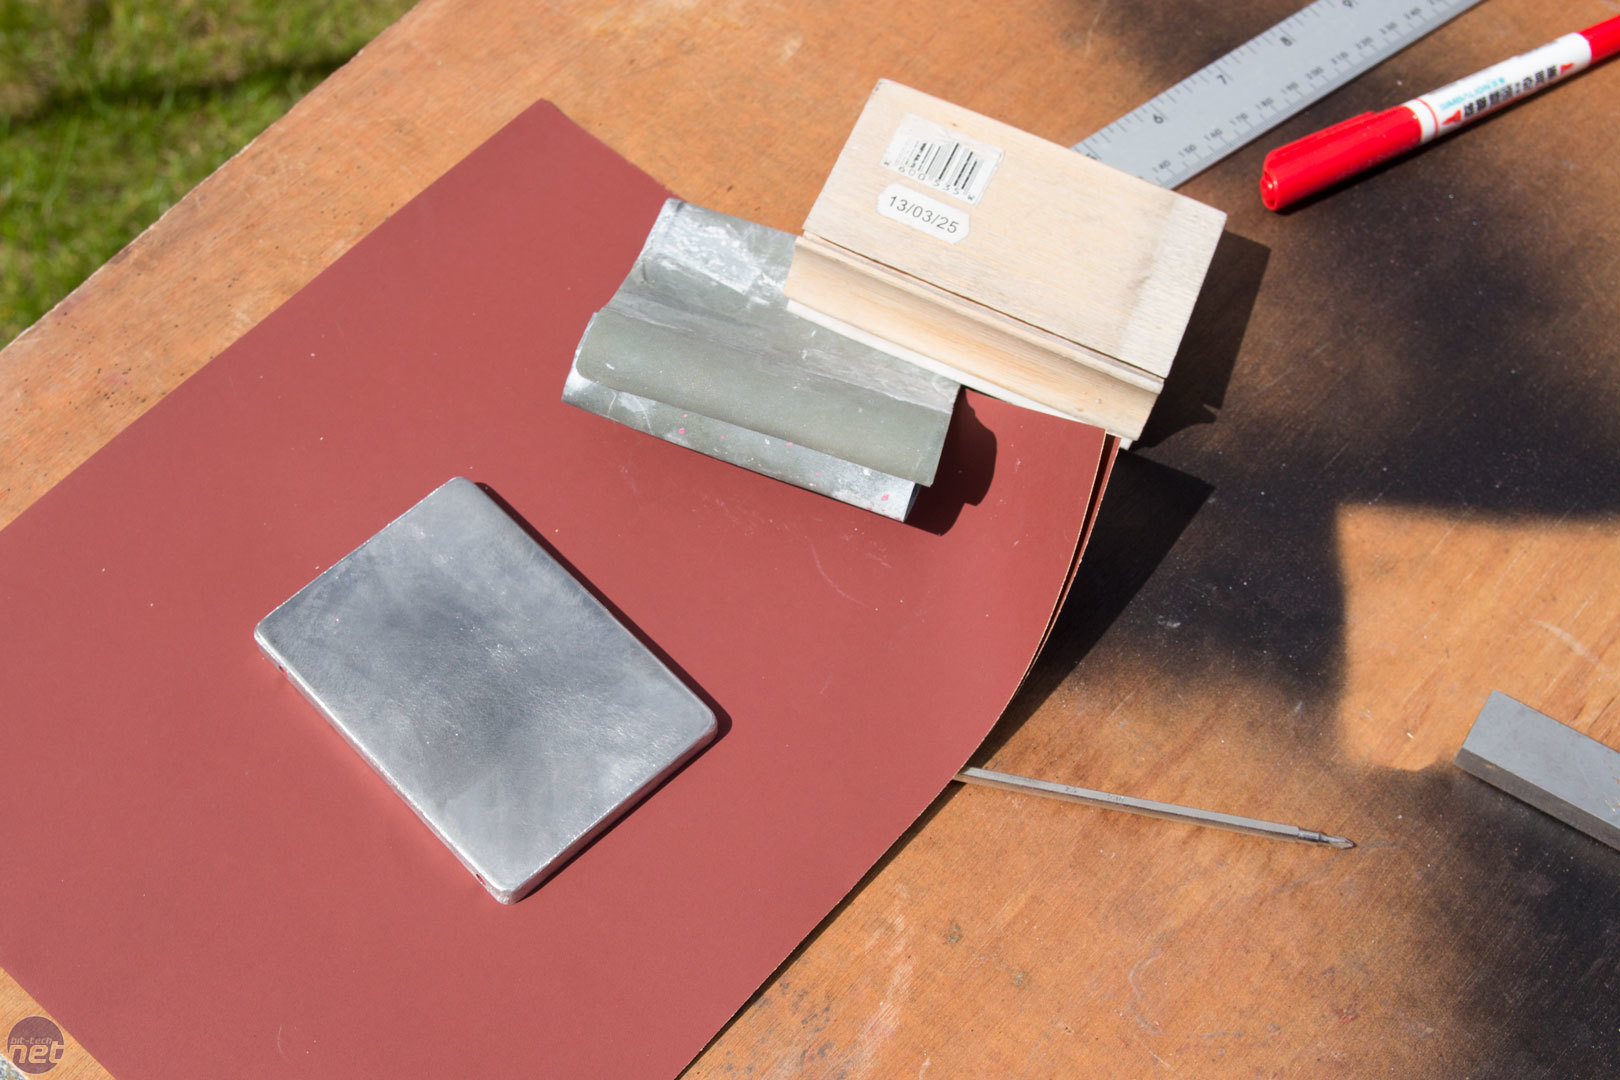
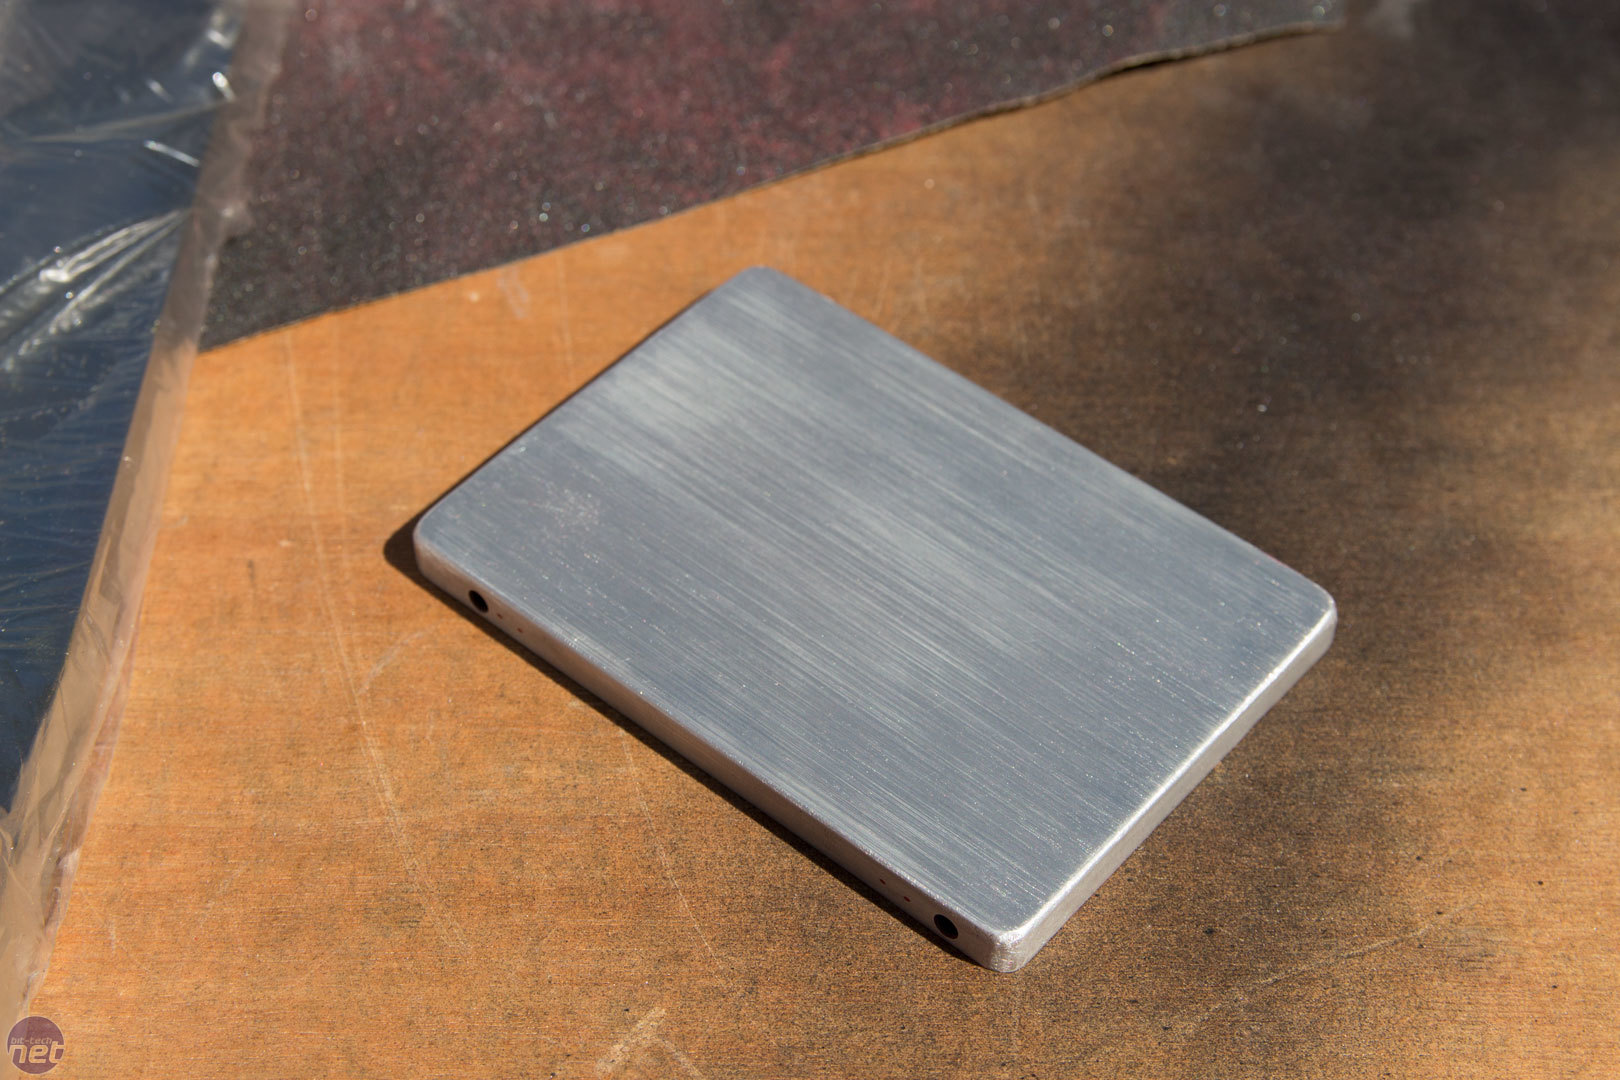
I didn't stop here, though! I summoned my inner Justin Metalicacid Ohlsen and decided to go back to the larger grit sandpaper for a few straight passes. To do this, I passed it over some sandpaper ensuring not to move in anything other than straight lines in a single direction. I put a heavy bar of metal on top of the sandpaper and used that as a guide. This gives a rather nice brushed aluminium finish. Once again, a clear coat here would be another finished SSD. Brushed aluminium looks great!
And still, I am not finished! There isn't much point to this next bit really, but it is an option. I just thought I would try it to see what it would look like.
Click to enlarge
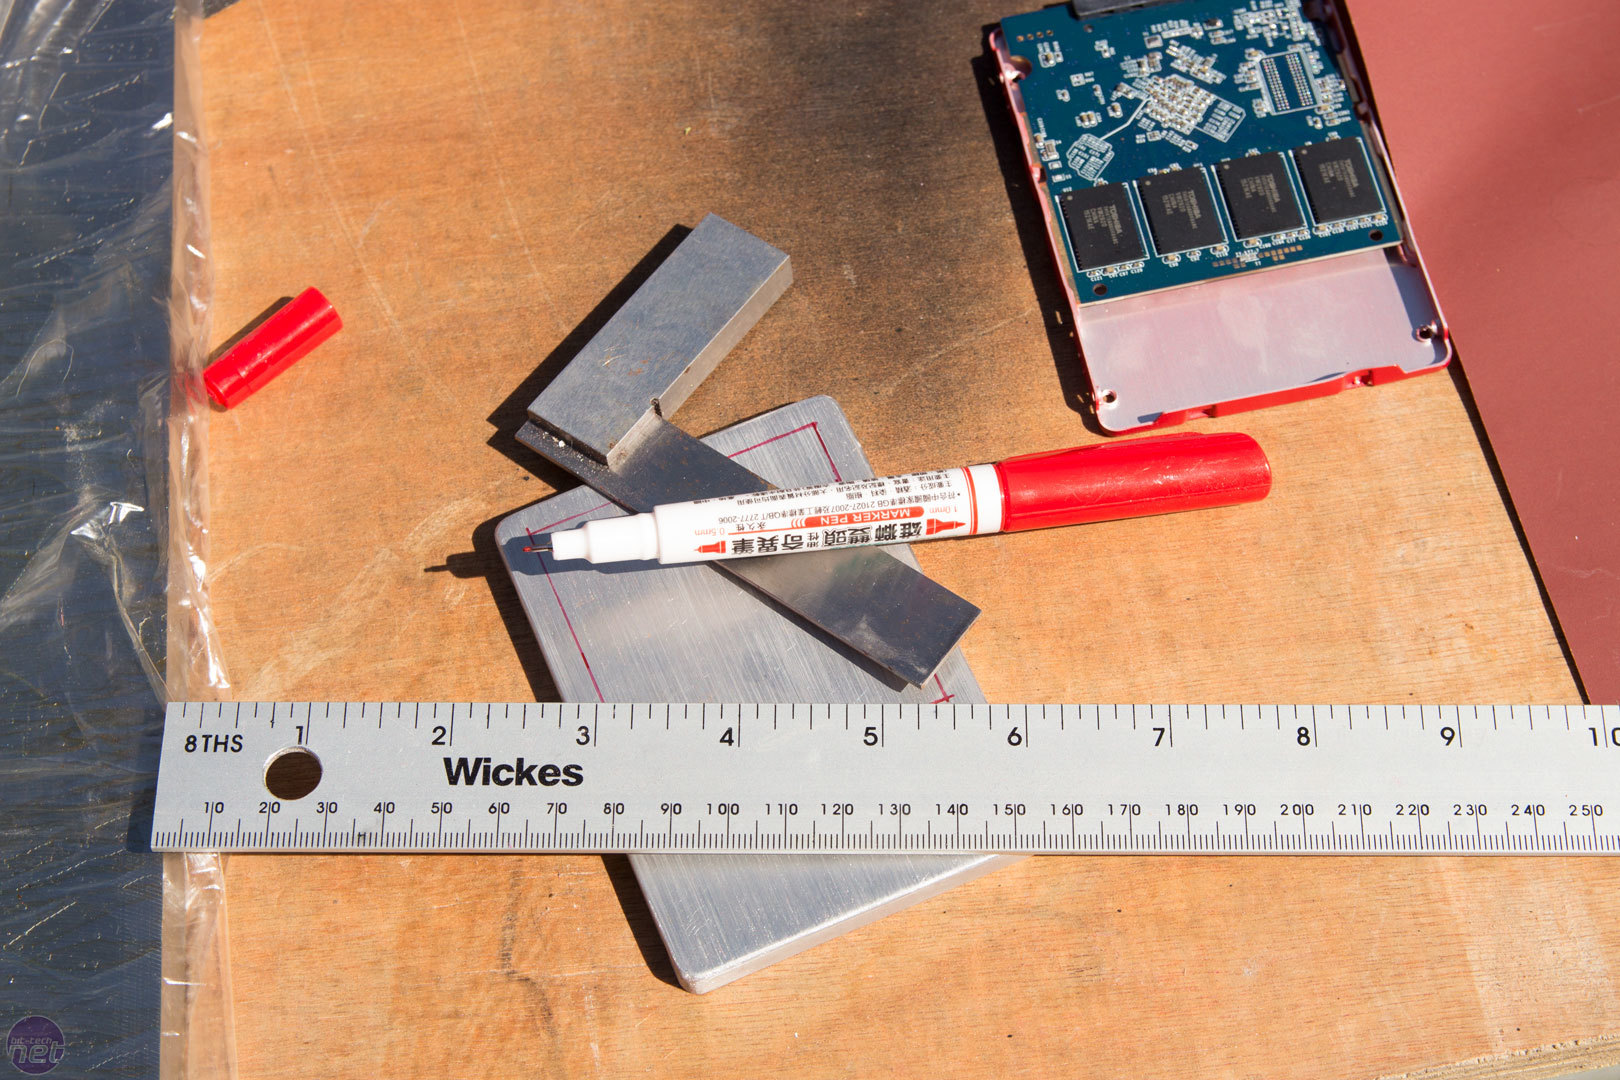
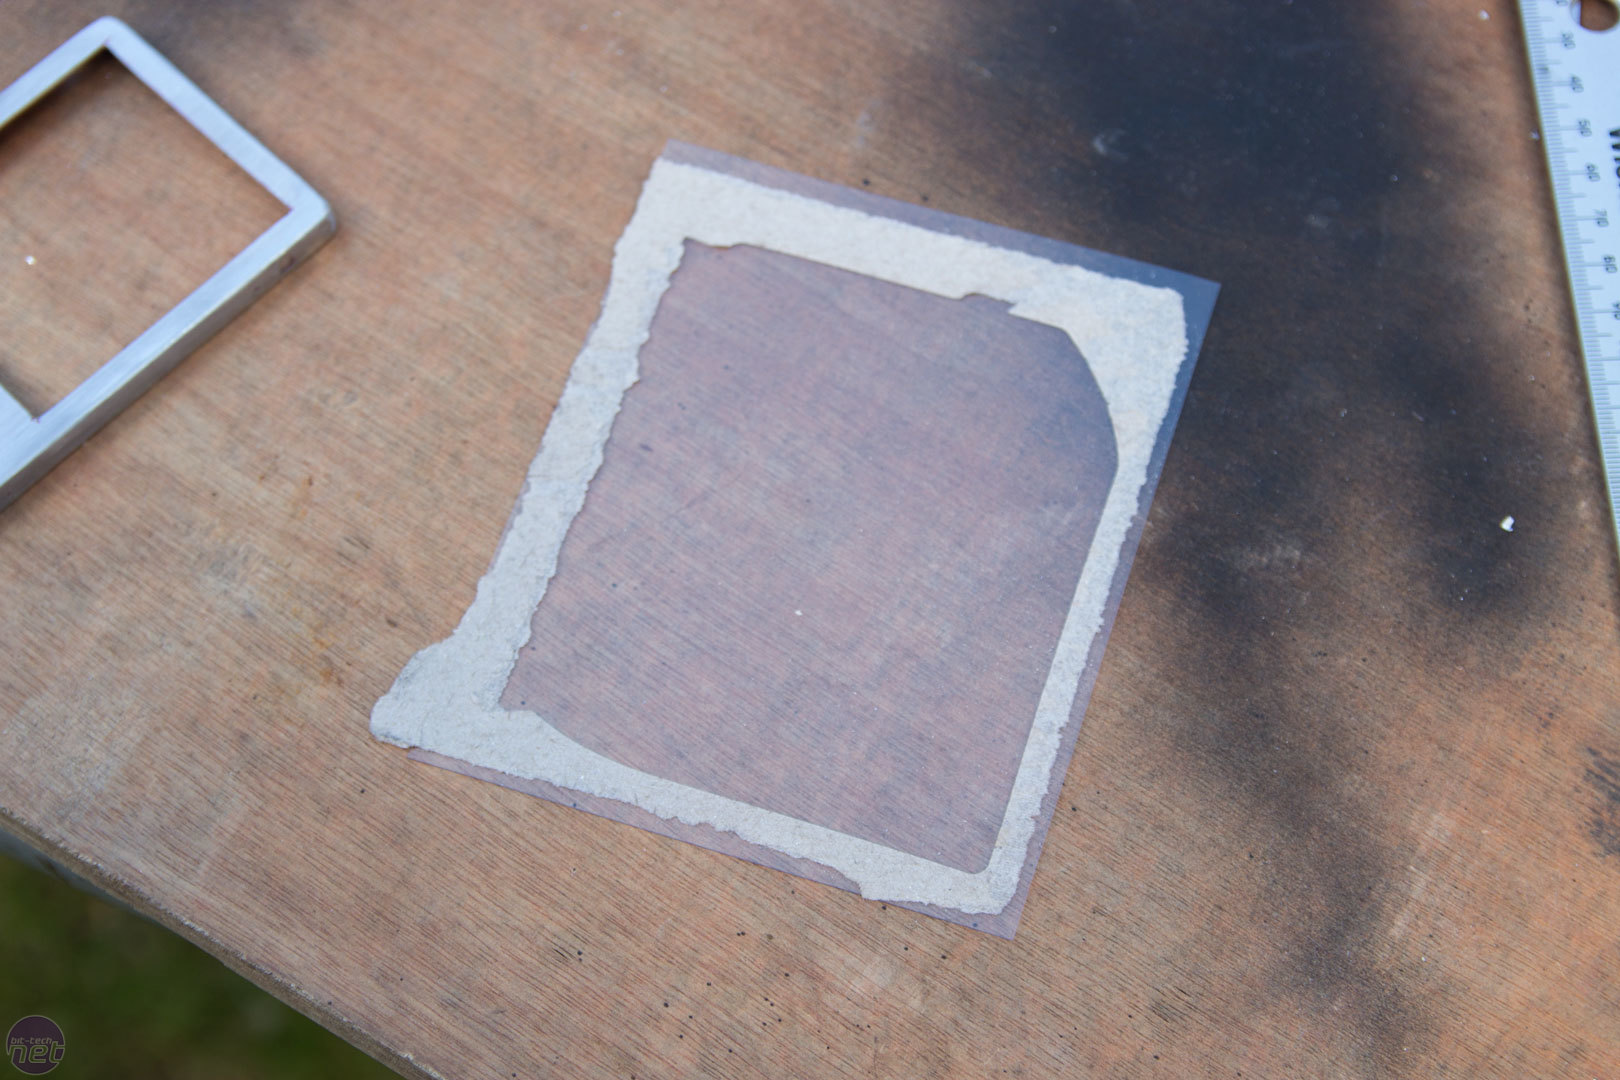
Using the ruler, pen, and engineers angle, I measured a little rectangle on the SSD. I made sure that it had around 5mm from each side other than the side closest to us in the picture above. This is because the PCB doesn't go all the way to the edge of the case on that side, so we didn't want to show the void. Leaving the 5mm around the edges allows us to attach a clear piece of material to make a window!
Click to enlarge
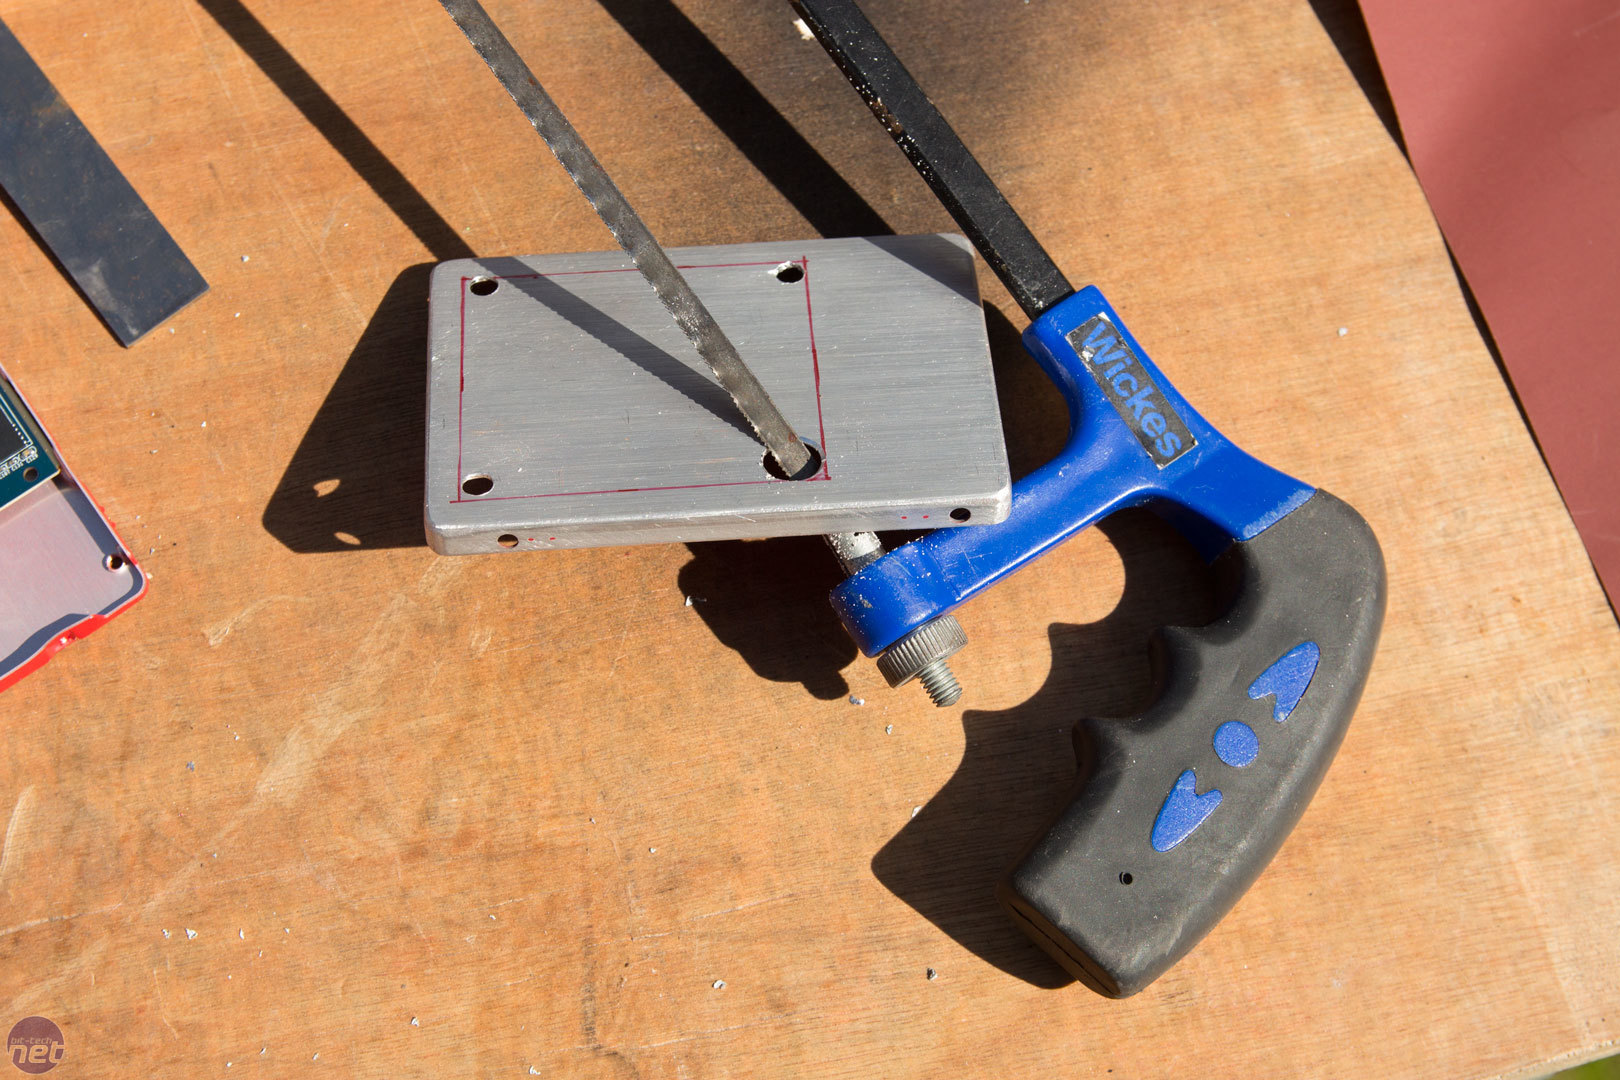
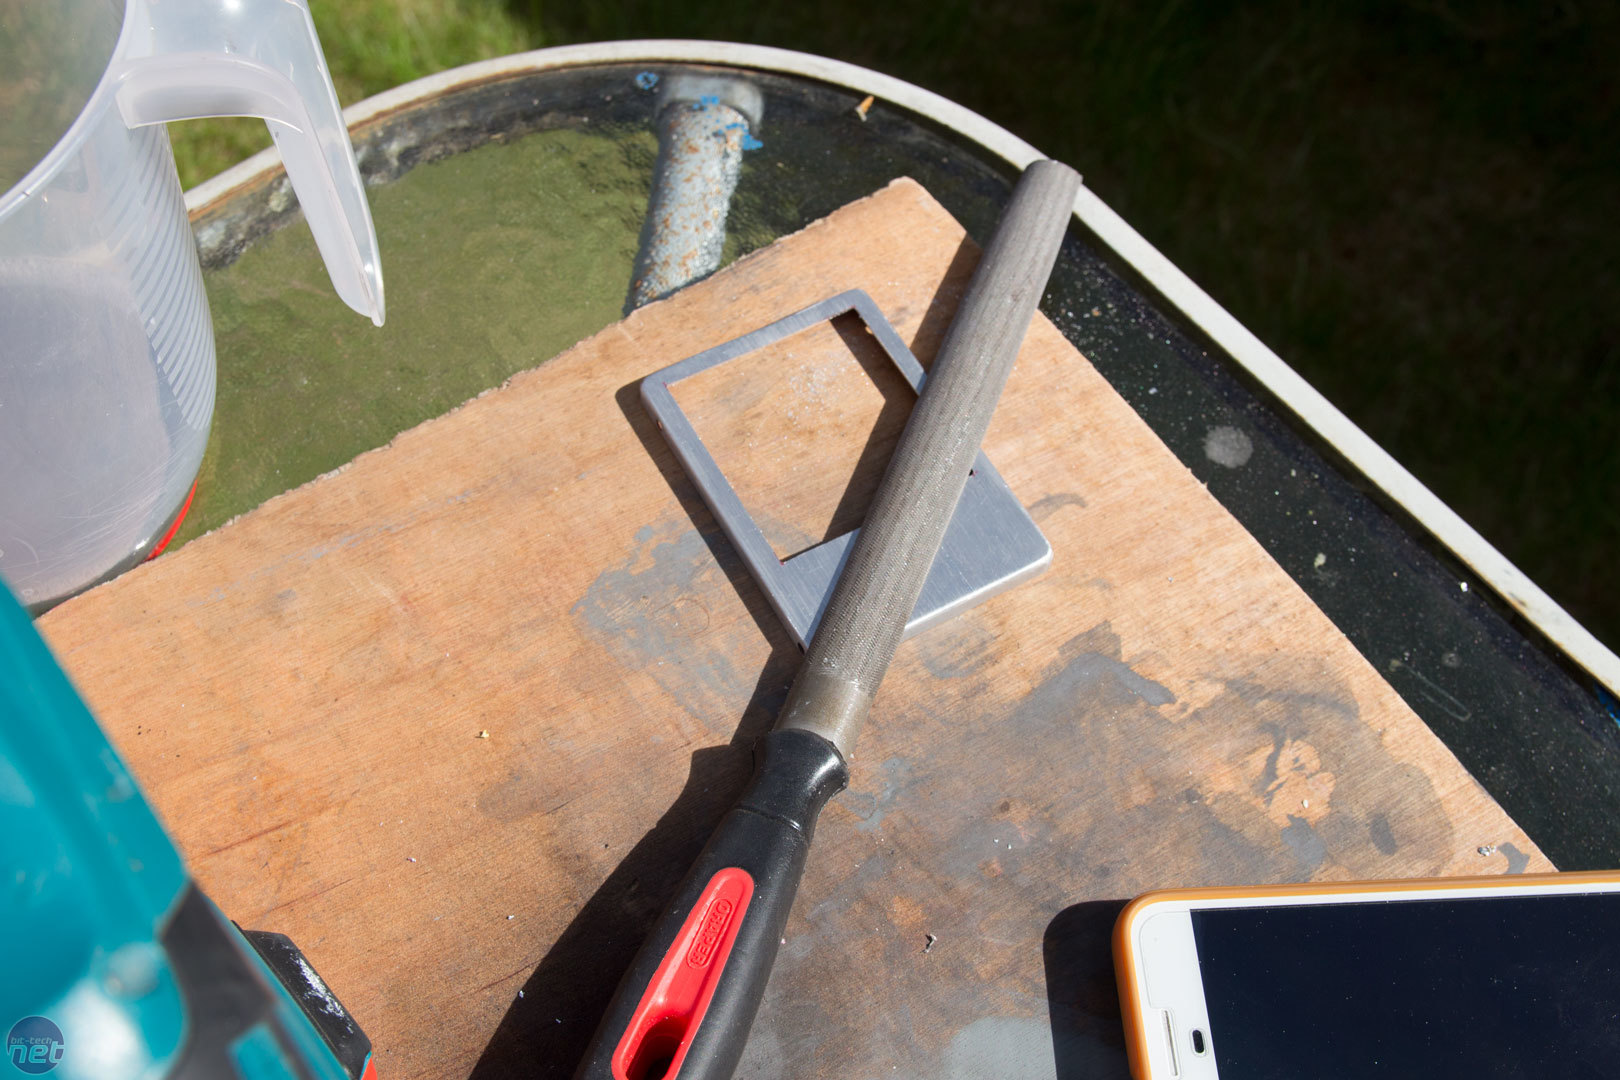
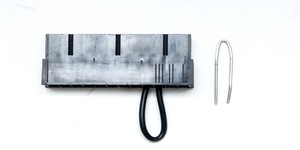
There are multiple ways to cut out the rectangle. I had my junior hacksaw on the table from cutting the acrylic earlier, so I drilled three smaller holes in three of the corners and then one large hole. The smaller holes just make it so the saw turns easier, and the large hole allows the blade to be passed through. This is far from the most efficient way of cutting the SSD case, and using a Dremel or similar would have been faster, or even a jigsaw, but it was nice and sunny, so I sat for a while and struggled on. Afterwards, I just had to file the edges. I could not find my straight edge file anywhere, so I had to use a different one. This made the corners a little trickier. The lesson? Make sure you are prepared for the task at hand! Get the right tools, and do things properly. This SSD isn't going to be in a build, so it doesn't matter so much here, but if I was doing it properly, I would make sure I went and bought a flat-edged file.
Click to enlarge
I would usually grab some thin acrylic here, something like 1mm or 1.5mm. However, I didn't have any left, and I didn't want to purchase a whole sheet for such a tiny project. Instead, I found a box of Corsair SP120 fans and saw that it had a nice big window made out of some cheap plastic. I pulled it off and with a craft knife cut out a piece of plastic to fit inside the SSD case. Using a bit of glue and taking advantage of the 5mm areas I had left around the cut, I was able to secure it in place.

Click to enlarge
Although this is just a rough and ready design, you can see the difference a few hours can make; the SSD looks completely different. Even if you don't like this idea, you could incorporate techniques similar to those shown and create something you personally love.


Click to enlarge
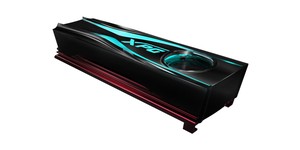
I am, of course, not the only person that likes to mod their SSDs, and many people do it. After posting a picture of one of our SSDs on our [eurl=www.facebook.com/bittech]Facebook page[/eurl], we had a message from a modder showing off some of his mods. Peter 'L3P' Brands has created these awesome SSDs for his projects! It just shows what you can do with a bit of imagination; he even modded his M.2 SSD. Thanks for sending me these pics, you hunk!
These mods don't cost much at all. Okay, you can void warranties, but let's face it, we do that anyway! The main thing is that they can be modded in a variety of ways. Post up some of your SSD mods - let's see what you have done with yours!
RELATED ARTICLES


MSI MPG Velox 100R Chassis Review
October 14 2021 | 15:04

Want to comment? Please log in.