
Conclusion
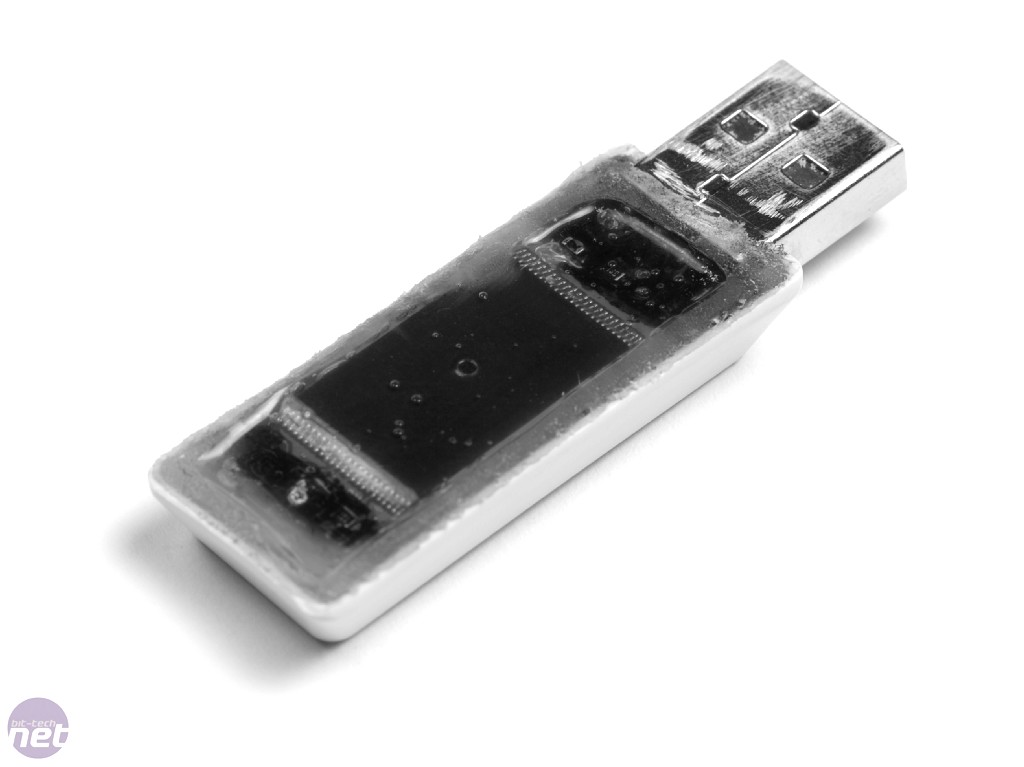
One extra finishing touch that I didn't anticipate was that, when the epoxy had finished setting, it was a little higher than necessary around the edges and wasn't totally flat. To correct this, I got the Dremel back out and used the grinding stone to get the edges roughly level. Then I grabbed some sandpaper of various grits (from 400 ~ 2,000) and got the epoxy surface flat and smooth to my satisfaction.It isn't perfect and, if I had it to do again, I would have thought of a better way to make the epoxy nice and level without having to take any corrective measures after the fact. I've also thought about whether I should have chosen an opaque filler material, but then there is the matter of painting it to match the key. Overall, I feel Project: Enter the USB was a success.
If you've got a great idea for a USB drive mod, I encourage you to give it a shot. It's cheap, relatively simple, and lots of fun. Feel free to share your mods in our forums, or even submit your project log to go on the front page of bit-tech.
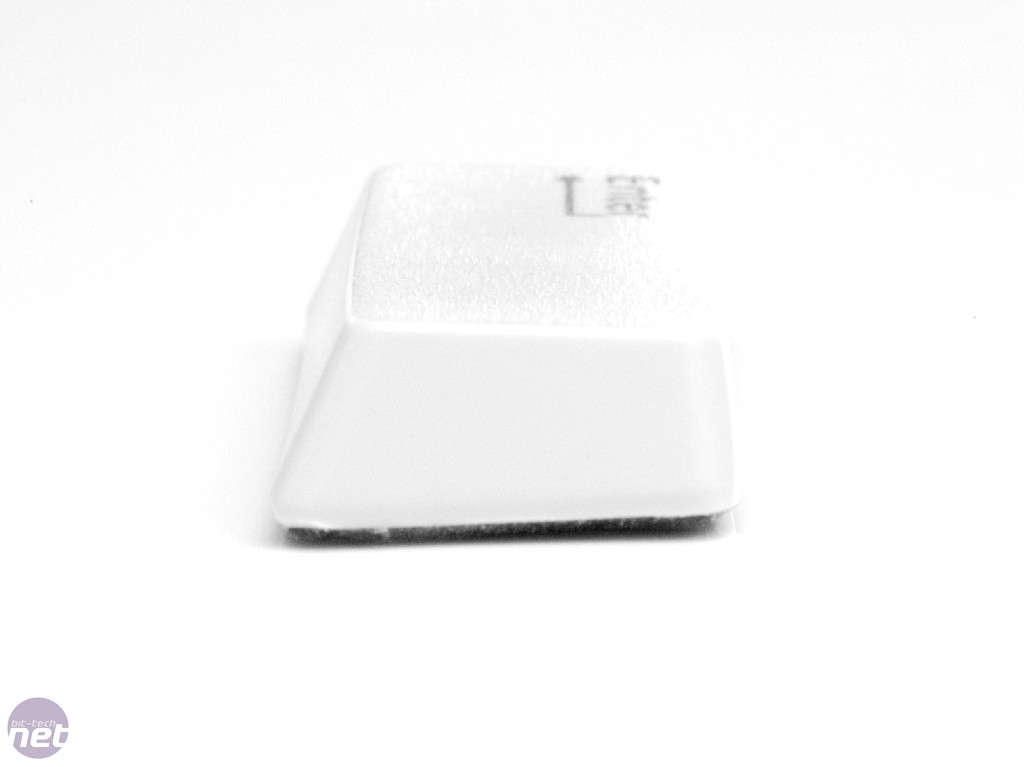
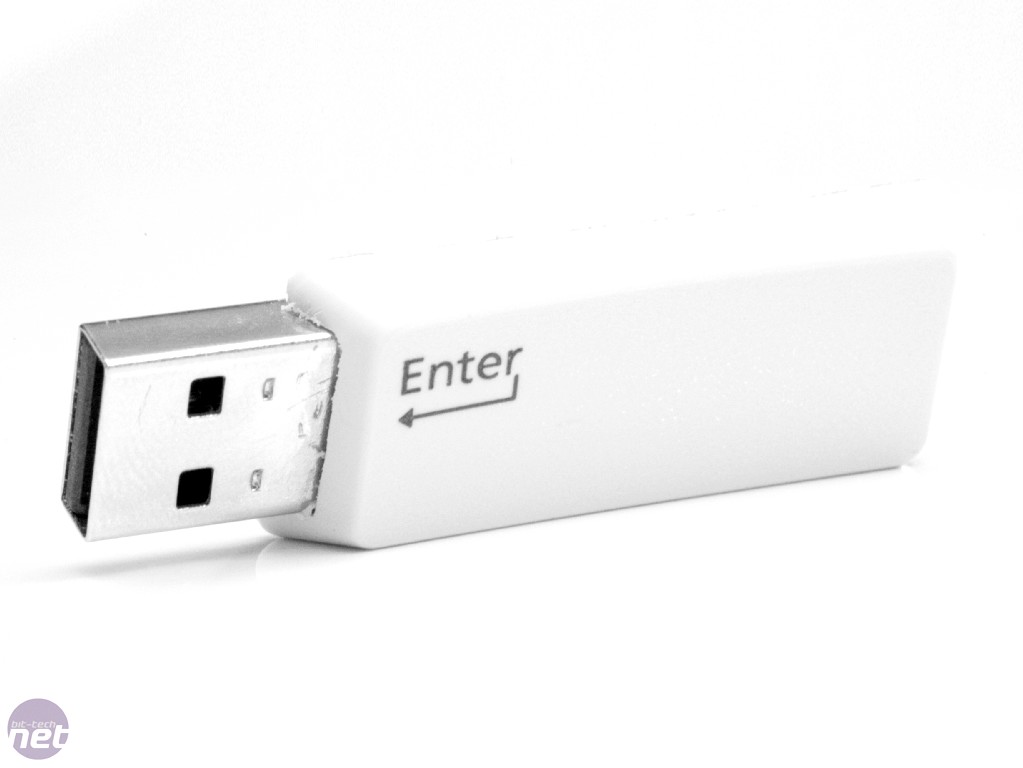
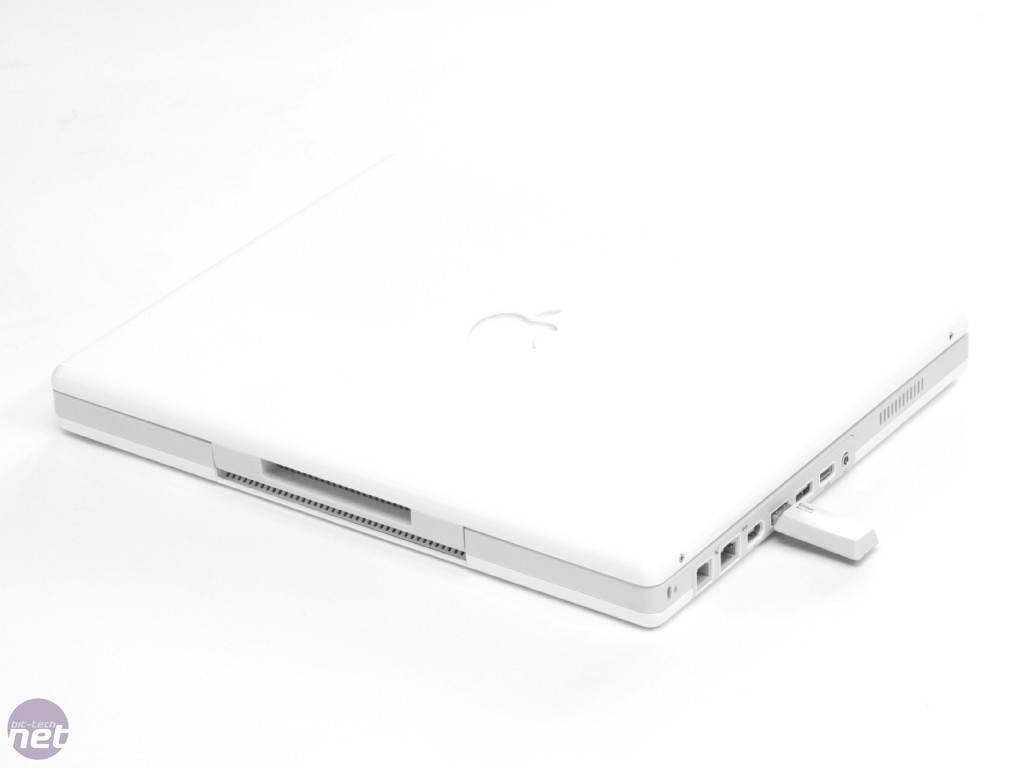
Enter the USB - Photoshoot
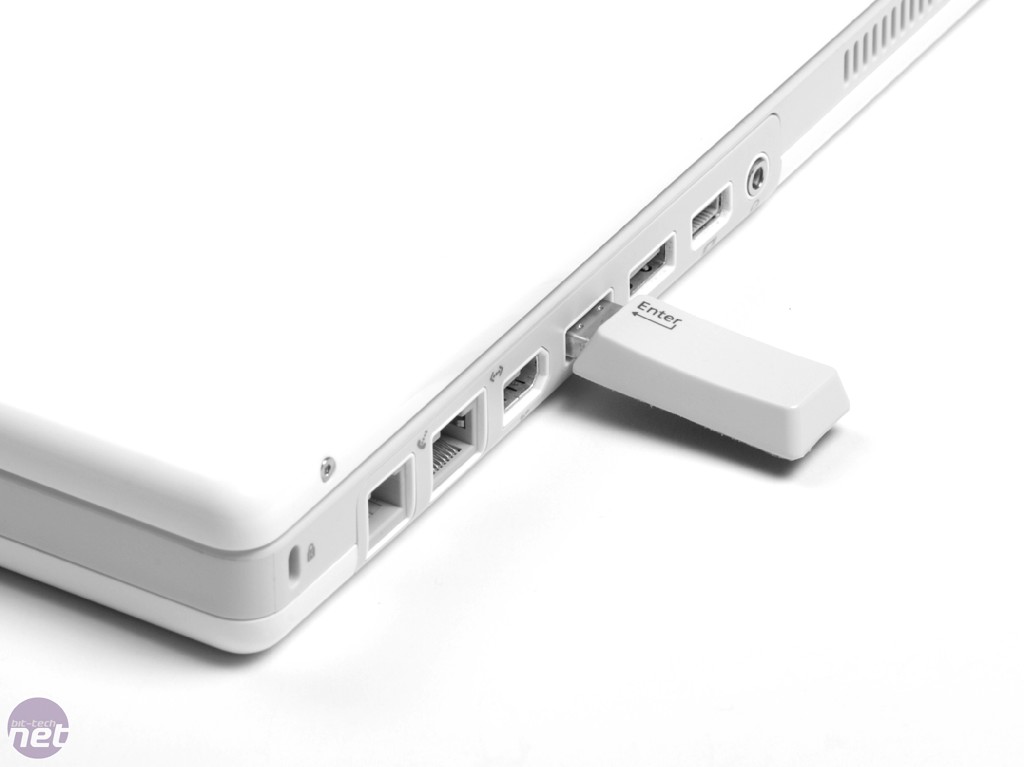
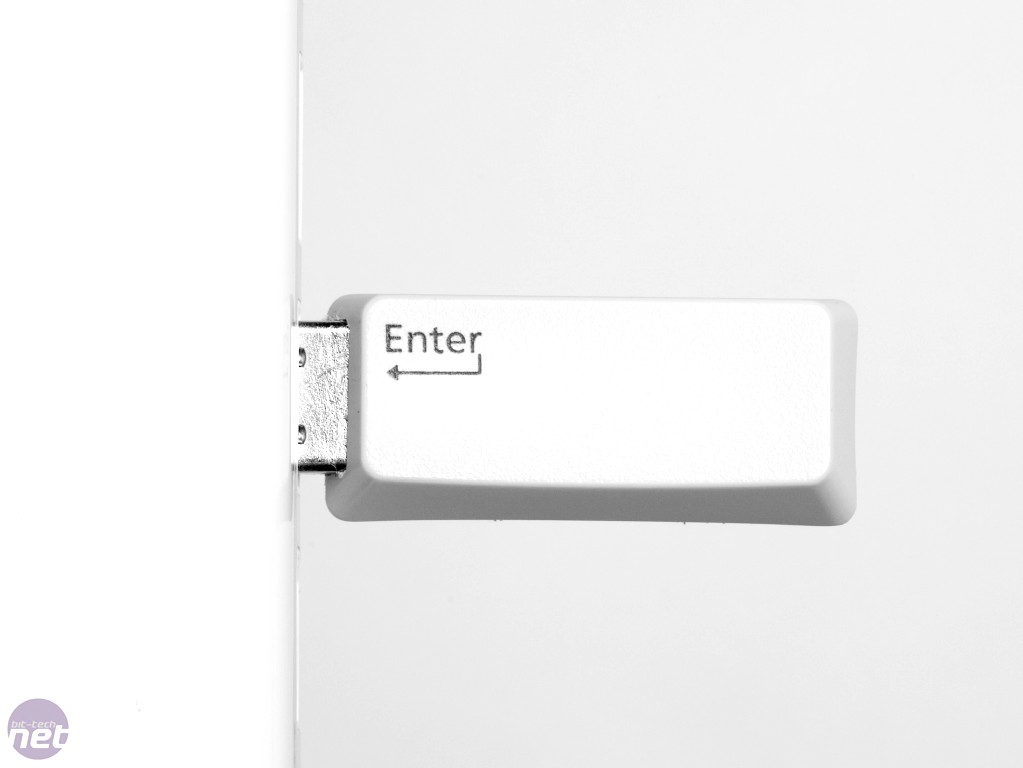
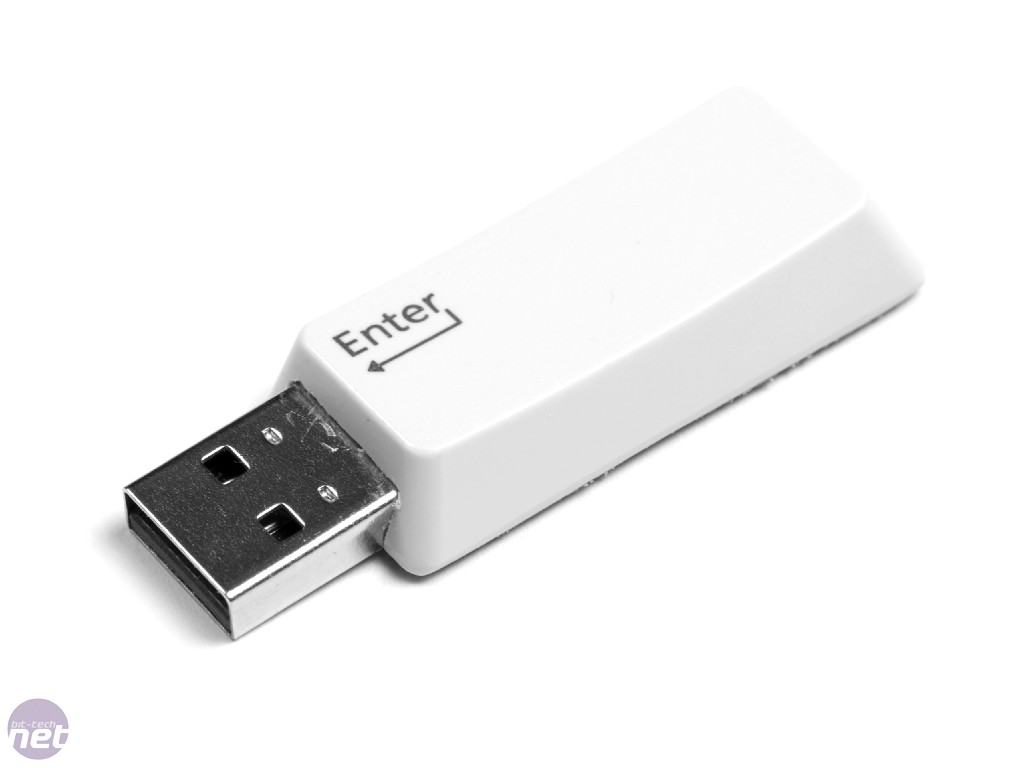
The finished article, check out the sweet pictures below!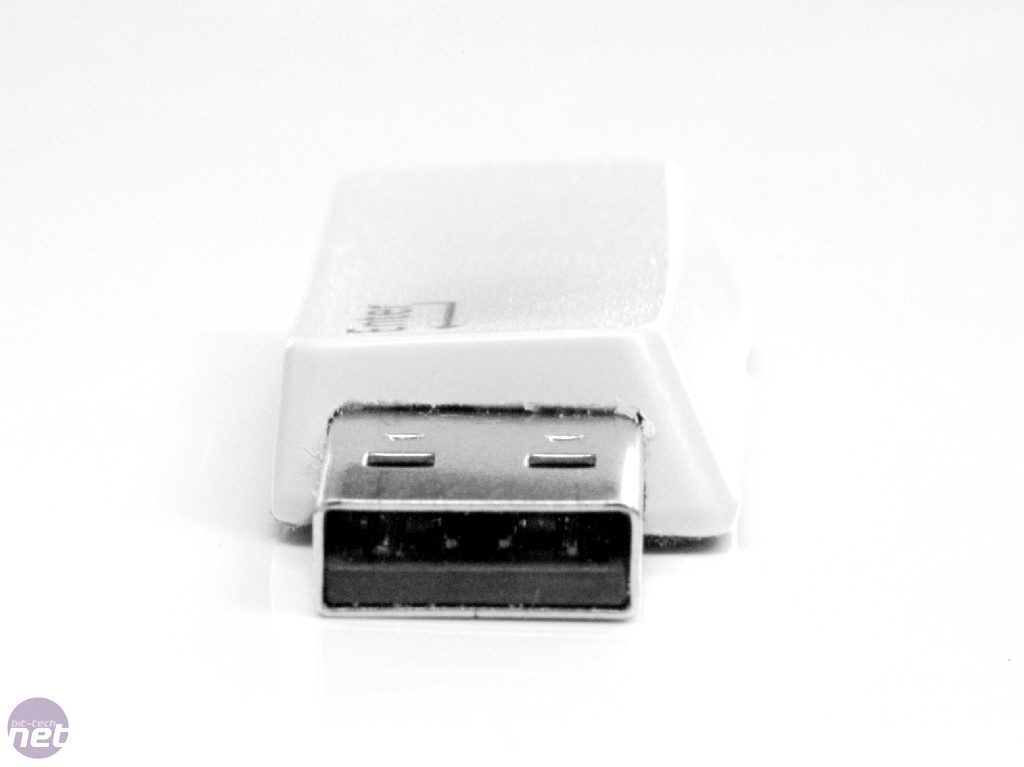
This article was originally printed at The Tech Lounge and has been republished with permission.
RELATED ARTICLES


MSI MPG Velox 100R Chassis Review
October 14 2021 | 15:04


Want to comment? Please log in.