Use a spare PC
Something that's easy to do when starting a new project, be it a mod or scratchbuild, is to factor in the hardware you're currently using in your main PC. This is never a good idea and for several reasons. Firstly, you'll want to make your project as easy as possible so it makes sense to have the hardware you'll be using in it to hand and not tied up in another system. If you want to use the hardware in your main PC in the project, then this will mean every time you work on it, you'll probably have to dismantle all or part of your other PC.This can quickly put a dampener on the whole project, not least of all because you'll be dramatically increasing the time your project takes to complete. Do yourself a favour and use new or separate hardware for your project, or buy something cheap to keep your main PC running while you use your shiny, expensive gear in your project. I've recently been pluging my laptop into my PC monitor, keyboard and mouse so I could dismantle my main PC for long periods to be able to use the hardware in this project.
However, now I'll be working on the project most days, I've invested in cheap LGA1155 motherboard and processor to use in my main PC, with the intention of selling these once the project is complete. Whether or not you decide to buy a graphics card too is up to you, but I've decided to save the cash and spend my time modding and not gaming.
Cooling
When it comes to building a case from scratch, perhaps the most important issue to think about is cooling. After all, you'll be coming up with a design that's had little or no testing when it comes to beating the heat, so making sure you're aware of positive and negative air pressure, ventilation an the various fan sizes is very important.
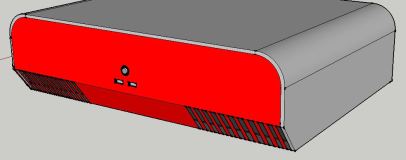
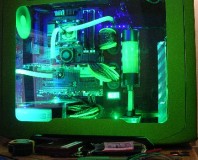
click to enlarge
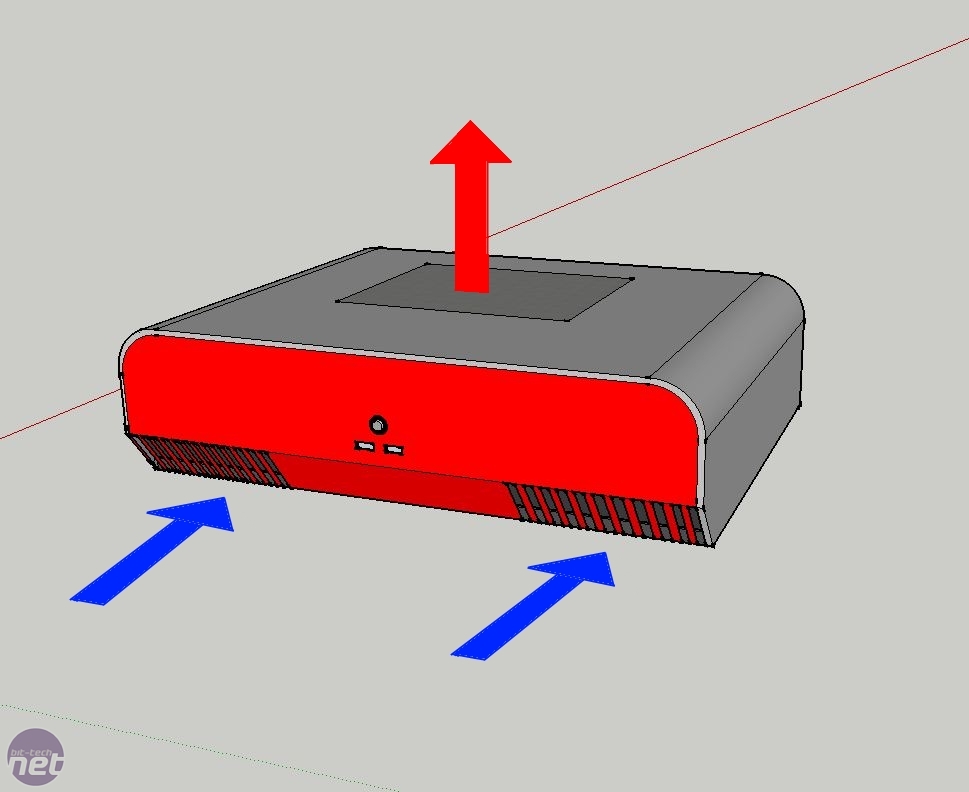
To this end, I've sacrificed a smooth, clean look for one with plenty of vents to allow air to flow into the PC and the large 180mm fan in the roof will draw air in from all sides, cooling the hardware beneath and expelling warm air our the roof of the case. The fan will be strapped to a 180mm radiator which will be in a loop cooling the CPU, motherboard and graphics card.
Thankfully, I know that a 120mm radiator can just about cope with an overclocked Core i5 2500K, so using a much larger radiator coupled with the awesomeness that is the 180mm Air Penetrator fan should be able to deal with the additional heat from a mid-range graphics card and Z68 motherboard.
Mock-ups
click to enlarge
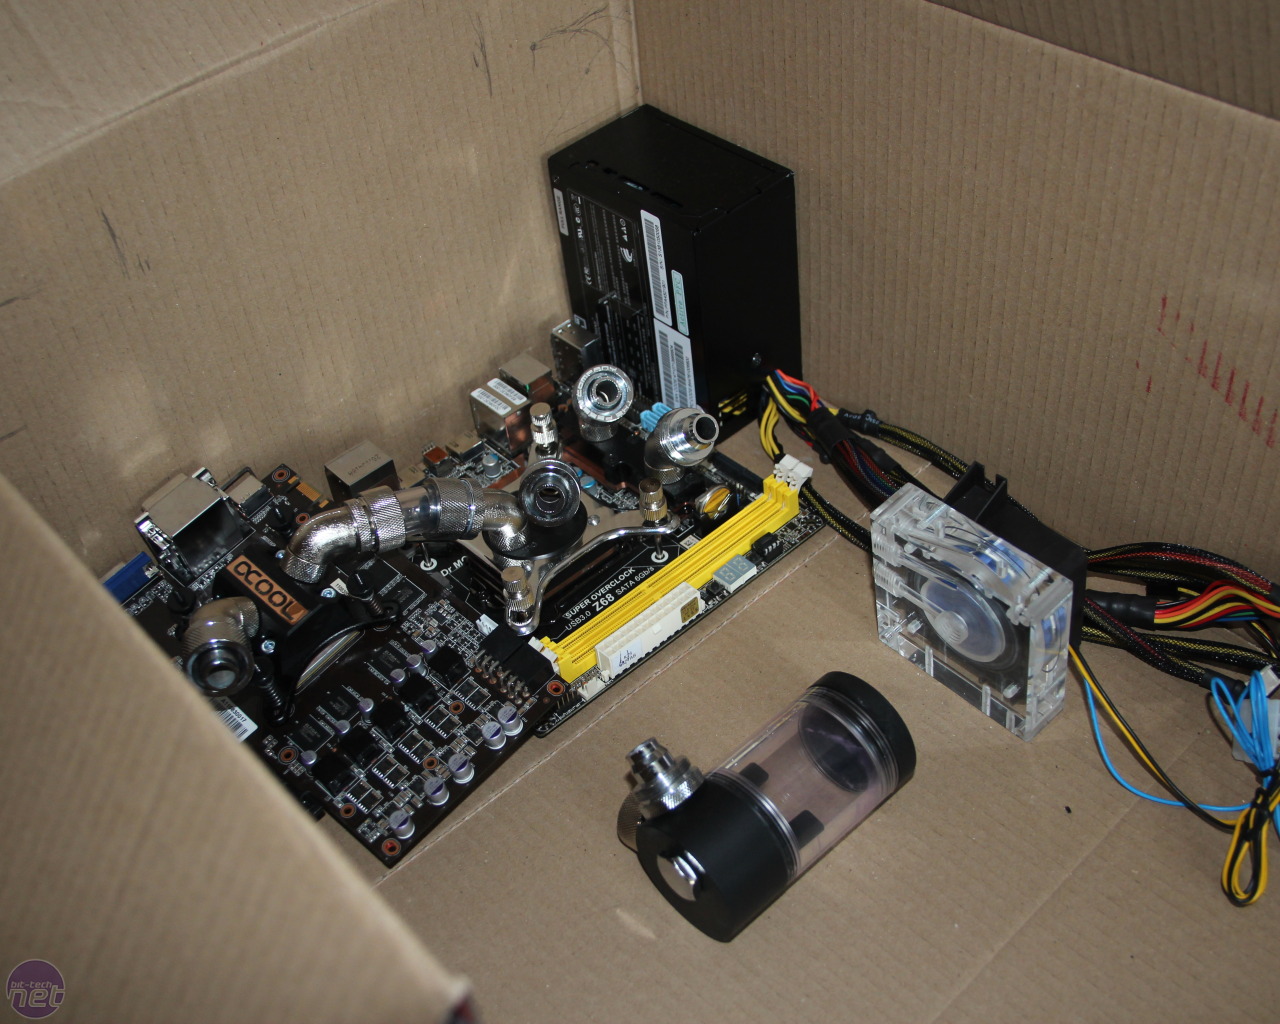
As good as SketchUp is, it can't tell you whether cables can be bent or tubing can be routed at the angles you're rendering. In tight spaces and with water-cooling systems especially, it pays to set your hardware up and position it exactly as it would be in your case-to-be.
You'll be able to tell if you need 90 degree barbs or to route cables a slightly different way - it might sound like a simple thing to do and that the problems it solves aren't that big, but they can very often mean a project fails at the first hurdle.
To this end we've used a cardboard box to make a scale mock-up of our case to be able to work out how to plumb everything in and how large our case needs to be to realistically accommodate everything.
This is far more important than rendering alone so if you're having trouble getting to grips with SketchUp, spend a few evenings with a cardboard box and some scissors instead. You'll feel much more confident when it comes to cutting up your materials.
That's it for part one. We'll be back soon with a big update that includes making your own waterblocks, bending acrylic and using donor PCs. Stay tuned.
RELATED ARTICLES


MSI MPG Velox 100R Chassis Review
October 14 2021 | 15:04


Want to comment? Please log in.