PSU shrouds in cases are one of those current-day staples in the low- and mid-range case scene. Once a very popular case mod, they have now made their way into the mainstream market, which in my opinion is great. There's one snag, though: Many manufacturers insist on adding extra utility to them in order to increase a case's feature list. Now, on paper, this sounds great, but for me I just find it annoying when I'm not actually using those features.
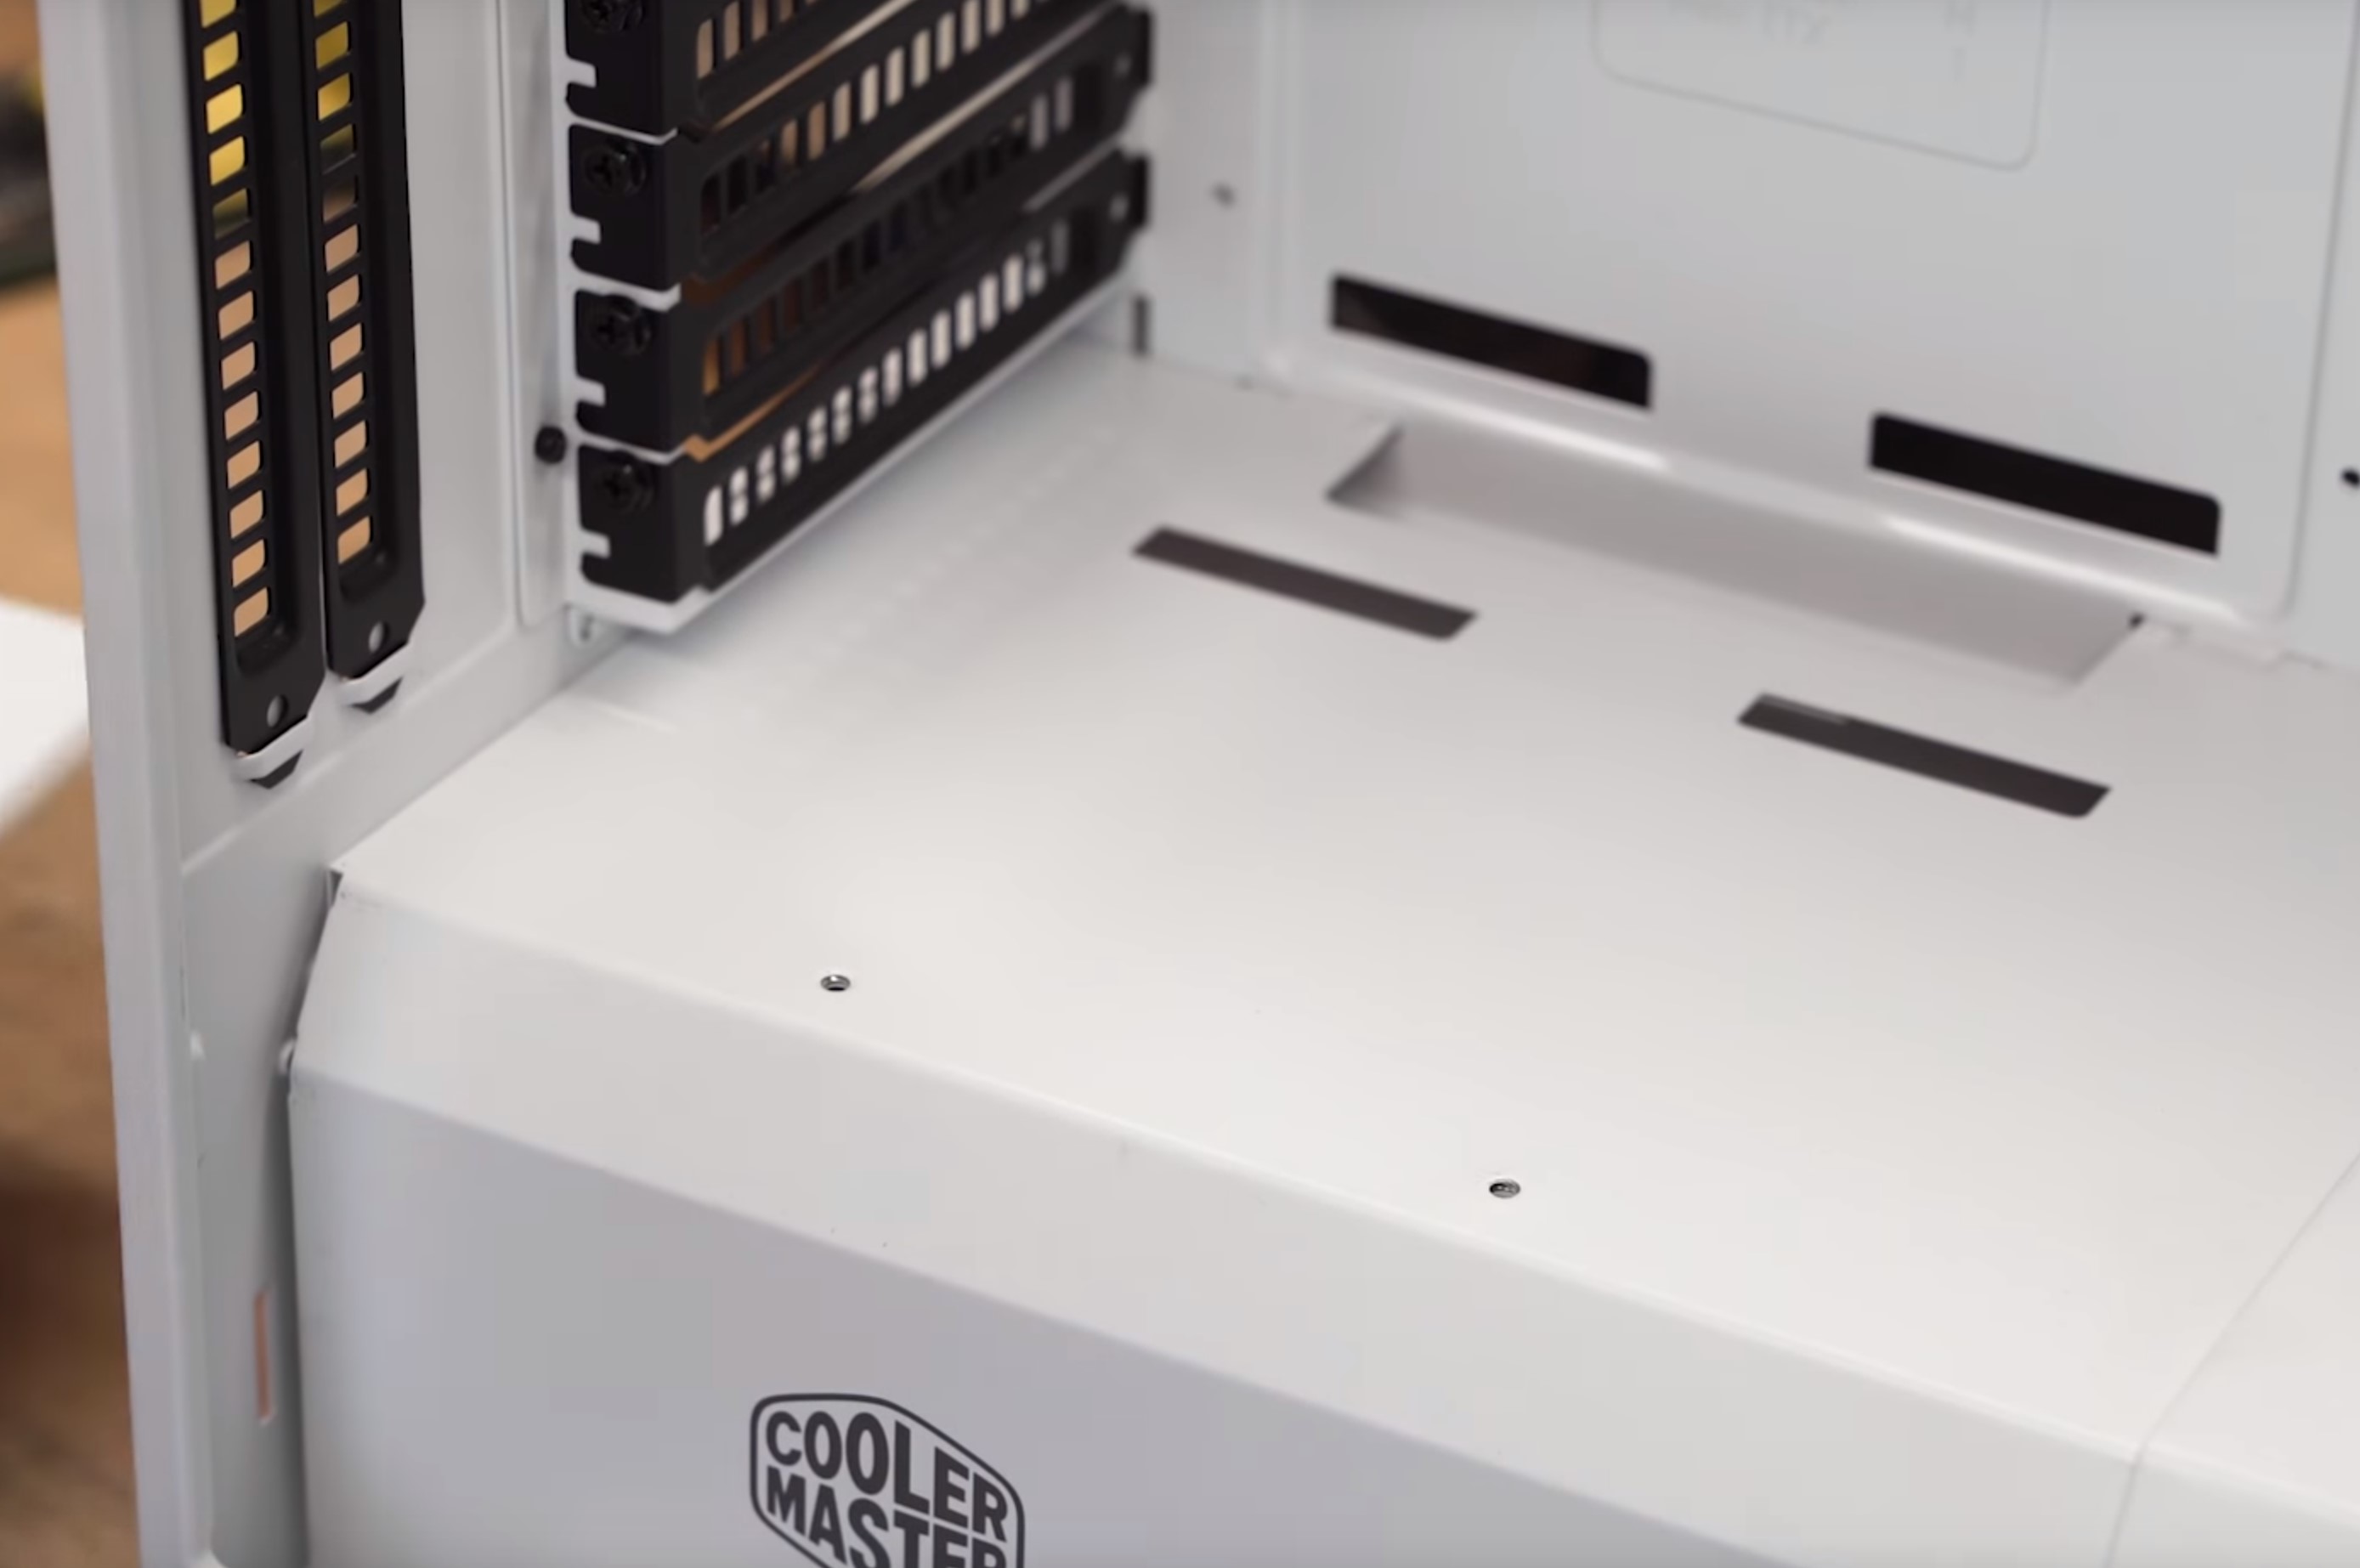
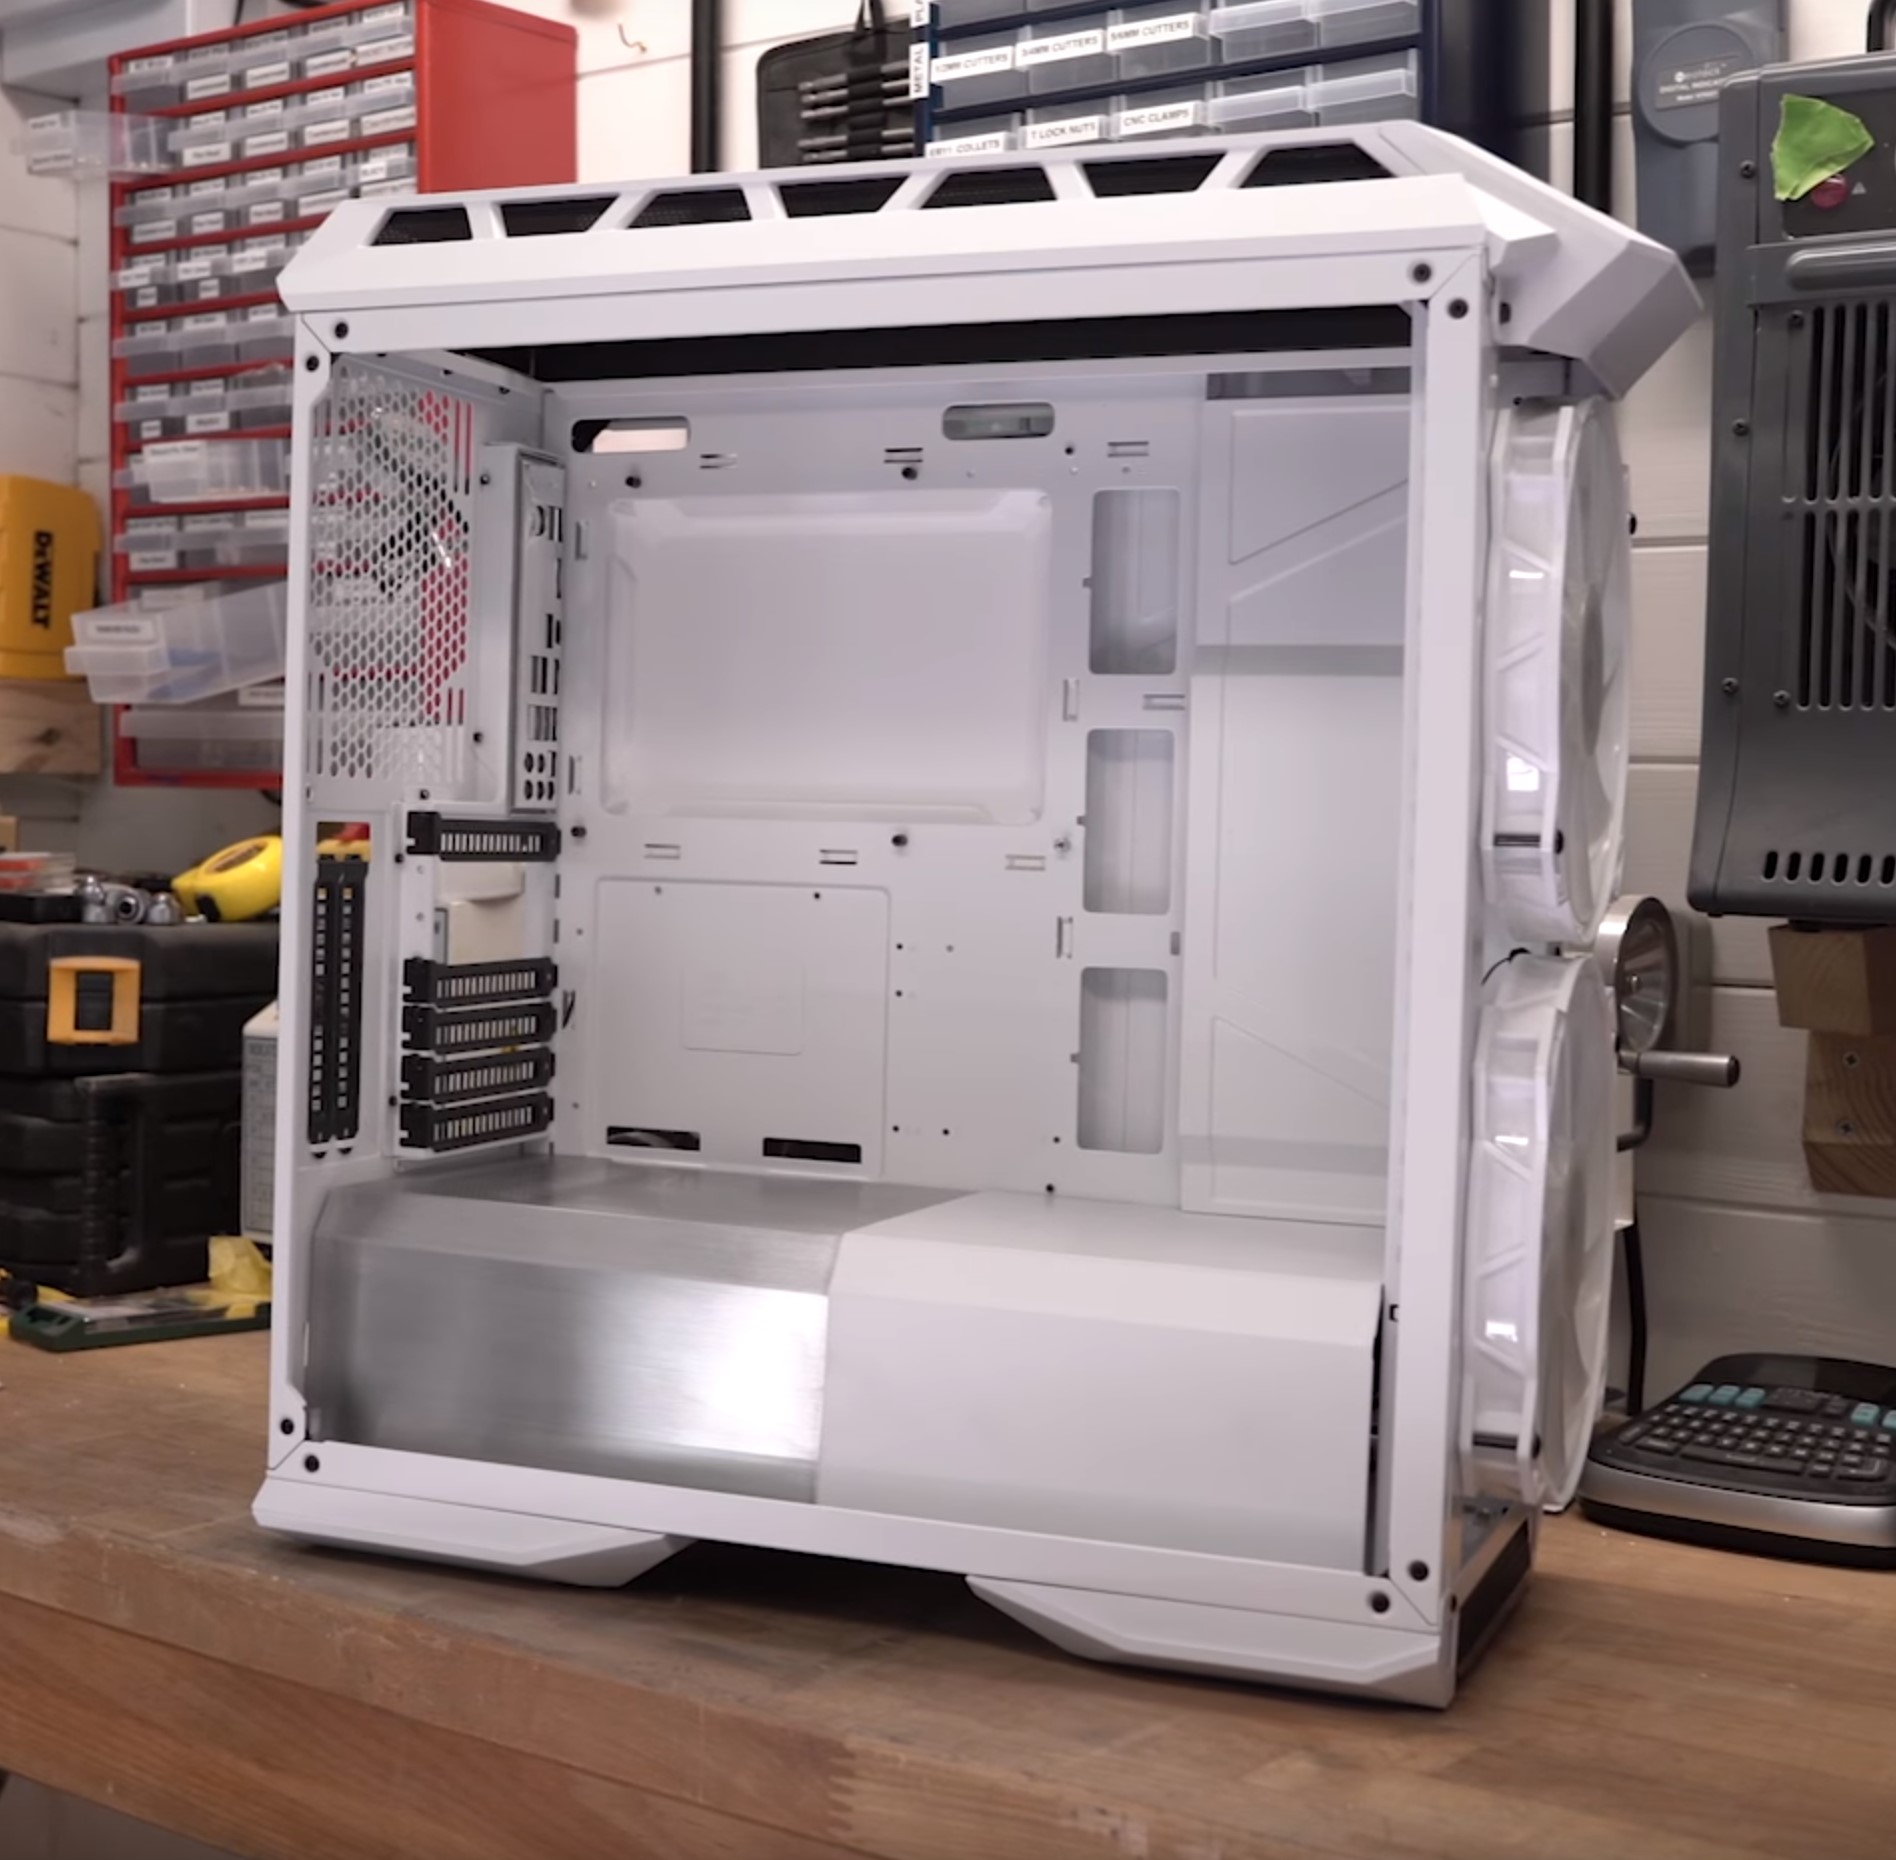
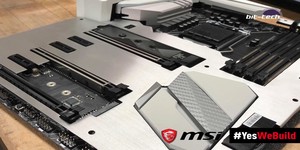
Having a cover with loads of SSD mounds should make things easy, but often nowadays you don't even need those mounts thanks to M.2 drives slotting straight onto the motherboard. Of course, you then remove the empty mounts and you're left with ugly holes and slots that mess up the look of your PSU shroud. Maybe I'm just being picky here, but it does present an opportunity for a very simple mod that can look great: Simply cover it up! Of course, if you don't have a shroud already, then you can use the same method to make one, too. We're working with a Cooler Master H500P Mesh here, which features quite a nice shroud that's easy to work with.
Planning!
Hah! I bet you thought this would mean going into CAD again! Now (of course) this is an option, and if you're looking to cut out some logos/designs or add other elements to your cover it's not a bad idea at all. The one we're making is super simple, though, so there's no real need for that fuss. Some paper and a pencil will do.

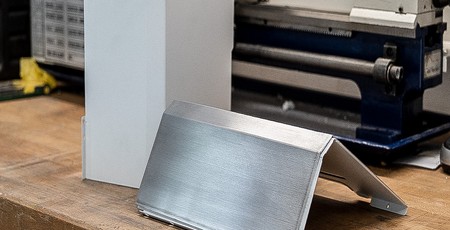
I'm using some higher GSM card-like paper (an off-cut from my photography paper rolls) for this, as it has a bit of structure to it so can be test-fitted into the case more easily. I simply measured up the existing shroud in the case, then cut the paper to size. To make the cover itself, I'm using some 2mm aluminium since it's easy to work with and has the right look I'm going for, but you could easily use another material instead.
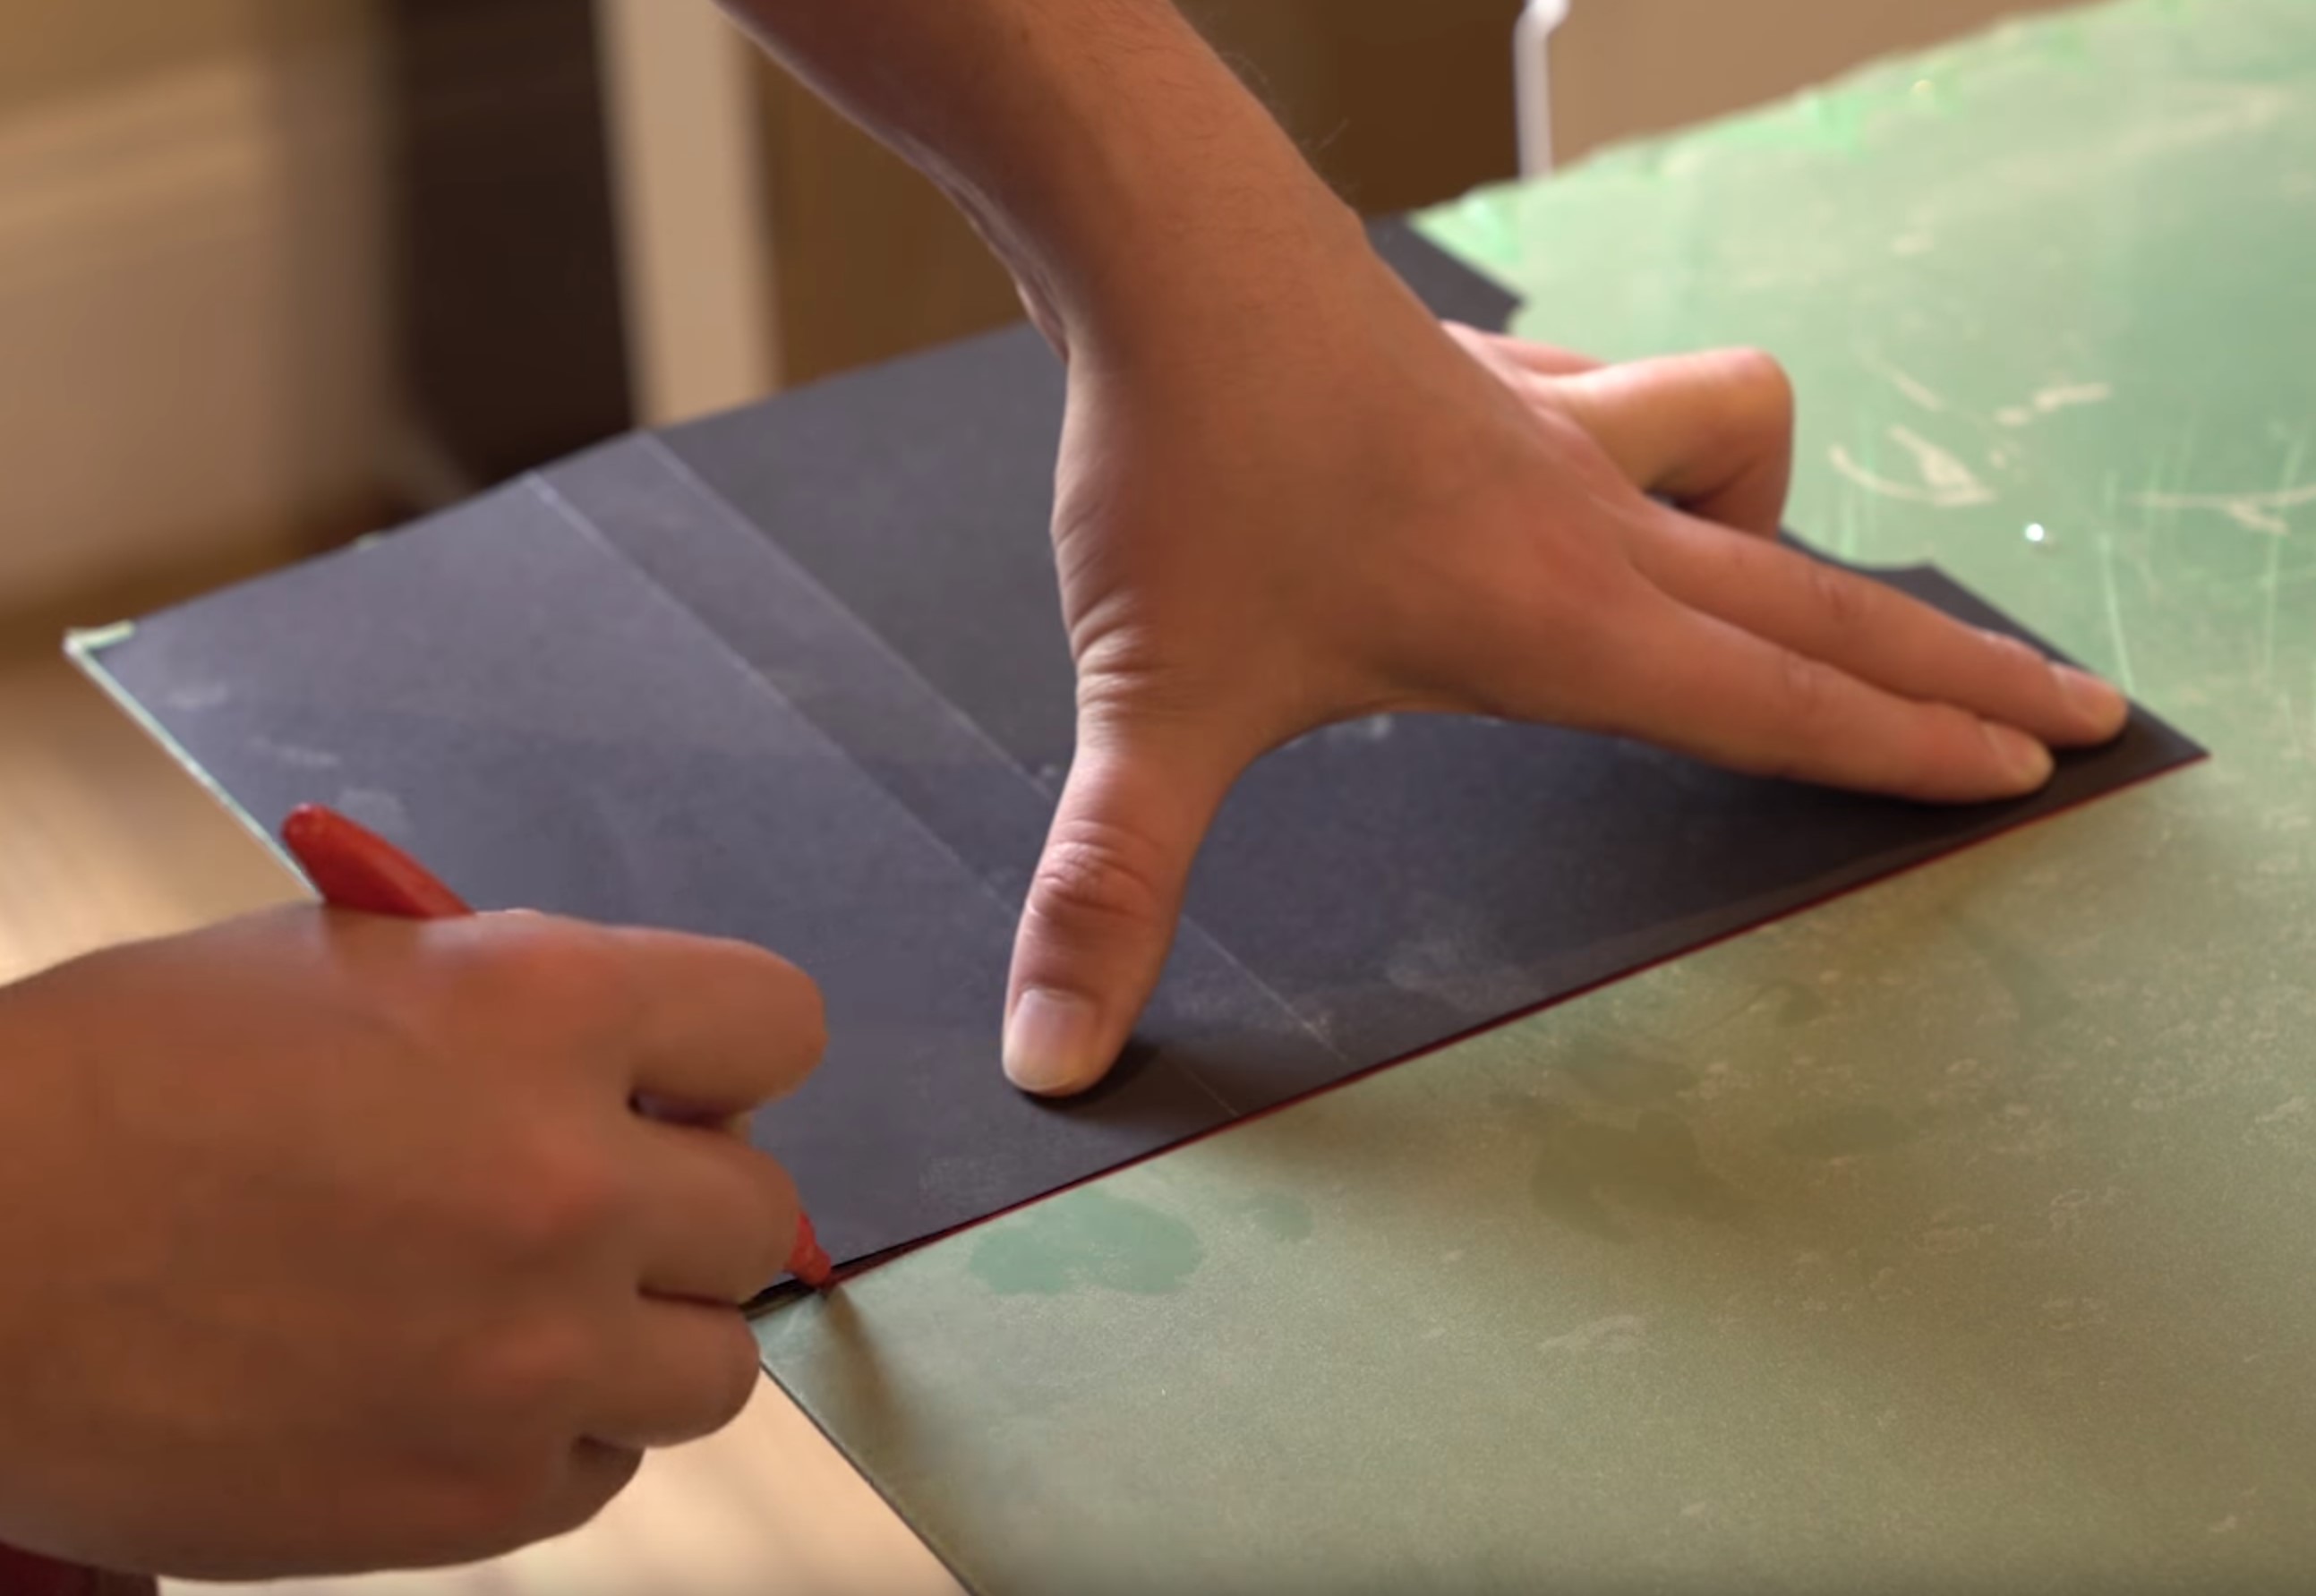
I used a Sharpie to trace the outline of the paper template onto the protective film of the aluminium. A Sharpie works well for this sort of work, as the nib is quite fat; one edge of the line will align with the template, but the thickness will help with smoothing the edges later.
Cut and Prep
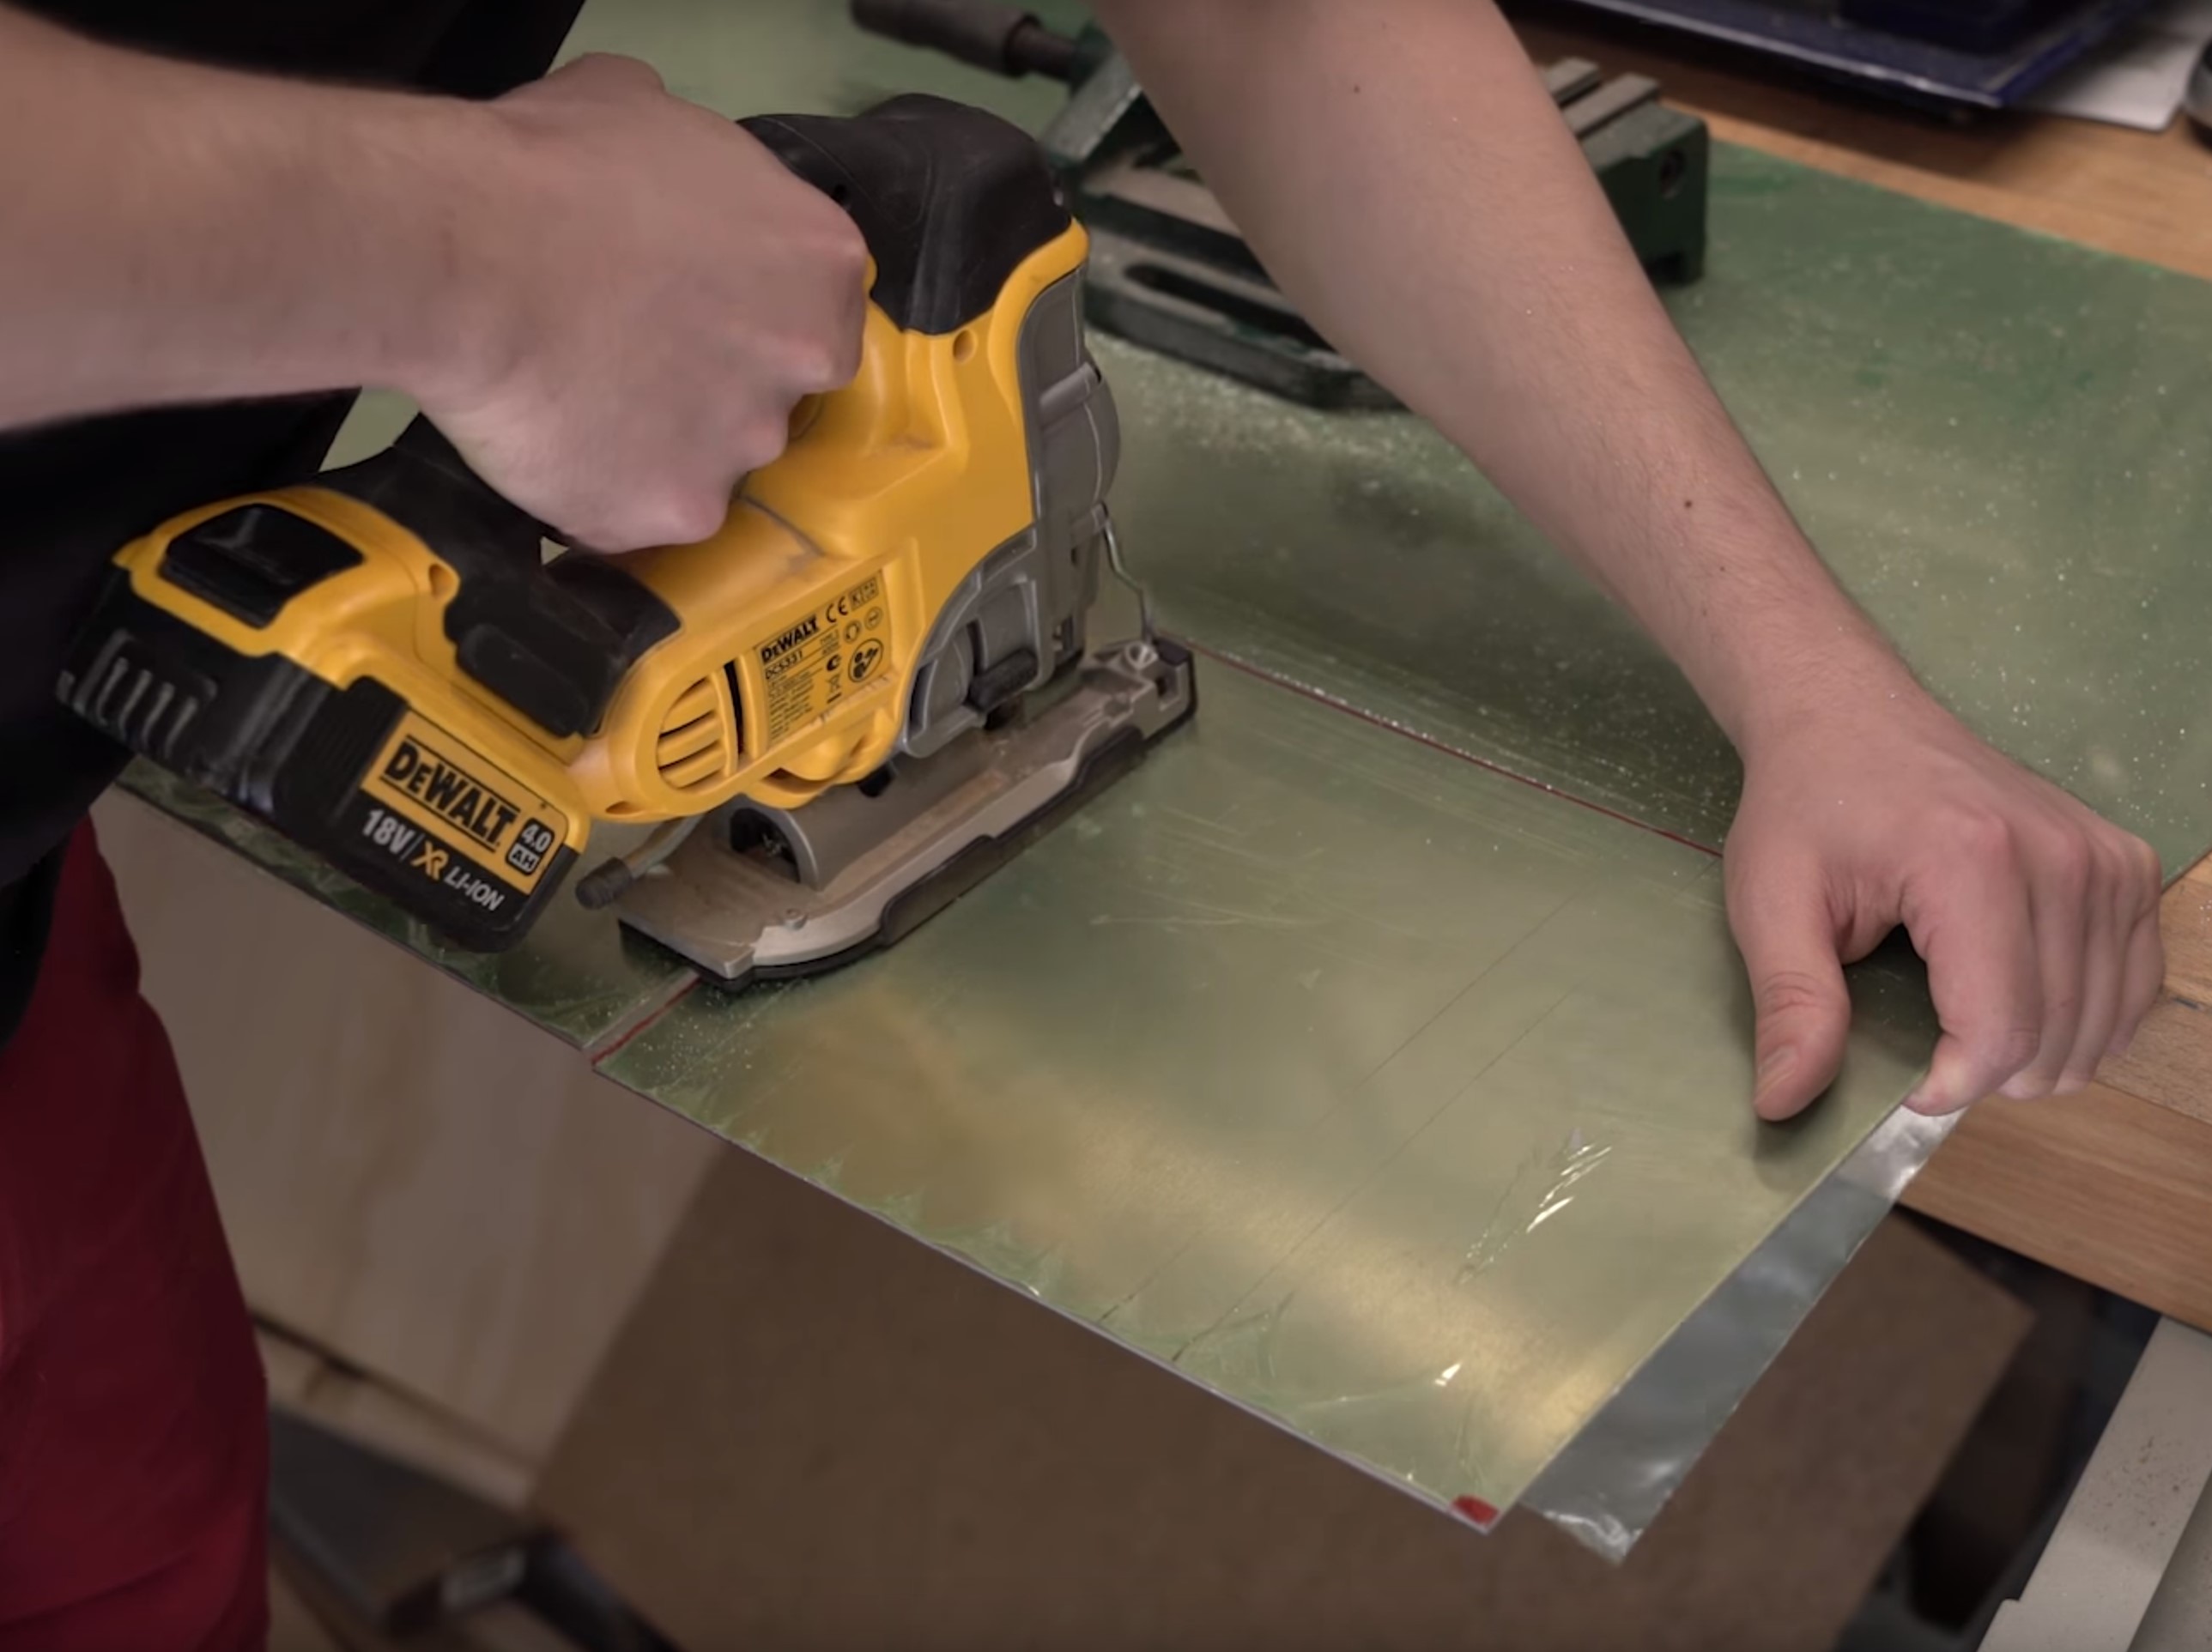
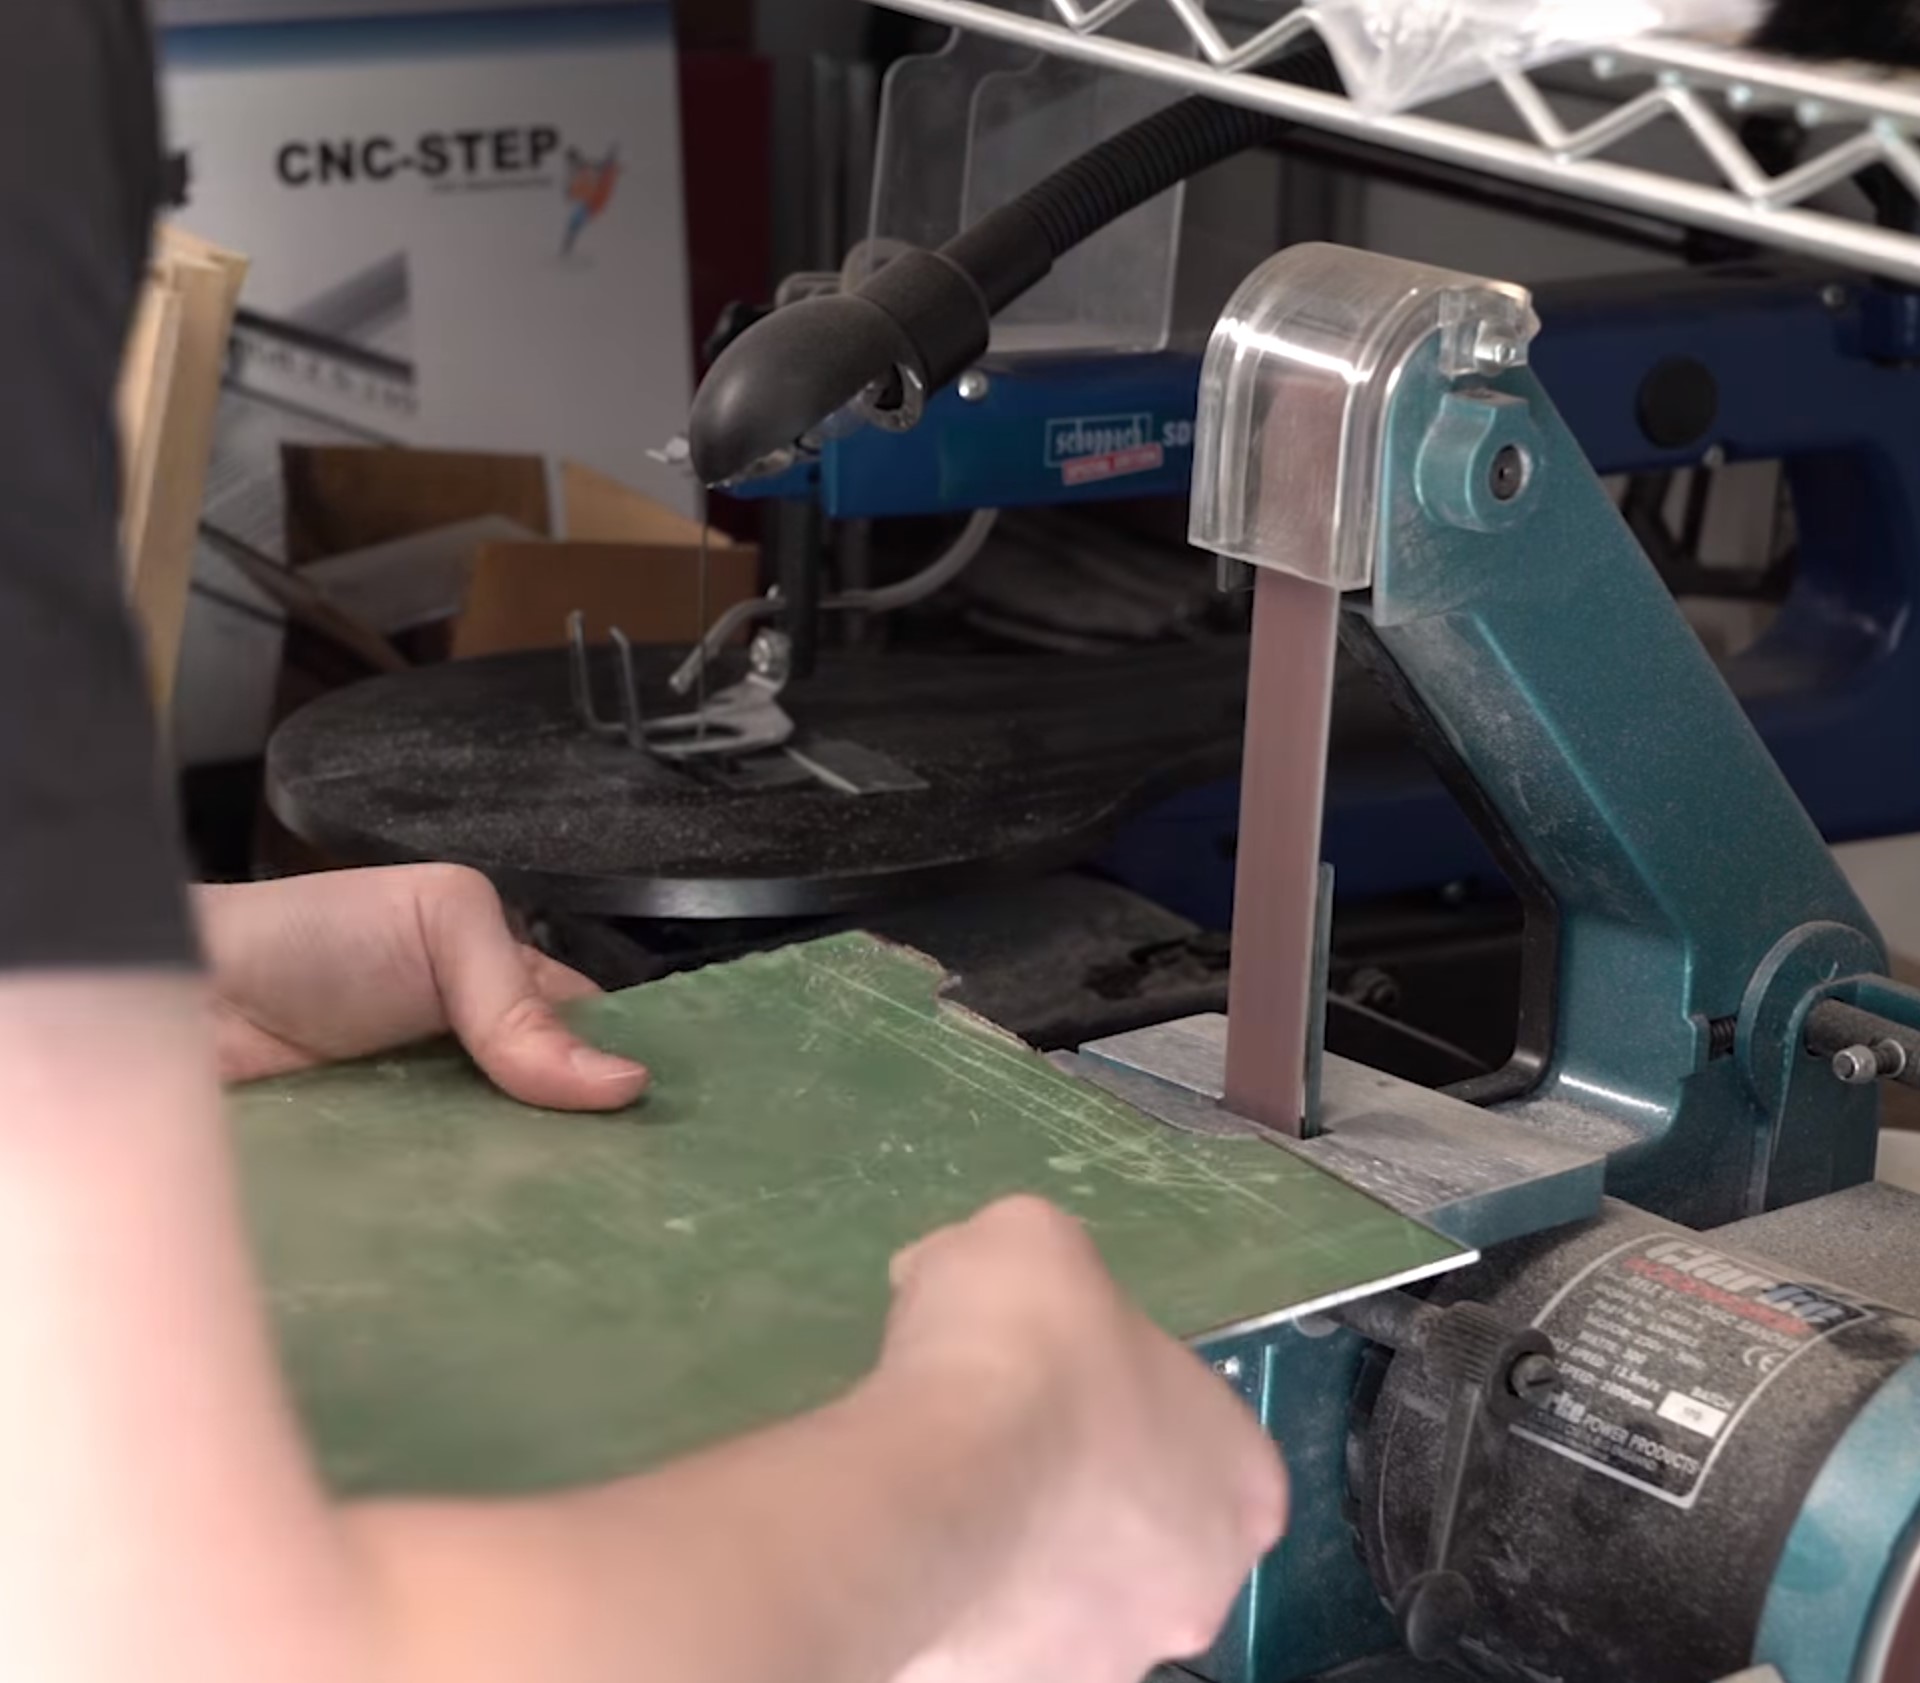
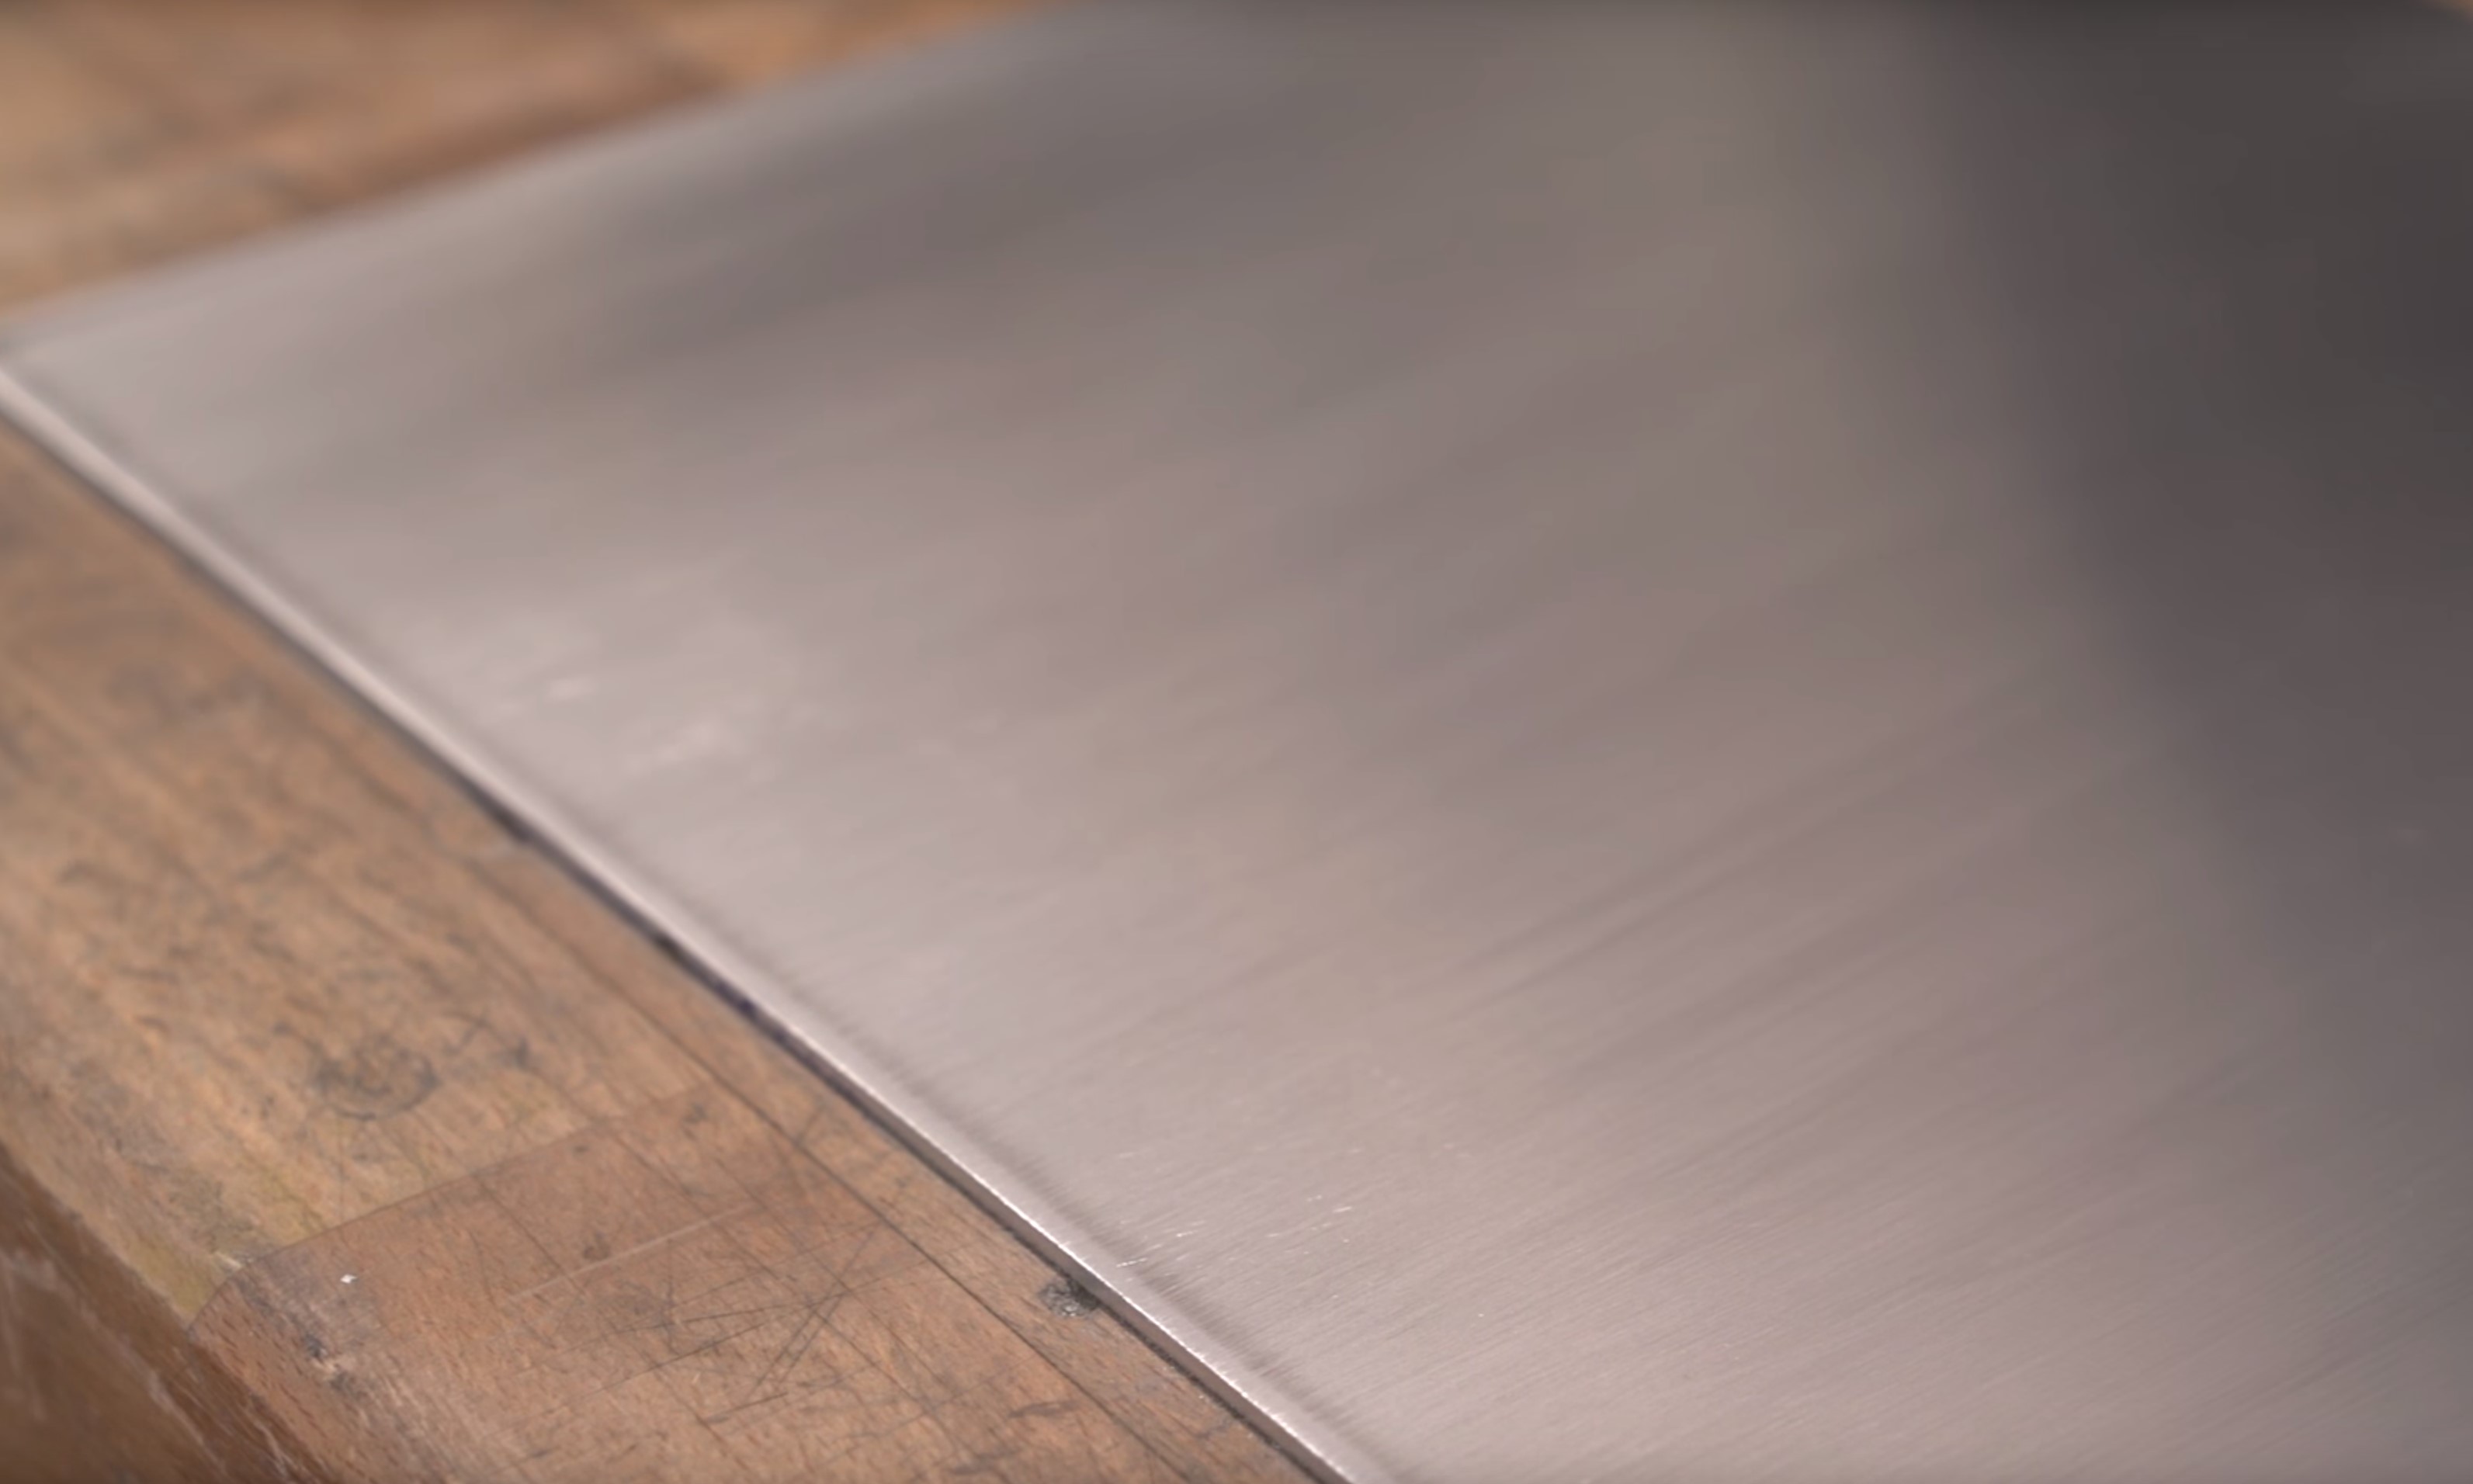
With the template all traced onto the metal, it's time to cut the piece out. I used a jigsaw with a metal blade for this, as it's simple and quick. Try to keep your cutting lines accurate, as this will save you headaches later. After the rough cuts, I took the piece to the mini-belt sander to get the edges nice and flat. You can use the Sharpie line here to see clearly which areas need more sanding. The interior edges I finished off with needle files, followed by a quick de-burr.
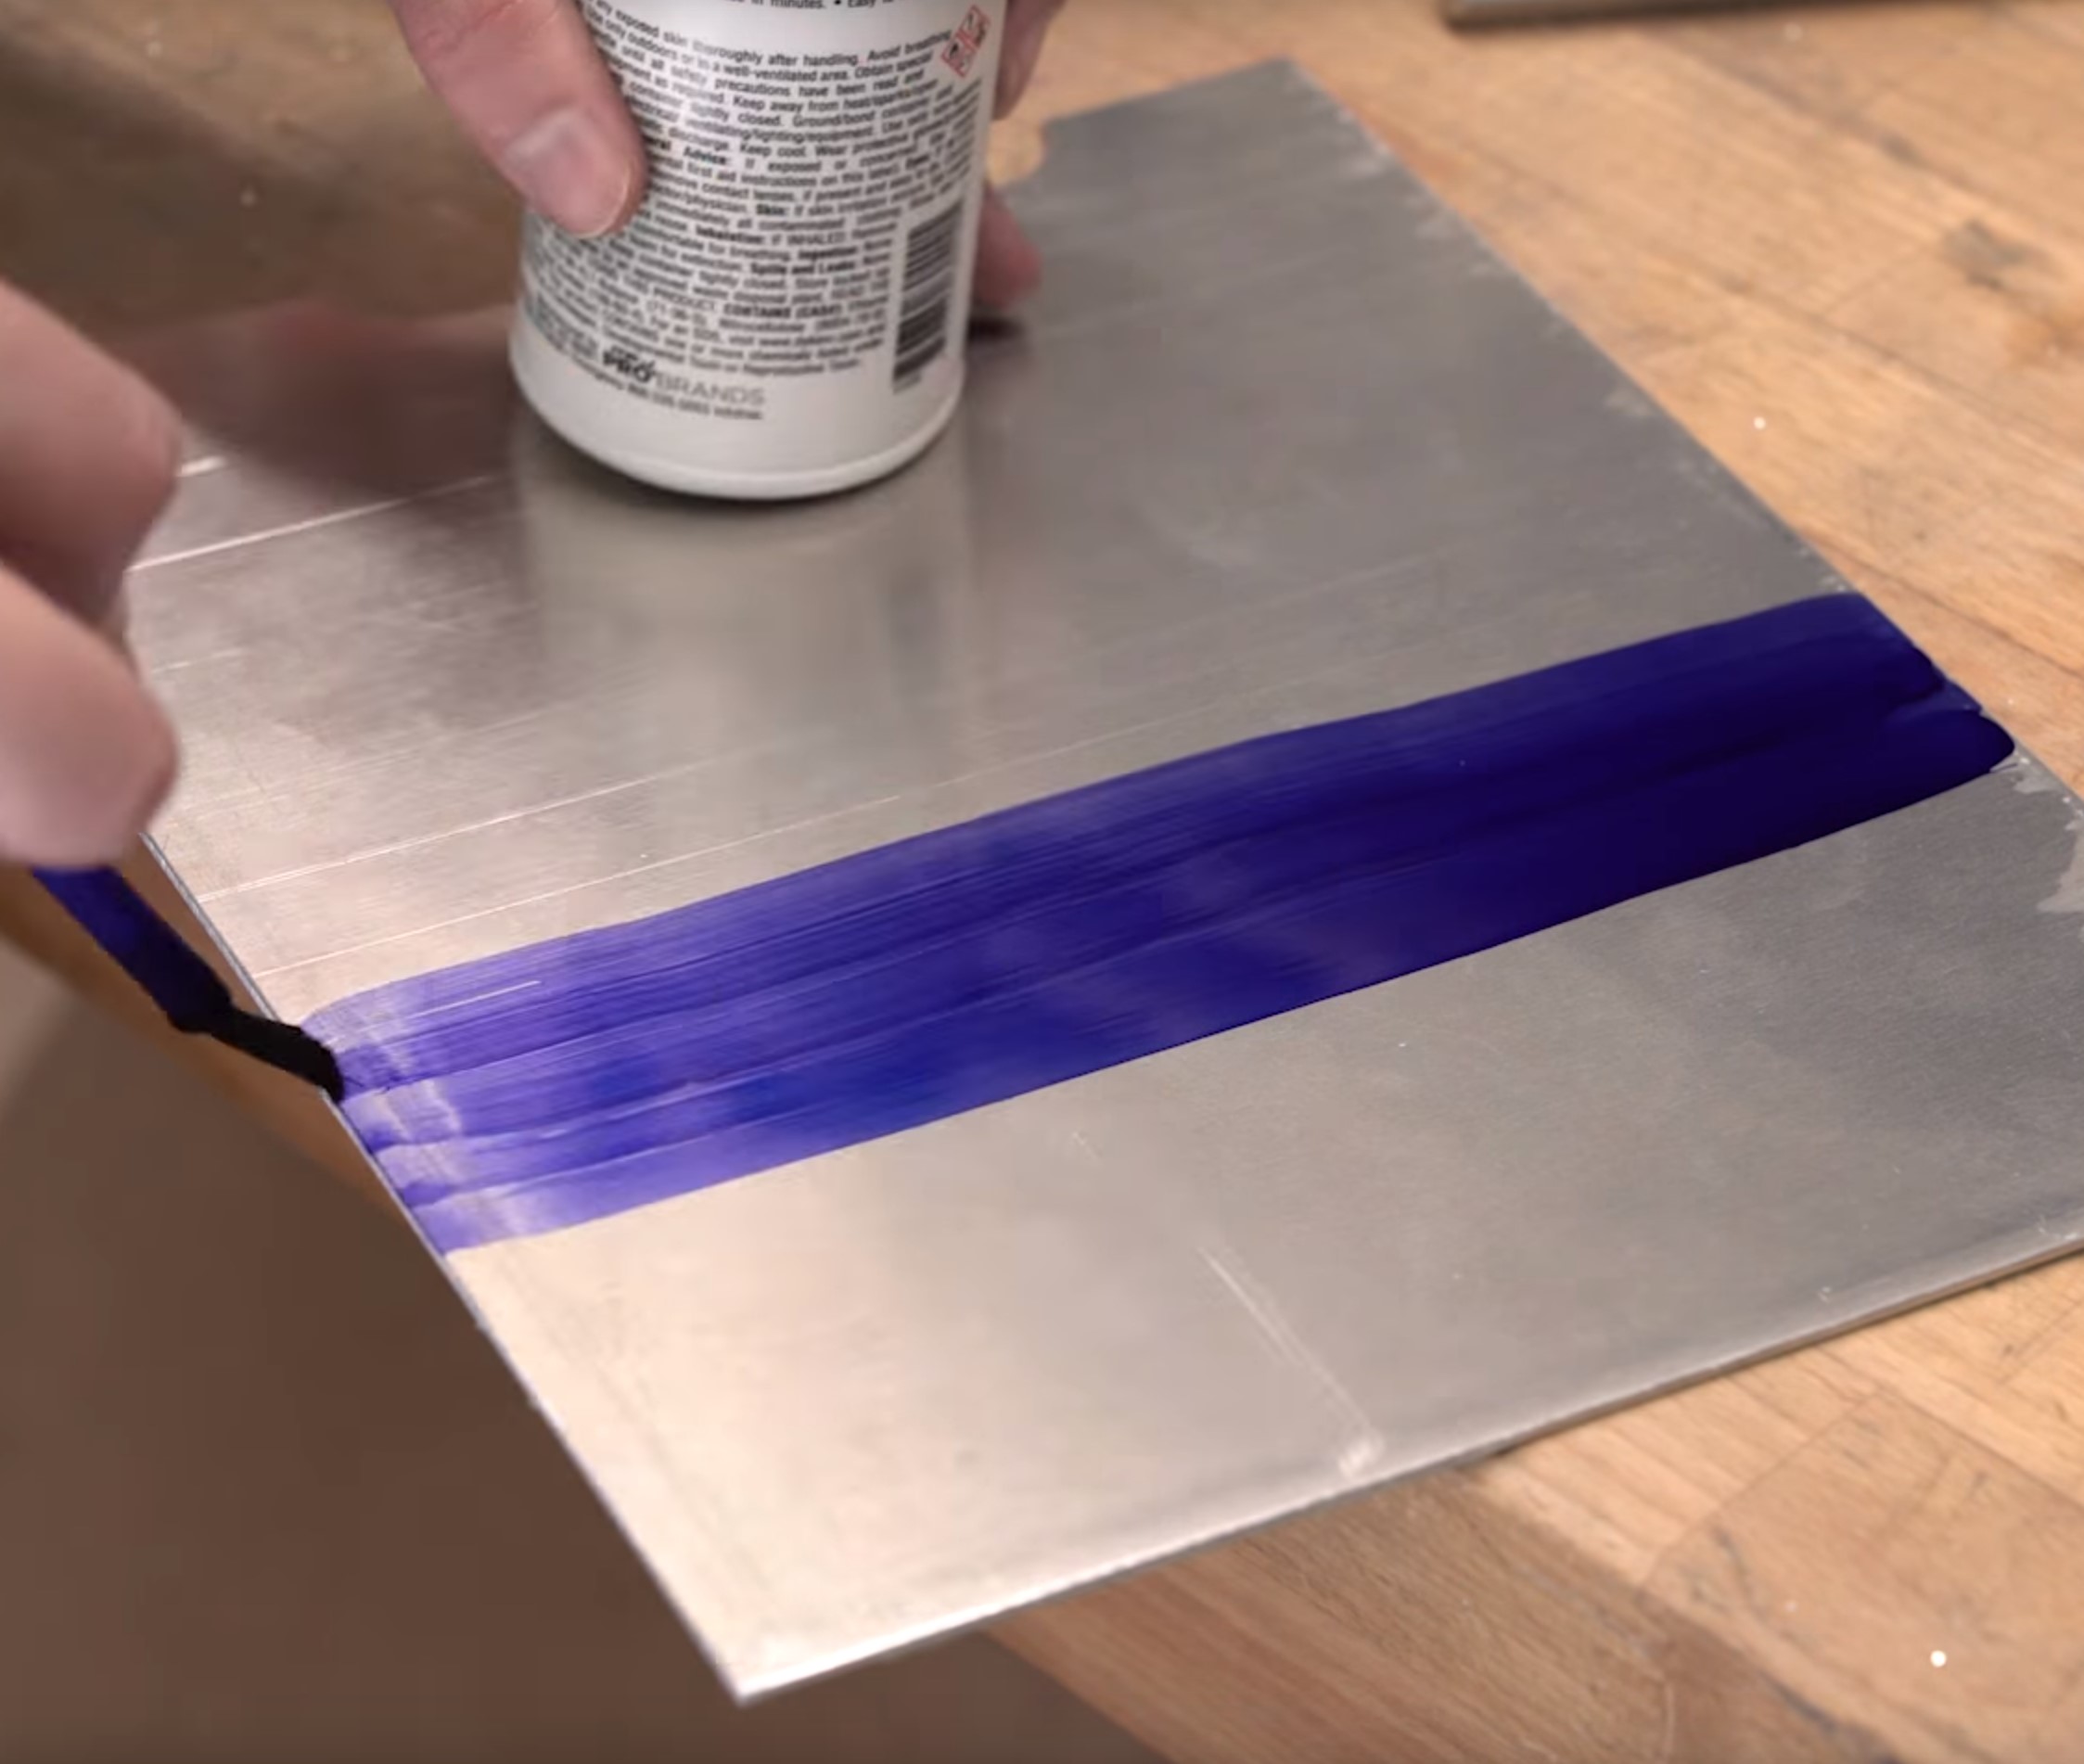
This particular cover is following the stock one in the H500P mesh, which has two bends in it. When I made the paper template, I marked off where these bends were. Using markup fluid and a scriber, I marked the bending lines onto the interior face of the metal itself - you want to be as accurate as possible with this bit.
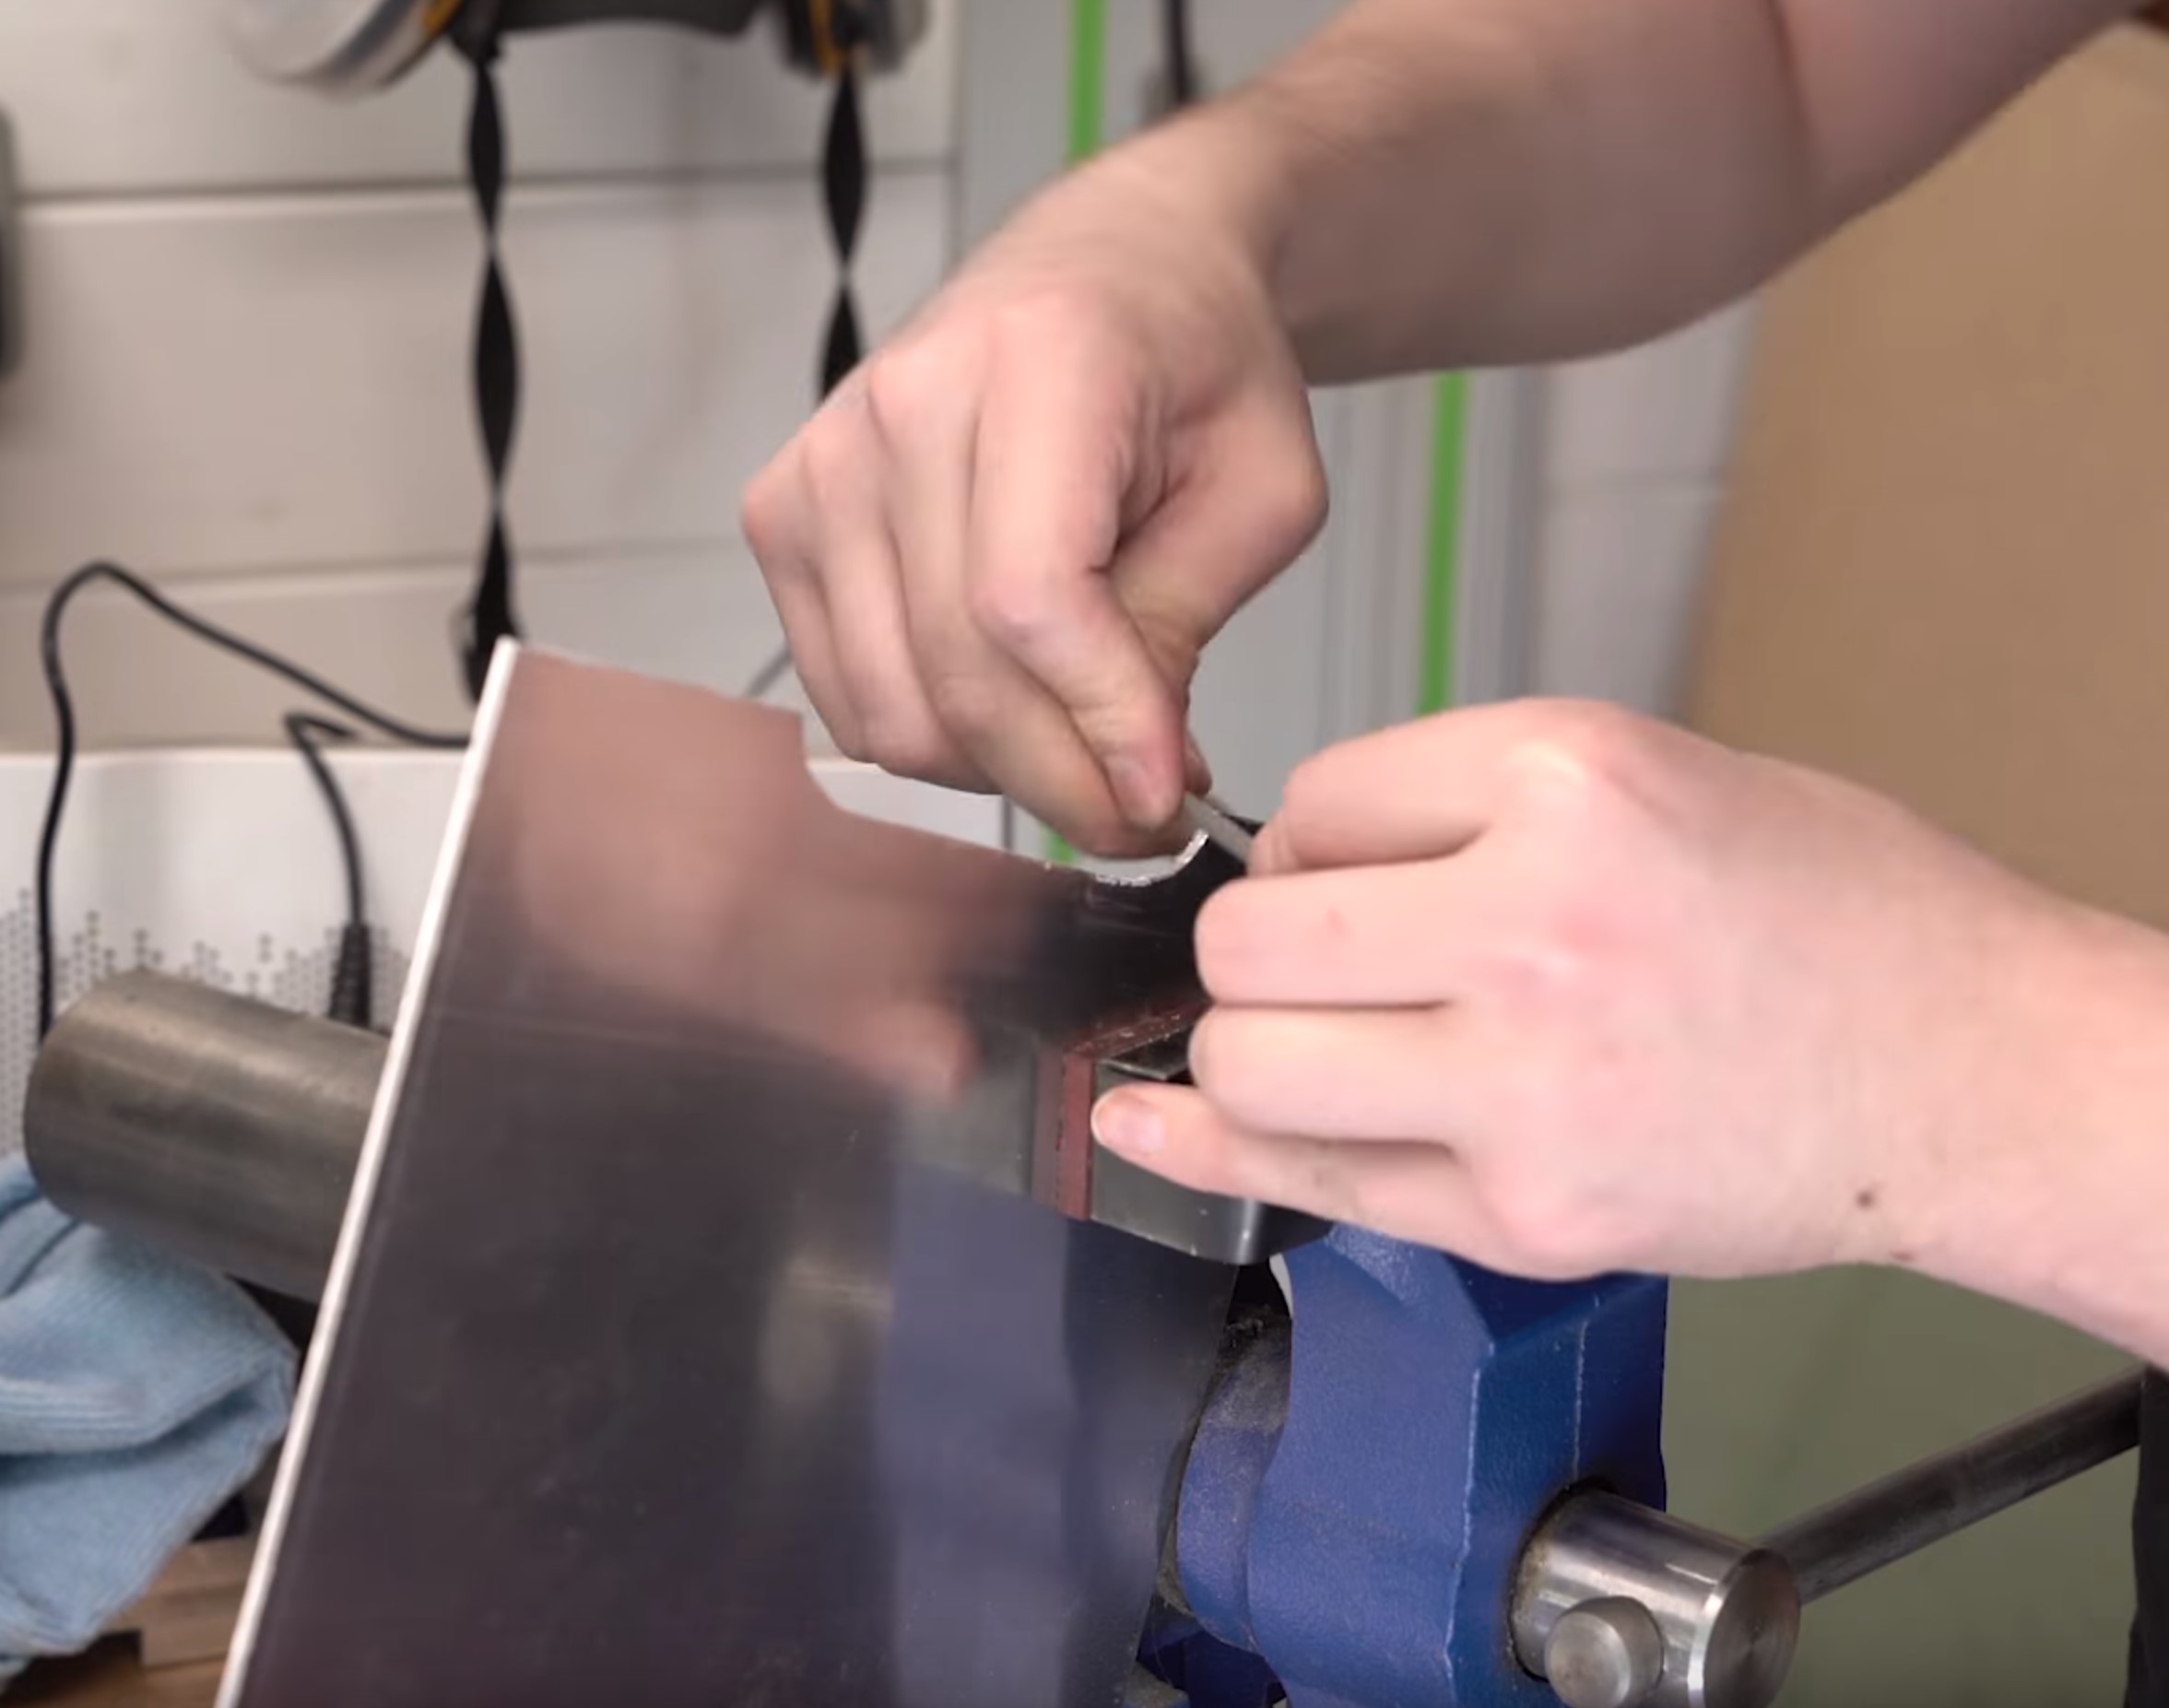
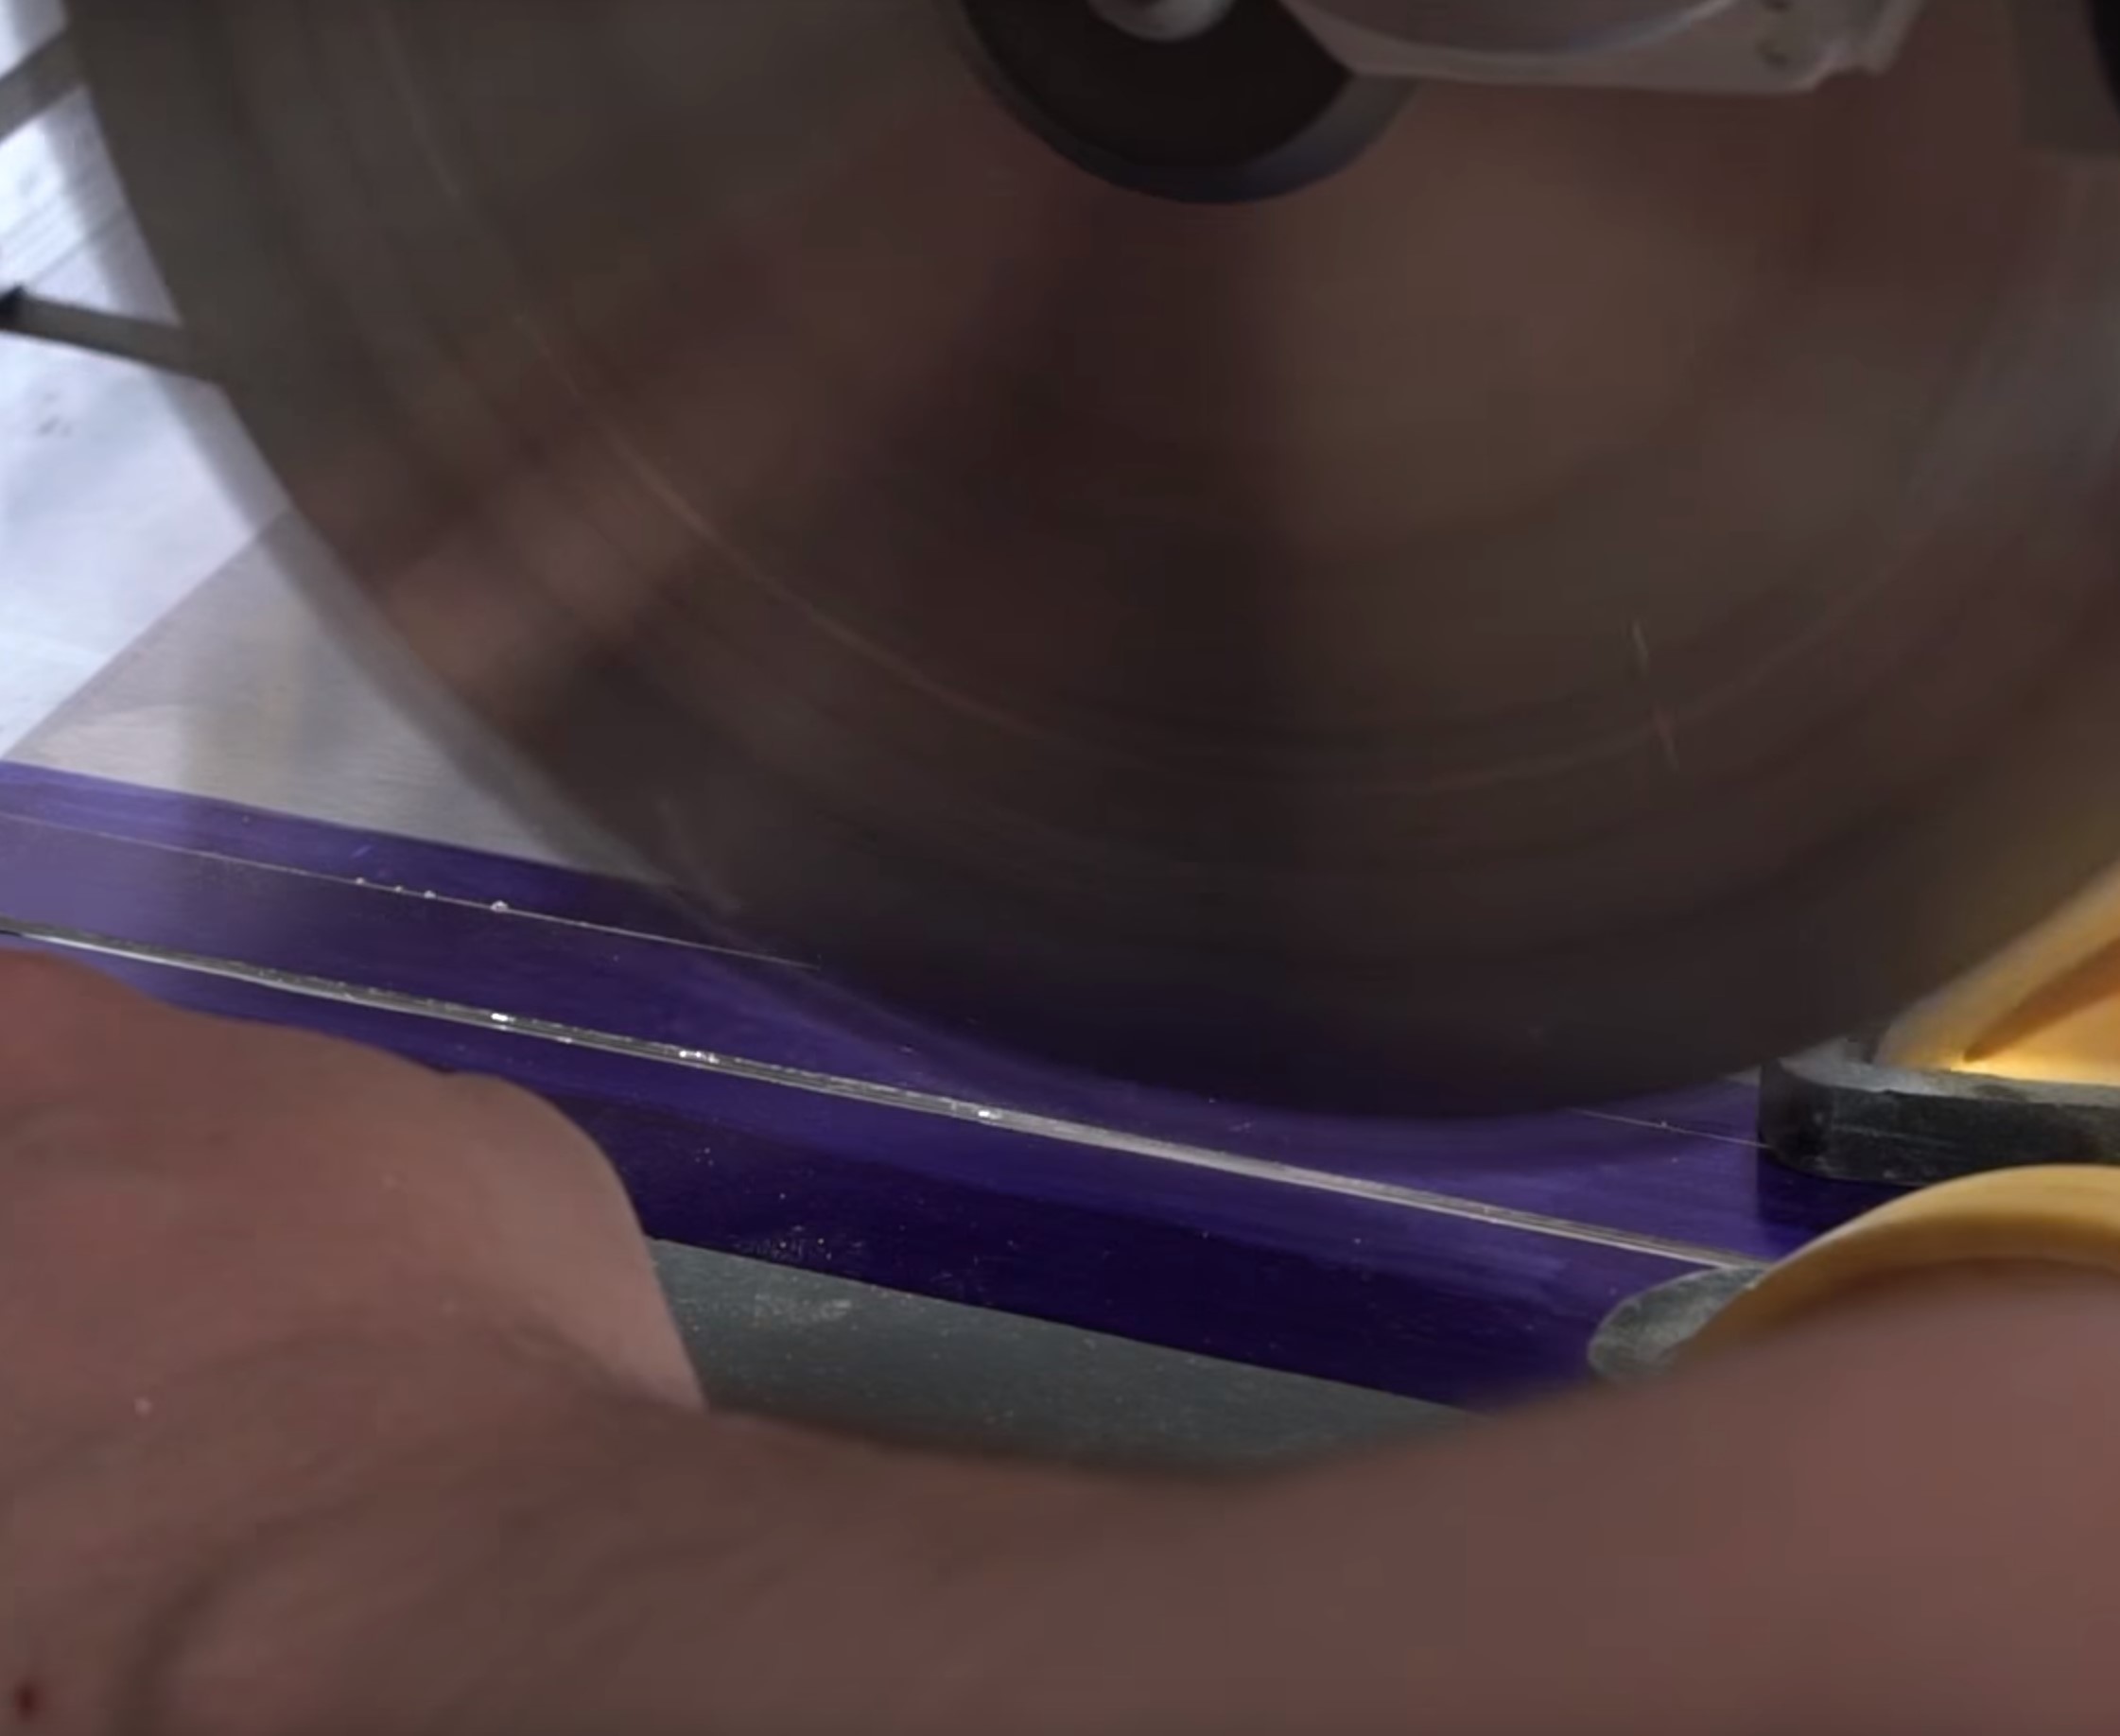
To help bend the metal cleanly, I'm going to score the inside edge using a mitre saw with the depth stop set to about 1mm. You could use a panel/plunge saw for exactly the same thing, or even Dremel if you're particularly keen. That said, scoring isn't essential, especially if you happen to have a metal press brake. I don't, so I use this method so that the bends are crisp and accurate.
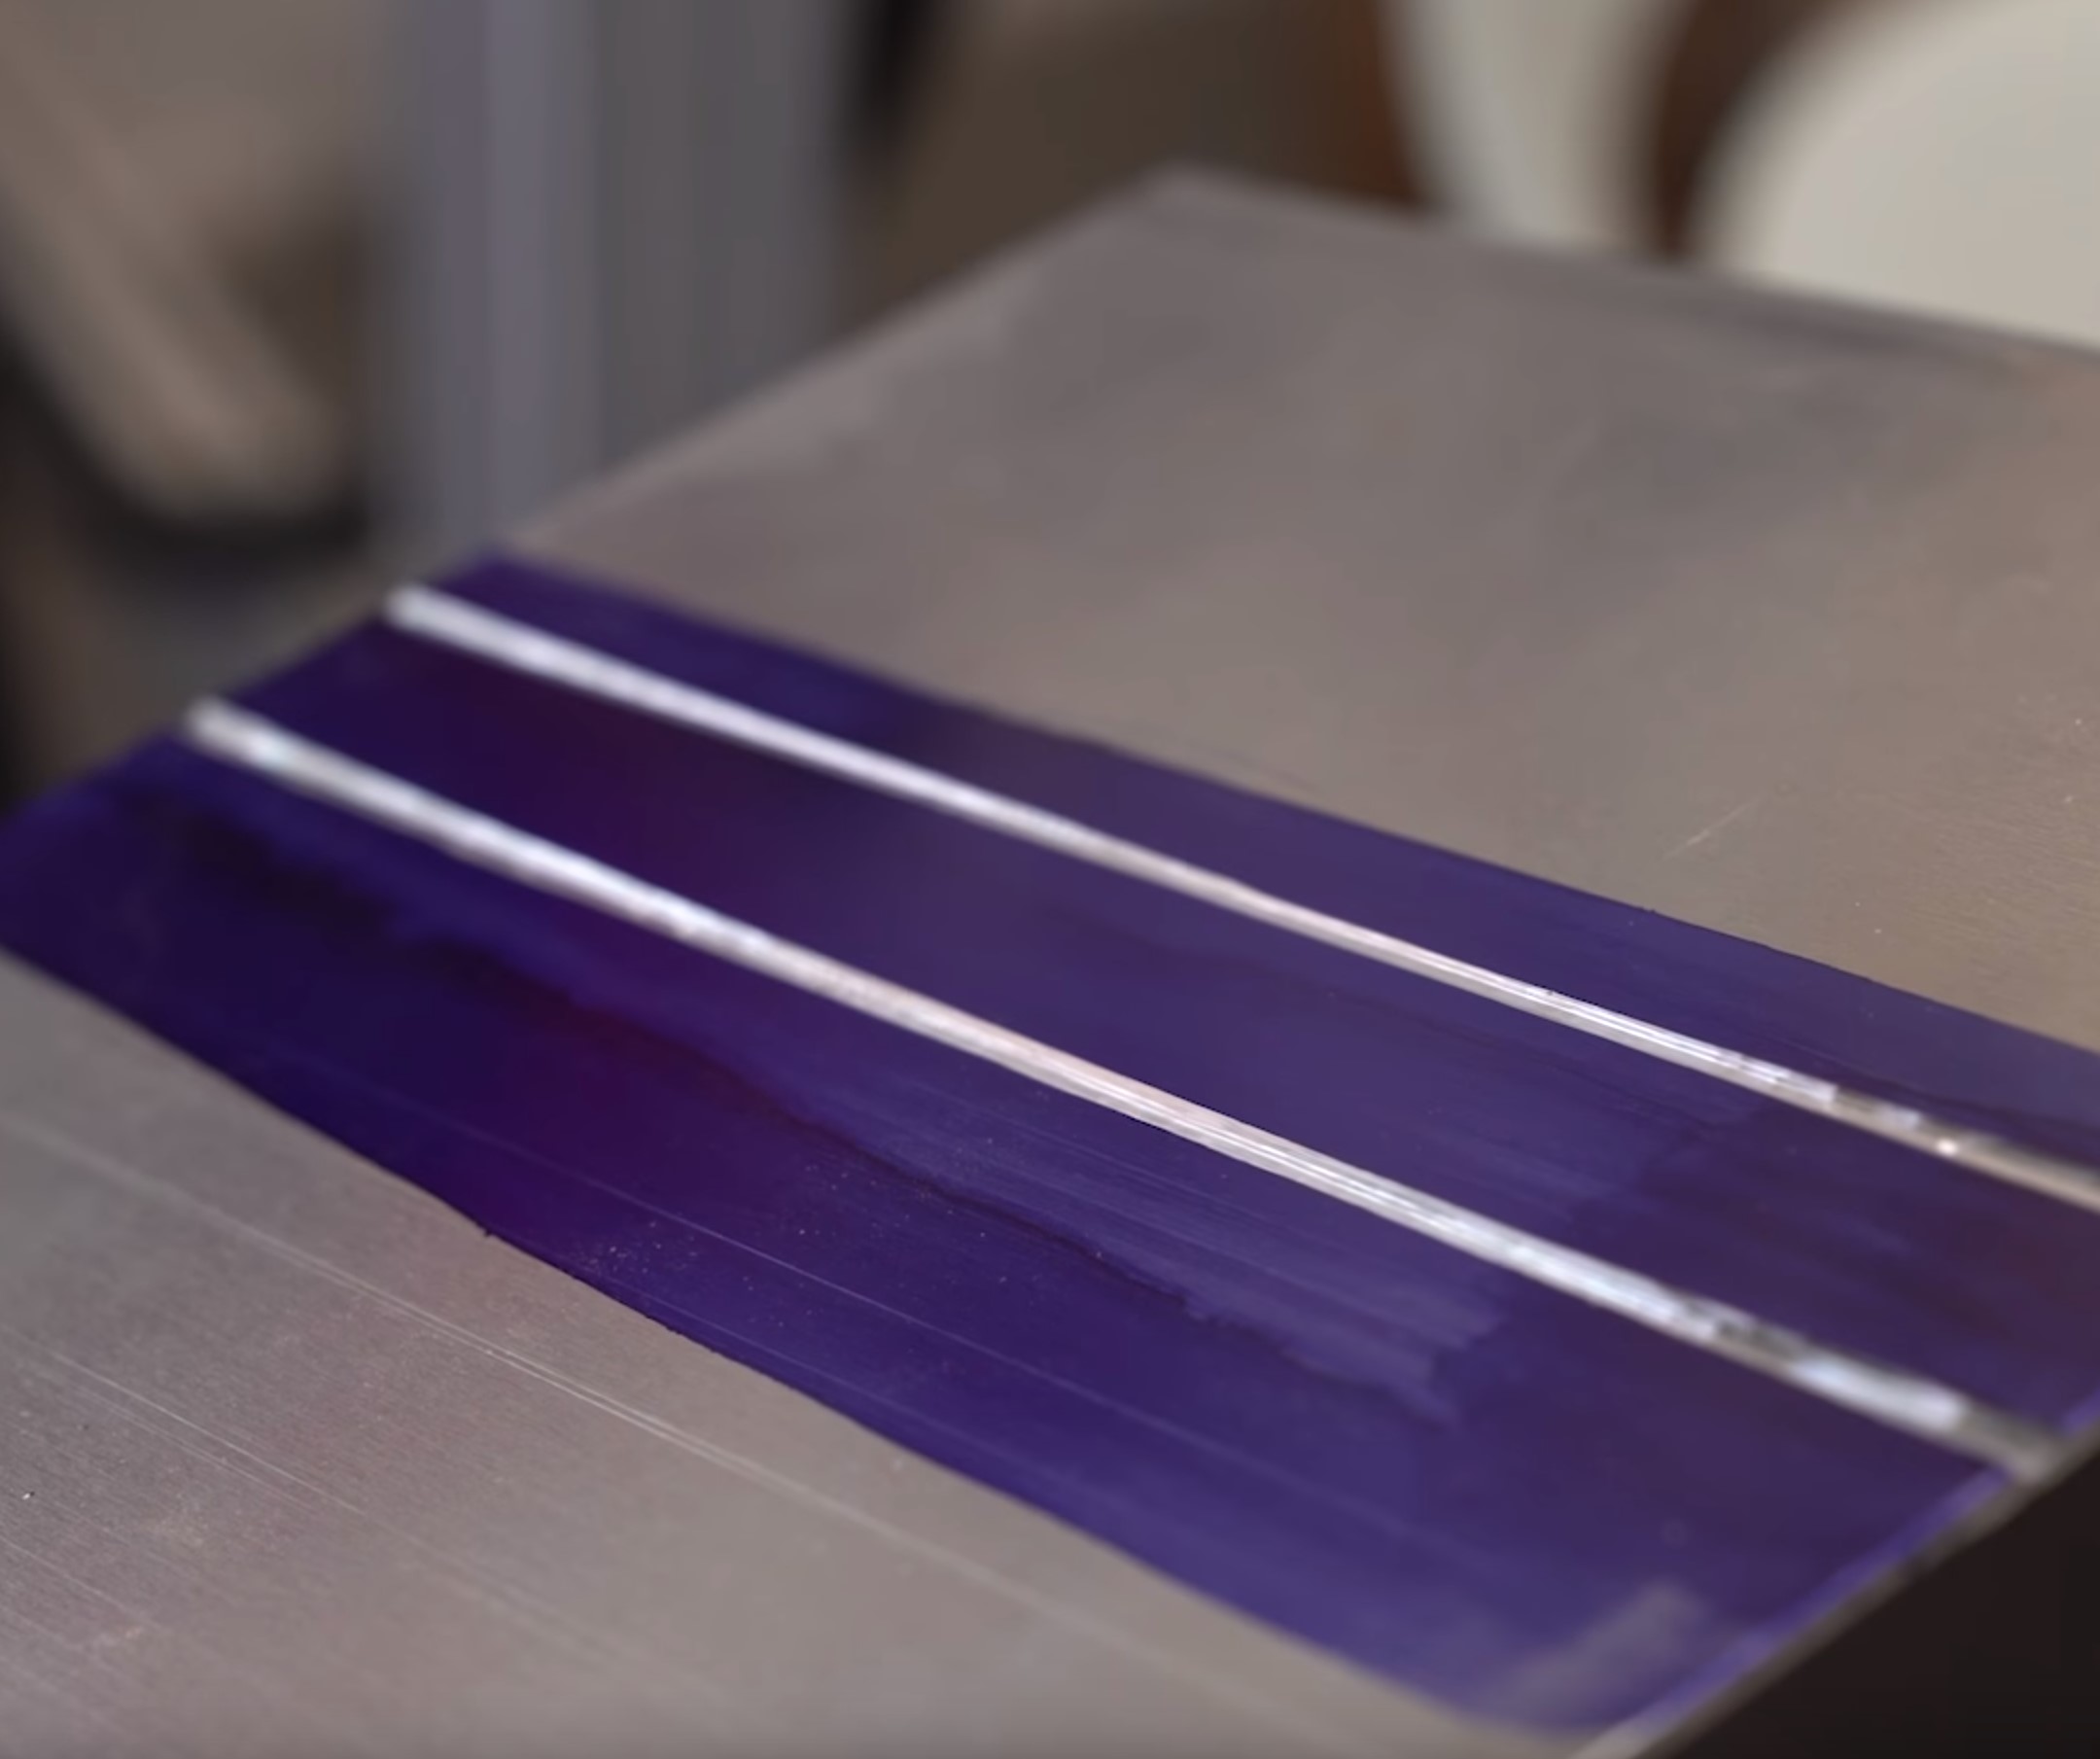
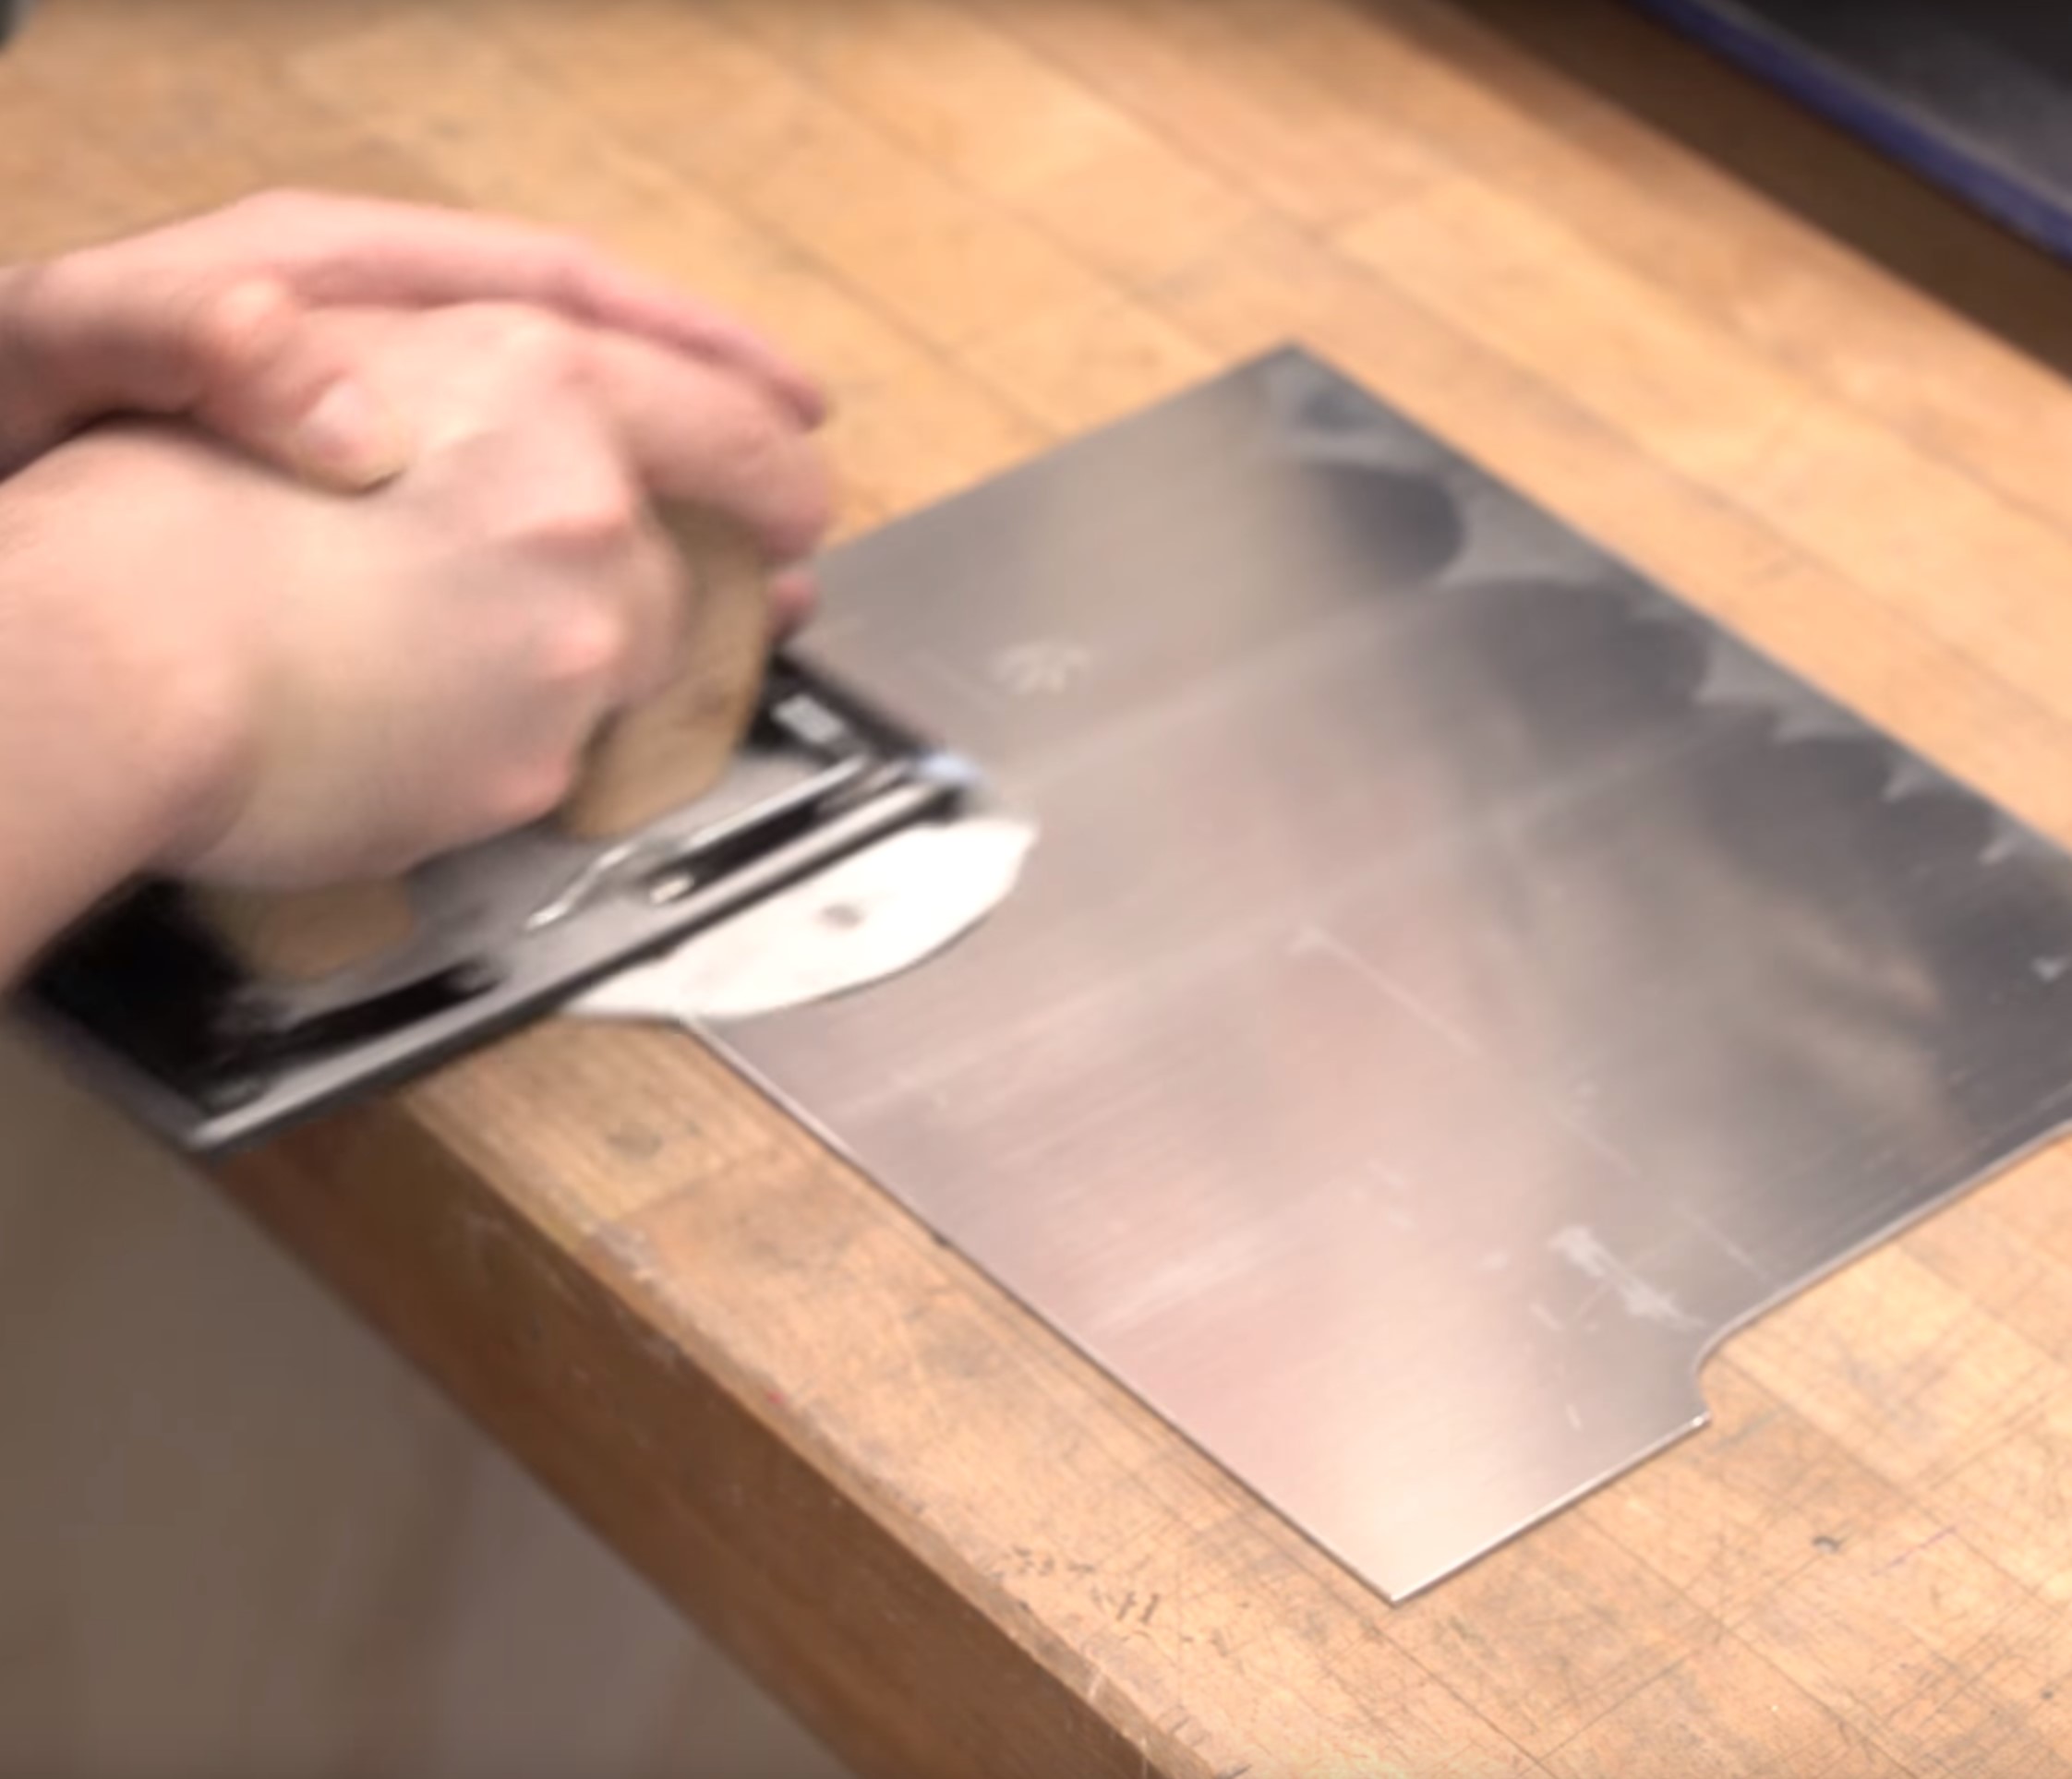
With the bend lines scored, it's time to do the finishing. It's way harder to sand a bent piece of metal, so you're better off doing it whilst it's all flat. I taped it to the workbench, then using a hand sander I sanded in one uniform direction, starting with 180-grit and finishing with 320. You can of course use higher grits if you're after a finer finish. To get the grain to pop a bit more, you can go at it with some Brasso or similar polish, then clean up with acetone, which will pull out all the dust from the surface.
Bending time!
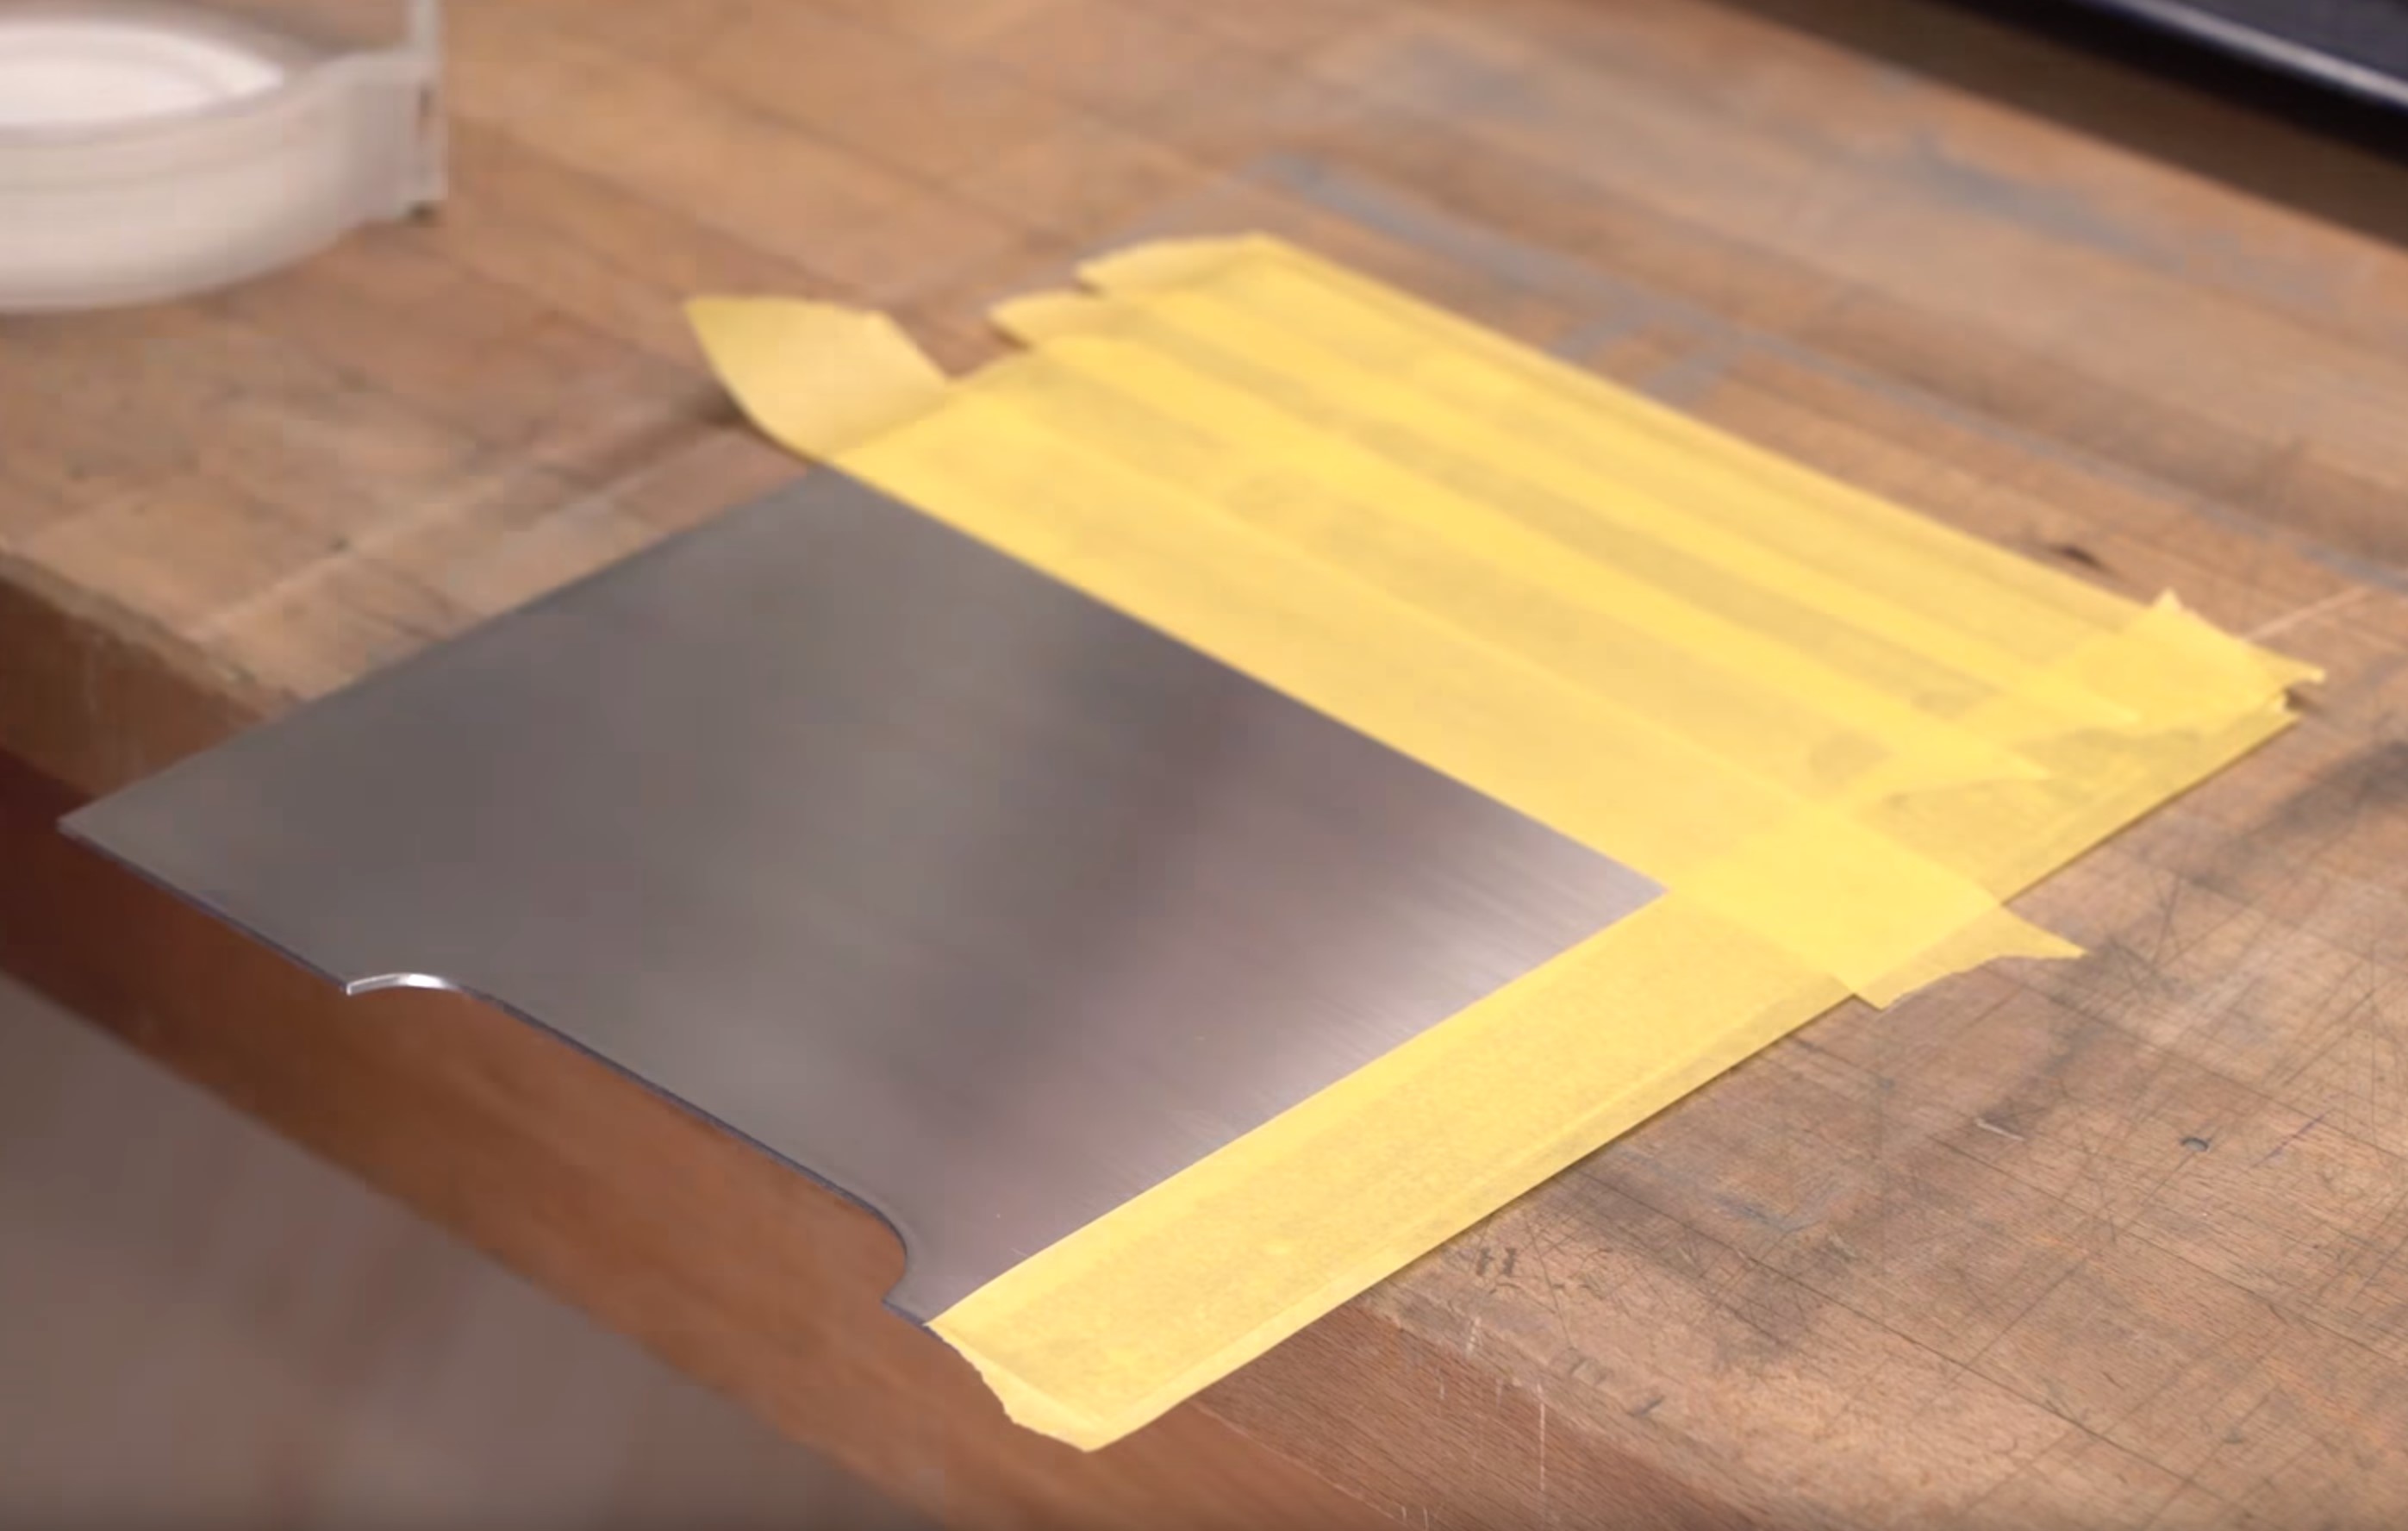
Okay, so it probably is indeed time I got a press brake for this sort of stuff, but for now this method will do. First, you want to mask up the side you just sanded since we're clamping to a table that would definitely mar the finish.
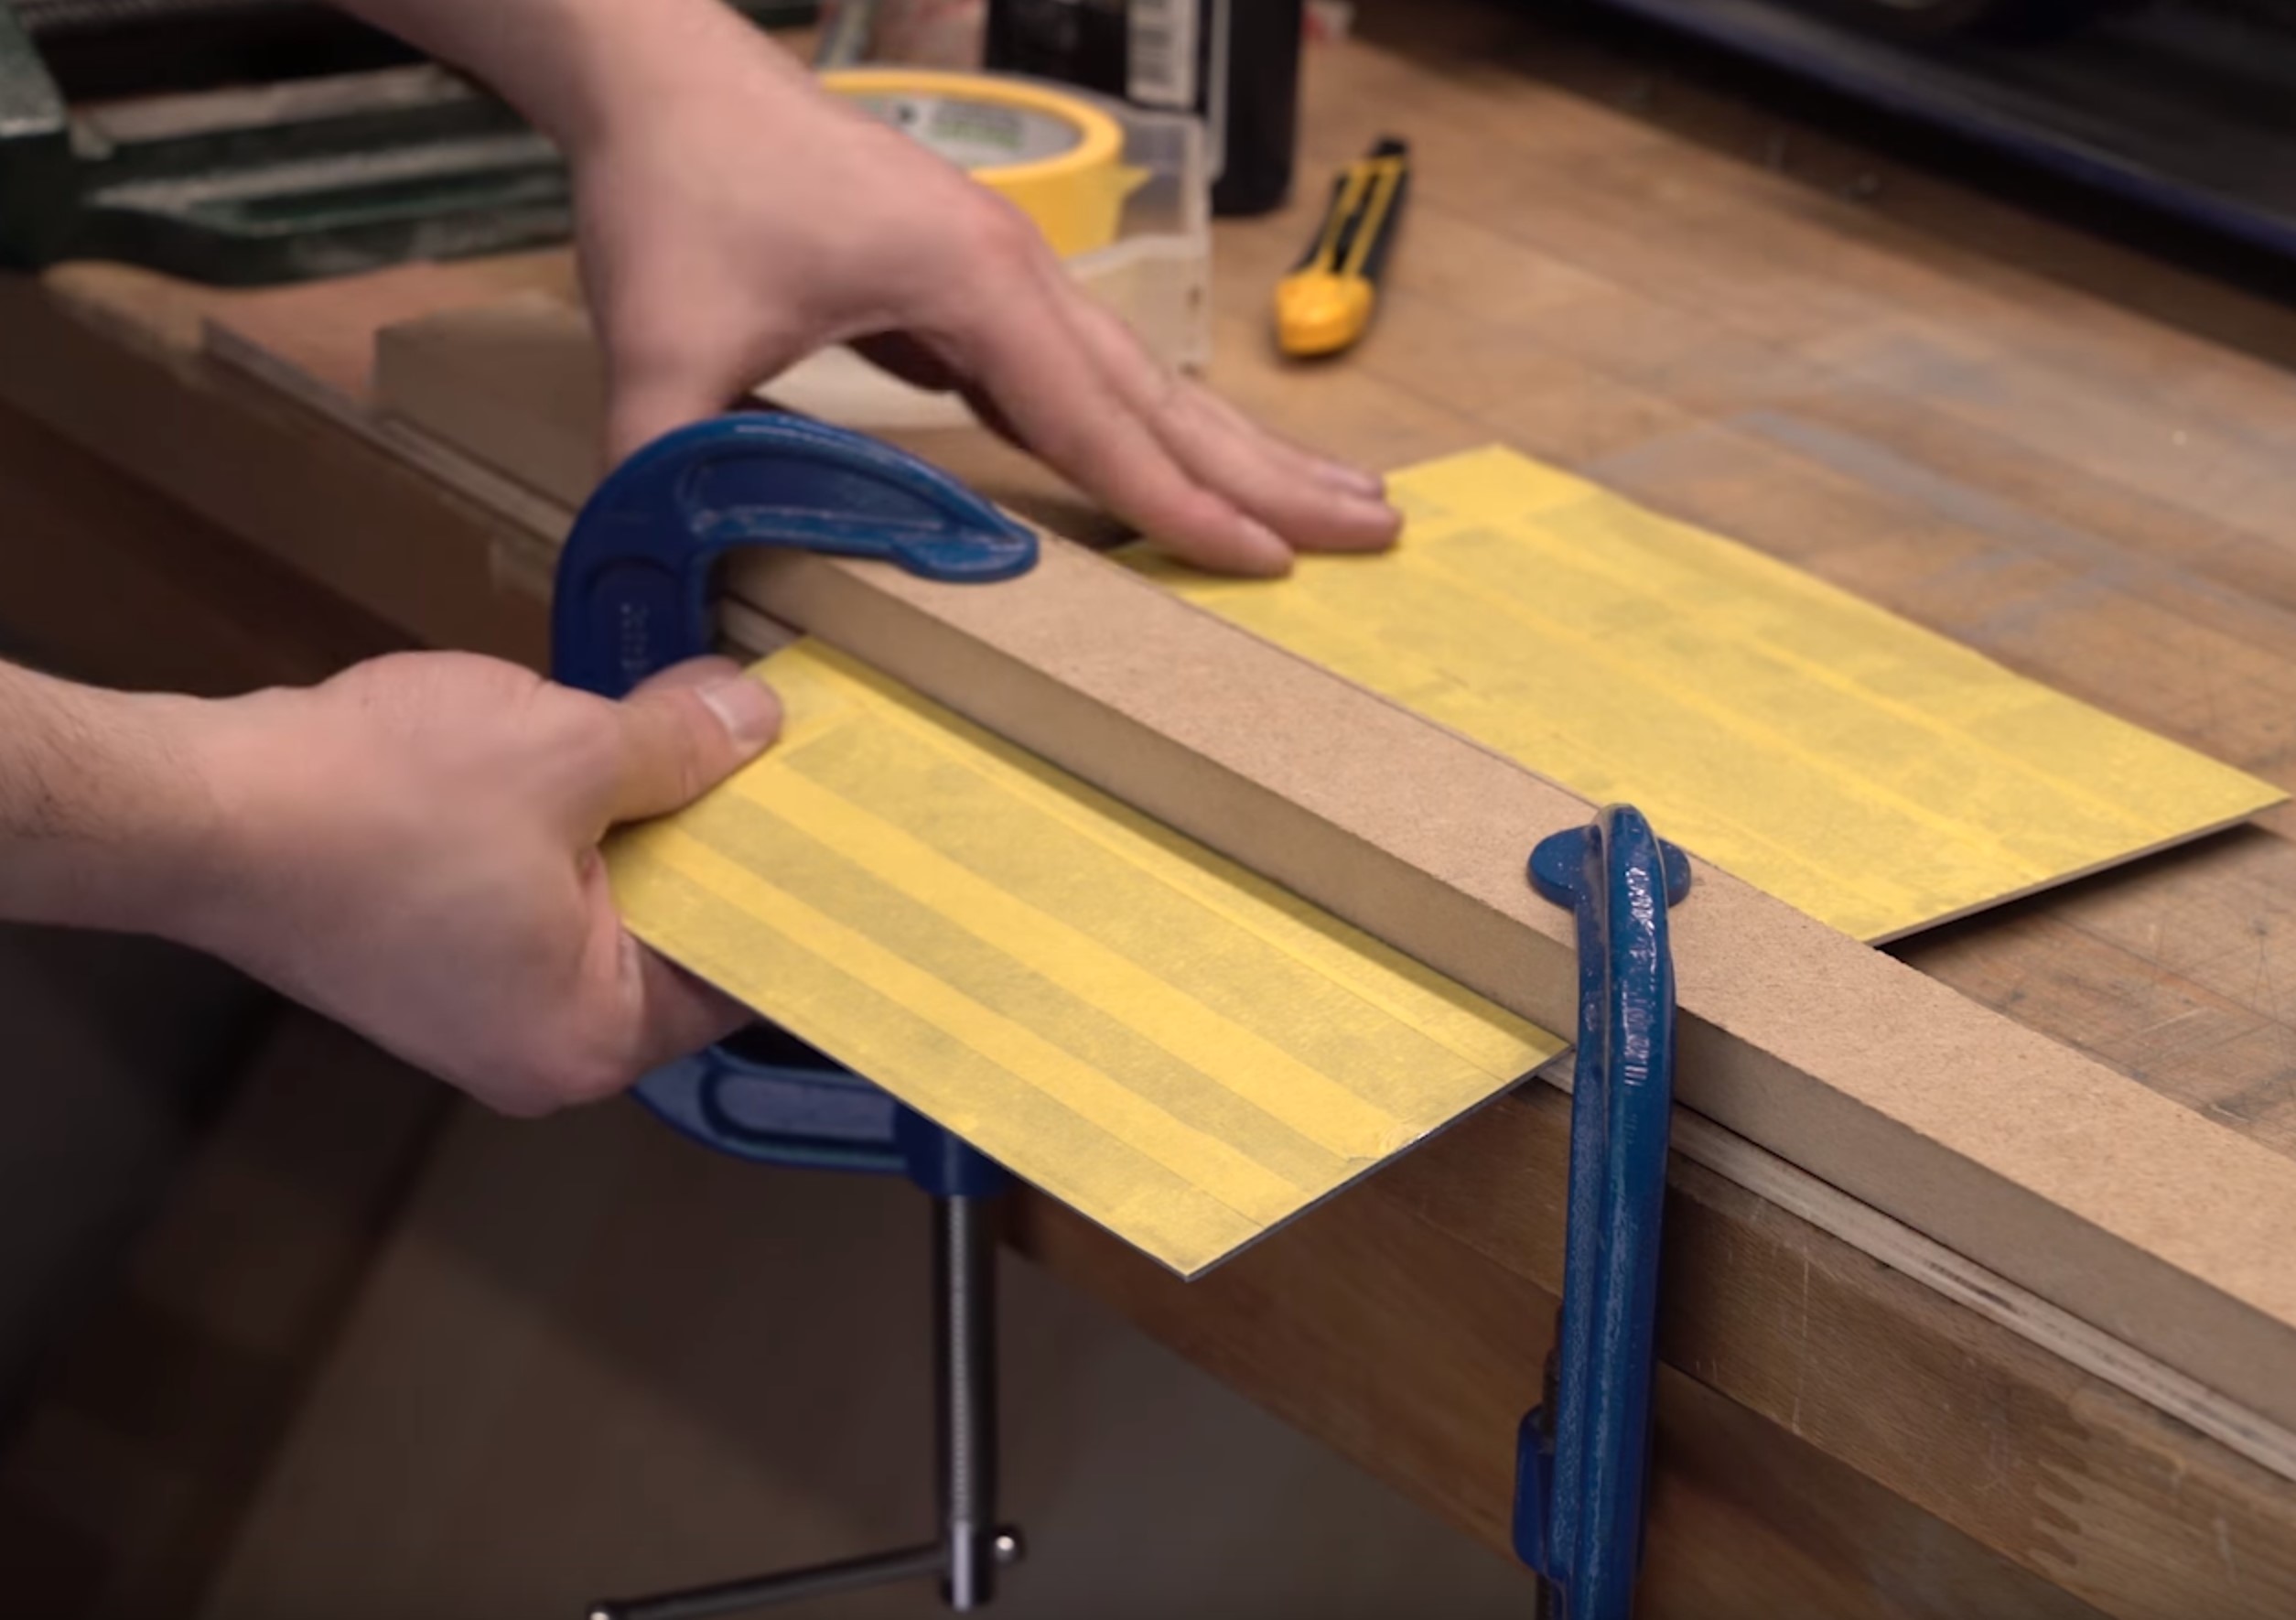
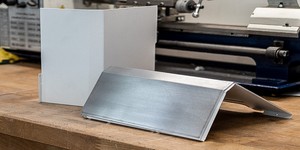
Line up the bending lines with the edge of the workbench or reference material you're using, then clamp a straight piece of wood/MDF on top on either side. You need this to be quite rigid and definitely straight, else the bend will come out uneven, MDF works well as it's usually quite flat and also isn't very flexible. Using mild, even pressure, you can bend the metal to the angle you're after. You can construct a jig to do this more accurately if you wish, but I just lined it up with the original shroud to check instead.
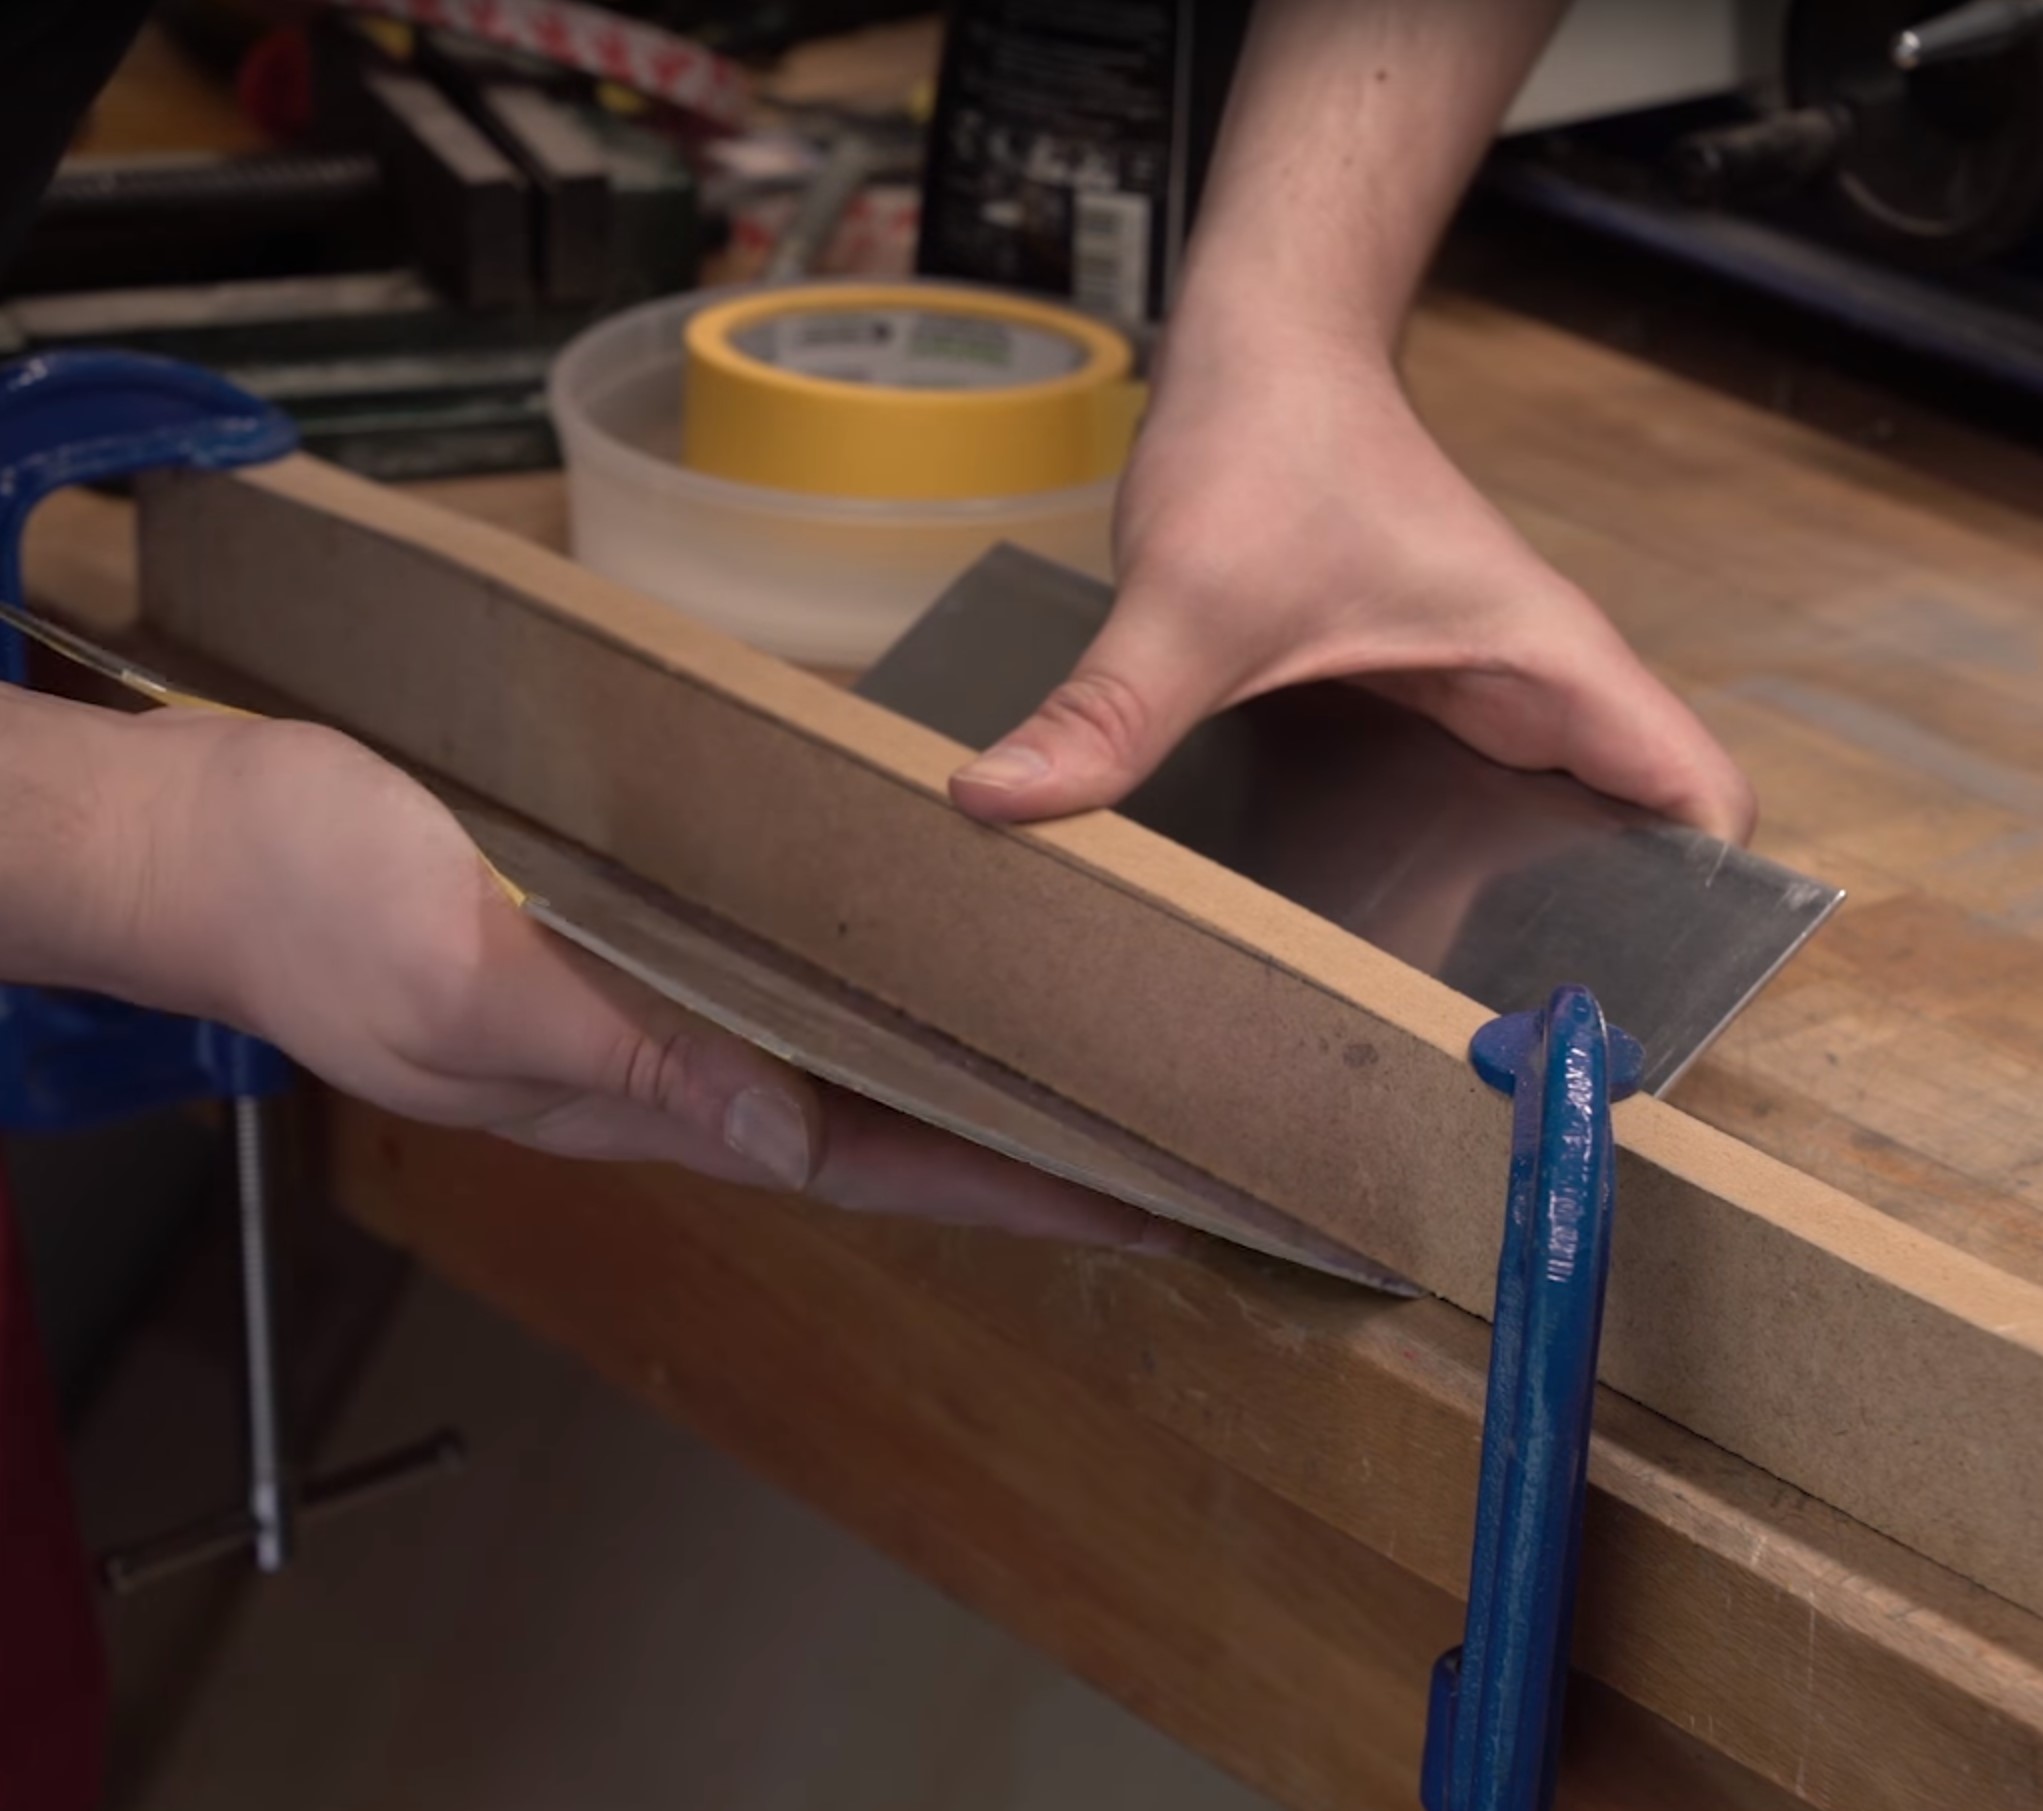
Make sure you don't overwork the metal! Thin aluminium bends fine, but you can't move it back and forth else it will succumb to stress fractures. If bending thicker stock, it would definitely be a good idea to anneal the material first (which you can do at home with relative ease).
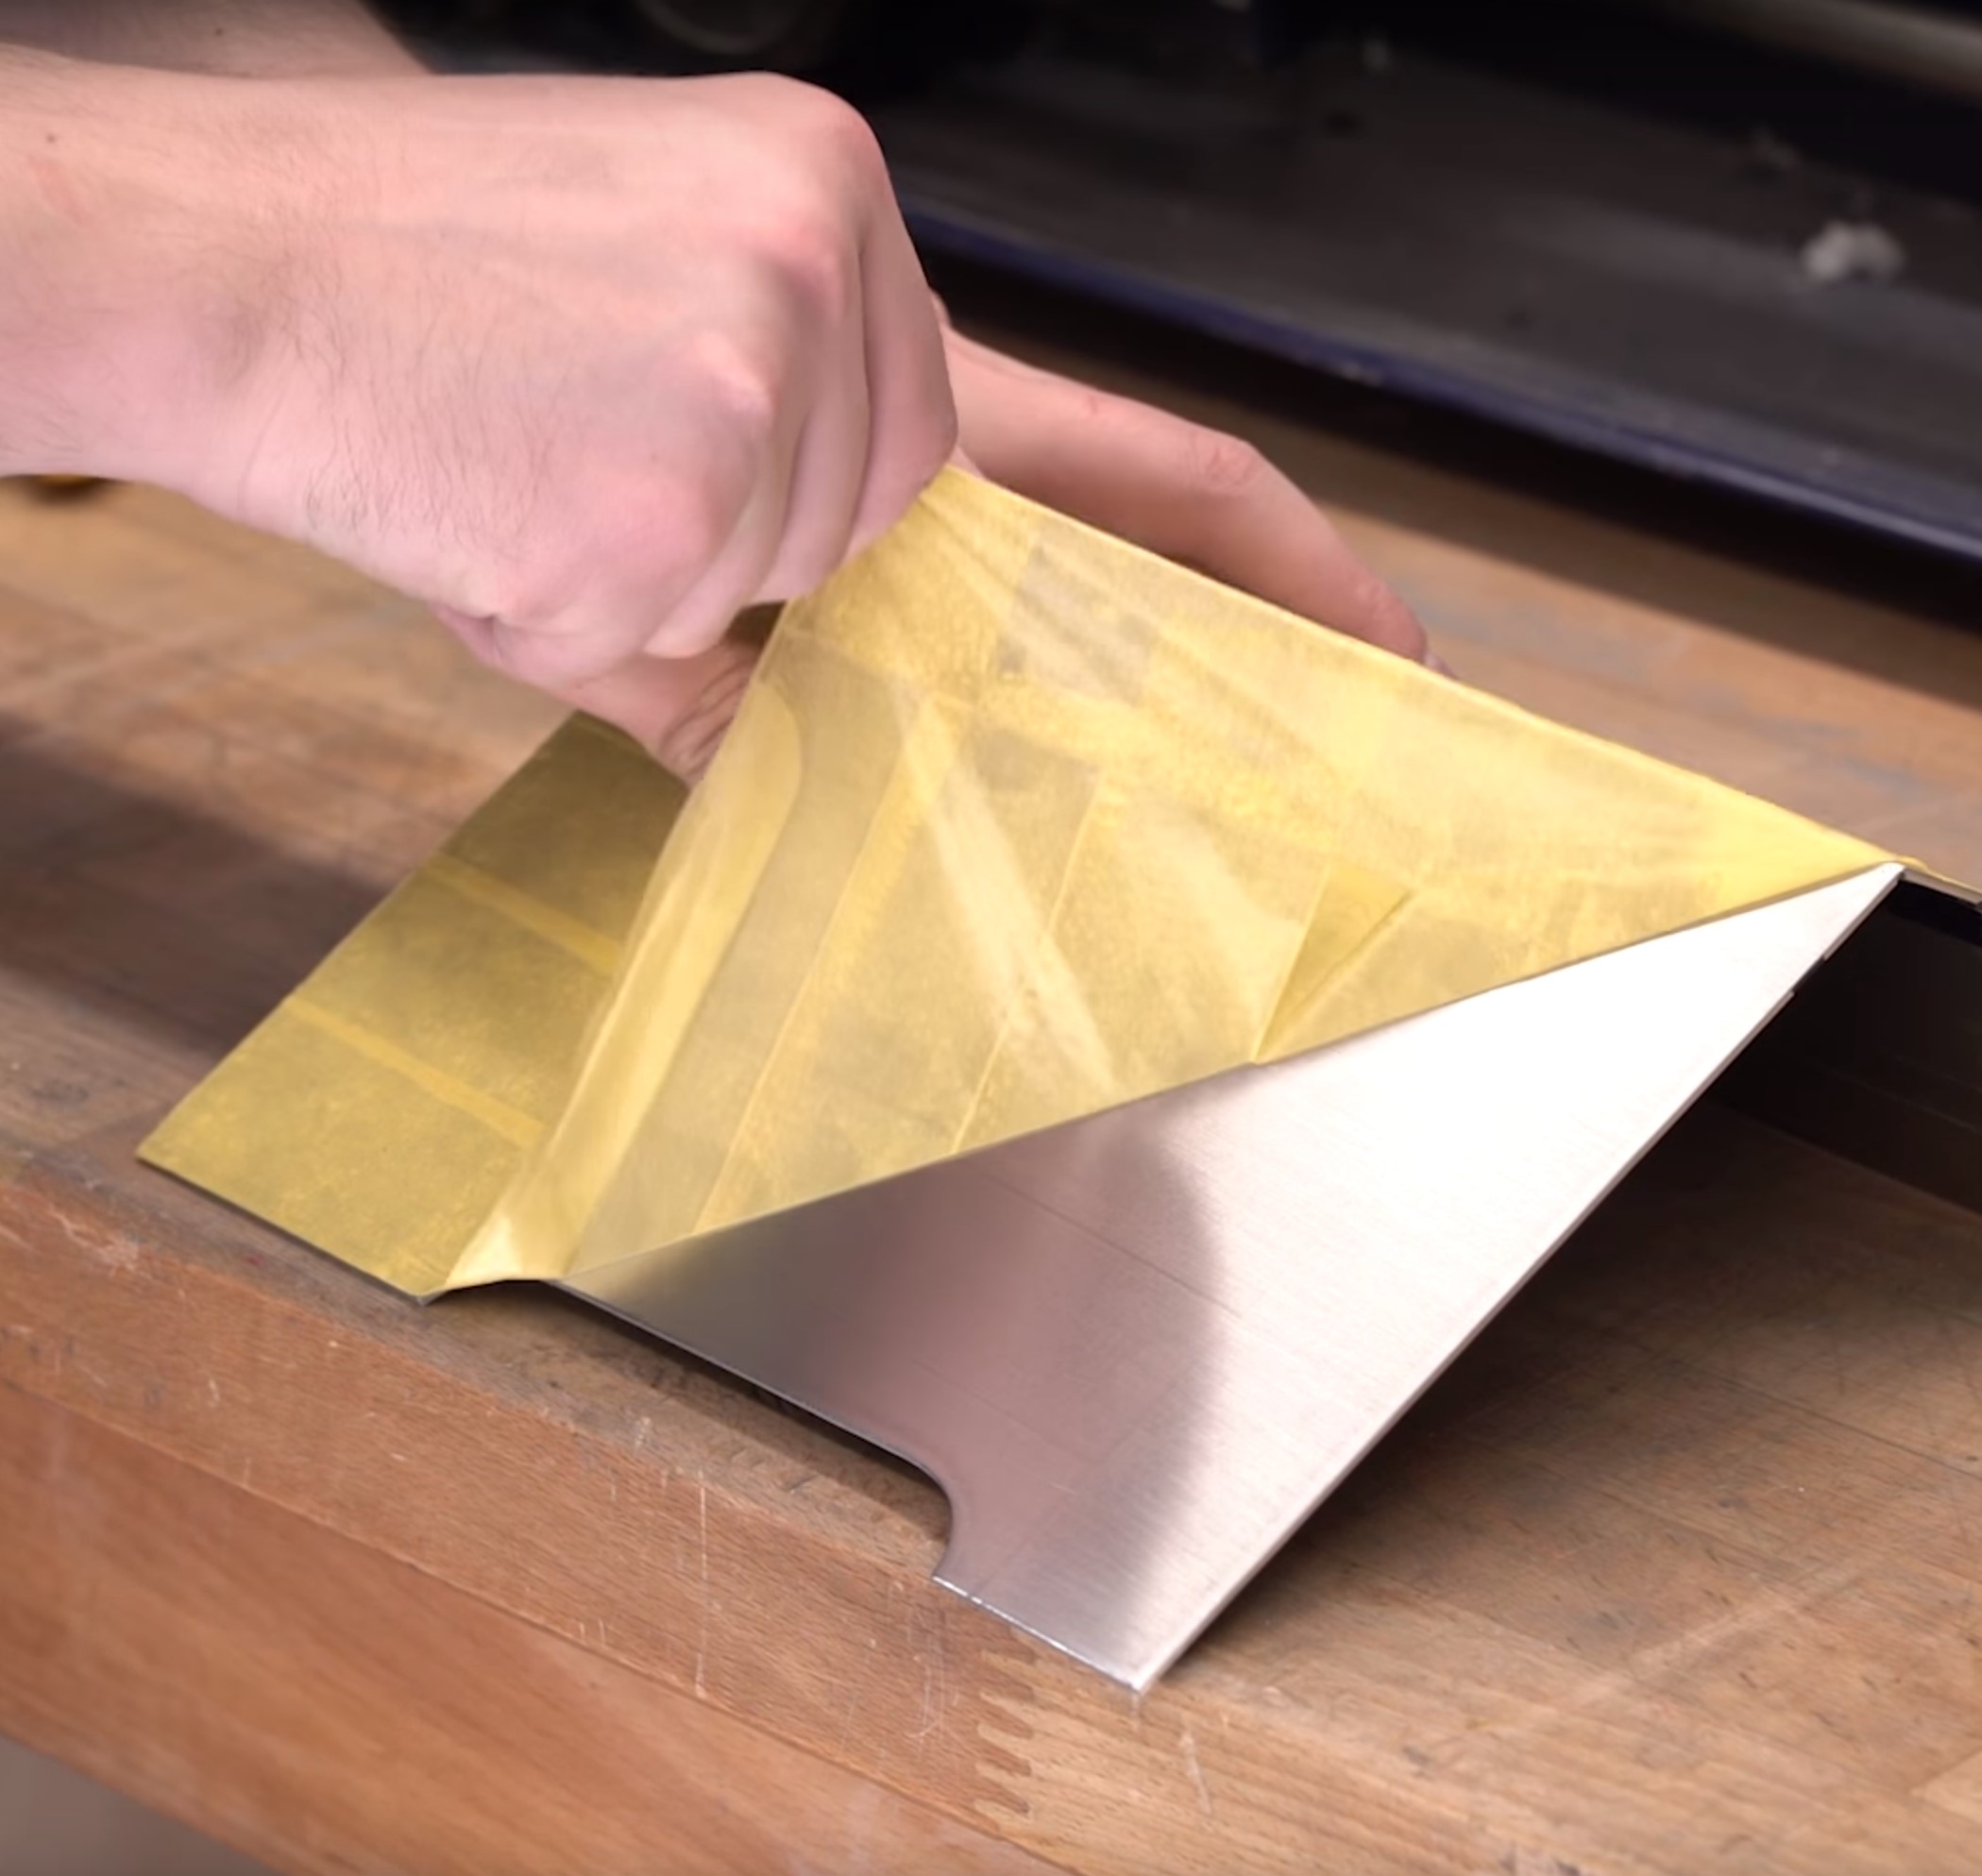
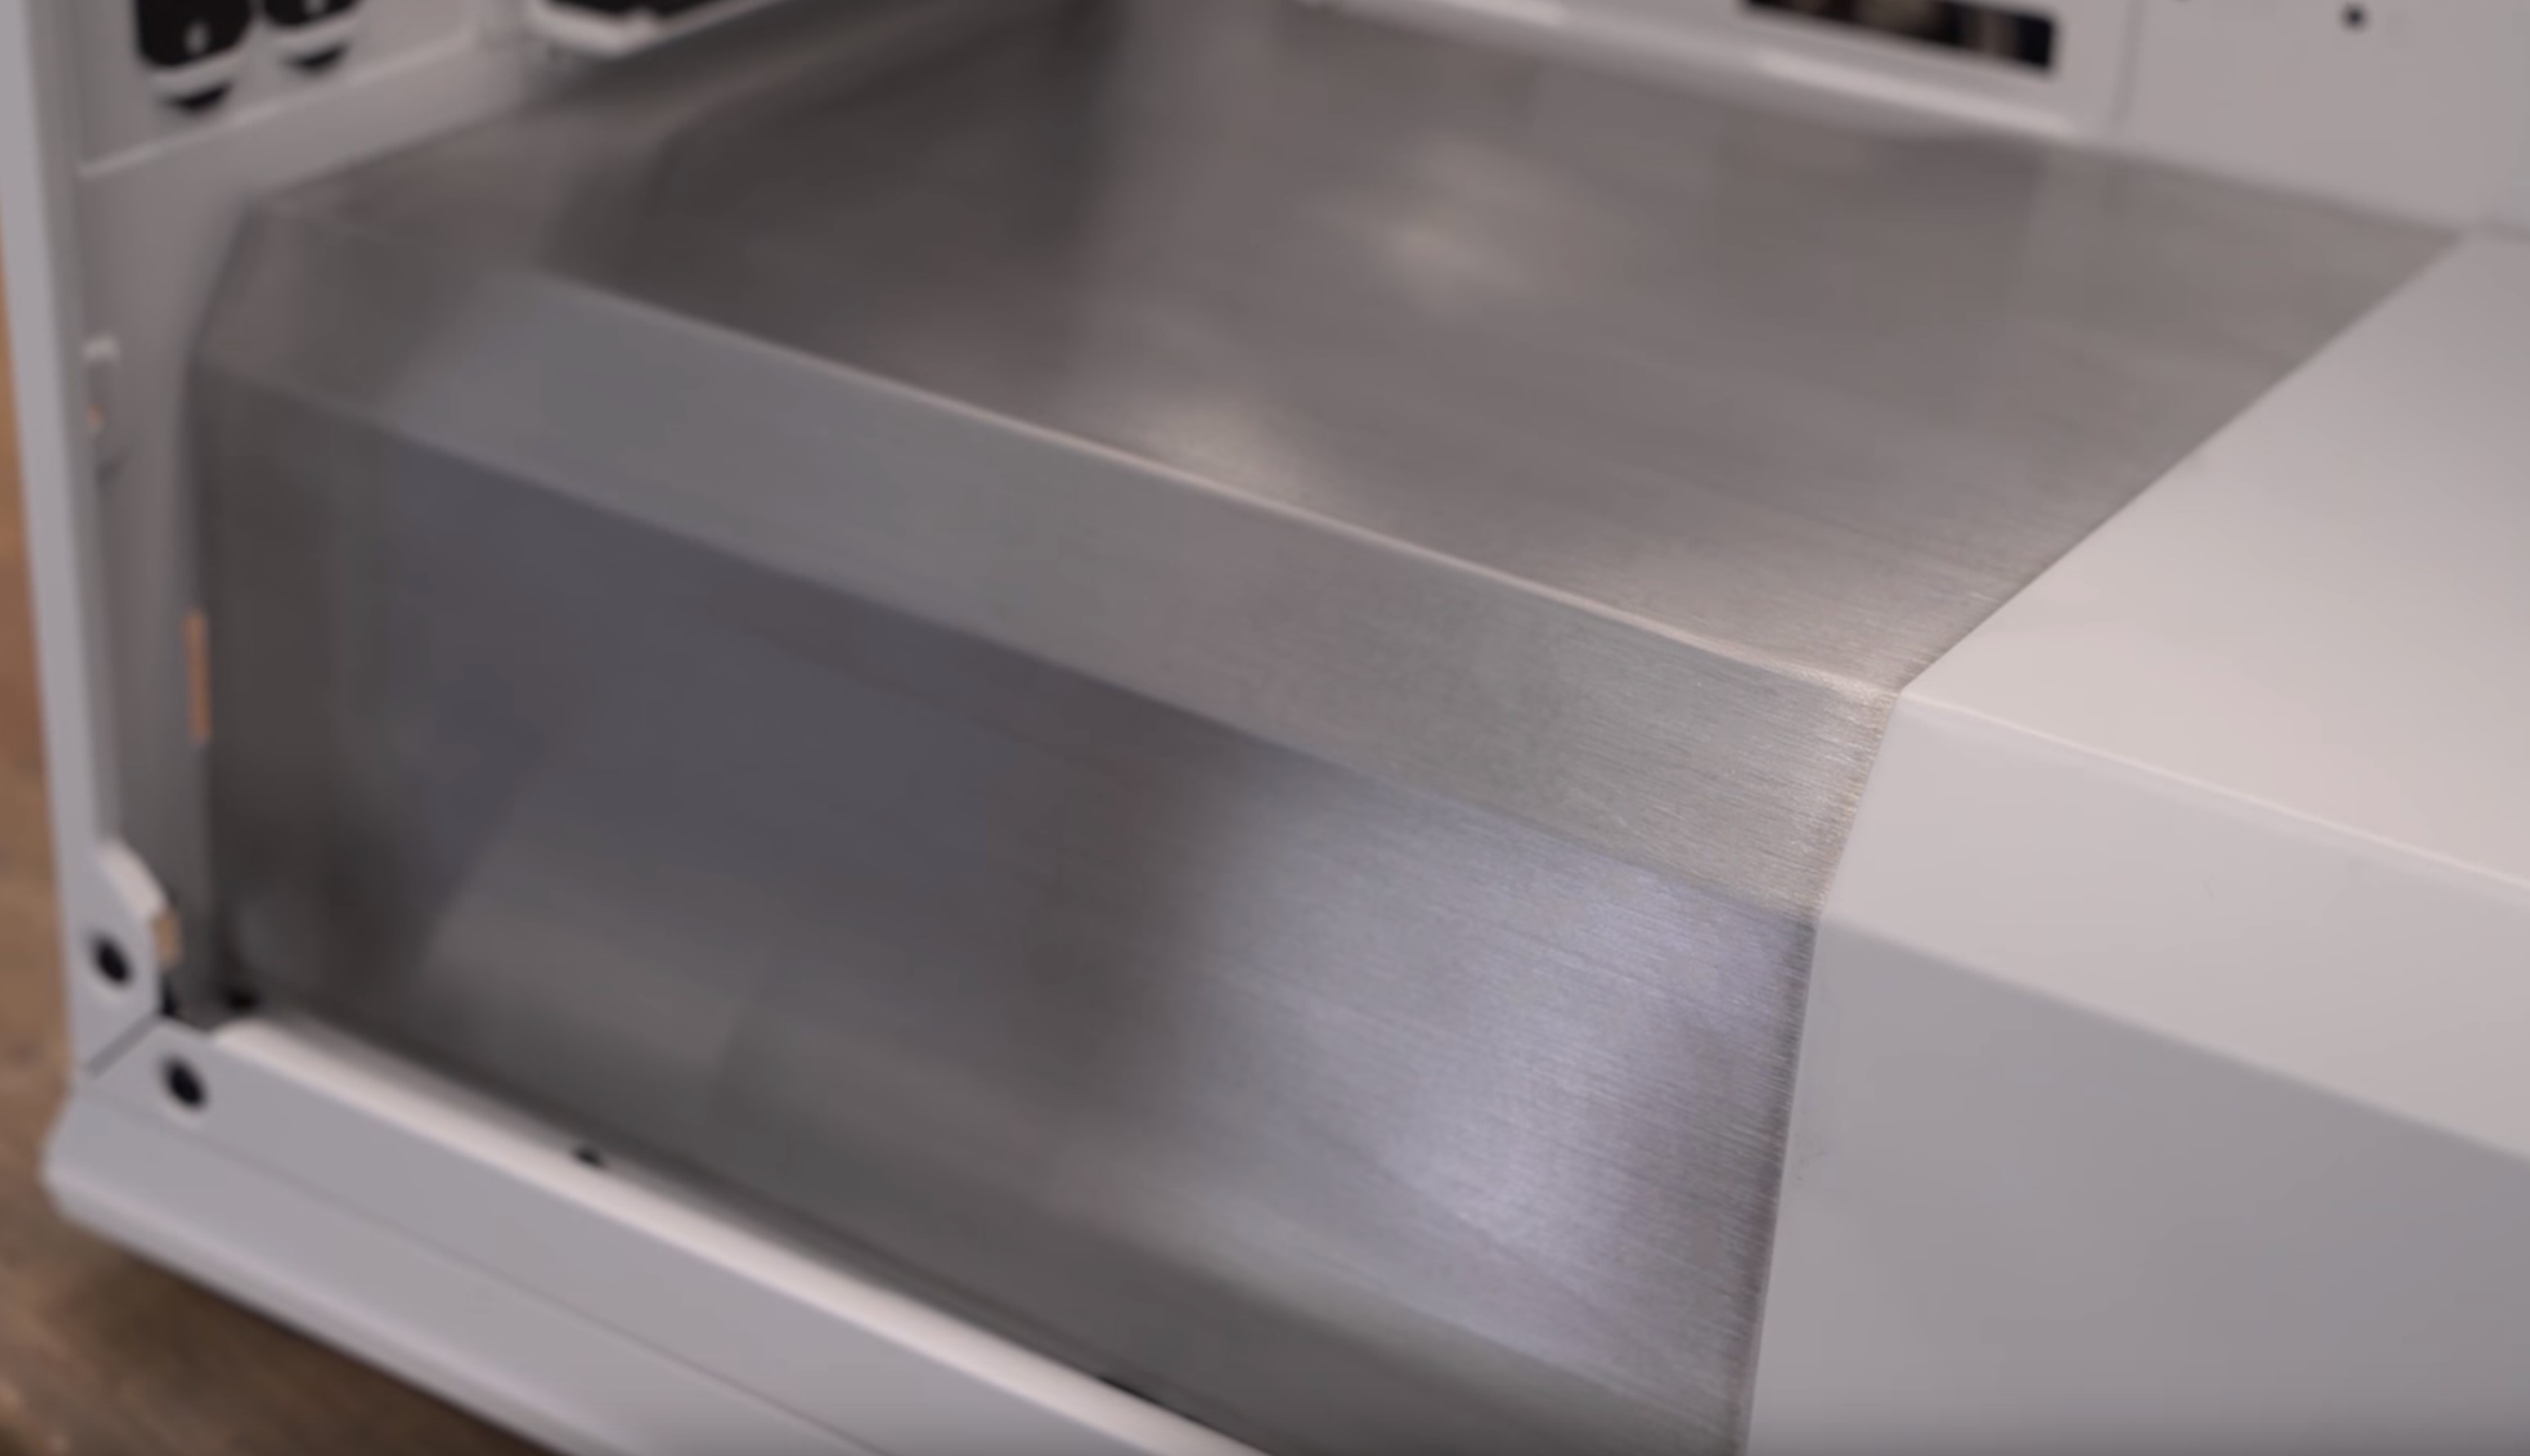
With the metal bent, it's just a matter of peeling off the protective backing, cleaning up any residue with acetone, and then installing into your case. For this one we stuck with some 3M mounting tape. It's crazy strong and at the same time won't show any external fasteners. This isn't a structural element, so more that that isn't really necessary.
RELATED ARTICLES


MSI MPG Velox 100R Chassis Review
October 14 2021 | 15:04

Want to comment? Please log in.