GPU backplates can completely change the look of a build, especially if your graphics card doesn't come with one at all and just has stock PCB showing. Making a backplate doesn't have to be difficult either. In fact, you can make one very easily with scraps that you might already have around your house.
I will be making a backplate for the Alex 'MarzBar' Brooks build that I am currently working on. You can see Part One or Part Two of this build already.
The MSI Sea Hawk already comes with a backplate that looks rather nice, but I want to personalise it more for Alex. You already get MSI and Corsair logos on the side of the GPU, so let's put the MarzBar logo on the top!
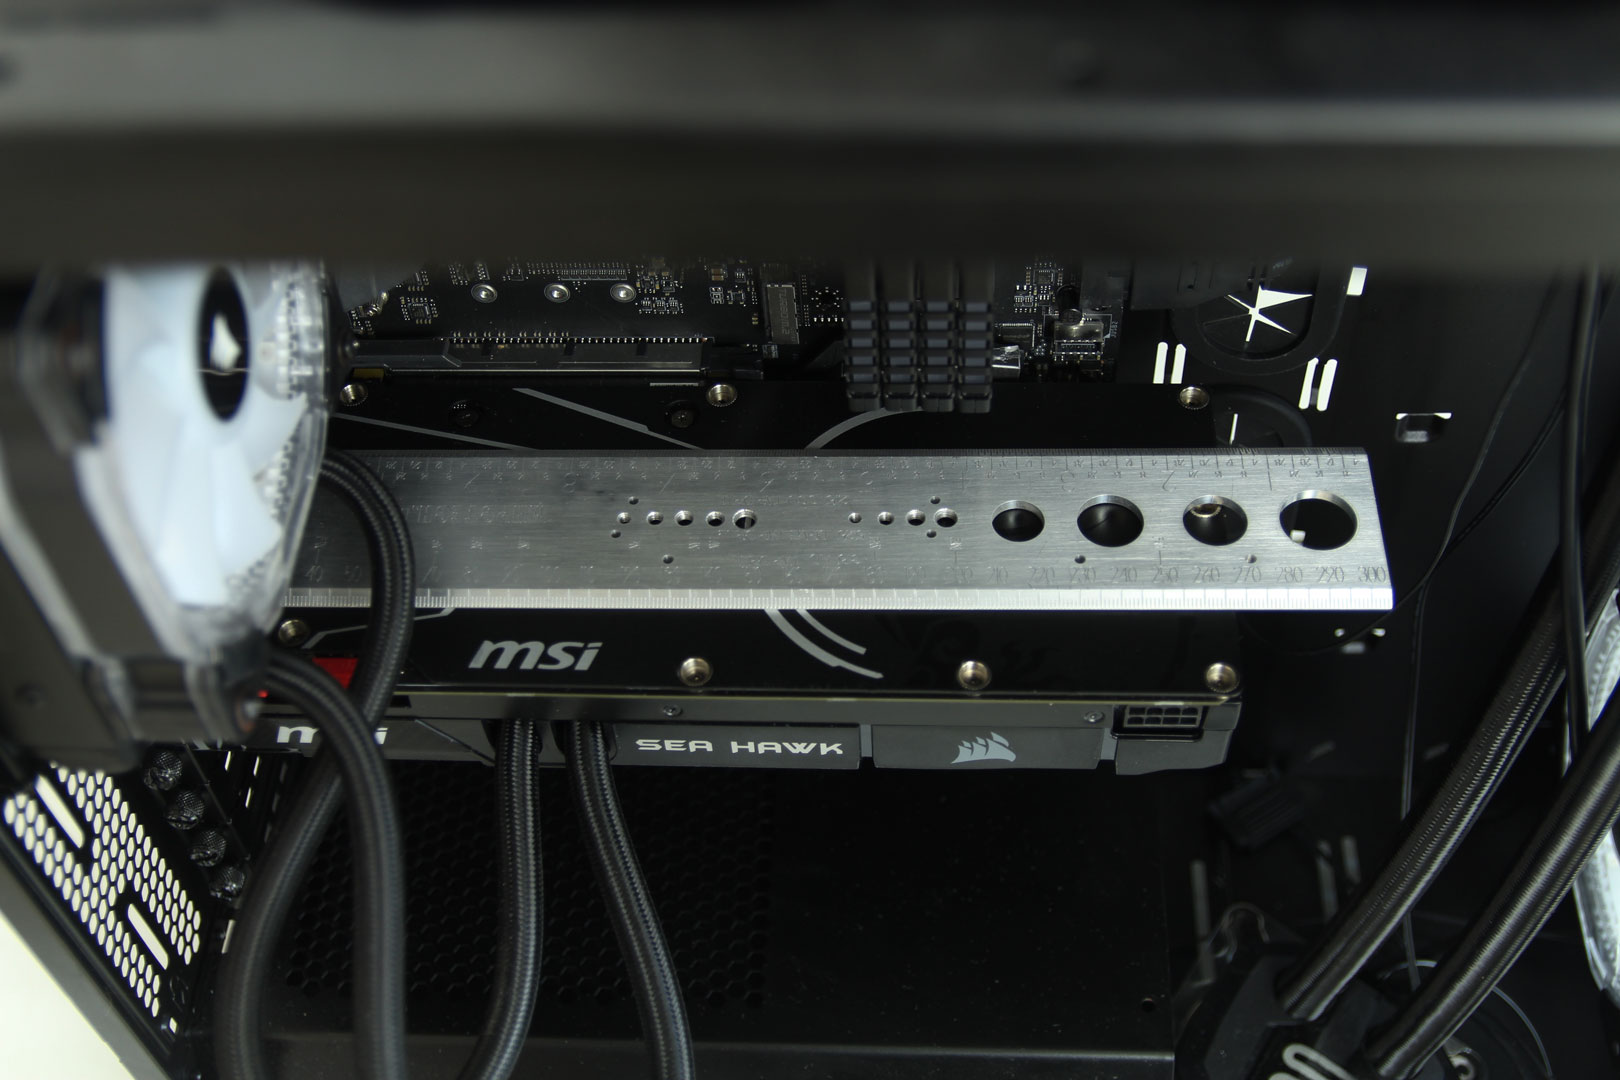
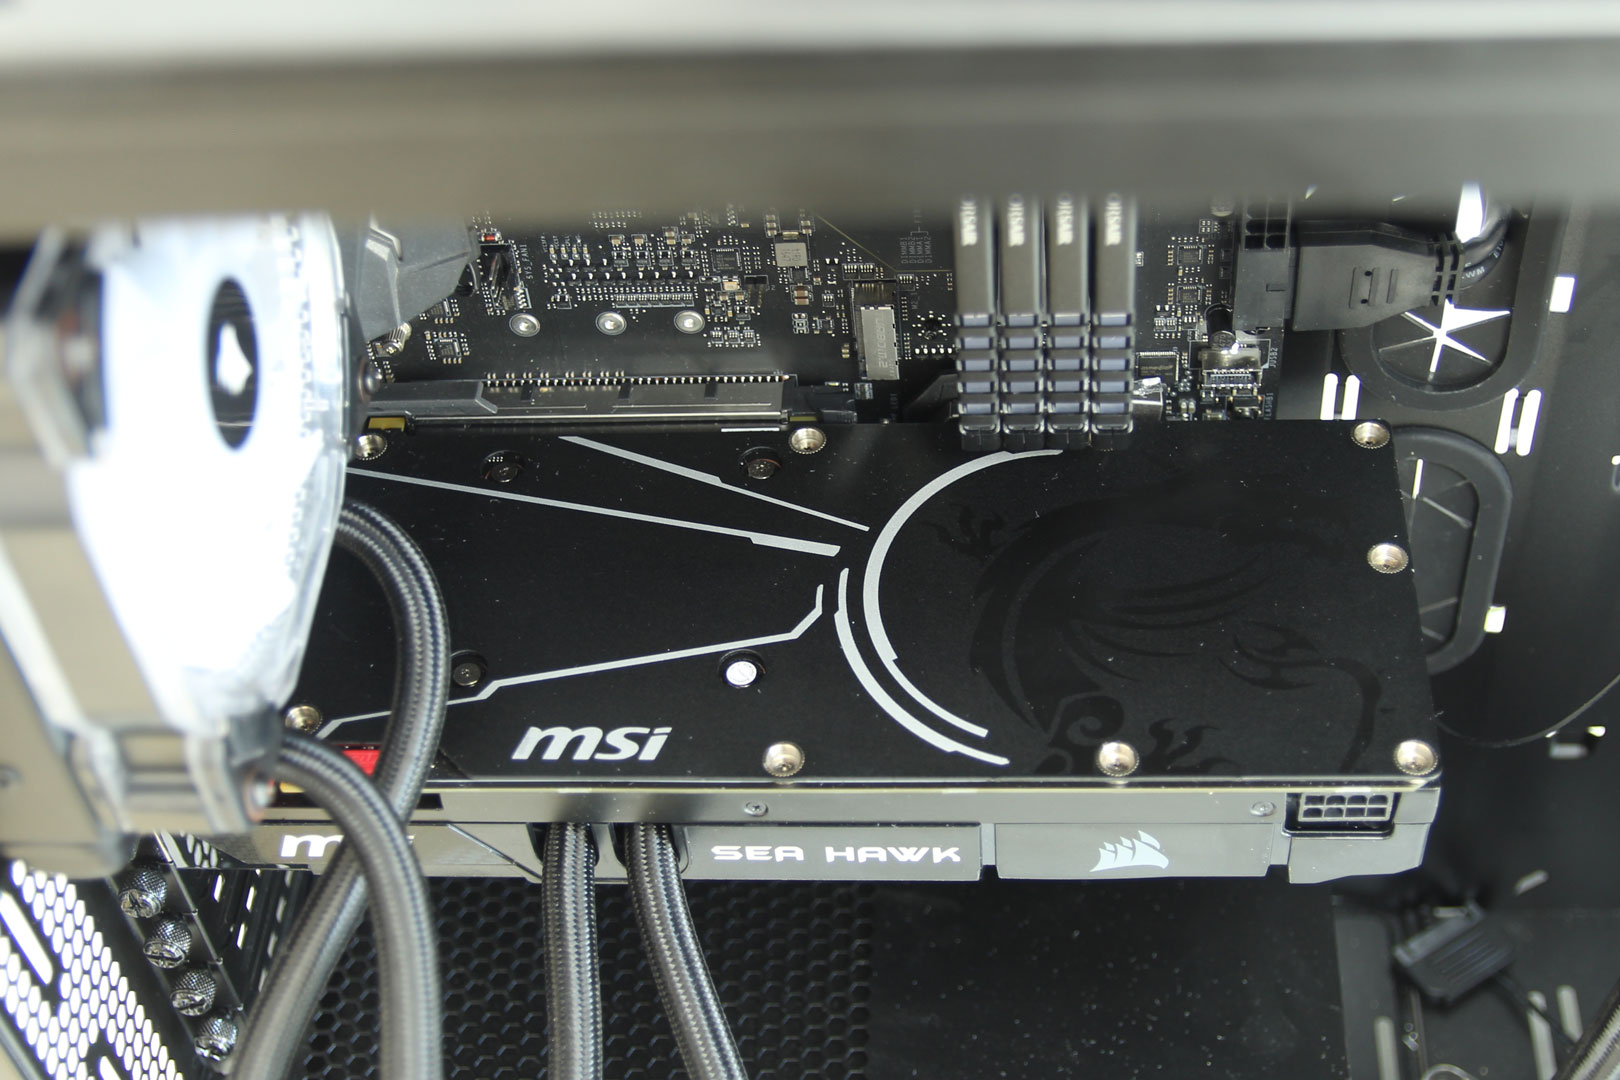
The first job is to measure the size of the GPU. I do this with the GPU inside the case. The reason I do it inside the case is so that you get the correct size when everything is installed. Sometimes, you can hit the PCIe clip or other components if you measure the GPU outside of the case, especially if you are using a GPU that already has a backplate.
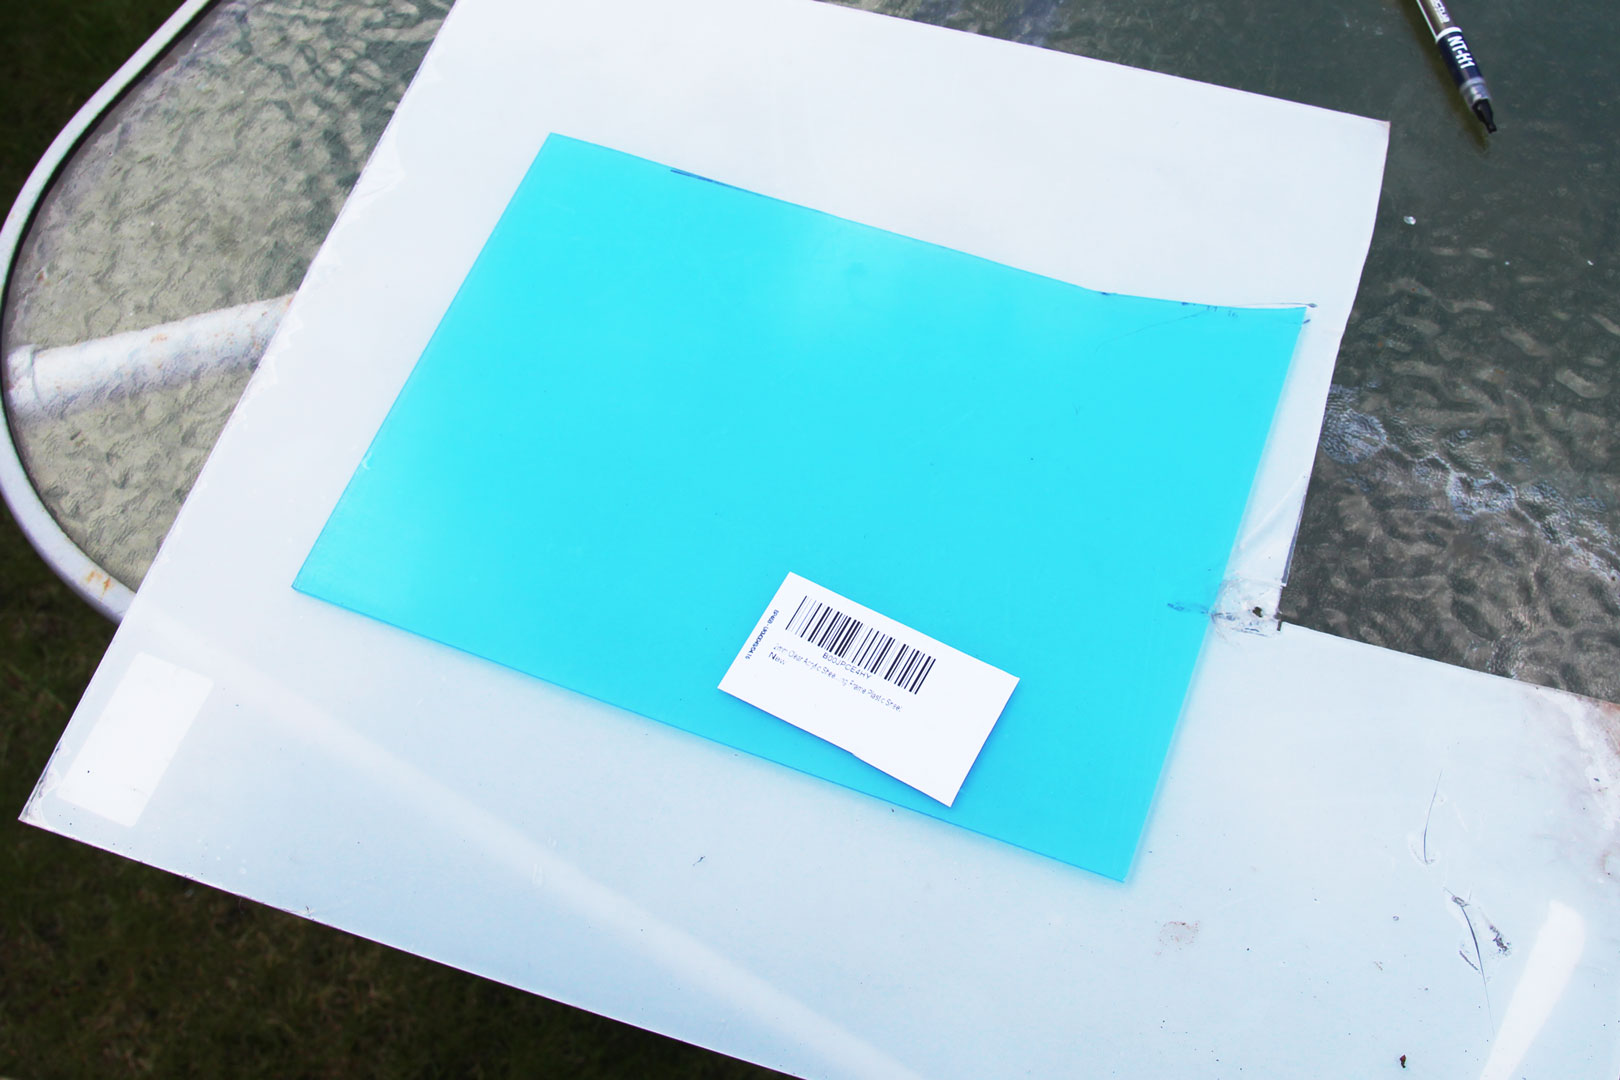
I have some scrap 2mm clear acrylic kicking around, so I will use this. If you want just a simple one-colour backplate, then just buy the colour acrylic you want. If you want it to have multiple colours, like me, get clear. You don't really want to go any thicker than 3mm, as starts to look silly.
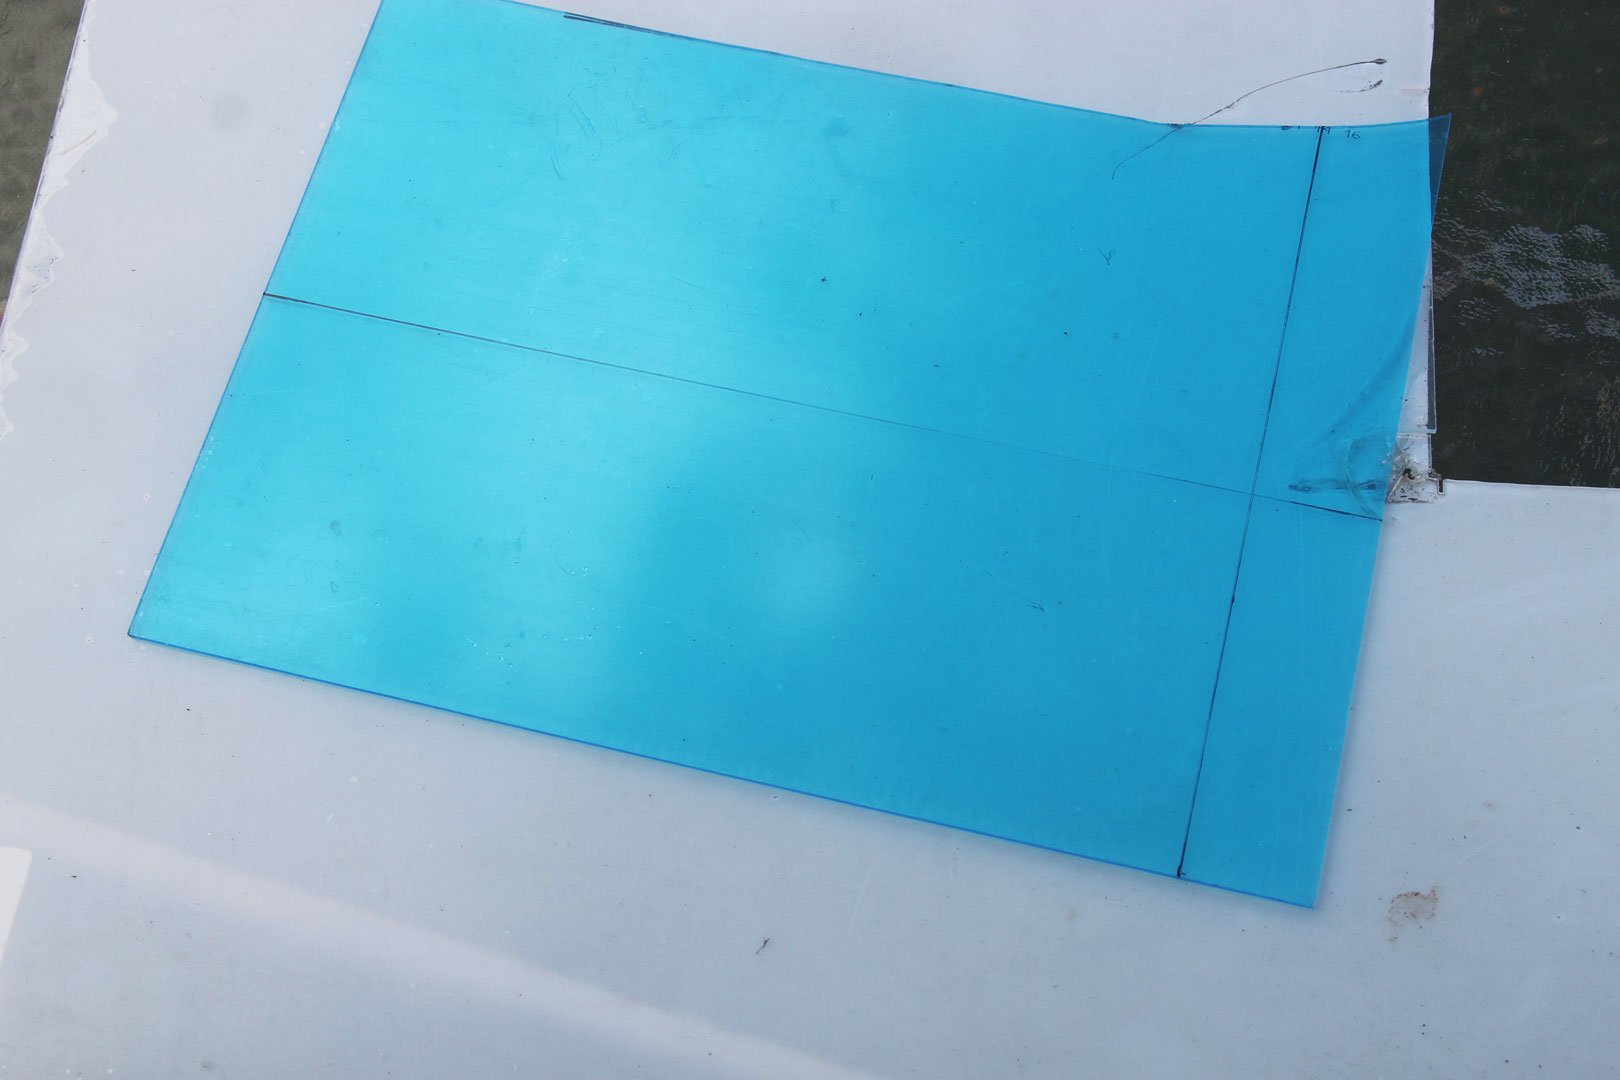
Mark out the size you need onto the acrylic. In theory, I could make two backplates out of this little bit of scrap acrylic, so it's always worth saving bits that you think you may never use. I have a box full of little off cuts and broken acrylic, and it has saved me a number of times.
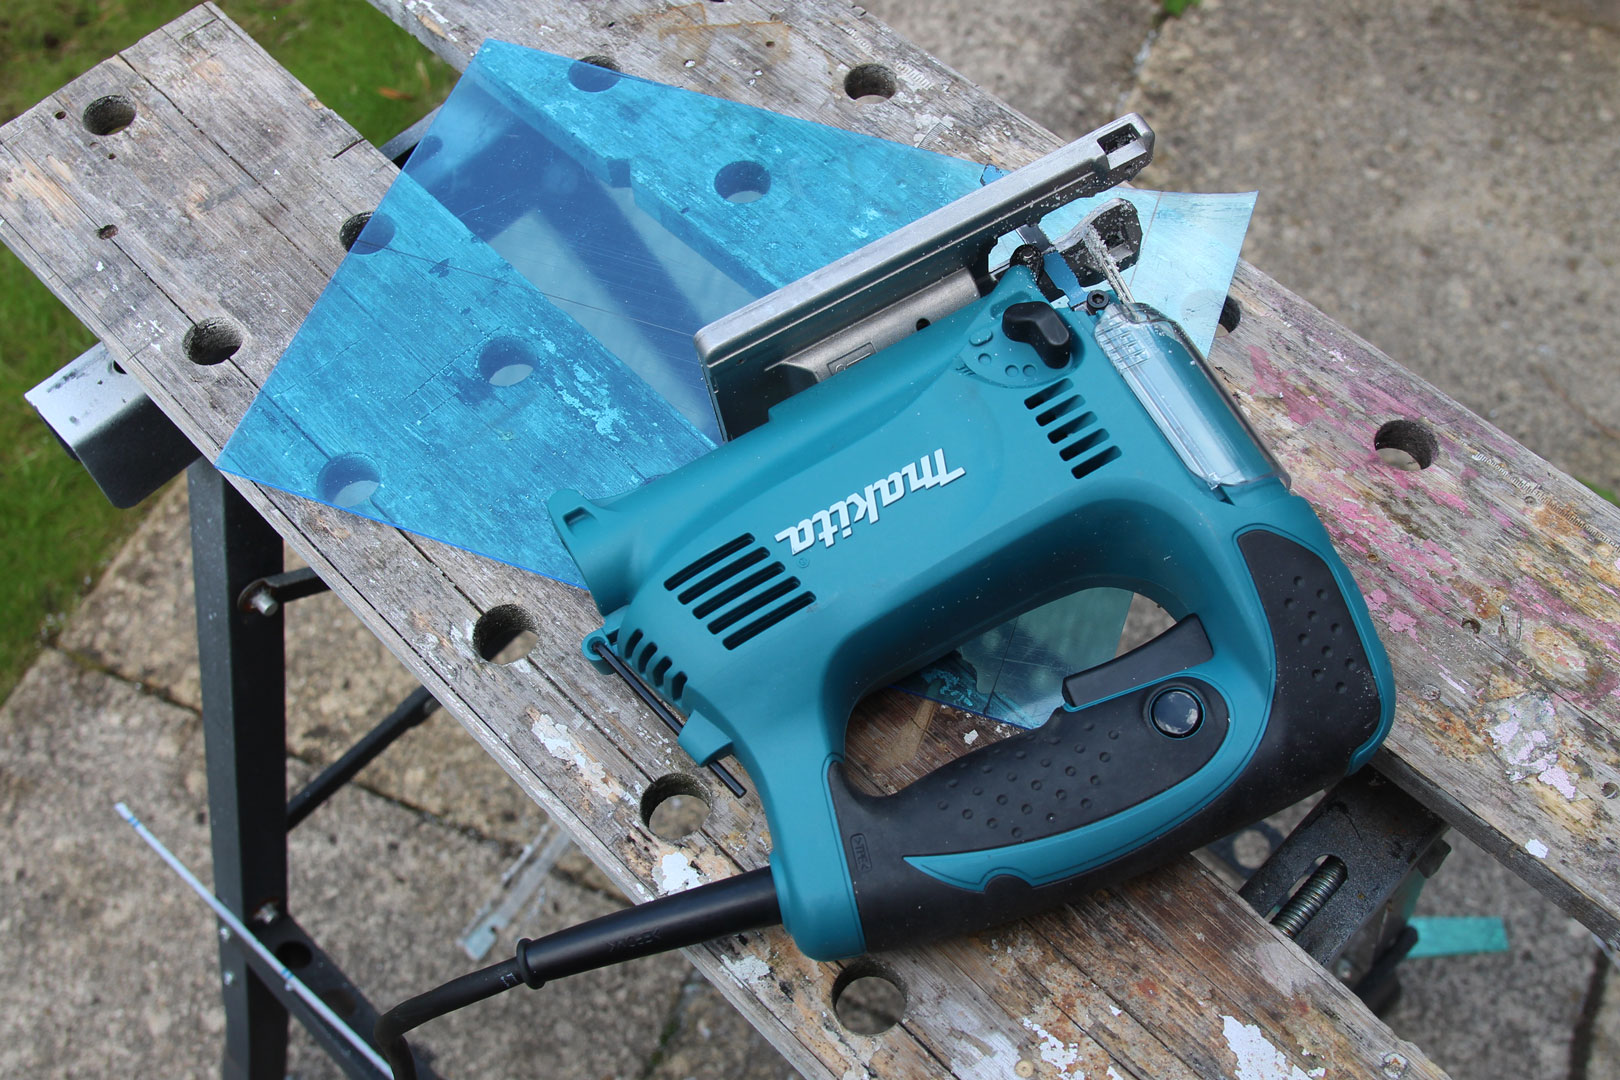
The next job is to cut it. For this 2mm I used a jigsaw. If you don't have access to a jigsaw, you can score and snap the acrylic, use a table saw, hand saw, scroll saw, or if you are really posh, a router or a laser. Really, it doesn't matter how you cut it as long as you do it carefully and safely.
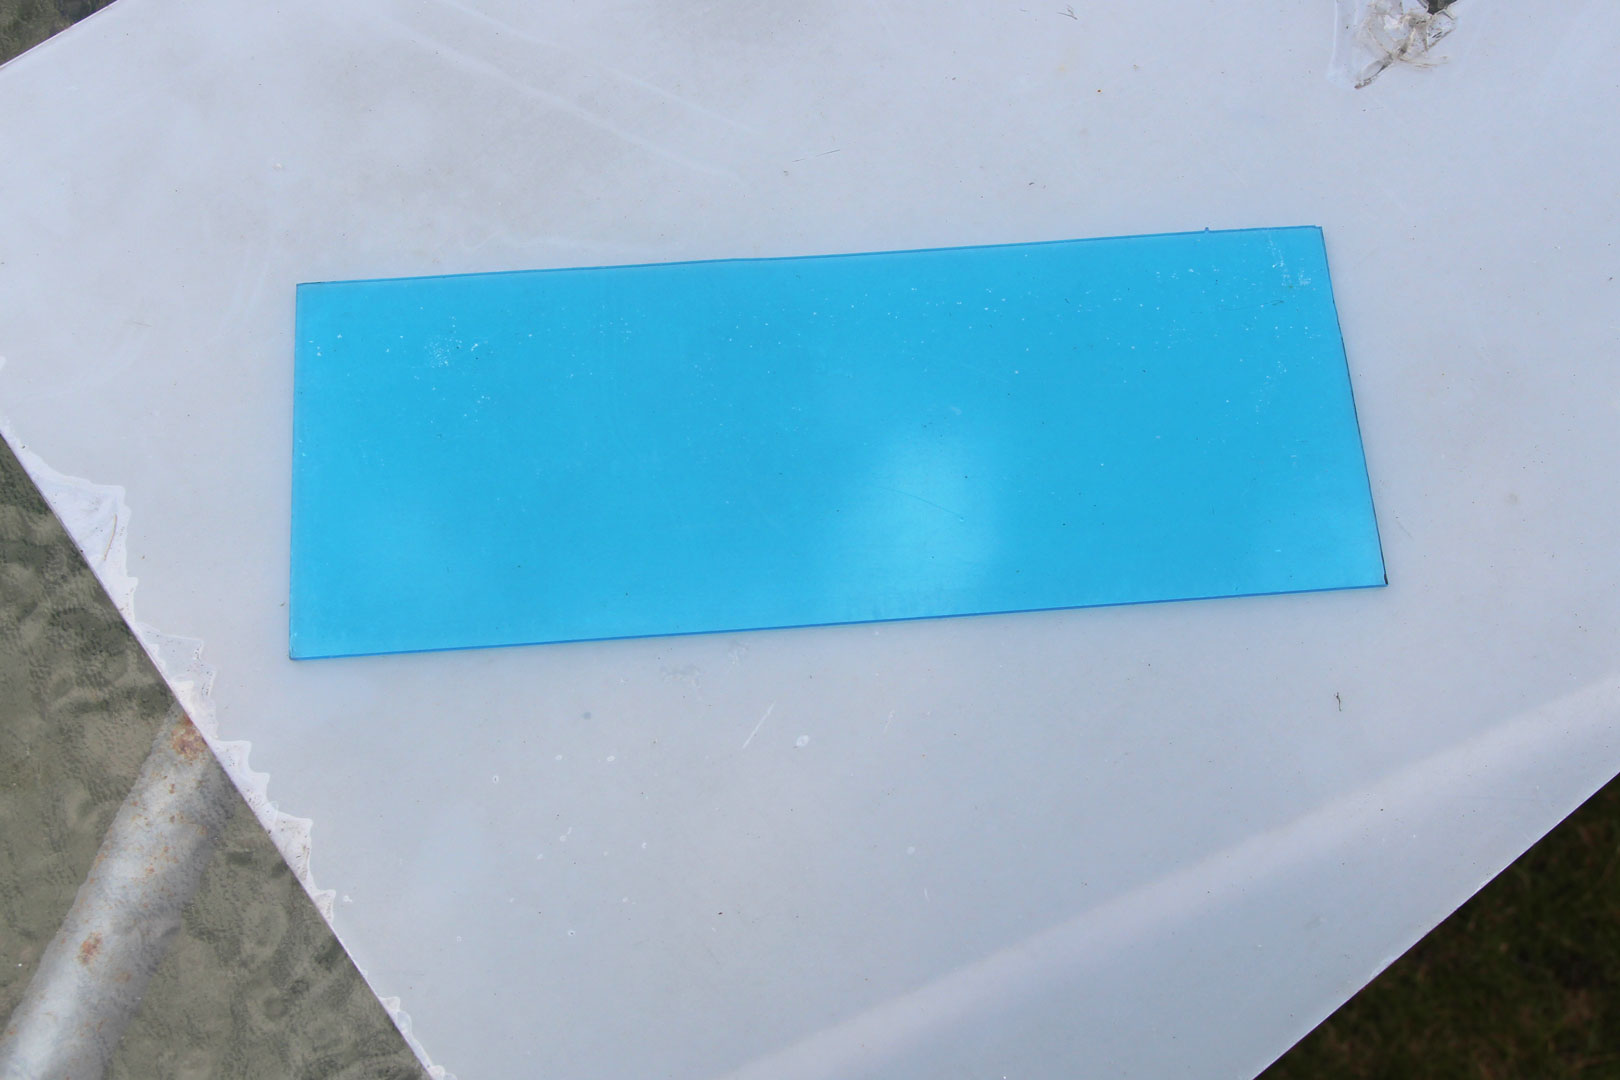
This is my cut bit of acrylic. As you have likely noticed, it needs a little bit of sanding down and tidying up along the top edge.

I used some 600 grit sand paper and a ruler to ensure everything ended up straight, clean, and tidy.

Once you have got to this position, you could stop and just attach it to the GPU if you just want a single solid colour. We want to go a bit further, though, as always! Still, it is worth checking the backplate fits properly before continuing.
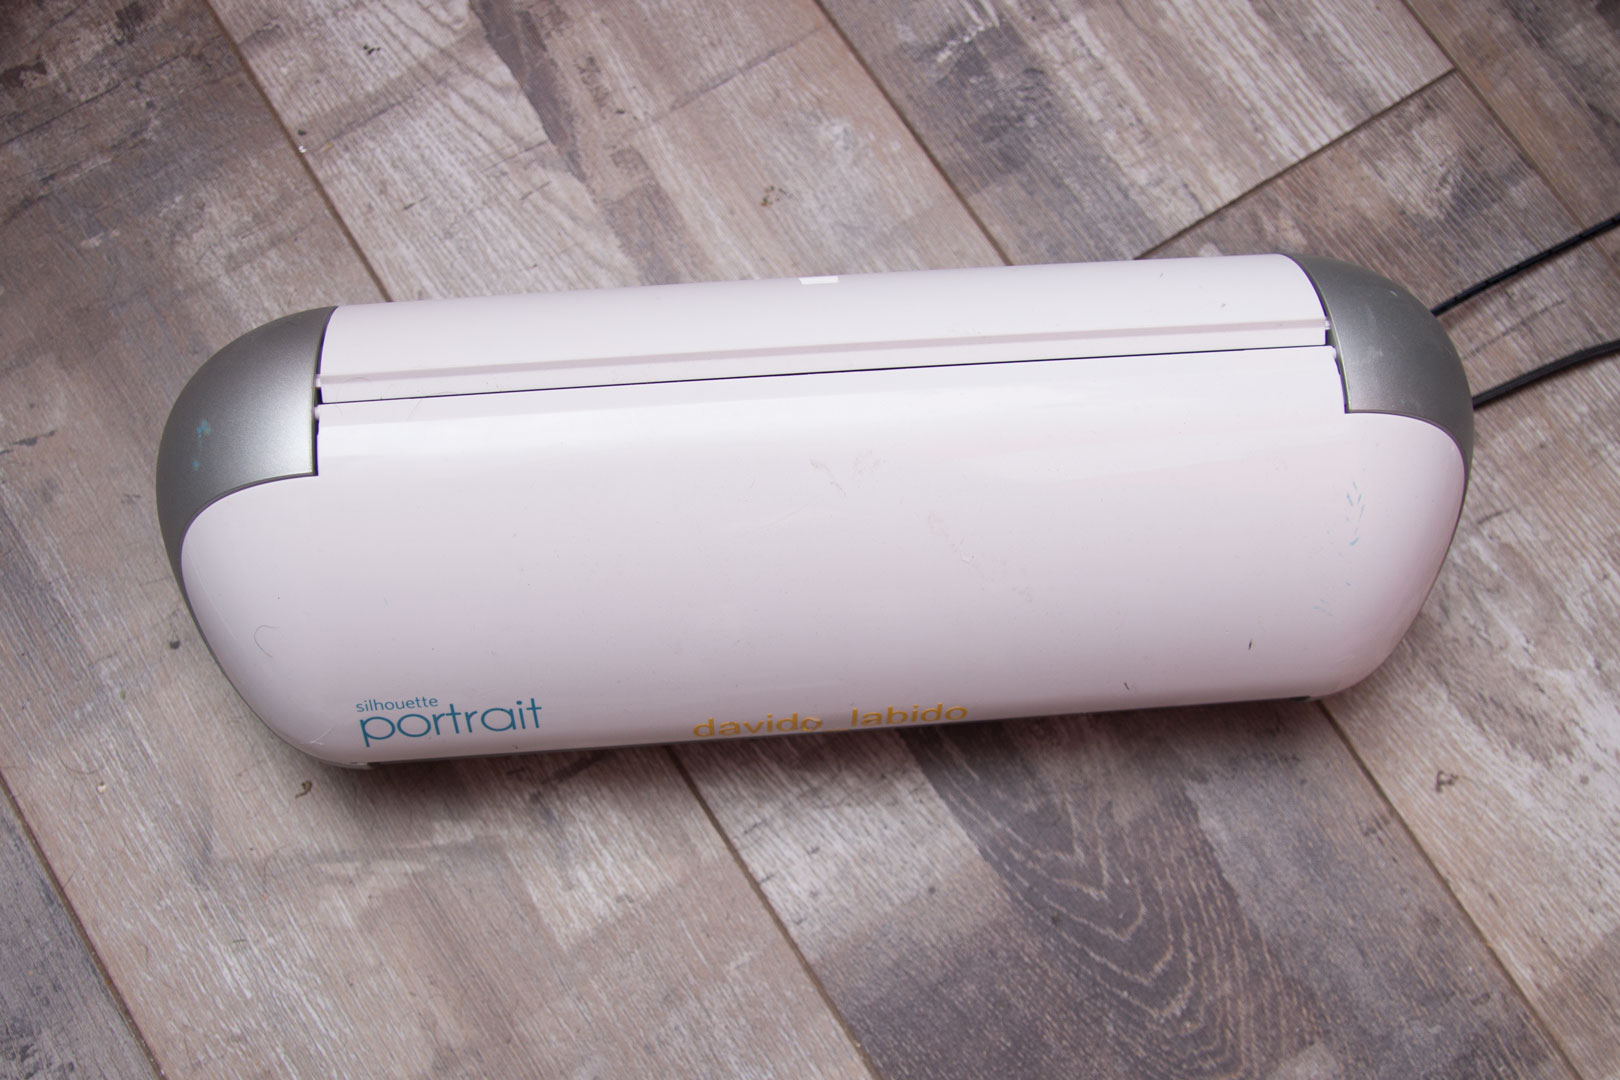
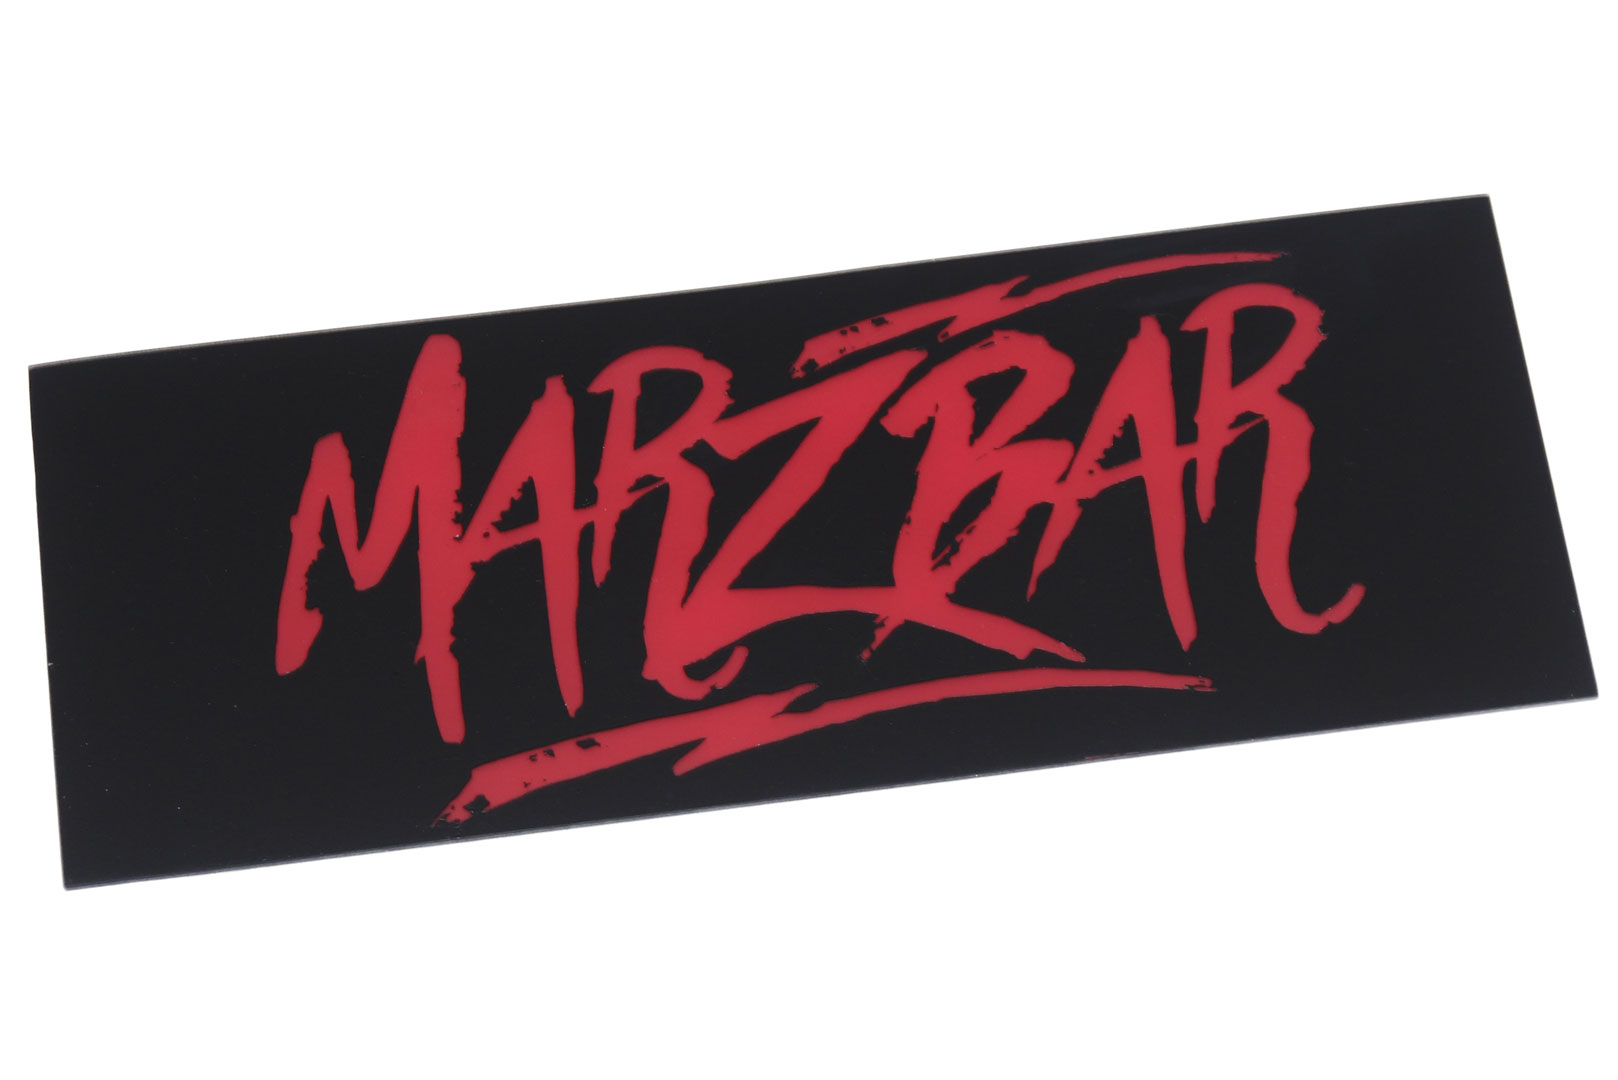
Using our trusty vinyl plotter, I made a 'MarzBar' logo. You could cut out the logo with a craft knife or a scalpel, but the plotter just makes things so much easier, especially with complicated logos like MarzBar's.
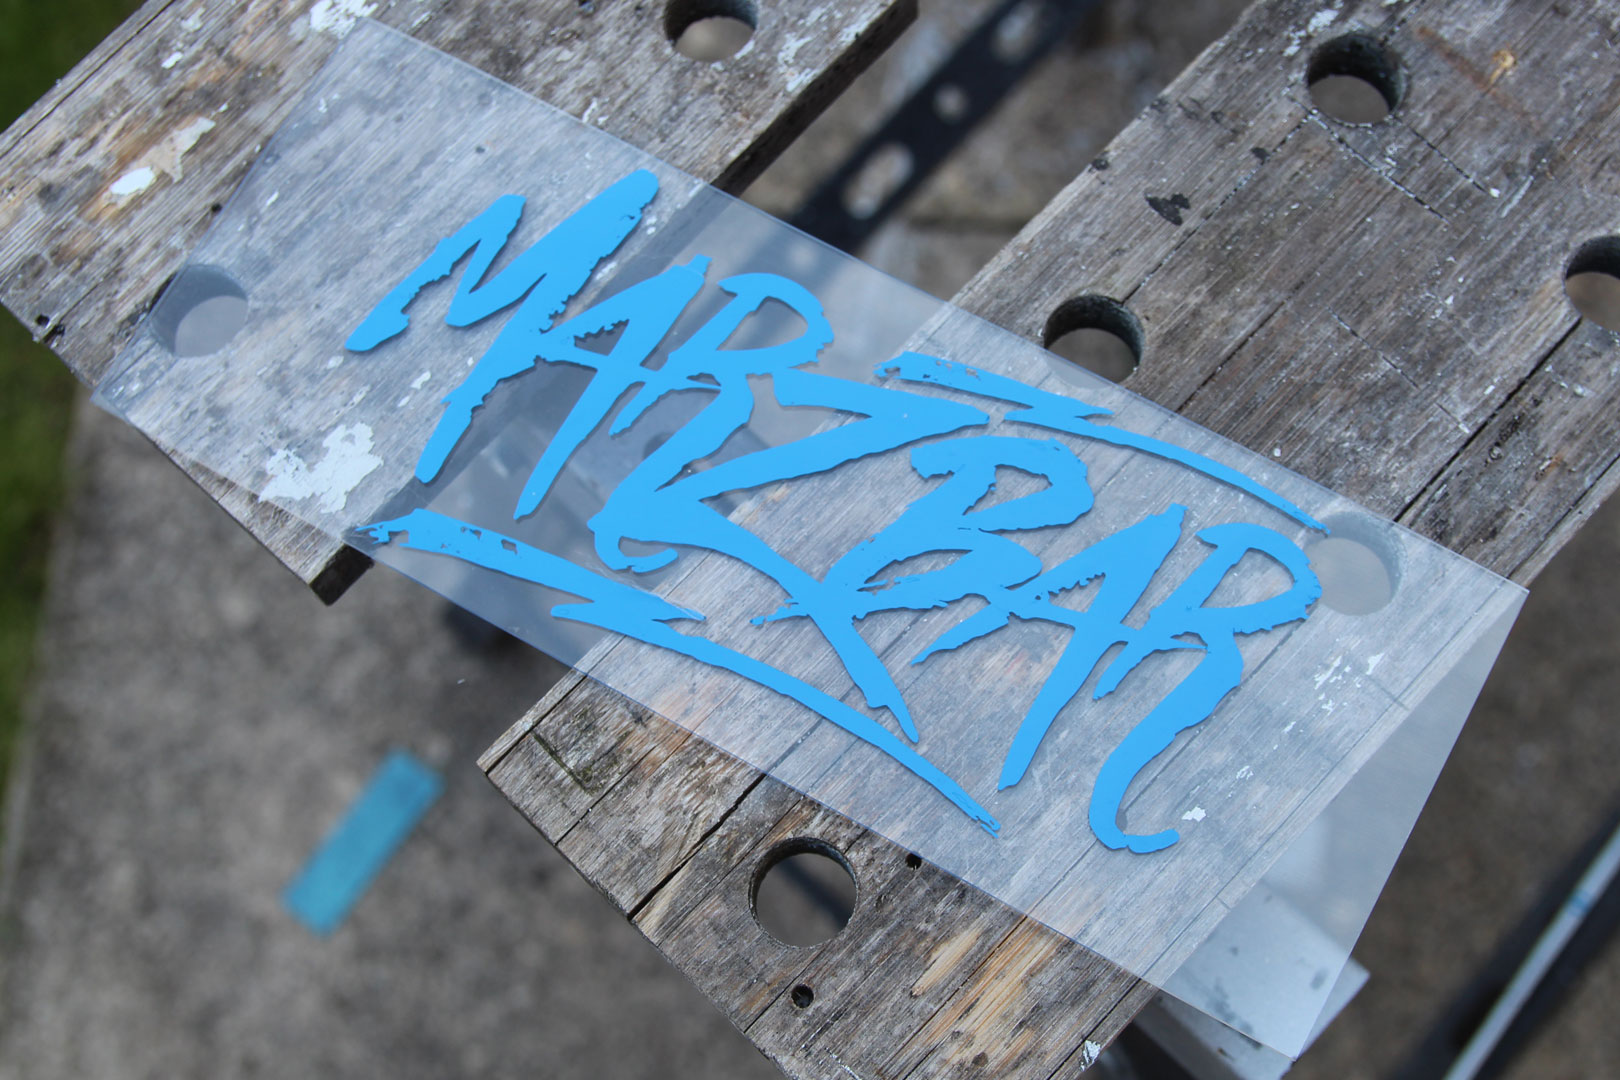
I then stuck it to the clear acrylic. Again, you could stop here, as that does look rather tasty. I wanted to take things a little further still, though, and make a backplate with two colours: black and red.
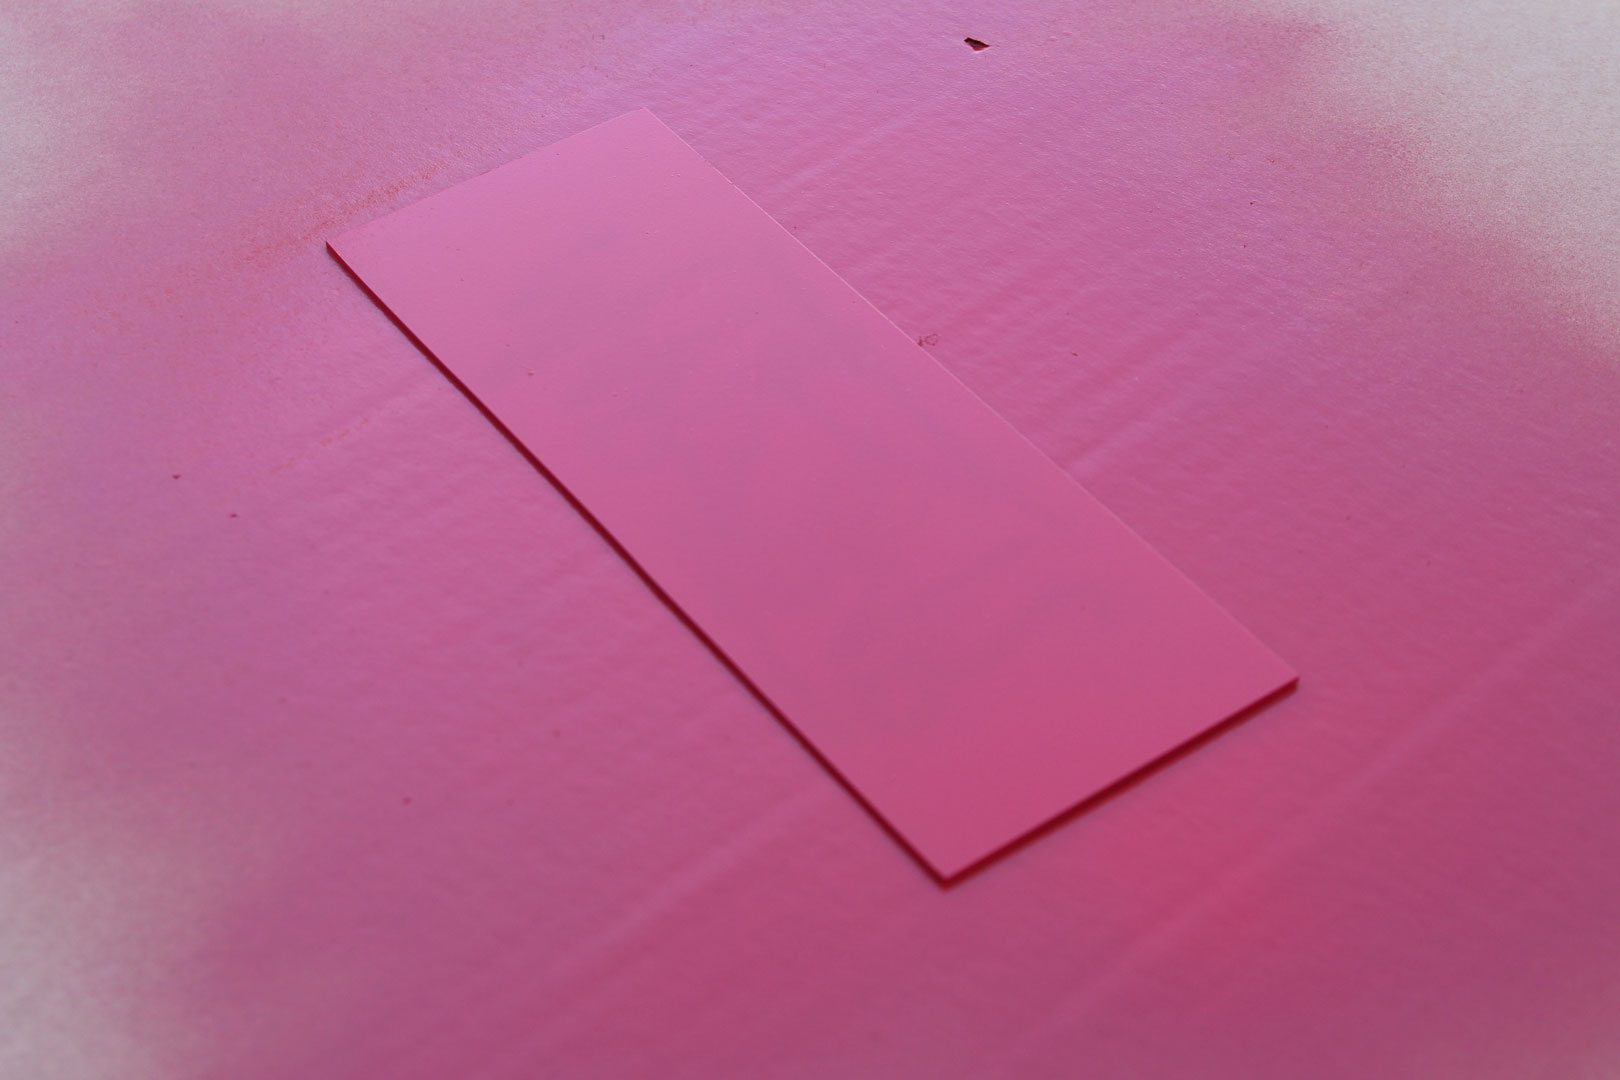
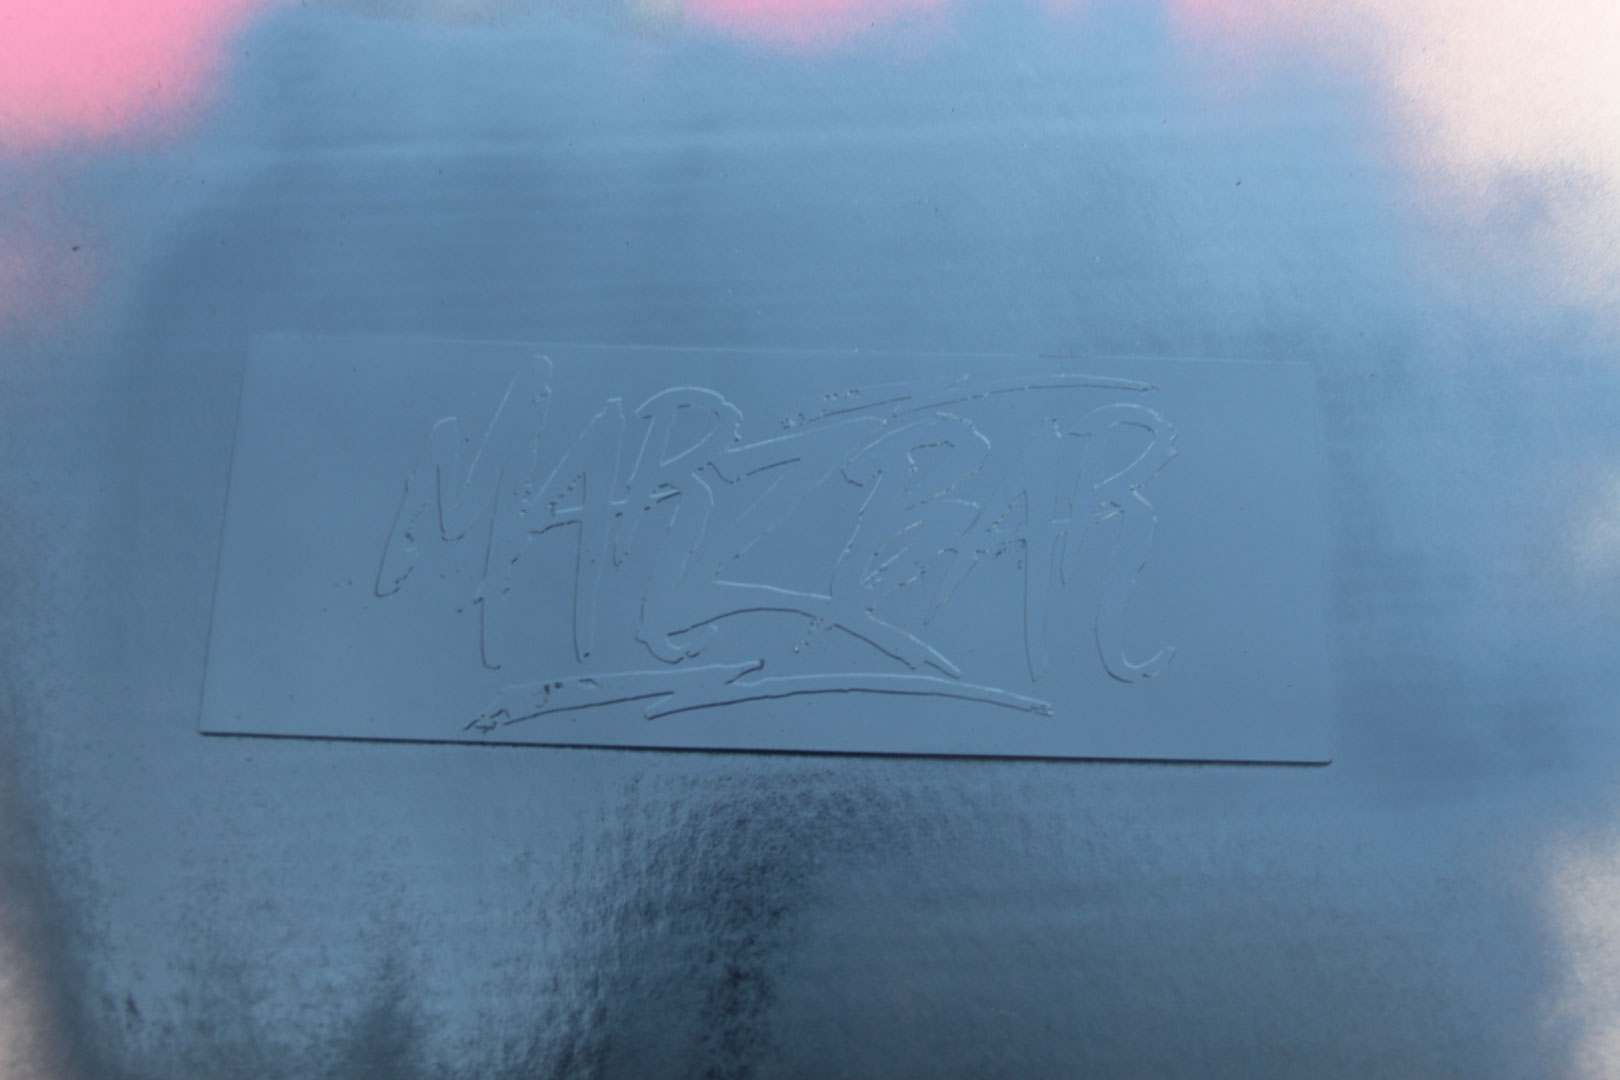
First, spray the back of the backplate with the colour you want the logo to be. For me, that meant red. Do two or three light coats; don't make the paint too thick, as it will likely chip.
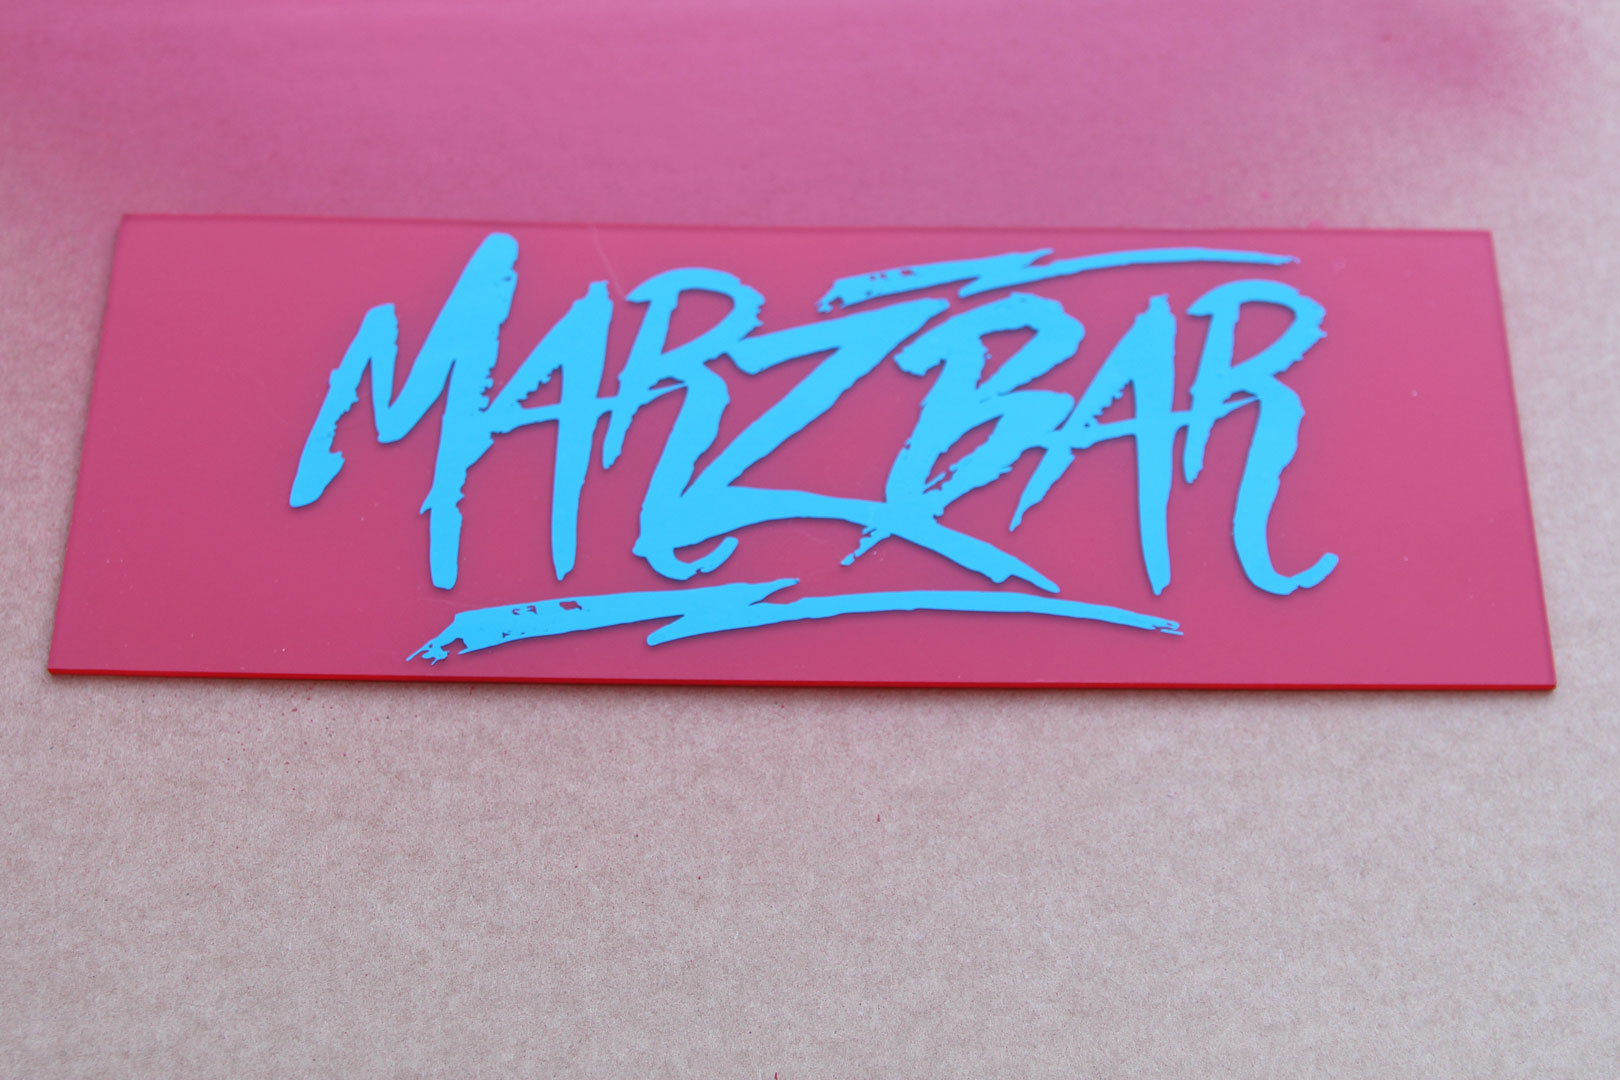
Once it is dried, flip the backplate over and you will have something like this. Once again, you only need to go further if you want to. The vinyl looks great, but we wanted something a little different; there is now too much red! I only want red as the logo colour, so I want it to highlight not overpower.
So, I sprayed the whole thing black. Make sure you are not too liberal with the paint. If you use too much, it may peel away when you take the vinyl off.
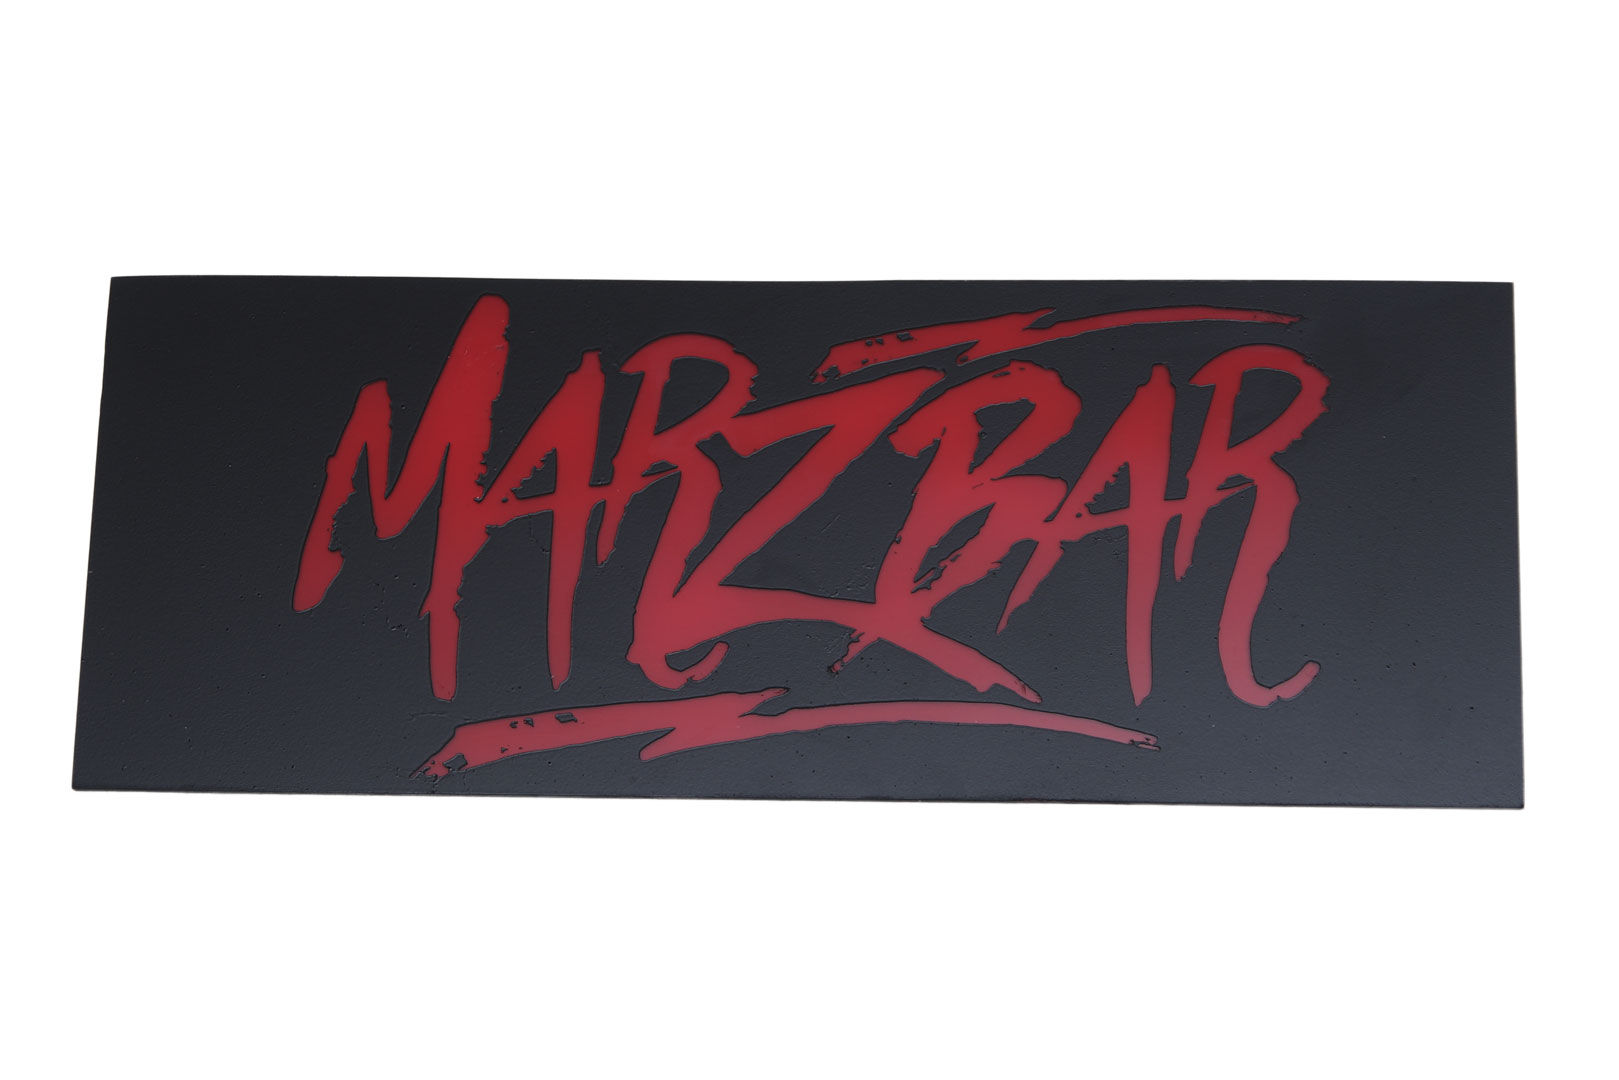
The next job is to peel away the vinyl. Do be careful here, and make sure you use something like a scalpel or craft knife to get under the vinyl properly without damaging the surrounding paint. Also, be careful you don't scratch the acrylic when you are doing it. This is our end result.
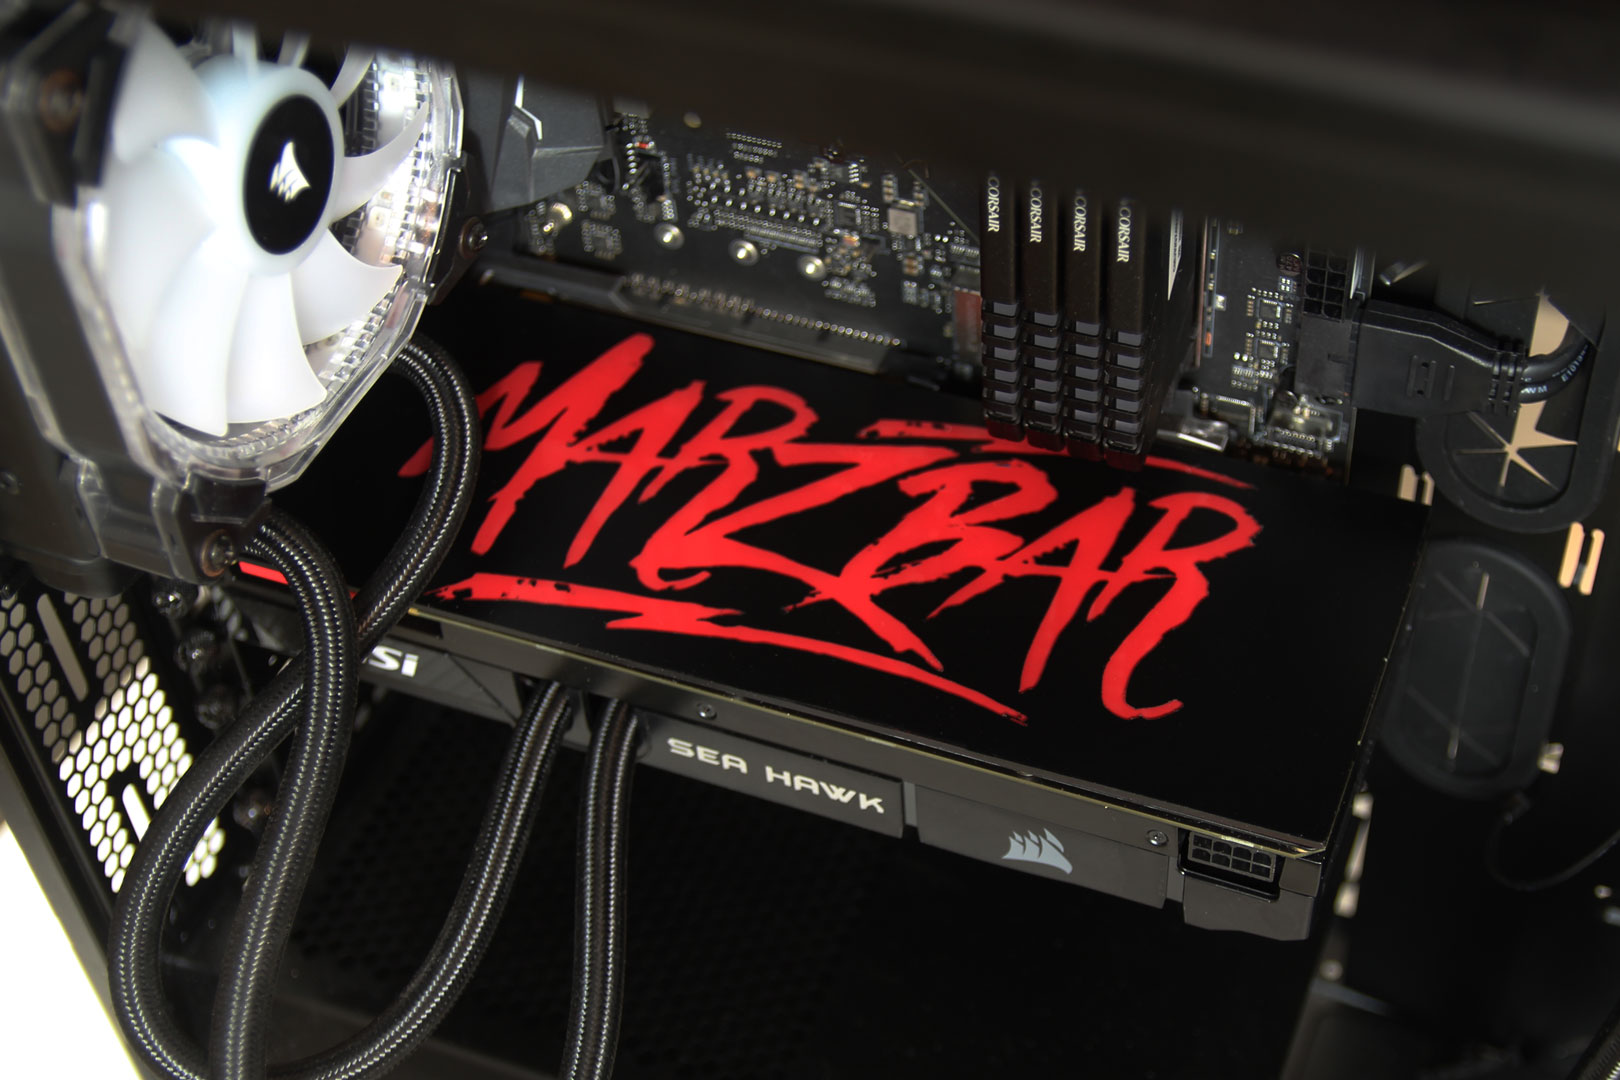
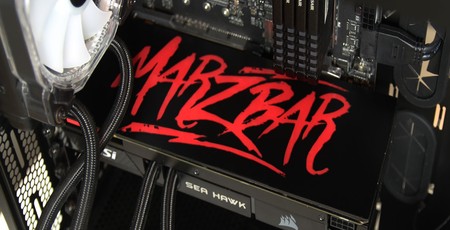
Once you have finished, simply attach it to the back of the GPU. In this example, I just just used some double-sided tape. It is non-conductive, and you only really need to do the corners to keep it in place; you don't need to use much at all.
And that's done - how simple is that? It looks great, too! You can add any design you like to backplates now. They can be simple or crazy - it's entirely up to you. Also, as these are only temporary, you don't void the GPU warranty, and you can remove them at a later date if you want to - nice!
RELATED ARTICLES


MSI MPG Velox 100R Chassis Review
October 14 2021 | 15:04

Want to comment? Please log in.