Build your own server

Written by Ken Gypen

June 5, 2007 | 16:26

Tags: #bit-torrent #server

Companies: #ubuntu

Remote administration (x11VNC && SSH)

Now, we have ourselves a fileserver - but it isn't practical to keep a keyboard, mouse and monitor connected to it. To solve this problem, we have 2 main options. For the CLI people we have SSH, which offers us a secure way of connecting to the server. The SSH server is a base for me on every Linux server, and can be useful under a variety of circumstances.

For the GUI people, we have VNC. VNC is a well know graphical protocol which works on Windows too, although with subtle differences compared to the Linux counterpart. Don't worry though, both are compatible. VNC works by sending a picture of your screen to the client computer, so it's a lot slower than SSH. Of course, it is also a lot more like "being there" if you're CLI-challenged (or just lazy -- Ed.).

The best part is, you can have the best of both worlds. Having both a SSH and a VNC server installed is no problem at all, and the combination allows you a tremendous flexibility for a secure connection. And let's be honest...isn't that why you're building this thing?

Build your own server Off with its head! Build your own server Off with its head!
So let's not waste any more time - open up Synaptic and get both services installed. First, the SSH server. It's configured quite securely from the start, so no extra steps are needed. All you need to do is select the “openssh-server” package before moving on to the VNC.

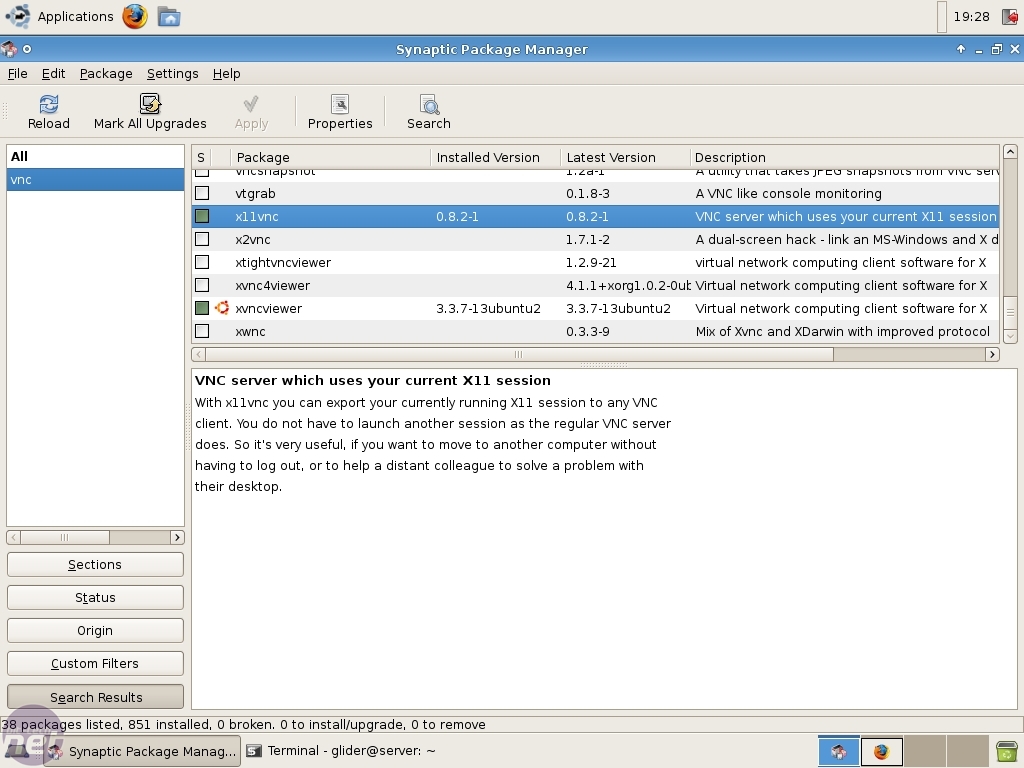
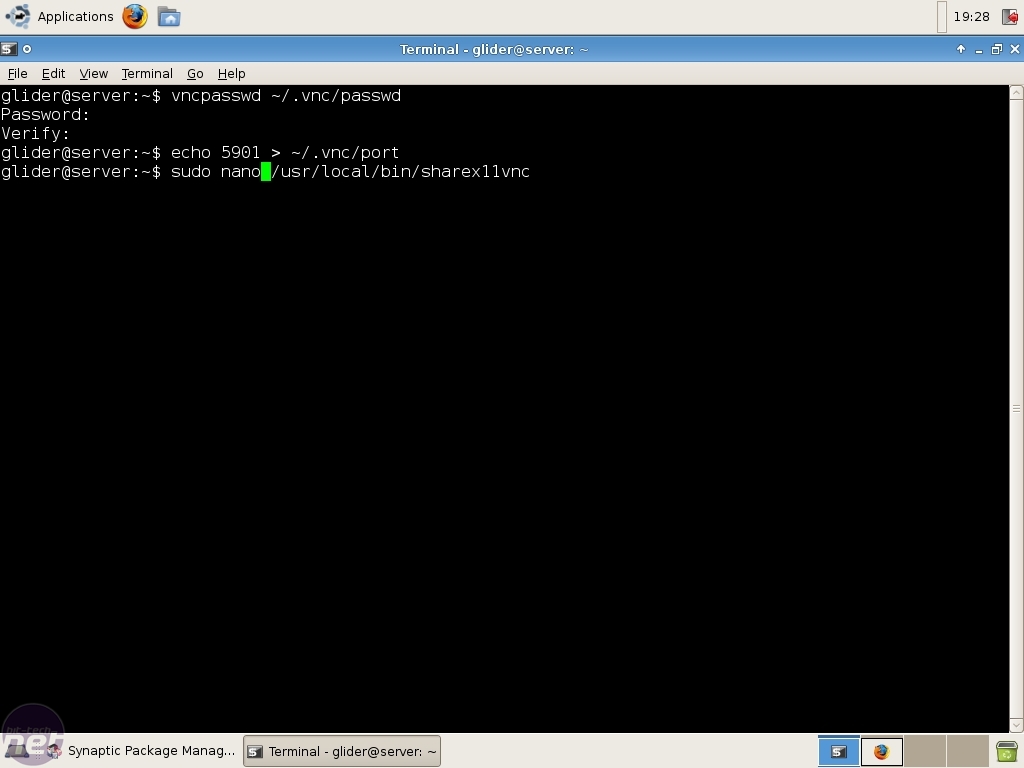
Because of the differences between the Linux and the Windows VNC protocol, we will select “x11vnc”. X11vnc is as close as it gets, without being very complex, to the Windows counterpart. X11vnc, as most vnc servers, use a separate password back-end then the standard Linux one - this is for security reasons. Once again, we have to add our users to the back-end. So type in a terminal vncpasswd ~/.vnc/passwd and hit enter, then verify your password.

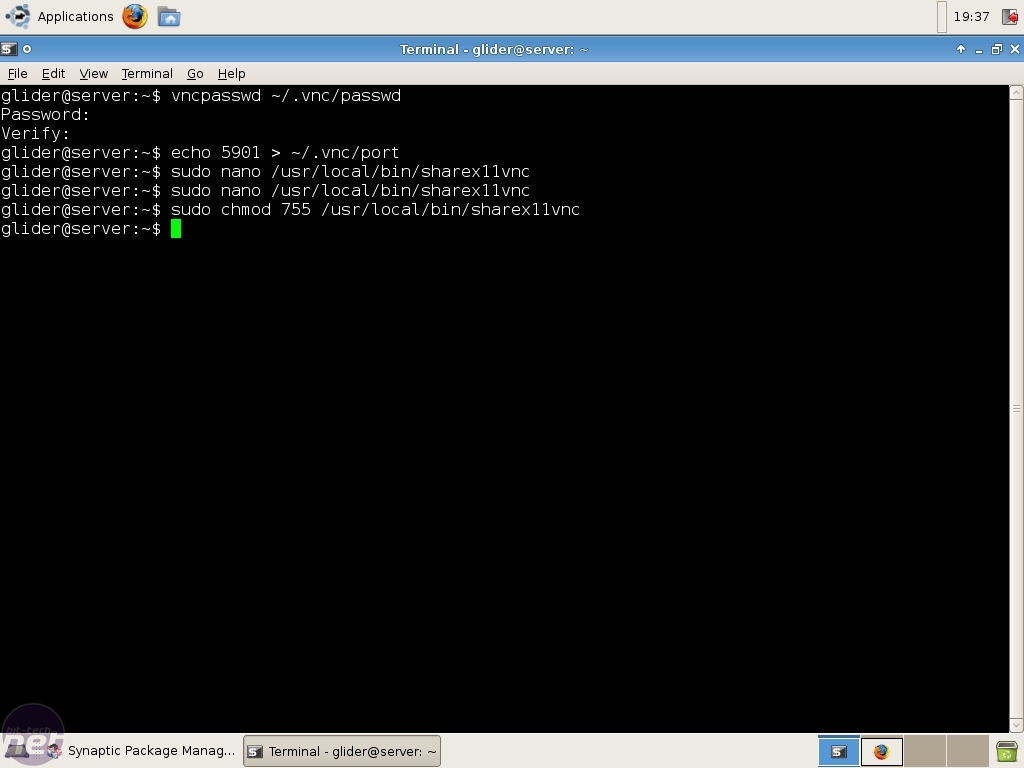
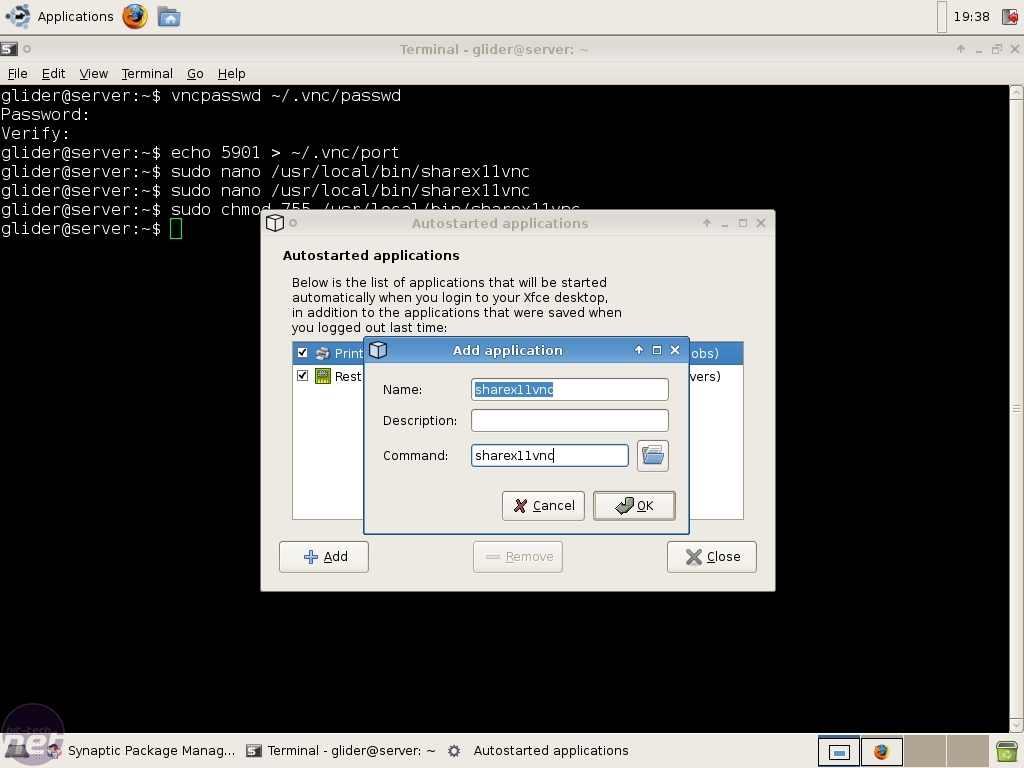
Also, the port on which the server runs has to be entered. A simple echo 5900 > ~/.vnc/port will handle that. Finally, we create a custom command to call when we log in (which will be automated too, hold your horses). Issue a sudo nano /usr/local/bin/sharex11vnc and paste:

#!/bin/sh
x11vnc -nap -bg -many -rfbauth ~/.vnc/passwd -desktop "VNC ${USER}@${HOSTNAME}" \
|grep -Eo "[0-9]{4}">~/.vnc/port

Don't forget to save and exit.

Build your own server Off with its head! Build your own server Off with its head!
In case you were wondering, you just made your first script! But before we can use it, it needs to get the correct user rights. That's easily fixed with a simple sudo chmod 755 /usr/local/bin/sharex11vnc. What the command “chmod” can do is beyond the scope of this guide, but issuing man chmod in a terminal will give a lot of information (And a cure for insomnia -- Ed.). Now we need to autostart our freshly made script. The tool we use for that is located under “Applications” -> “Settings” -> “Autostarted Applications”. Click “Add” and fill in the fields Name and Command with “sharex11vnc”.


Build your own server Off with its head! Build your own server Off with its head!
Now, let's make our account autologon (this is required by VNC). So “Applications” -> “Settings” -> “Login Window” is the place to be. Under the tab “Security” you can find the checkbox “Enable Automatic Logon”. Once you have checked it you will also need to select a user which will log on. Logic says this is our main (and only, at the moment) user.

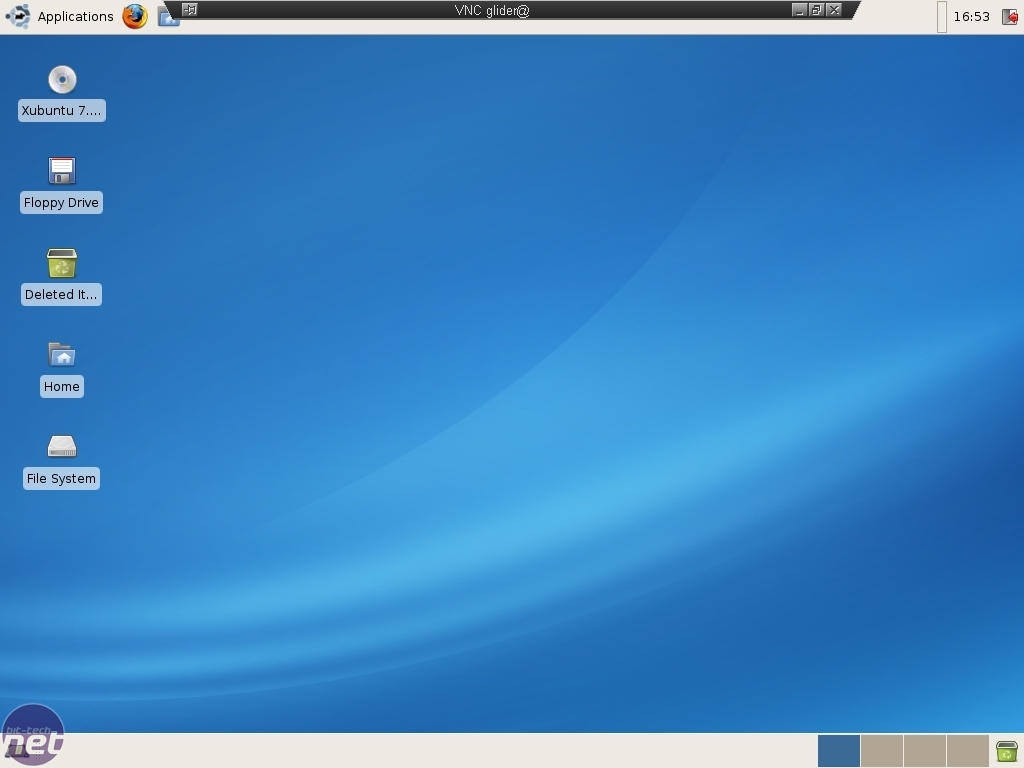
There! VNC and SSH services are set up. Now you can remotely control your server both through the GUI and the CLI. It's time to tuck the box away somewhere, and forget it's there. A word of caution is due, though - I noted that VNC is different on Windows than it is on Linux. In a Windows VNC server, you connect to a port of the machine; on Linux ,you connect to a screen on a machine. This is noticed when establishing a connection. Instead of connecting to “machine:port”, you connect to “machine:screen”.

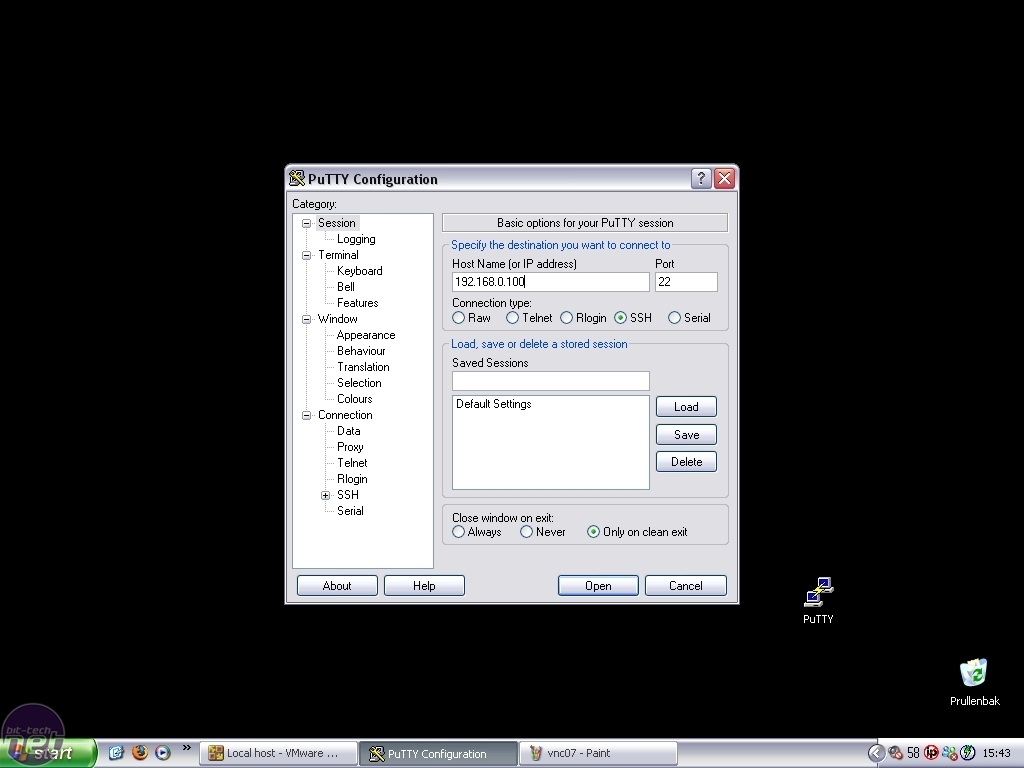
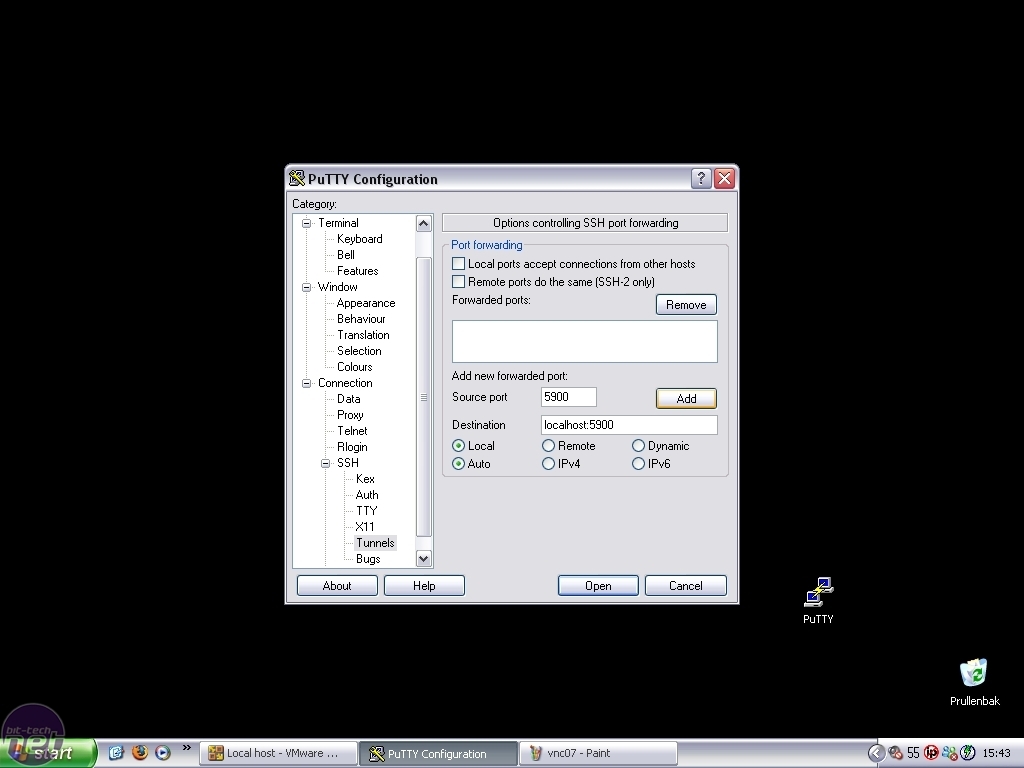
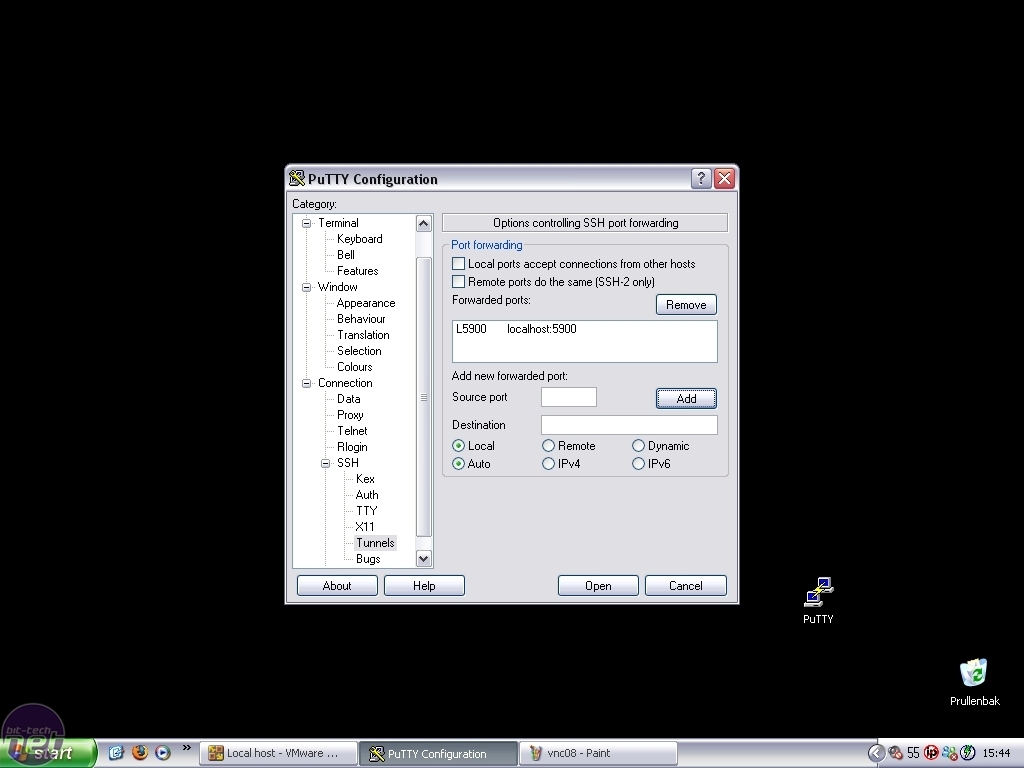
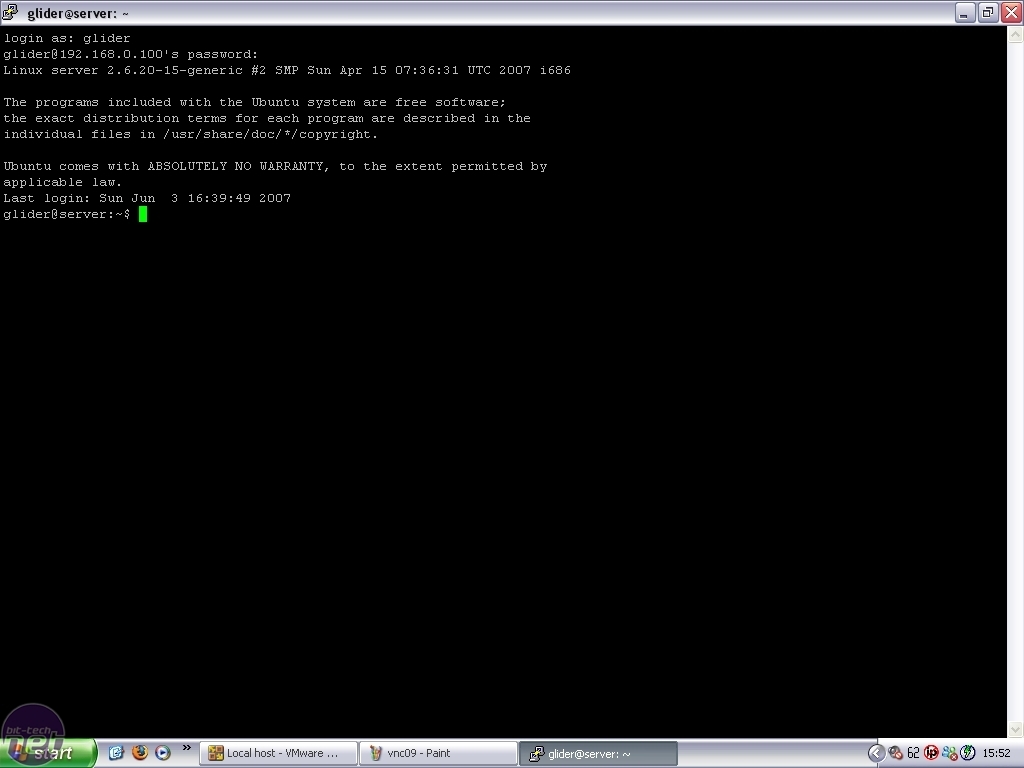
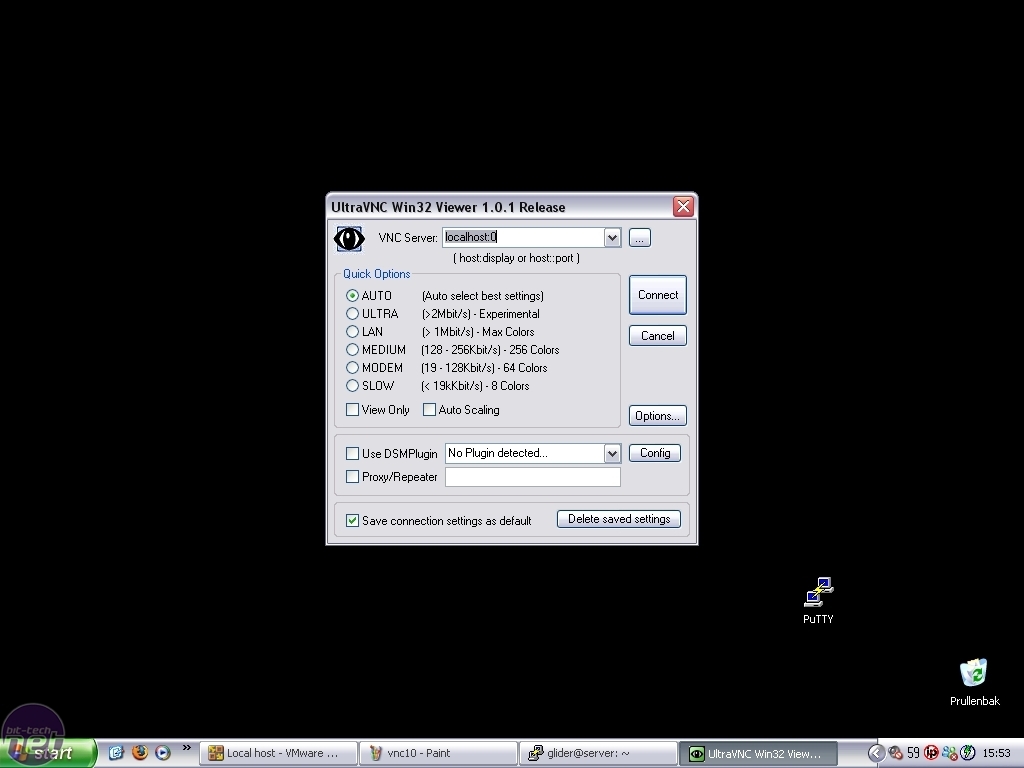
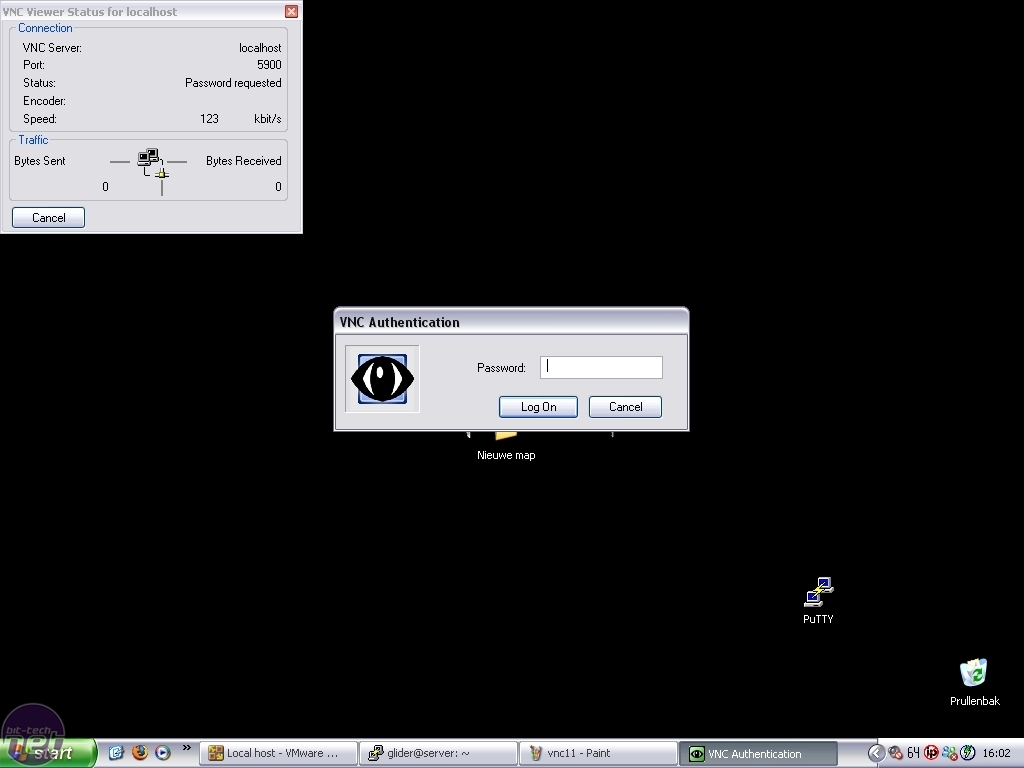
As an additional security measure, I'll show you how to connect your VNC through an SSH tunnel. I'll use putty as the ssh client and use the UltraVNC client for the GUI.

Build your own server Off with its head! Build your own server Off with its head!
We start by making the SSH tunnel. Fire up putty, type in the IP of the server. Don't press “Open” just yet, we have to define the tunnel too. Under “Connection” -> “SSH” you'll find a entry “Tunnel”. The source port is “5900” and the destination is “localhost:5900” (localhost refers to the remote machine).


Build your own server Off with its head! Build your own server Off with its head!
Click “Add”, and then “Open” to create the connection. If all goes well you'll be asked if you trust the key of the remote server, which we do. Then you can log in with your username and password (as used on the server).


Build your own server Off with its head! Build your own server Off with its head!
Now, fire up the UltraVNC client (viewer) and connect to “localhost:0”. This refers to the local machine on the default port and screen 0. Because we made a tunnel from the local machine to the server, connecting to that port will end up on the server. After clicking connect you'll be asked for a password. This is the password we set for the VNC server.


Build your own server Off with its head!
And there you go, a secure VNC connection to your server has been established.
Discuss this in the forums
YouTube logo
MSI MPG Velox 100R Chassis Review

October 14 2021 | 15:04

TOP STORIES

SUGGESTED FOR YOU