
File Sharing (Samba & proFTPd)
The goal of this guide was setting up a file server. So after the OS has been installed, it is time to get that part going. Unfortunately, no OS is all that keen on file sharing natively out of the box, and Linux is no different. That's not because it can't - more just because the goal of Linux is to have what you want, and some people don't need file sharing. So, it's a separate package.One of the best know packages in Linux is Samba. Samba is, among other things, a server and client that allows file sharing among workstations, regardless of their OS. Think of it as something along the lines of “Windows Filesharing”, only much more versatile. If you get into the depths that Samba has to offer, you'll see that the sharing of files is just the start of what it has to offer. But enough chit-chat, lets get this party started.
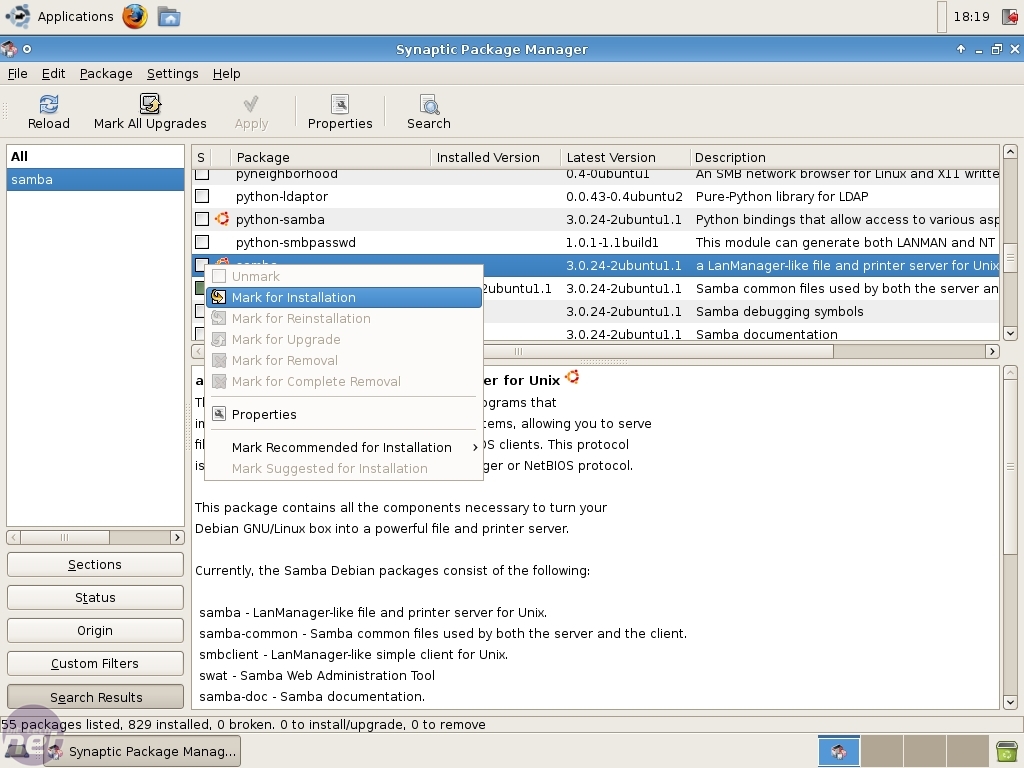
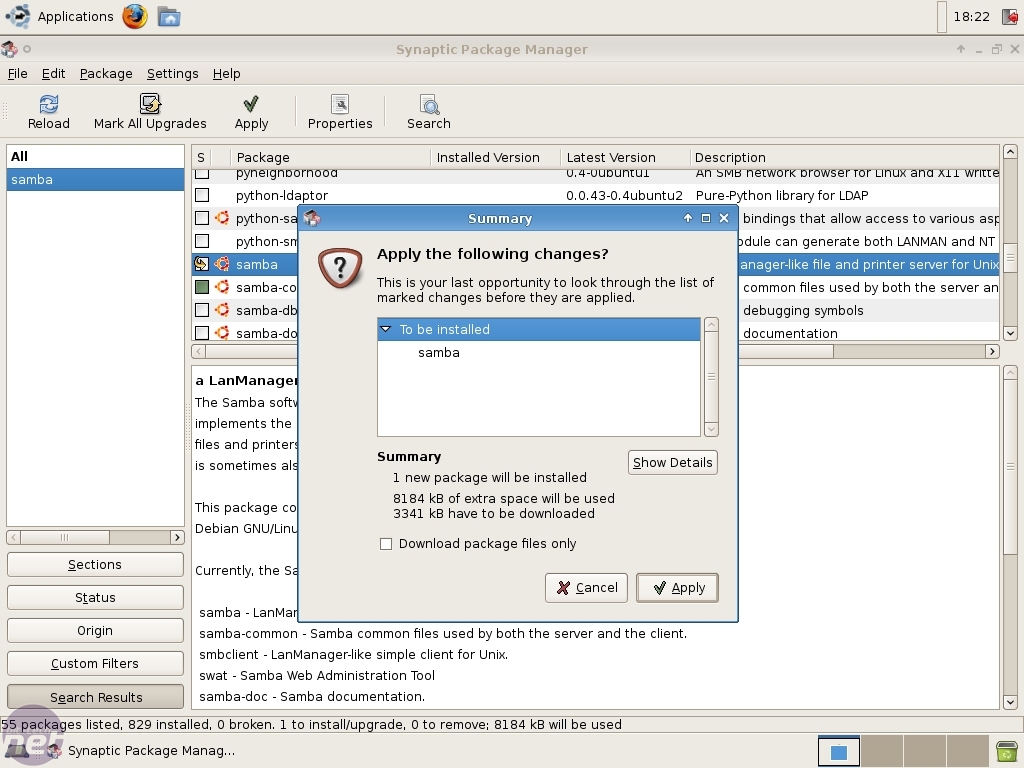
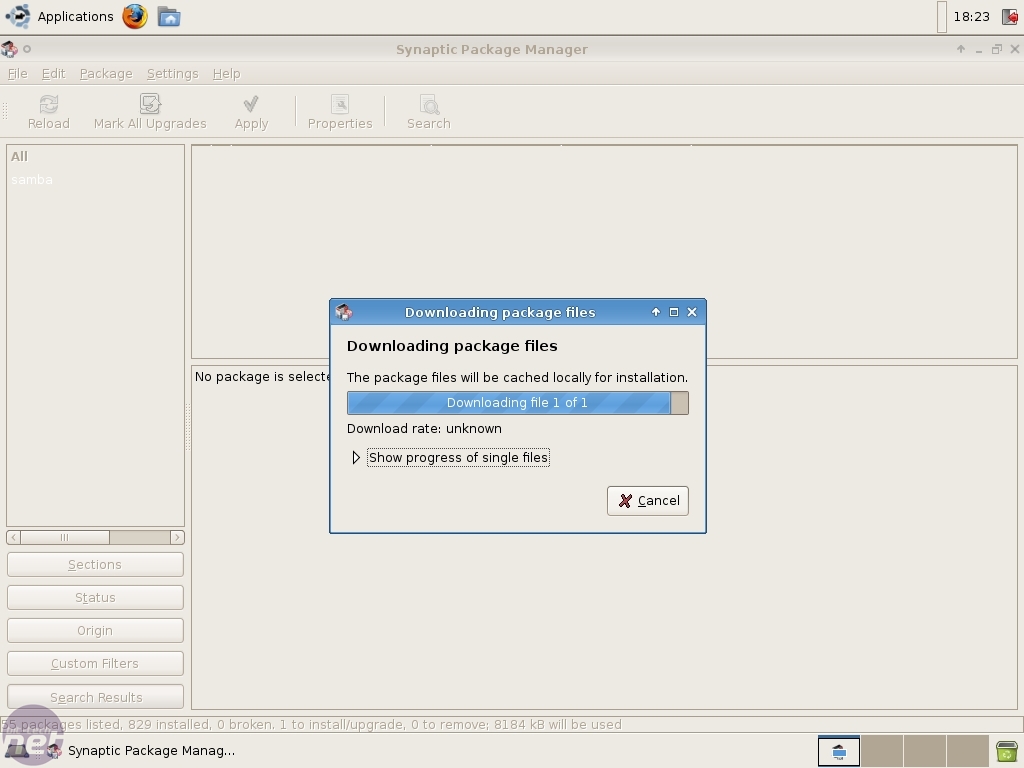
First things first, we have to get Samba, or at least the rest of it. So fire up Synaptic, search for Samba and mark it for installation. You'll see that a lot of Samba is included in the base Xubuntu install and that we only need the Samba package (server).

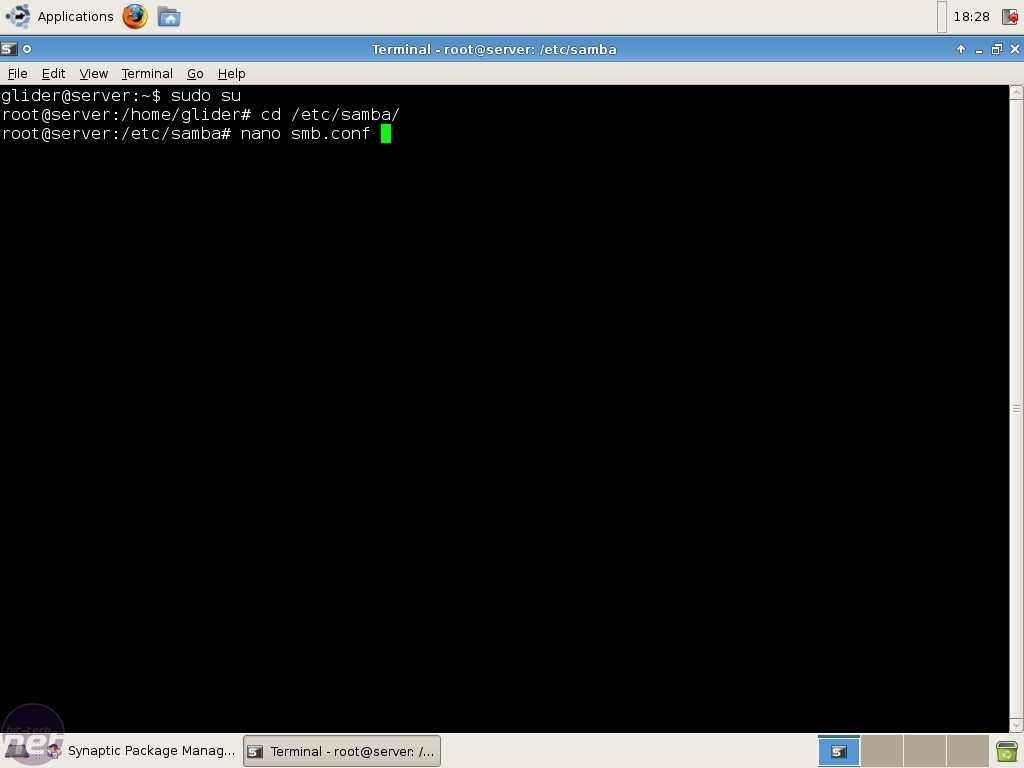
Because of the (in Linux terms) weird way of handling rights in Ubuntu, we make use of the command sudo su to become root. Just enter your user password if required. Then, we change our working directory to those of Samba, by typing cd /etc/samba which simply means Change Directory to /etc/samba. Easy isn't it? Now we will edit the main config file of the samba server, named “smb.conf”. For this, I use nano, a great and easy terminal file editor. Just type nano smb.conf and you are ready to start editing. If you would like something more graphical, you could always install “gedit” (through Synaptic) and replace nano with gedit.
Replace all the contents of the file with the following. Make sure you replace "Name" and "Server Name" with the correct data from your XUbuntu installation!
[global]
panic action = /usr/share/samba/panic-action %d
workgroup = "Name"
netbios name = "Server name"
invalid users = root
security = user
wins support = no
log file = /var/log/samba.log
log level = 3
max log size = 1000
syslog = 1
encrypt passwords = true
passdb backend = smbpasswd
socket options = TCP_NODELAY
dns proxy = no
passwd program = /usr/bin/passwd %u
passwd chat =*Enter\snew\sUNIX\spassword:* %n\n *Retype\snew\sUNIX\spassword:* %n\n .
obey pam restrictions = yes
pam password change = no
null passwords = no

#Share Definitions

[homes]
        comment = Home Directories
        browseable = yes
        writable = yes
        security mask = 0700
        create mask = 0700
Save and exit in nano is done through the keyconbination Ctrl + X , y and enter.
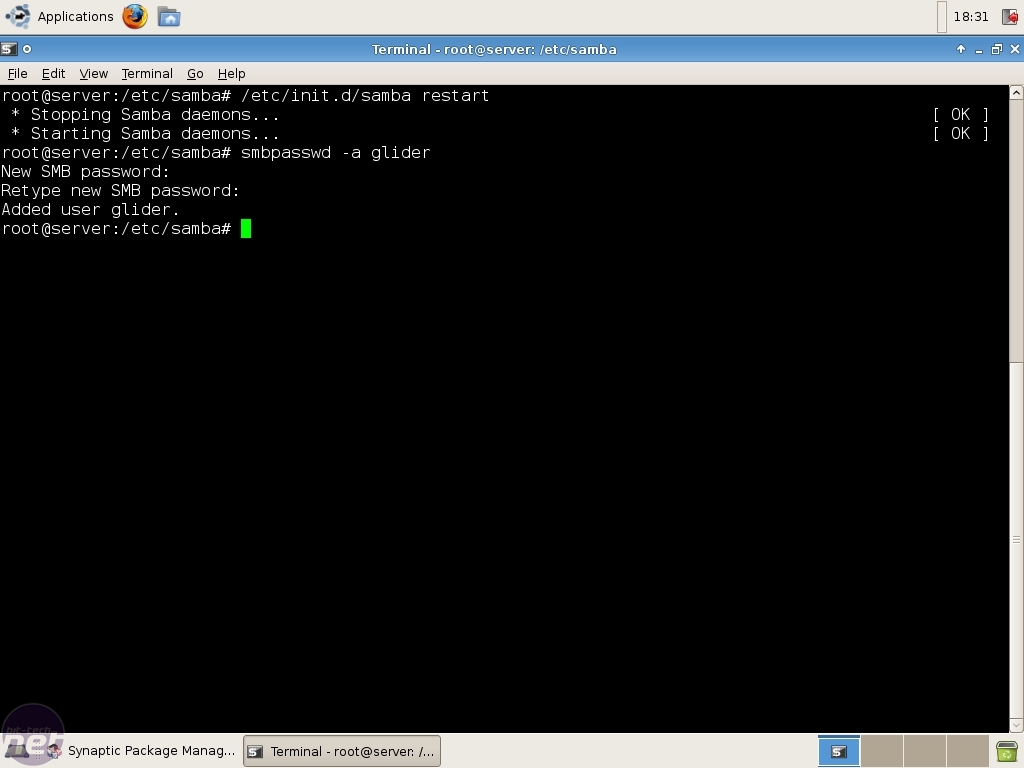
Now, we restart the samba server by typing /etc/init.d/samba restart. You'll see the server stopping and restarting. Now we are sure that new config is loaded. One minor difficulty in Samba is that it uses a separate password back-end. This is great for security, but in this case adds an other step. We have to add all the users that use samba to that back-end. Don't worry, it's an easy step. Type smbpasswd -a Username and enter the password for that user.
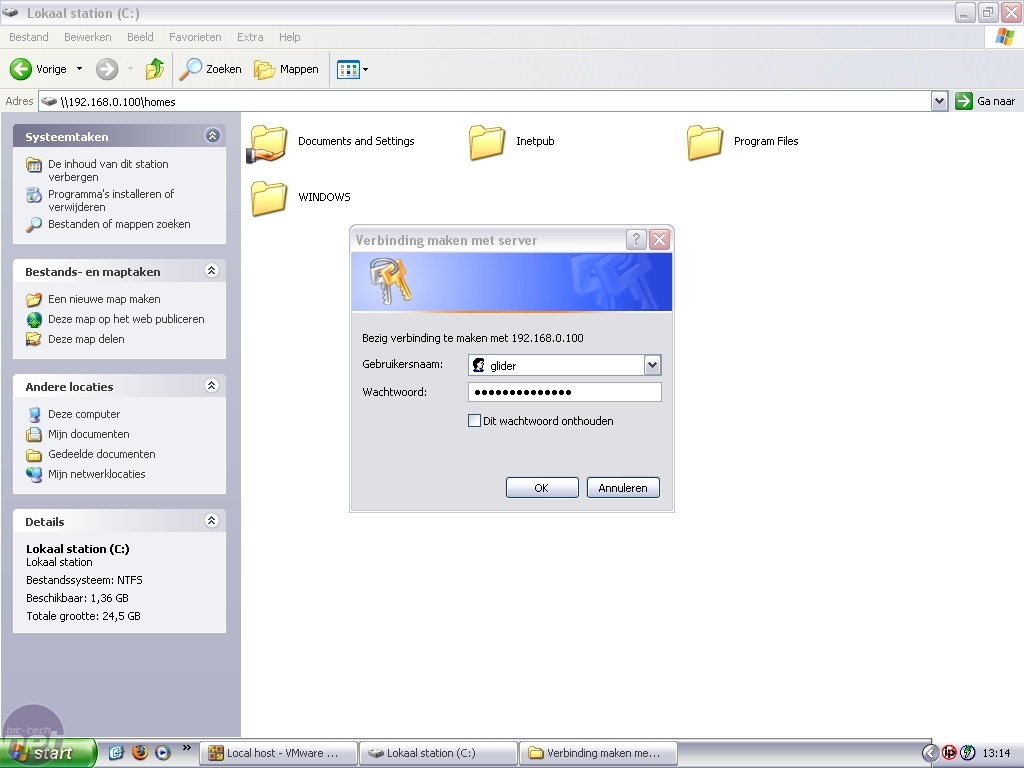
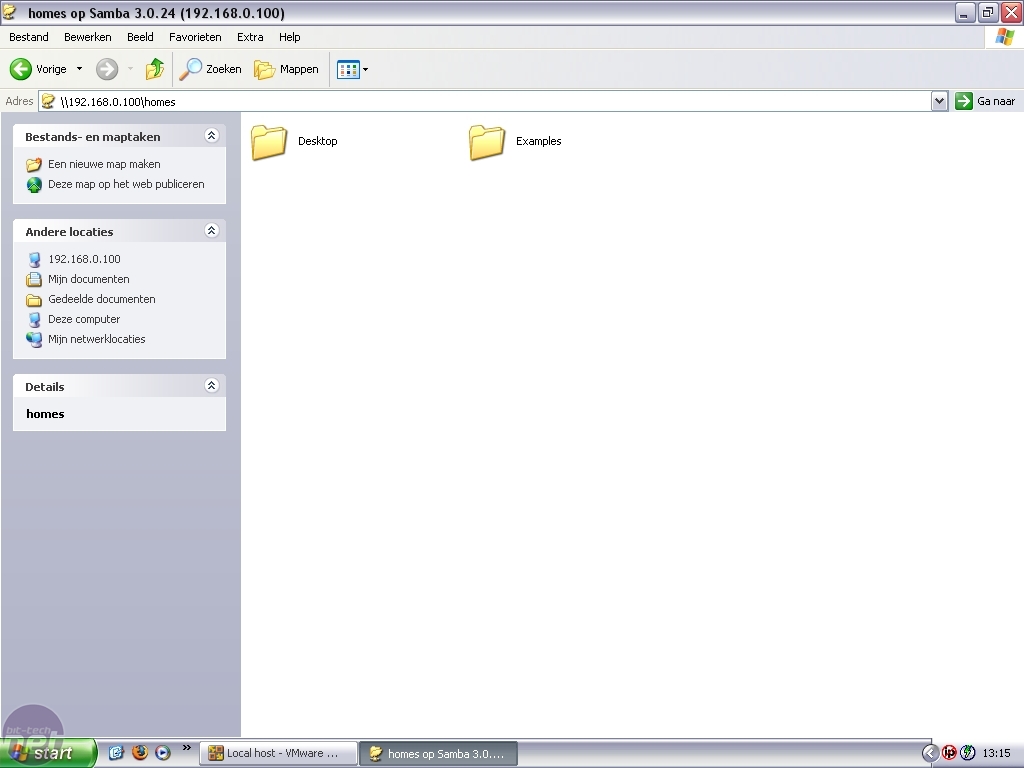
\\(whatever the IP of the server is)\homes
You should be prompted for the username and password, which you just freshly created moments ago. Enter them in, and you'll be greeted with the contents of your home directory.
RELATED ARTICLES


MSI MPG Velox 100R Chassis Review
October 14 2021 | 15:04

Want to comment? Please log in.