Matching up the components in a mod can be one of the simple ways of adding a lot of thematic consistency. Whilst RGB has largely removed the bold colours of old - think back to those fluorescent green G1 Sniper boards - there's still plenty of scope for modding even high-end components to suit a given theme.
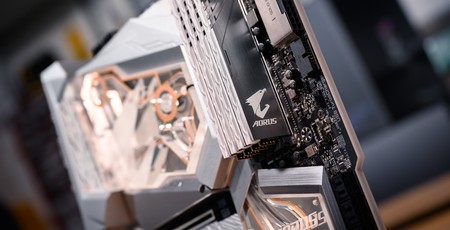
In the case of our project AORUS-KS, the Z390 WaterForce Xtreme doesn't quite line up with the intended theme of brushed aluminium and orange. The default board is largely black with metallic accents here and there coming from both the waterblock and the top M.2 heatsink. One particularly convenient feature of most high-end boards nowadays is that they almost unanimously feature aesthetic shrouds; these are great for themed mods as one can easily remove them for painting, hydro-dipping or powder-coating (depending on the construction material, of course).
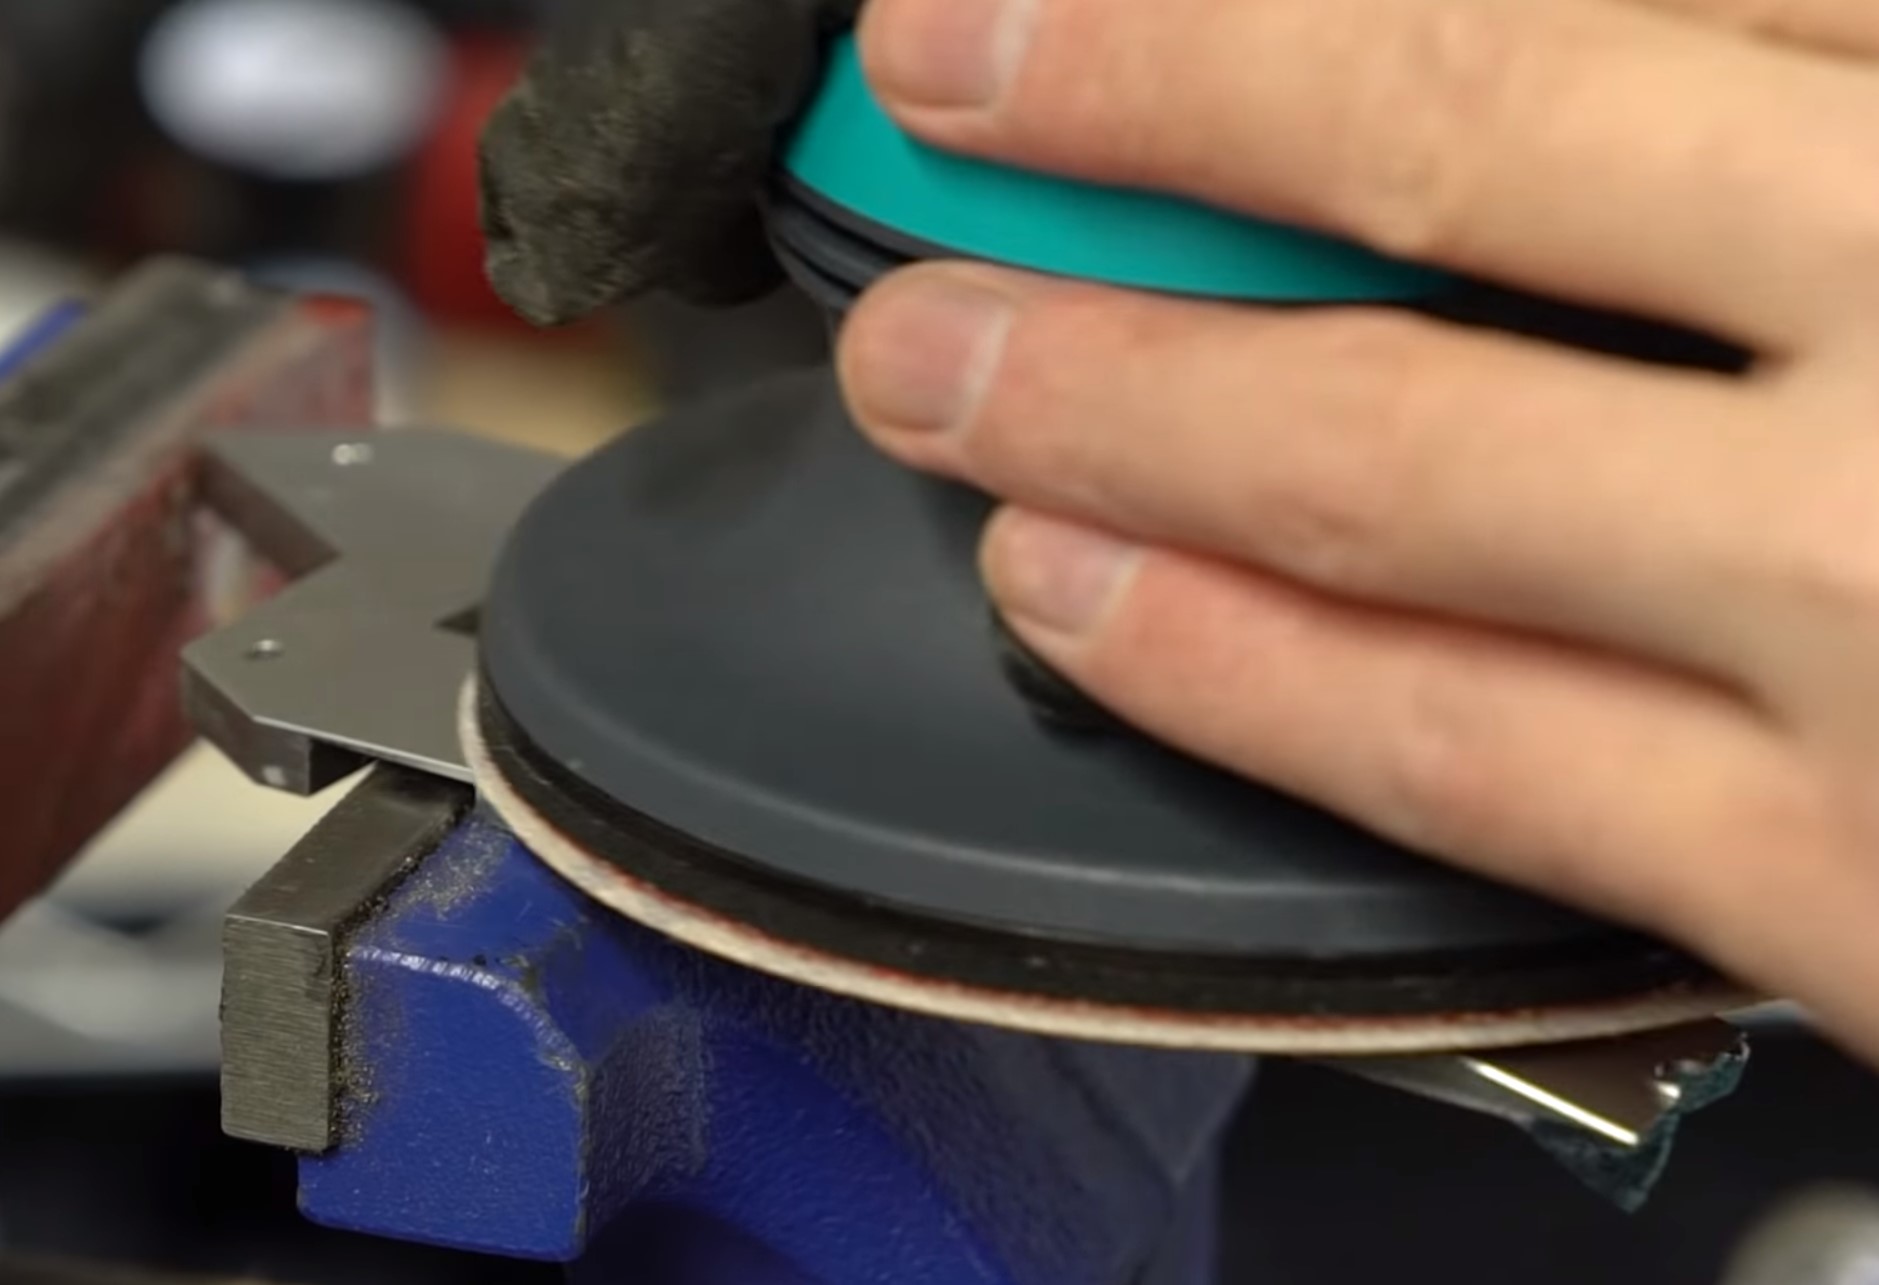
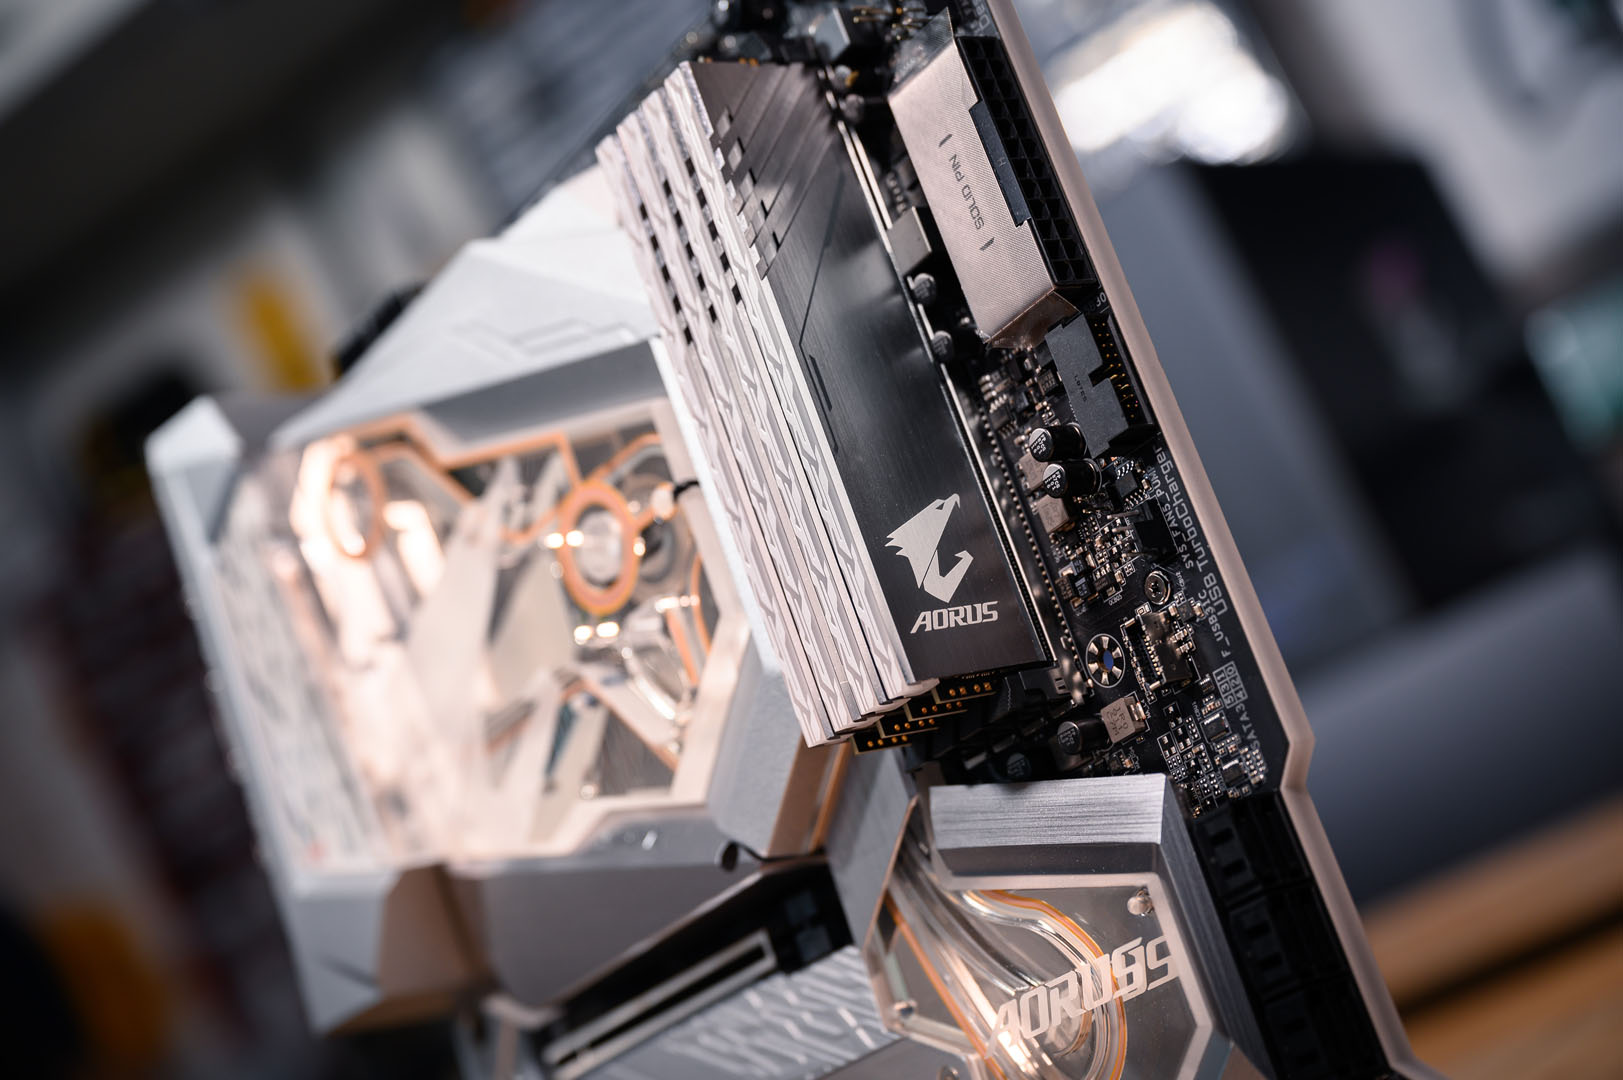
The plan of action, then, was pretty straightforward. Remove the shrouds, covers and stickers, then paint and refinish to match the brushed aluminium theme. We started with the lower M.2 heatsinks, which amazingly enough sit under a thick plastic sticker. Removing it was simple enough, a few blasts from the heat gun softened the adhesive nicely, allowing it to just peel off. The finish underneath was a little rough, however, so I set to work brushing it with an 80-grit sanding pad until the anodising layer had been removed, then followed up with a 300-grit pad to smooth the lines.
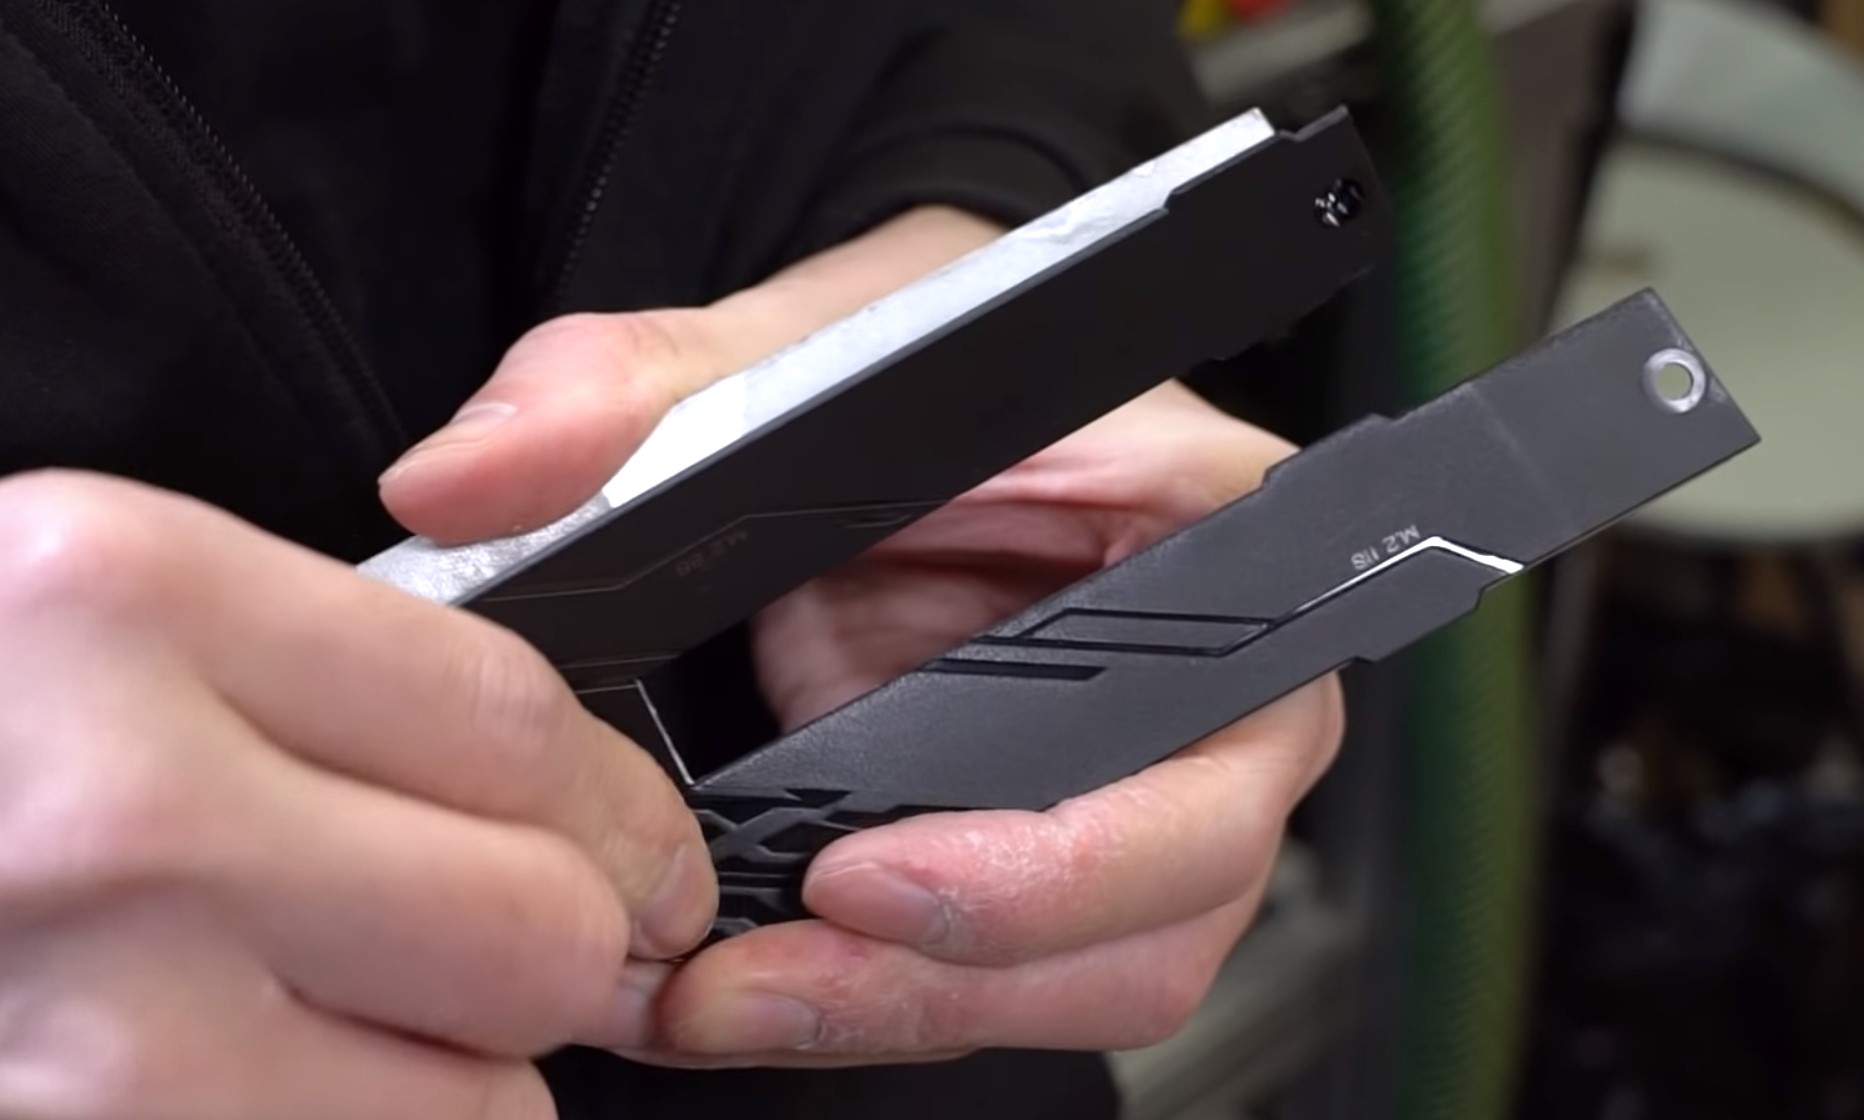
This part of the motherboard honestly confused me to no end as it's essentially isolated from the waterblock, thus receives no active cooling from the water loop. Normally that wouldn't matter, but placing a thick sticker on top would surely mean it wouldn't really do anything? Regardless, the board looks much sleeker without the sticker to me, so Gigabyte likely could have saved a bunch on expensive tooling for that moulded piece and left the aluminium section bare-anodised or given the same brushed finish as the chunky top M.2 heatsink.
The remaining shroud pieces were all secured with screws from the back of the board. They were removed, given a light sand and thoroughly cleaned before being primed with a neutral grey spray paint. The shroud sections were then sprayed with several thin coats of BMW Titanium Silver from Halfords. The Halfords paints are probably terrible for your car; however, they work really well for small project pieces like these as they're durable and readily available.
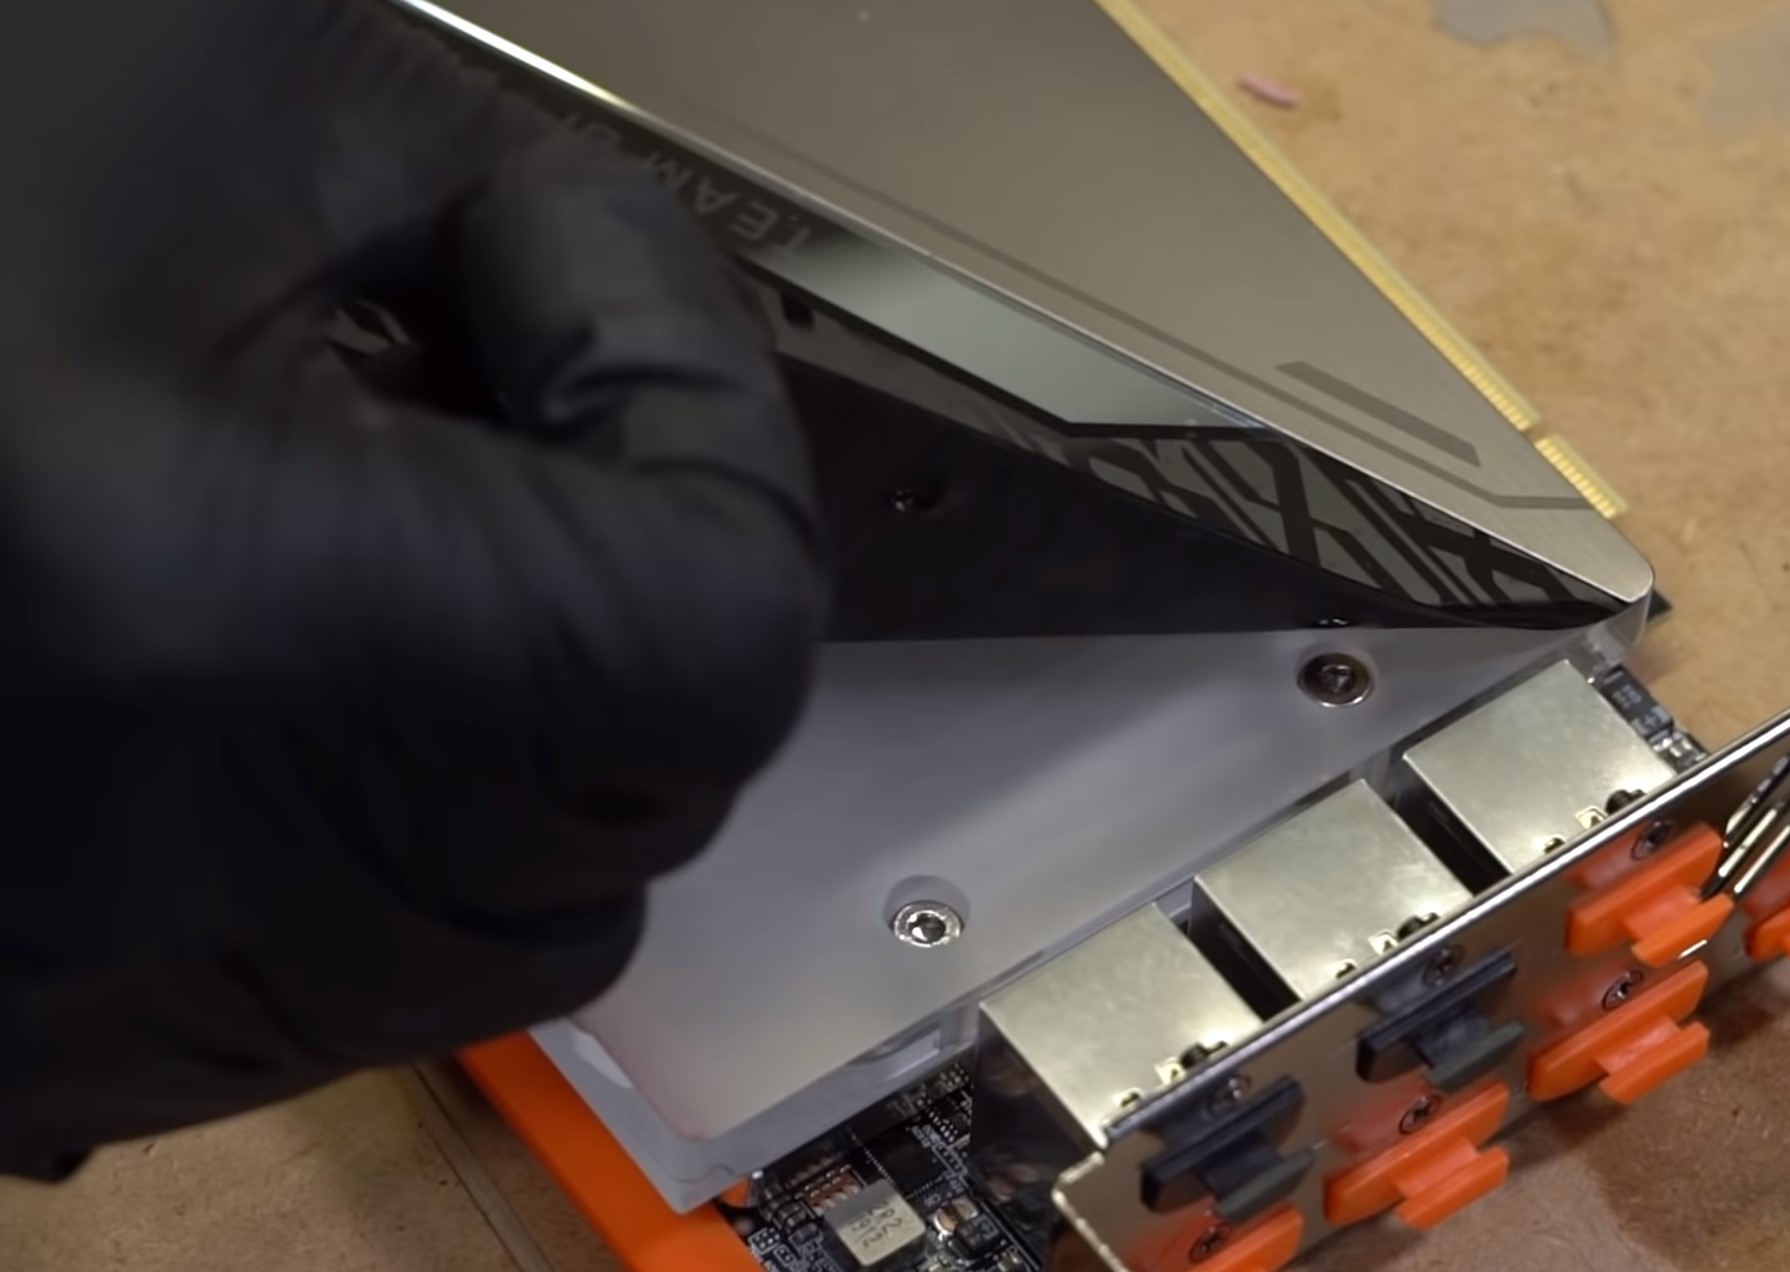
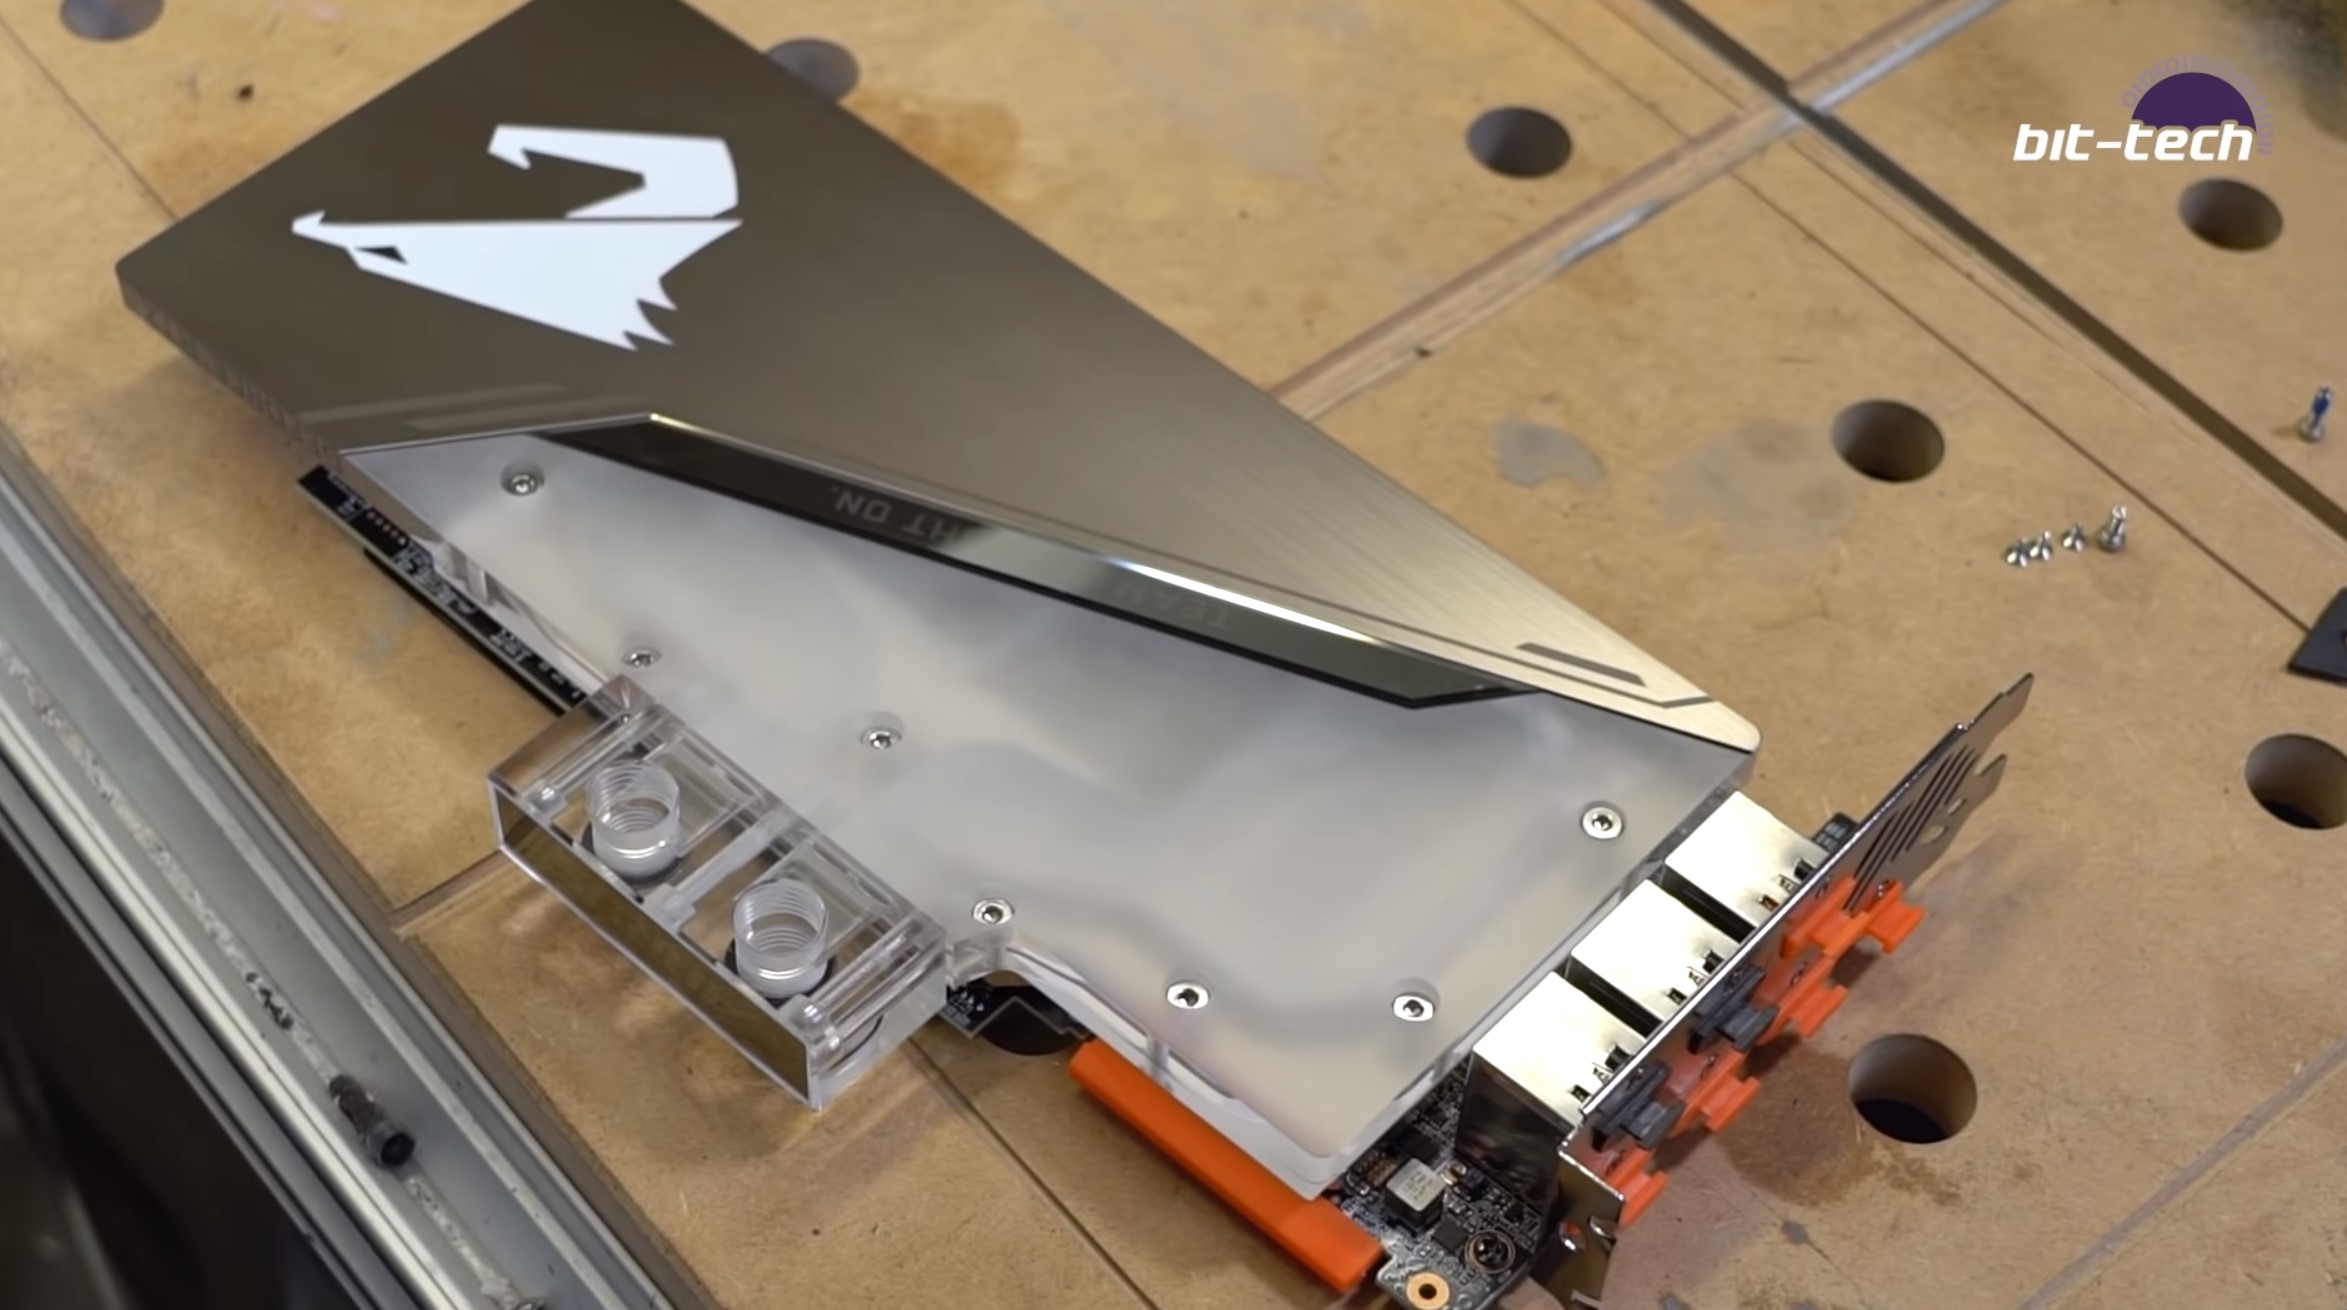
Piecing all the parts back together was fairly simple, although a tad fiddly thanks to the tiny RGB and coolant sensor headers. Looking at the GPU, the main port of call was clearly going to be the large black sticker that covers half of the block. I was a little worried at first that this would be more work than it first appears since sticker residue can be a pain to remove from clear acrylic (most of the good solvents don't mix well with it). That said, we lucked out big time. Not only did the sticker just peel off without any residue after warming it a bit, but to our surprise, the finish was a perfectly even frosting underneath, designed with the diffusing RGB LED strip in mind. It's all we needed to do, and this can't even constitute a mod as it was just that straightforward. Not only that, but the block is really rather pretty, as the brushed steel lower half covers up the LED strip placement, so the look suddenly becomes very clean. I had been expecting an epic polishing job, meaning this was a real win.
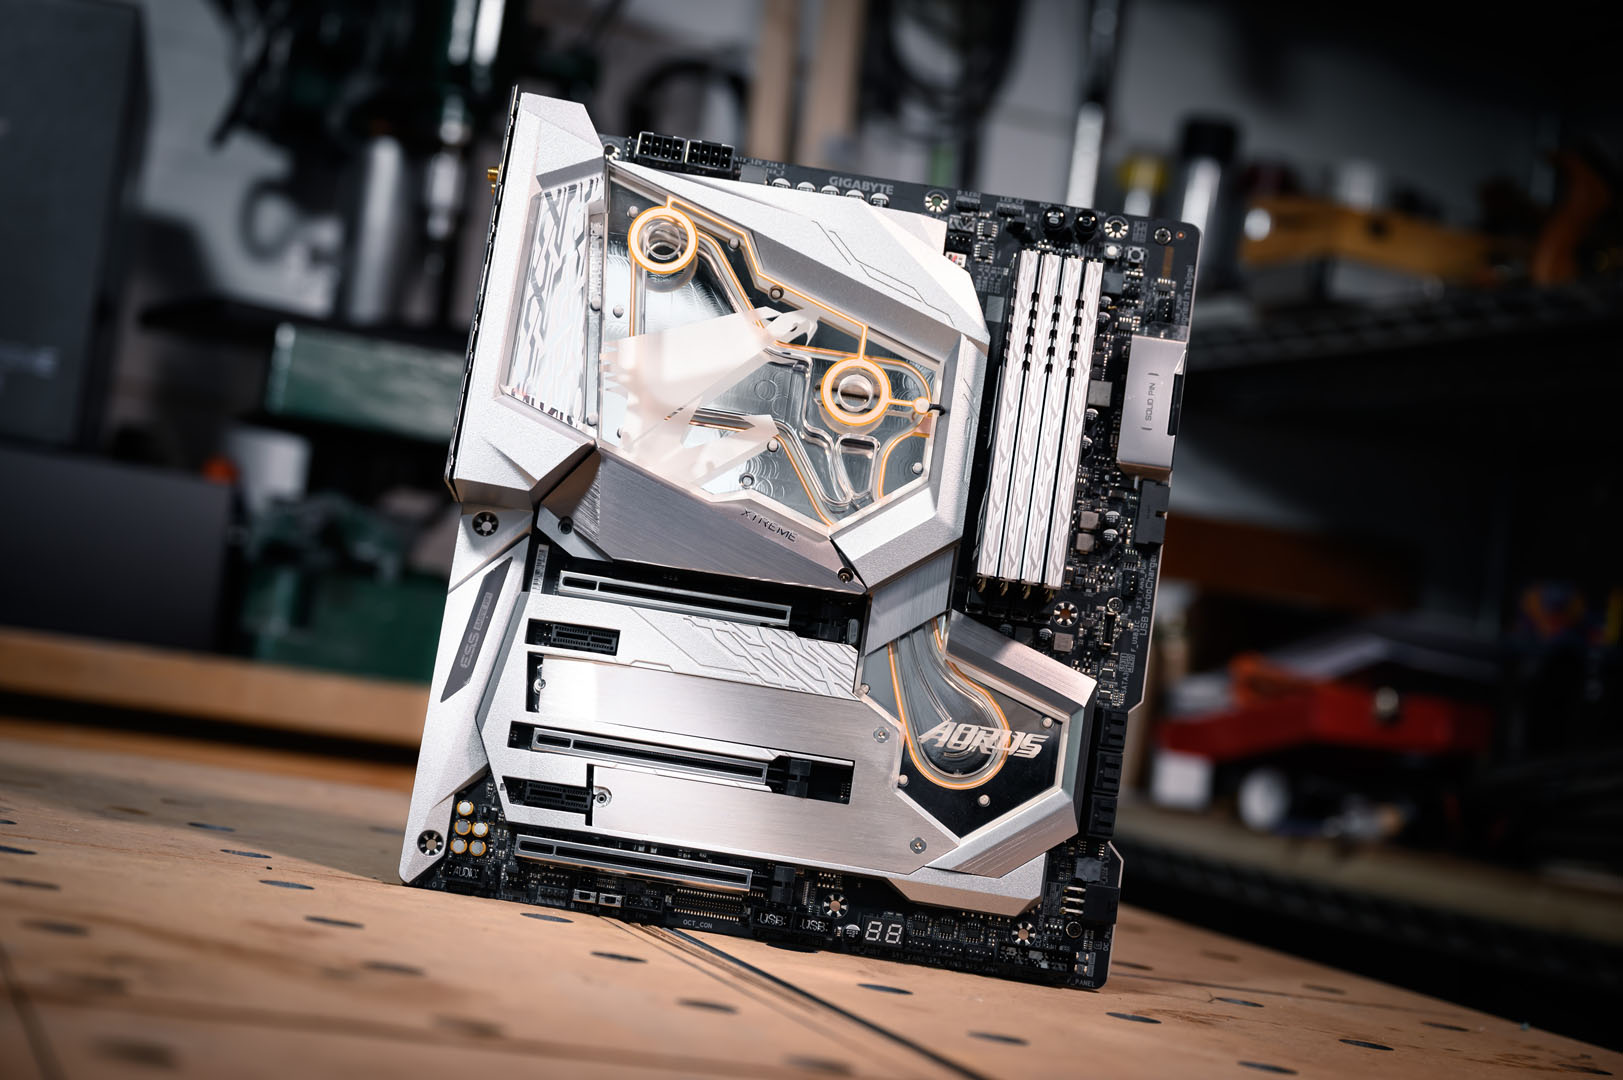

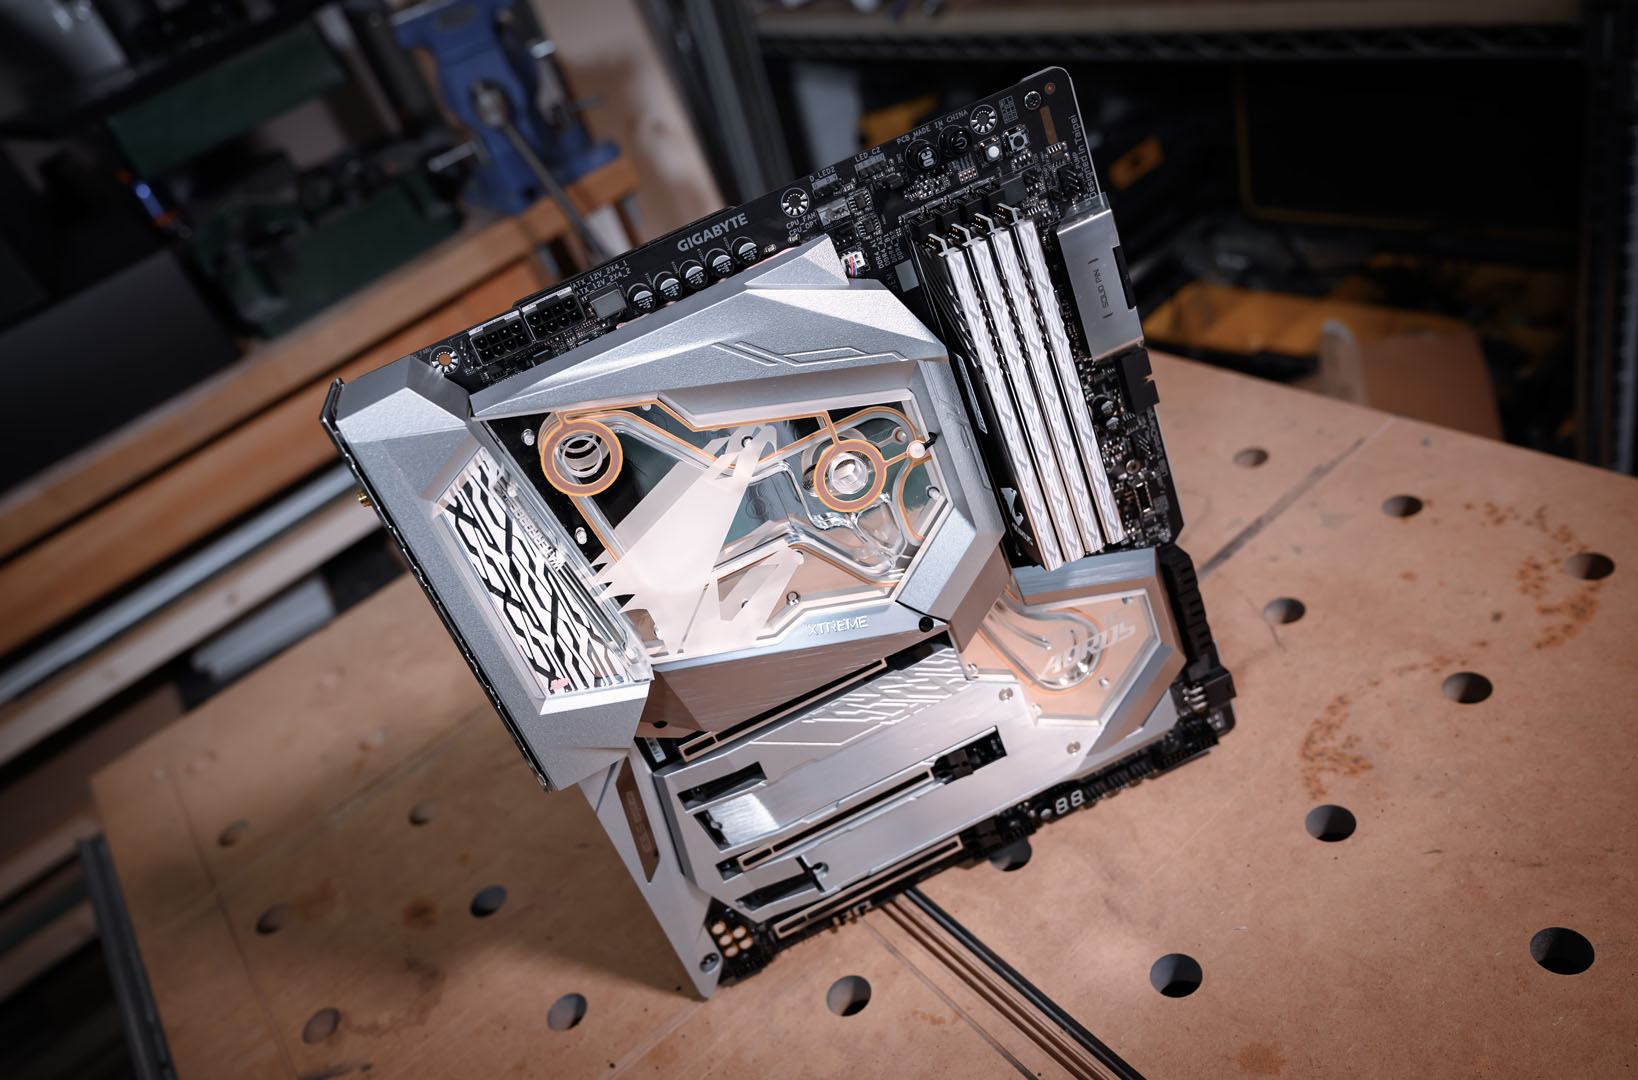
Whilst prepping these two components might not have been large jobs on their own, they were 100 percent worth addressing as the components really tie into the theme.


MSI MPG Velox 100R Chassis Review
October 14 2021 | 15:04

Want to comment? Please log in.