Be Quiet! Zero-RGB Casemod - Let's finish it!
January 24, 2020 | 09:00
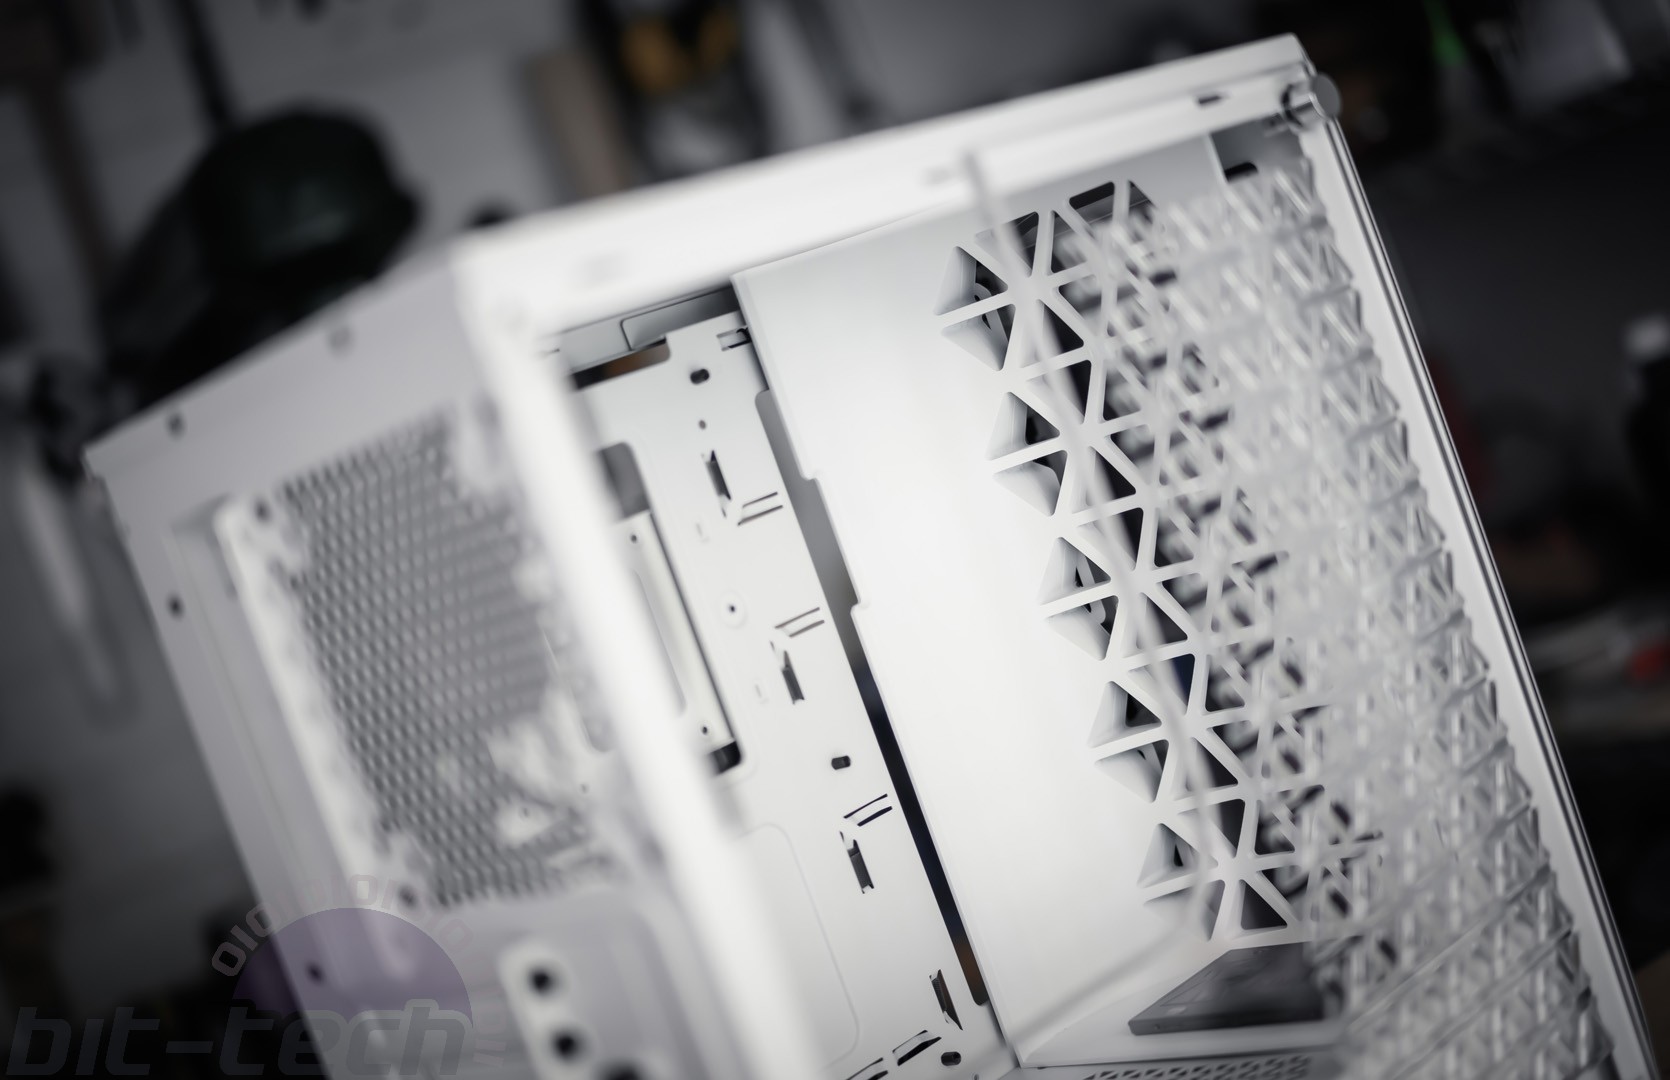
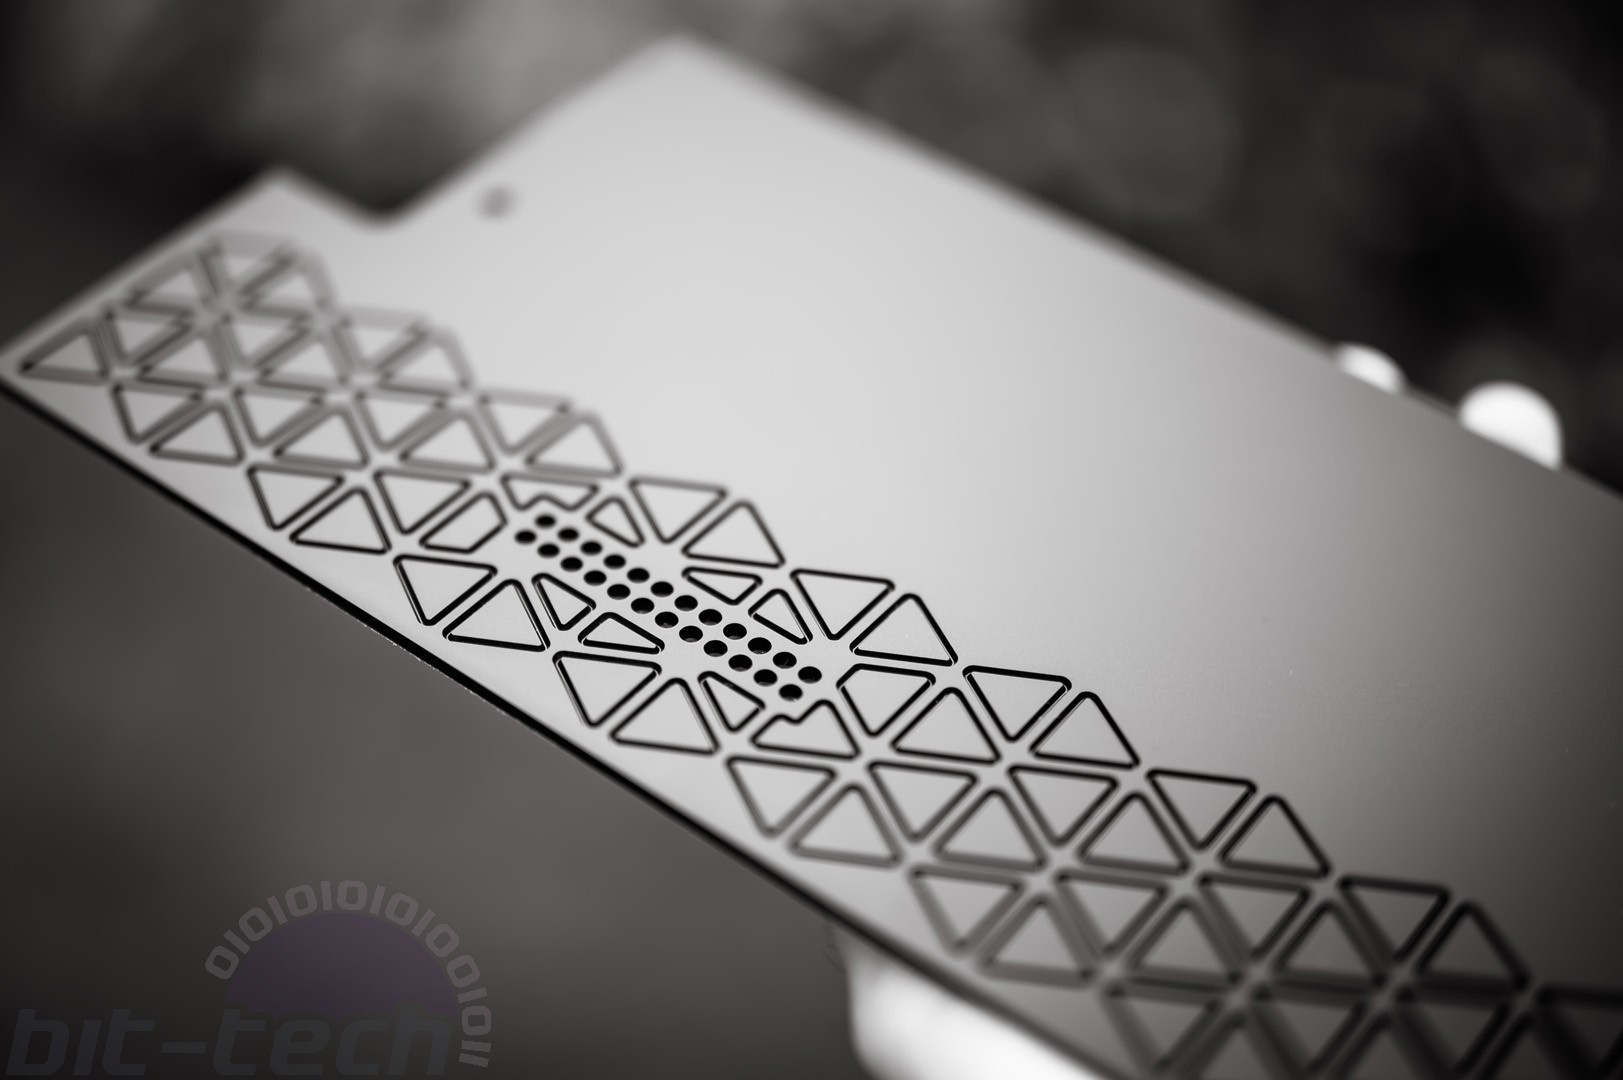
Making the Cheese Grater Window
Okay, I did say that most of the mods would be doable at home, just not this one unless you happen to have a CNC router or a friend with one. Cut me some slack, because it would be a waste not to use the one I have, would it not? Luckily, you can find the whole process in the video below:
Boiled down, this panel is pretty simple. The pattern is machined in from both sides, where they overlap creates a series of vents. The way Apple does it for the Mac Pros is more complex in that it uses a hemi-spherical pattern rather than a flat one. Whilst I very much could have done this, the machining time would simply have gone through the roof and it's only really doable with a circular pattern otherwise it looks very bizarre. I wanted to do something that fits with the other triangles used in the case, so it seemed a fun idea to try it out here.
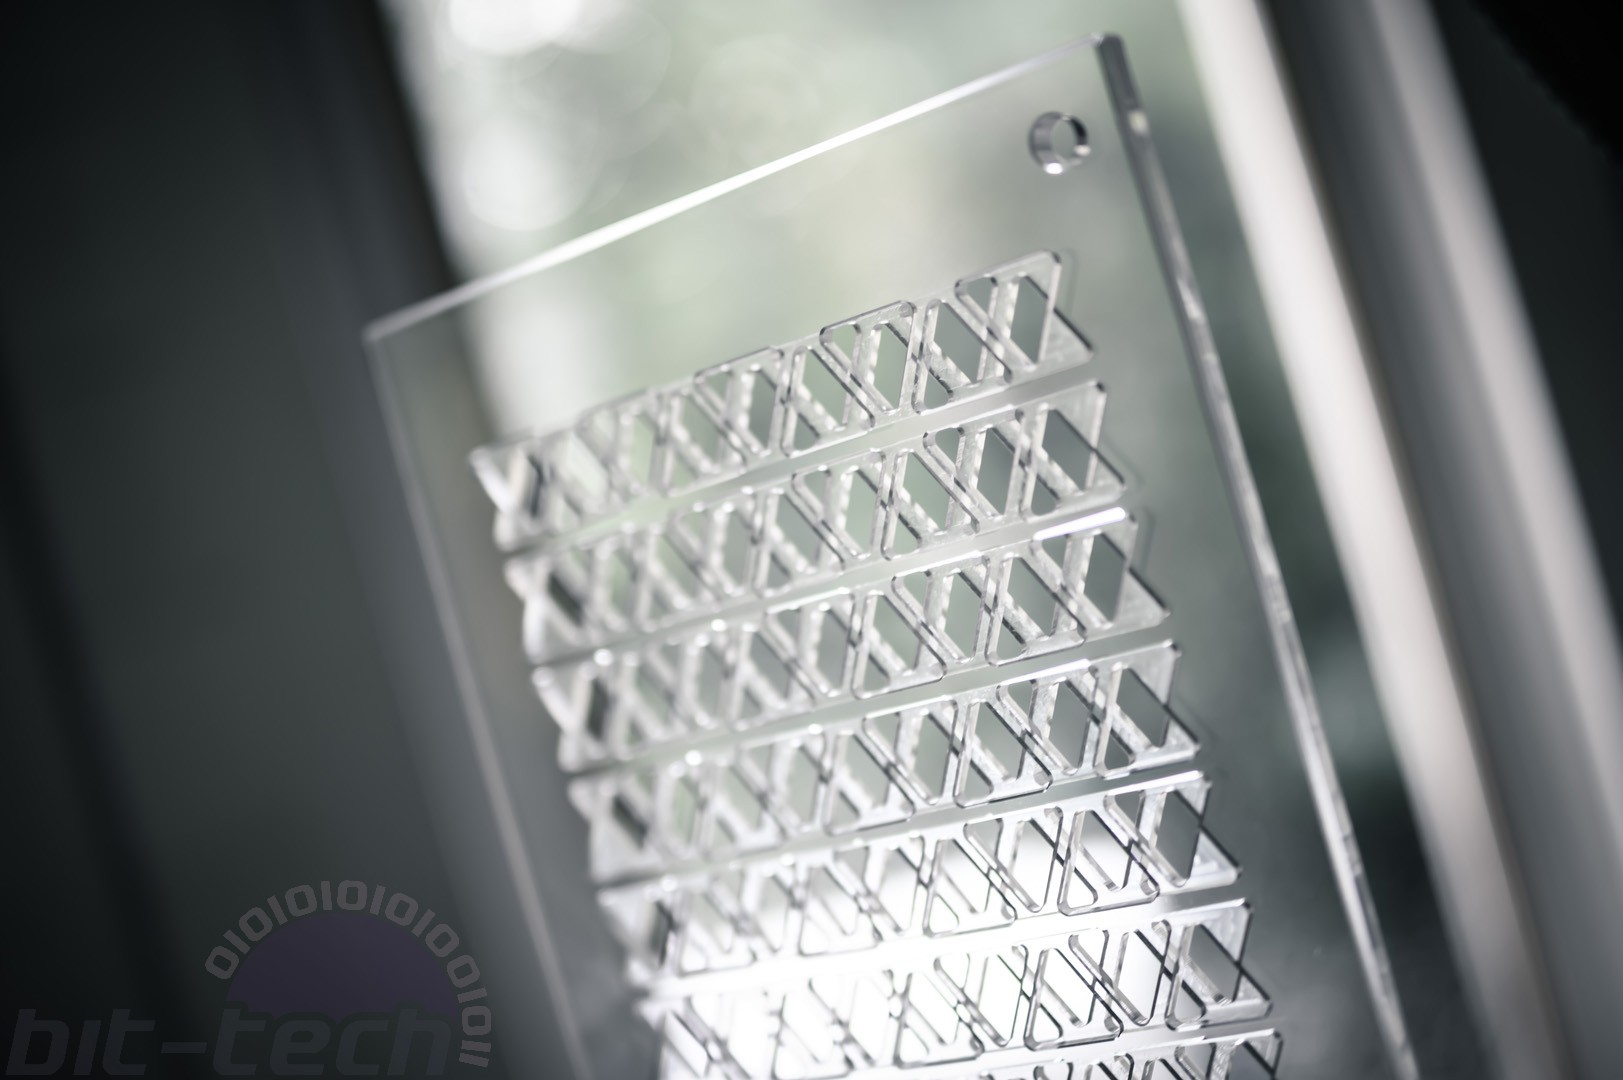
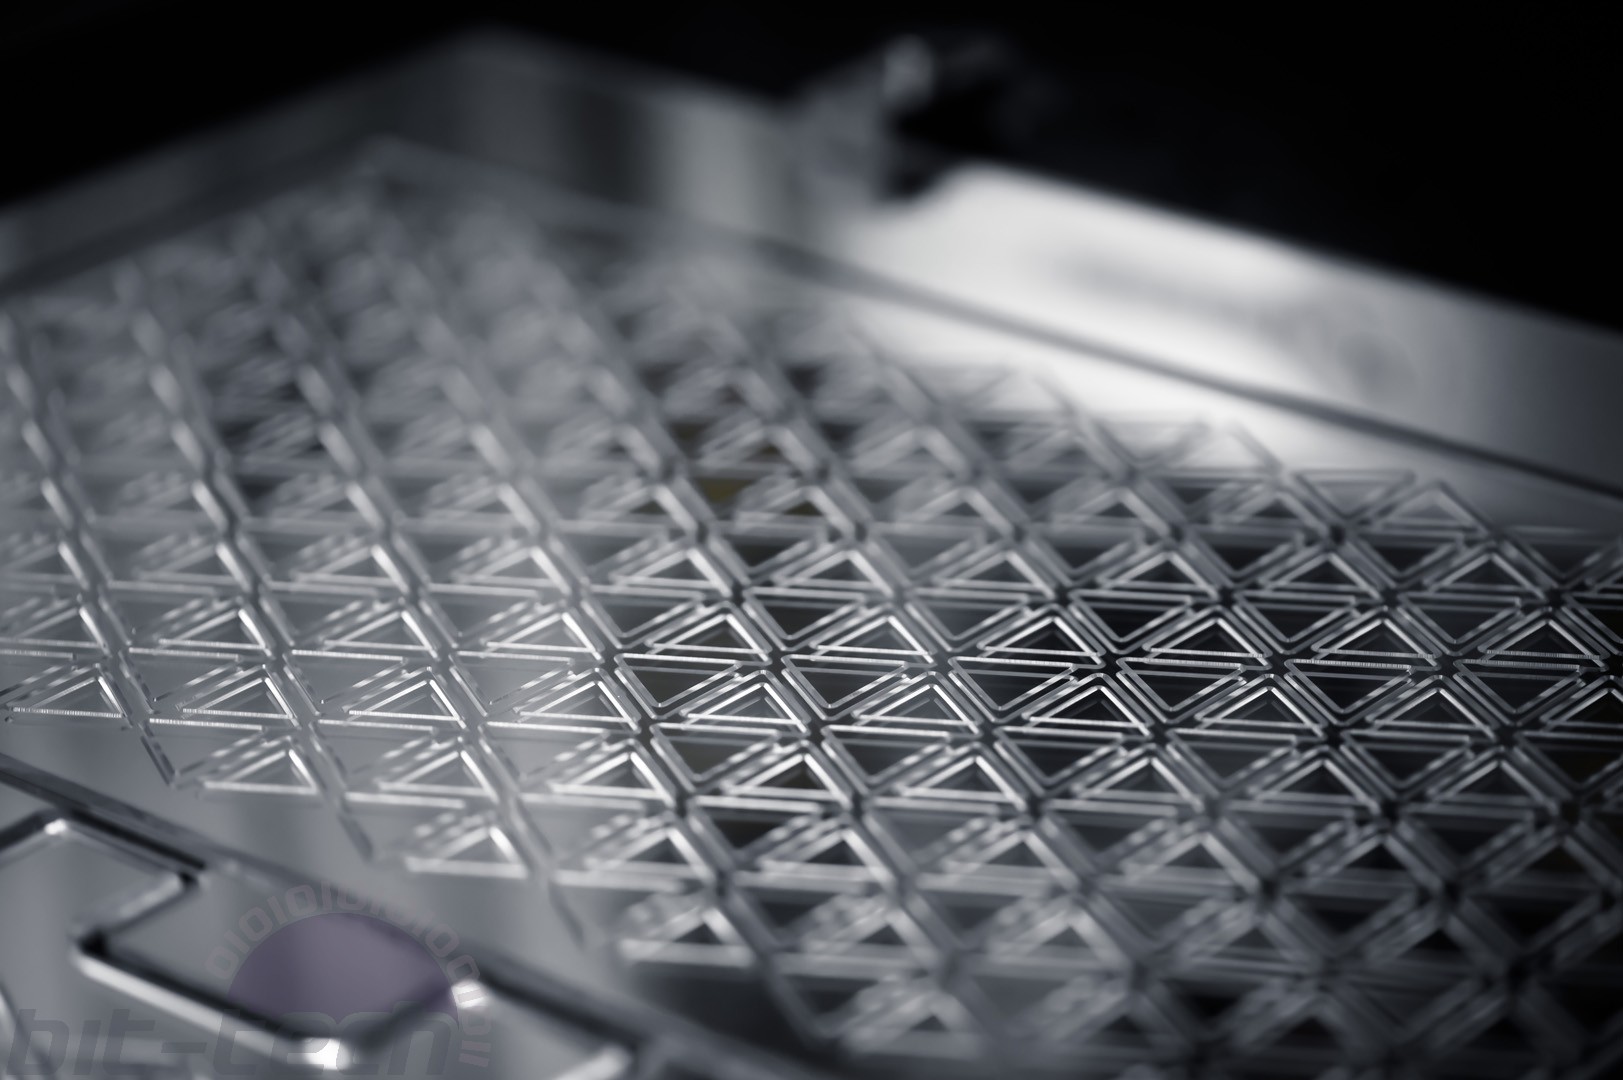
One unintended consequence is that the window appears to have chosen to represent Louis Vuitton when viewed at some angles. Now, whether that's beneficial is up to the beholder, but it certainly was amusing when taking it off the machine as the effect really isn't noticeable within the CAD viewport. Bling!
I did get a few comments asking about why I didn't stagger the triangles along the dual axis like Apple does with its circles. The long and short of it is that it looked terrible when I first tried it thanks to how triangles aren't symmetrical along the Y-axis when arranged in rows. This caused some parts to have tiny vents, others to be massive and a few areas to have very questionable structural integrity. Using squares or hexagons would work fine for that; triangles don't, it seems.

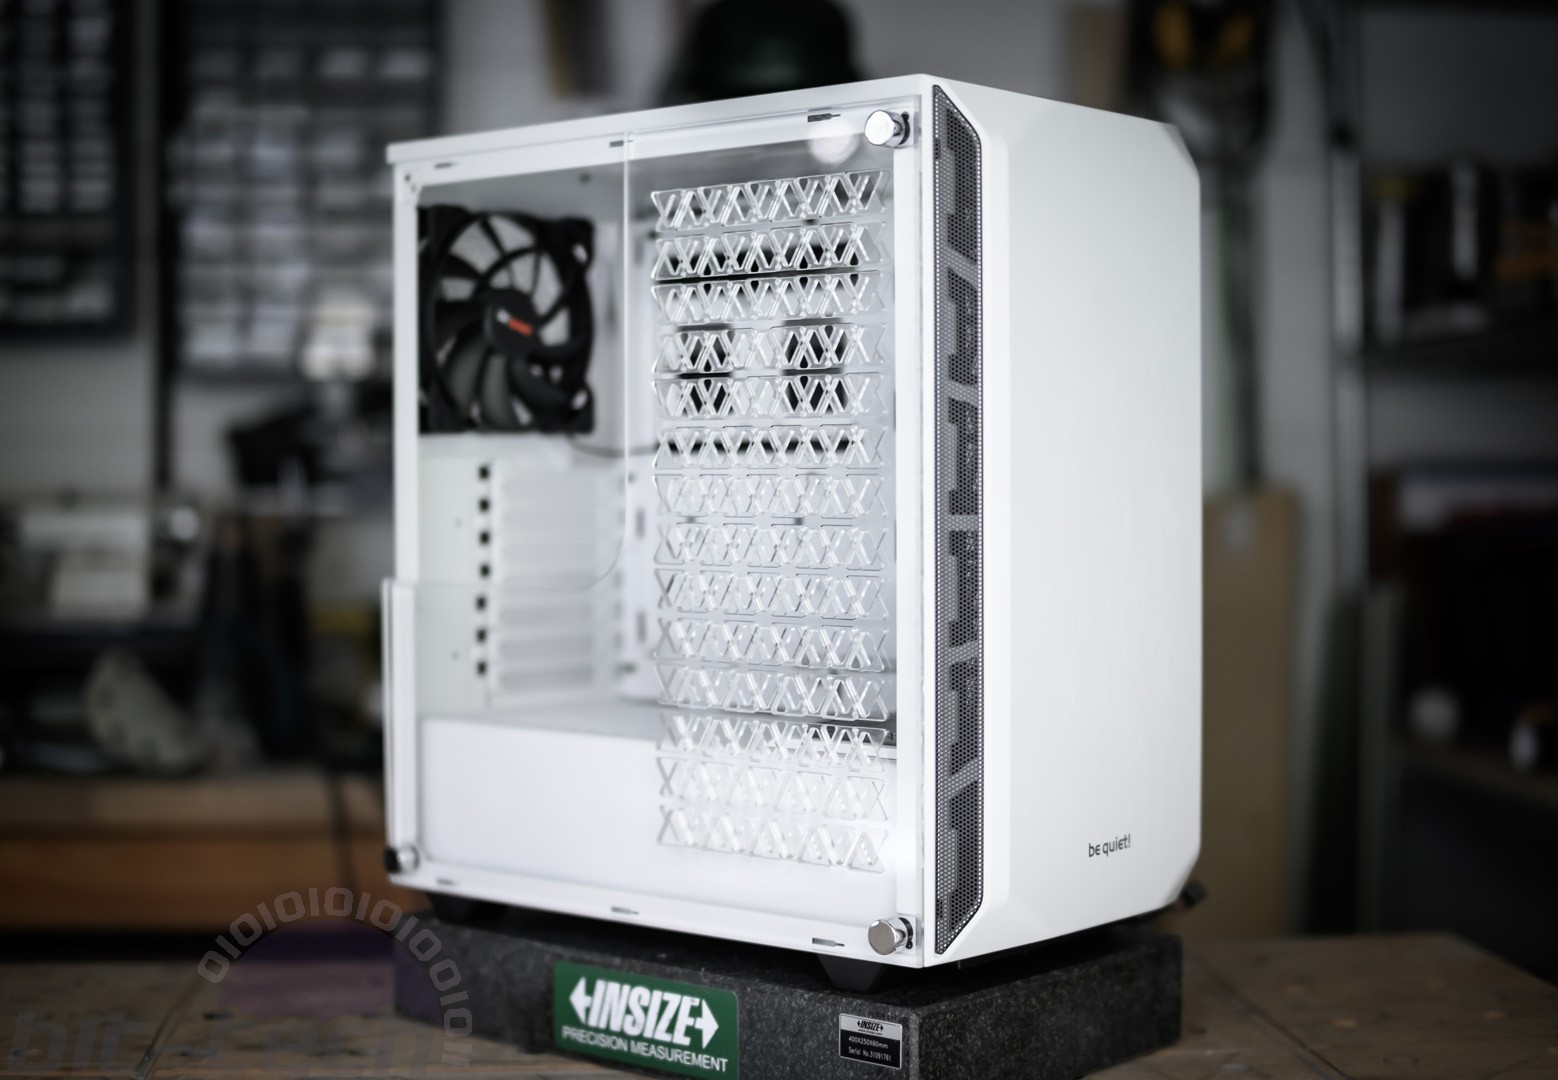
3D Printing a Front Grate
So, remember, that 3D printer I picked up a few months back? Turns out it wasn't just for making random brackets around the workshop! This was quite a fun learning opportunity, actually, as it was my first 'proper-scale' print. I wanted to have a method of masking off the front in the mod that wouldn't completely obliterate what little remaining airflow we had left. I arrived at this sweeping shape that had the familiar triangular pattern cut into it. I'm sure it probably still kills the airflow... but hey, it looks pretty cool in the process at least. The other thing that could be added was a mount for the SSDs since it would be covering one of the main spots for them in the stock case.
The cover was too large to print in one go on my machine, so I split it in half and added a couple of locking points to it so that it could be easily glued together when finished. I opted to print in black PLA since this area won't get hot; PLA is also fairly easy to sand and paint later on and prints extremely easily; ABS would have been great but good luck printing something that size without an enclosure. PETG would have worked well, too, but at the time I didn't have experience with it so didn't want to risk it.
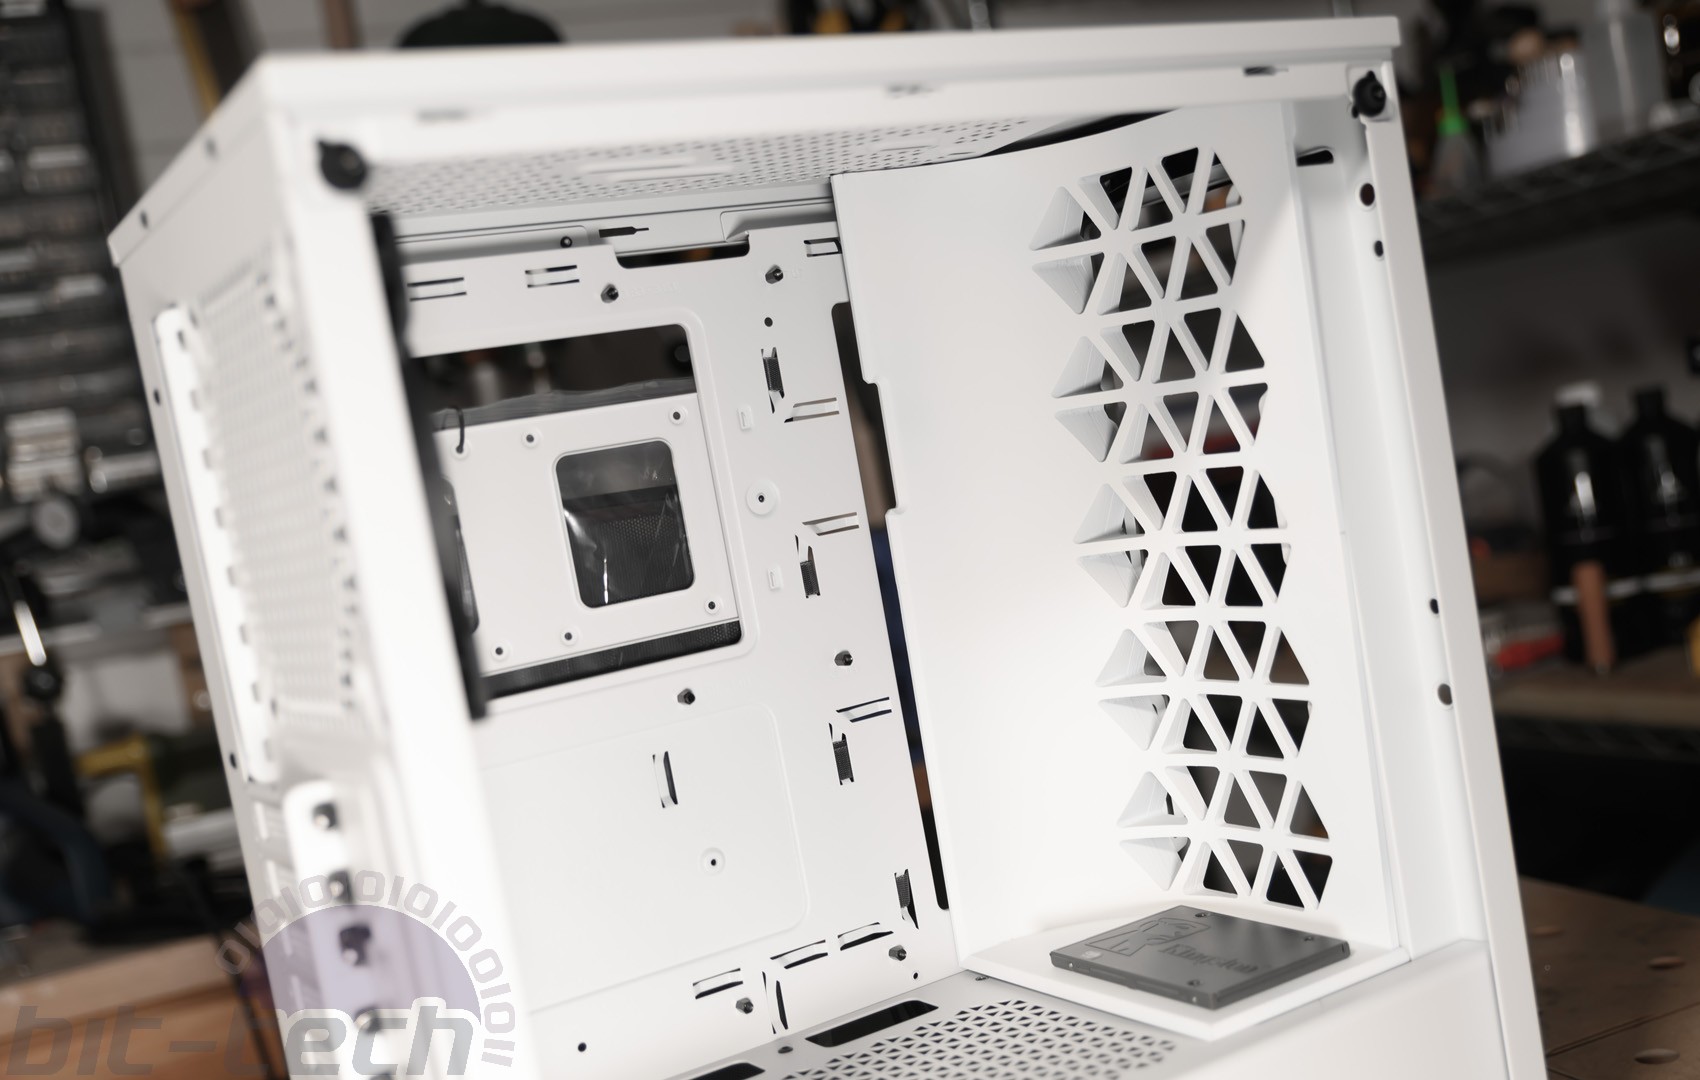
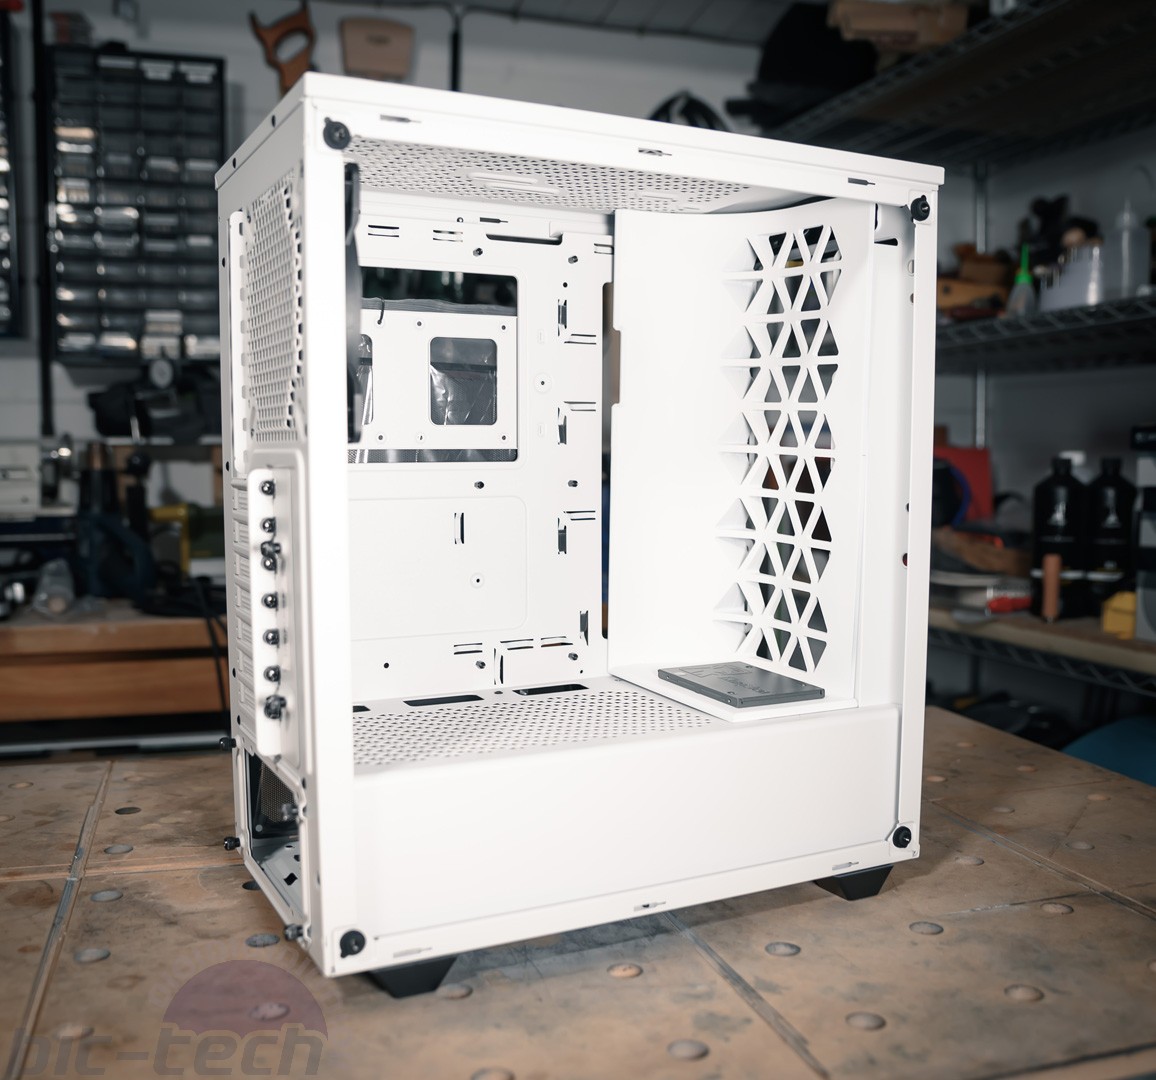
Printing went very smoothly with each part taking 17-20 hours or so. I glued them together with standard Loctite cyanoacrylate super glue, then went about filling with Isopon, sanding and painting. The issue with the design I chose is that the curve is at odds to the triangles. To get smooth curves with FDM printers you generally need to have the curve on the XY plane, otherwise the stepping from the plastic layers will be very noticeable. I couldn't really do that here as the triangles would have resulted in a large number of poorly-supported bridges. It could be done that way, I'm sure, but again I didn't like the risk. Luckily, the results were smooth enough that sanding down and filling didn't take very long.
The new front piece simply screws into place behind the front radiator mount, the SSD sits on the floor with the cable trained directly downwards to the PSU shroud.
Final Accent Pieces and Cabling
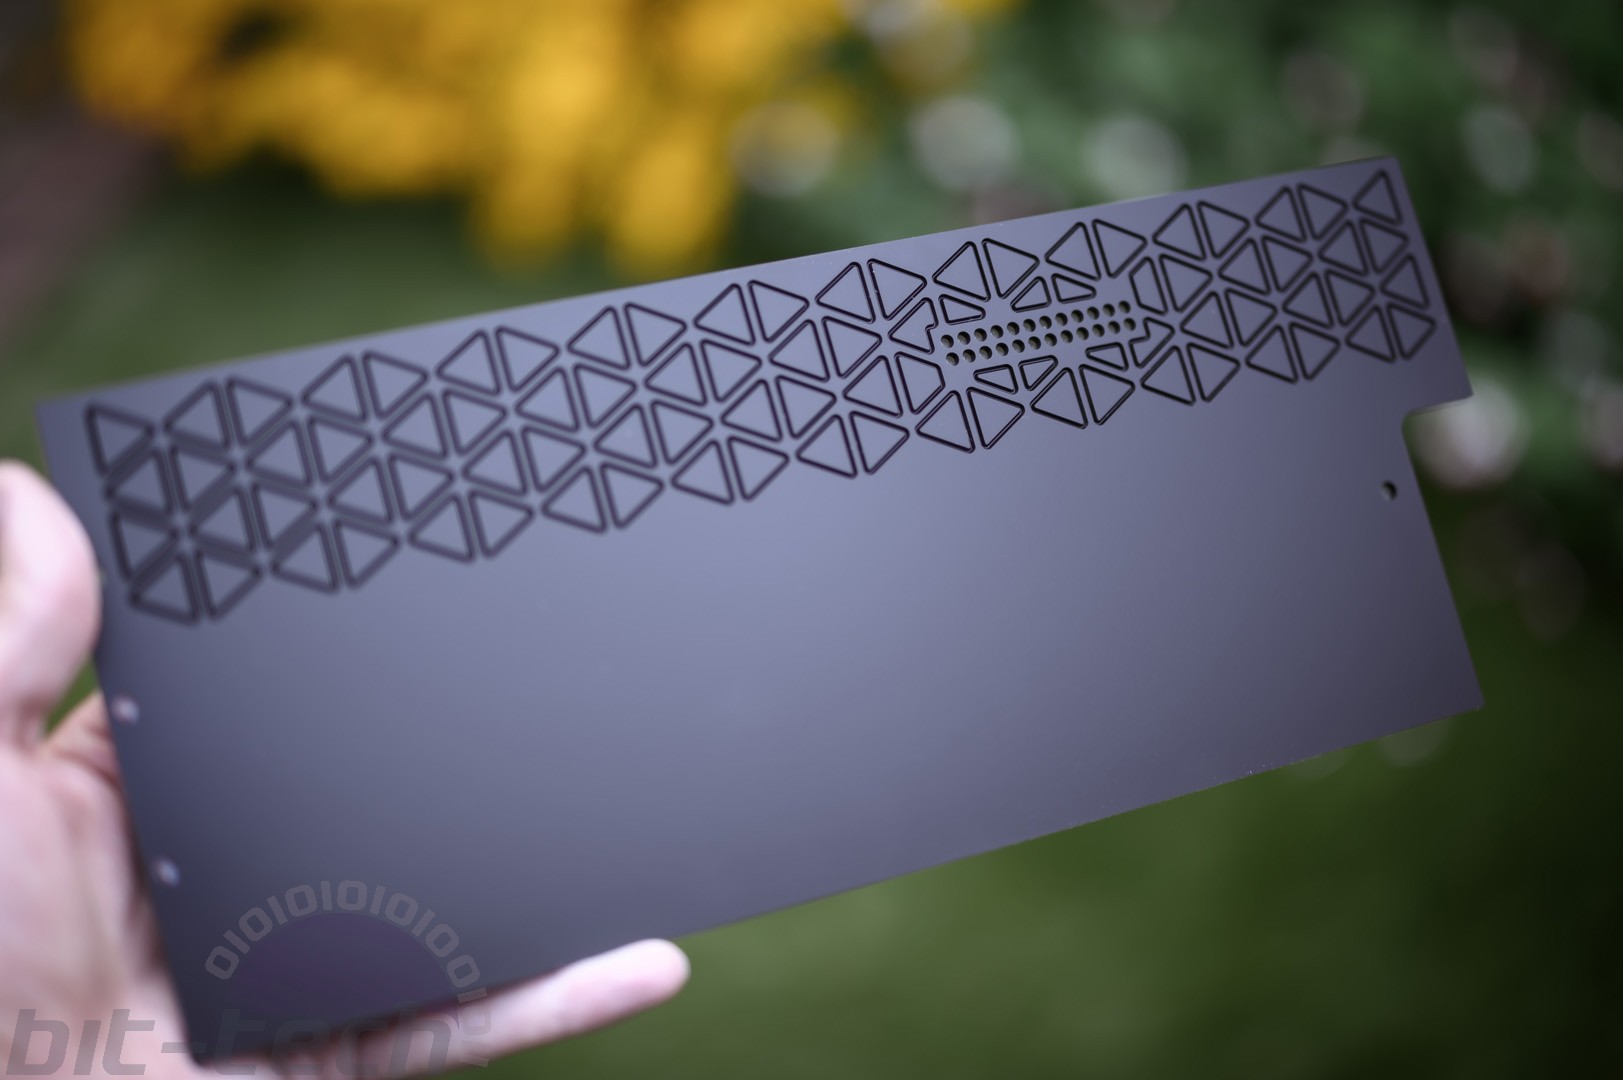
Okay, fine, a bit more CNC going on here but these parts are very much approachable. In fact, it would be quite easy and reasonably-priced to have these bits laser-cut by a local/online service, something I wholeheartedly recommend if, like most people, you don't have a laser/CNC lying around.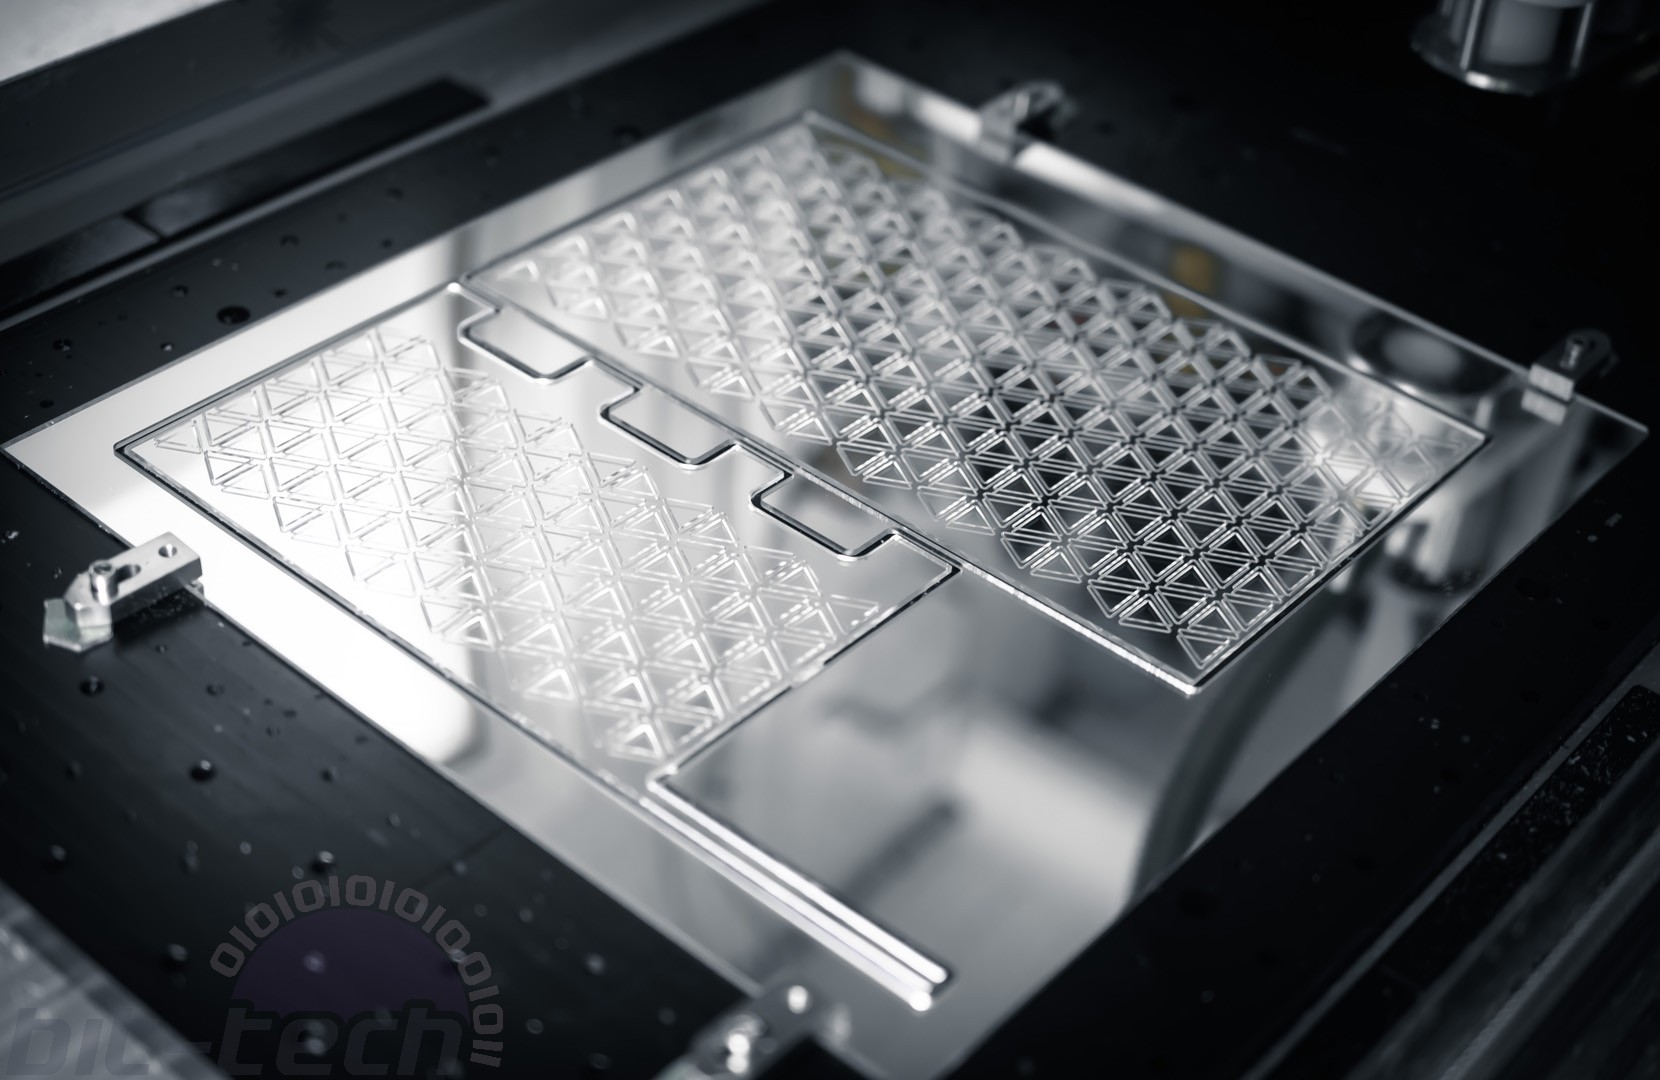
These parts are very much present to add a little bit of extra oomph to the theme; they're actually held in place using good, old 3M mounting tape, aka Tape of the Gods. I engraved a set of mirrored acrylic panels with the triangle motif, along with a matte black section that runs alongside the motherboard tray. For the black part I also added in some familiar cable pass-through holes for the 24-pin ATX. However, instead of making a set of custom cables, this time we're using Be Quiet!'s replacement braided cables.
Threading them through the holes simply involves removing each cable one-by-one from the 24-pin connector using either a de-pinning tool or a pair of staples, threading through the relevant hole in the plate, then re-inserting into the connector. At least, that's what I thought, of course I had completely forgotten that OEM cables put the double wires into the connector themselves. I absolutely abhor this as it looks terrible and means cables don't fit into standard combs. Luckily, though, it's easy enough to hide in most cases, just not this one. I got around it by carefully cutting some of the holes to form slots using a needle file, which provided enough room for the extra wires. Unfortunately, I didn't film that bit as I was already too far gone and angry - it seemed for the best, I think.
All done and said, it worked out okay enough. Unbelievably the 8-pin connector for the PSU was actually too short for the case, and I can only hope I chose some extra-short version or something by accident, else I can't figure out why that cable exists for a regular ATX power supply.
All in all, however, the build came out rather well, I think. Naturally, some more modifications to the chassis and things like fully-custom cabling could set it off further, but they were also beyond the scope of this build.


MSI MPG Velox 100R Chassis Review
October 14 2021 | 15:04

Want to comment? Please log in.