Be Quiet! Zero-RGB Casemod - Let's finish it!
January 24, 2020 | 09:00
Okay, so this has been another one of those "long-time-coming" builds, and if you've been paying attention to the YouTube channel of late you'll no doubt know why.
By way of background, earlier last year Be Quiet! approached us with the view to doing zero-RGB build for its recently-released Pure Base 500 chassis. The interesting thing here is that not only did it want no RGB, but also requested minimal changes to the base chassis, along with air cooling. If you're accustomed to how I usually mod cases, 'minimal changes' isn't usually a phrase that can be applied, so it presented an interesting challenge. Not only that, but air cooling presents a further difficulty as frankly it's simply harder to customise than a liquid-cooling system. Armed with these requests, we opted to go for a set of mods that could either largely be 'done at home' or simply bolt on to the existing chassis rather than requiring an extensive refit.
One of the tricky things I've always found with air-cooling mods is that it has a habit of looking simple even when sometimes you've put a lot of work in. Air coolers, by their very nature, are pretty straightforward and many of the more notable air-cooled mods tend to make use of a very custom chassis instead. This rig is largely no exception, and at a first glace it genuinely looks rather stock, which could be a boon or a shame depending on your point of view. Regardless, I'll walk you through the various mods that went into this build, because there may be more than first meets the eye.
Painting the GPU
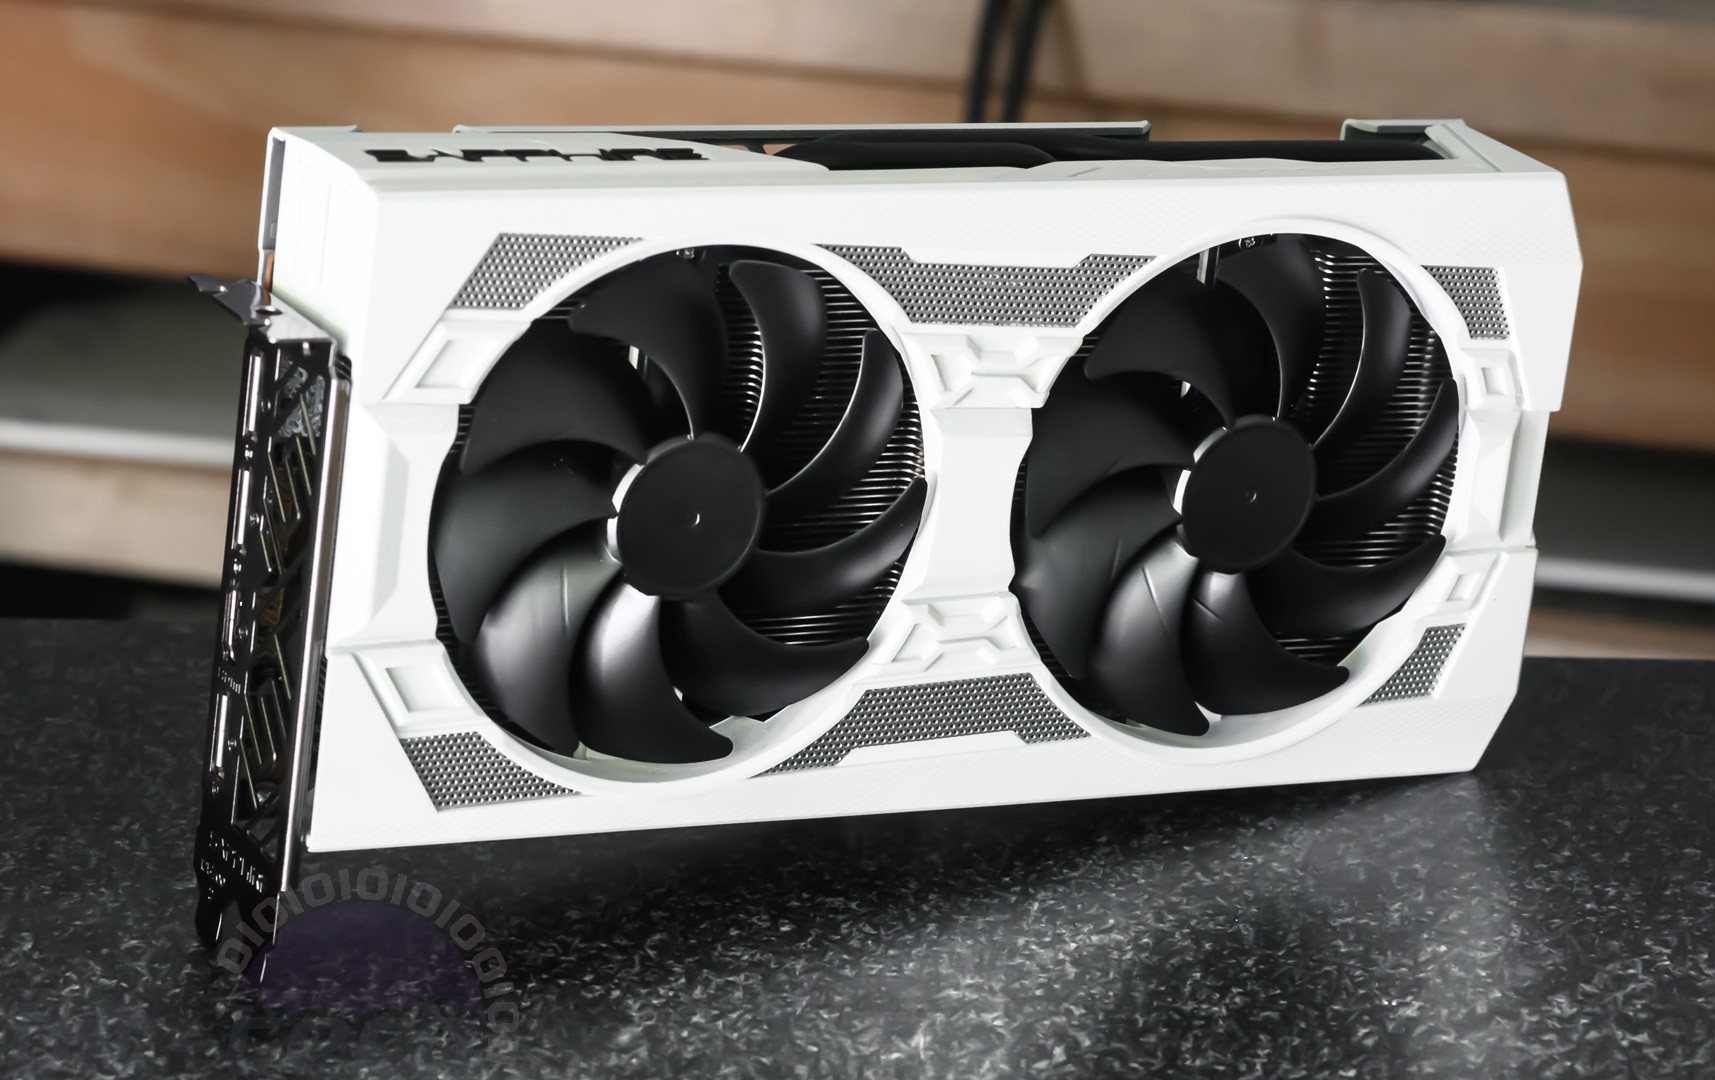
The first mod we embarked on was painting the graphics card. This is very much the sort of mod you can do at home and which can have a huge effect on the look of a build, especially if you're using a vertical GPU mount. Most cards on the market tend to come in the fairly safe zone of grey/gunmetal/black, and our Sapphire RX 5700 XT Pulse was no exception, sporting a largely black shroud with some orange squiggly accents and silver mesh.
Most air coolers for GPUs are fairly simple to take apart (not you, Nvidia), and the Sapphire was particularly easy here as the company opted to use fans that attach using quick-release pins. We essentially just disassembled each part, cleaned them up and lightly scuffed with some high-grit sandpaper, primed with grey plastic primer and then painted away. The main bulk of the shroud was painted white, using several thin coats of Mercedes Polar white spray paint from Halfords. Their paints are probably terrible for your car, but for small paint jobs in mods I've found them to be pretty decent for rattle cans. The heatsink itself was masked with frog tape and the sides and heatpipes painted with matte black spray paint. I've been asked many times whether this will affect the thermals much, to which I reply "I have no real clue". Logic dictates that it wouldn't, though, given the heatpipes aren't where the main cooling occurs. The paint is also very thin and it's also black, which radiates heat anyway.
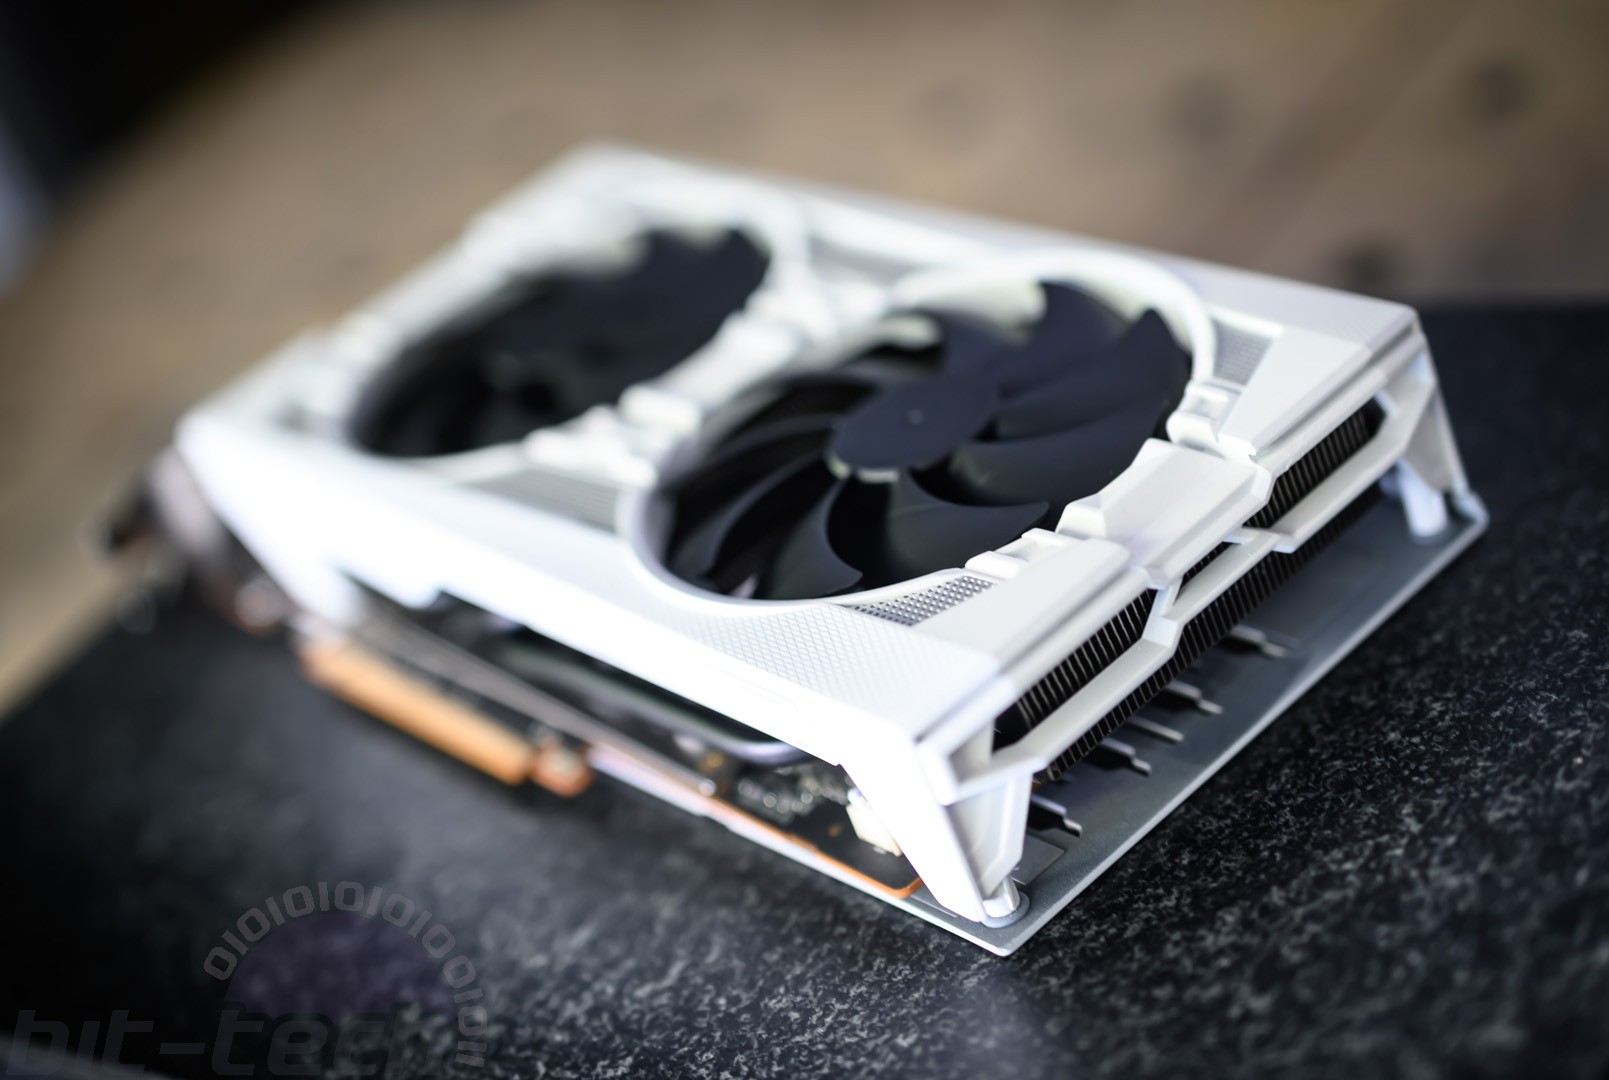
The fans were given a light coat of matte black just because the blades had a rather nasty shine to them when stock, which didn't look so pleasing. It's important to note that when painting fans, use the minimum quantity of paint you can and be even with the coats. People talk about upsetting the fan balance but really the bigger danger is getting paint in the bearing assemblies and motors. If possible, remove the blades from the frames/motors and mask.
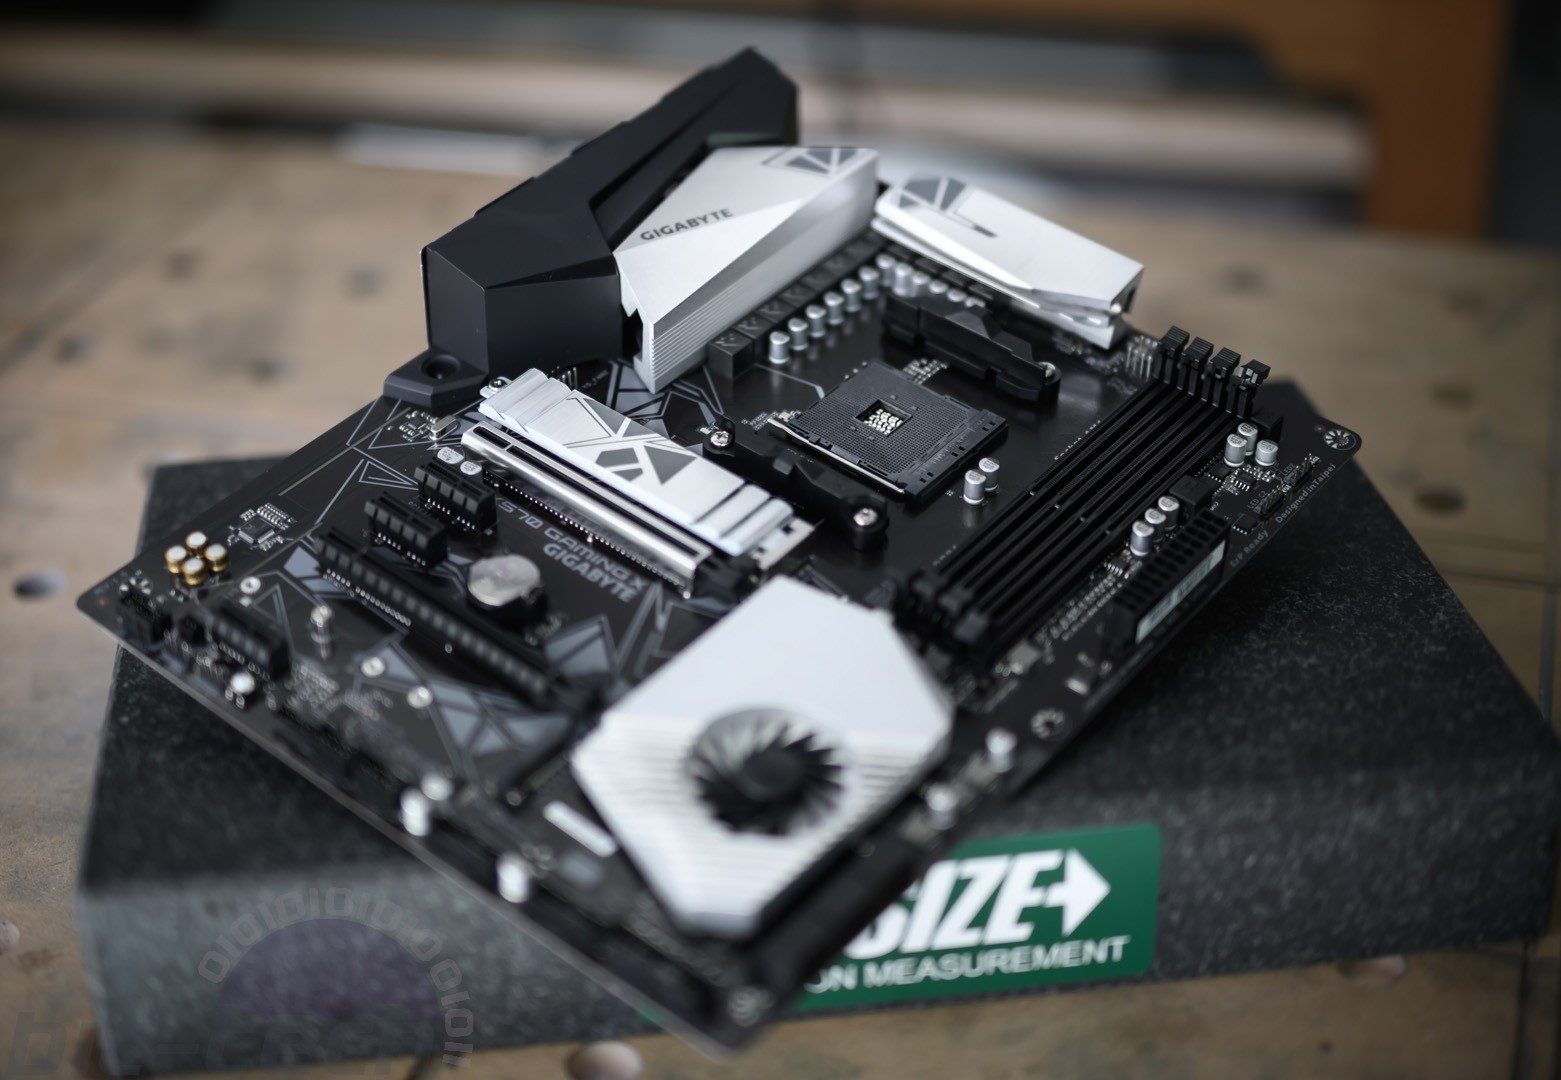
De-anodising the motherboard heatsinks and cooler covers
This is a very cool mod that can make a huge difference aesthetically to some components and is genuinely very simple to do. We covered exactly how to strip the anodising from aluminium components back when we platinum-plated a set of Corsair Dominator Platinum DDR4. The process is very simple, so prepare a batch of NAOH drain/oven cleaner as per the instructions on the back of the container, be sure to do this in a well-ventilated space and follow correct safety protocol, then place in your clean aluminium components. The parts need to be completely free of oils and residues before placing in the solution else it will result in an uneven finish. You can use isopropyl alcohol, acetone or other gentle de-greasers for this.
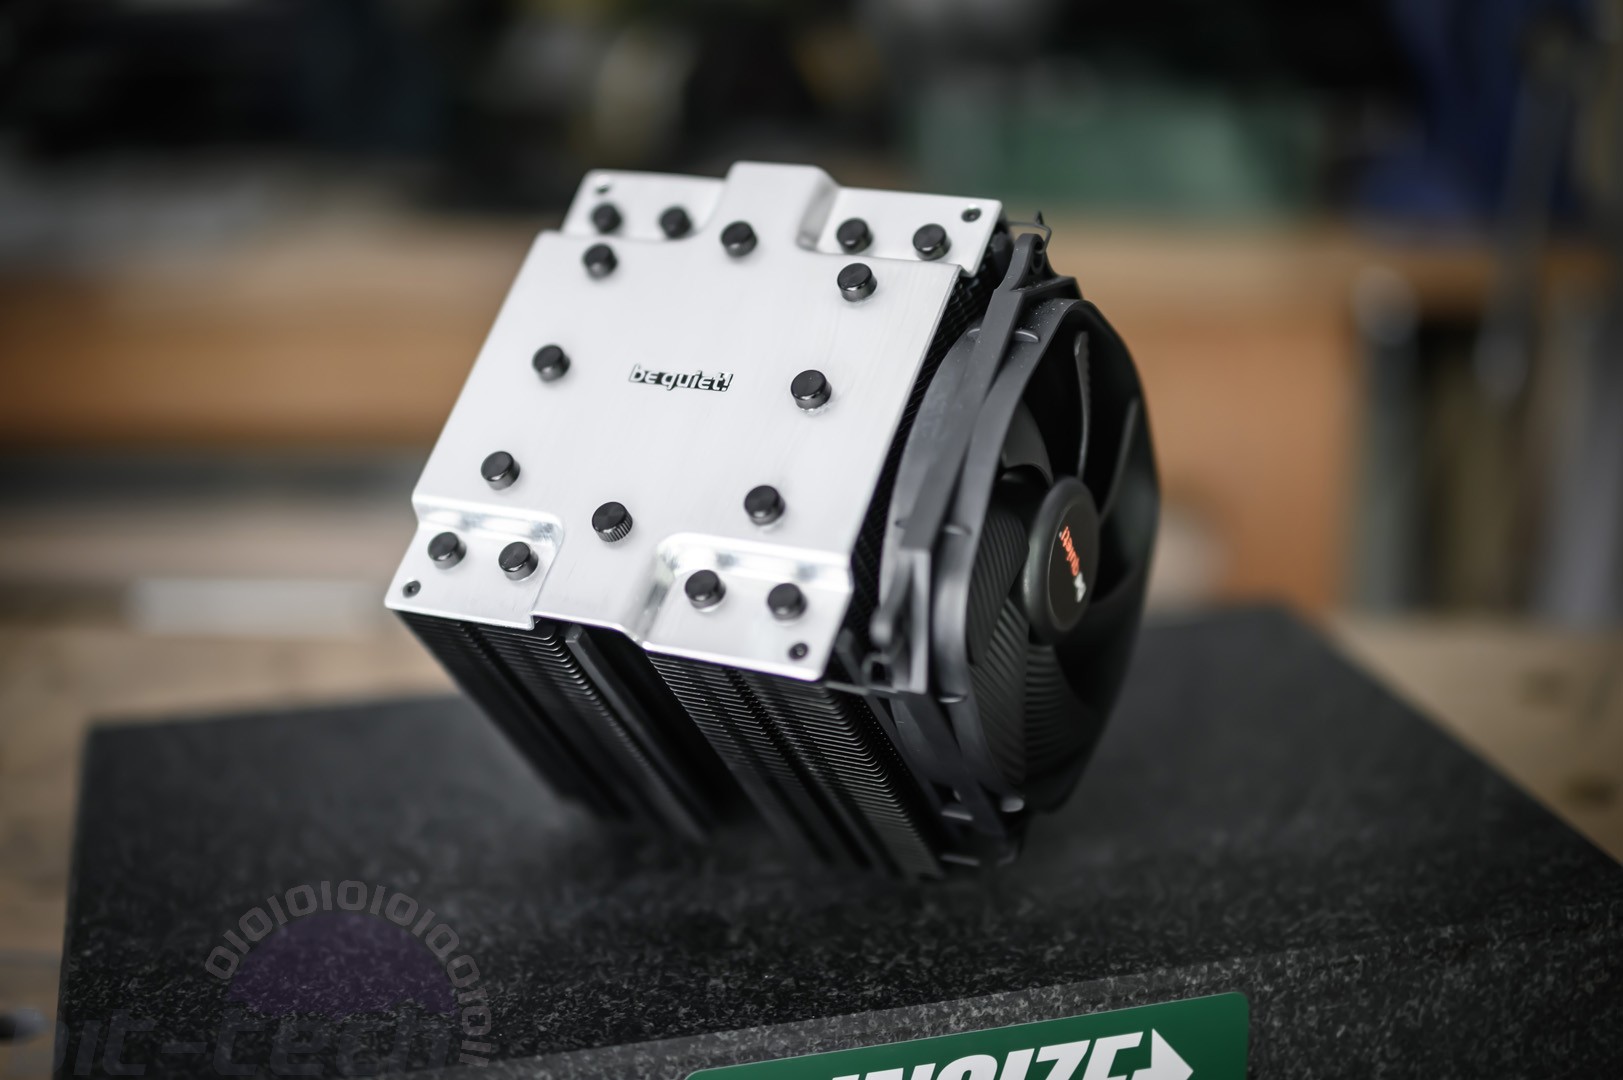
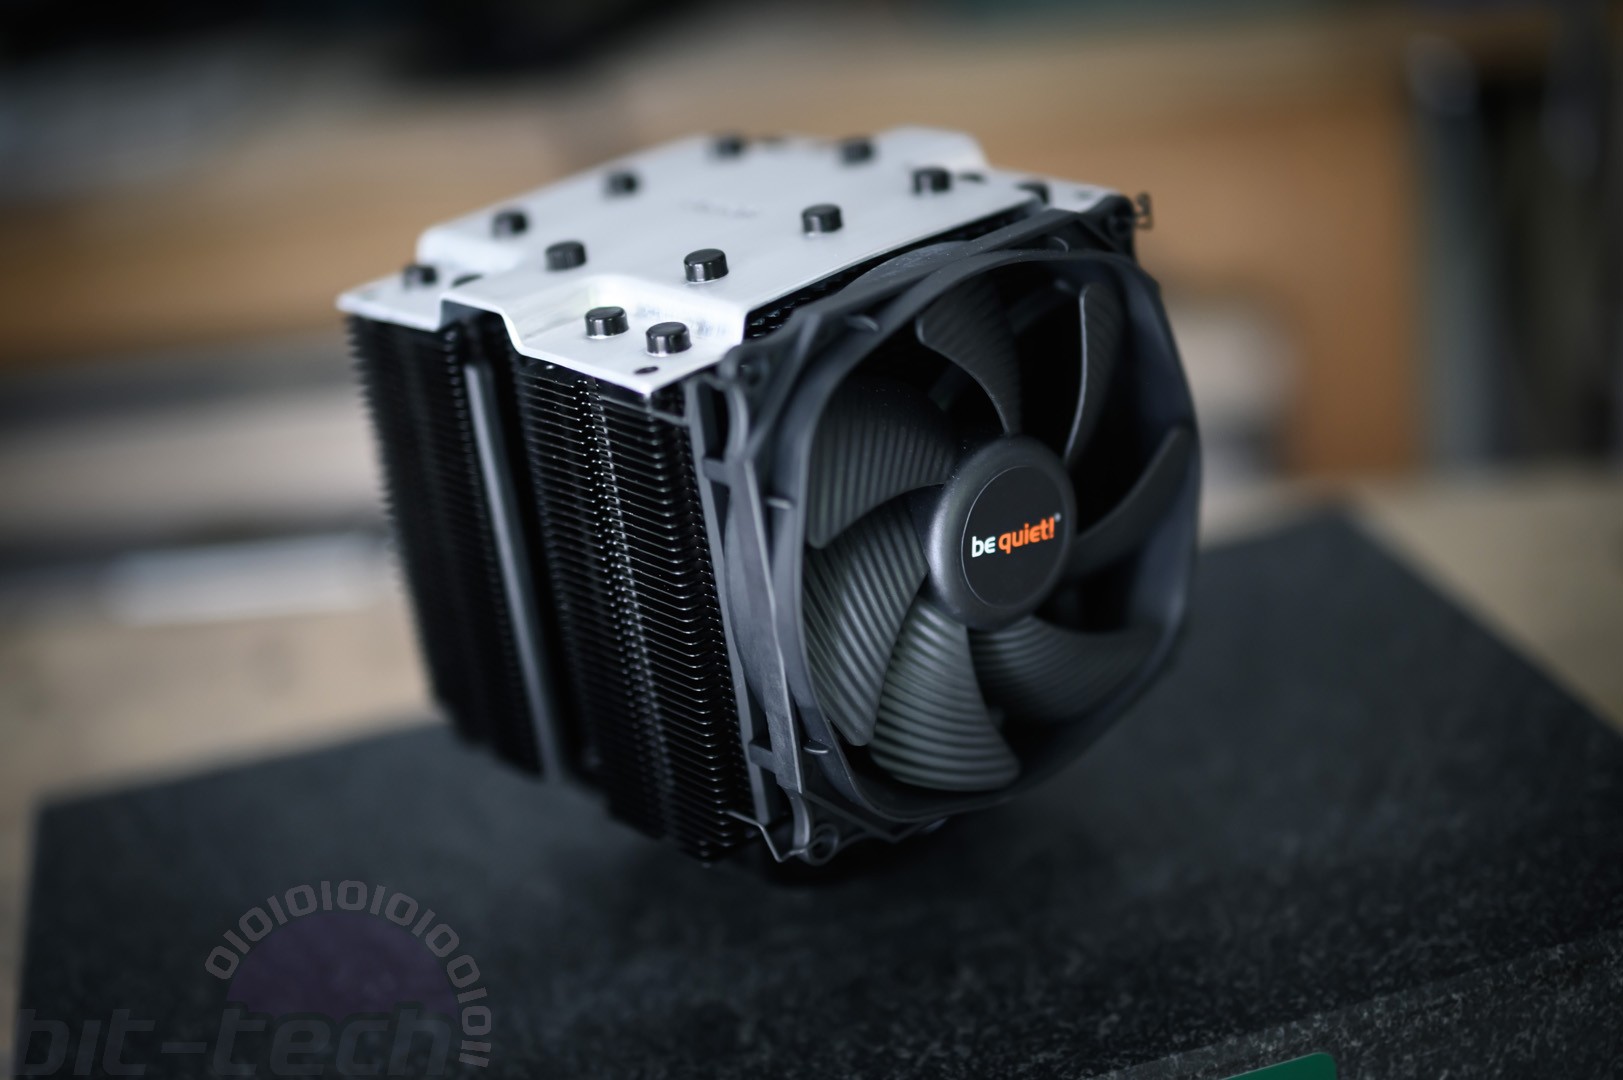
The heatsinks on the Gigabyte X570 Gaming X motherboard come dressed in black from the factory, so it made sense for this build to switch those to either white or silver, and the same goes for the Be Quiet Dark Rock Pro 4 cooler. I removed the heatsinks from the motherboard, cleaned, then placed in the NAOH solution for just a minute or so. The solution had a pretty strong concentration so the anodising layer flew right off, though be careful not to leave it in for too long since it will also eat away at the metal and thus things like screw-threads, etc. You can prevent threads from being ruined by placing screws into them, since they'll generally be steel which is unaffected by the solution.
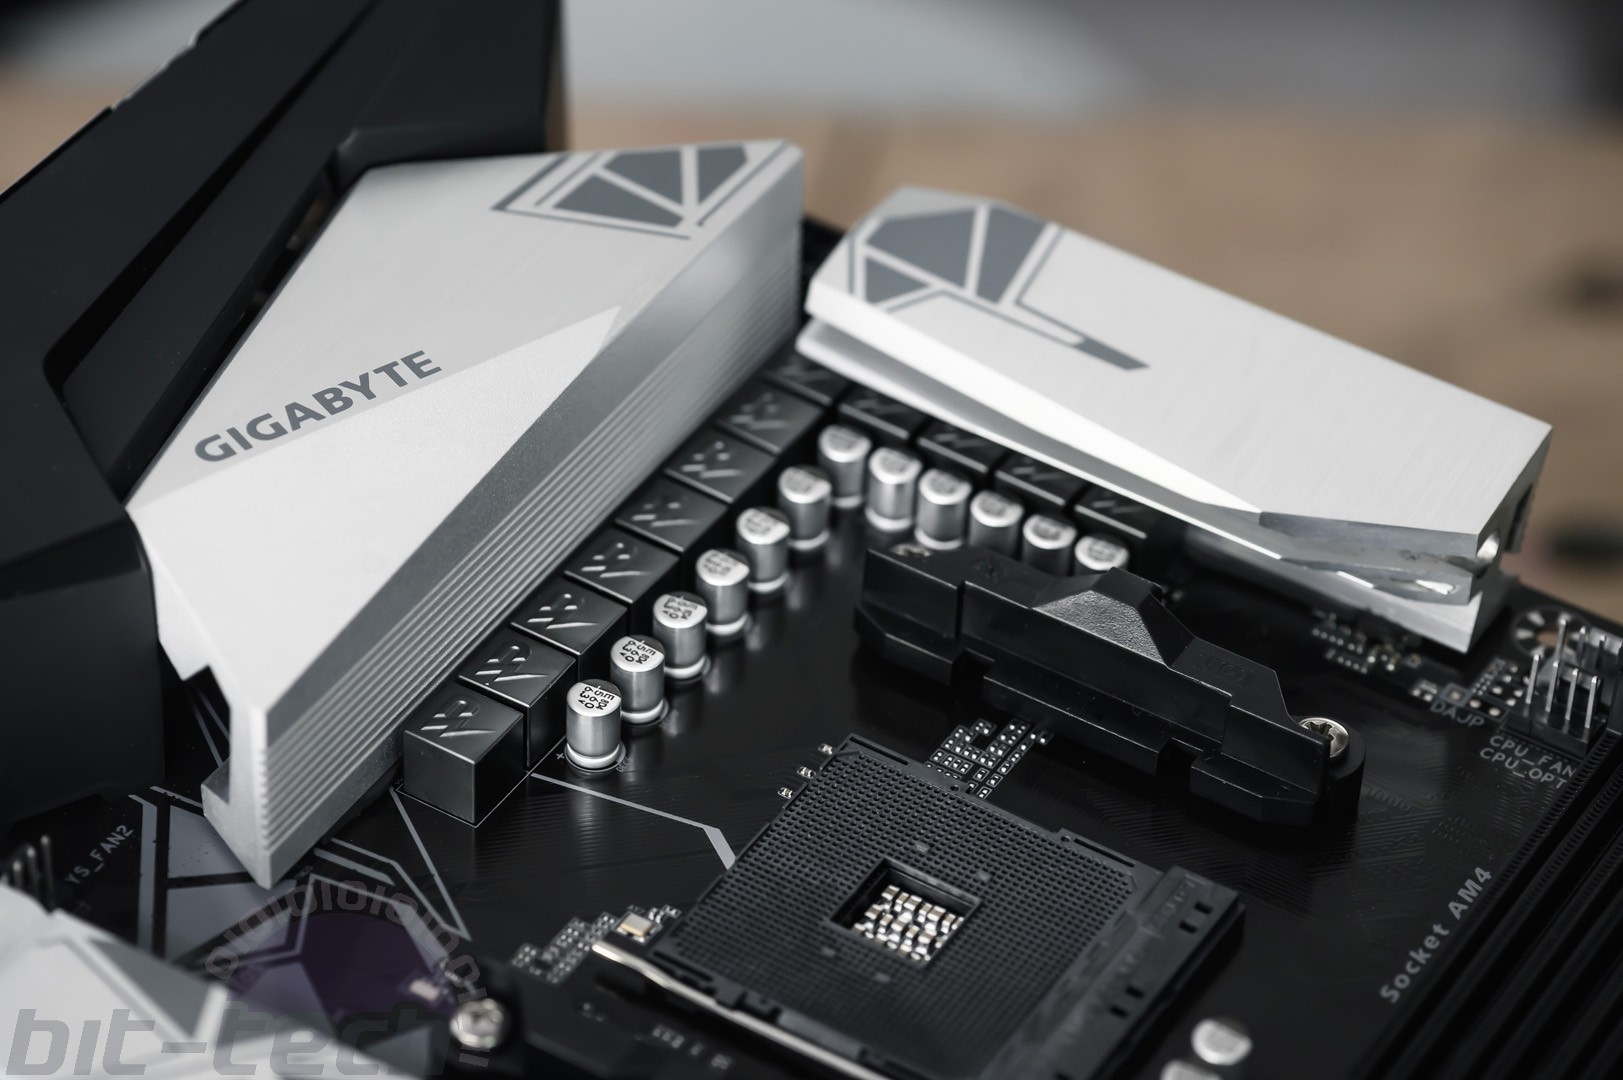
The cooler was a bit more fiddly as the cover had a number of caps for the heatpipes that are pressed into place. A few light taps with a hammer pushed these out again, but just be careful not to warp the soft aluminium sheet when doing so. Much like with the heatsinks, the anodising came off very quickly, and I then finished it off with a brushed effect using a couple medium-grit sheets of sandpaper (180 followed by 320-grit). There was an unintended bonus with the motherboard heatsinks here as the black ones come with some silk-screened patterns on them. It turns out the silk-screening made for a fantastic stencil, resulting in the designs being carried forward into the stripped finish, and that's worth considering in the future as you could likely do the same with a painted stencil.


MSI MPG Velox 100R Chassis Review
October 14 2021 | 15:04

Want to comment? Please log in.