In Q4 last year, Nvidia approached us with an interesting proposal to build a rig themed around the then upcoming RTX flagship title, Battlefield V. The most curious aspect of this assignment was that the build would be split up into distinct sections, with each section having two possible outcomes. Nvidia's social media followers would then choose which option they would like to see featured in the build. It's a sort of Mass Effect approach, one that presented some interesting choices, that's for sure.
When sitting down to discuss the direction in which we wanted to take this one, it became abundantly clear that something rather different should be attempted. We settled on a rather fun idea: Why not try to build the rig itself into a WWII styled ammunition crate? The very sort featured in the game. Let's have a closer look at how we started this journey.
Working the Wood
From the outset, this project is a little different to the others that we've done so far in that there is less planning in advance. The nature of having portions of the rig up for debate meant that only certain aspects such as the hardware configuration and general theme could be chosen with certainty. Since the rig would be built into a crate, I decided I wouldn't try to model the whole thing up in CAD this time; instead we went off the cuff, the idea being that parts could be altered and worked on as things came. The first choice was a crucial one in and of itself: Would the build be featured in a brand new, straight-off-the-shop-floor crate, or a grizzled veteran of the field who's seen front-line action? The community voted, thankfully, for the latter.
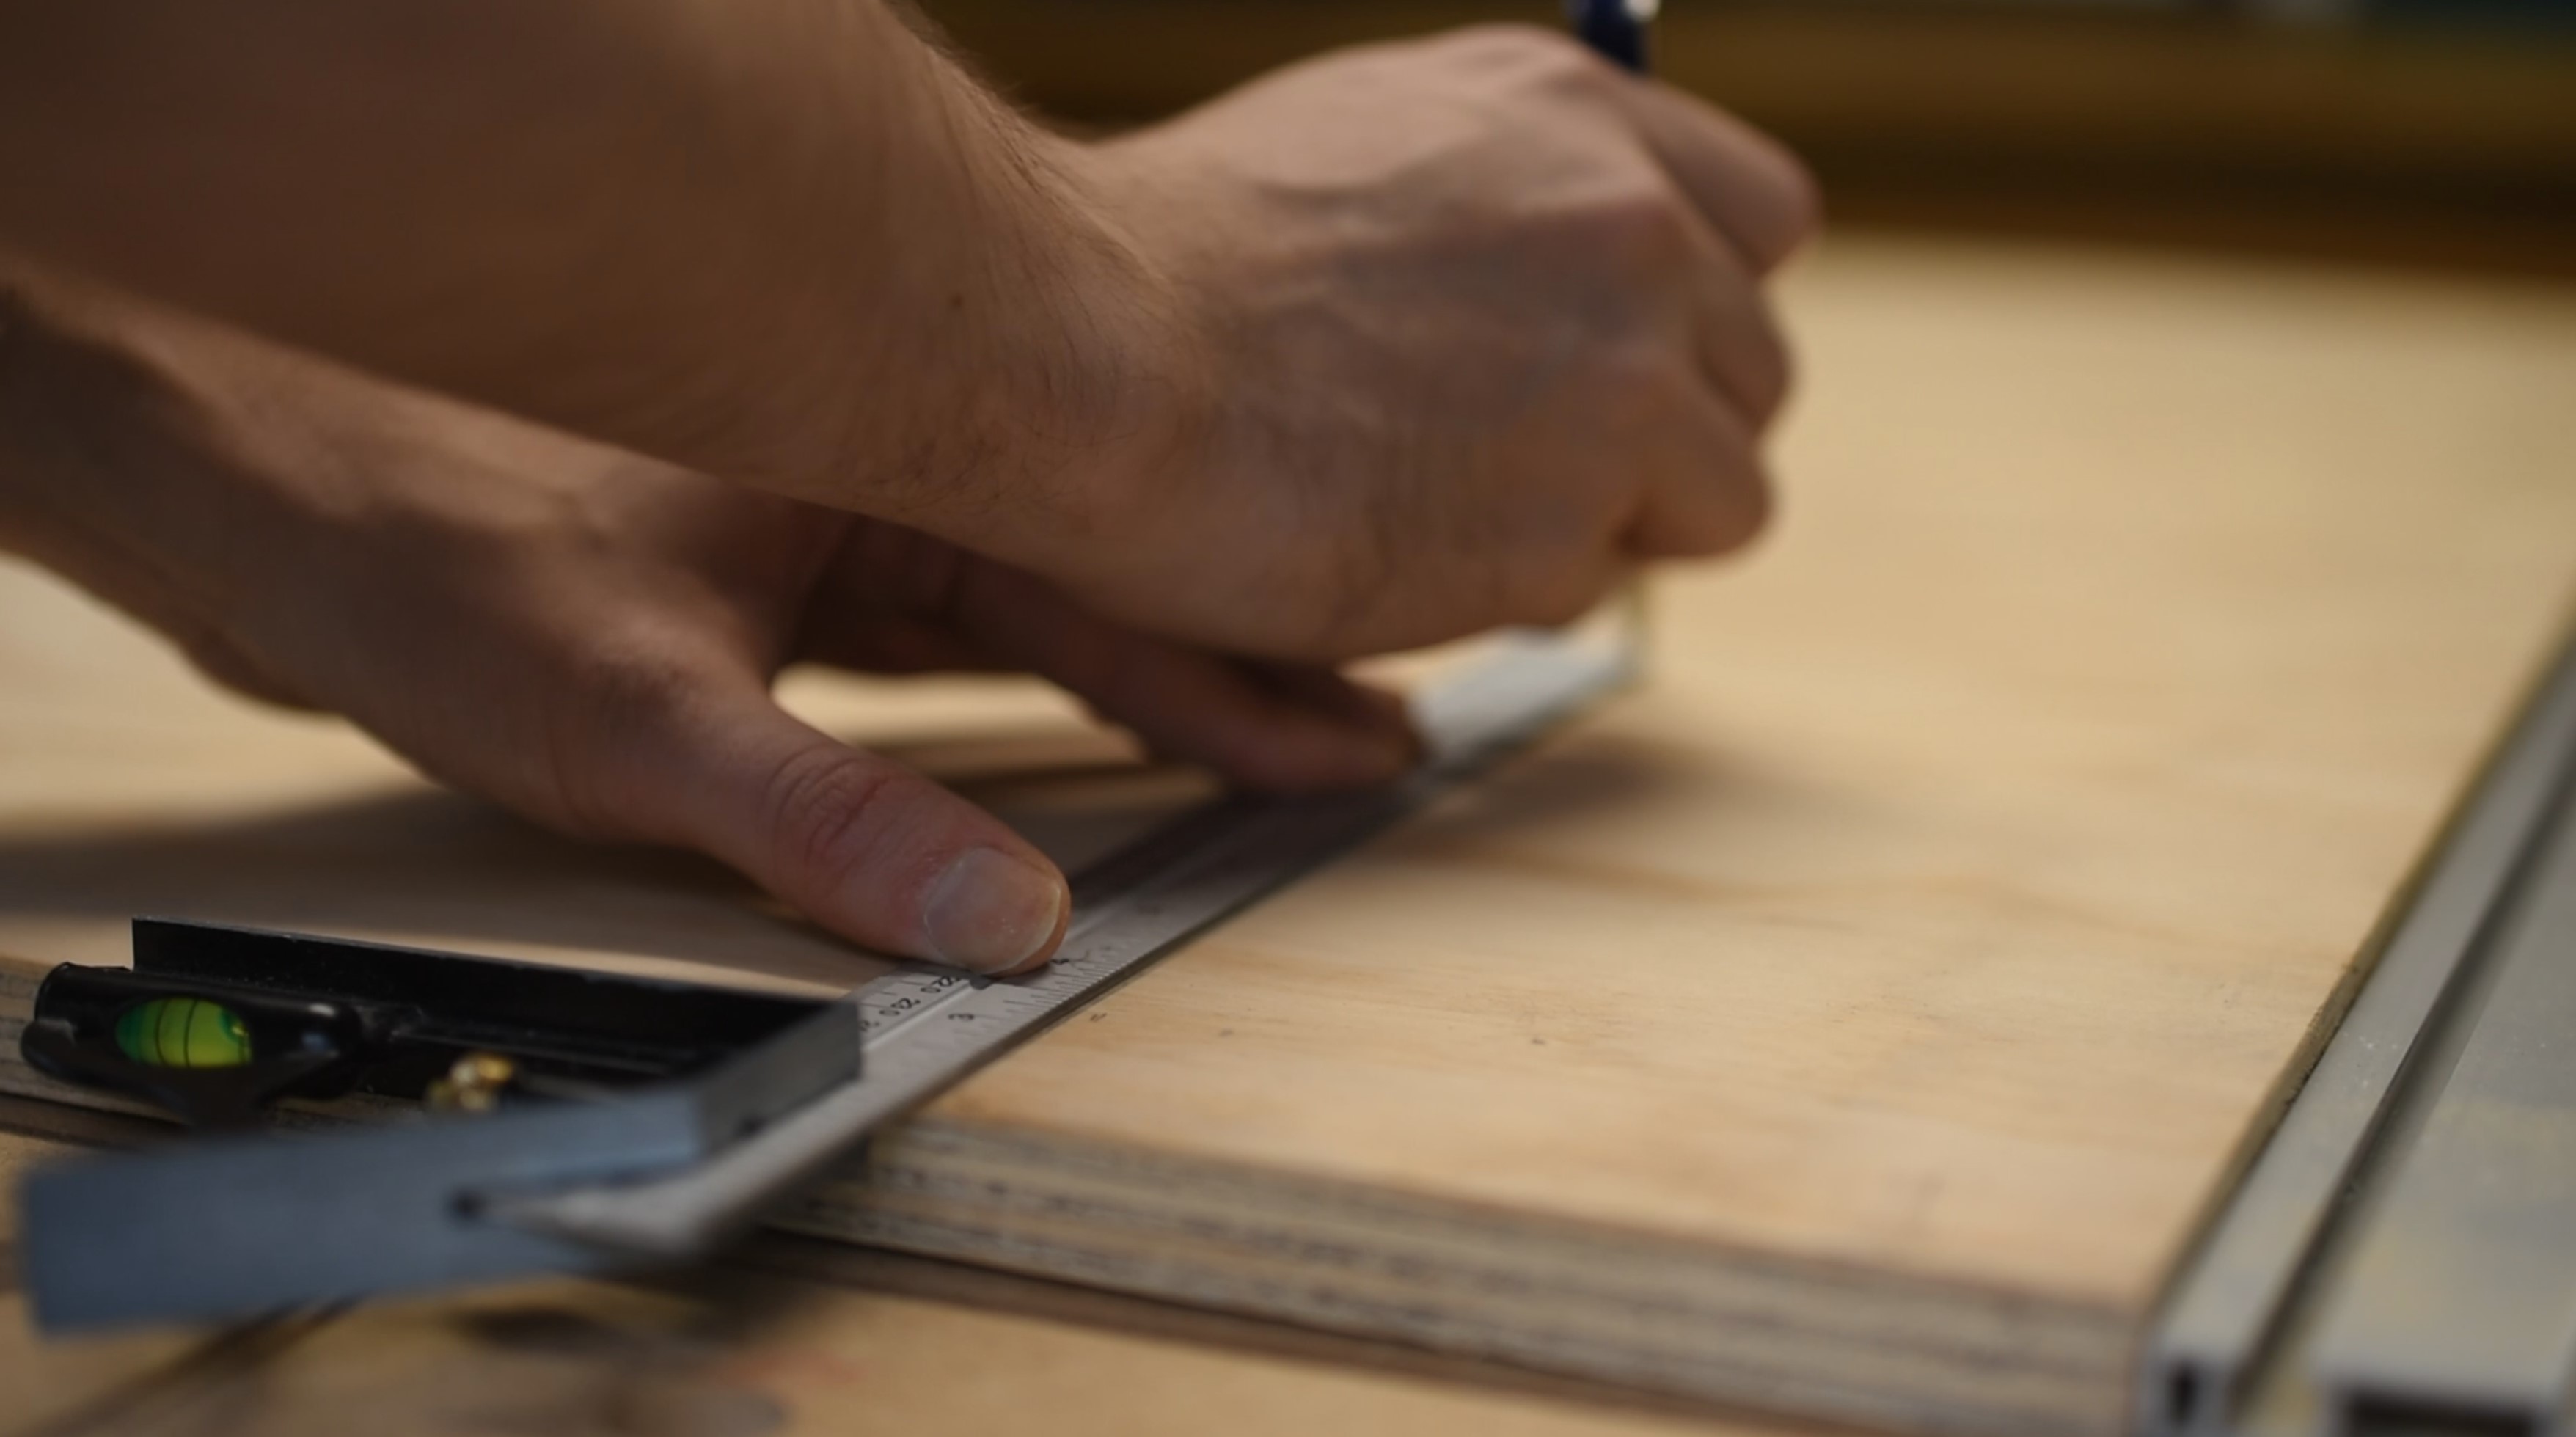
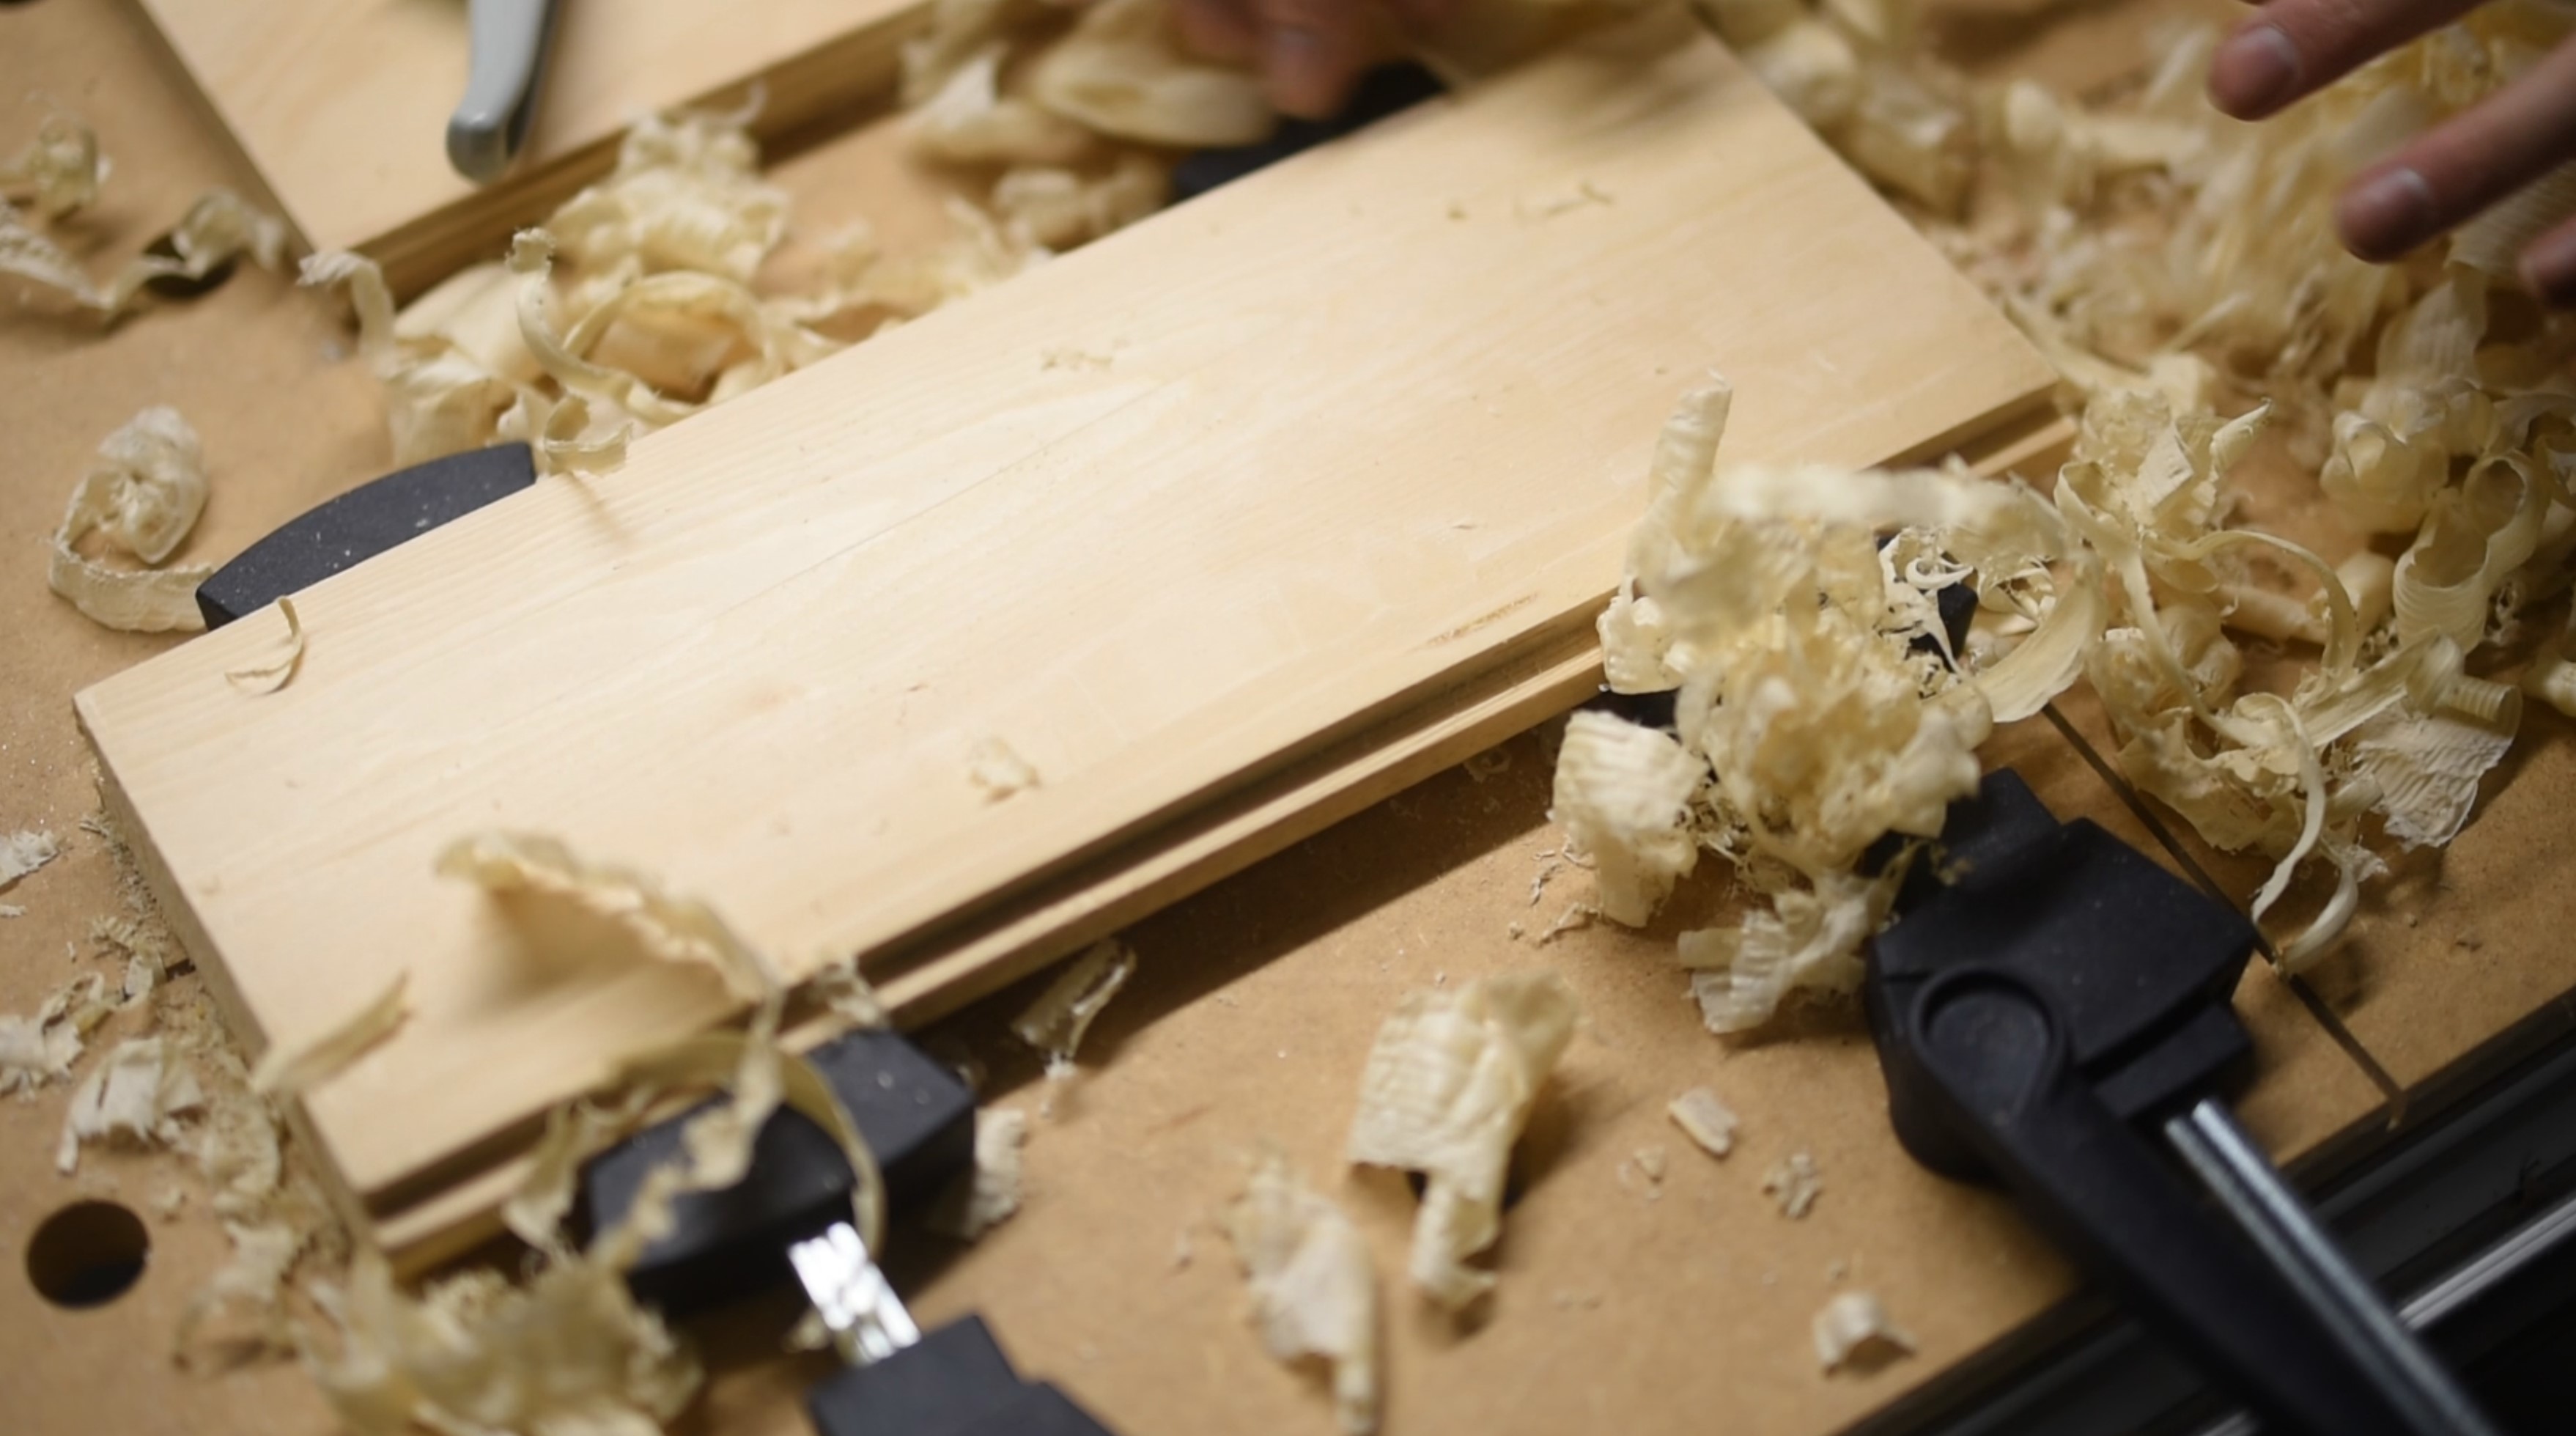
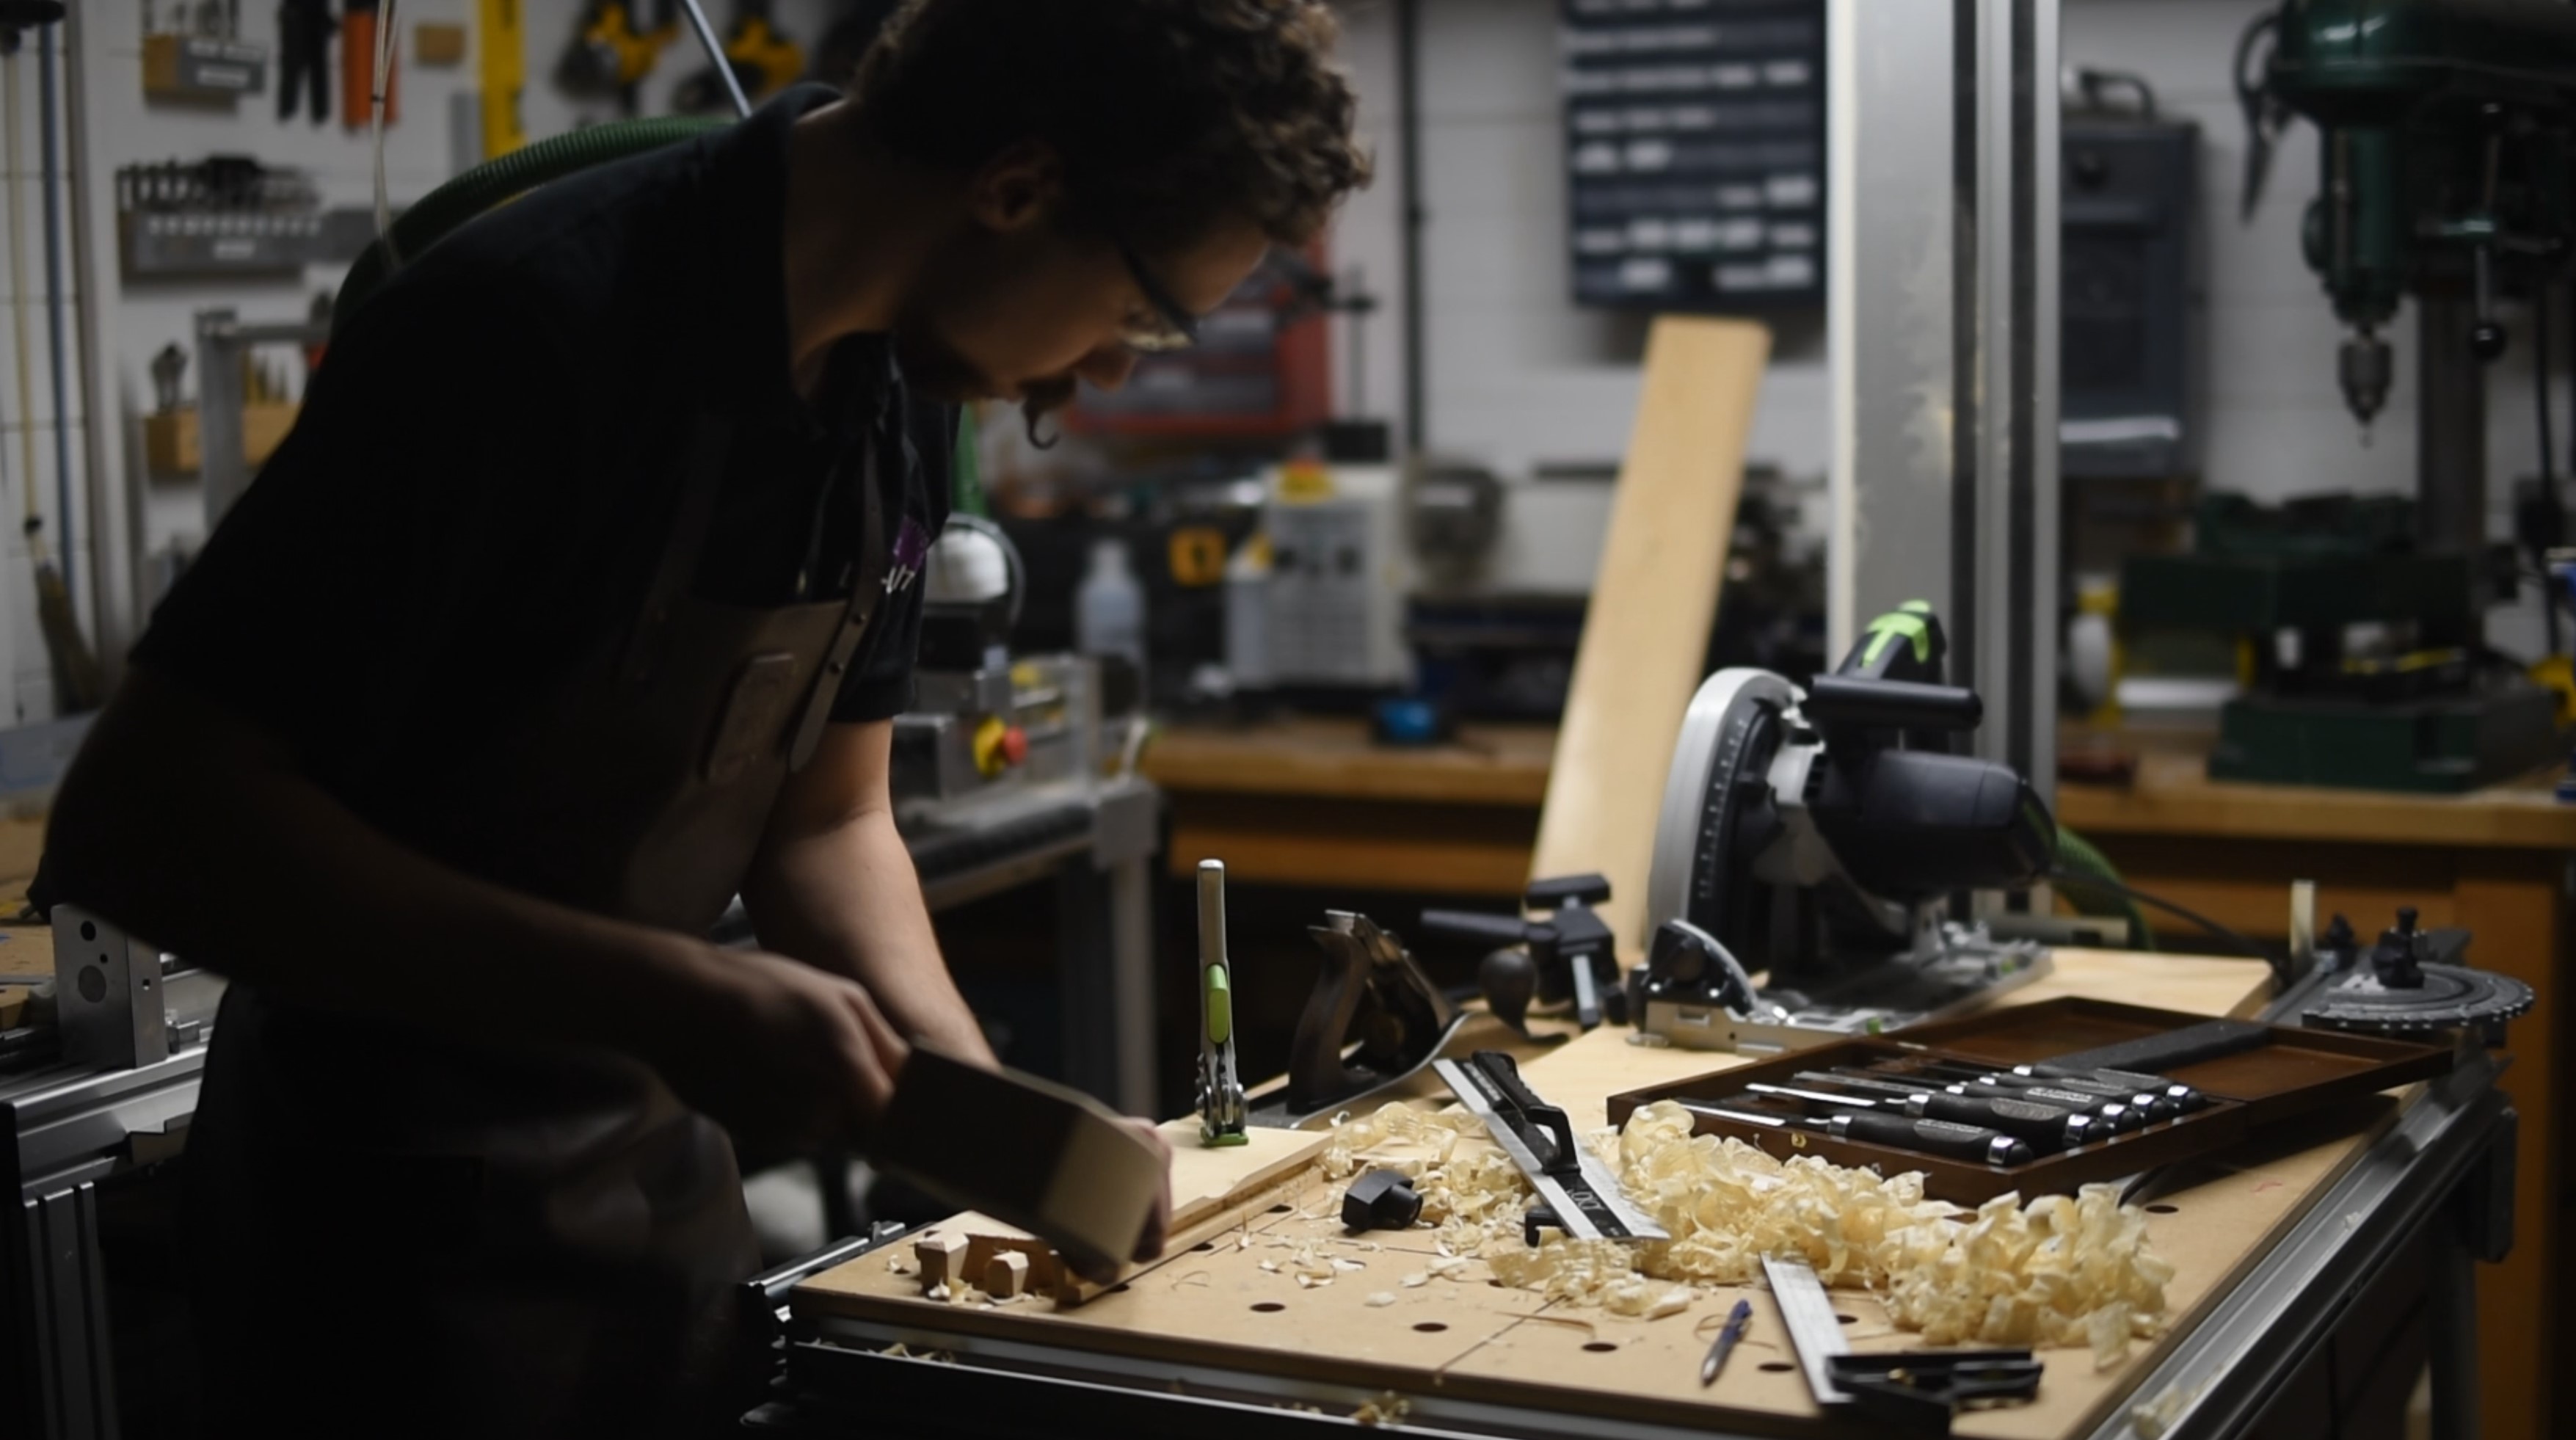
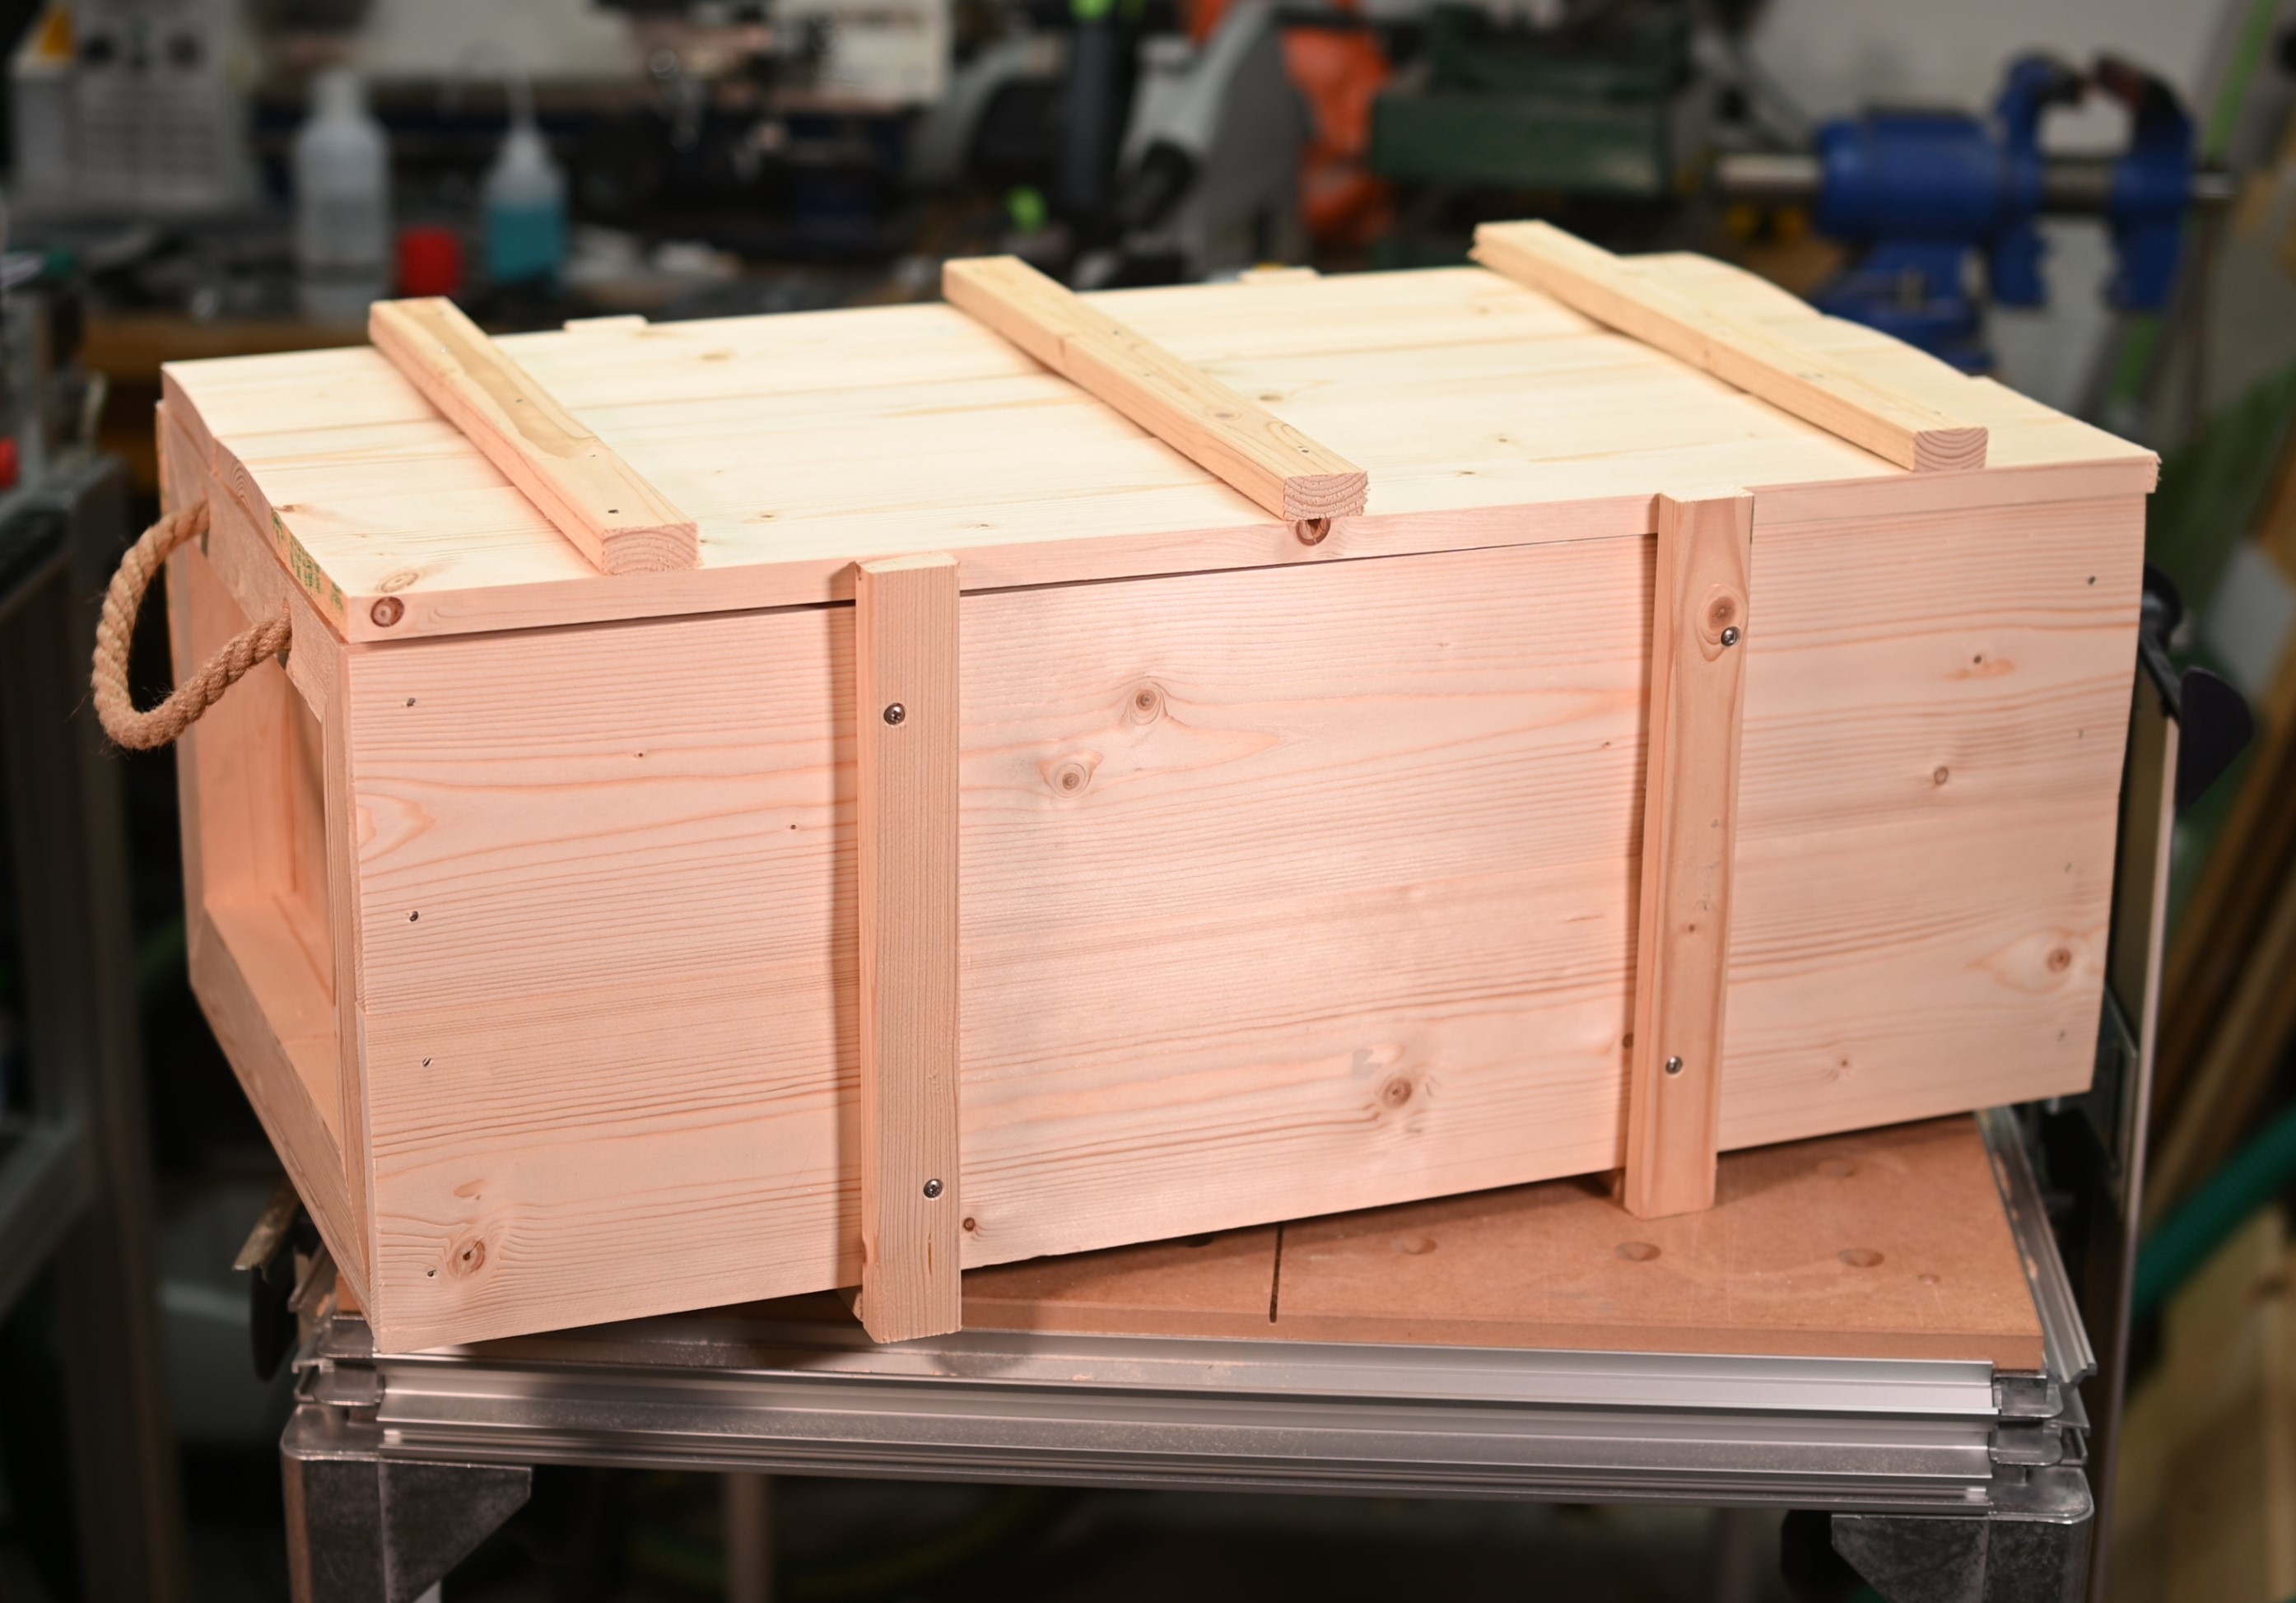
Regardless of the outcome, we needed to construct a crate. Since it's a utilitarian object by nature, it made sense to stick with a utilitarian material, pine. I had originally wanted to make the whole structure from planks, but once things started getting drawn up, I switched to birch ply for the base (I don't have a thicknesser, so flattening planks would take ages). Not very traditional, I know, but the exterior uses more correct materials to be in keeping with the design. The timber made for a fun reason to break out the chisels and hand planes, although being a simple crate there isn't much in the way of joinery involved.
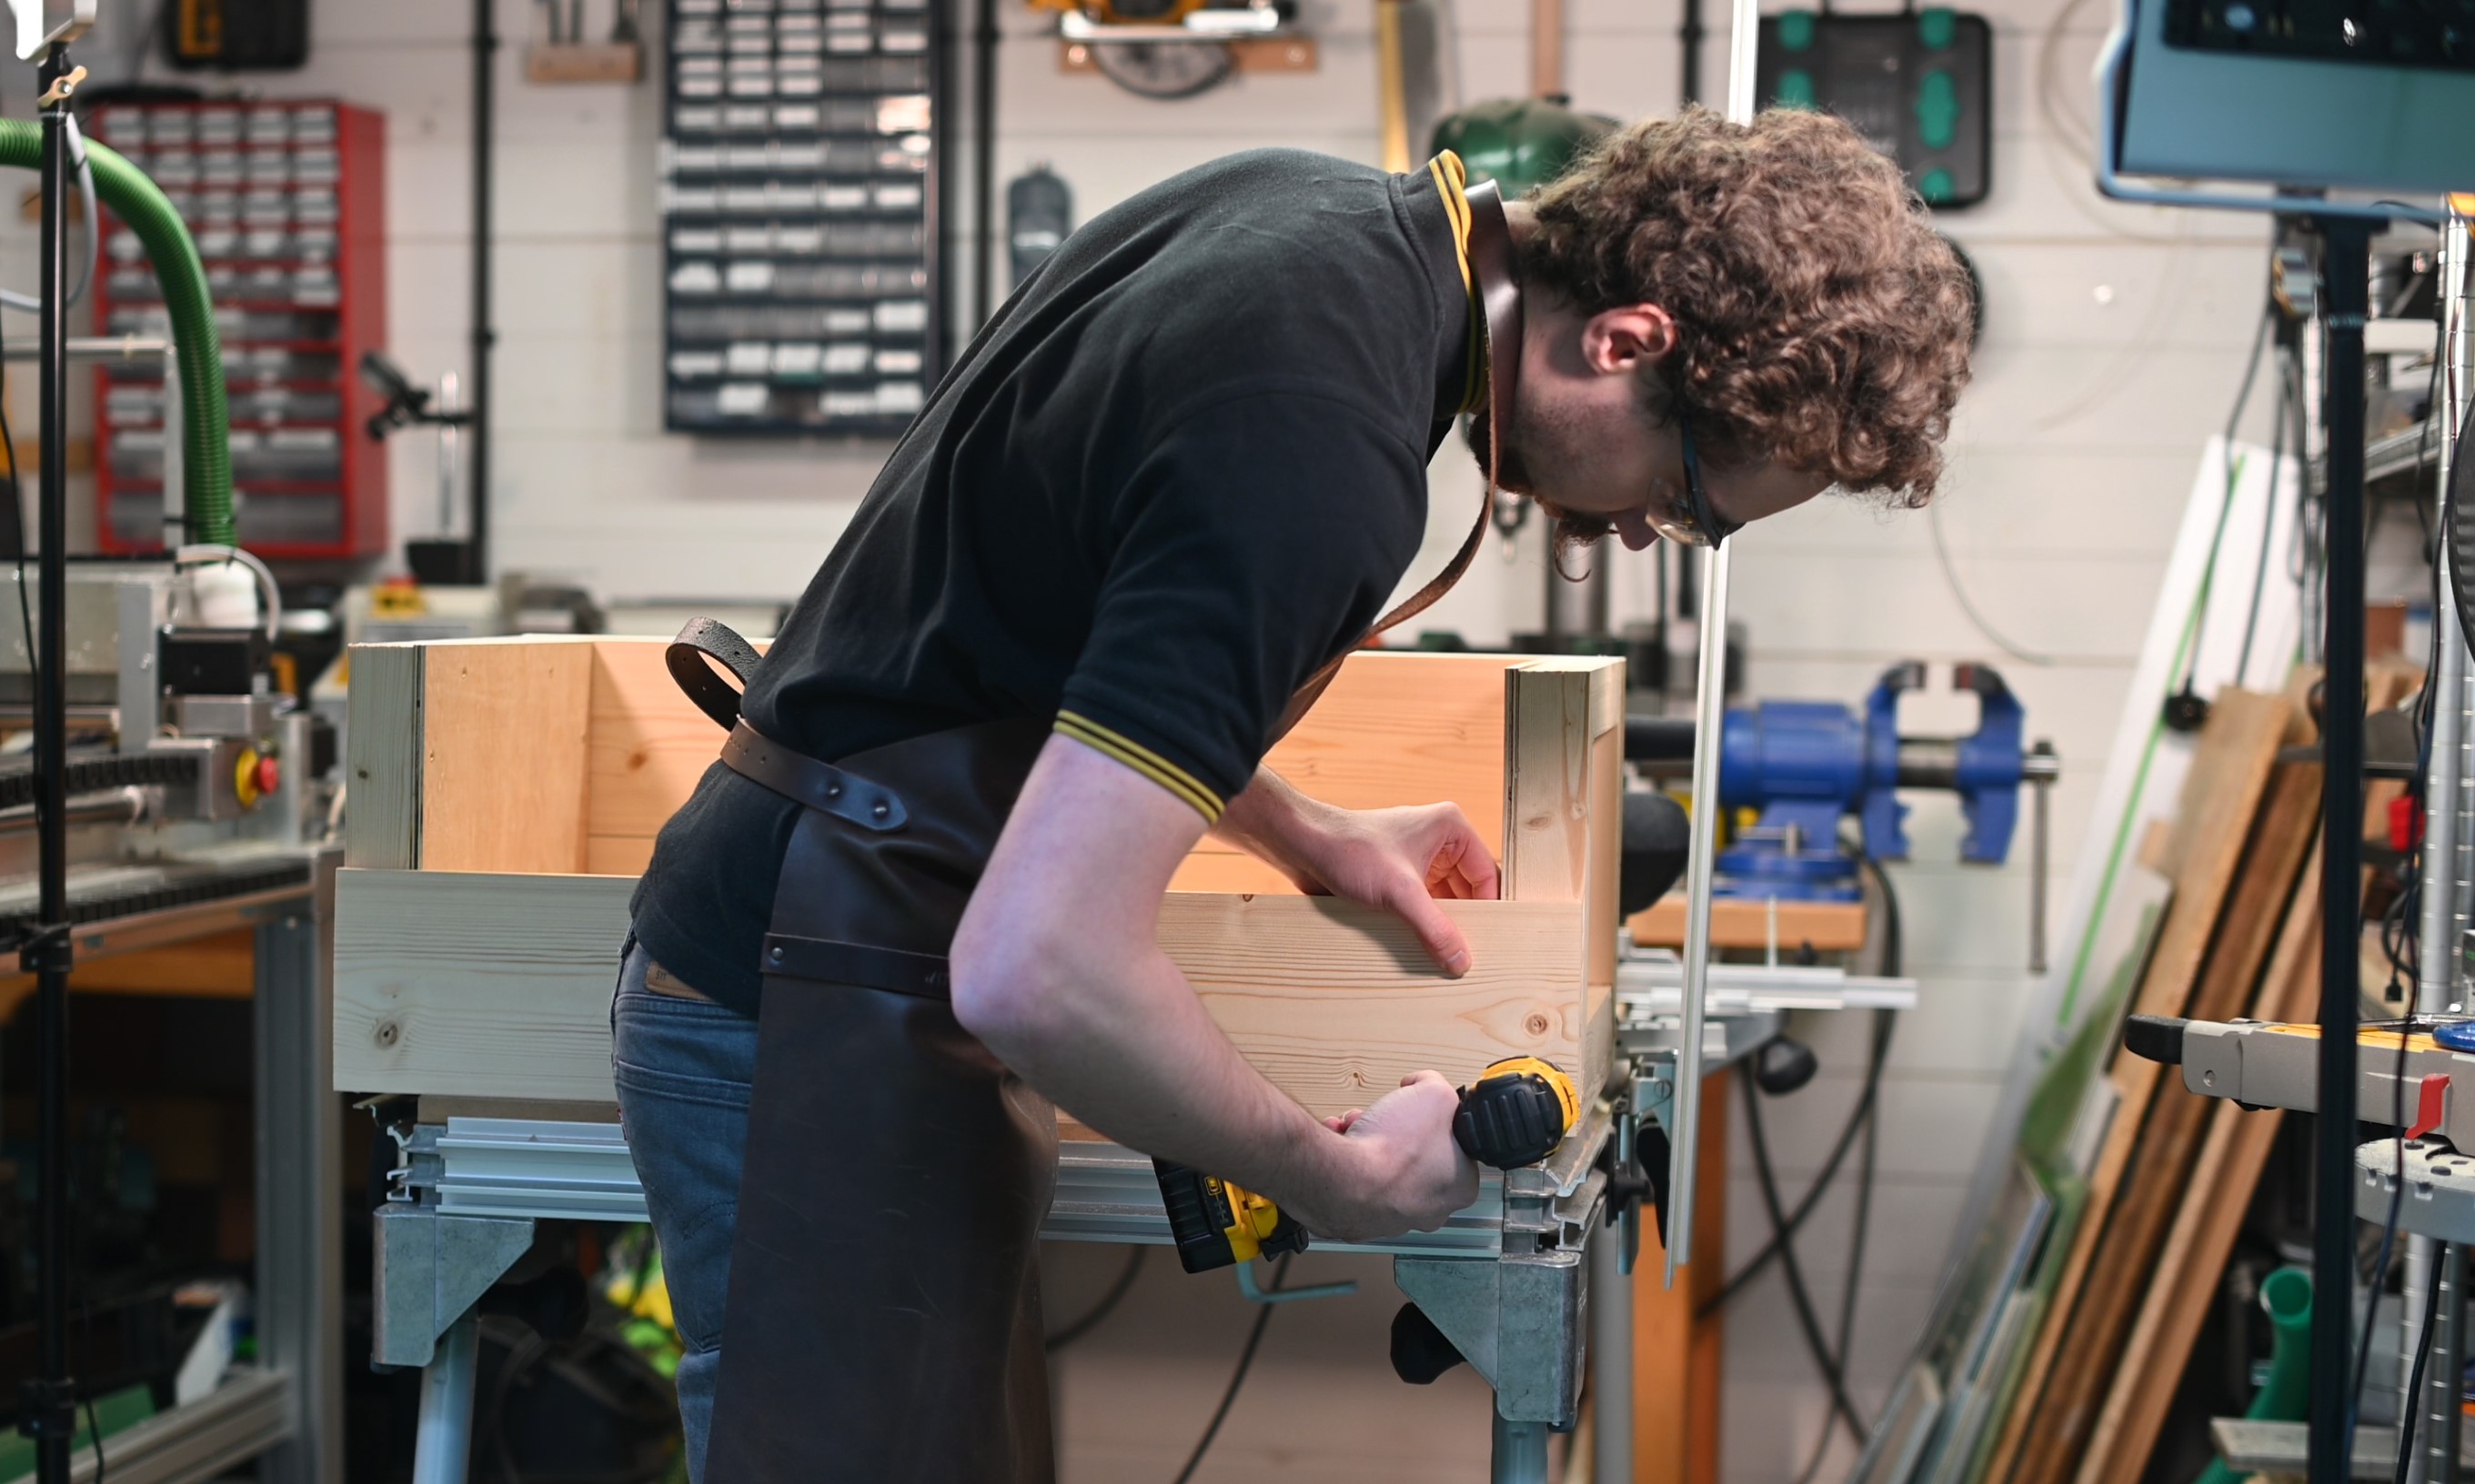
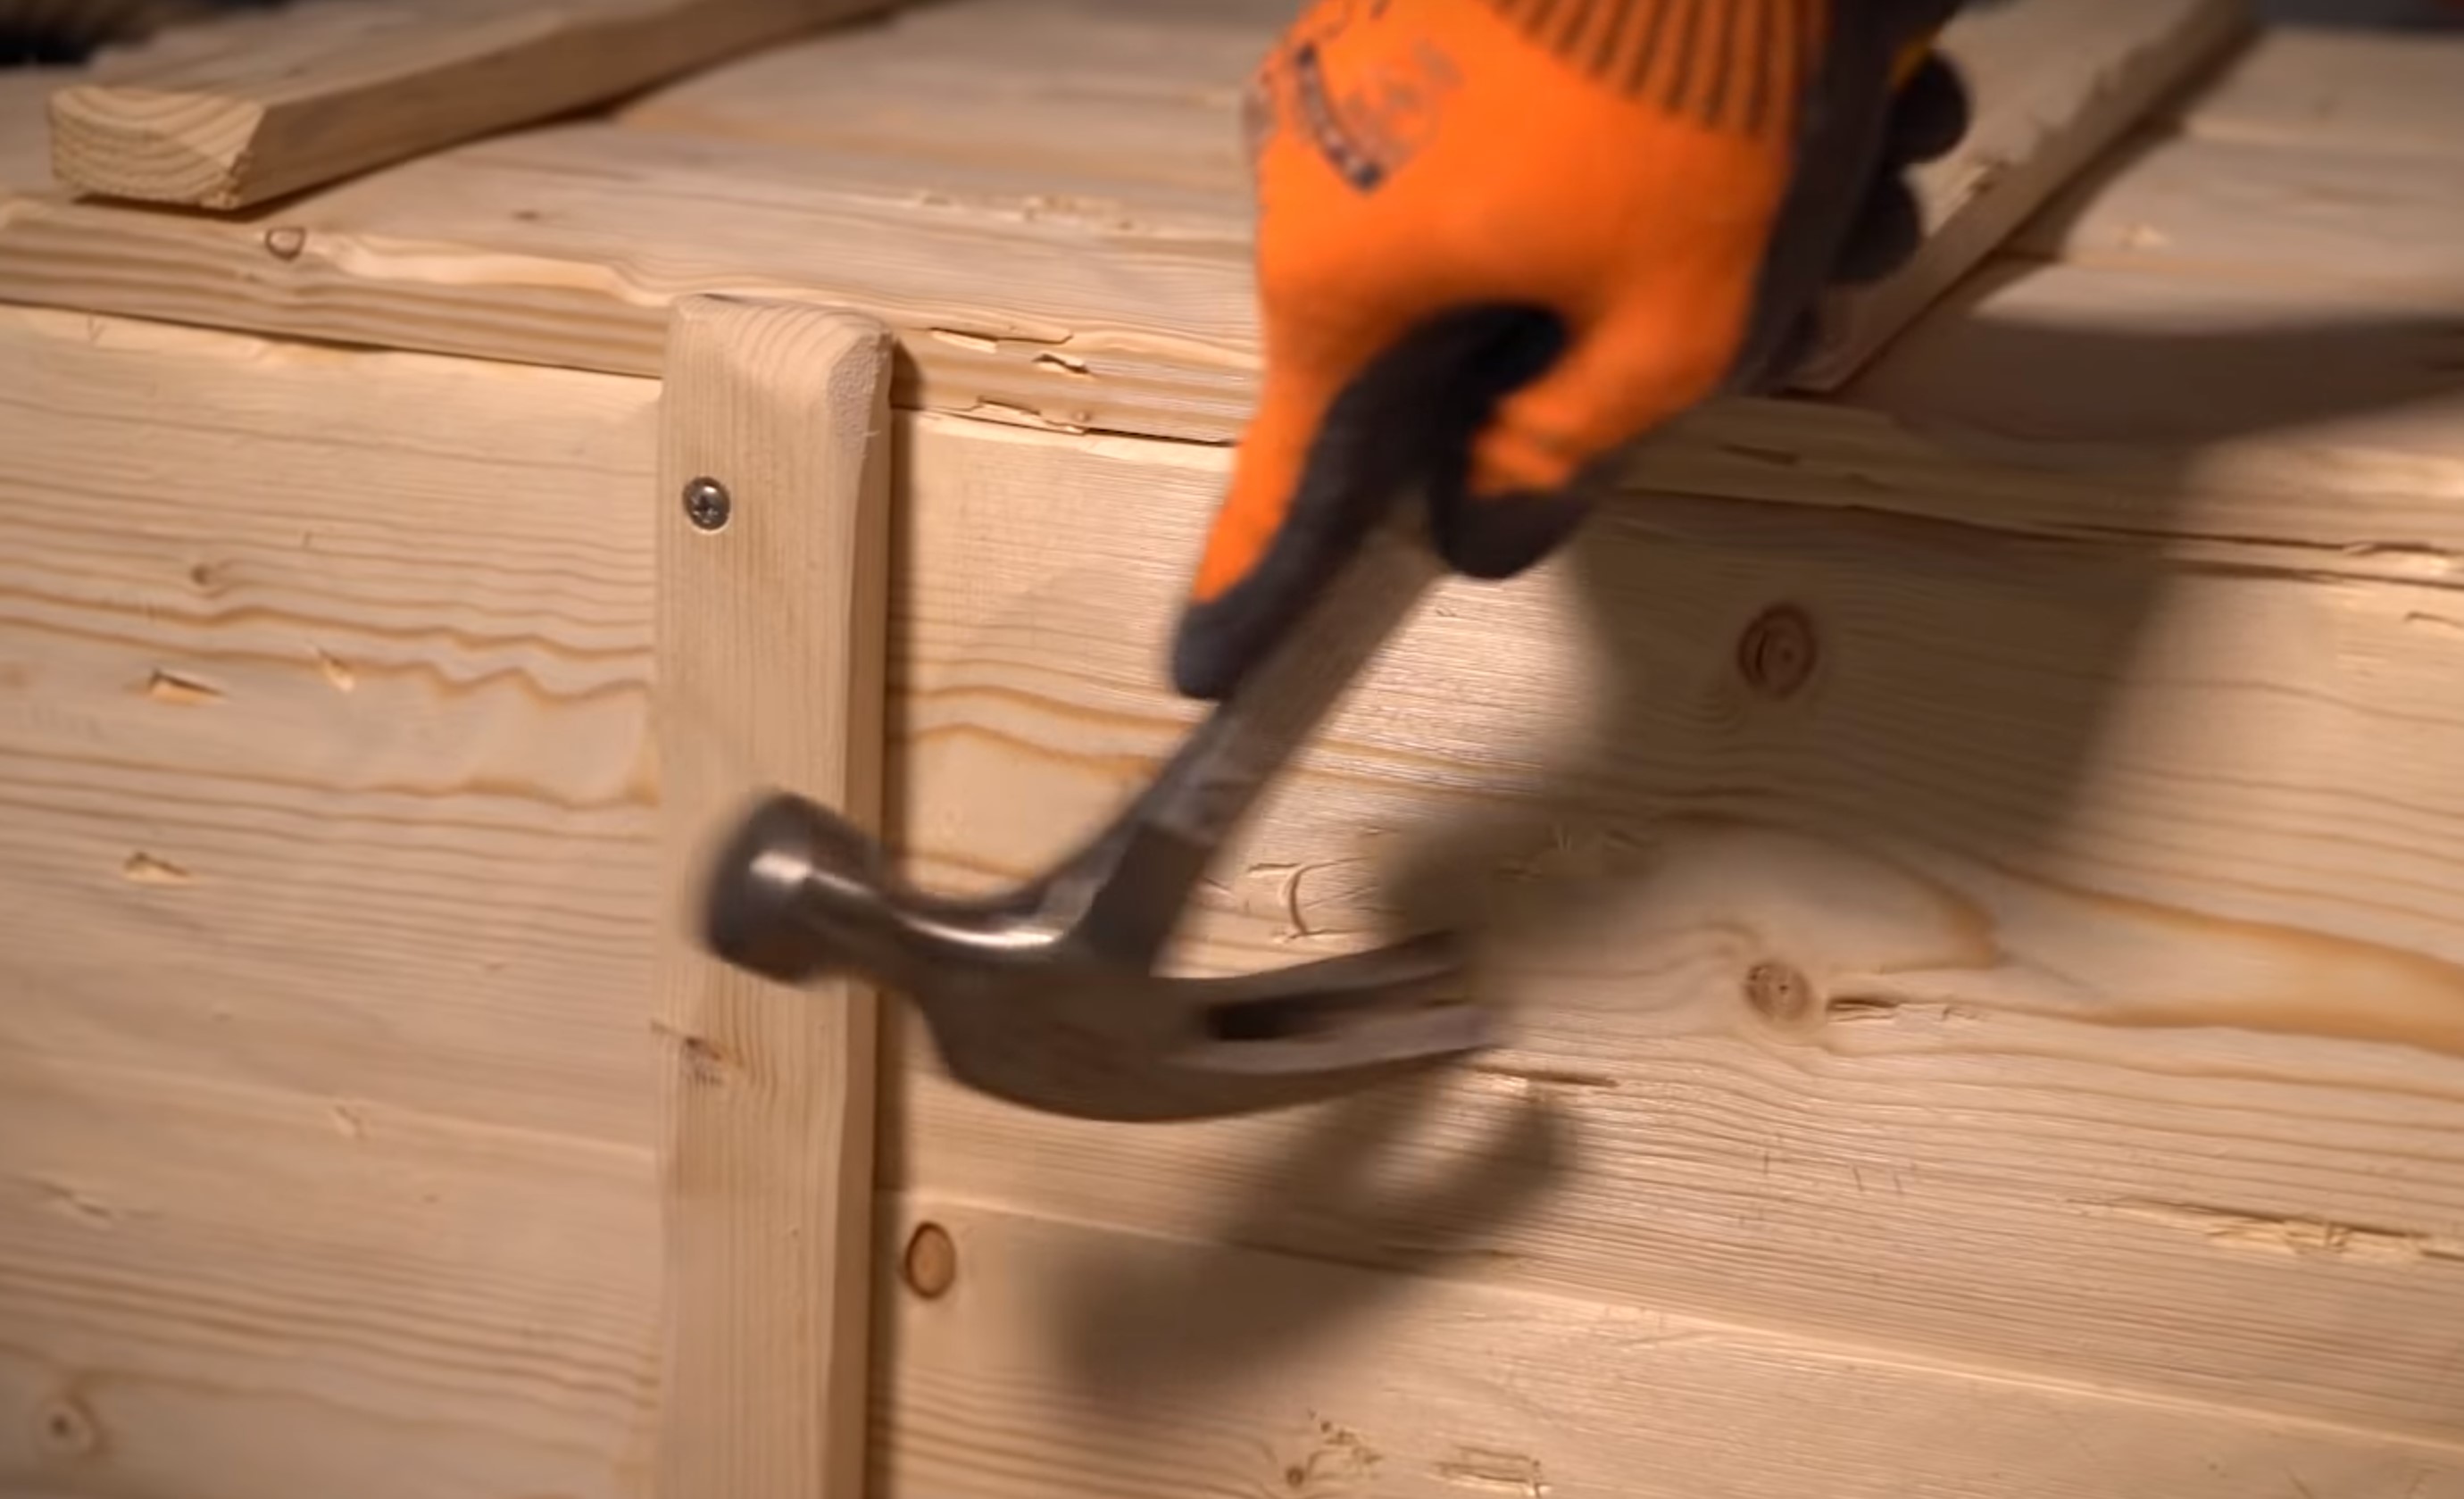
Since we would be mounting parts at a later date inside the crate, it seemed sensible to screw the side boards into place rather than gluing, this way they could be removed later in case any further work needed to be done to them. I saved the wonkiest planks of the lot for the lid, since this isn't a key structural element. In fact, the boards chosen were all warped; this was to aid the ageing process down the line.
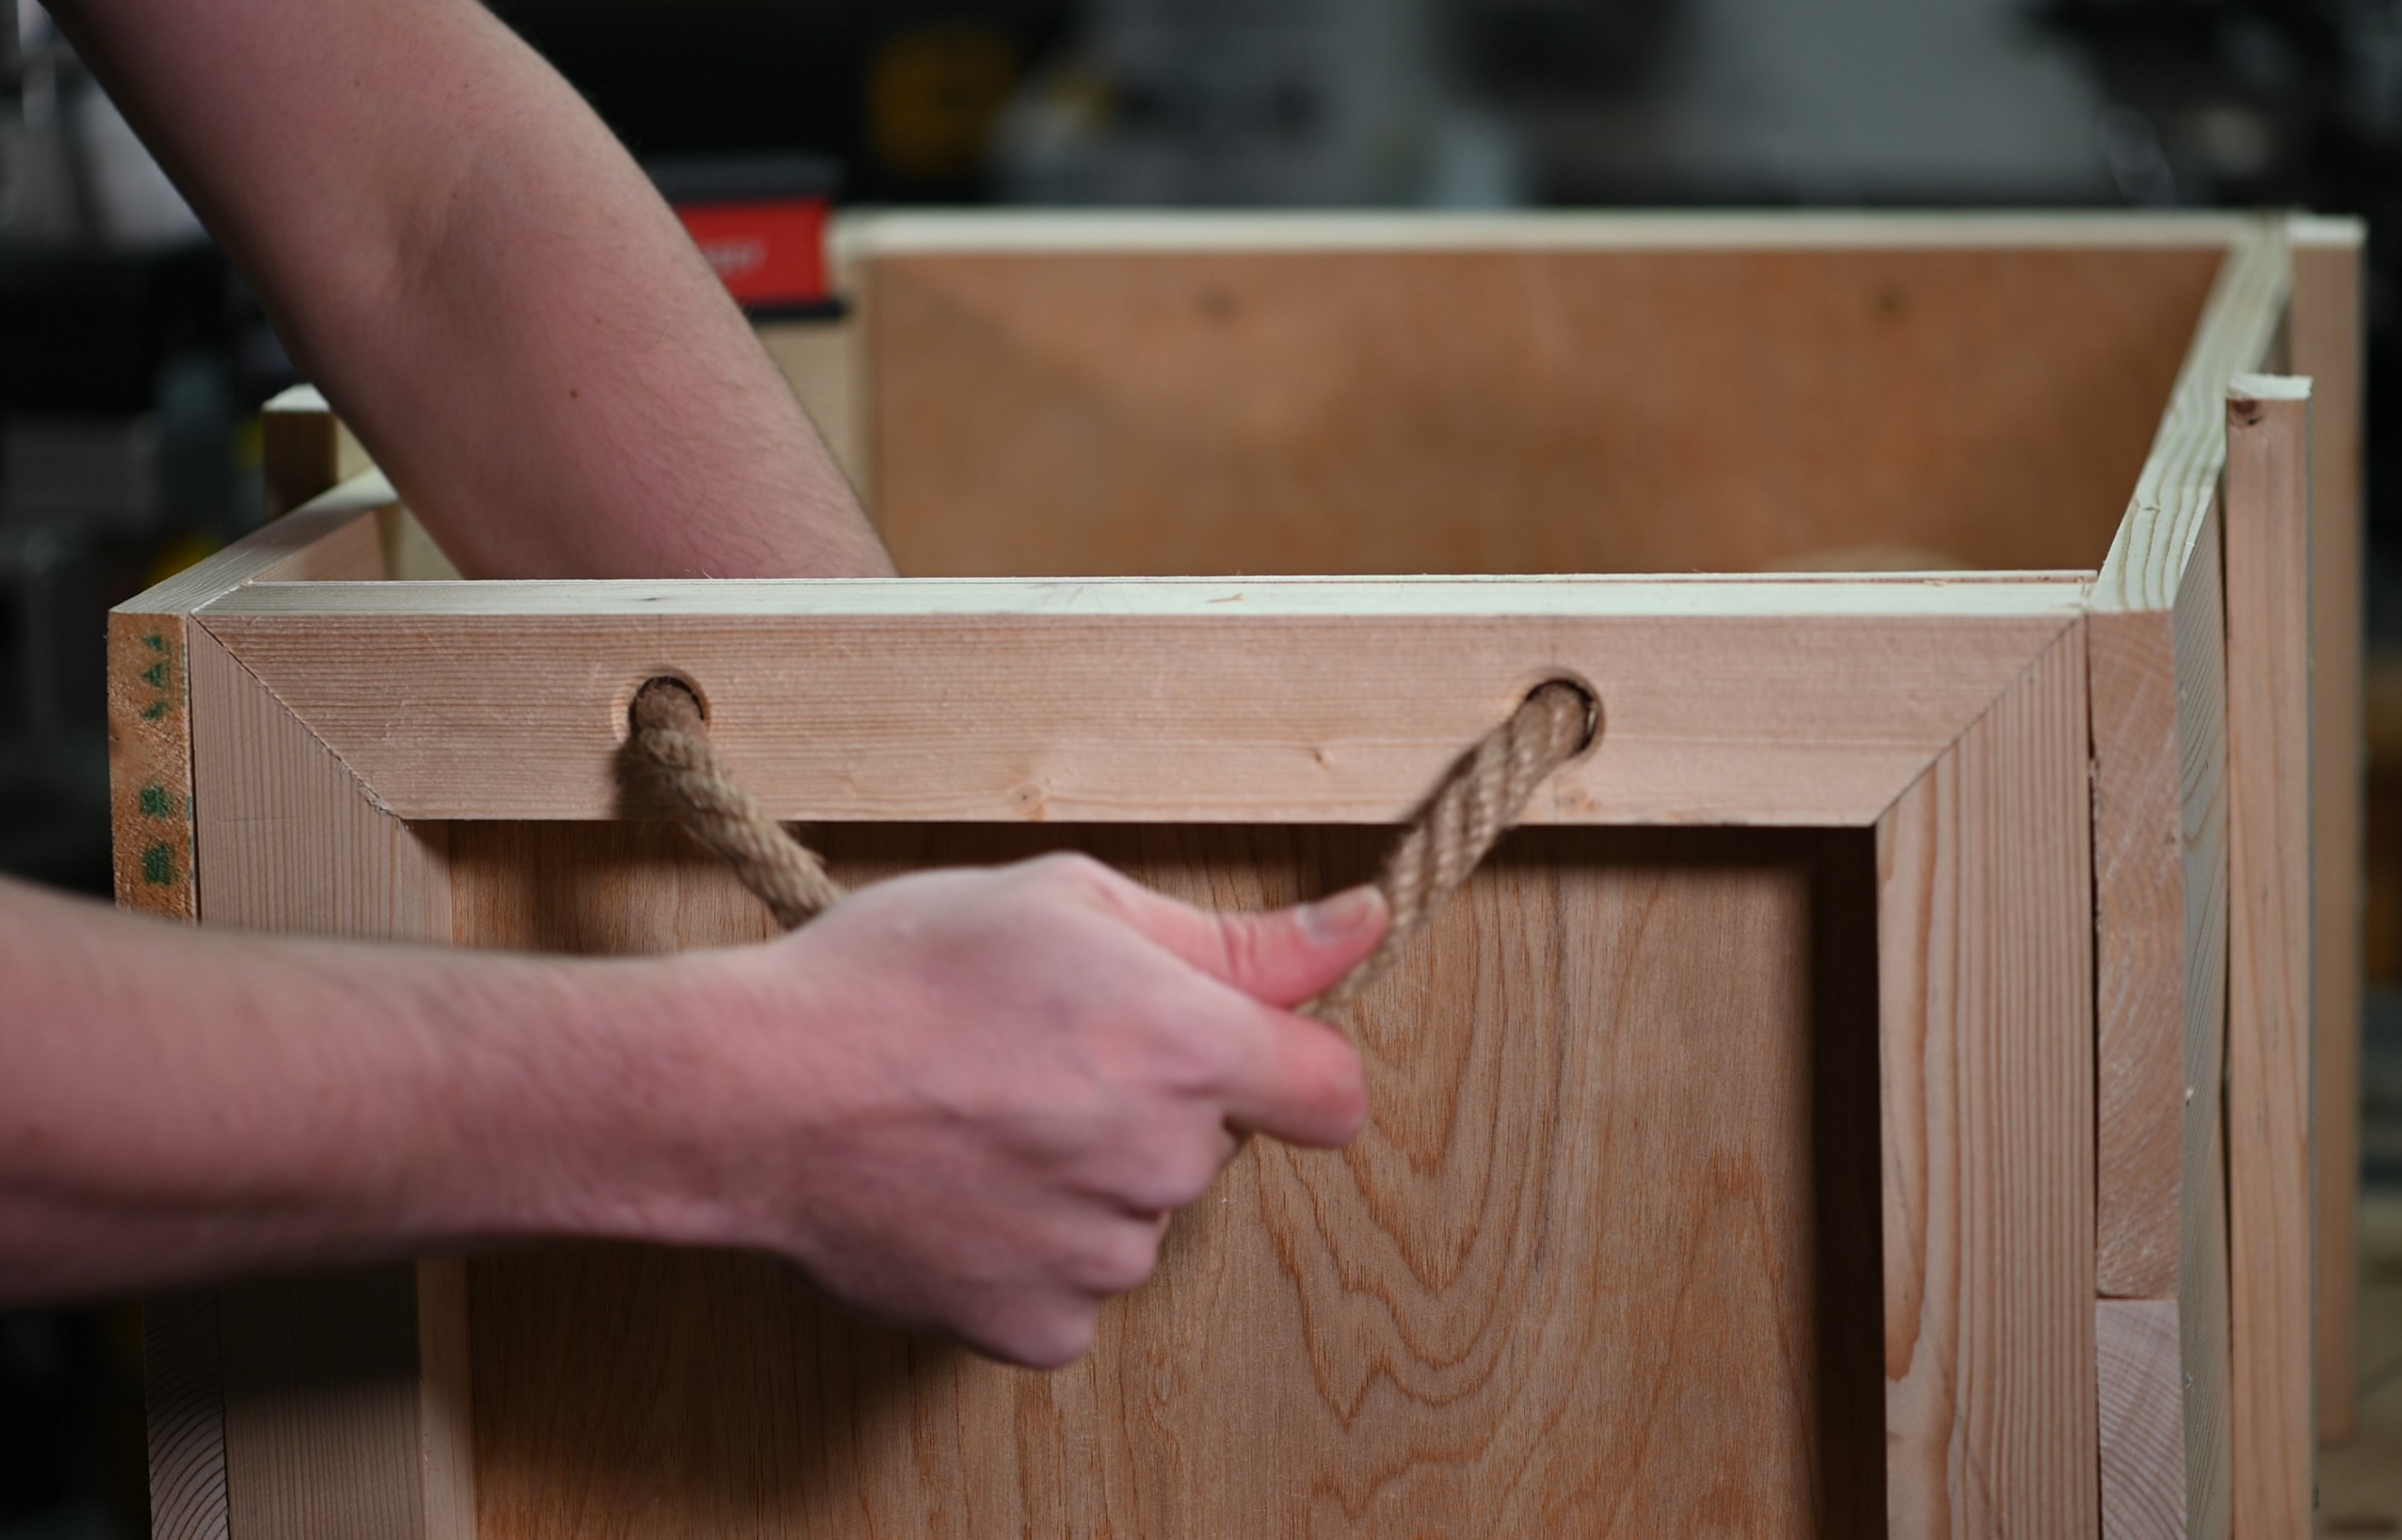
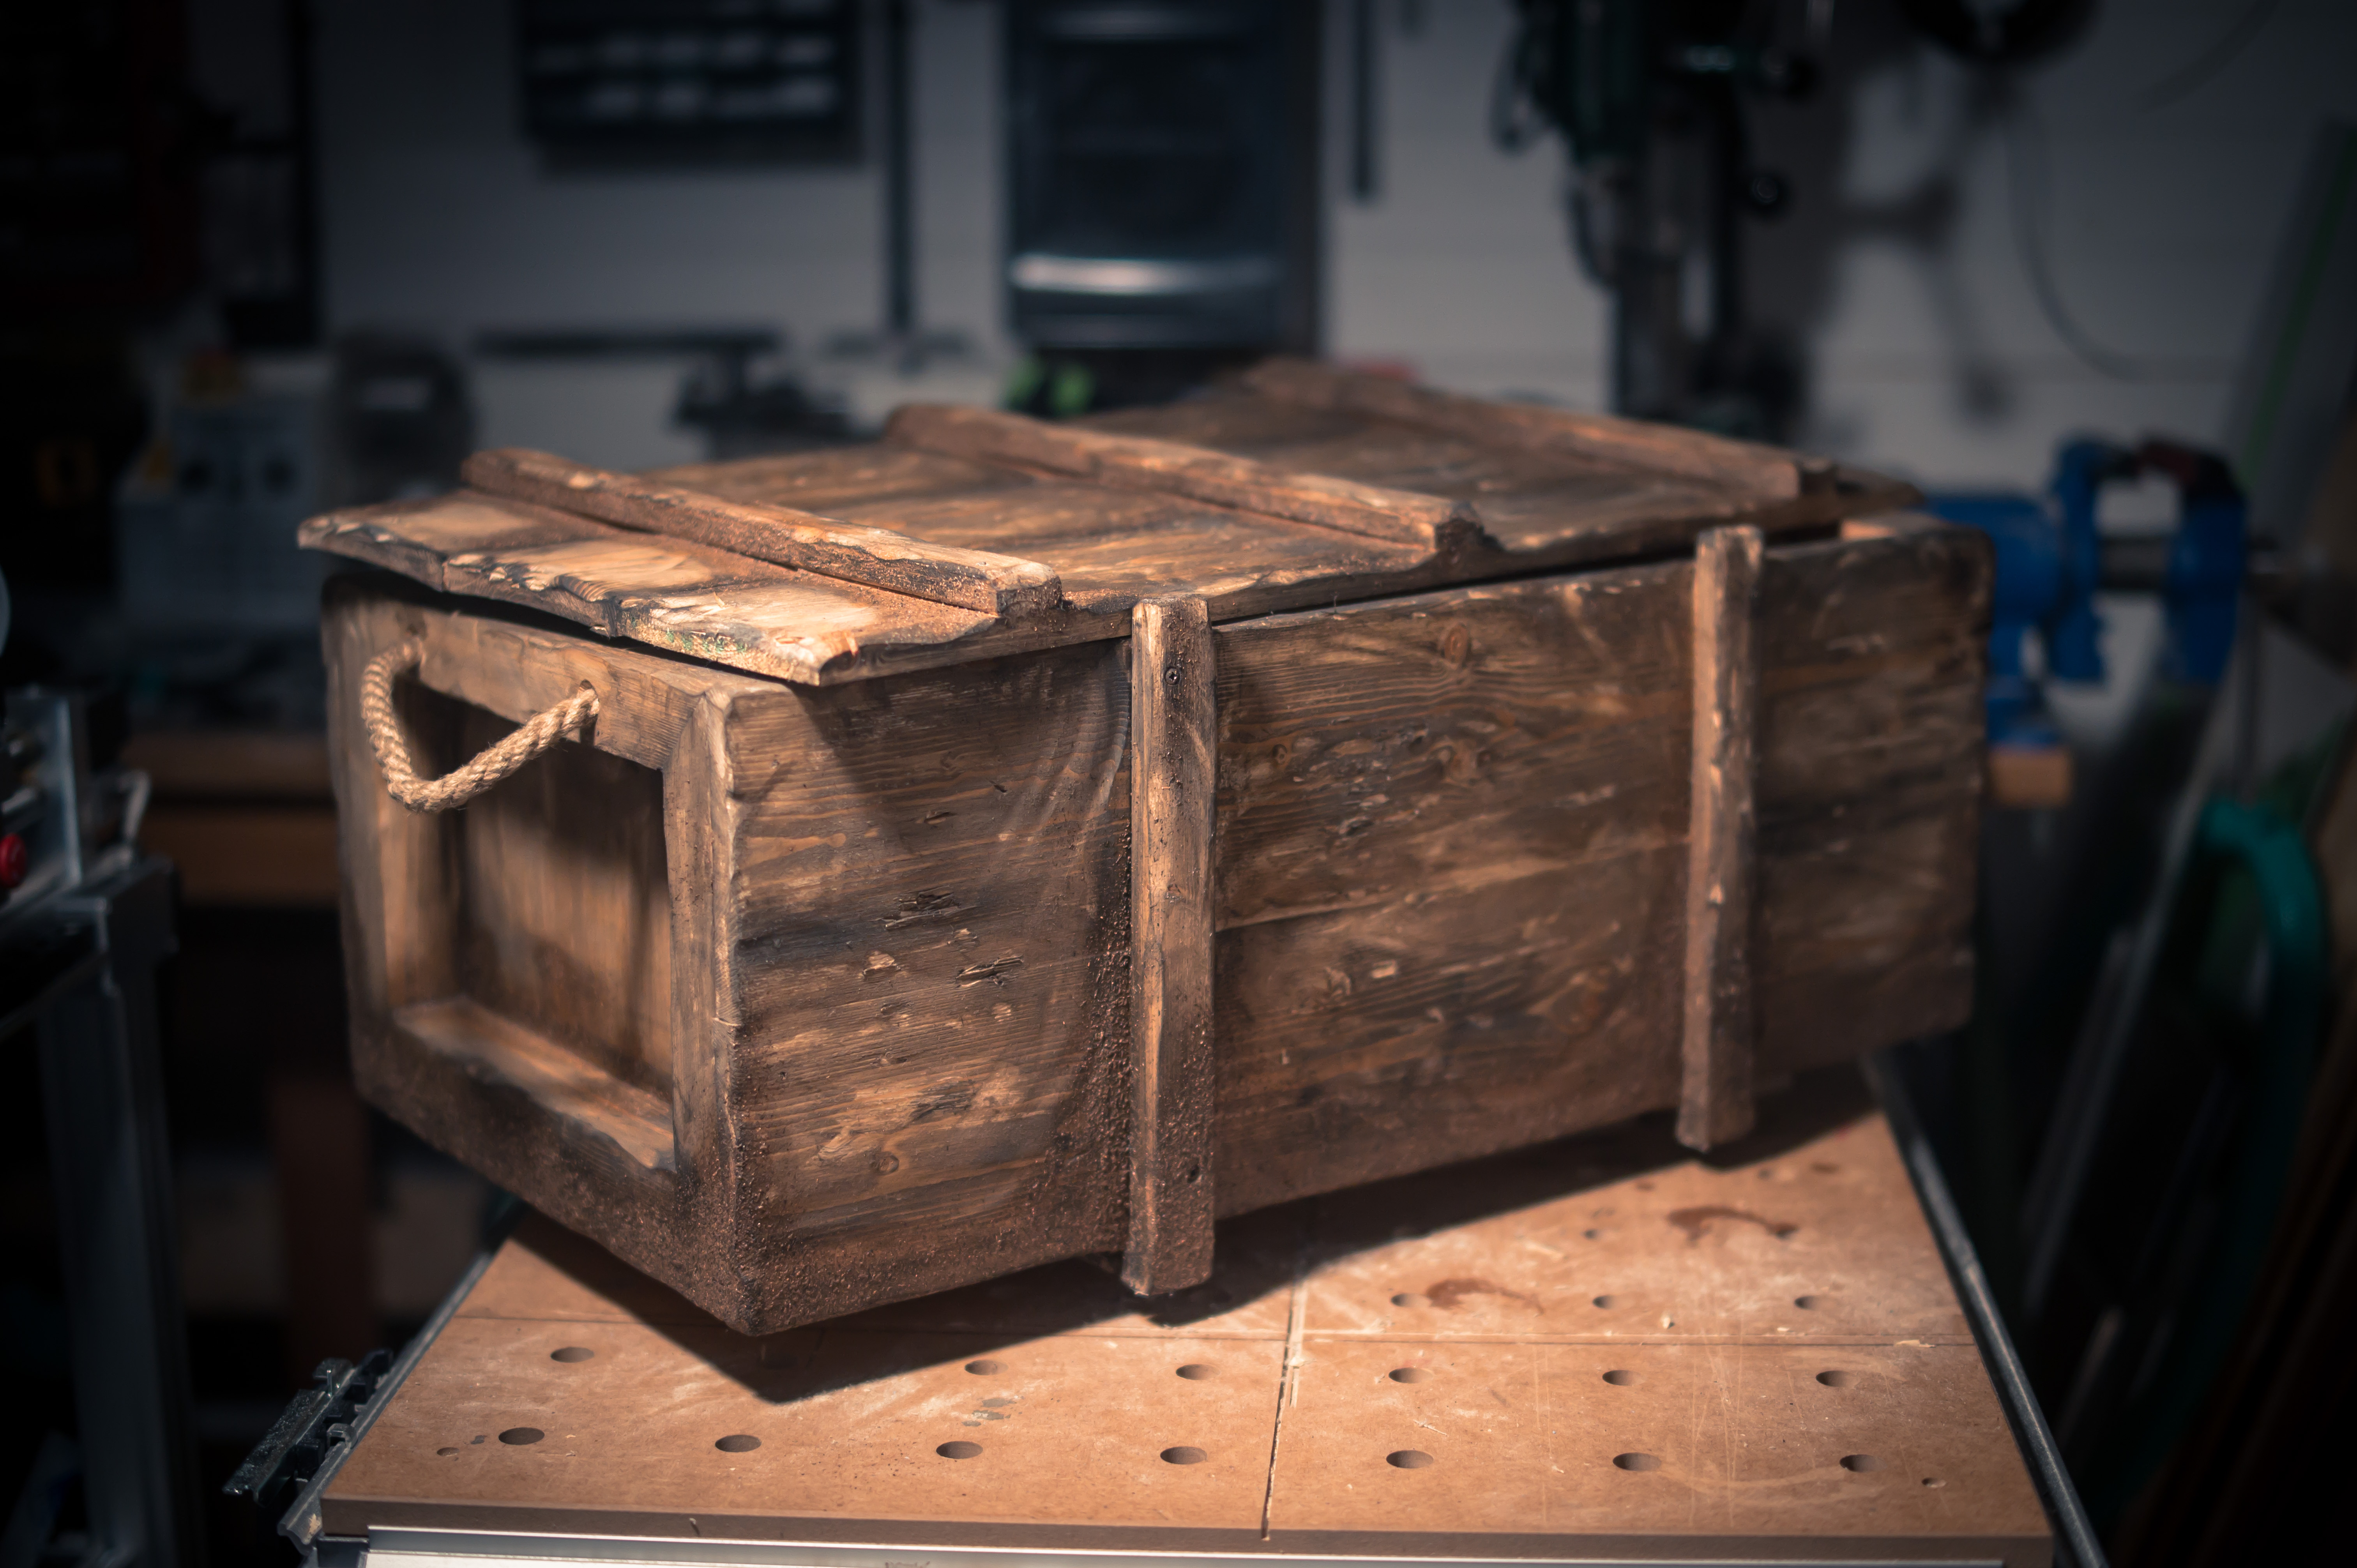
To finish the crate construction, a pair of thick jute rope handles was added to the sides. As well as being aesthetic elements, they do really work well for lugging this thing around!
Character Stains
The key element of the first community vote was whether the crate would appear new or worn. Since battle-worn was chosen, we had to get to work ageing this piece right away. To do this we used a handful of different techniques.
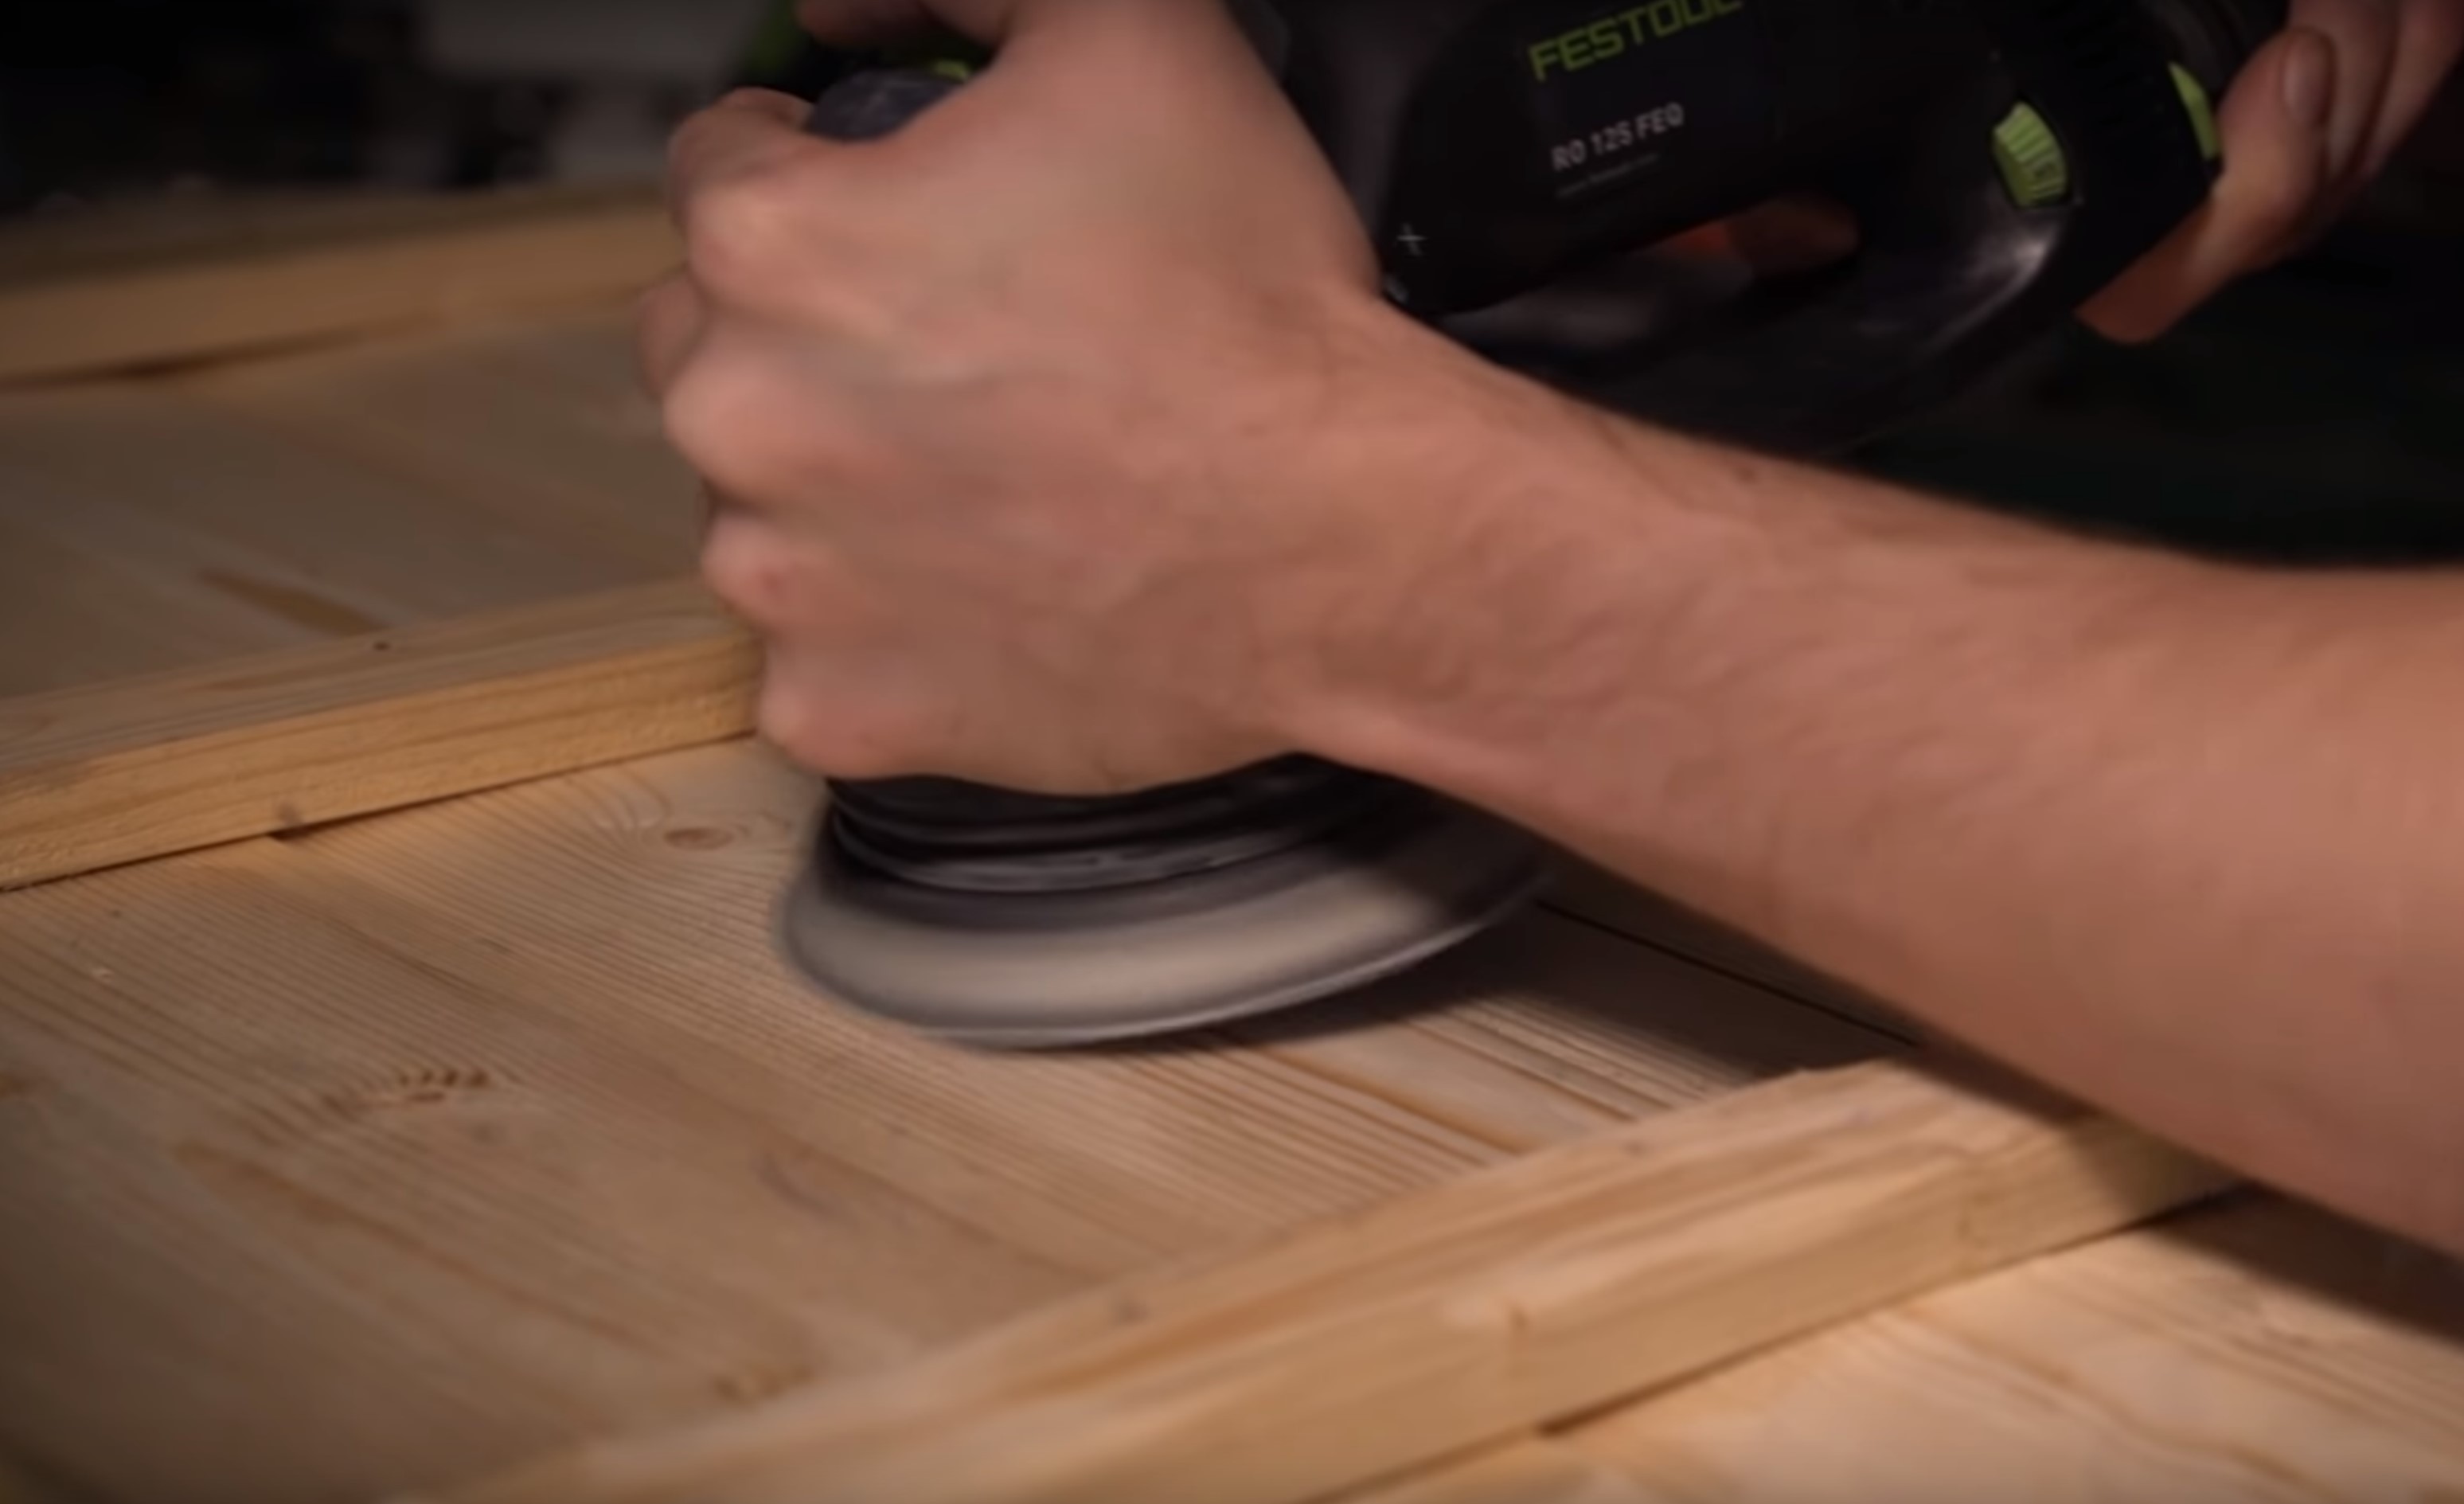
The first one we tried is a staple among prop workers that's used to provide wood with an aged, weather-beaten look. First up, the crate needed to be physically attacked a bit. We began by going at it with the rotary sander - this was mostly to round off corners and add notches and general wear and tear to the exterior. When doing this, we thought carefully about which parts of the crate would most likely have been damaged during use, so targeted areas such as the lid and the strapping boards.
In the second step we used a wire wheel to bring out the wood grain. Normally when wood has been left out in the elements, you'll notice that the the grain can become quite pronounced (particularly with soft woods); the sap wood and the heart wood weather at different rates causing this effect. You can emulate this with a wire wheel/brush, which will sand away the sap wood faster, leaving that same familiar appearance. We finished off the weathering with some classic abuse, hitting it with hammers, throwing spoons at it, that sort of thing.
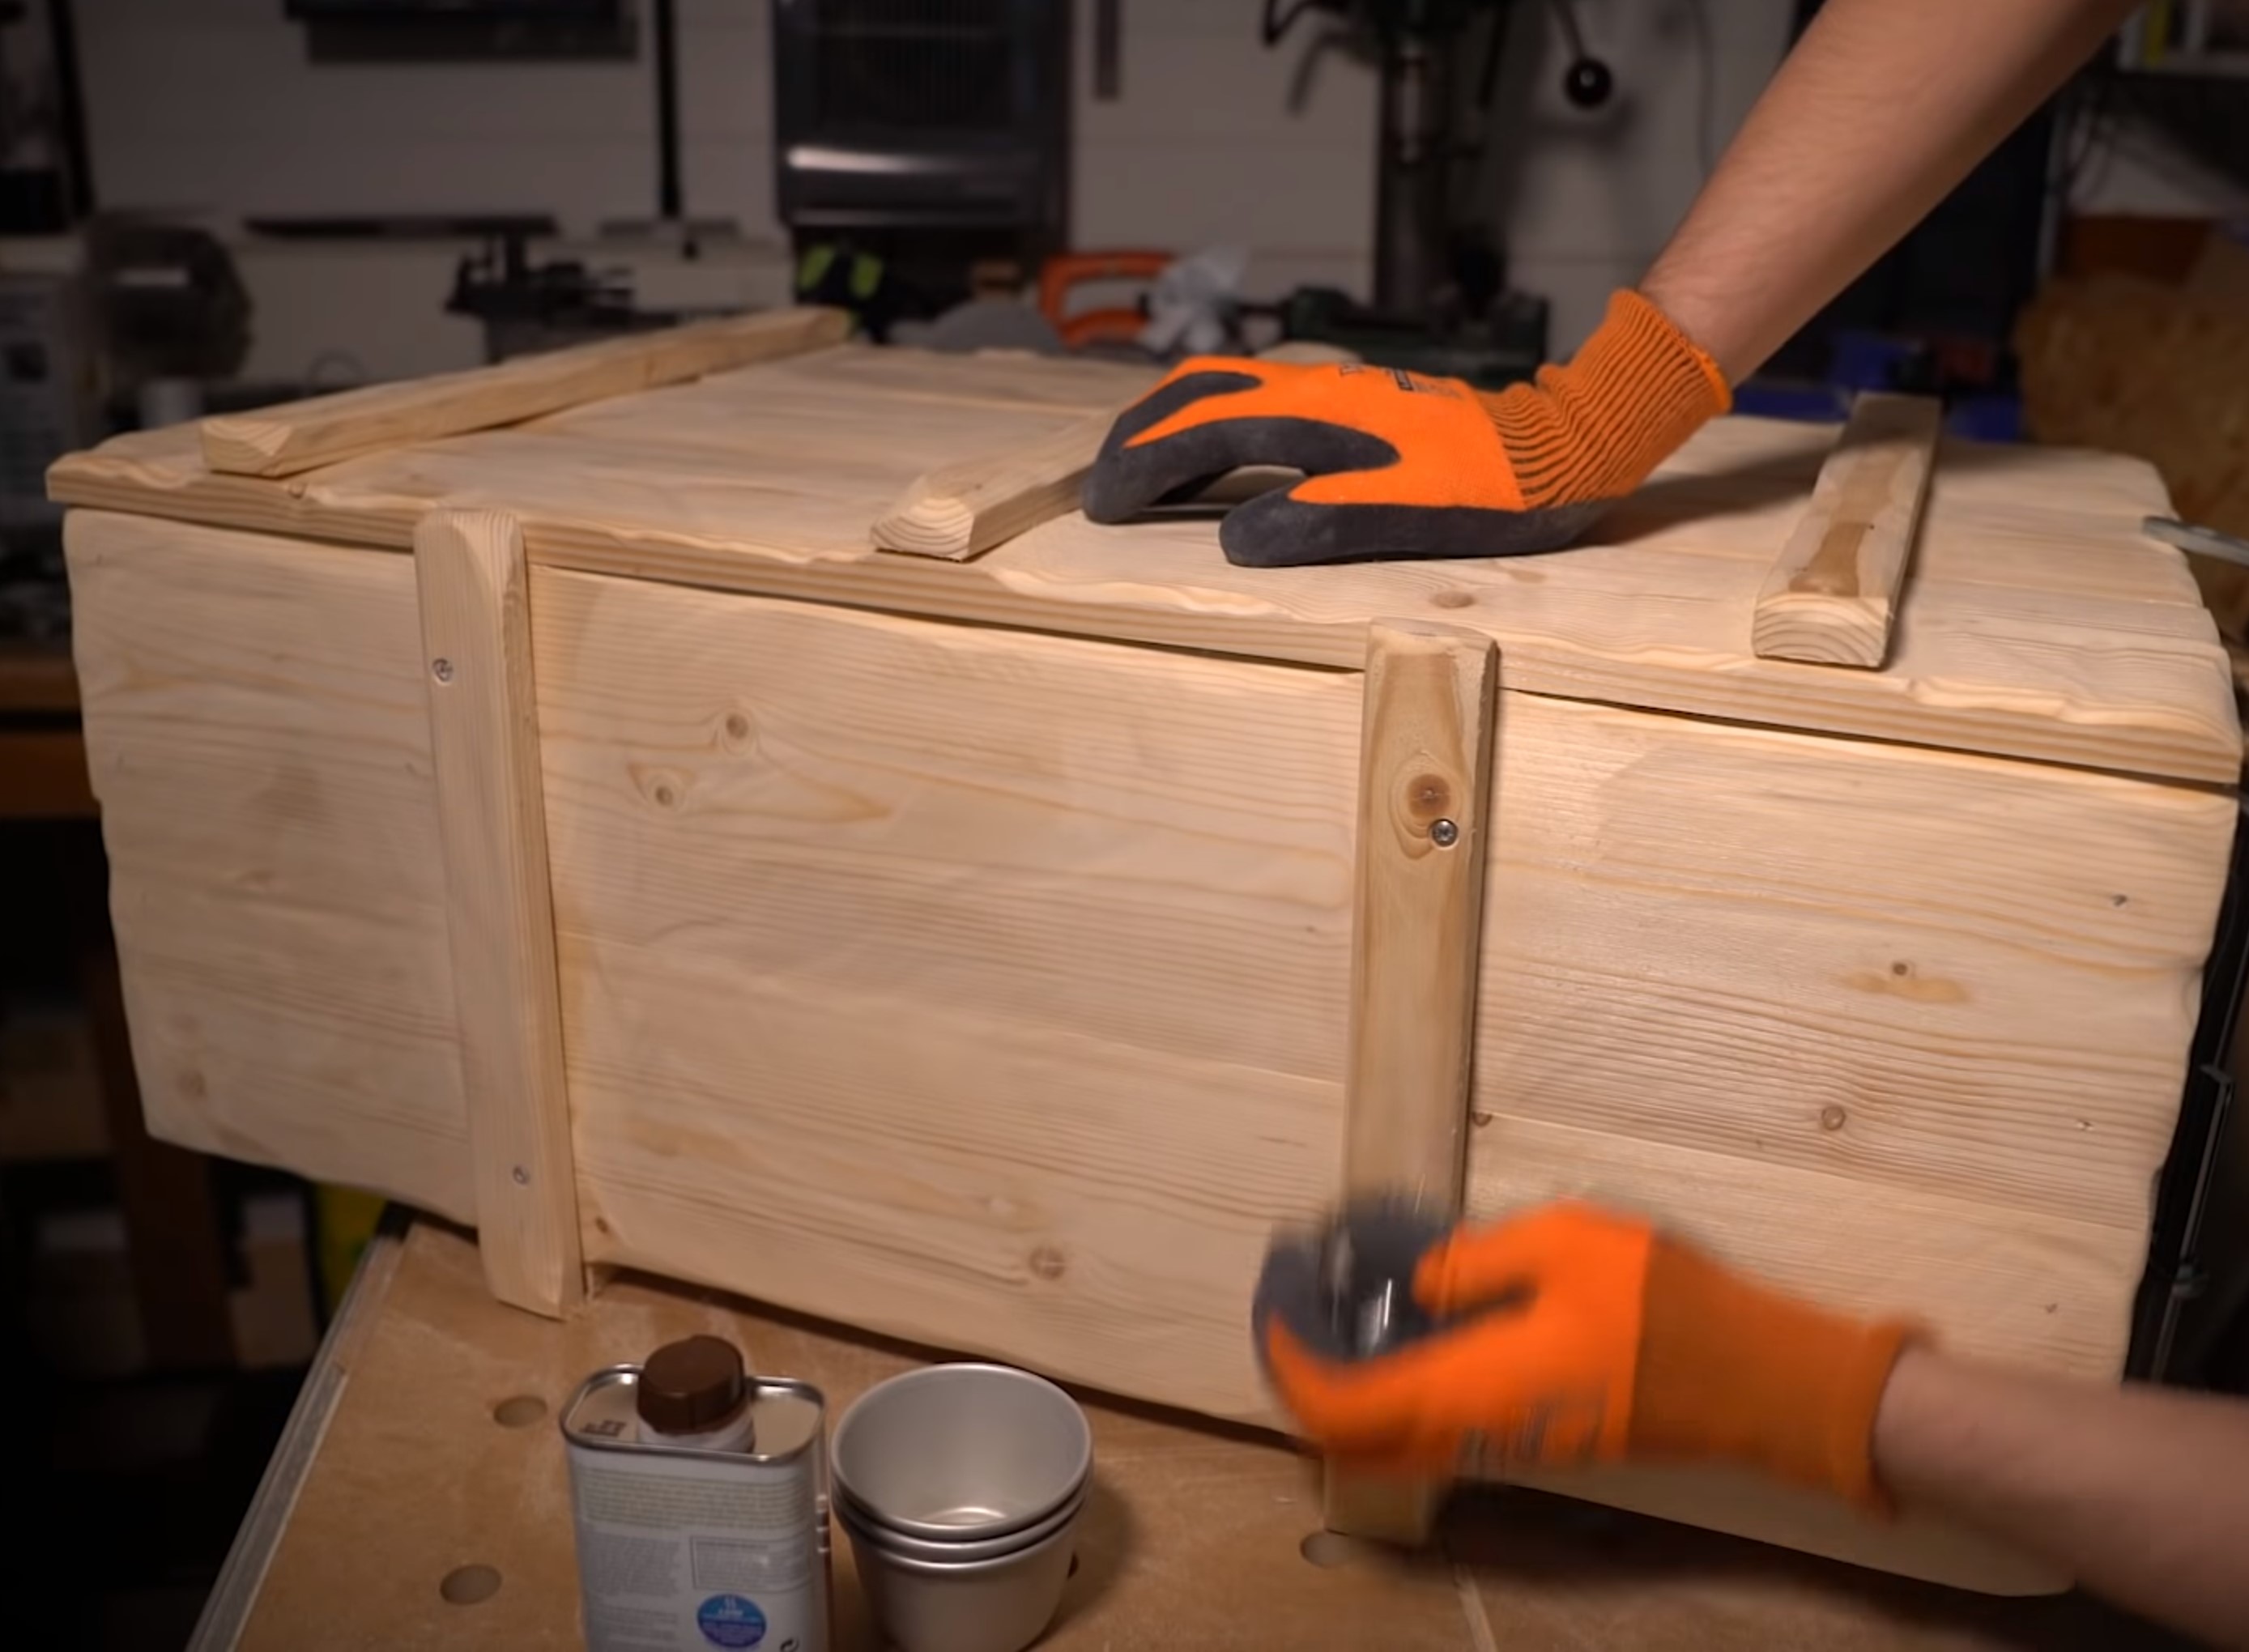
The next stage involved the surface finishing. We kicked off by attempting a classic technique used by prop makers where you dimply dissolve fine grade steel wool in distilled vinegar overnight, dilute by half and then apply to the wood. The solution reacts with the wood, turning it an oxidised silver colour, but we didn't have enough time to utilise this method fully: It really needs a couple days to get just right. Instead, we opted for a simple technique of layered staining, starting with rubbing the panels down with a silver oak stain. We didn't want to go mental with this, so essentially used minimal quantities just to get the colour consistent enough along the whole crate. We then went over with an additional layer around areas that likely would have accumulated grime, like the interior corners and panels, or the various pock-marks.
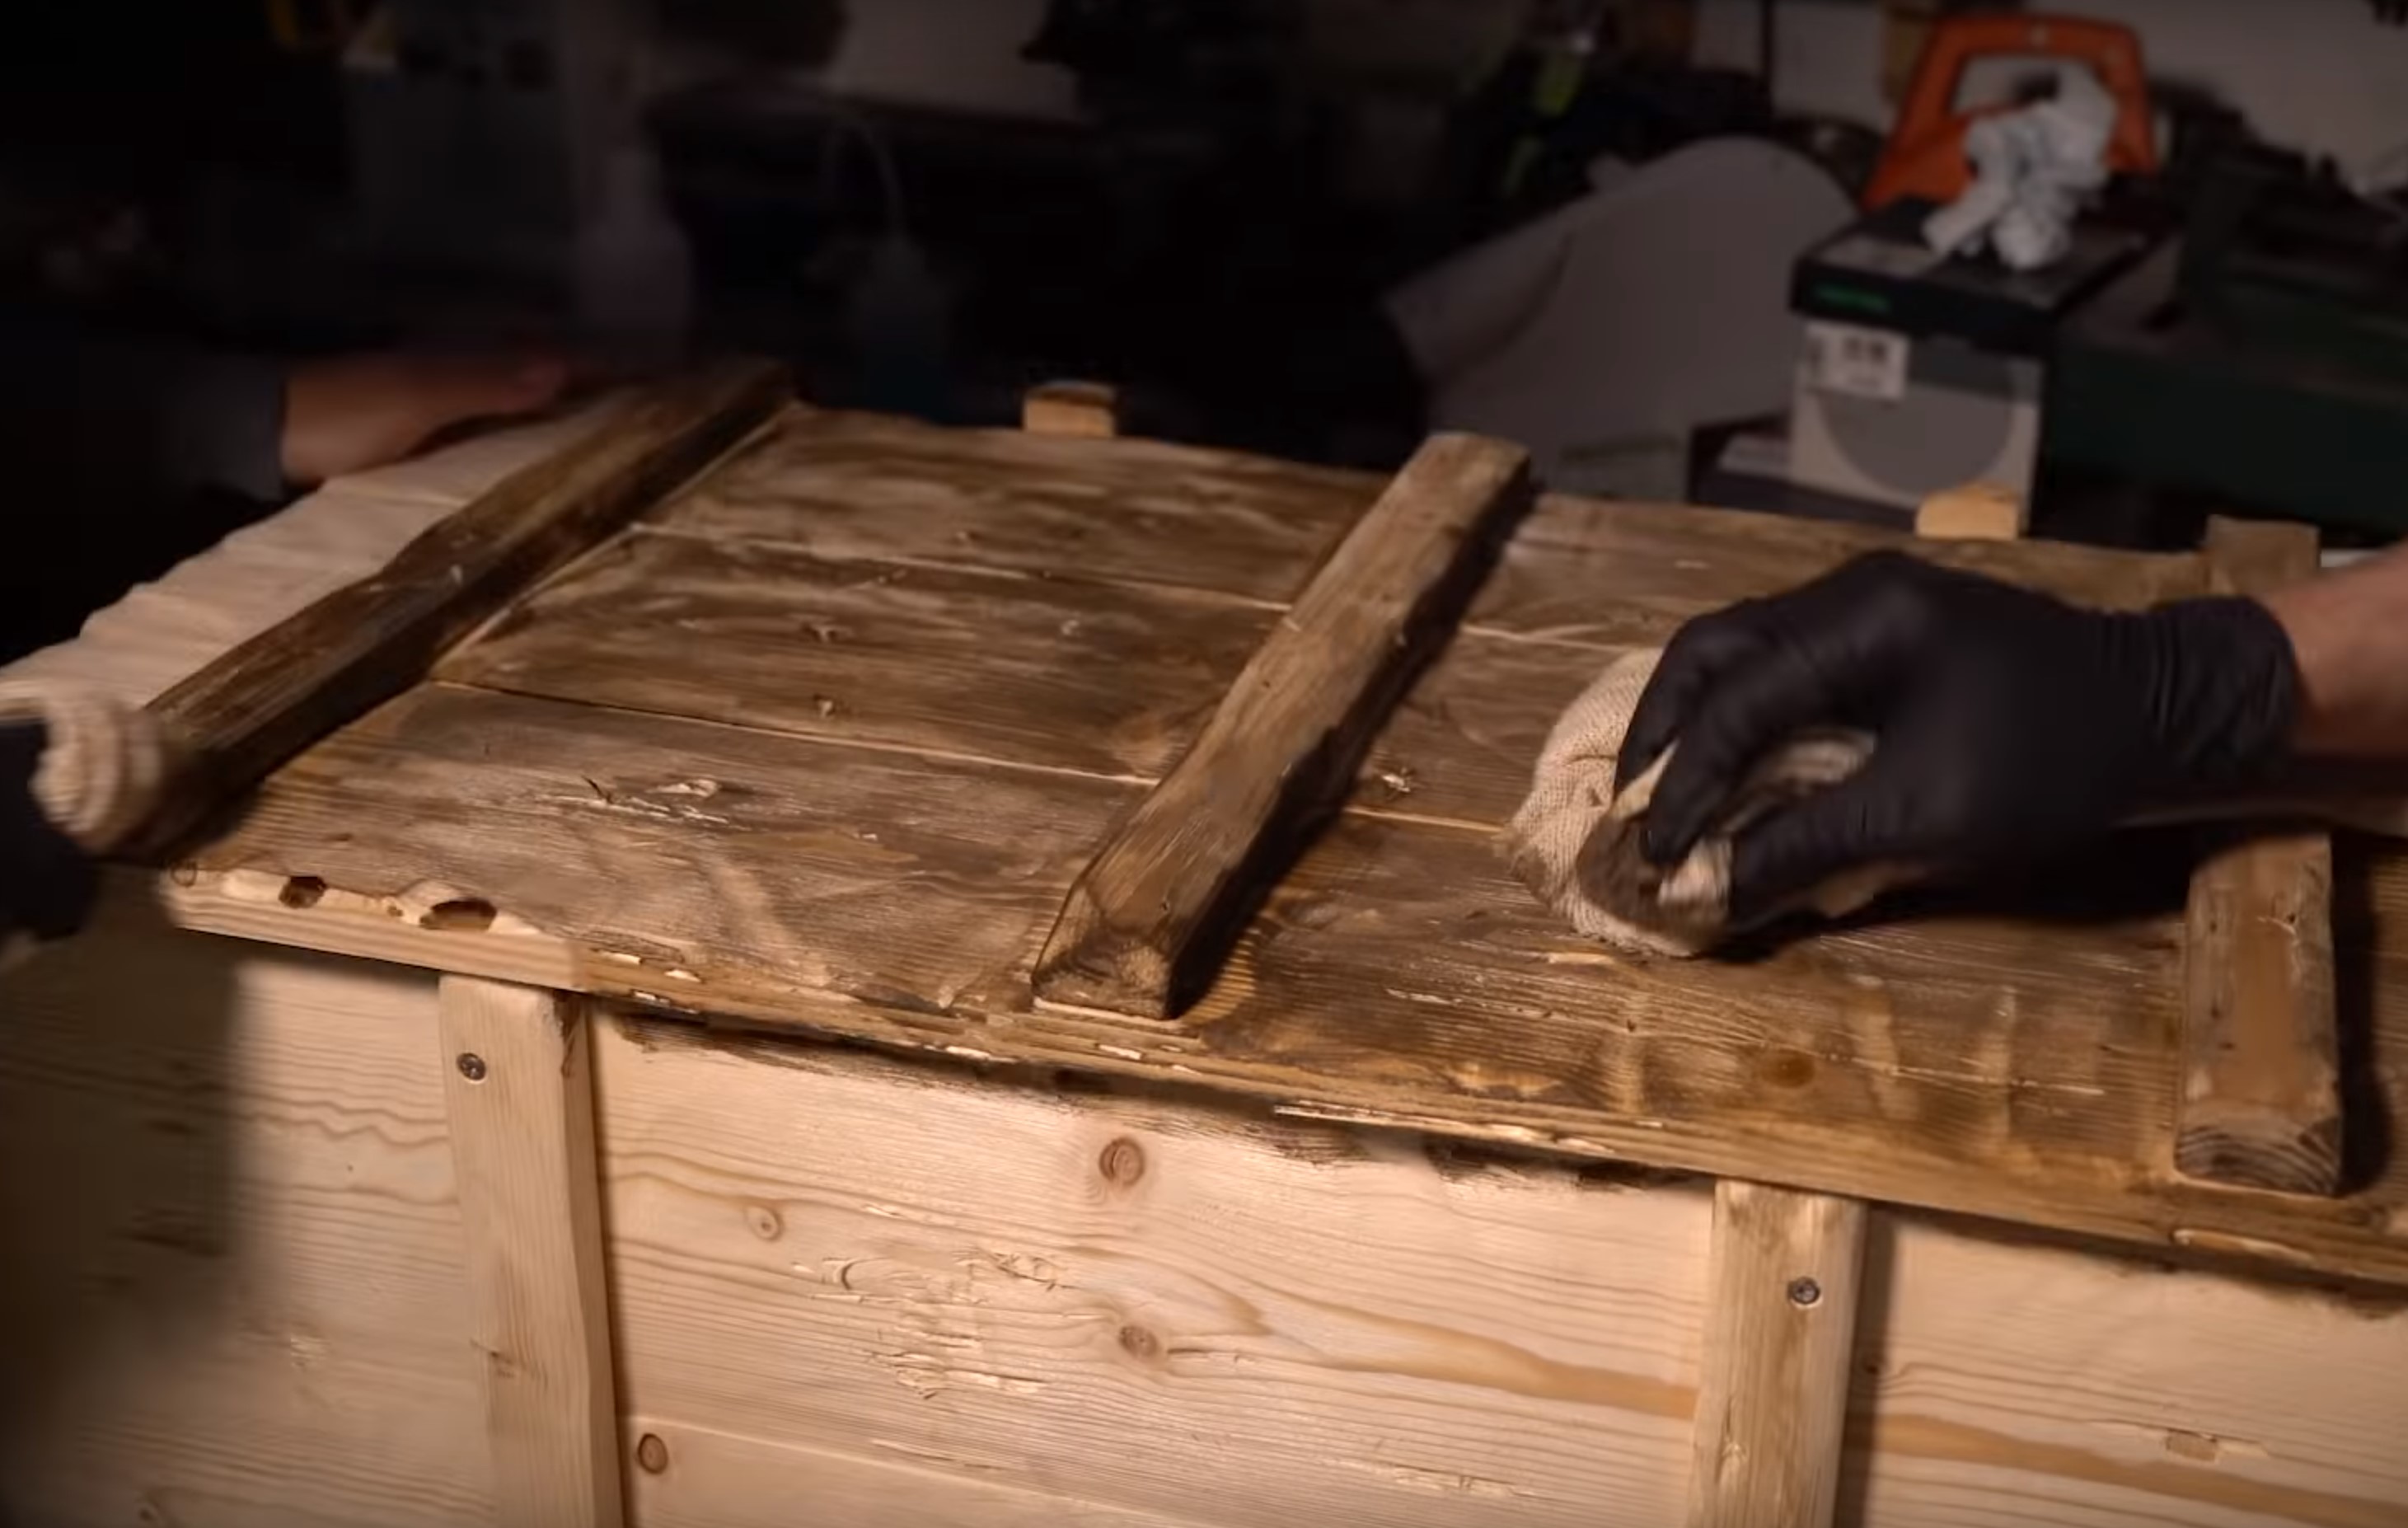
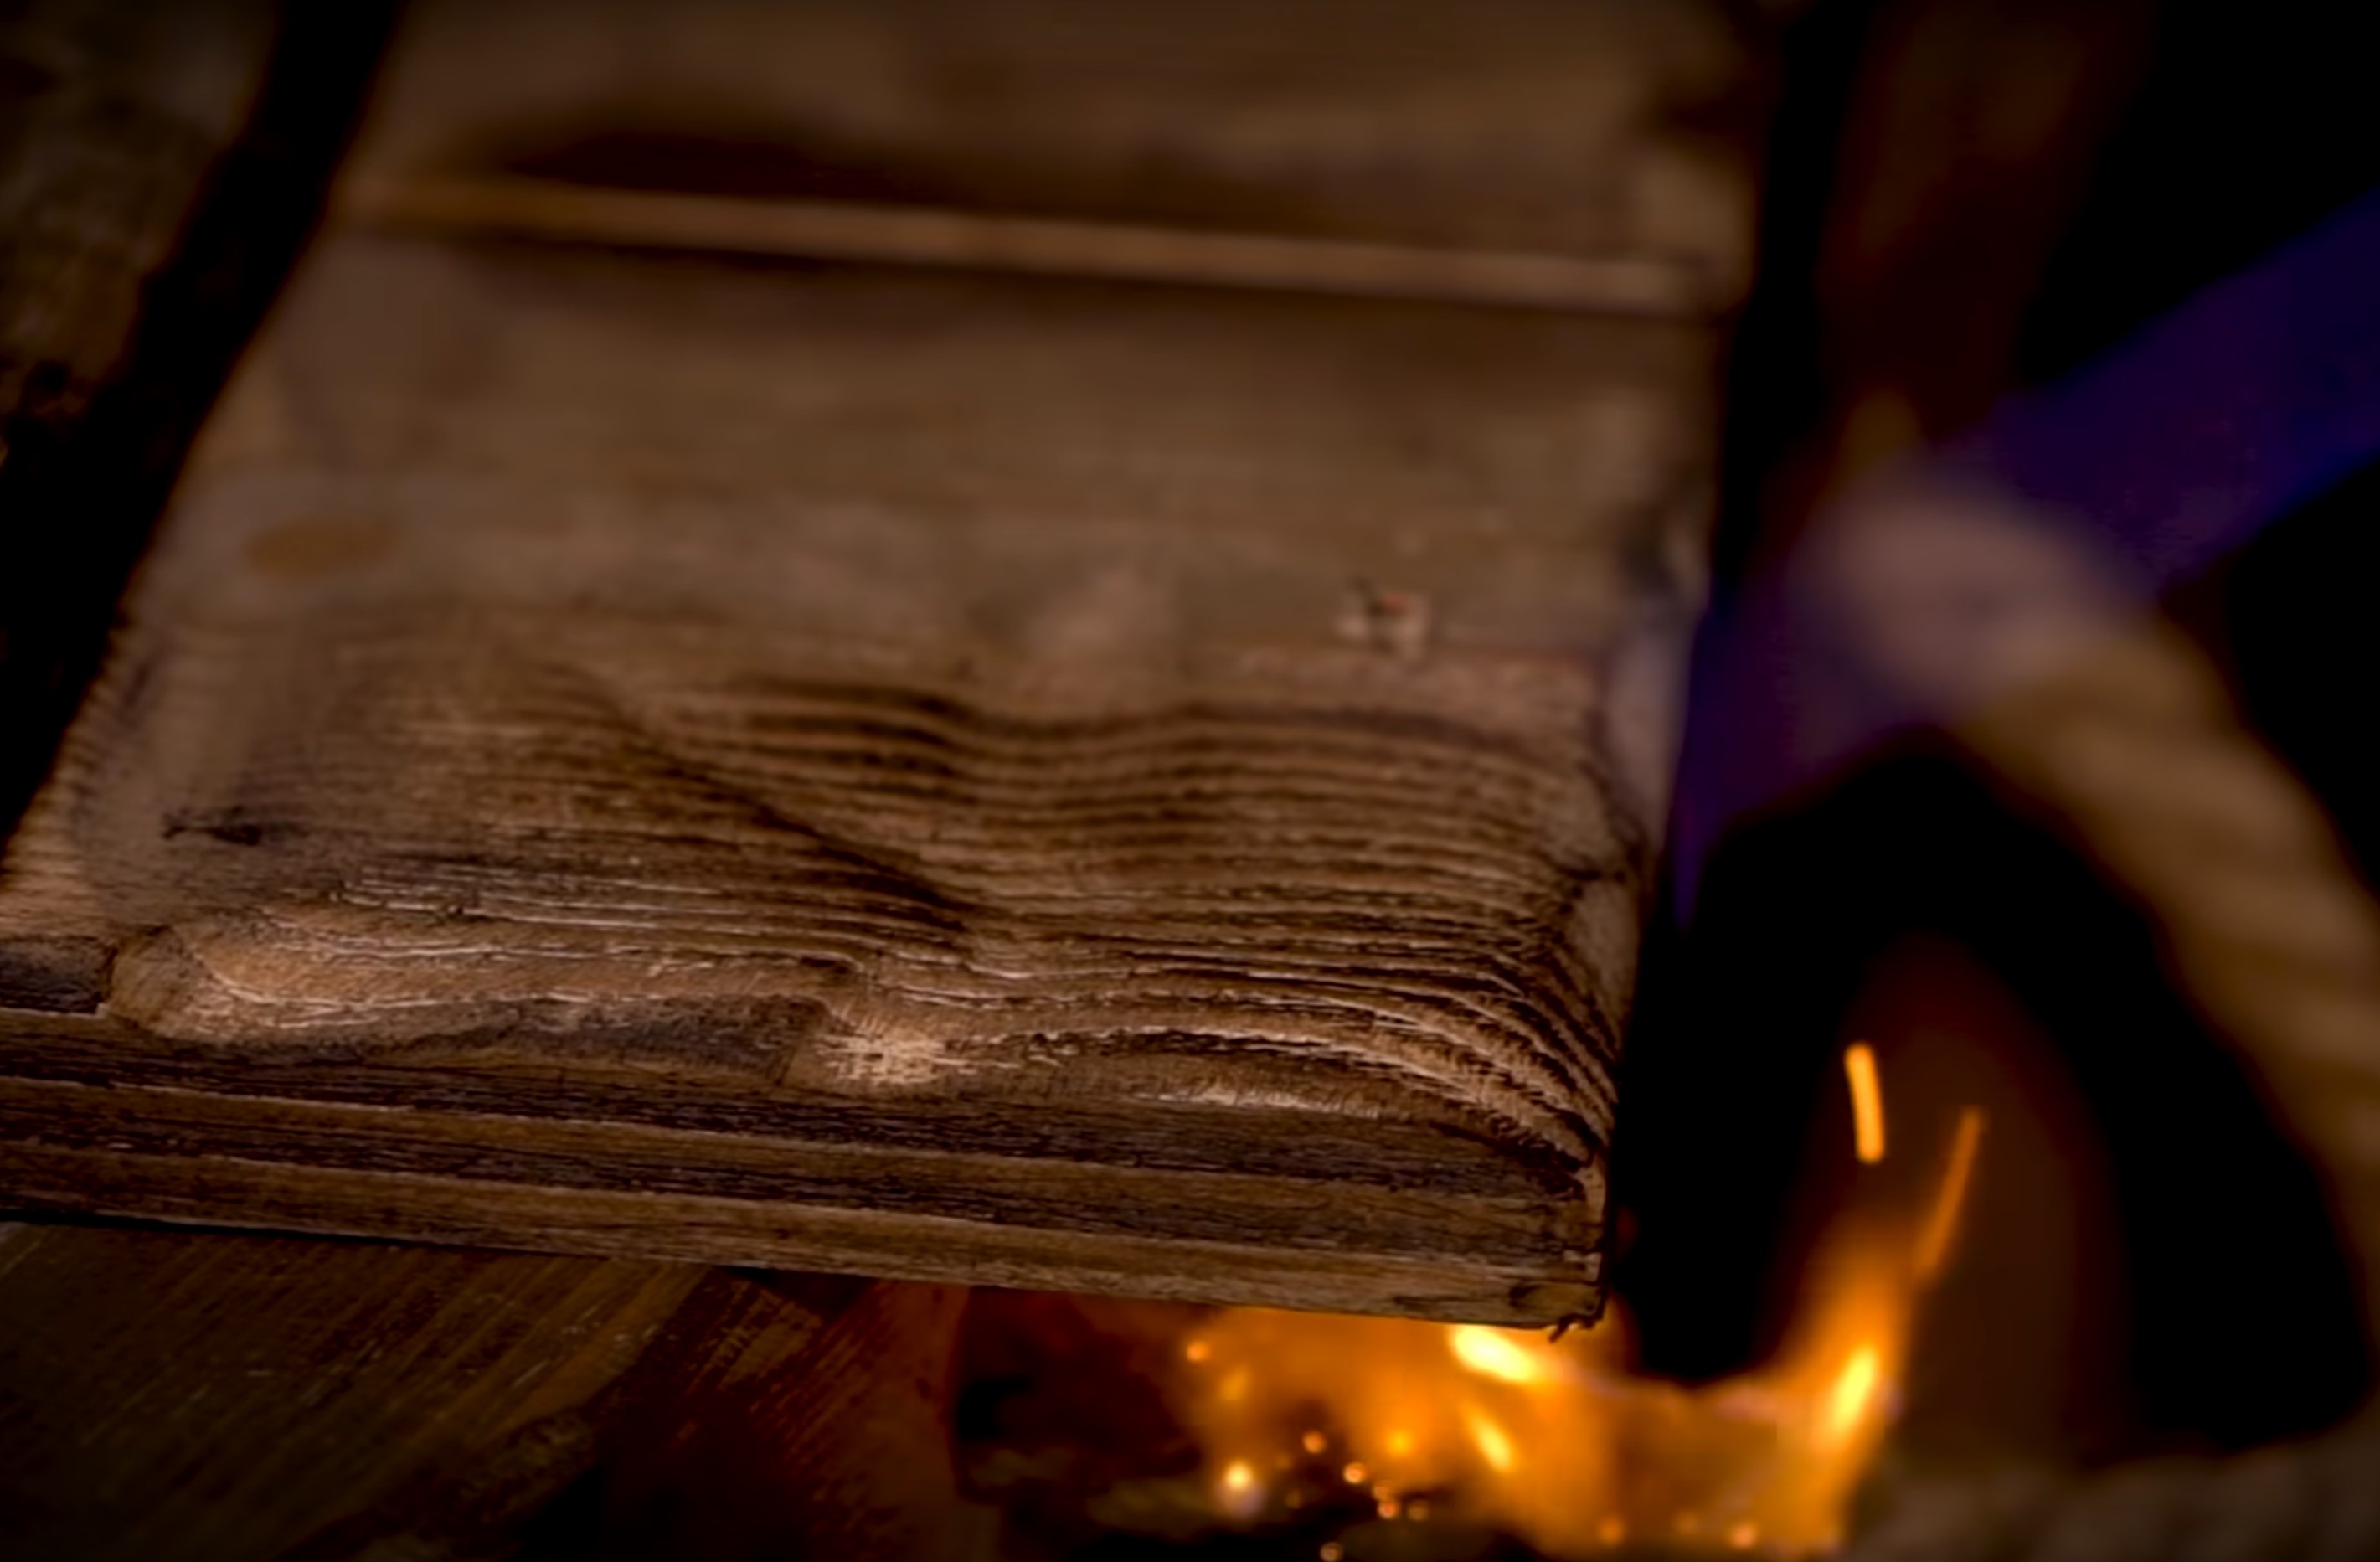
To add some extra depth, we then went over the recessed areas with a dark ebony stain. This stuff's strong, so again we tried to be as light with the application as we could, sticking just to the crevices to be authentic. Ultimately the crate won't be 100 percent realistic, but it's important that it makes sense. Using a dry brush, we applied more of the ebony stain along the corners, just to give that little extra depth, then followed up with blowtorch-aided singeing.
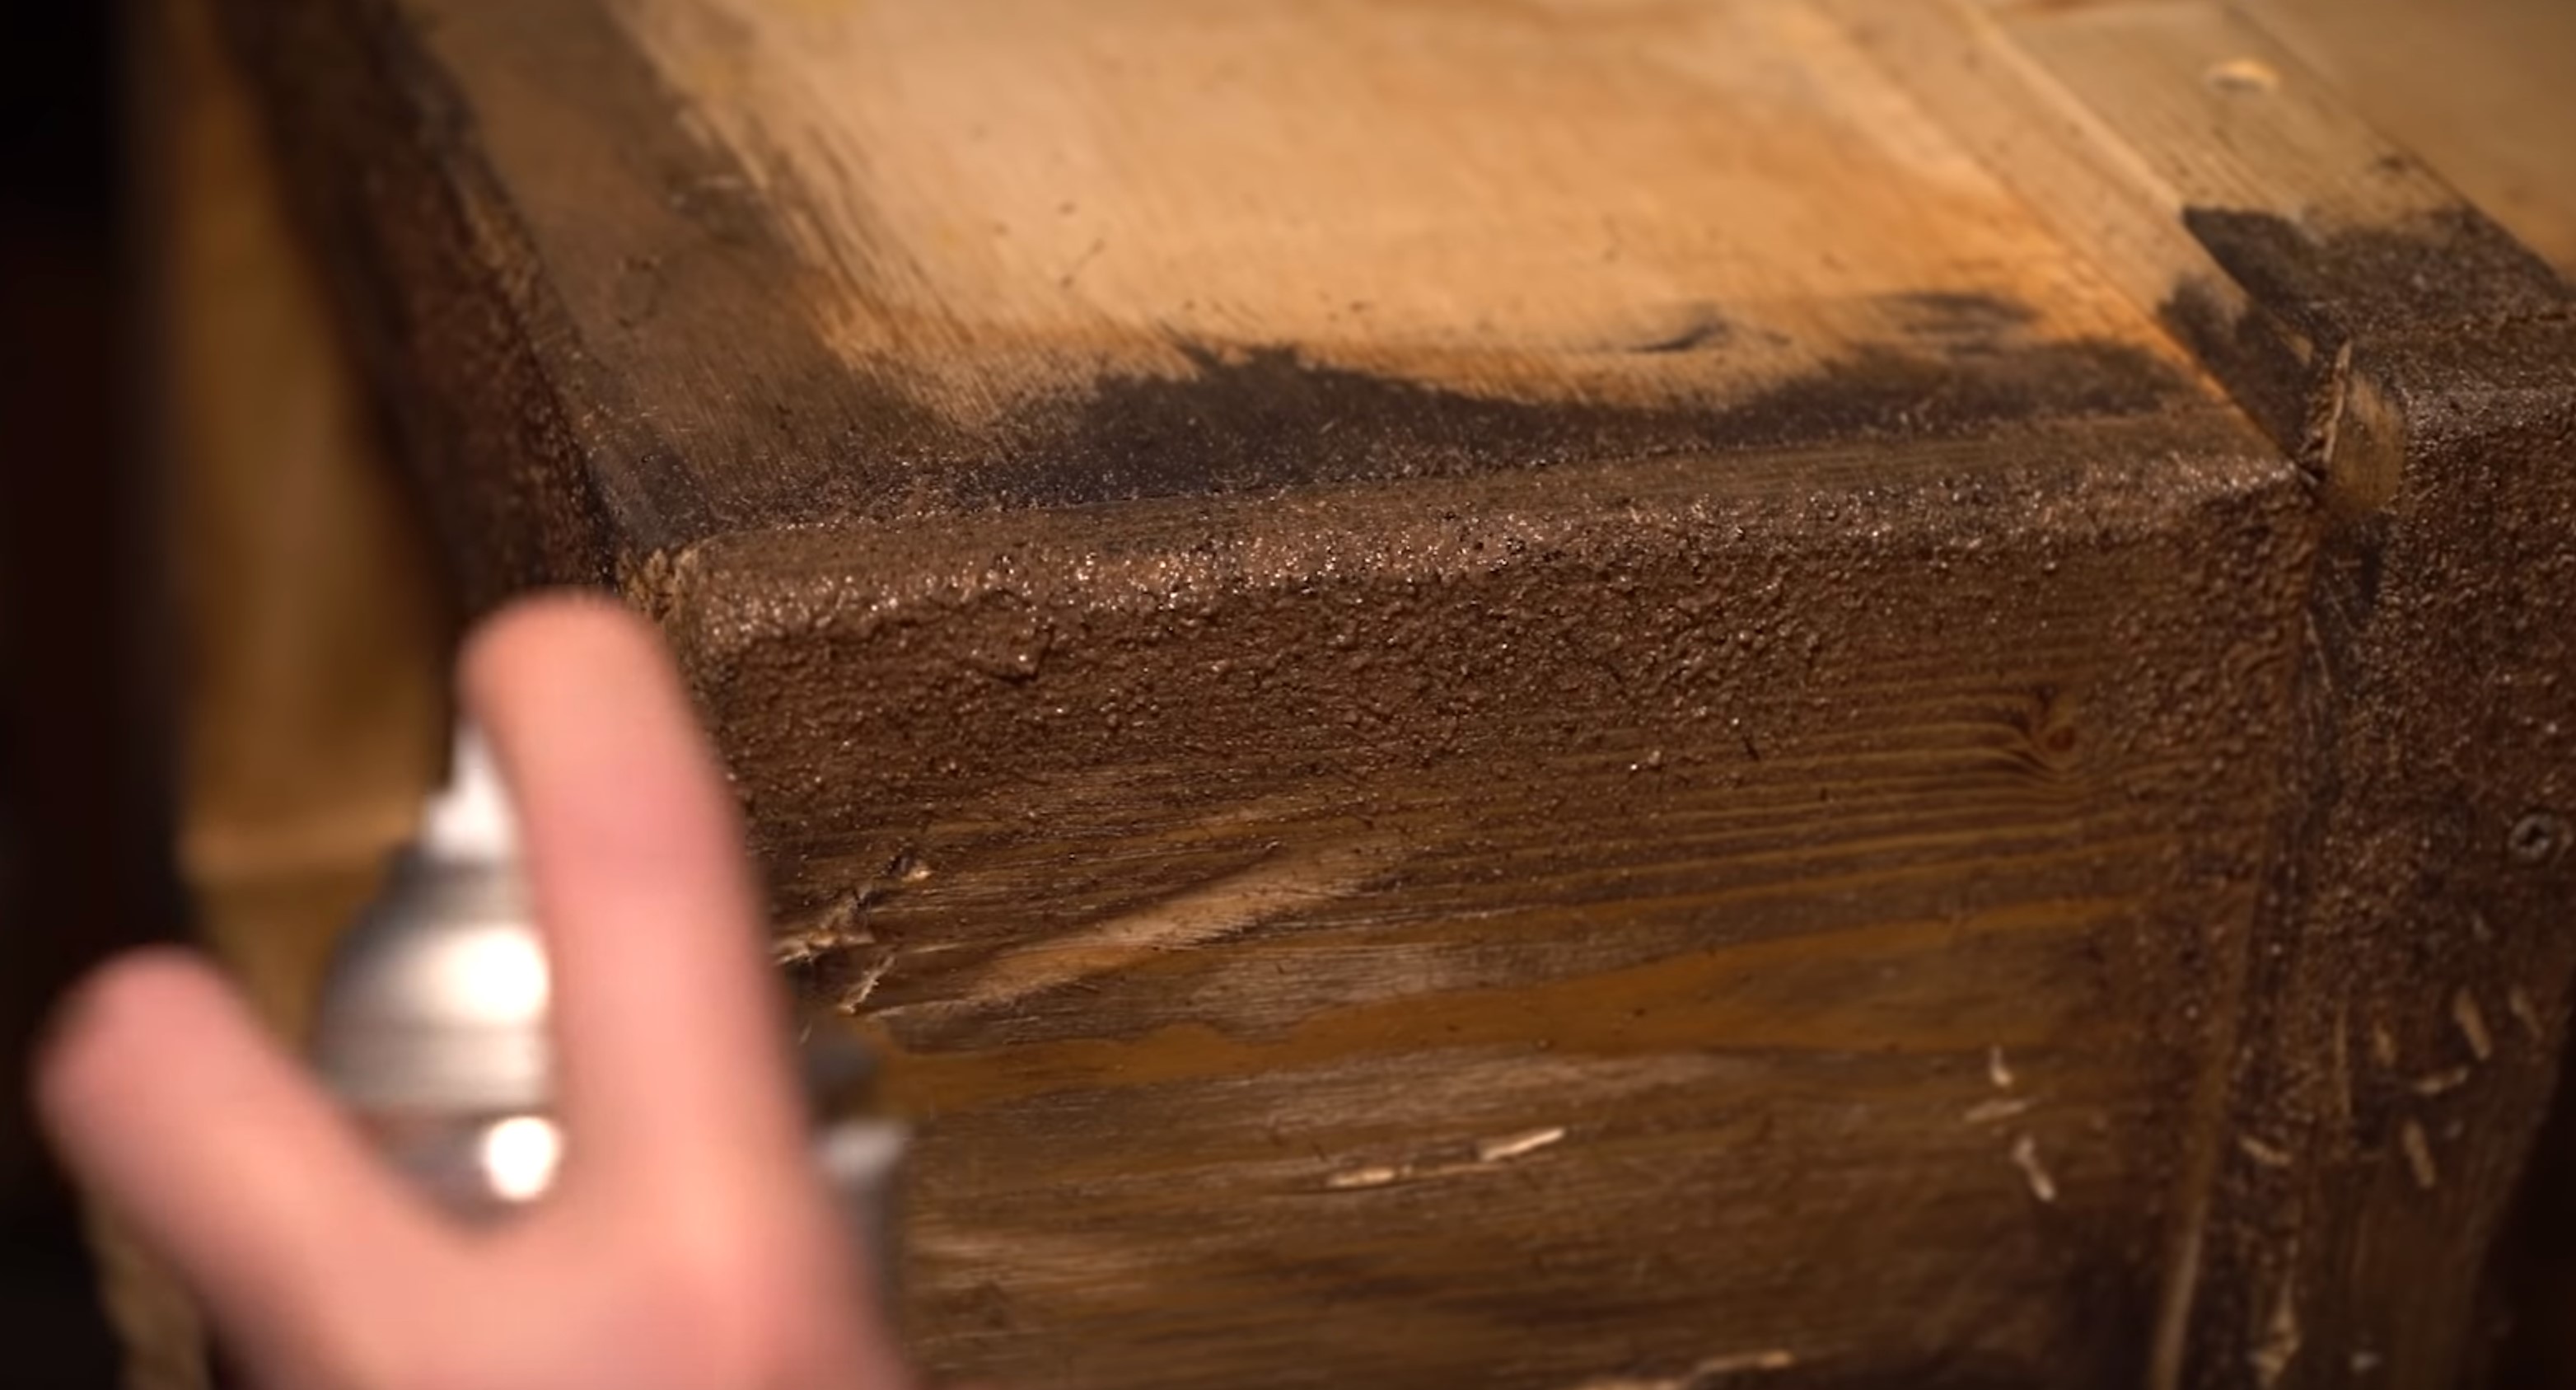
The final step meant adding the appearance of actual mud and grit to the case - after all it has to look like was perhaps in a muddy field at some point. To do this, we used a textured spray paint that's apparently supposed to look like a textured rock surface. Well, I'm not sure about rock, but it was a pretty close match for brown dirt, and it rather caught us off guard with how similar it looked! As with the previous steps, it was added to the crevices and then the base, with care taken so as to not overdo it. There you have it: one ammo crate ready for duty!


MSI MPG Velox 100R Chassis Review
October 14 2021 | 15:04

Want to comment? Please log in.