
GT Omega Racing Simulator Pro Re-Review
There were two main failings with our original review kit: we were sent the wrong bolts, and there was no mention of the far superior online user guide on the build guide that was included in the box. We suggested that GT Omega should display the link to the user guide more prominently on its website as otherwise you have to work from this single, A4 page of un-annotated silhouettes when building your chair. Despite a site redesign the link is still at the bottom of the main page in small text. GT Omega did point out that ‘we do email all our customers the link to the user manual prior to them receiving the racing rig.’GT Omega also told us on 4 October 2011 that, ‘We will create a more presentable PDF user manual soon’ but as of 24 November 2011 there is still no PDF download link and the user guide is still not in an easily printable form. This leads to us to think that GT Omega wants you to construct the chair with a laptop or tablet PC beside you, but putting large and fragile screens near steel tubing during a tricky build is asking for trouble. Please, can we just have a printed manual in the box?
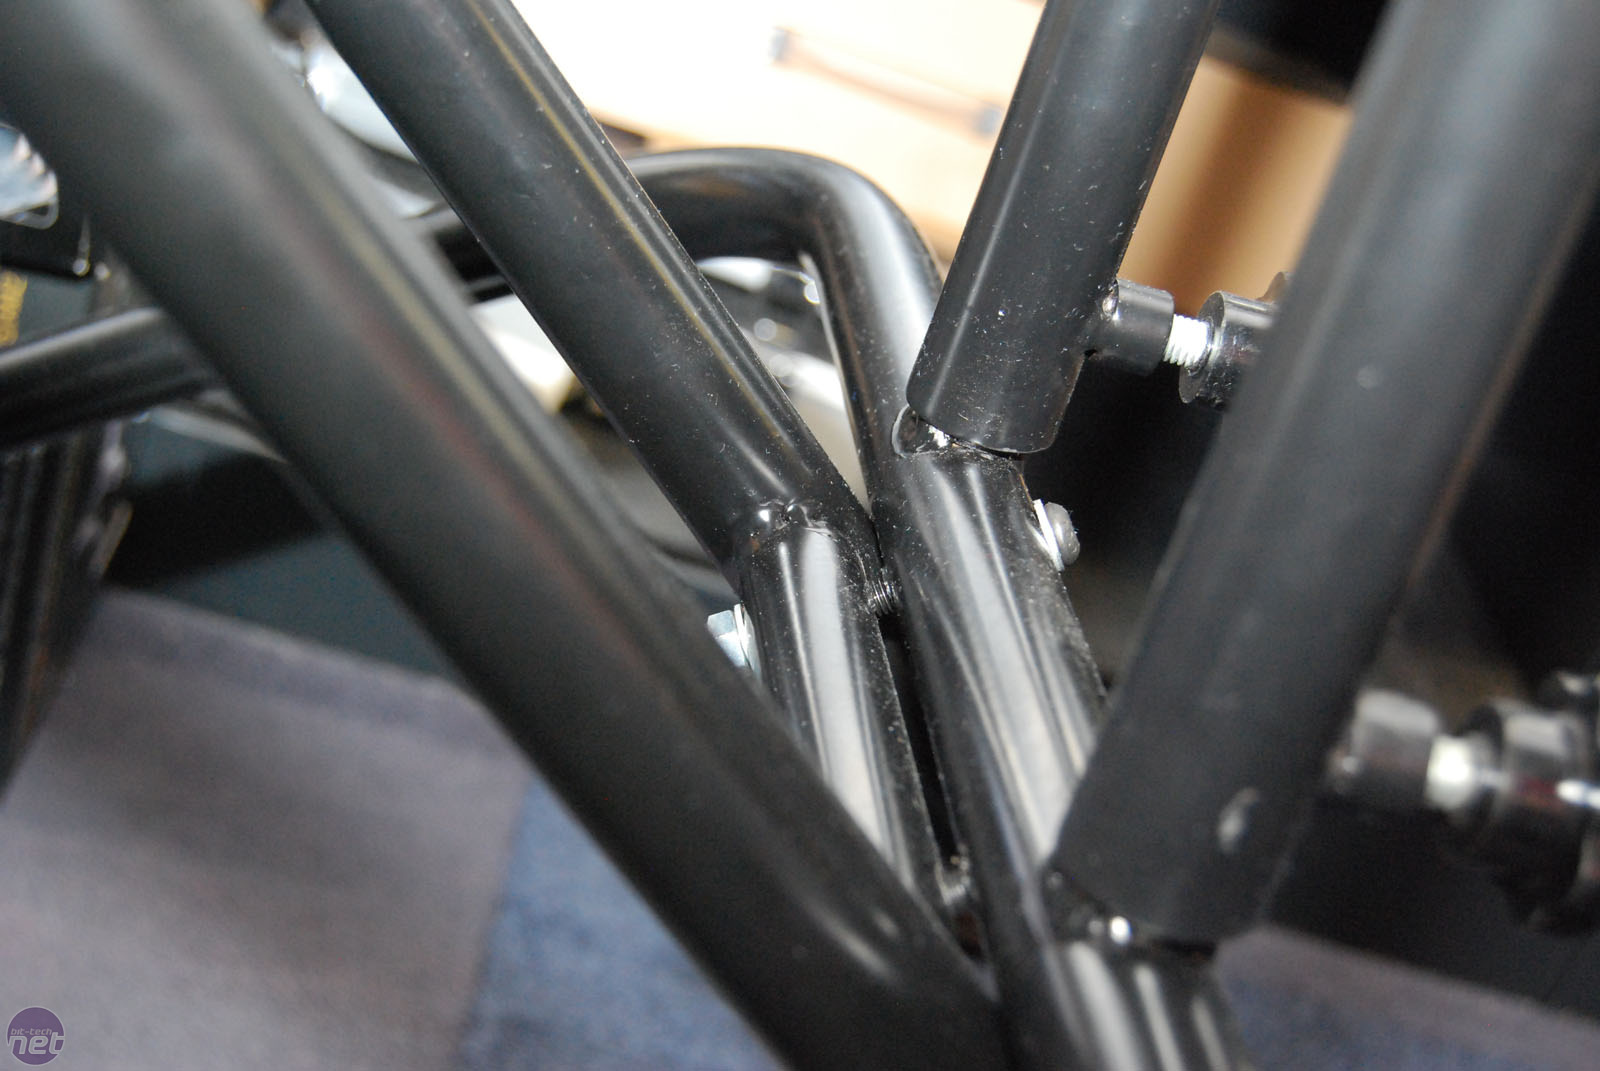
With a lot of pushing and pulling, you can bolt the screen stalk to the main frame, but
you'll always have some length of bolt showing.
On the subject of the wrong bolts – which were the culprit for various parts of the frame not fitting together well – GT Omega said ‘We do check that all the screws are their [sic] before getting them sent out. and if for any reason some screws or parts is missing or damaged we will replace or send new ones out.’ For the record, we were somehow sent four G bolts rather than two and only two D bolts rather than four. Two of our G bolts (which we were meant to use on the front, curvy section) had no accompanying nuts, so we guessed (wrongly) that we were meant to use E bolts. We also received four H bolts rather than the two we should have.
Even with the correct D bolts, we found some hole mis-alignment issues with the bendy front section of the chair frame, though starting with the slightly mis-aligned hole and then working through the other three solved this. We could then use the pair of G bolts to attach the screen stalk to the main cage very securely. This required a fair bit of man-power though, with Harry forcibly pushing the screen stalk into the wheel stalk as Clive screwed the nuts on. We weren’t totally happy with the finish, as there was always a length of bolt showing between the two sections of black-coated metal tubing.
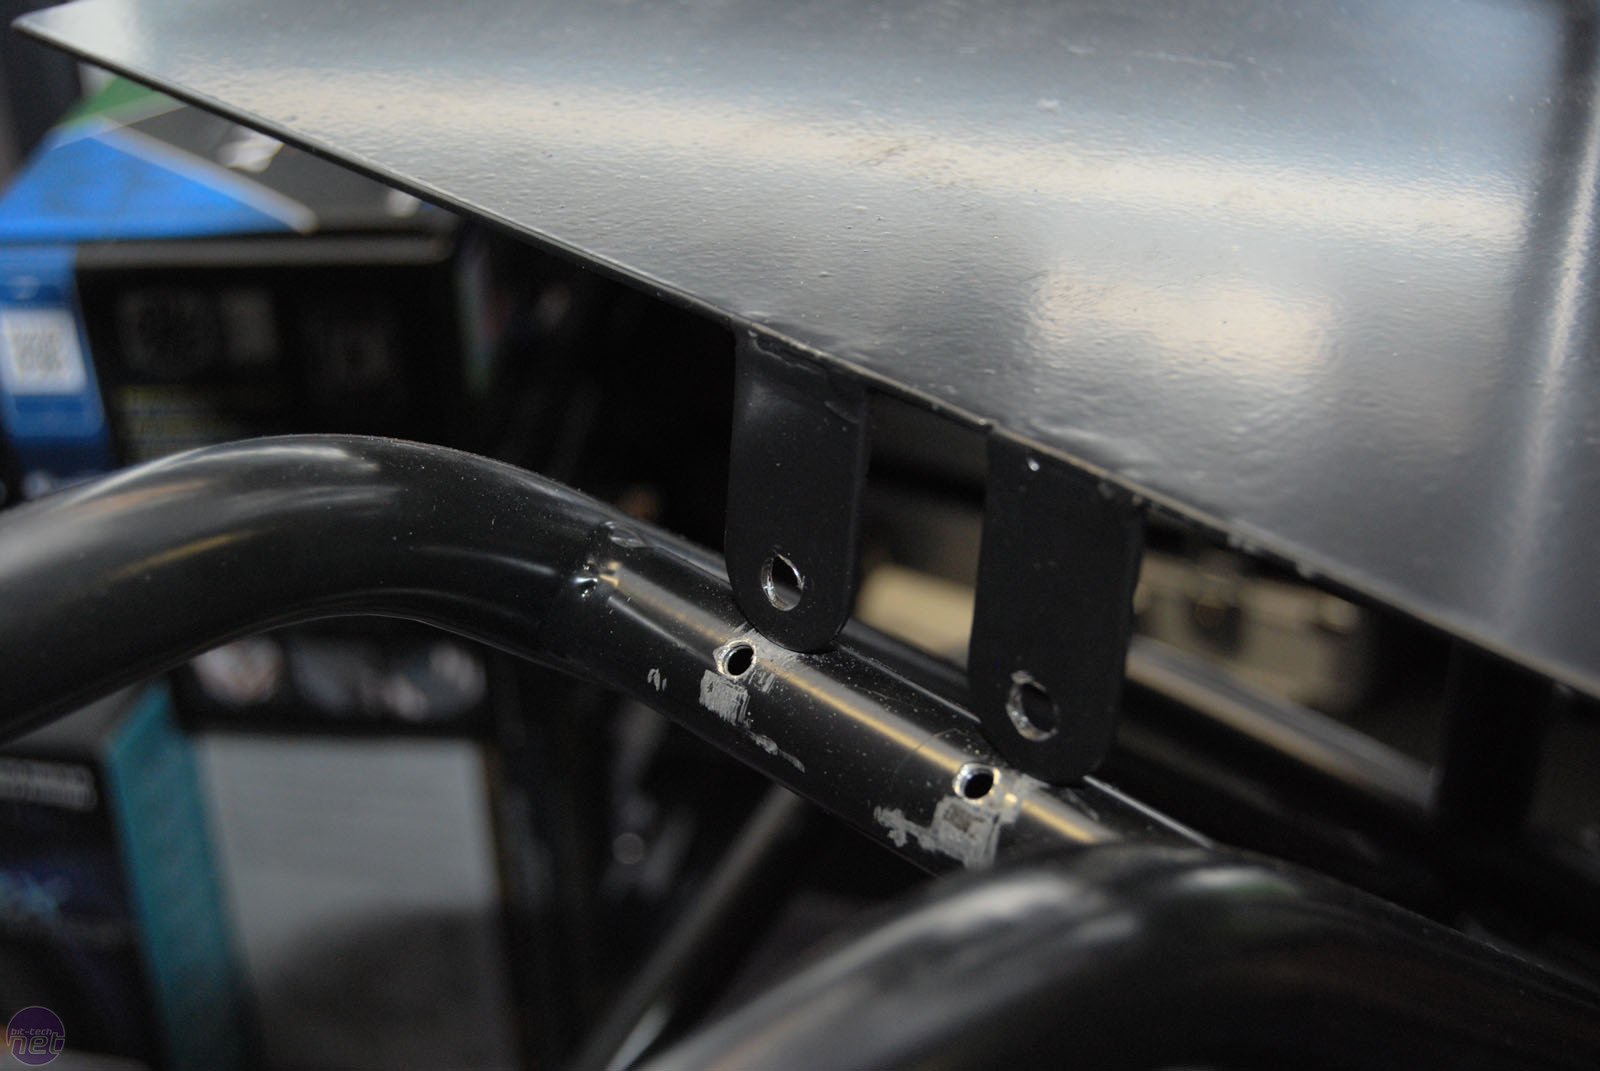
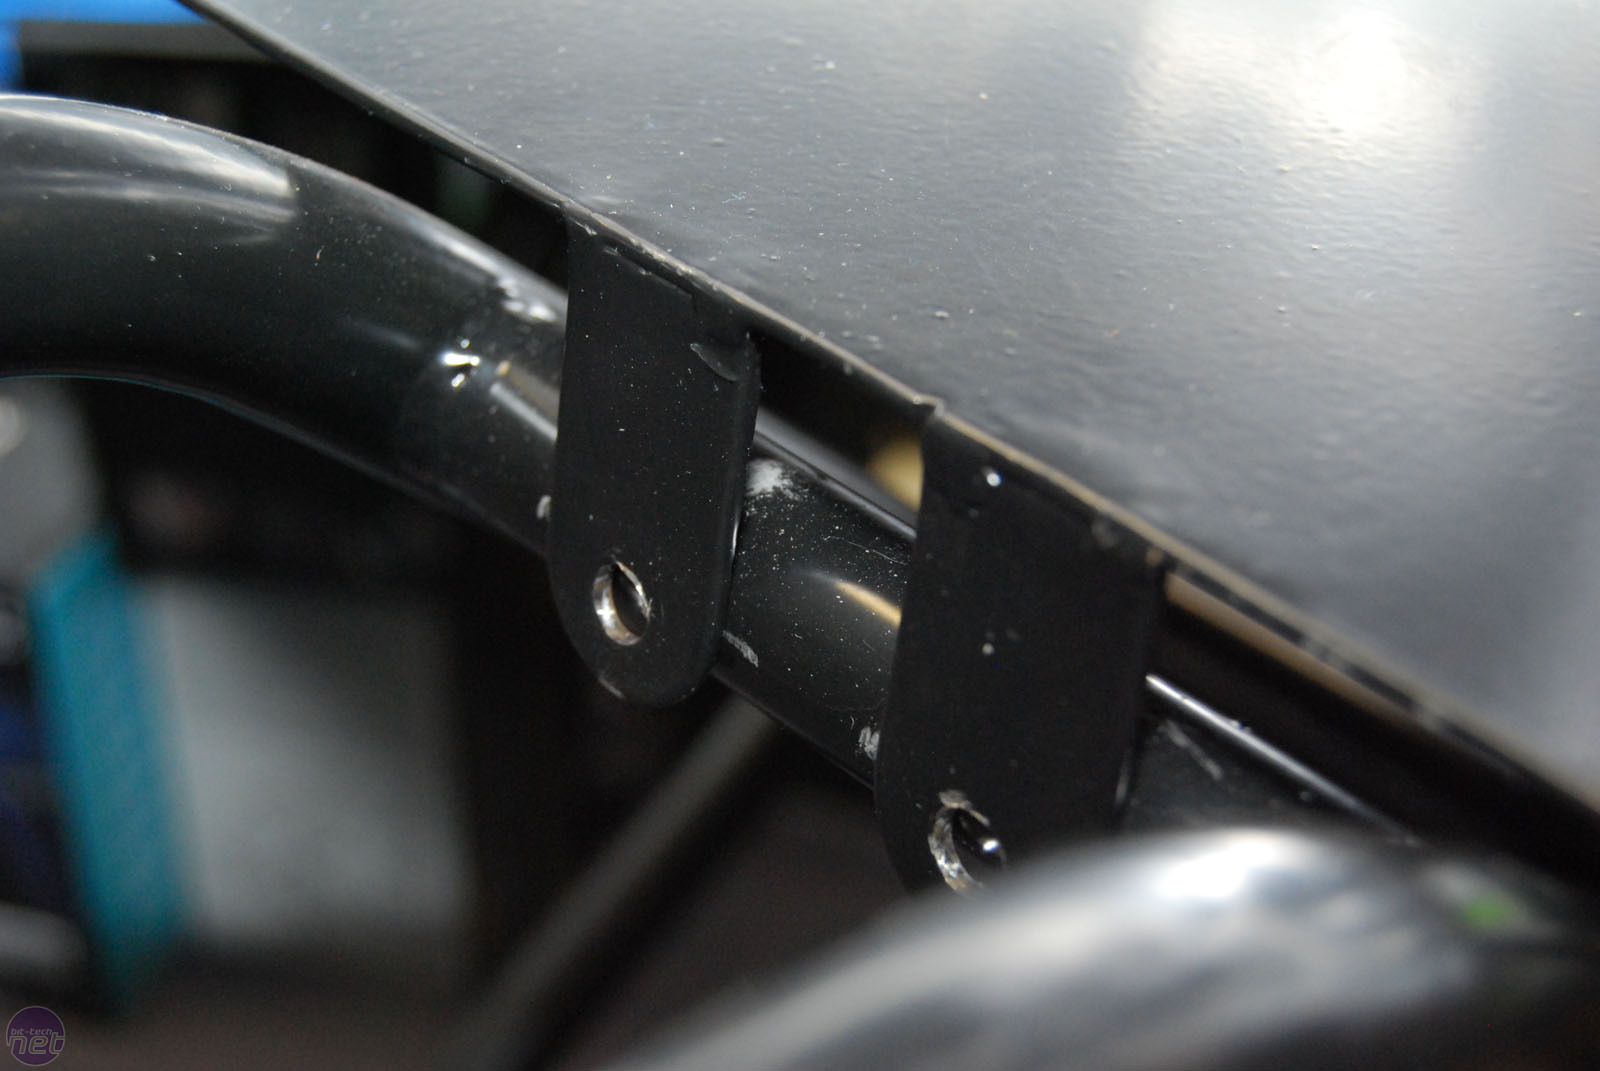
We couldn't get the console tray to screw into the support bar of the wheel stalk at all.
We couldn’t for the life of us work out how to screw the console tray to the wheel stalk as the two sets of bolt holes could never line up. The holes of the tray are vertical while those of the stalk are drilled at an angle. You can either wedge the tray over the bar of the wheel stalk (as we did, hence the scratches), risking the tray popping loose and potentially flipping anything stored on it onto the floor, or leave it slightly loose all the time.
Conclusion
With the correct set of bolts – check the user guide thoroughly before starting to build – and the online user guide, the GT Omega Racing Simulator racing chair is much easier to build and much more solid when you’re done. We’ve updated our scores to reflect ths. However, the user guide should be provided in the box, or at least downloadable in an easy-to-print PDF form from the website. Without the user guide, the chair is almost impossible to build correctly.Even with the user guide and the correct bolts, there are still issues with bolt hole alignment – especially with the console tray attaching the monitor stalk – so we’re sticking with our assertion that those with some metalwork skills and tools will get the best out of this chair. For those without such skills, the GT Omega is reasonable value for money, but we’d still expect a thorough manual in the box and for the parts to fit together as they should if we’re being asked to spend £350.
RELATED ARTICLES


-
Design27 / 40
-
Features23 / 30
-
Value22 / 30


MSI MPG Velox 100R Chassis Review
October 14 2021 | 15:04


Want to comment? Please log in.