Interior
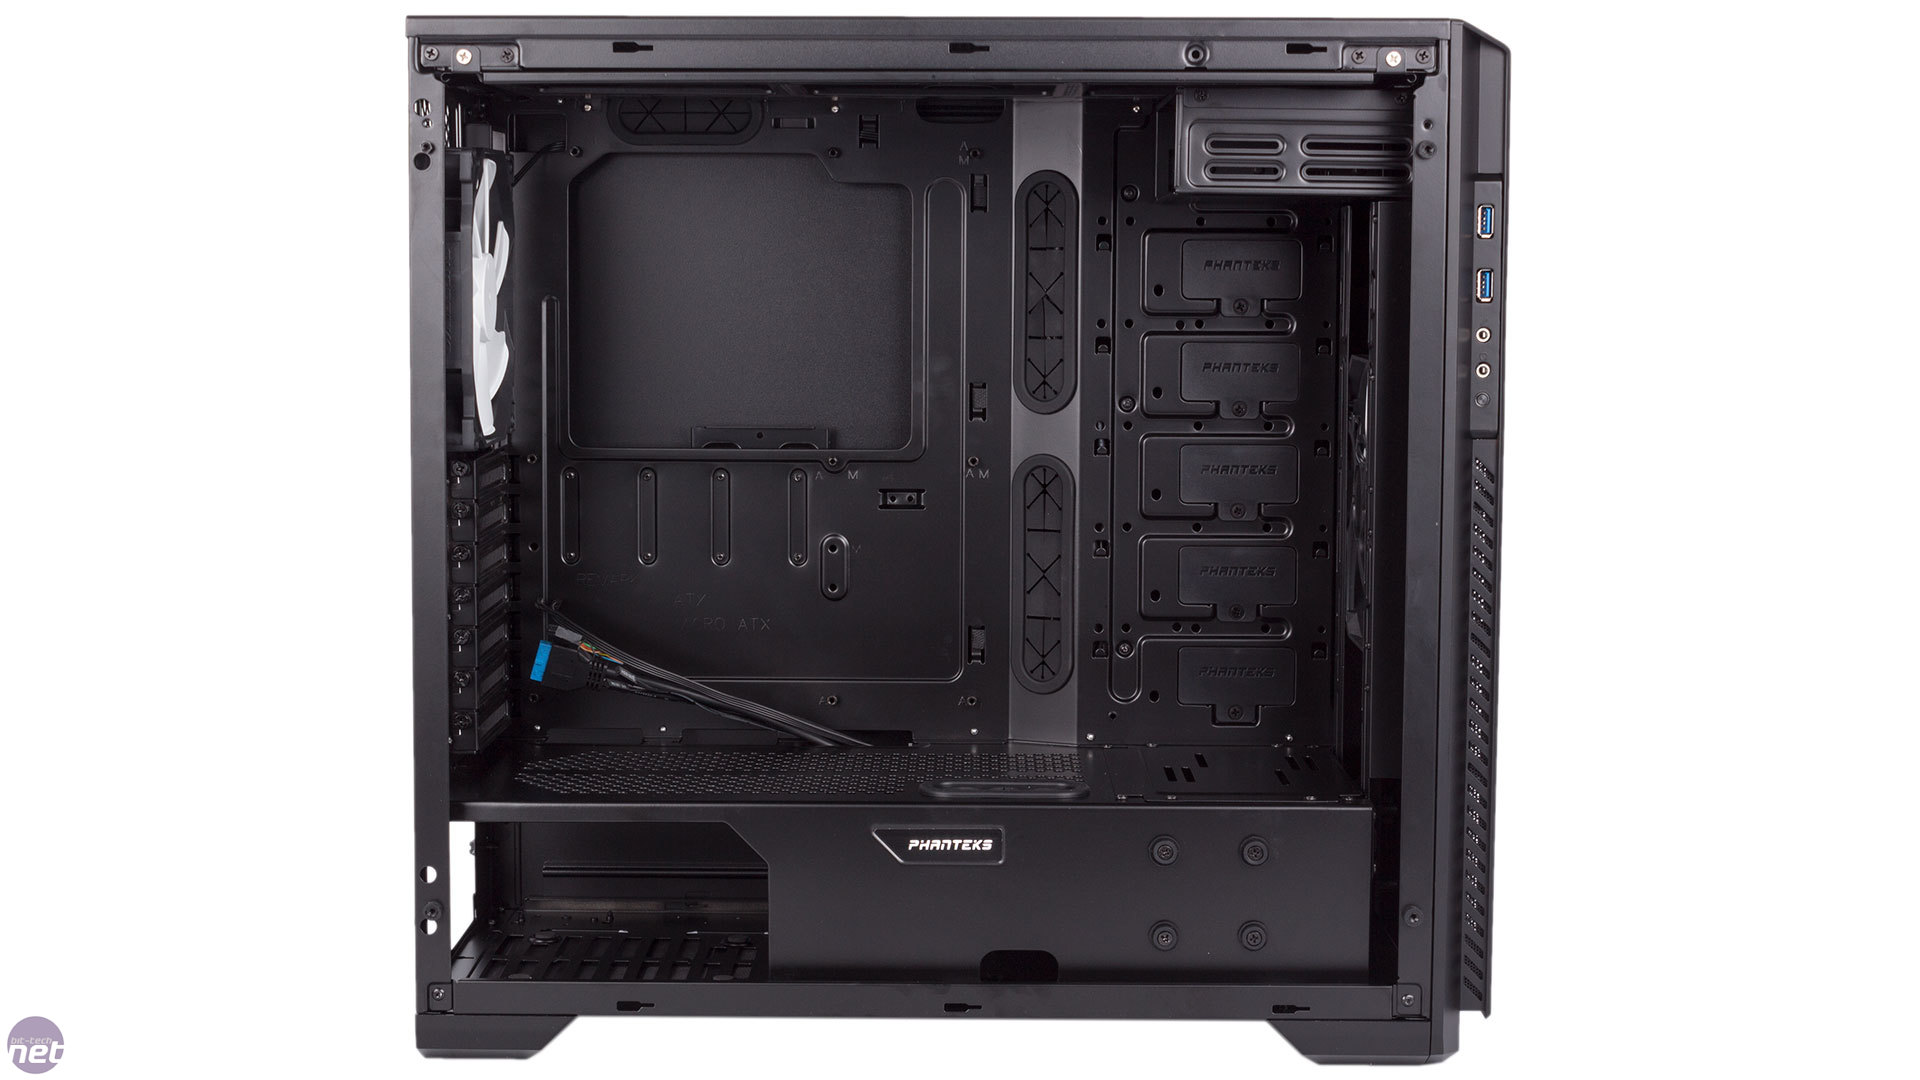
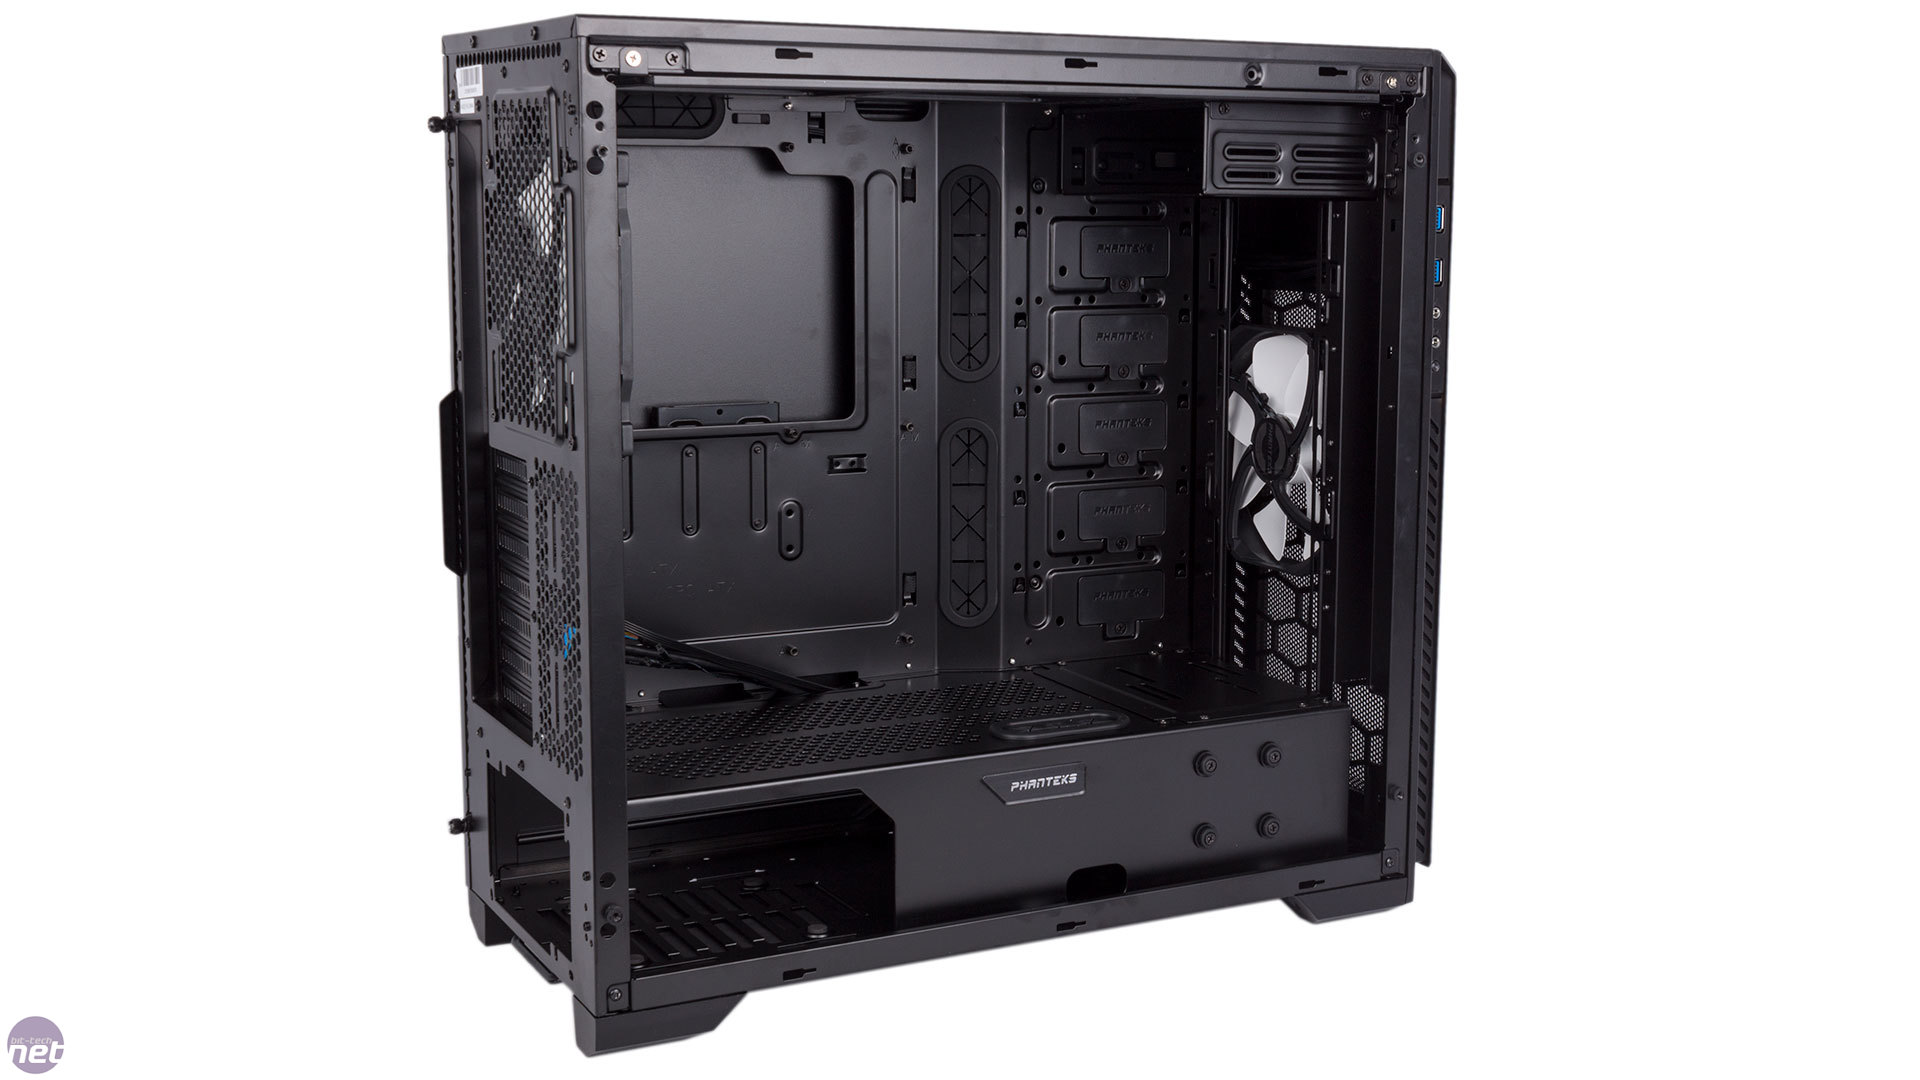
If you're already familiar with the Enthoo Pro M you can skip this section entirely as we're retreading the same ground – the design here hasn't changed, although as newcomers to this case will discover that's not really a bad thing. The two side panels are easy to remove – the tempered glass one via four thumb-nuts and the right steel one via a pair of thumbscrews. We'd still prefer this latter one to have a hinged design, but the notches and rails work well enough.The Enthoo Pro M Tempered Glass utilises a ventilated, fixed PSU cover to split the case into two chambers. This allows you to stash excess power cables in the lower chamber while conveniently obscuring them from view, which is extra important given that you can see through the entire side panel in this edition of the case.
Click to enlarge
Hardware installation is very easy at all points. The main chamber is extremely spacious and thus never gets in your way. The PSU slides into place from the right hand side, resting on some small foam pads to help isolate it from the case.
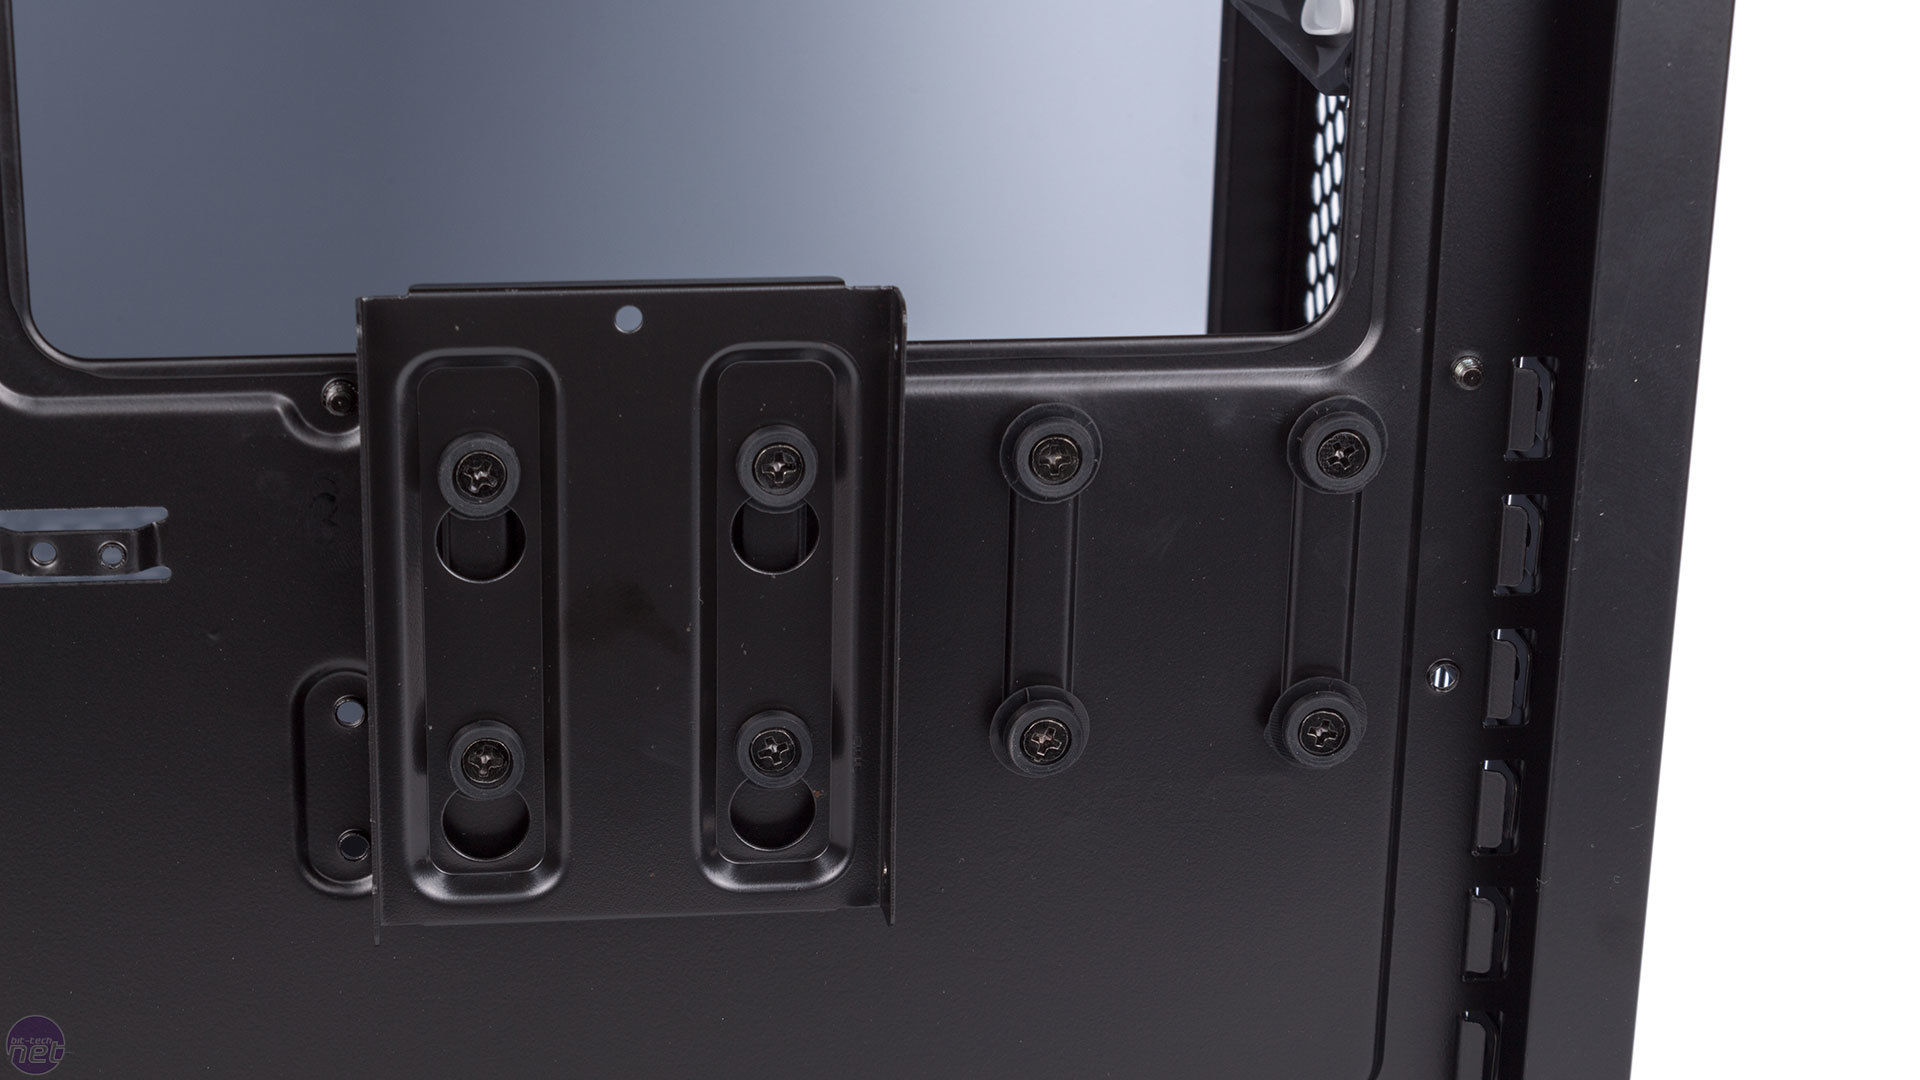
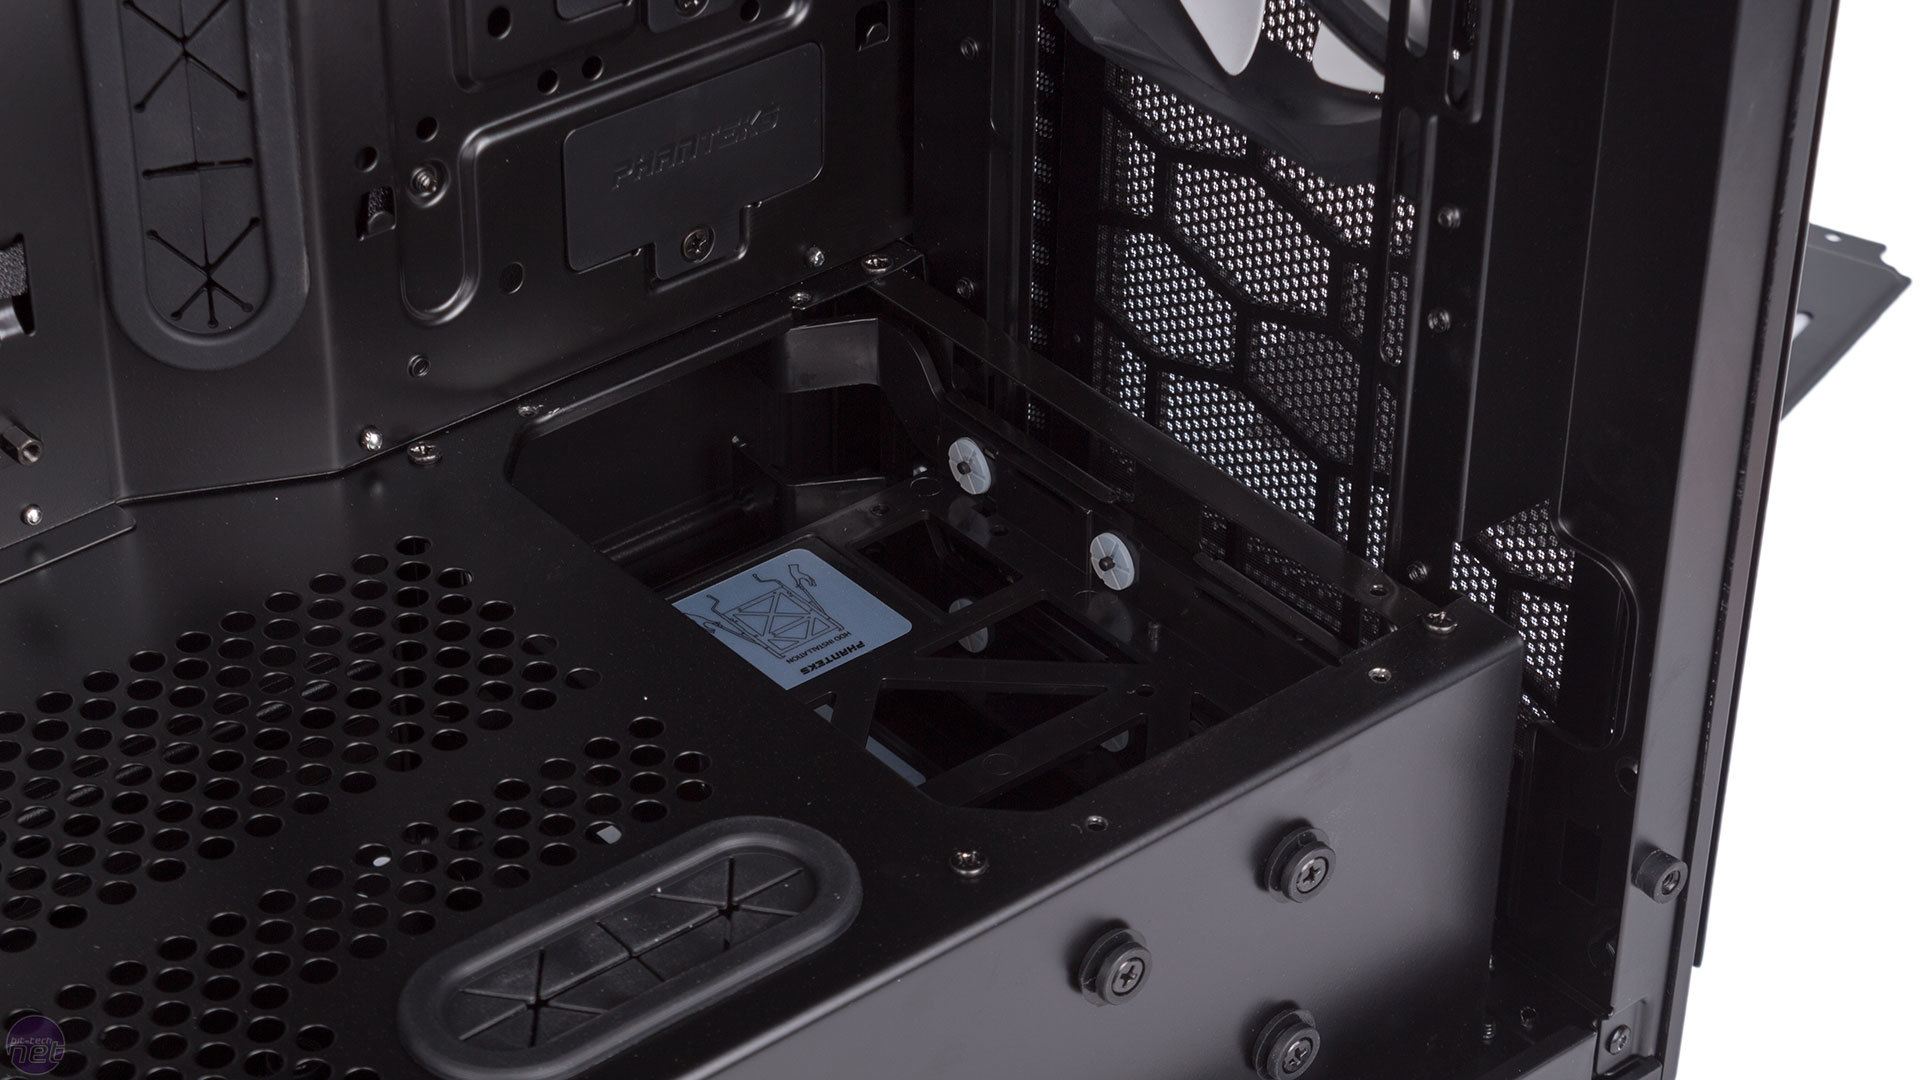
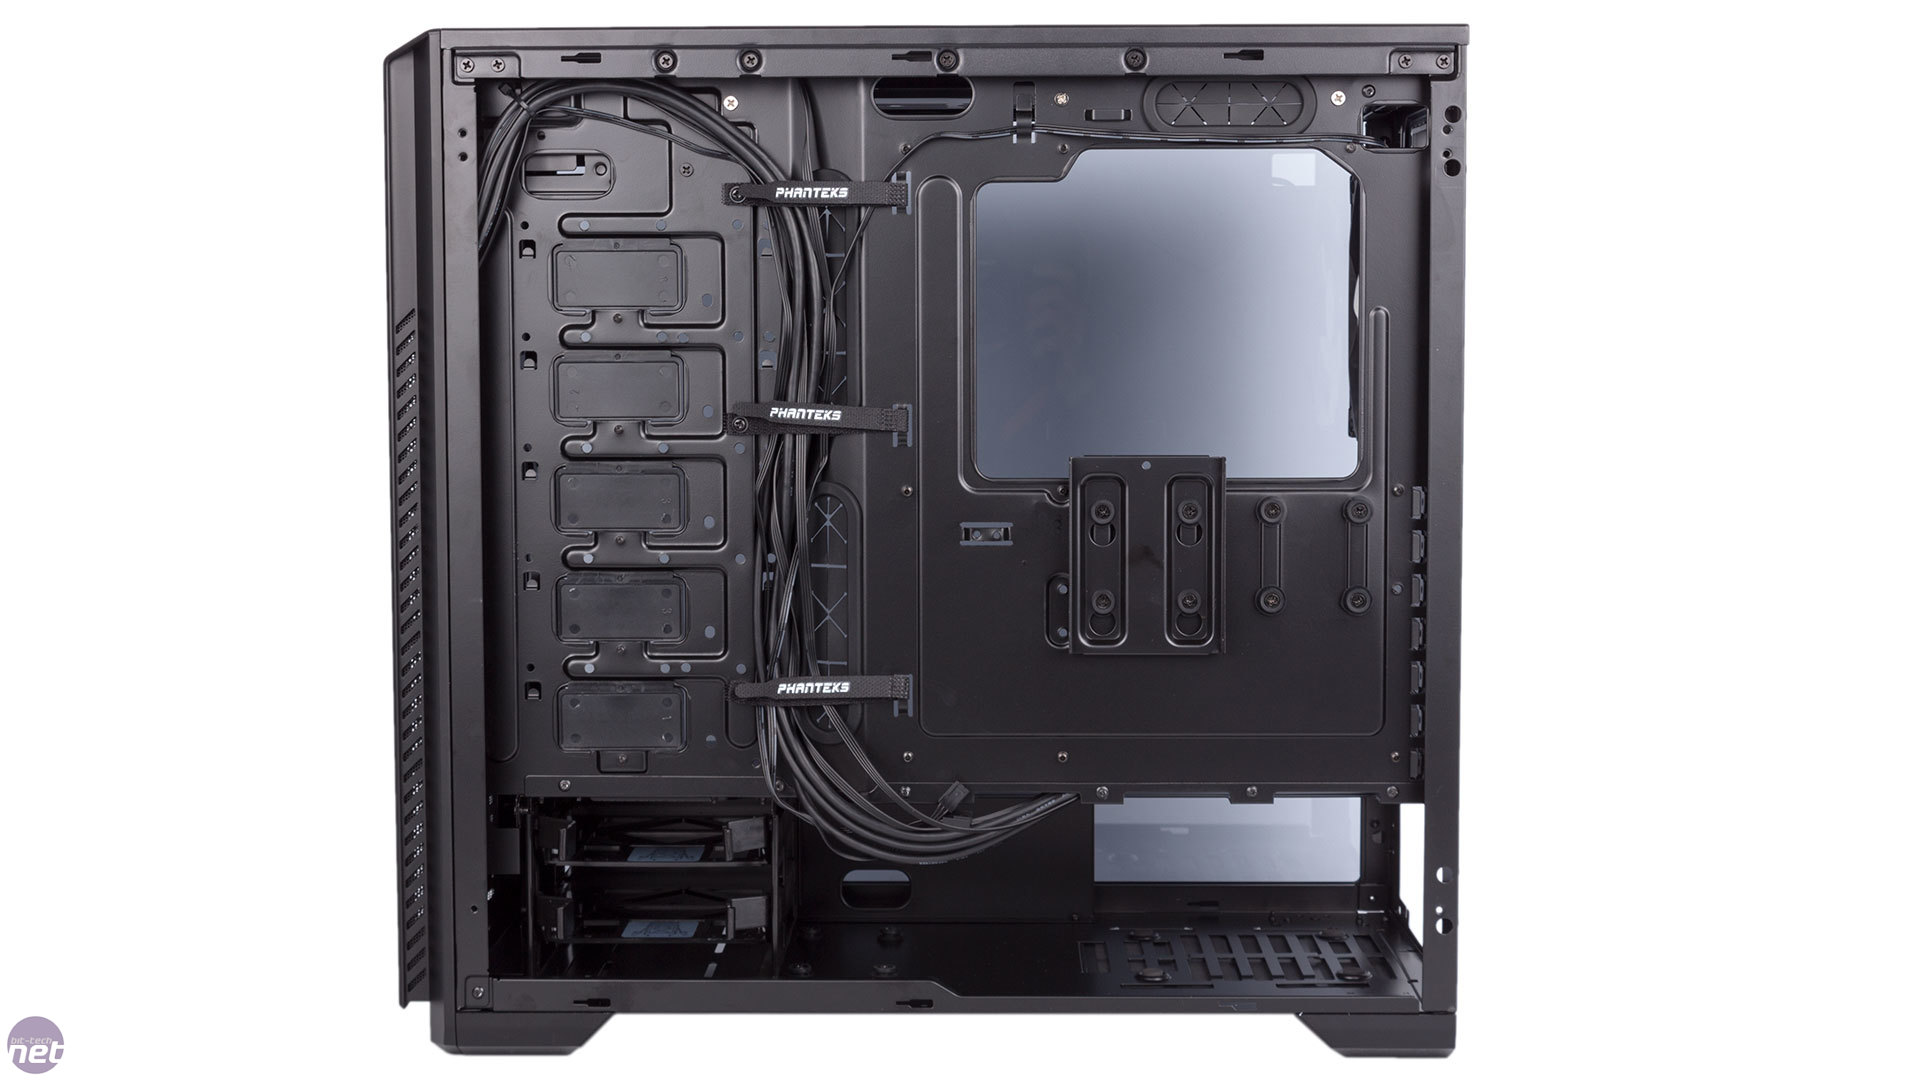
As for hard drives, support out of the box is pretty limited but it can be expanded in many ways. There's one dedicated 2.5in mount behind the motherboard tray, and this is secured via Phanteks' nifty Drop-N-Lock system whereby the metal tray simply slots onto pre-fitted rubber grommets. There are two other positions for this tray to go – another right next to the default position and a third on the window-facing side of the PSU cover near the front of the case. You can also take advantage of these positions if you buy extra 2.5in drive trays, as Phanteks sells these separately.
Click to enlarge
You also get a pair of 3.5in/2.5in sleds, which are secured inside a drive cage at the front of the lower chamber. 2.5in drives will need to be screwed into place here, while 3.5in drives can be installed tool-free courtesy of some nifty locking arms. Small washers around the mounting holes will help dampen vibrations too.

Click to enlarge
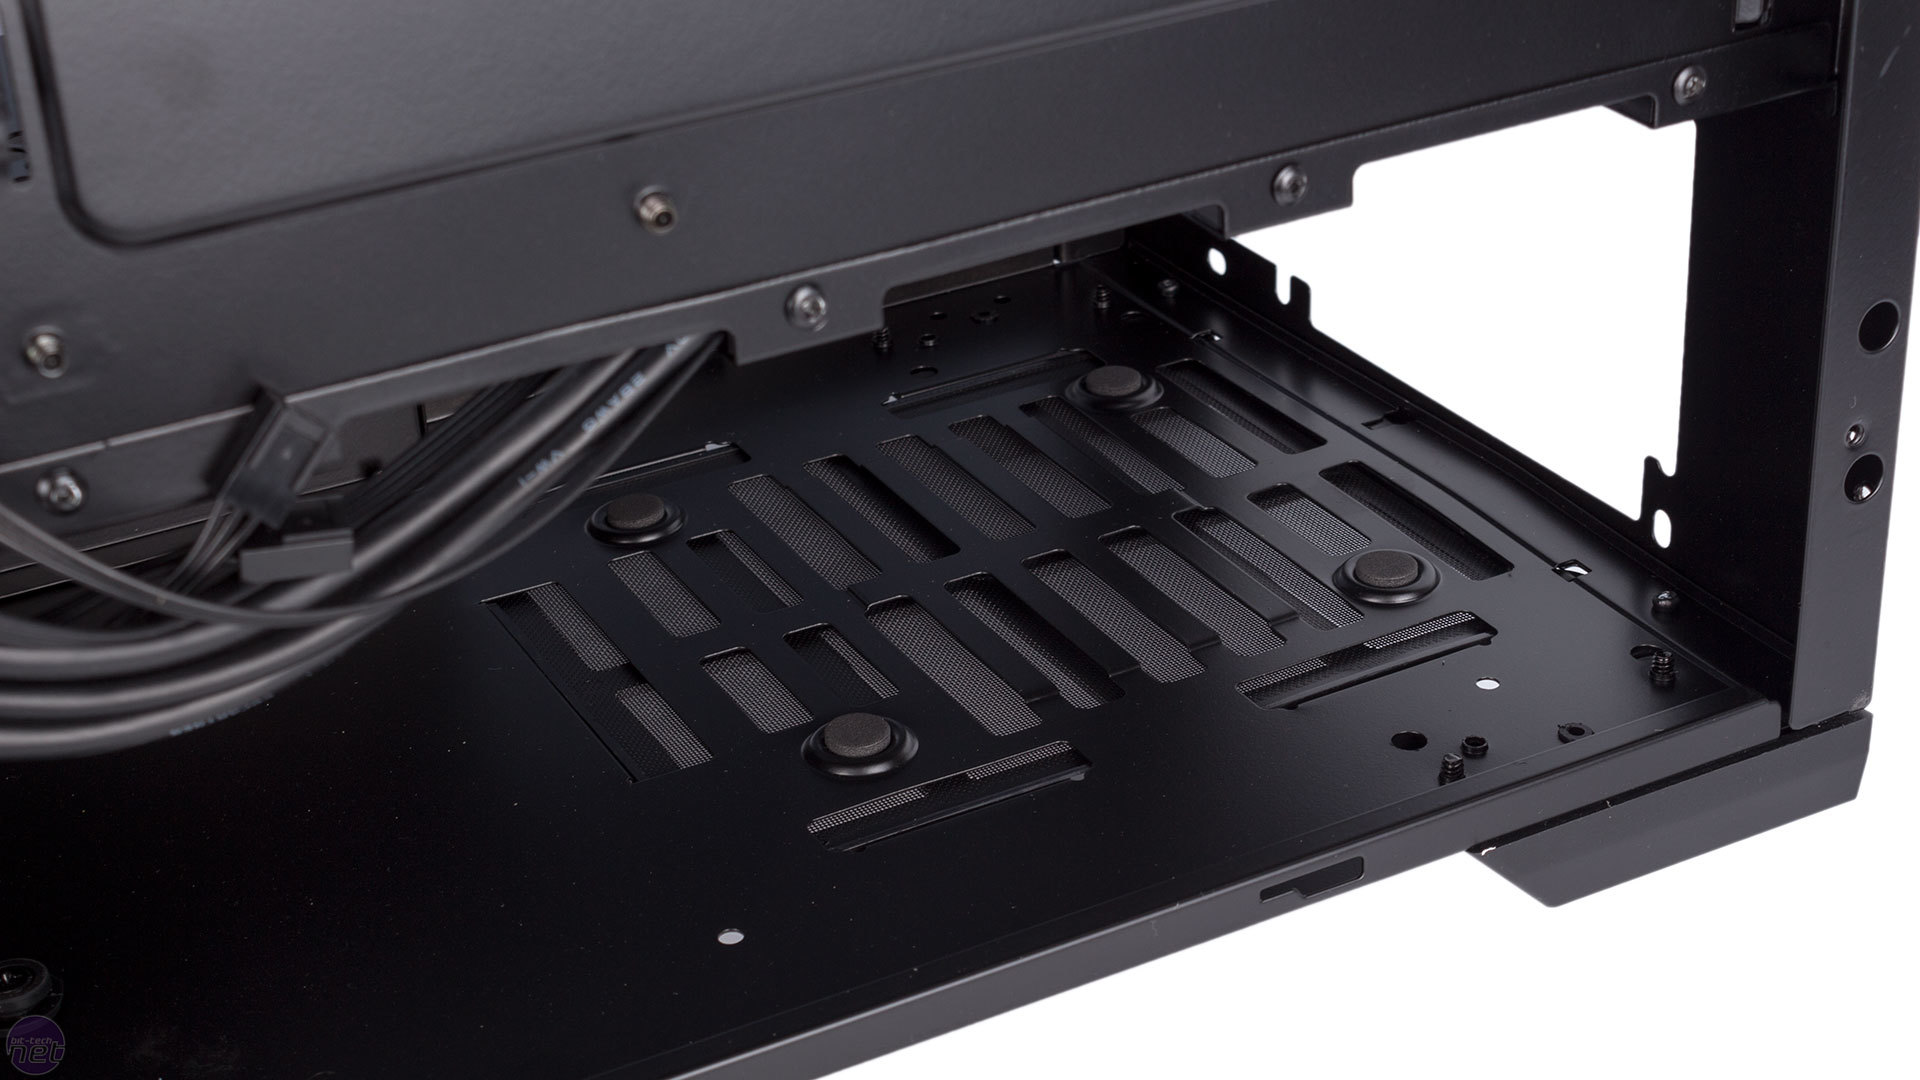
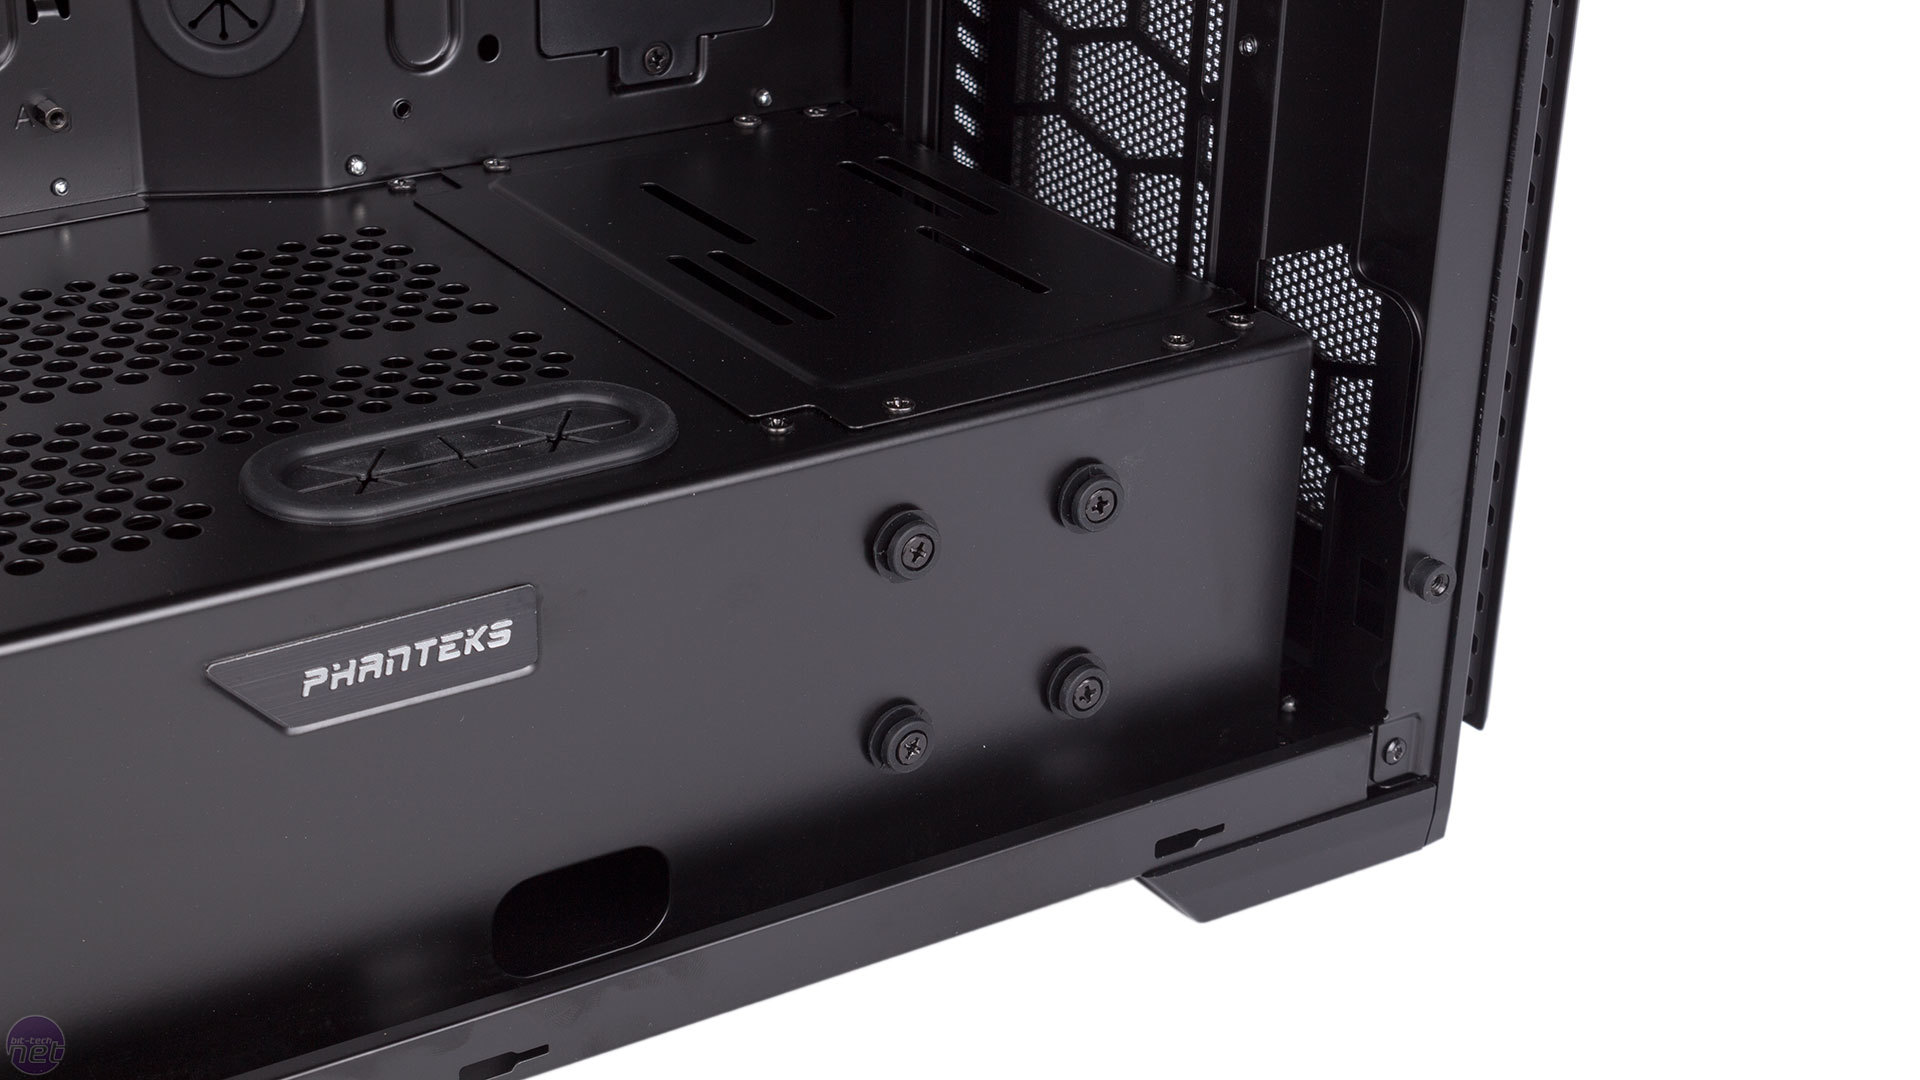
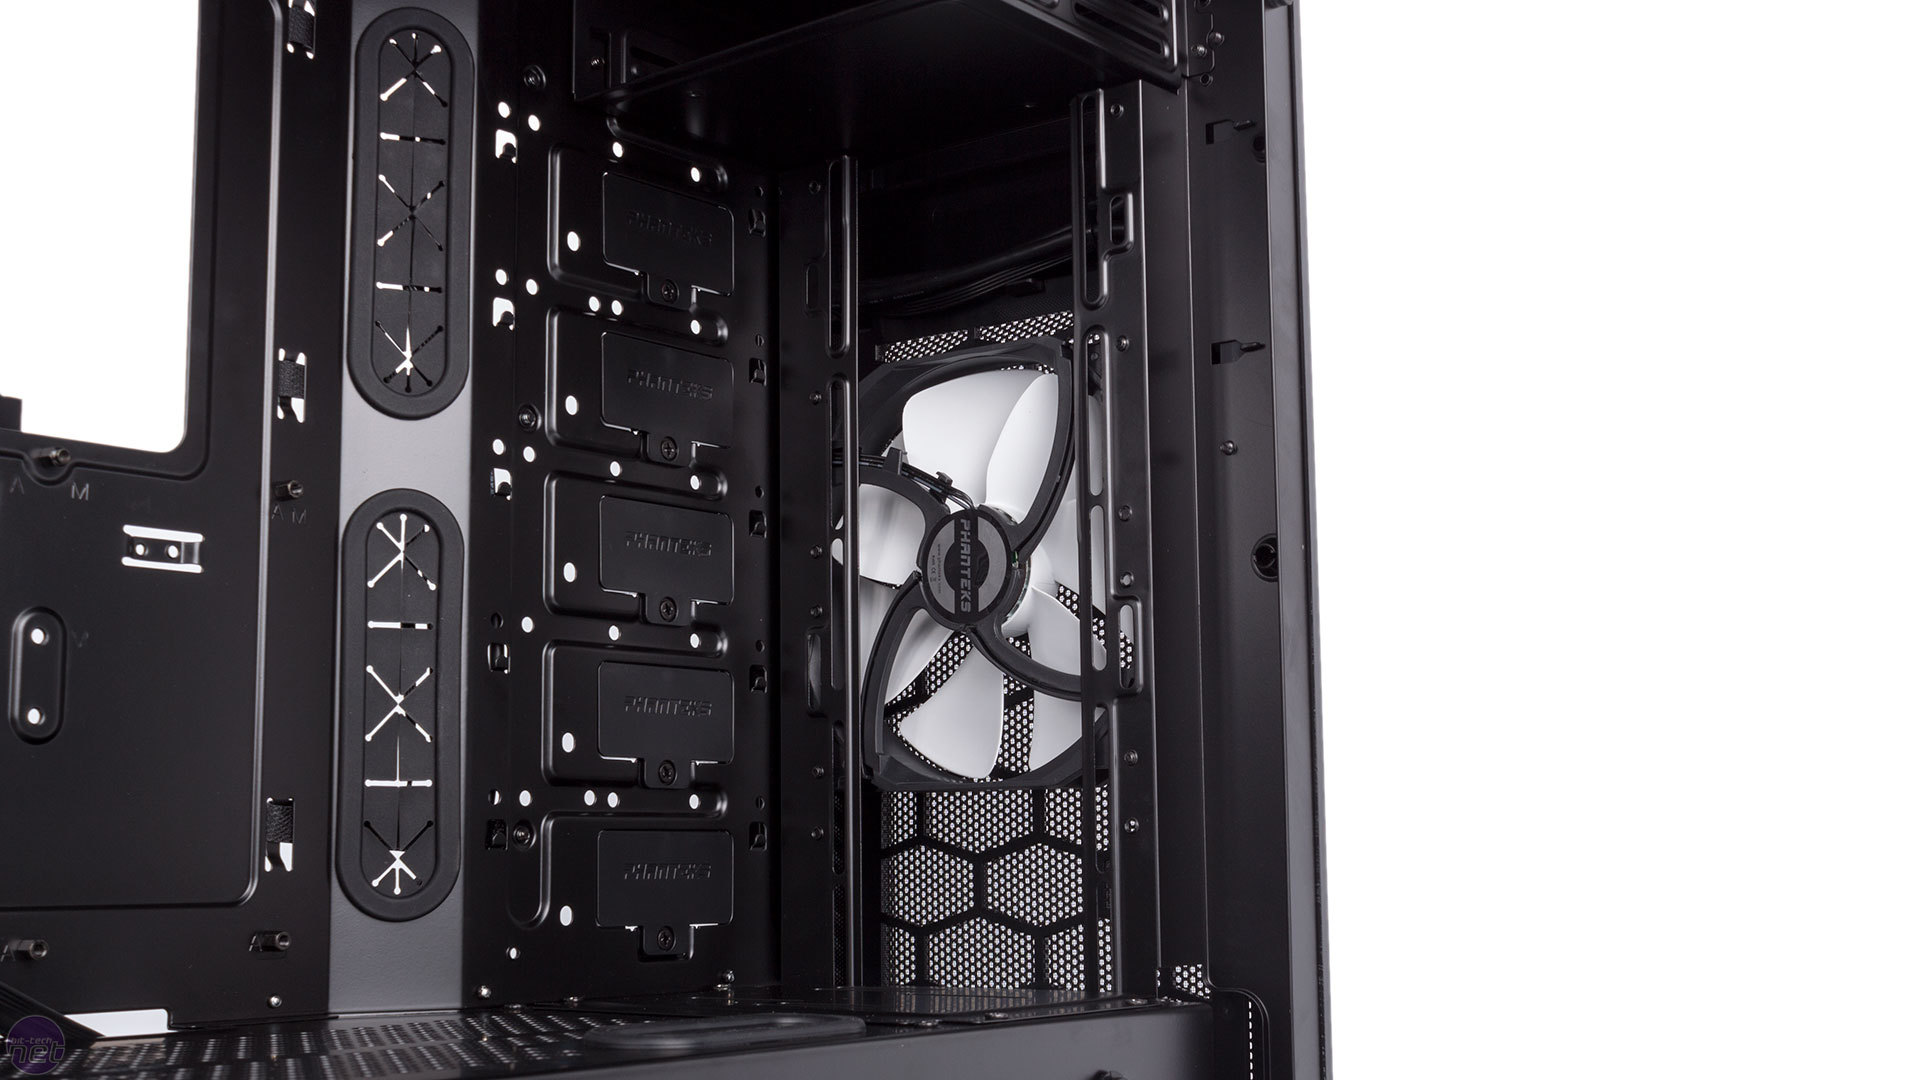
Rubber grommets on the floor of the chassis just behind the drive cage can be used to install a 3.5in drive if you remove the front cage (e.g. for water-cooling purposes) and buy the necessary upgrade bracket. Alternatively, there are five positions in the main chamber that can also accommodate 3.5in or 2.5in drives, again by purchasing the necessary trays. Each position has a small plastic cover which you unscrew to make way for the power and data cables. This modular approach to drives is sensible – it keeps costs and wasted materials down and also ensures the main chamber is as efficient as possible from an airflow perspective, while giving most users enough default drive mounts for a standard build.

Click to enlarge
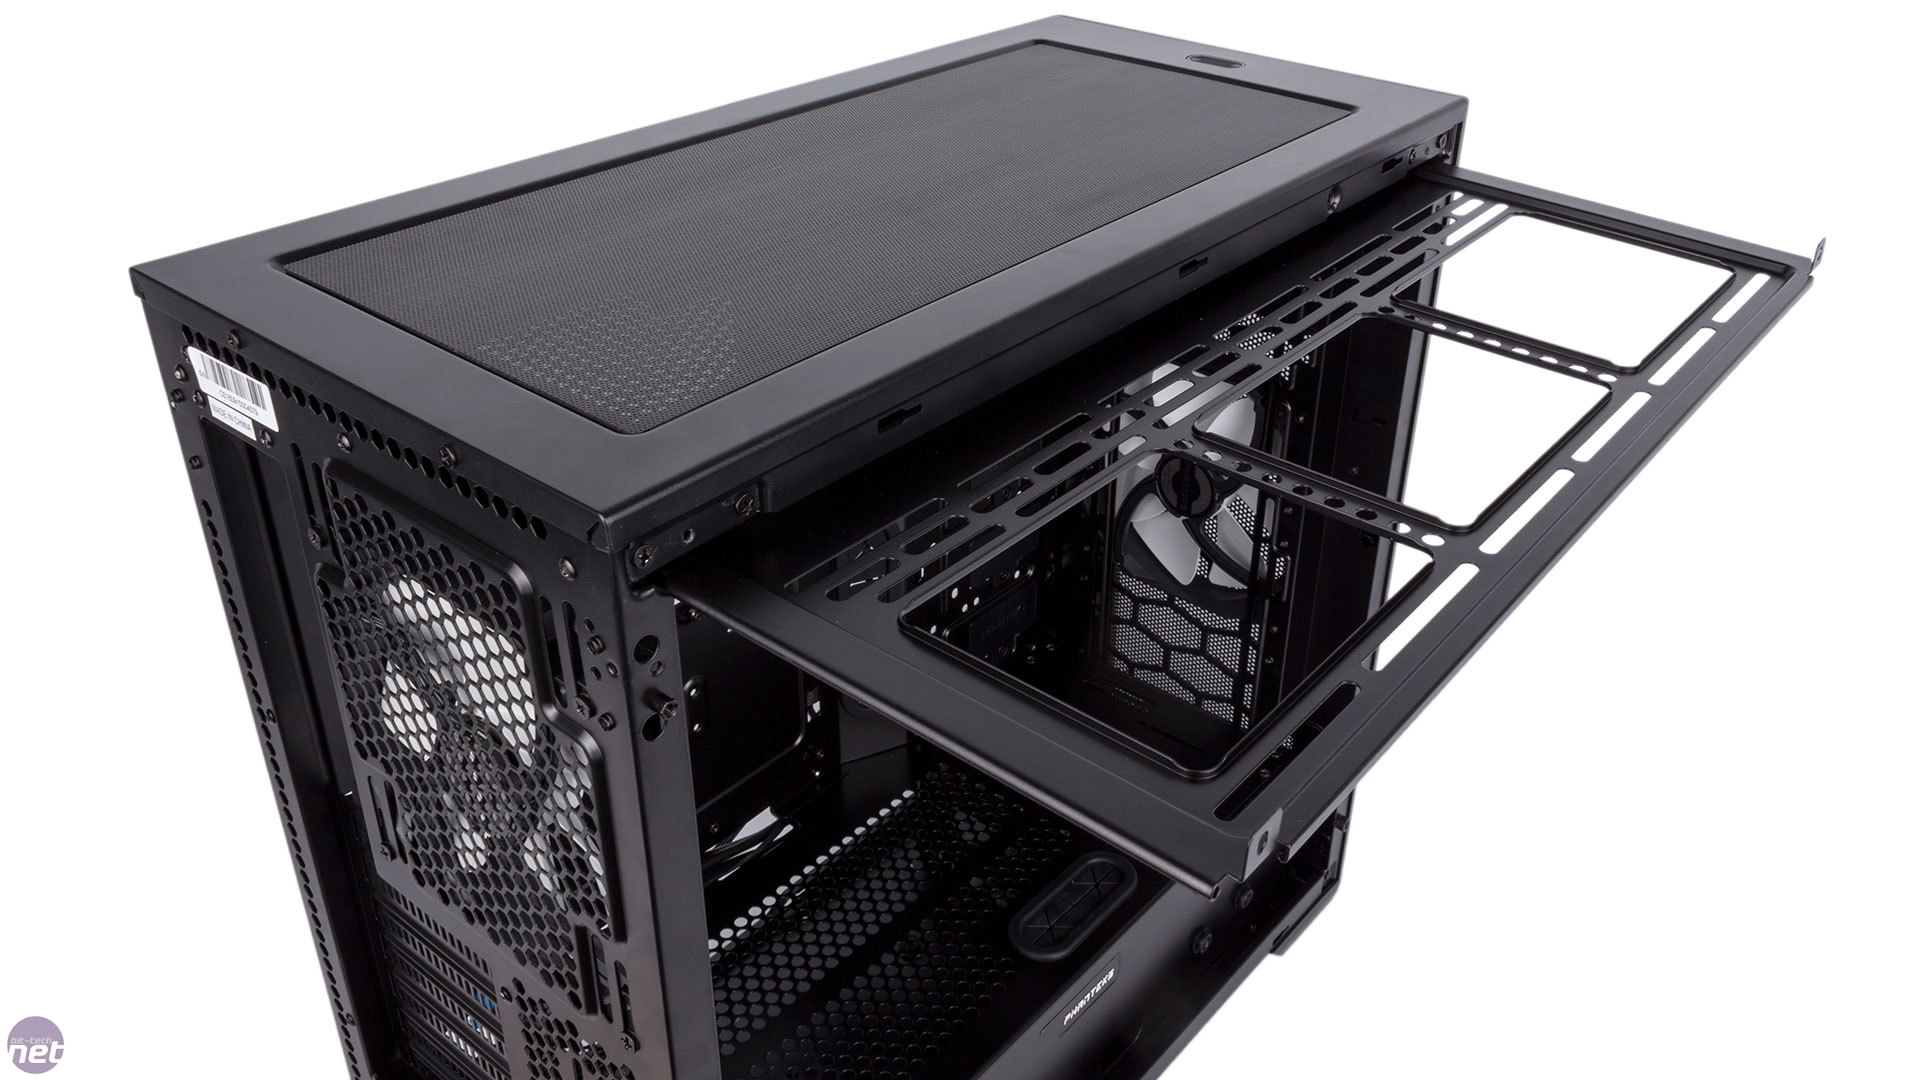
As well as the HDD cage, a metal plate at the front of the PSU cover can be removed to make way for radiators in the front mounts, where 240mm and 280mm radiators are supported by default and 360mm radiators also once the ODD cage is removed – easily done via four screws. It's the same situation in the roof and again larger models may require you to remove the optical drive bay. You also get the same slide-out radiator bracket in the roof which will potentially save you a lot of fiddling, and offset mounting points mean that thick radiators are a possibility too, especially with those based on 120mm fans.
Click to enlarge
Mounting holes at the front of the elongated motherboard tray and some struts to the side of the expansion brackets provide built-in potential reservoir mounts, while holes cut into the PSU cover's front-plate and the floor of the chassis will aid pump installation. Phanteks also sells separately a rubberised dedicated pump mount. The Enthoo Pro M cases are among the very best for custom water-cooling support for their size.
Click to enlarge
Routing cables is also dead simple. Holes above, below and to the side of the motherboard are sensibly sized, with the slight exception of the one that'll serve you 8-pin EPS connector – this one's a bit of a squeeze. There are numerous rubber grommets too, and even holes cut into the PSU cover for the GPU power connectors and for if you choose to use the side-facing SSD mount. There's up to 35mm of space behind the motherboard and Phanteks once again deploys its awesome Velcro cable ties, which are helpfully screwed into the chassis to anchor them. It also pre-routes all the internal chassis cables to get you started.


MSI MPG Velox 100R Chassis Review
October 14 2021 | 15:04


Want to comment? Please log in.