
Interior
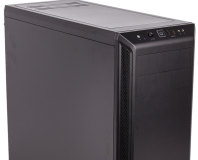
As well as thumbscrews, both side panels are attached using front-mounted hinges, which is a highly preferable alternative to the previous notches and rails system. Naturally, both panels are backed with noise-dampening material, and the panels themselves are very sturdy. The roof cannot be removed as it is riveted in place, but the front panel is able to pop off. That said, it's hard to get a grip on it and it pulls the front I/O cables with it; thankfully there are very few reasons for you to remove the front panel anyway.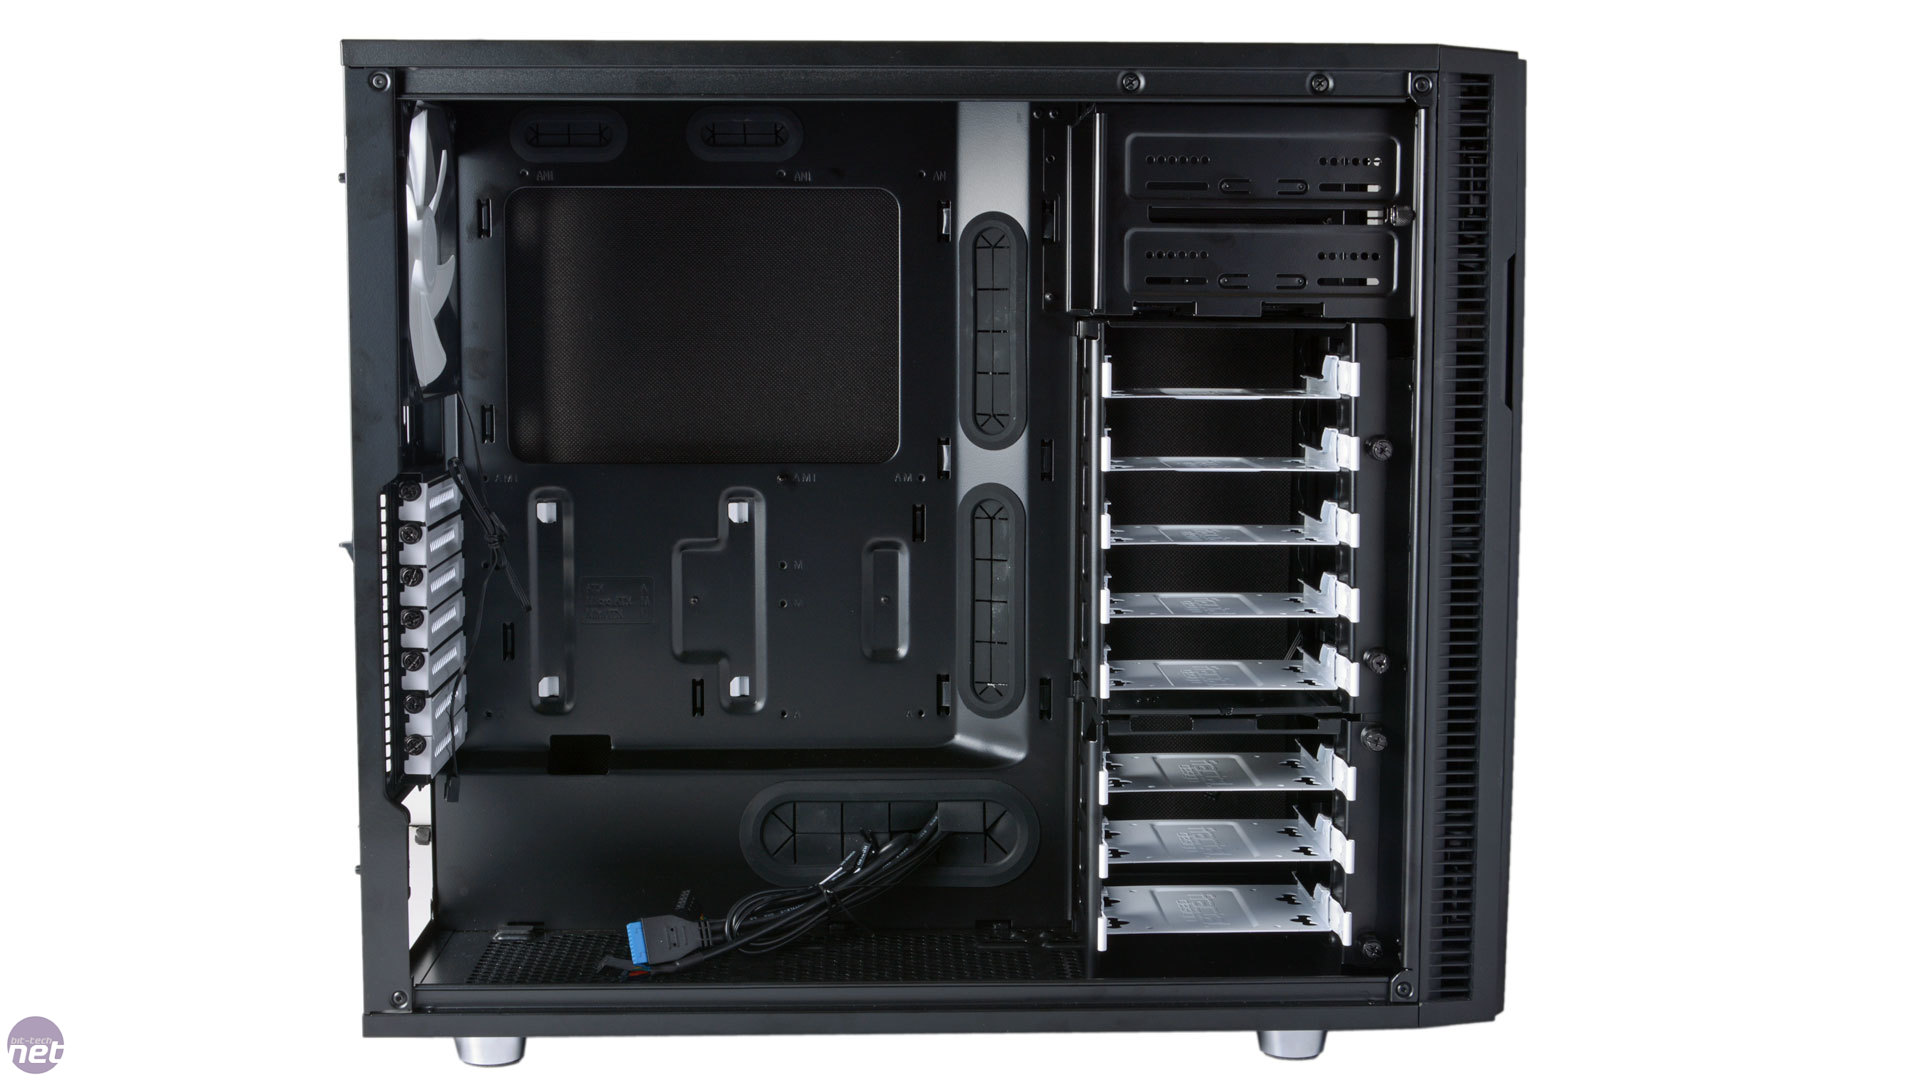
Click to enlarge
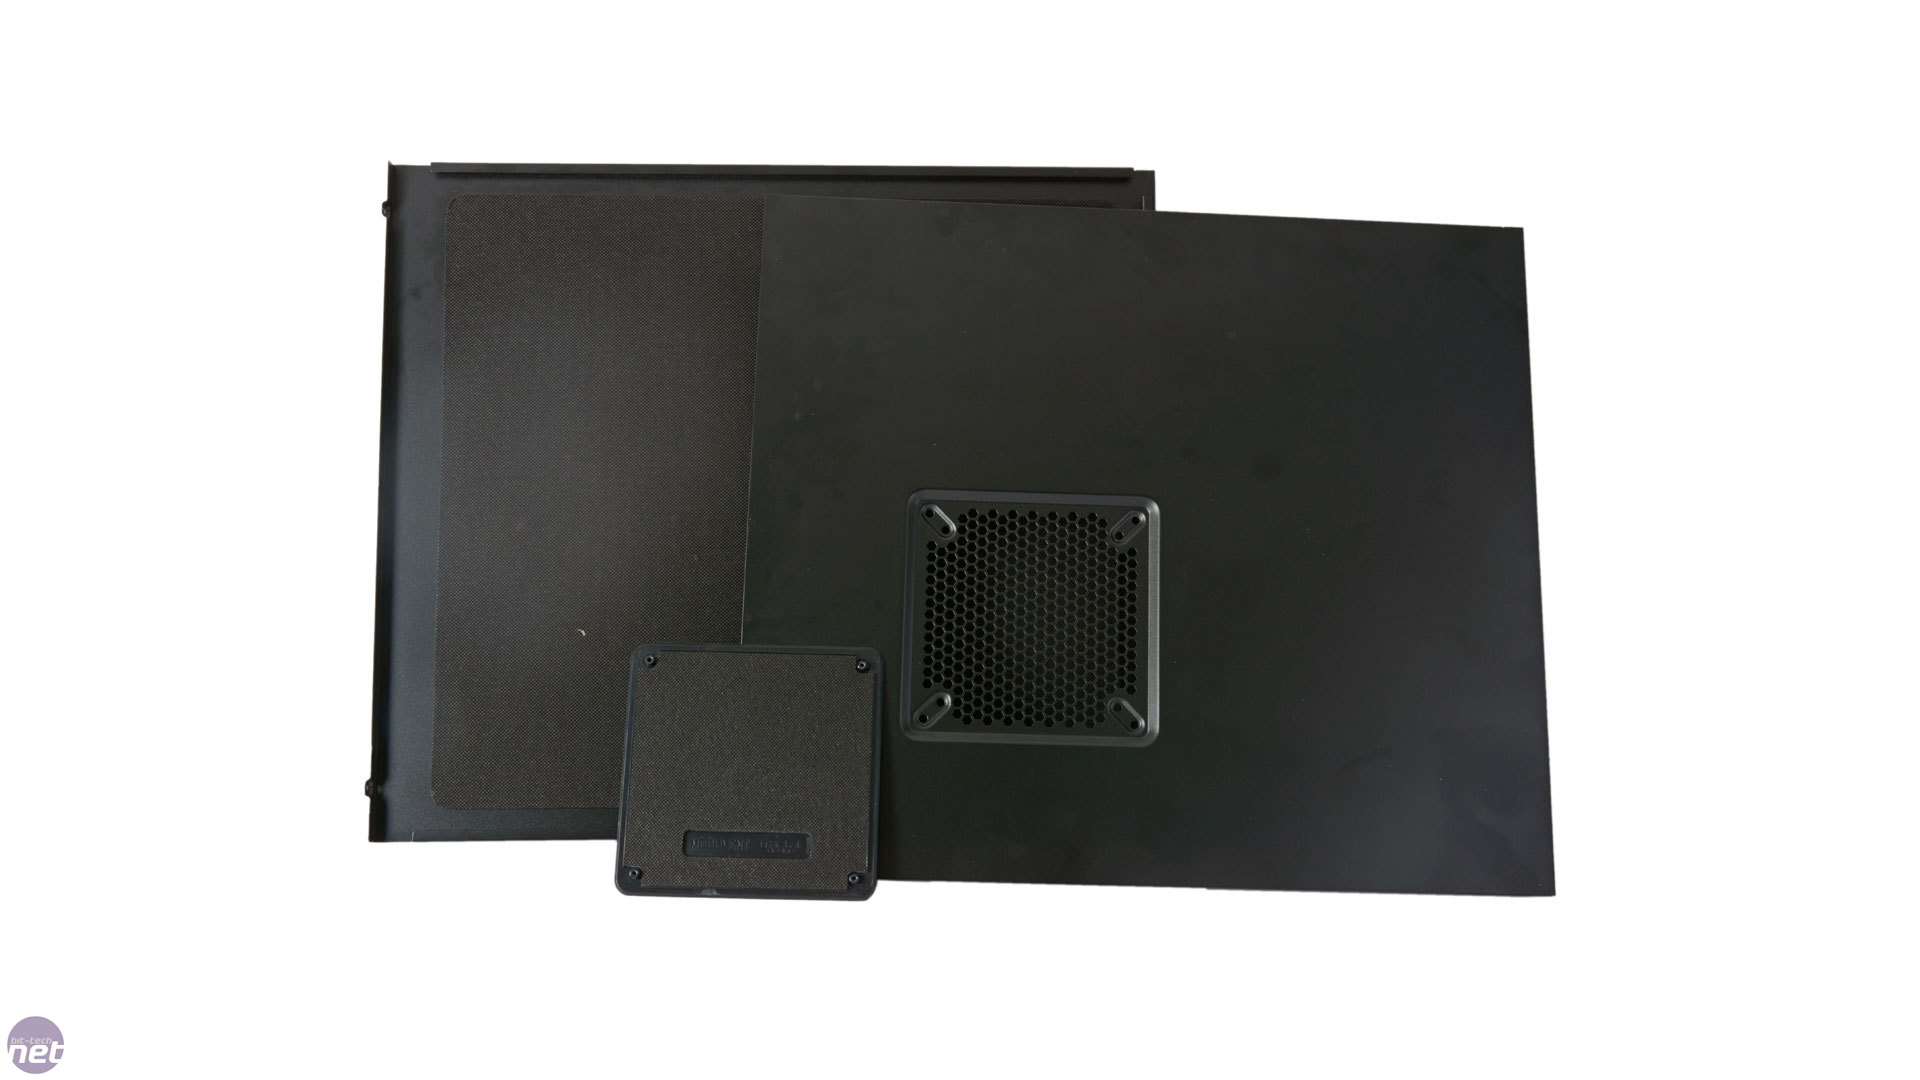
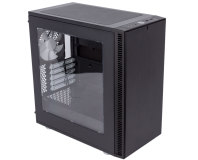
The blanking plate for the left panel is easy to remove using four screws. However, the three on the roof panel are more difficult as you need to unclip them from the inside, which is fiddly at best. We actually broke one of the clips attempting to do so – admittedly, we didn't RTFM, but we still feel it's not as easy as it could be. All three blanking plates here are backed by noise-dampening foam. However, neither the roof nor the side fan mounts have dust filters, so if you opt to use them you'll open your case up to the elements.
The PSU has thick rubber feet to sit on, but there's no insulation against the back of the case. Equally, the two included fans are not decoupled from the chassis using rubber washers. Both of these are features that the Be Quiet! Silent Base 800 has, so it's an odd omission on Fractal's part – such features may not have much effect on total noise output, but attention to detail is usually something that Fractal excels at.
Click to enlarge
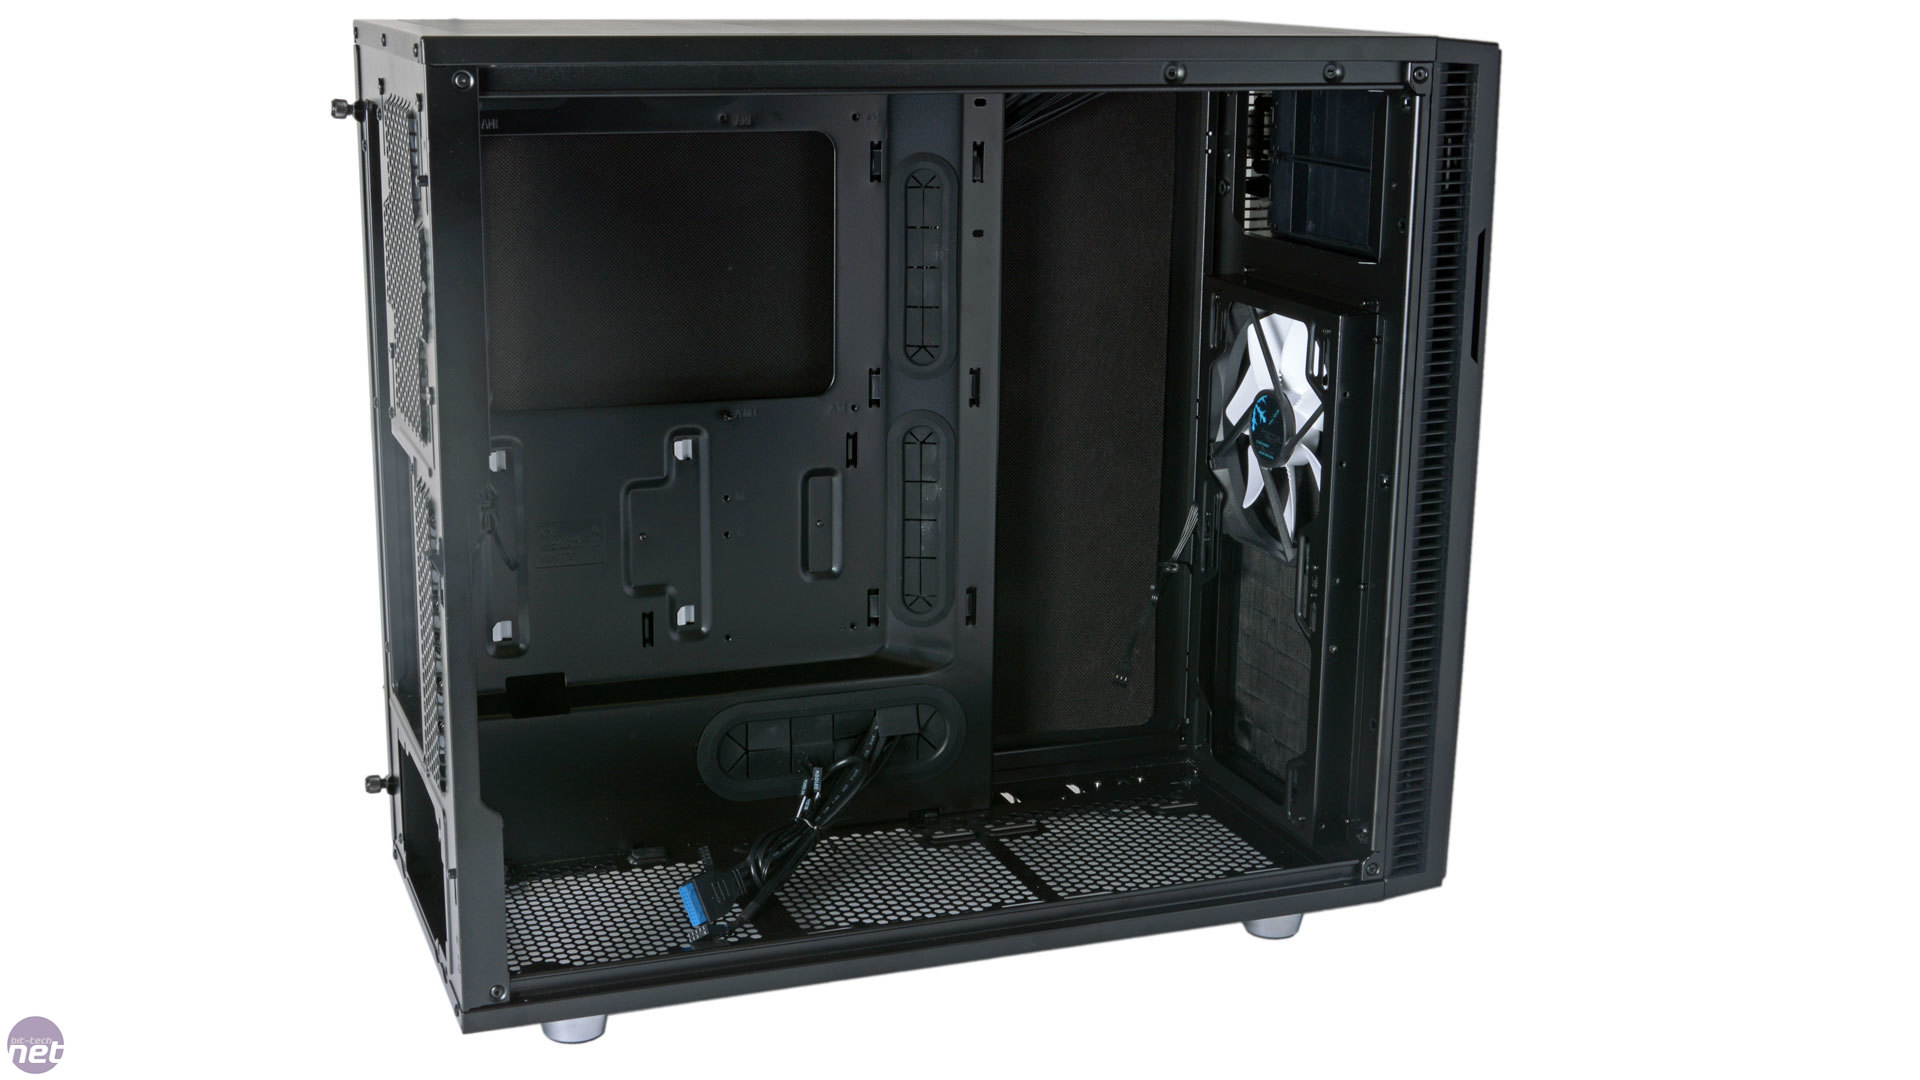
Thankfully, elsewhere Fractal Design delivers when it comes to attention to detail. There's a large cutout in the motherboard tray for CPU cooler backplates, and the middle standoff is pre-installed and will hold your motherboard in place vertically when you install it. Furthermore, the PCI expansion brackets have thumbscrews and are thus reusable, while the I/O, fan and fan controller cables are all sleeved in black, which is particularly useful for customers who buy the windowed version of the case.
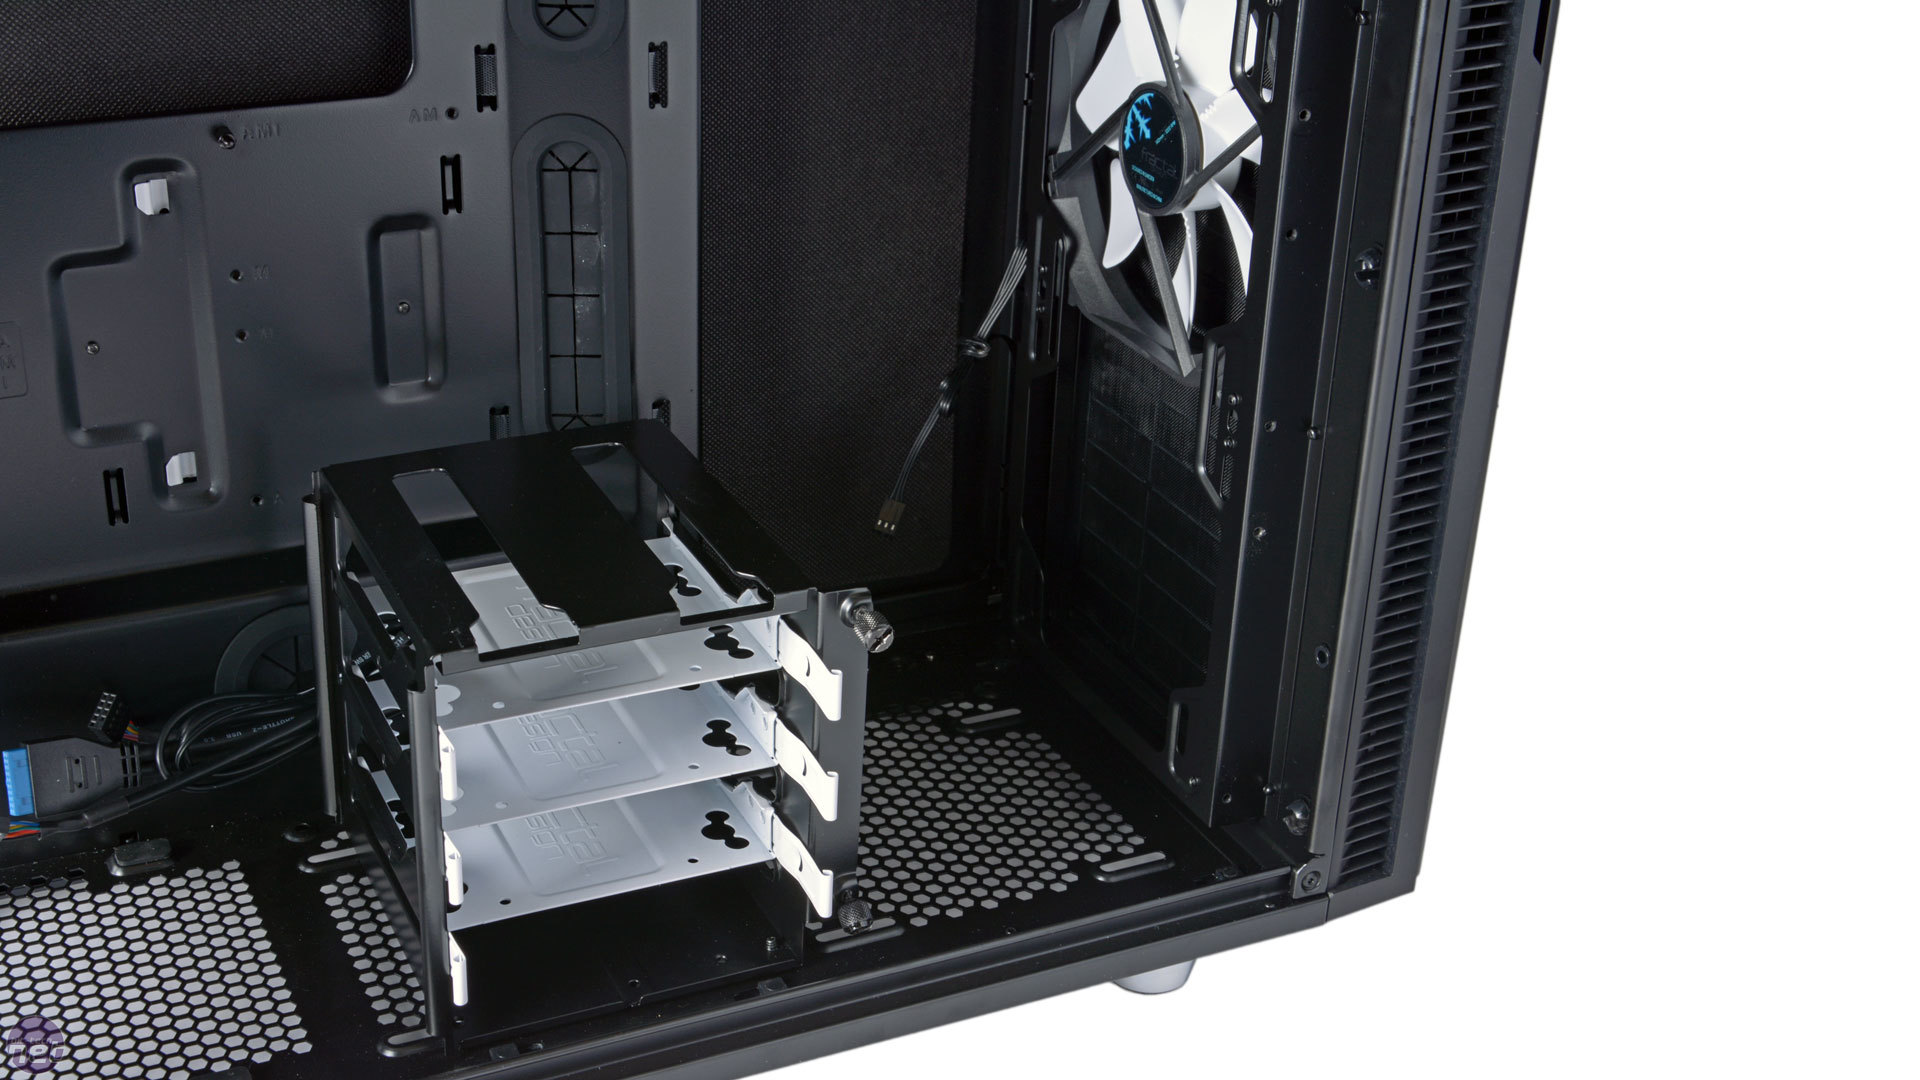
As ever, system assembly is straightforward. Fractal has never really believed in tool-free systems – the optical drives, HDDs and SSDs all need a full set of screws for installation, which is fine with us. Internal drives are installed as usual in the excellent metal drive trays, which are housed in their cages very securely. There is no rubber separating the trays from the cages, but the trays themselves have rubber washers pre-installed so vibrations from 3.5-inch drives should be sufficiently dampened. An additional pair of 2.5-inch drive trays is found fixed to the rear of the motherboard tray.

Click to enlarge
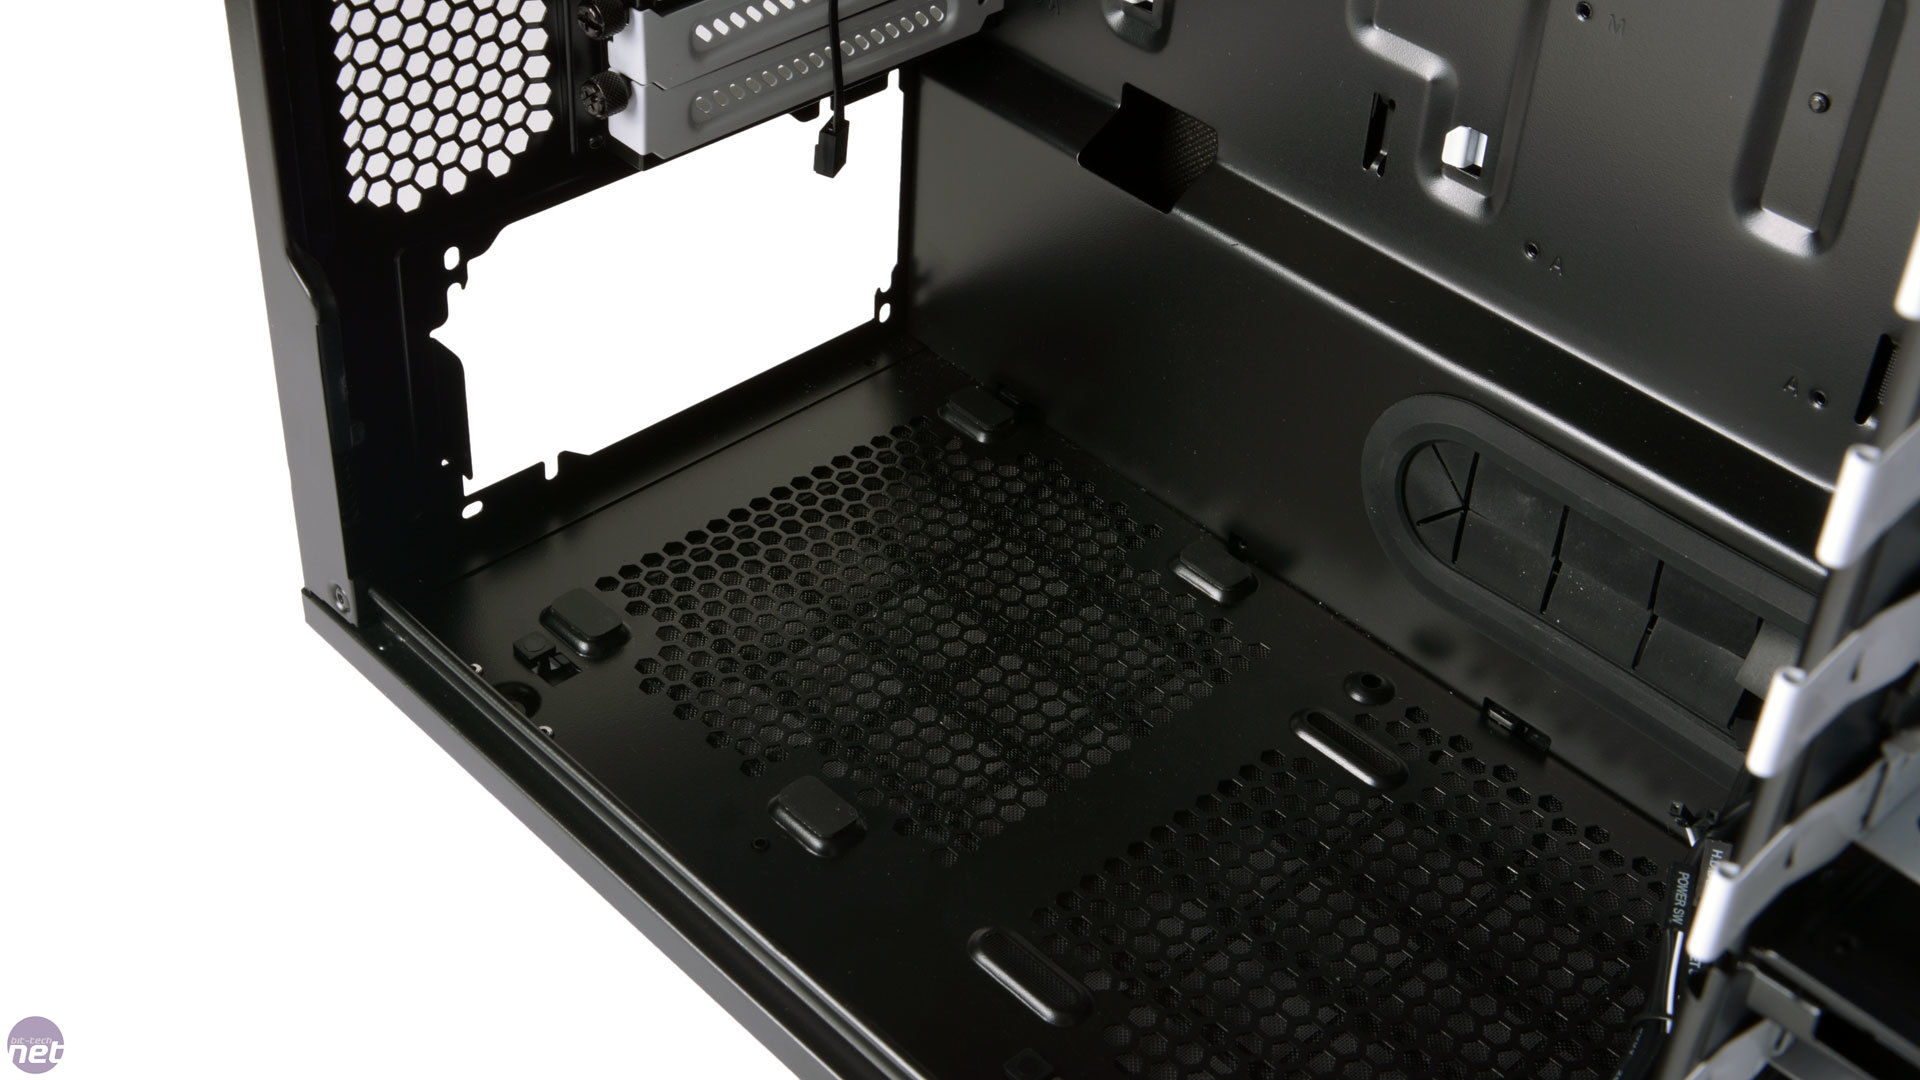
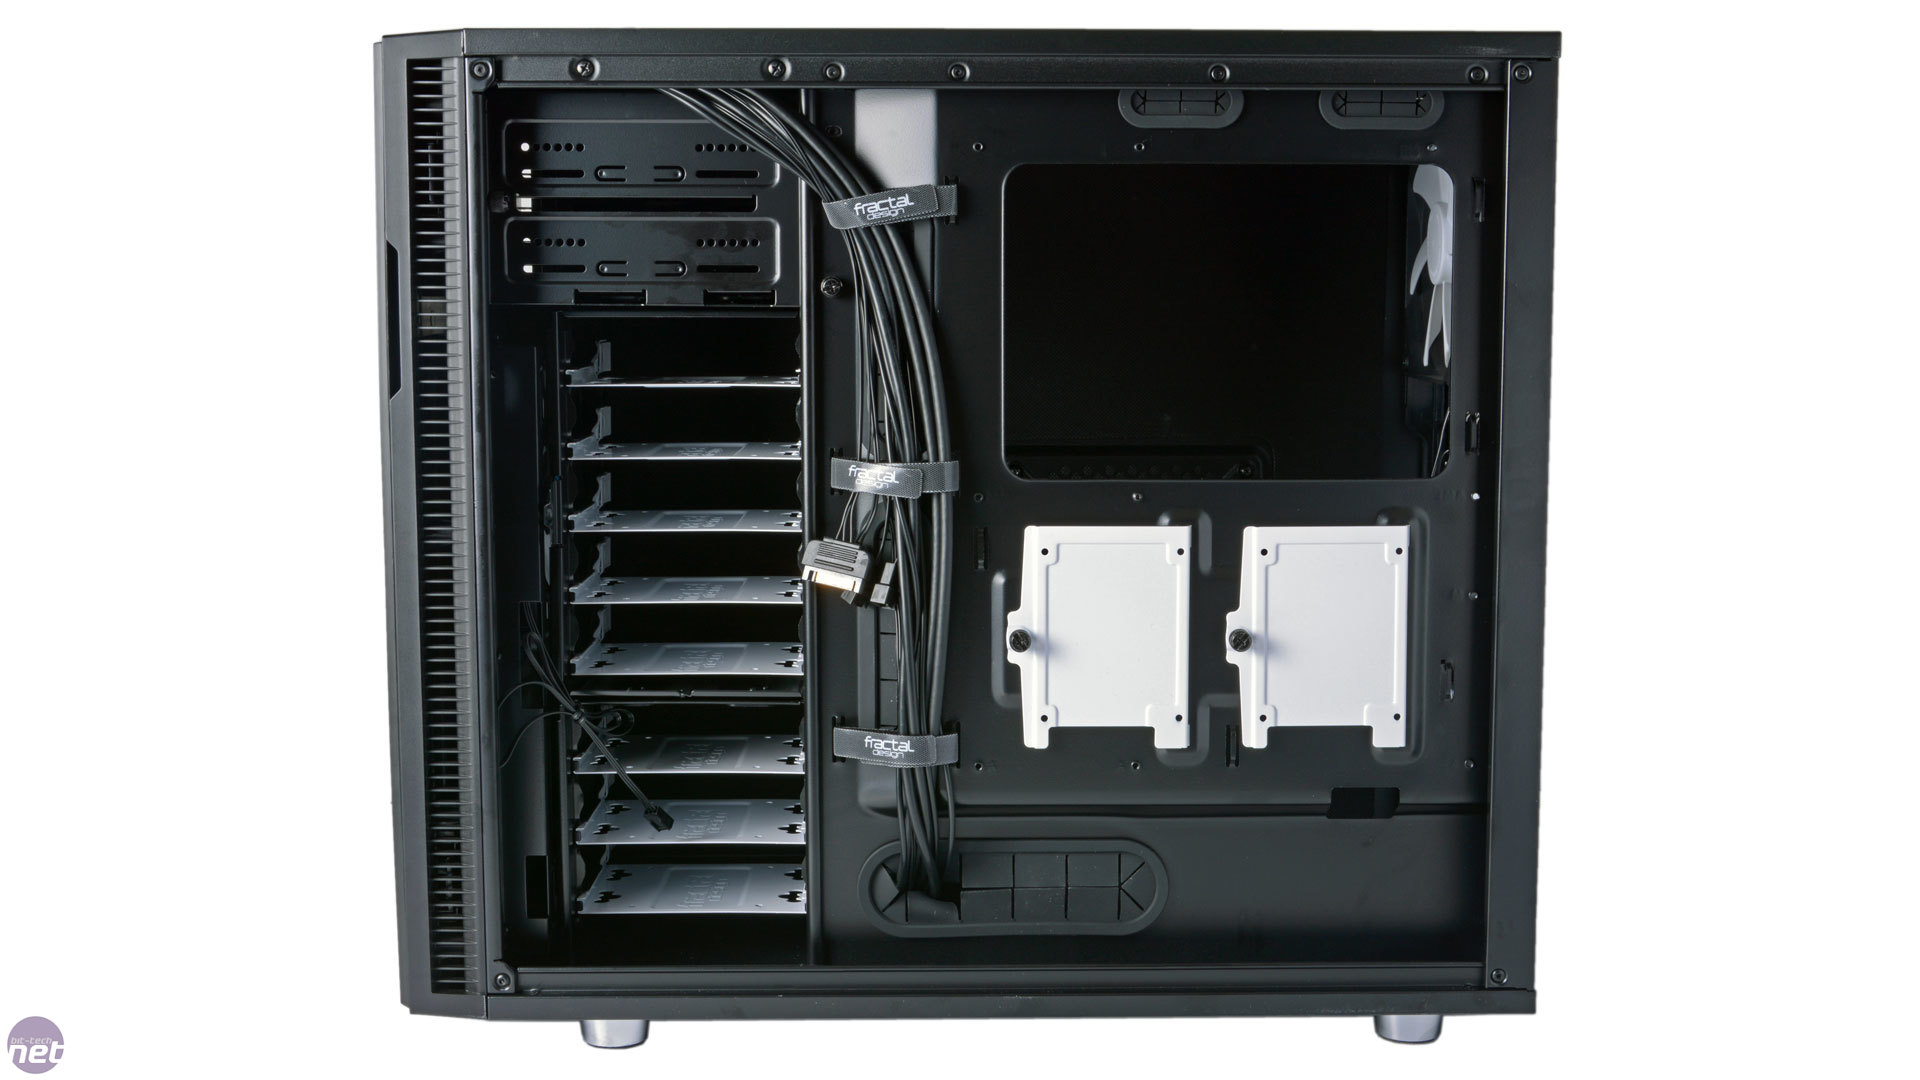
The motherboard tray is shaped such that the area directly behind the PSU has plenty of space for storing excess power cables. There are five main cable routing holes: one large one next to the PSU, two to the side of where the motherboard is installed and two above it. All of these have rubber grommets installed too and for the most part they're nice and secure. However, we have to take issue with the top holes – when trying the push our 8-pin CPU connector through the grommet came loose and was almost impossible to get back on, which was very frustrating. On the plus side, there are lots of hooks to tie down cables and there are also three pre-fixed Velcro straps. These are very handy for cable routing, as they allow you to tidy as you go without having to use half the world's supply of zip ties. They're also particularly beneficial should you have to remove or replace an individual cable.
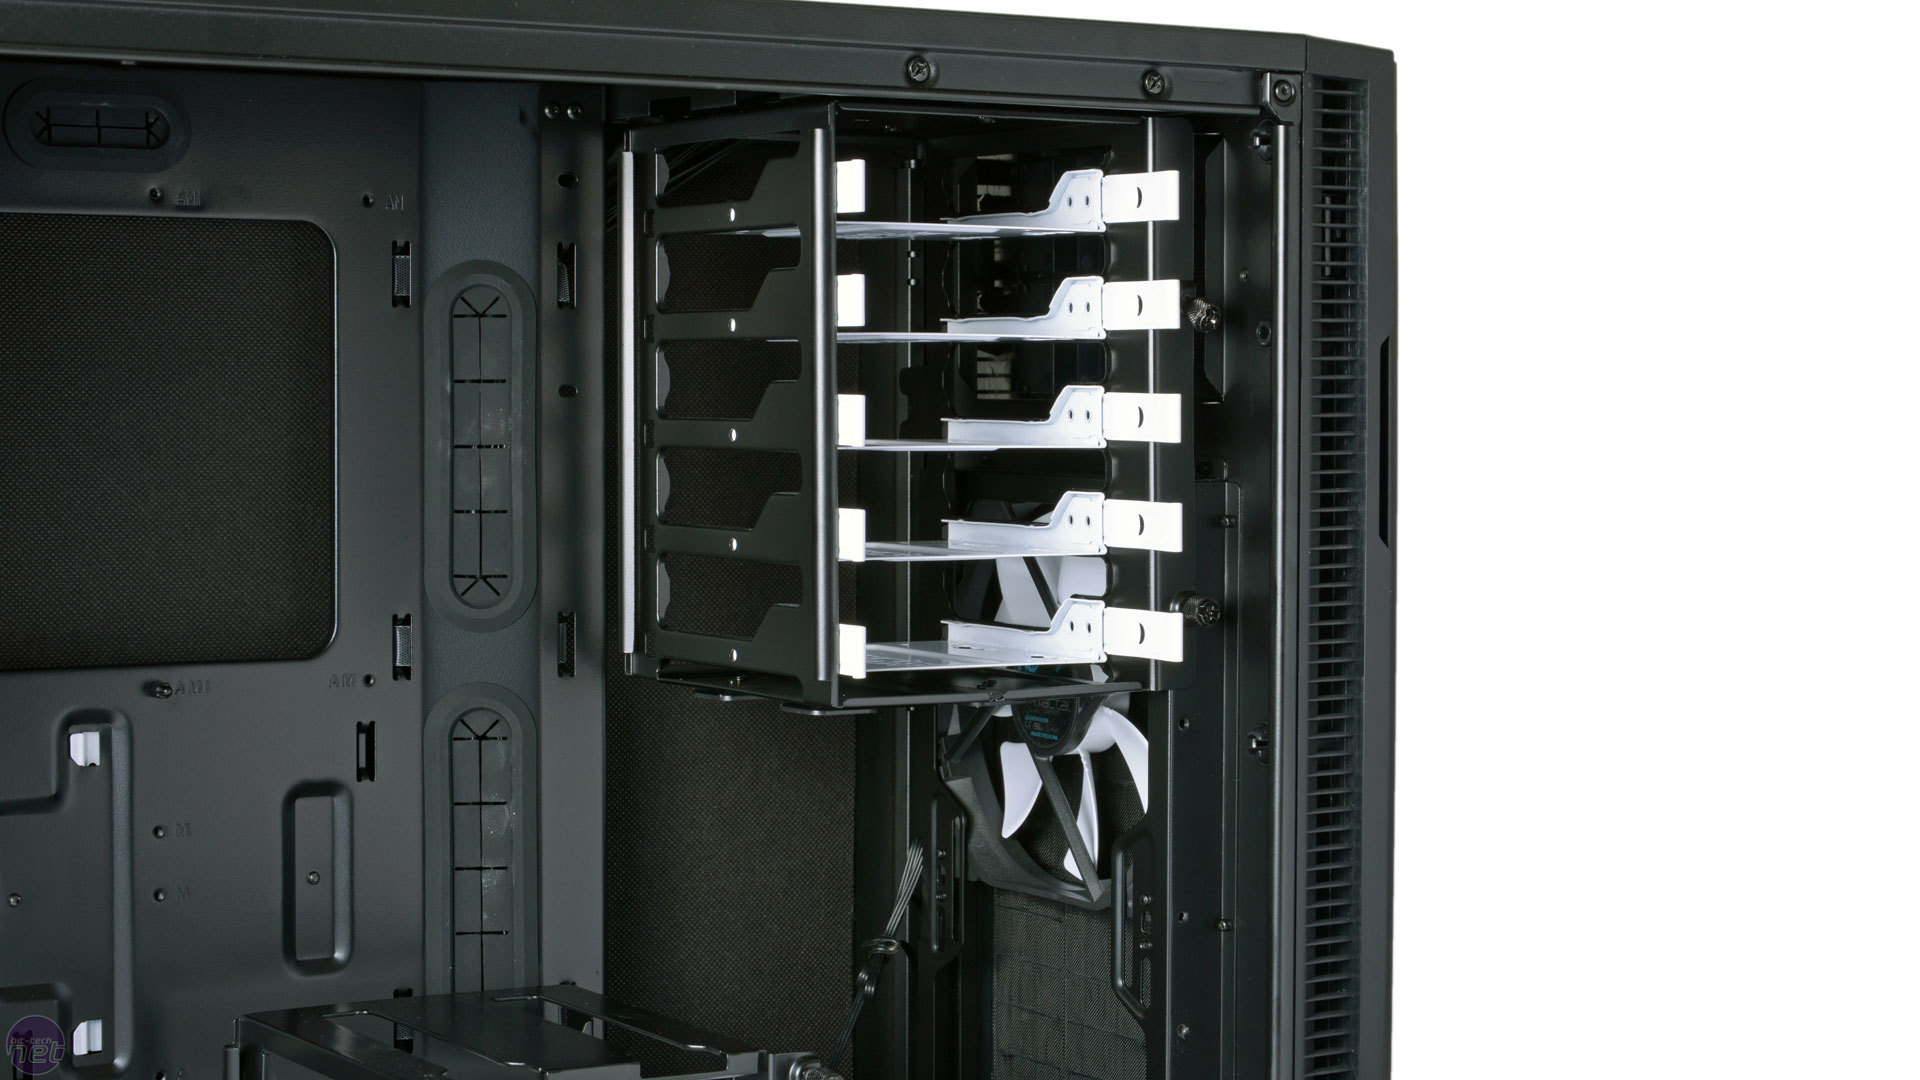
The eight main internal drive trays are divided between a top cage of five and a lower one of three. Both cages are removable using thumbscrews, and you can configure the storage layout in numerous ways to suit your needs. For example, you can rotate the top cage to better align it with case airflow, or secure it to the top or bottom of the chassis. Also, the bottom three-bay cage can be moved further into the case (closer to the PSU) using the fan mounts. All in all it's a very flexible design, and one that is much improved over that of the Define R4.
Click to enlarge
Water-coolers had a fair few options with the Define R4, but in the Define R5 there are plenty more, and this can only be a good thing. For example, now that there are three fan mounts in the roof, it can hold both 360mm and 420mm radiators, though you'll need to remove the ODD cage for these. Also, any 140mm-based radiators are limited to a depth of 55mm for radiator and fans i.e. a slimline radiator with a single set of fans. Conversely, the 120mm-based mounting holes are offset, so any such radiator set-ups can be installed in almost any thickness – the only thing that will interfere is your own RAM or CPU cooler.
At the front, Fractal says 360m and 280mm radiators are both viable with no depth limit (depending on where you place your HDD cages). Bear in mind, however, that the top part of a 360mm radiator cannot be properly secured and any fans attached to this bit will be less effective as they would be installed behind the optical drive covers. Finally, 240mm or 140mm radiators can be installed in the lower fan mounts. There is no depth limit here either; it entirely depends on what limits you create for yourself with your own hardware or the drive cages. All mid-tower cases have limitations and compromises when it comes to water-cooling, but the Define R5 handles them well and provides a very flexible space for liquid enthusiasts.
RELATED ARTICLES


MSI MPG Velox 100R Chassis Review
October 14 2021 | 15:04


Want to comment? Please log in.