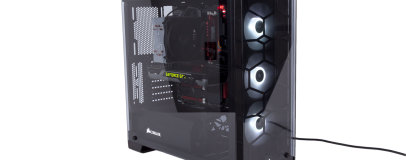
Interior
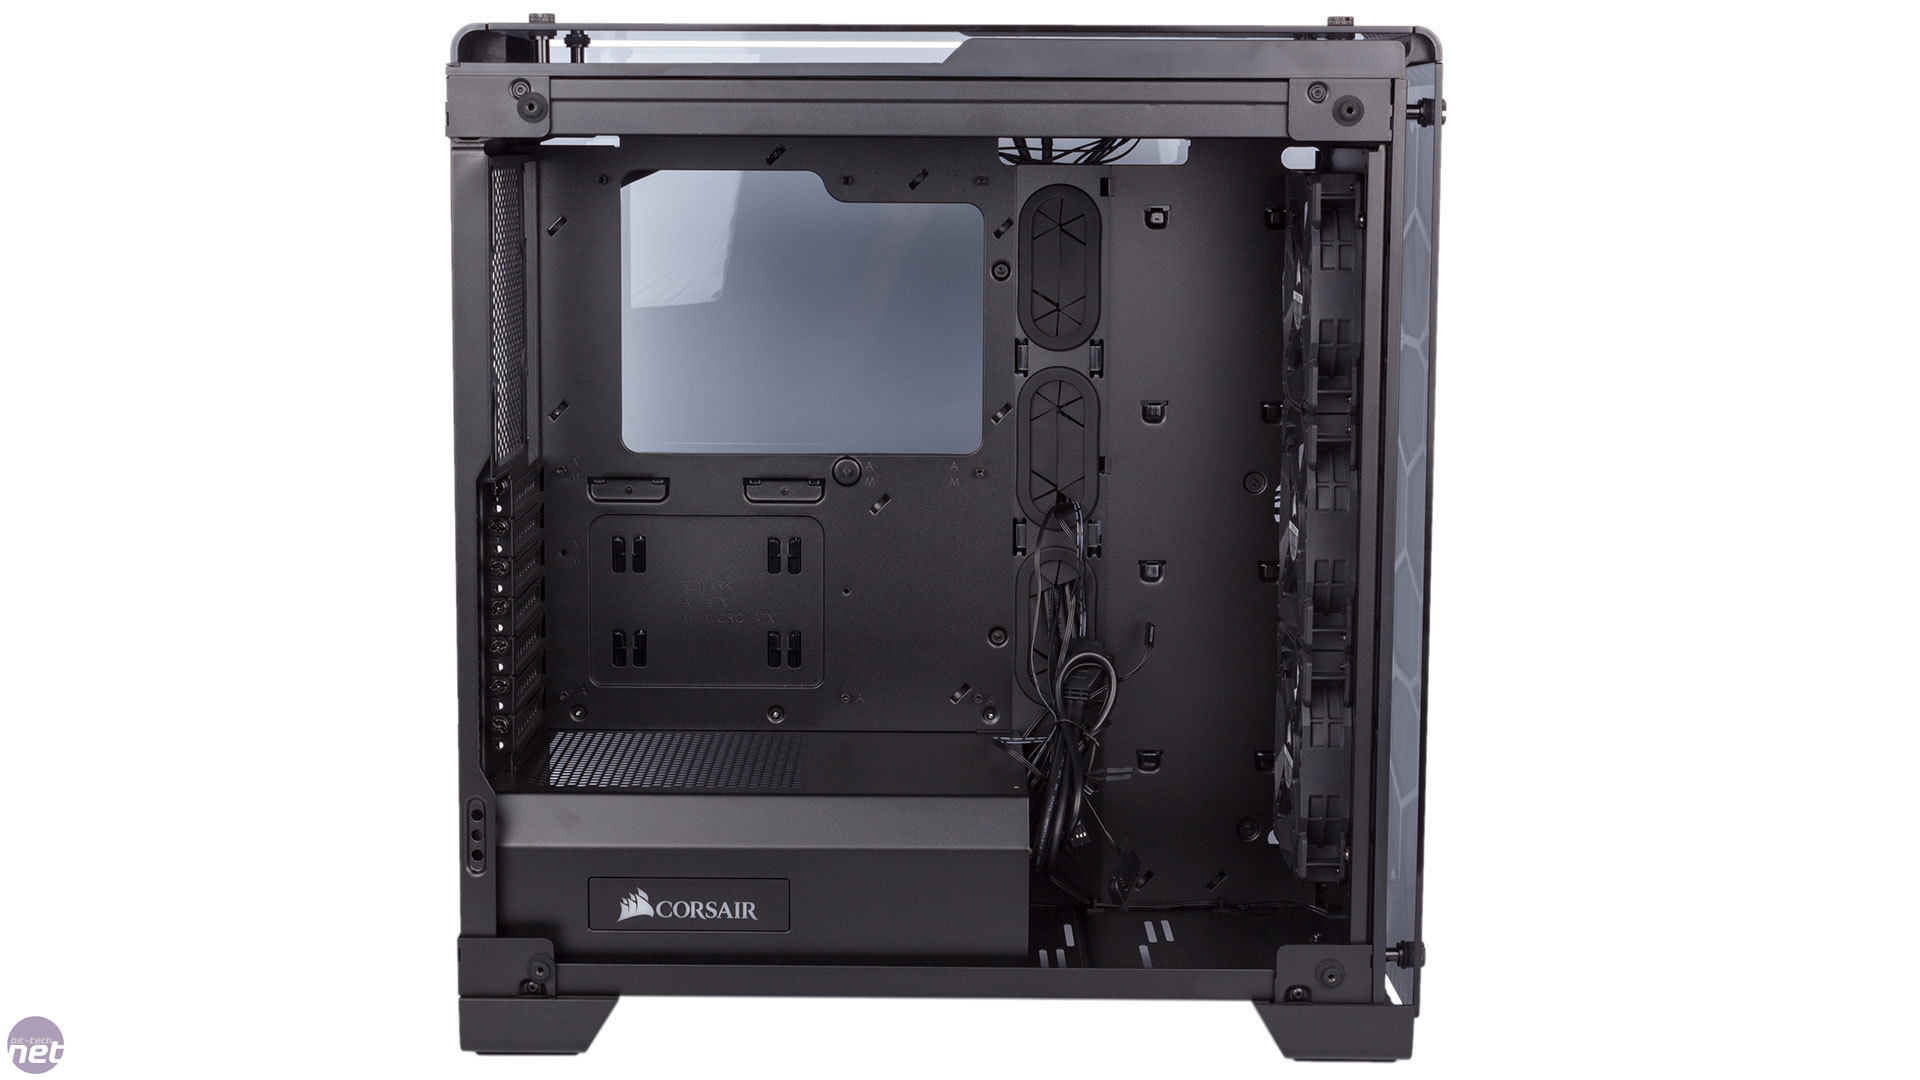
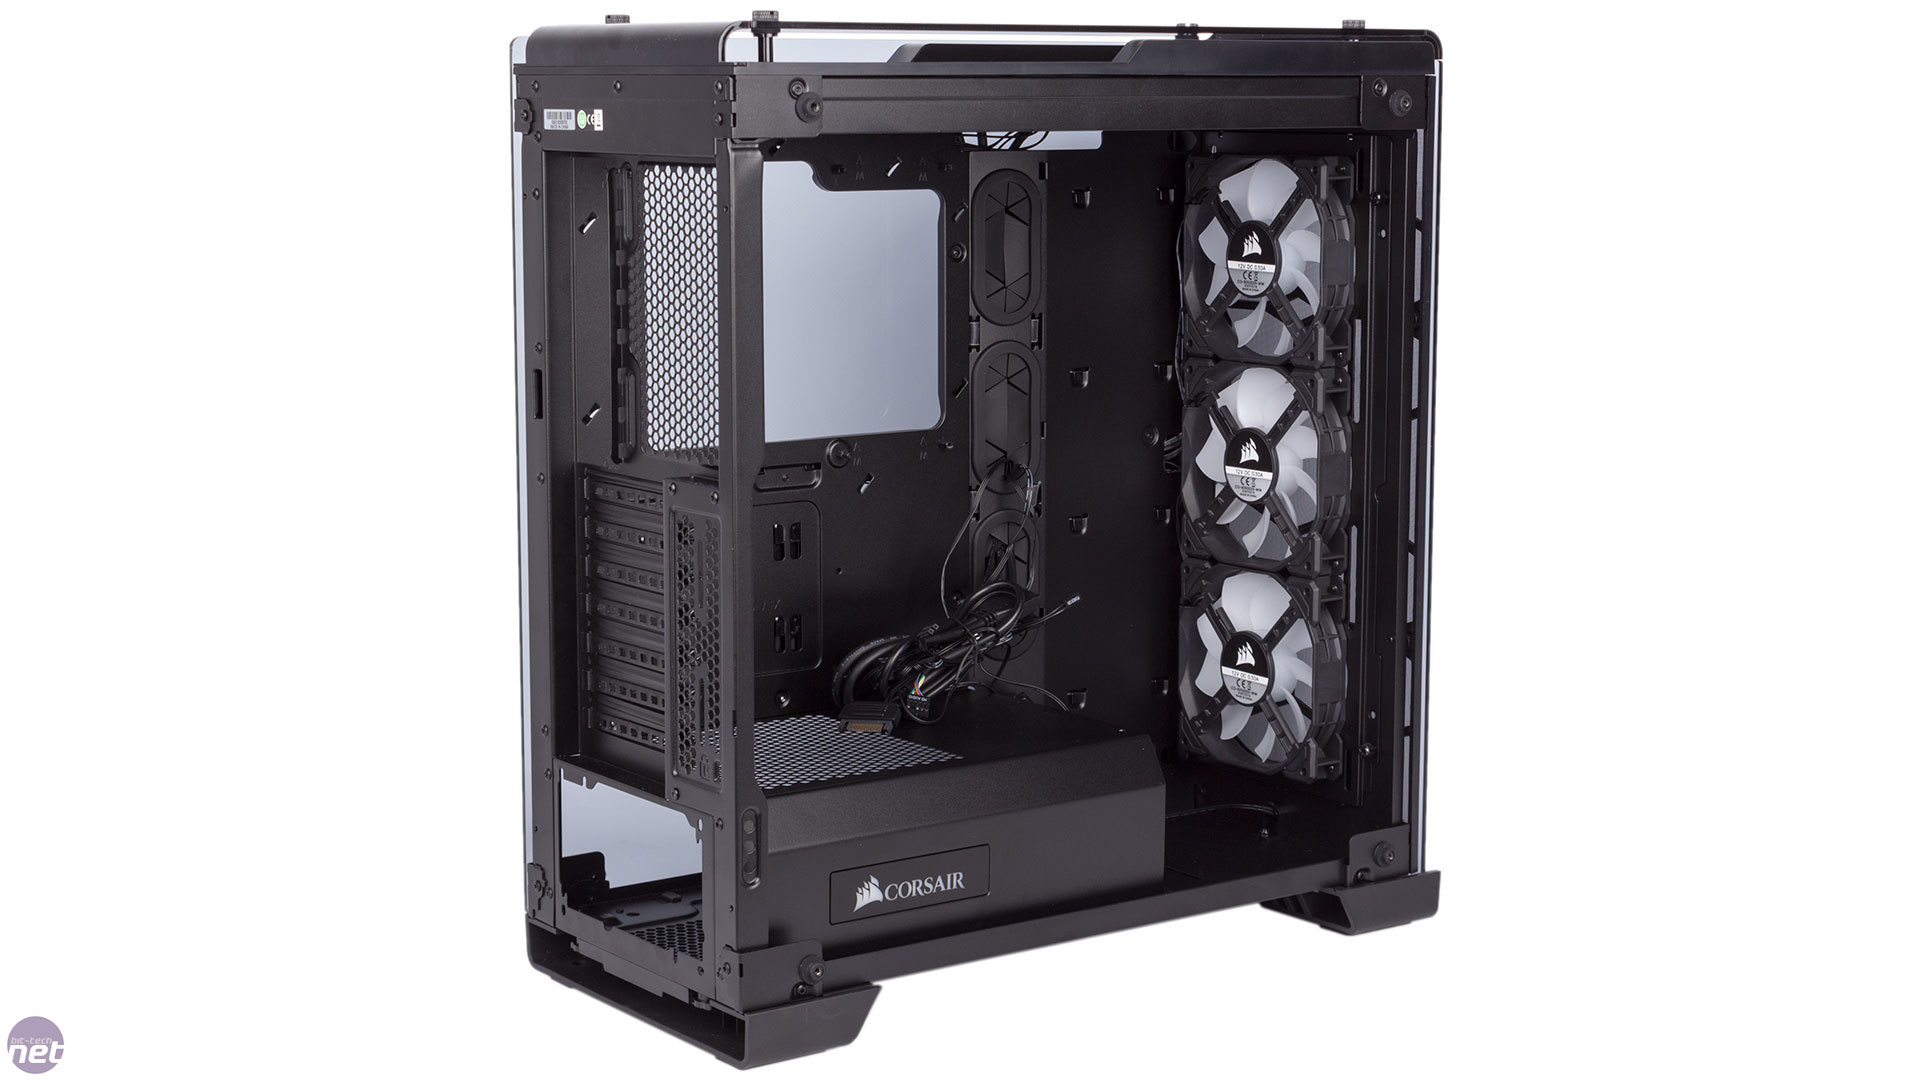
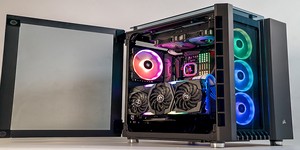
You don't exactly need to take the side panels off this case to get an idea of what's inside, but you'll certainly need to remove them for working on your build. Looking inside, we see that the 570X is another case that implements a PSU shroud and relegates drive mounting to the rear of the extended motherboard tray to help tidy your build and give airflow a direct path through the case and across your core components.The design also ensures that there is plenty of clearance for tall CPU coolers as well as long graphics cards and power supplies – high-end hardware poses little challenge for the 570X. One flaw, however, is that the PSU cover has no front wall, meaning it's easy for cables in this area to spill out into the front area where they would be easily visible through the left side panel – we had to keep tucking them back out of sight as we worked.

Click to enlarge
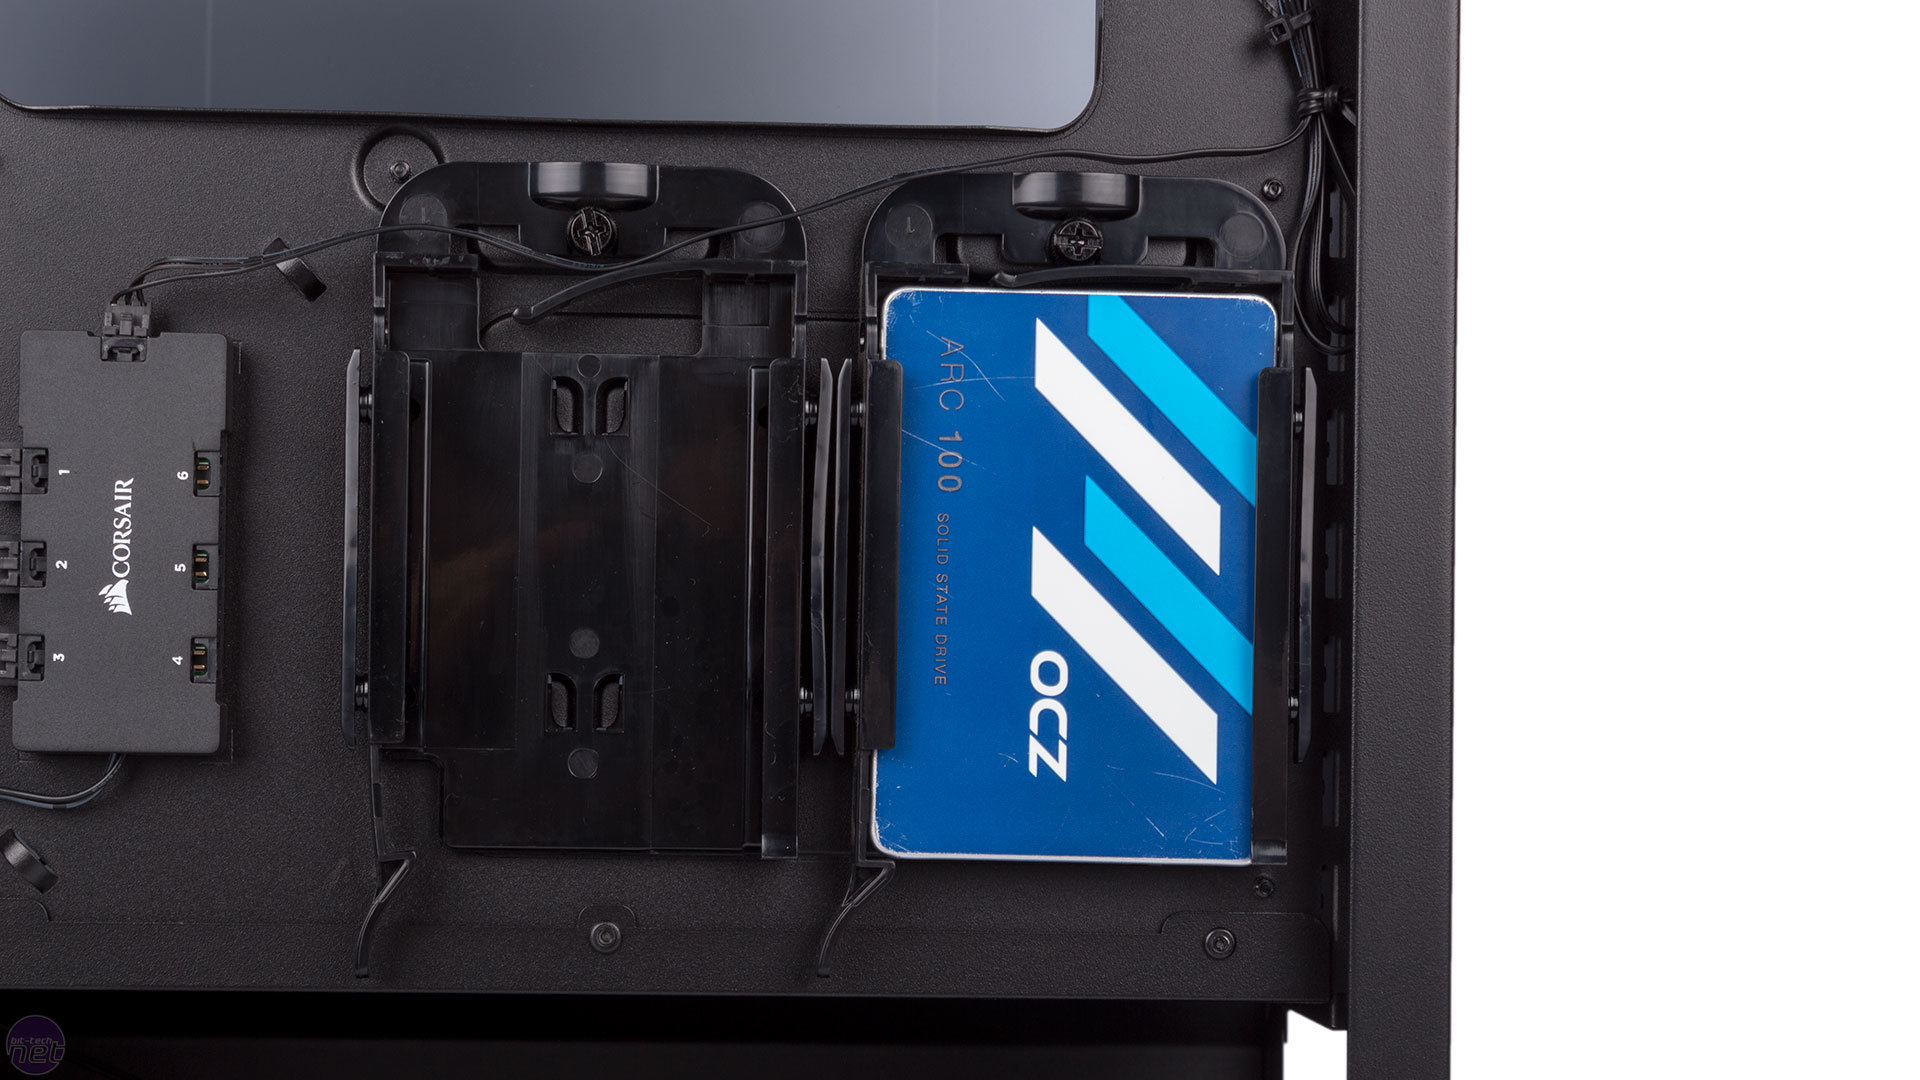
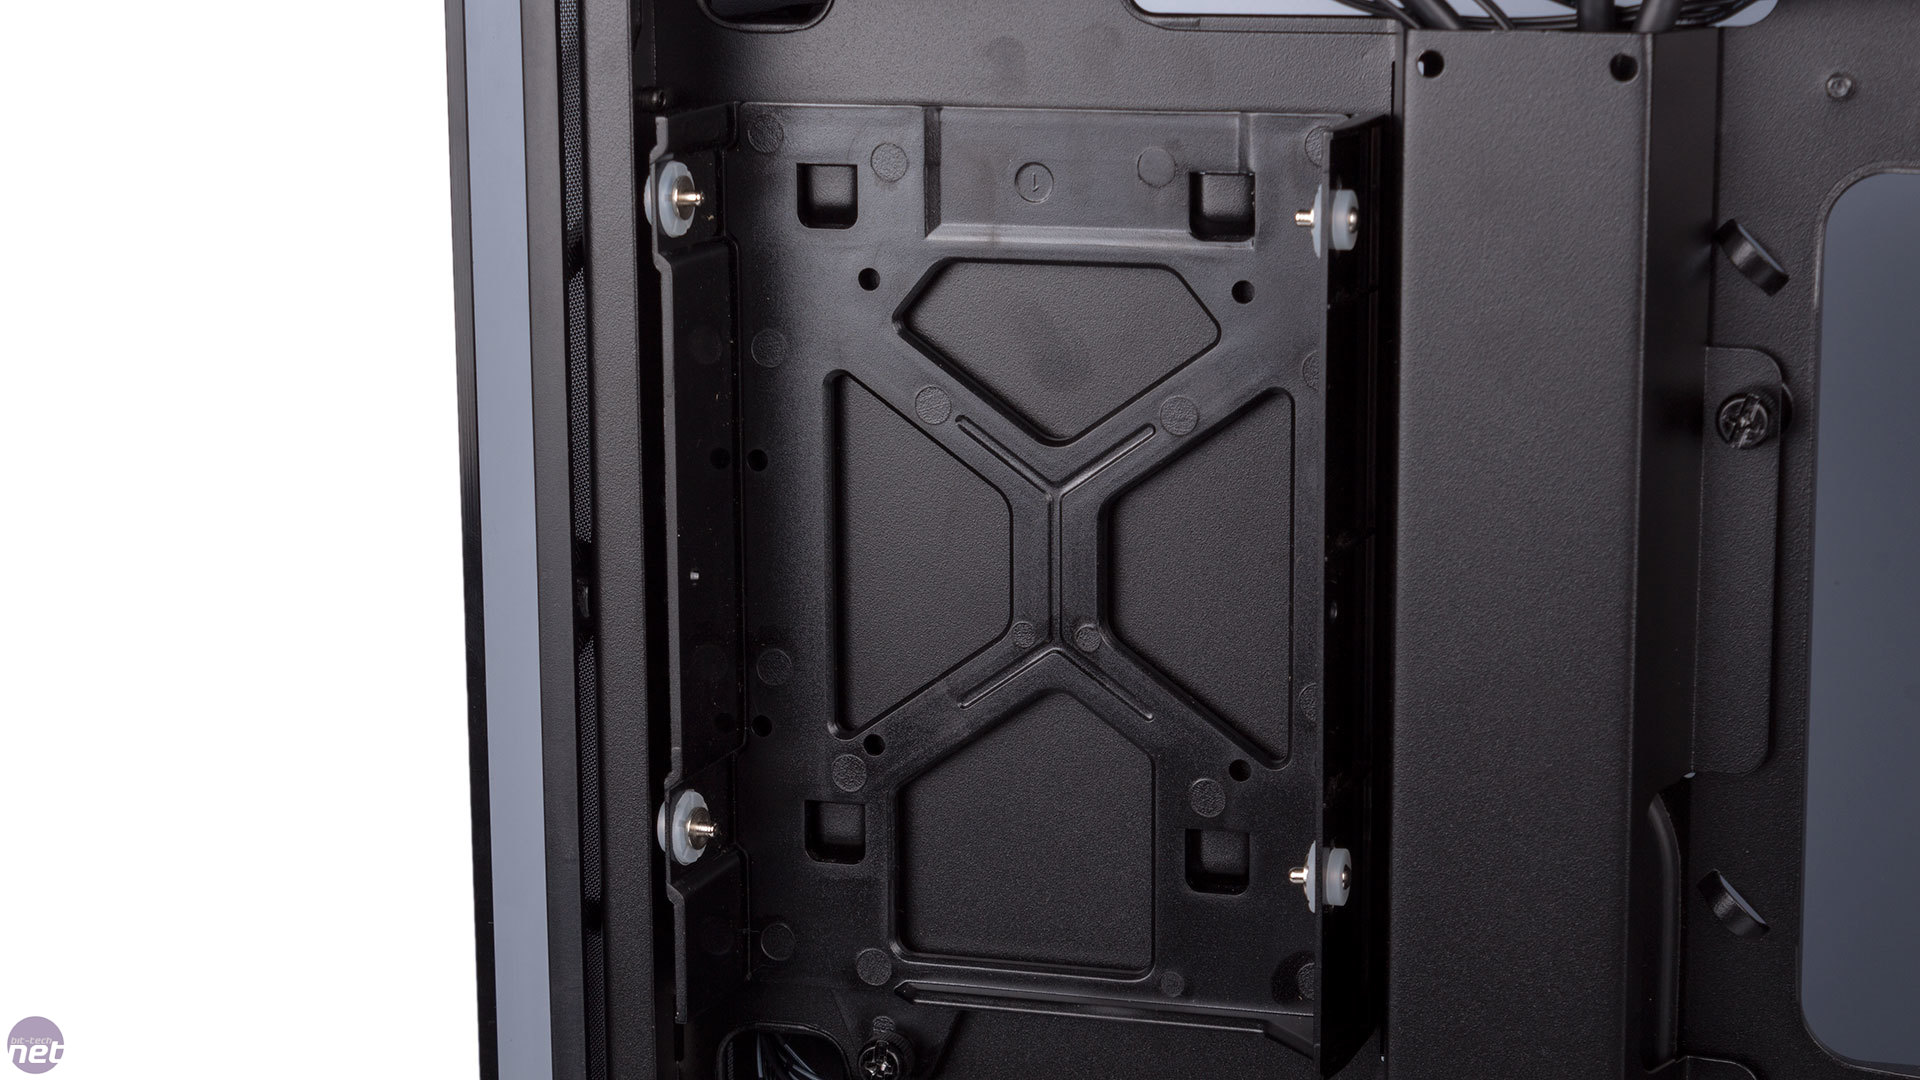
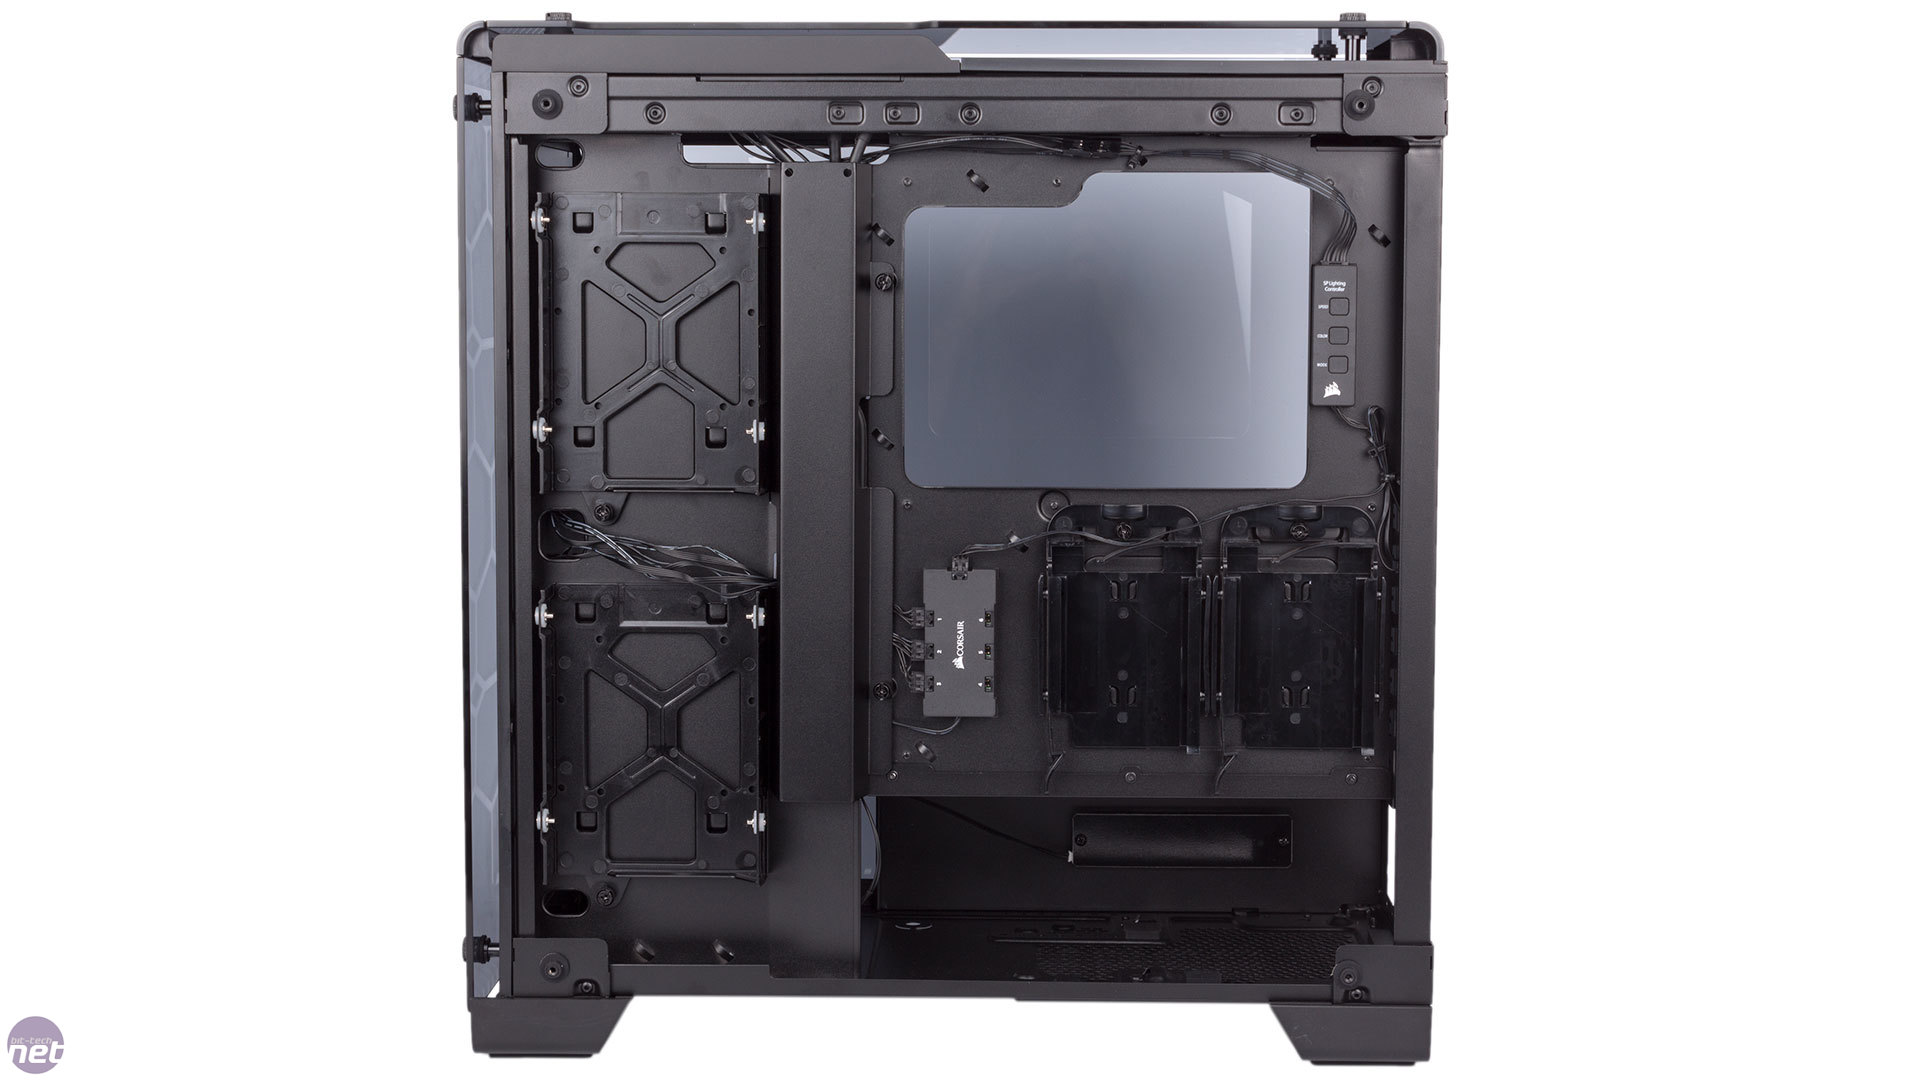
SSDs and hard drives are just as easy to install as the core components. The former can be slotted into one of the two tool-free plastic trays fitted directly behind the motherboard. A simple, springy locking arm keeps them secure and it works very well. Meanwhile, at the front of the case on this side you'll find the larger trays that can mount 3.5in hard disks (and also 2.5in drives if needs be). These trays are released by undoing a single thumbscrew, at which point the locking pins mean they too can be used tool-free.
Click to enlarge
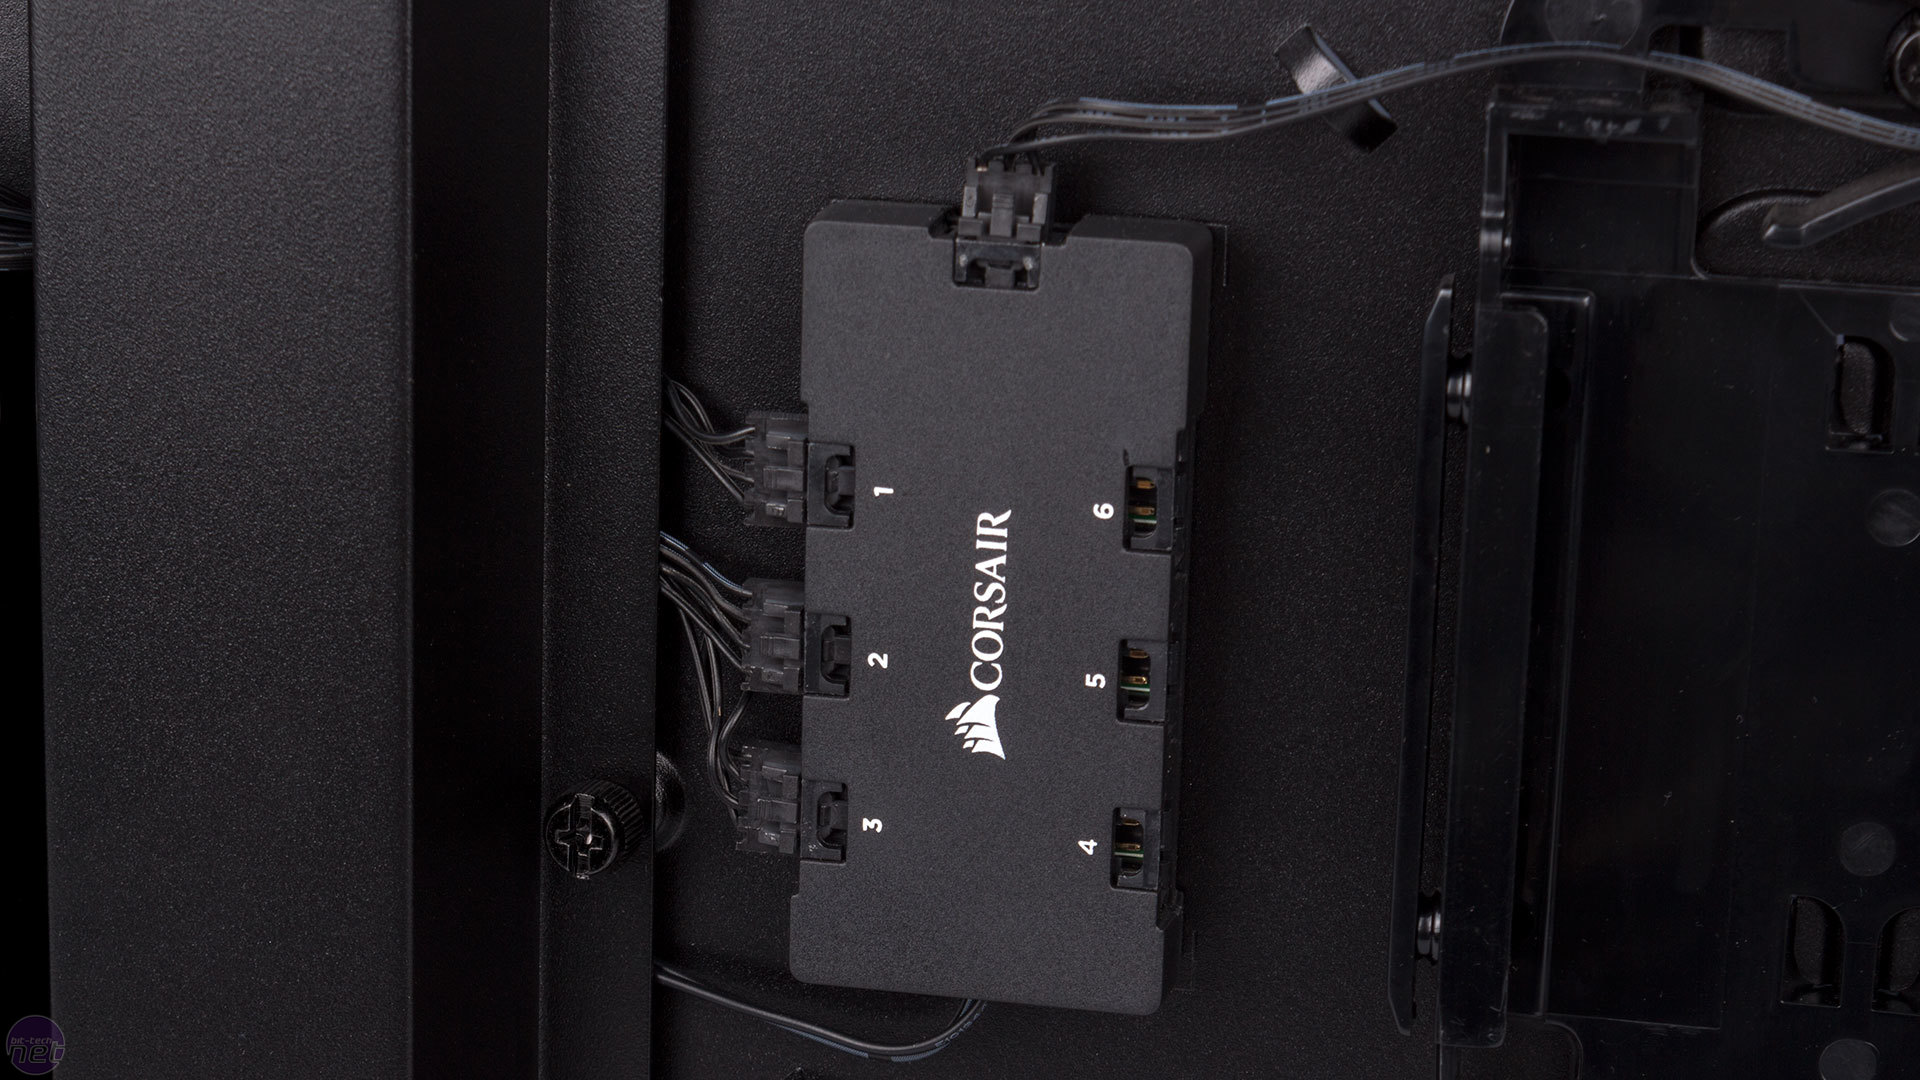
Another few bits you may have spotted behind the motherboard tray include a six-port fan hub and an SP120 RGB controller. The trio of front fans come connected to the hub, and the additional ports mean you can utilise all the remaining fan mounts with SP120 RGB fans. The hub is wired up to the controller, which is in turn connected to the front panel. If you prefer Corsair's HD120 RGB fans, you can swap the controller out for the HD120 RGB controller and it too will be compatible with the front panel buttons.
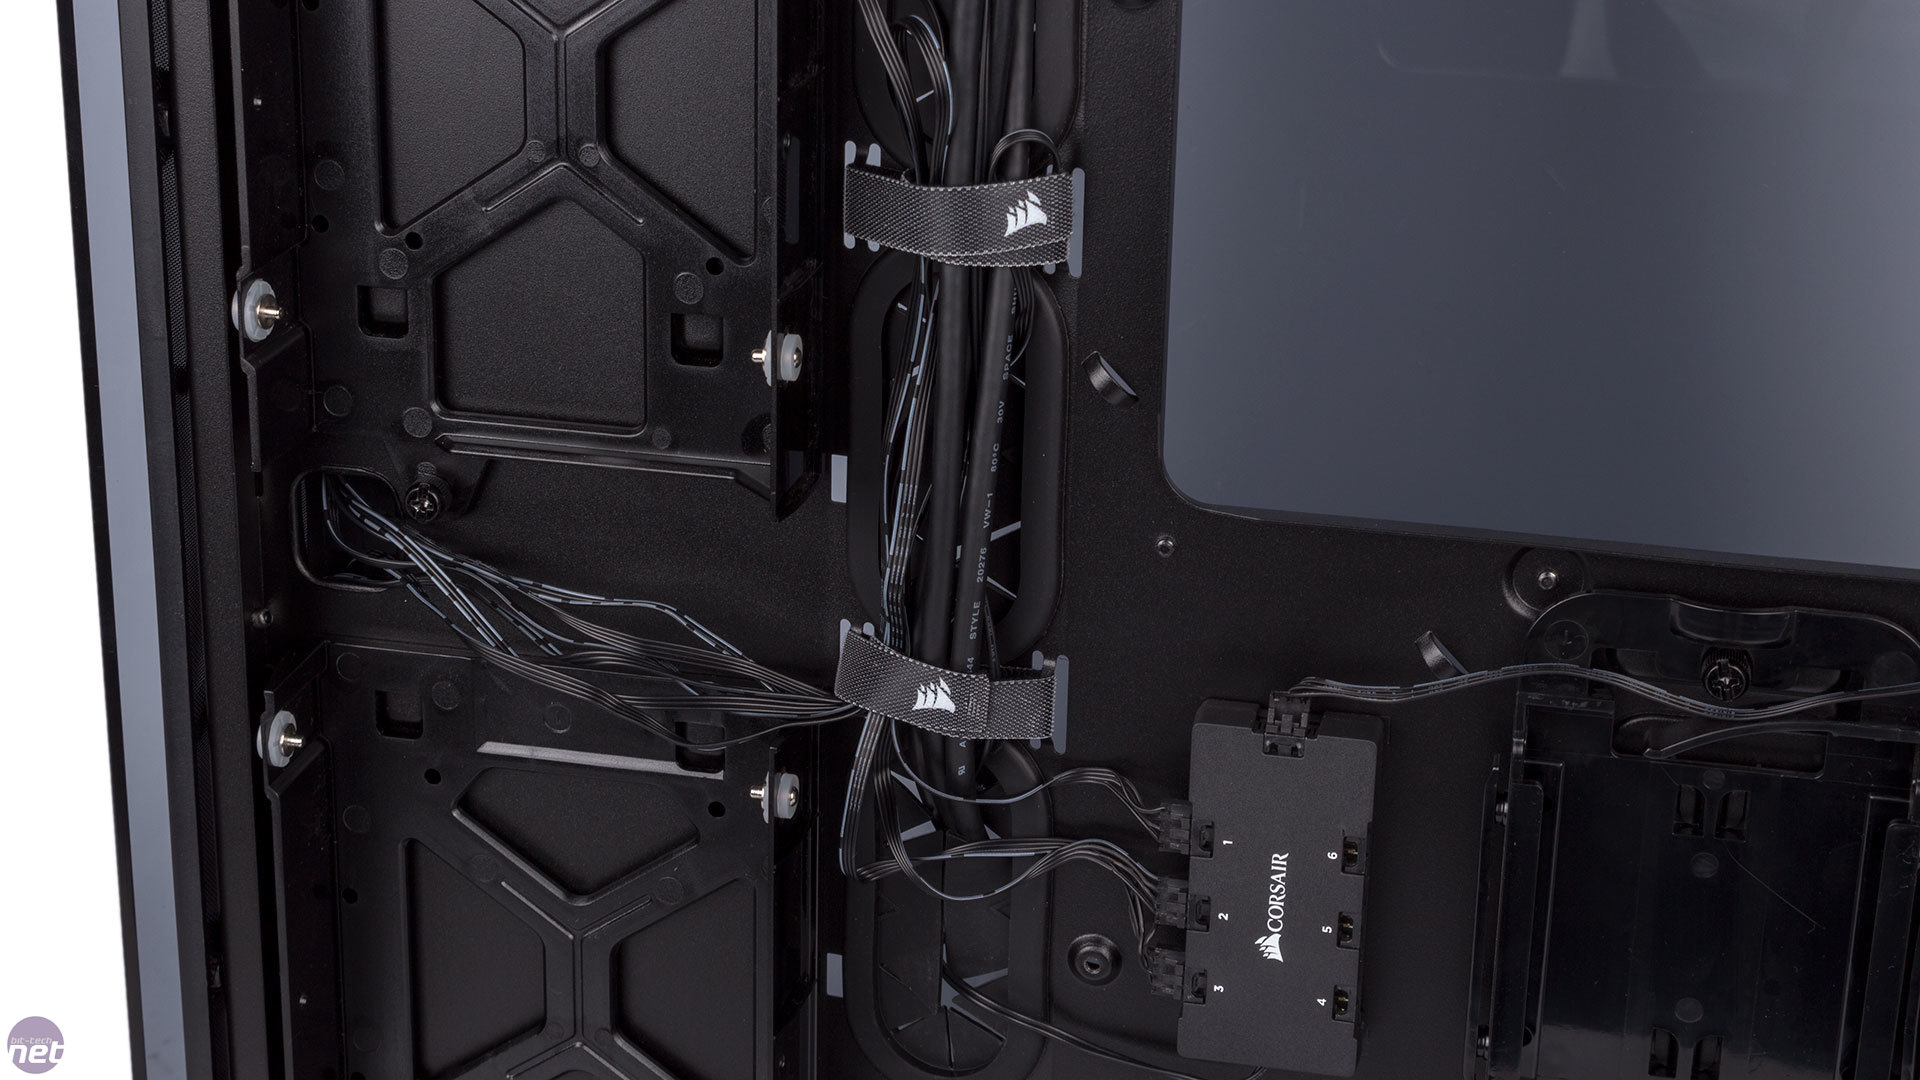
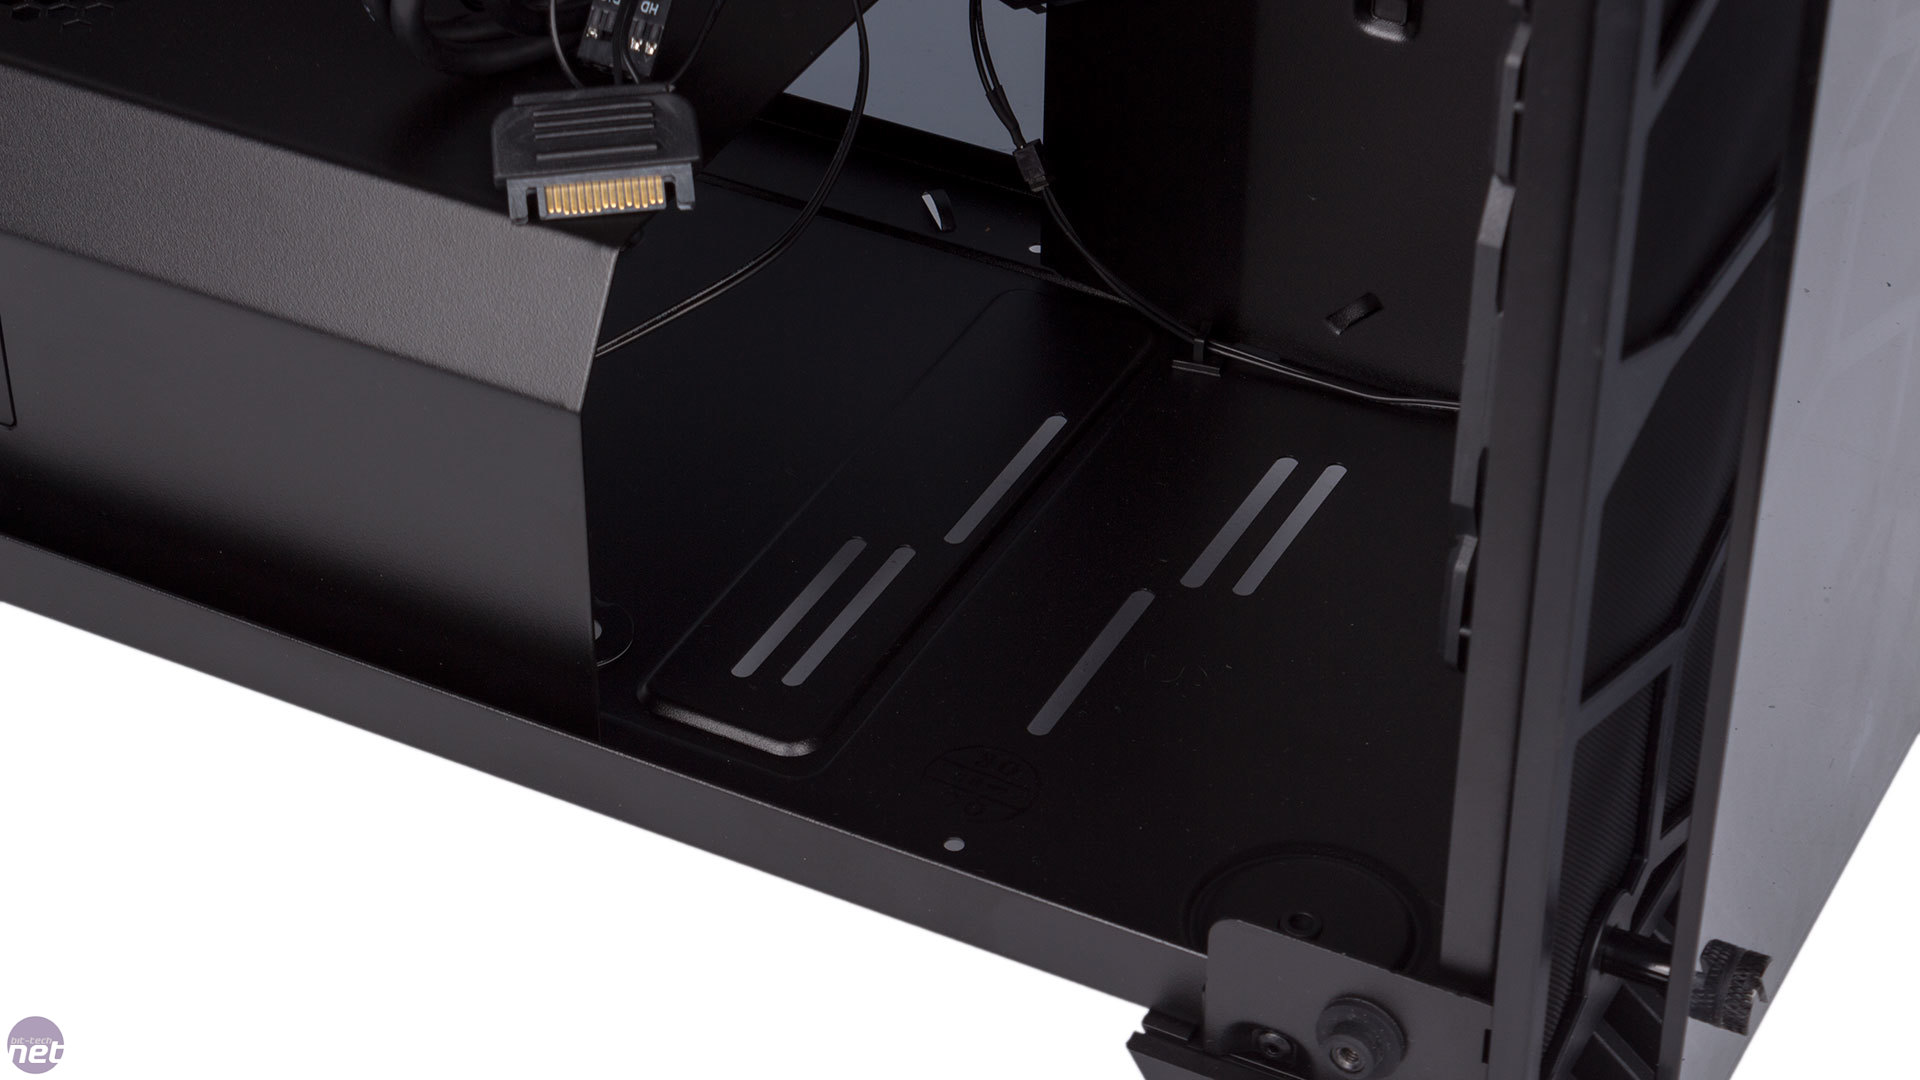
In most cases designed like this, you can stuff your cables into the areas beneath the PSU shroud and behind the motherboard tray and forget about them. Not so with the 570X, at least if you don't want to be embarrassed when your friends look through the tempered glass panel on this side. In an effort to help you here, Corsair has included a cover for the main cable routing channel, which is secured with a pair of thumbscrews. The idea is to remove it, route your cables along this main channel as usual and then cover them back up. Behind the cover, Velcro cable ties are used so you can secure cables as you go rather than trying to bunch everything together for a single zip tie, and a couple extra are supplied with the case too.
Click to enlarge
Sadly, however, in practice the system is flawed. The Velcro ties are awkwardly installed, looped back on themselves such that opening them is fussy and makes a bit of a mess. Also, space here is quite tight, especially once the motherboard cable is in play. Getting the cover back on was cumbersome as a result. That said, once it is back on things certainly look a lot neater than if it wasn't there. Meanwhile, rubber grommets keep things looking neat in the main chamber.
Click to enlarge
The cabling issues are compounded by the sheer number of internal cables you have to deal with. The PSU cover has a side-facing logo that's backlit by a white LED (not RGB, just like the front-facing sails logo which runs off the power LED header), and this requires its own SATA power connection. A second such connection is also needed to give juice to the fan lighting controller and, annoyingly, each fan still requires its own connection to a 3-pin fan header for power. All told, wiring up the 570X felt more laborious than it should have done, but at least when it's done properly you are assured of decent results.
Click to enlarge
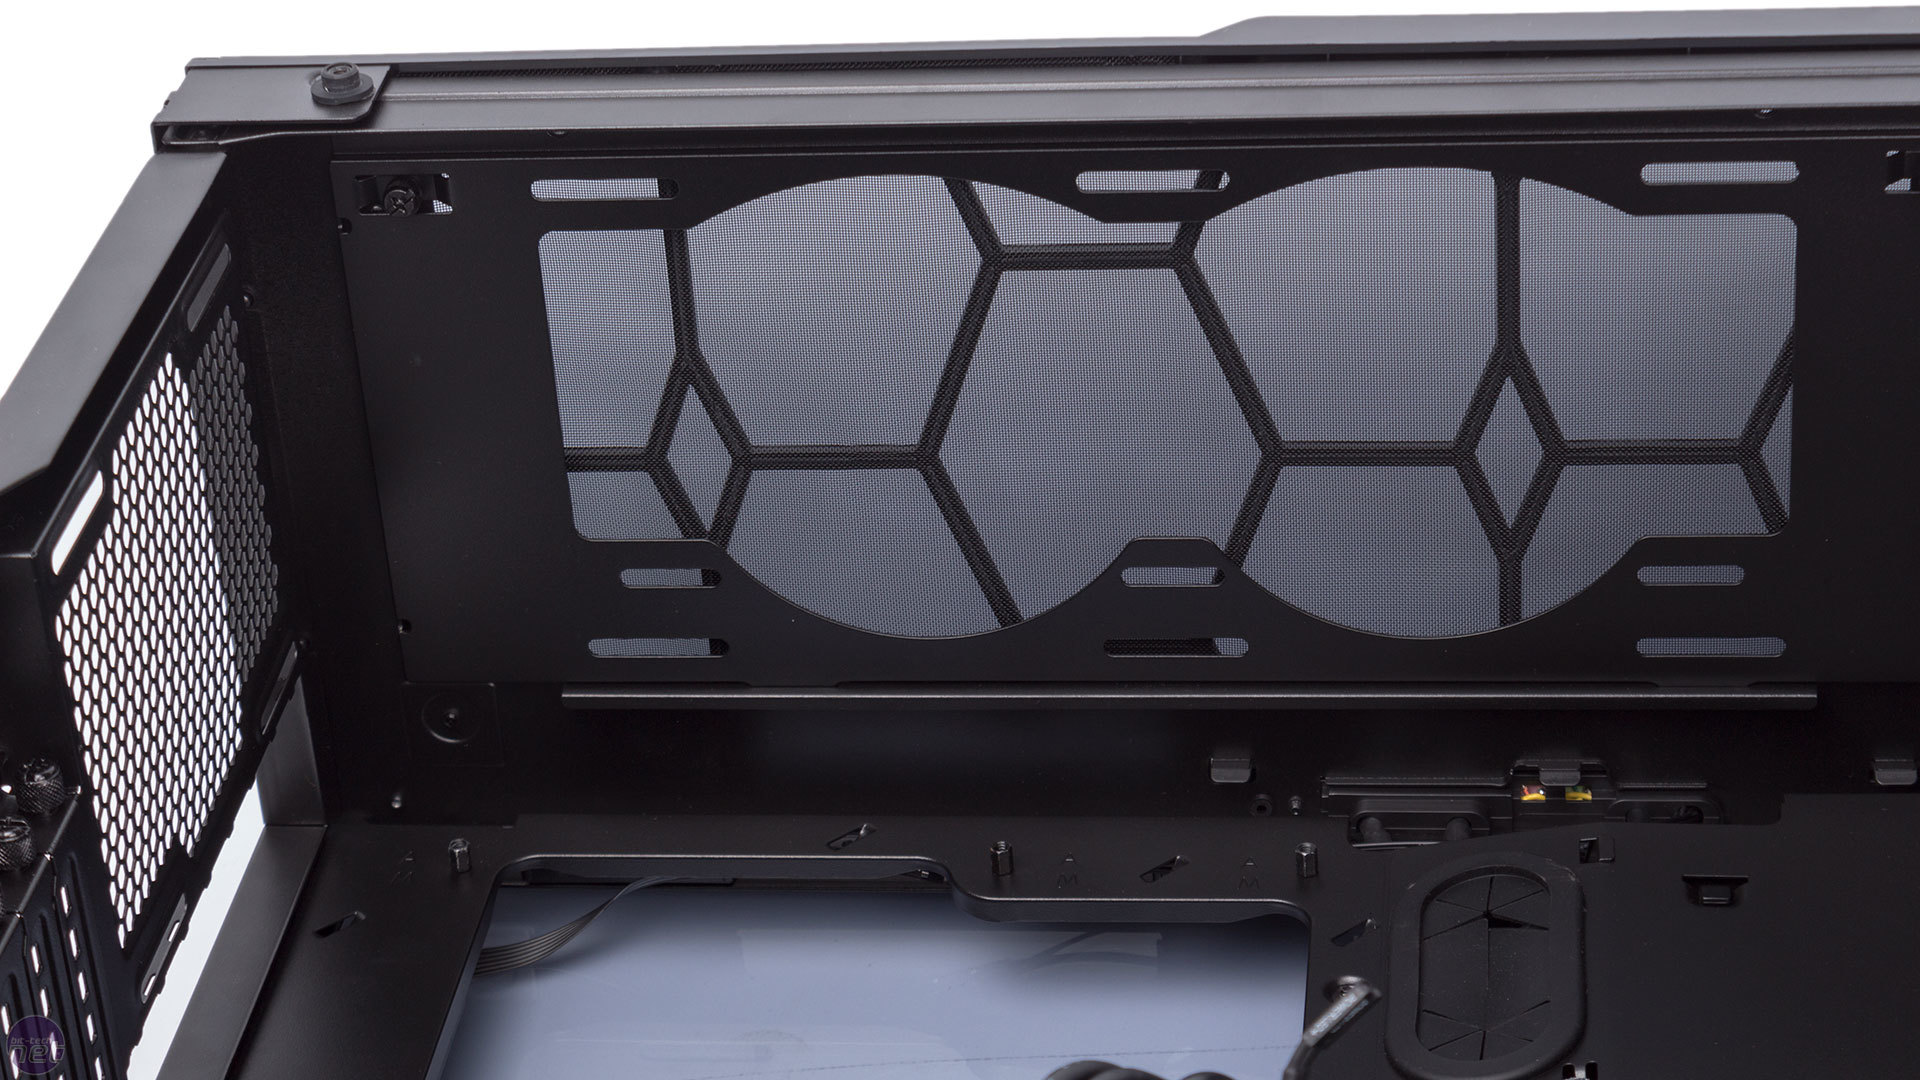
A case like this is almost begging to be water-cooled. In the roof, 240mm radiators can be installed in the offset mounting struts, while the front expands your options to 280mm or even 360mm, and there's plenty of depth to play with too. Pump mounting holes are also cut into the floor of the chassis, lending a helping hand to anyone looking to play with custom loops. The real bonus, however, is the fact that the front and roof fan brackets are fully removable, allowing you to work on your fans and radiators away from the confines of the chassis before reinstalling them all as a single block.


MSI MPG Velox 100R Chassis Review
October 14 2021 | 15:04


Want to comment? Please log in.