'Stealthing' the Motherboard
Way back when I was planning and visualising the case, I realised I would need to do something about the motherboard. There seemed little point in modding all these internal components only to mess it up with a raw ugly PCB dominating the case. Also, with the amount of steel hoses used in the project, there was a very real risk of accidental contact shorting it out. To deal with both problems I came up with the idea to 'stealth' both the motherboard and PCI cards by fabricating covers out of acrylic which I would then later get chromed. Why acrylic and not metal? Well, I had the material handy, I was used to working with it and I could bend it a lot easier using a heatgun etc than I could bend, say, aluminium without owning a bending brake; and for what I had in mind, I needed the straightest, most accurate bends I could get!
The whole 'covers' concept was something that had to be incorporated from the beginning, with test-fitting and mock-ups tried out in the case every step of the way. I had to consider many factors including: heat, airflow, cable interface, electrical insulation, looks, practicalities and fitting it all in! Fortunately, having a totally water-cooled system was going to make things a whole lot easier. I did tackle both the PCI cards cover and the motherboard cover simultaneously, but I'll start with the motherboard first. This is what I ended up with:
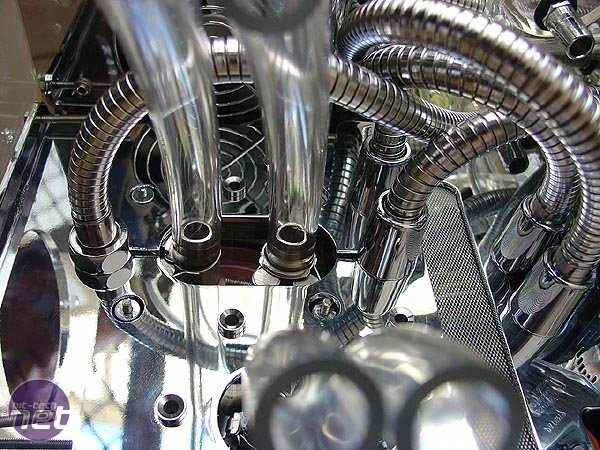
The motherboard cover from the front. All the shower hoses carrying the wiring screw into threaded fittings. From L-R: Serial for VFD; 12vP4 (top); 9800Pro/1 x SATA HDD Power (below); ATX Power (split into 2 cables).
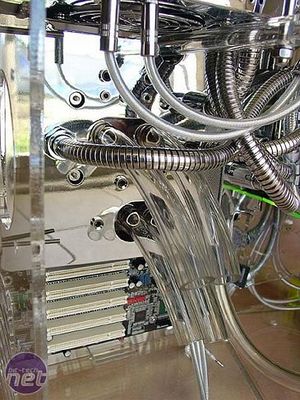
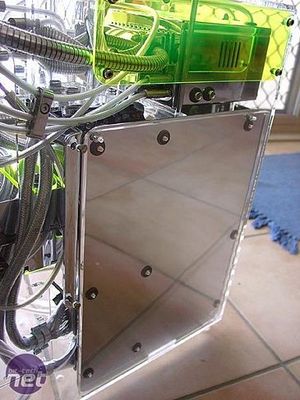
There are openings for the watercooling hoses, a vent over the RAM and the whole cover is open at the top and bottom to allow some airflow. The back of the motherboard is concealed by a polished chrome panel.
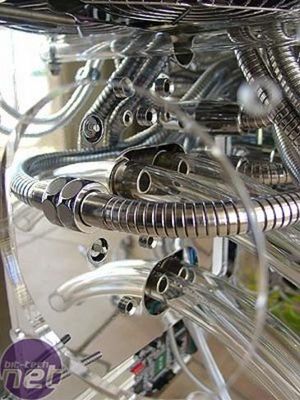
It's all very shiny! One of the cool things about chrome covers is how they reflect like a mirror. In this project they create an illusion that there are more cables and hoses that there really are (though there are still a lot!). Plus the chrome reflects any lights and glowing panels inside the case. Anyway, here's how I did it...
Making the Front Cover
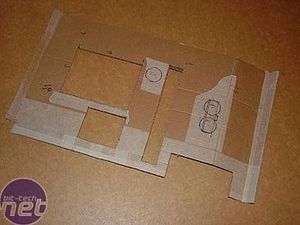
I started right back in the planning stages by making up cardboard models...
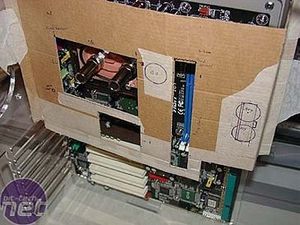
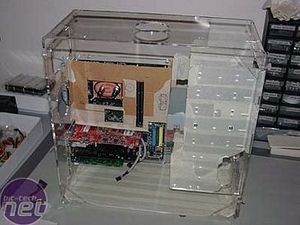
...and test fitting. I would add and remove sections of the model, using masking tape to attach the added pieces. Of course, it had to fit with the drives and PCI cards installed!
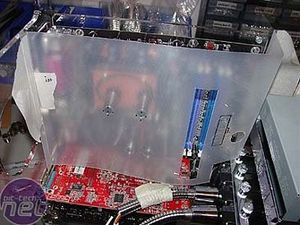
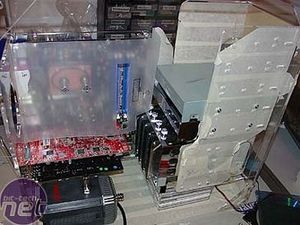
I even made a model out of a thin plastic sheet. Hole positions and lining up with sockets on the motherboard were critical. I'll do a 'fast-forward-in-time-oops-I-lost-one-of-my-photo-disks-how-embarrasing'...(well, it was nearly a year ago)...
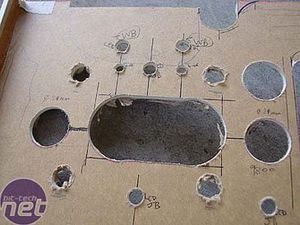
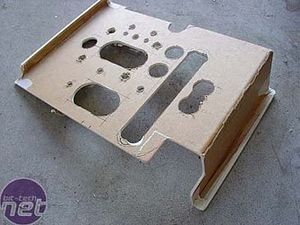
...and on to the cover itself. This was ruled up, cut out using a hacksaw, holesaws and step drill. I folded the ends by clamping the piece using planks of wood and heating with a heatgun. The same techniques I used in previous articles. For an in-depth guide on working with and shaping acrylics, take a look at some of the work by eddie the dane and Linear plus other modding articles featured on bit-tech.net. I drew on these as the basis for most of the acrylic fabrication techniques used in this project.
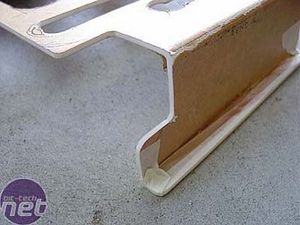
Even by hand, it's still possible to get nice, sharp bends!
Way back when I was planning and visualising the case, I realised I would need to do something about the motherboard. There seemed little point in modding all these internal components only to mess it up with a raw ugly PCB dominating the case. Also, with the amount of steel hoses used in the project, there was a very real risk of accidental contact shorting it out. To deal with both problems I came up with the idea to 'stealth' both the motherboard and PCI cards by fabricating covers out of acrylic which I would then later get chromed. Why acrylic and not metal? Well, I had the material handy, I was used to working with it and I could bend it a lot easier using a heatgun etc than I could bend, say, aluminium without owning a bending brake; and for what I had in mind, I needed the straightest, most accurate bends I could get!
The whole 'covers' concept was something that had to be incorporated from the beginning, with test-fitting and mock-ups tried out in the case every step of the way. I had to consider many factors including: heat, airflow, cable interface, electrical insulation, looks, practicalities and fitting it all in! Fortunately, having a totally water-cooled system was going to make things a whole lot easier. I did tackle both the PCI cards cover and the motherboard cover simultaneously, but I'll start with the motherboard first. This is what I ended up with:

The motherboard cover from the front. All the shower hoses carrying the wiring screw into threaded fittings. From L-R: Serial for VFD; 12vP4 (top); 9800Pro/1 x SATA HDD Power (below); ATX Power (split into 2 cables).


There are openings for the watercooling hoses, a vent over the RAM and the whole cover is open at the top and bottom to allow some airflow. The back of the motherboard is concealed by a polished chrome panel.

It's all very shiny! One of the cool things about chrome covers is how they reflect like a mirror. In this project they create an illusion that there are more cables and hoses that there really are (though there are still a lot!). Plus the chrome reflects any lights and glowing panels inside the case. Anyway, here's how I did it...
Making the Front Cover

I started right back in the planning stages by making up cardboard models...


...and test fitting. I would add and remove sections of the model, using masking tape to attach the added pieces. Of course, it had to fit with the drives and PCI cards installed!


I even made a model out of a thin plastic sheet. Hole positions and lining up with sockets on the motherboard were critical. I'll do a 'fast-forward-in-time-oops-I-lost-one-of-my-photo-disks-how-embarrasing'...(well, it was nearly a year ago)...


...and on to the cover itself. This was ruled up, cut out using a hacksaw, holesaws and step drill. I folded the ends by clamping the piece using planks of wood and heating with a heatgun. The same techniques I used in previous articles. For an in-depth guide on working with and shaping acrylics, take a look at some of the work by eddie the dane and Linear plus other modding articles featured on bit-tech.net. I drew on these as the basis for most of the acrylic fabrication techniques used in this project.

Even by hand, it's still possible to get nice, sharp bends!

MSI MPG Velox 100R Chassis Review
October 14 2021 | 15:04


Want to comment? Please log in.