
Taking Sides and H2O...
Side Panel Mods
The side panel was the very last thing to be modded. While working on the pump I knew I wanted to position it so that it sat flush with the outside of the side panel. I knew also that I would need to cut a section out to accommodate it. It was only in the last 2 weeks of the project that I got inspired to create another neon green piece to cover this section after several people posted in the forums suggesting I should do more to dress up the sides. That got me thinking, and one thing led to another...
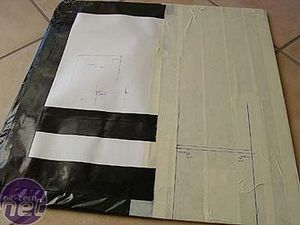
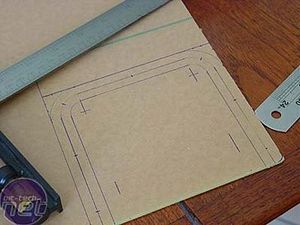
The side panel - all masked and ruled up, ready to go.
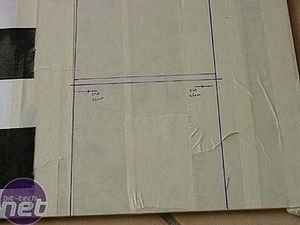
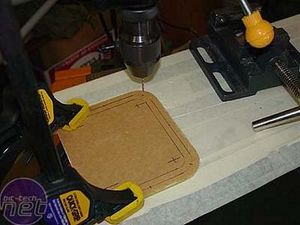
A closer look showing the centre marks to indicate where the 22mm holesaw would cut. I opted to use a holesaw to round the inside corners and give my hacksaw a starting point. I drilled small pilot holes first and then used the larger-bit holesaw to finish.
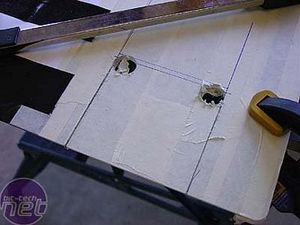
10 minutes with the hacksaw and I had the section out. I ruled up a piece of neon green perspex...
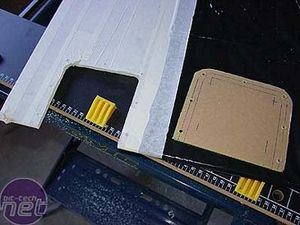
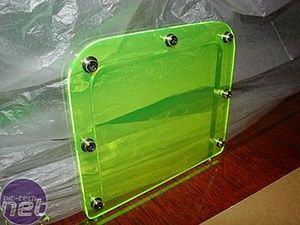
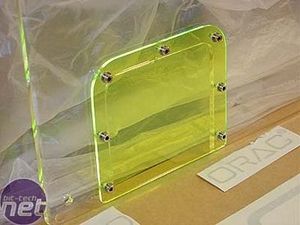
...cut it out with the hacksaw, filed the corners, sanded and polished the edges before clamping it to the side panel and drilling pilot holes through both at the same time. I then drilled 5mm holes in the perspex piece and drilled 3mm holes in the side panel which were tapped out to M4 size.
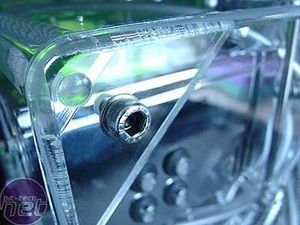
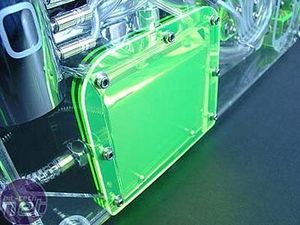
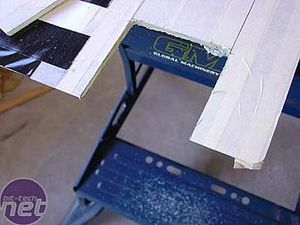
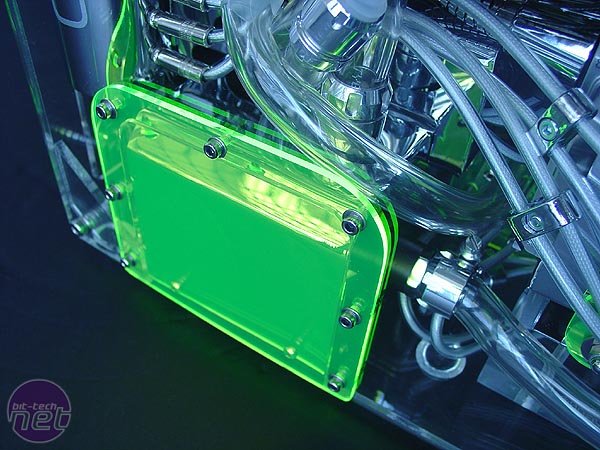
The side panel was later attached using cut-down 1/4" socket head screws, after re-tapping all the side holes. The perspex cover was also screwed in place with polished stainless screws.
It's all in the Lighting...
You might have noticed that there appears to be a bit of variation in the opacity and colour of the neon green perspex used throughout the case. It is, in fact, due solely to the lighting in the various photos. All of the perspex is from the same large sheet and is identical in colour. The first picture below is probably the closest in colour and transparency to how the green in the case looks to the naked eye. The other two pictures serve to illustrate colour differences under differing lighting conditions.
Being a former professional photographer, I have tried with the limited equipment I now own to do justice to the case in the photos in this, and previous articles and threads. Most of the working pics were shot at night, as evenings were usually the only times I had to mod after getting home from work, thus they are mostly flash-lit, or badly lit, and not great pictures. For the nicer, larger pics here and elsewhere I went to more effort in setting up backdrops and shooting during the day, using nice window light, reflectors etc. Ultimately though, I still feel the pics don't really do the finished case justice as to what it looks like up close and personal, but I hope I've at least managed to capture as much of the modding process and finished product as possible.
Fill'er Up!
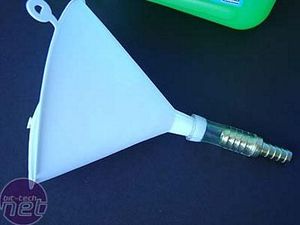
One last bit of modding I had to do before filling the water cooling system was modding the funnel! It wouldn't fit into the filling holes in the reservoirs so I used some offcut 3/8" tube and a brass hose barb to get the required diameter. The system took exactly 1 litre of coolant to fill.
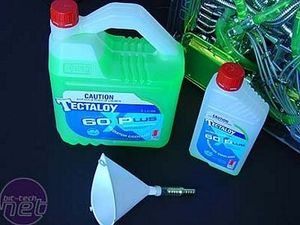
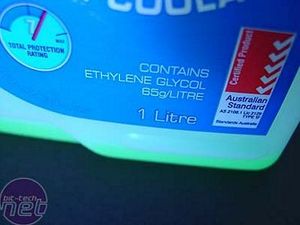 The coolant is great - exactly the right colour, pre-mixed and with the consistency of water. It claims to protect against hose deterioration, corrosion, heat transfer loss etc. I guess I'll see how it performs over the next few months.
Side Panel Mods
The side panel was the very last thing to be modded. While working on the pump I knew I wanted to position it so that it sat flush with the outside of the side panel. I knew also that I would need to cut a section out to accommodate it. It was only in the last 2 weeks of the project that I got inspired to create another neon green piece to cover this section after several people posted in the forums suggesting I should do more to dress up the sides. That got me thinking, and one thing led to another...
The side panel - all masked and ruled up, ready to go.
A closer look showing the centre marks to indicate where the 22mm holesaw would cut. I opted to use a holesaw to round the inside corners and give my hacksaw a starting point. I drilled small pilot holes first and then used the larger-bit holesaw to finish.
10 minutes with the hacksaw and I had the section out. I ruled up a piece of neon green perspex...
...cut it out with the hacksaw, filed the corners, sanded and polished the edges before clamping it to the side panel and drilling pilot holes through both at the same time. I then drilled 5mm holes in the perspex piece and drilled 3mm holes in the side panel which were tapped out to M4 size.
The side panel was later attached using cut-down 1/4" socket head screws, after re-tapping all the side holes. The perspex cover was also screwed in place with polished stainless screws.
It's all in the Lighting...
You might have noticed that there appears to be a bit of variation in the opacity and colour of the neon green perspex used throughout the case. It is, in fact, due solely to the lighting in the various photos. All of the perspex is from the same large sheet and is identical in colour. The first picture below is probably the closest in colour and transparency to how the green in the case looks to the naked eye. The other two pictures serve to illustrate colour differences under differing lighting conditions.
Being a former professional photographer, I have tried with the limited equipment I now own to do justice to the case in the photos in this, and previous articles and threads. Most of the working pics were shot at night, as evenings were usually the only times I had to mod after getting home from work, thus they are mostly flash-lit, or badly lit, and not great pictures. For the nicer, larger pics here and elsewhere I went to more effort in setting up backdrops and shooting during the day, using nice window light, reflectors etc. Ultimately though, I still feel the pics don't really do the finished case justice as to what it looks like up close and personal, but I hope I've at least managed to capture as much of the modding process and finished product as possible.
Fill'er Up!
One last bit of modding I had to do before filling the water cooling system was modding the funnel! It wouldn't fit into the filling holes in the reservoirs so I used some offcut 3/8" tube and a brass hose barb to get the required diameter. The system took exactly 1 litre of coolant to fill.
RELATED ARTICLES


MSI MPG Velox 100R Chassis Review
October 14 2021 | 15:04


Want to comment? Please log in.