
Attack of the Covers.
I originally wanted to have a cutout replacement bezel of aluminium (a bit like the Lian-Li retail ones), topped in Perspex, like my other drives.But it was just to damn fiddly to cut (In some places only 1mm of aluminium between cutouts – so it bends real easy).
So as I don't use the drive that often, I've 'sorta' stealthed it (Yep, I know it goes against what I said in the forums, but it's a free county and I changed my mind in this case!).
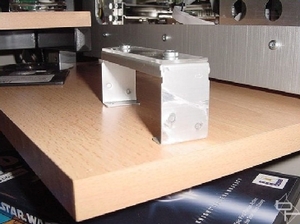
The drive cage was removed from the case, and all the covers where snapped into place. They were covered with masking tape, and the positions of the 4mm holes for the bolt laid out so they lie in the middle of each cover, 15mm in from each side. The holes where then drilled.
The Perspex was cut by scoring and snapping – this time I was lucky and they came out spot on – no need for filling! The Perspex was then clamped onto the bay cover, and bolt holes drilled through from the back, using the aluminium hole as a locator. It was then bolted on to each cover, so they wouldn’t get mixed up.
No matter how much time you take on layout and drilling, when you’ve only got a hand drill the holes will always be off a fraction – that means each piece of Perspex will only fit the cover it was meant for. Mix them up and it’d be a nightmare! Transposing the ends is a headache as well, and so is flipping the Perspex over - believe me, bolt ‘em on to save frustration…
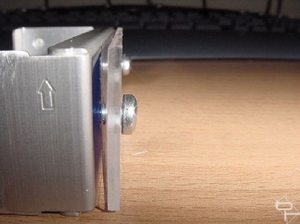
The cover that sits over the floppy then had its 'nipples' (ooh-err!) that hold it in place filed down.
The last 10mm of the 'tongues' has been bent over at 90 deg. This was done by scoring with a sharp Stanley knife 10mm in from the end on both sides of the tongue, and then bending over with a pair of pliers. This allows the cover to sit flush with the face of the floppy when in place.
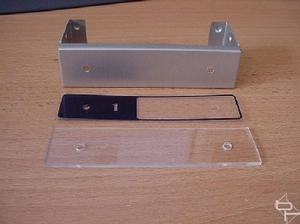
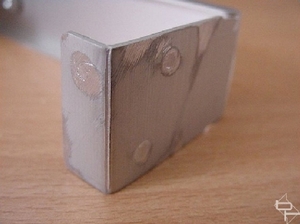
Each of the bay covers then received the decal treatment, as explained earlier on (left) and on the right, here's another shot of the ‘sandwich effect’.
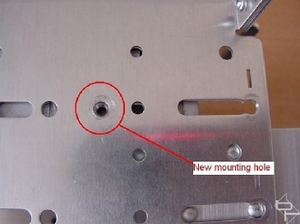
Once that was done, the floppy had to be moved back in the cage to allow the top bay cover to fit flush with the others when in place. This was when I discovered that there was no hole available for the front mounting points of the floppy on the location required…
No matter – Mr drill sorts that problem out!

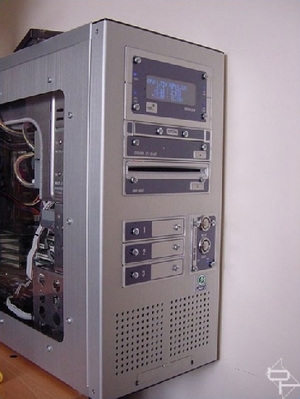
The cage was mounted back in the case, with the floppy in its new position, while both the bottom bay covers and front case cover were replaced. The floppy cover is then just slid in when the drive is not required, and slid out when it is. Here are a couple of movies to show how it works:
Removing the cover
Using the drive
When the top cover’s in place, you wouldn’t know that a floppy drive lurks beneath...
So – that’s the front done. As I said before, I need to do some sort of etch / OHP transparency appliqué for the window, and add some lighting. But I’ve also got some plans for this:
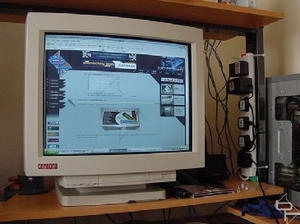
My 21” £70 barging behemoth of a monitor! All I’ll say is that it’LL involve vinyl dye, aluminium, blue LED’s, some more Torx bolts and Perspex.
TTFN,
GOO
RELATED ARTICLES


MSI MPG Velox 100R Chassis Review
October 14 2021 | 15:04


Want to comment? Please log in.