

PLEXI SIDEPANELS
The next thing on the list are the sidepanels in plexi (transparent and white) - the idea is to get the structural shape of the Hypercube on these panels. I found some mirrored self-adhesive film in a modelshop in town, and I will stick it on the plexi and cut out the shapes.
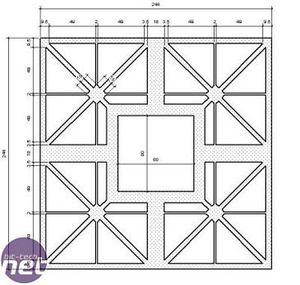
I will be using the plan from my CAD drawings as an underlay.
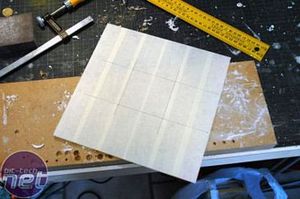
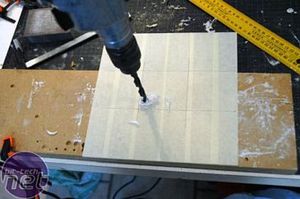
Making the hole for the 80mm fan involved the same drill / jigsaw technique as I used earlier.
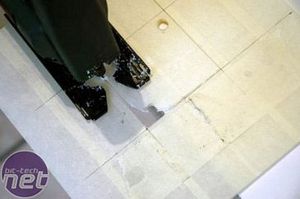
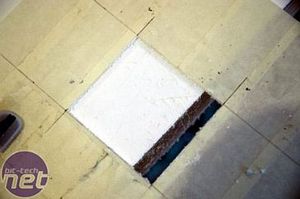
Cut roughly but accurately with the jigsaw, the next task is to sand it down smoothly so the fan will fit perfectly.
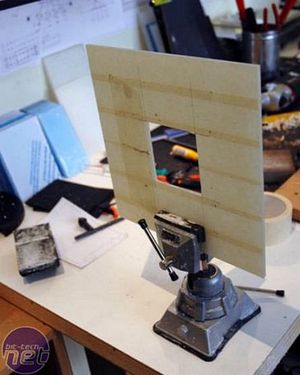
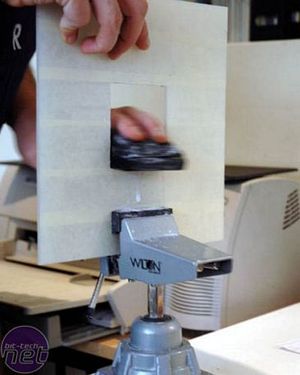
I placed the panel in my vice and sanded carefully, so as to not crack the plexi!
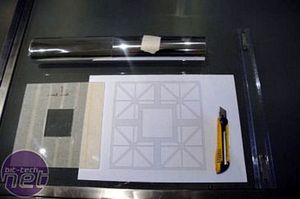
The shape of the fan is cut out in the transparent plexi - it has also been testfitted in the frame and with the fan. Now a mirror film has to be glued on and cut out.
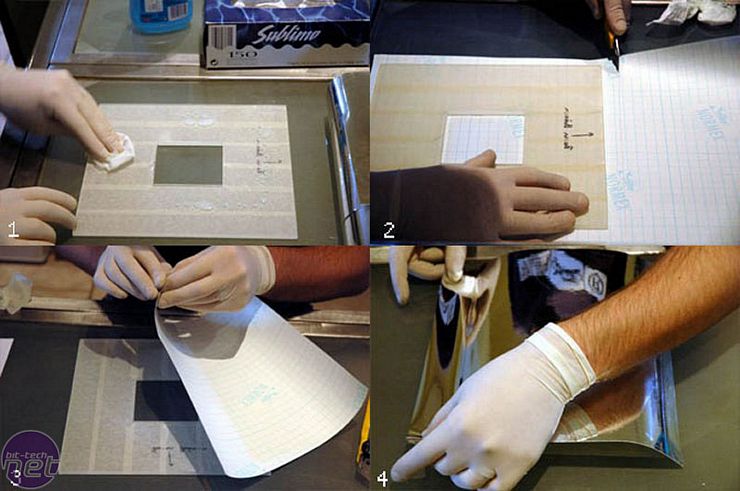
<ol><li>Cleaning the plexi, making sure it has no fingerprints or dust on it. </li><li> Cutting out the mirror film. </li><li>Peeling off the film. </li><li>Sticking the film on the plexi. </li></ol>

Rubbing the film firmly but slowly down. This is the method for not getting bubbles underneath. (And yes thats me on the picture - pls wash at 40° C ;-)
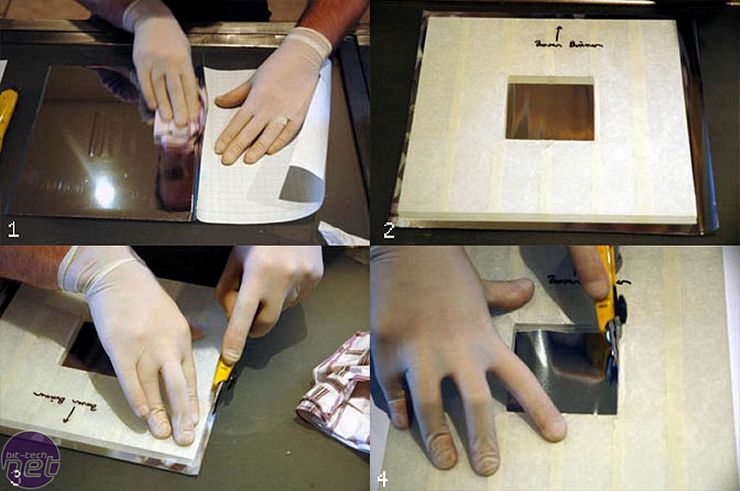
<ol><li> Almost done with the rubbing, and no bubbles :-) </li><li> Backside - notice the marking on the plexi: just to know at the end which side is up! </li><li> Removing the edges with a cutter.</li><li> Removing the inside excess (fan hole) </li></ol>
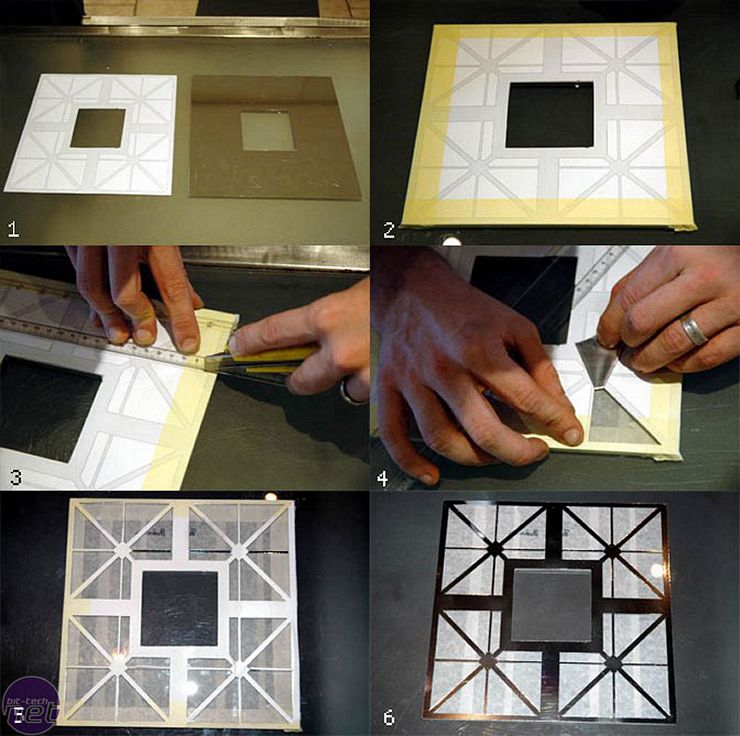
<ol><li> Cutout of the print-out next to the plexi with the film </li><li> The printout fixed to the plexi </li><li> Starting the cut-out </li><li> The film comes off nicely</li><li> Finished cut-out </li><li> Print-out removed </li></ol>
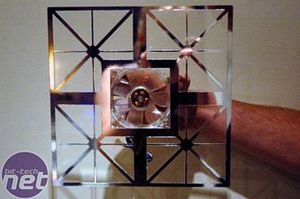
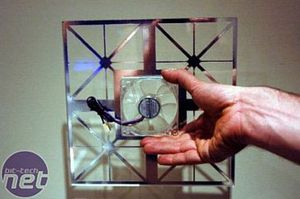
Front and back views of the finished panel with the fan in place. The film has a mirror finish on the underneath (sticky) side which not only looks good, but handily saves me having to cut film for the inside of the panel.
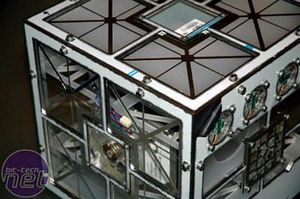
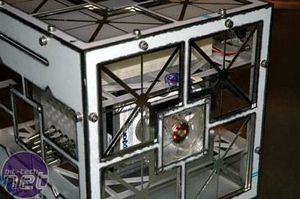
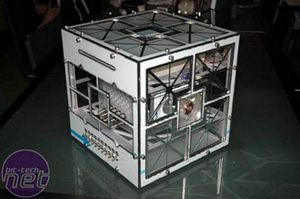
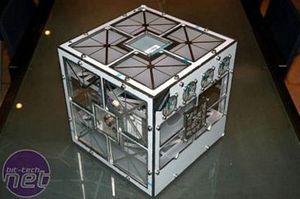
Two finished panels in the frame. If you look at the design, you will see that there will be another layer of plexi over these panels, to protect the film and also for a nicer finish.

MSI MPG Velox 100R Chassis Review
October 14 2021 | 15:04


Want to comment? Please log in.