
Ebony
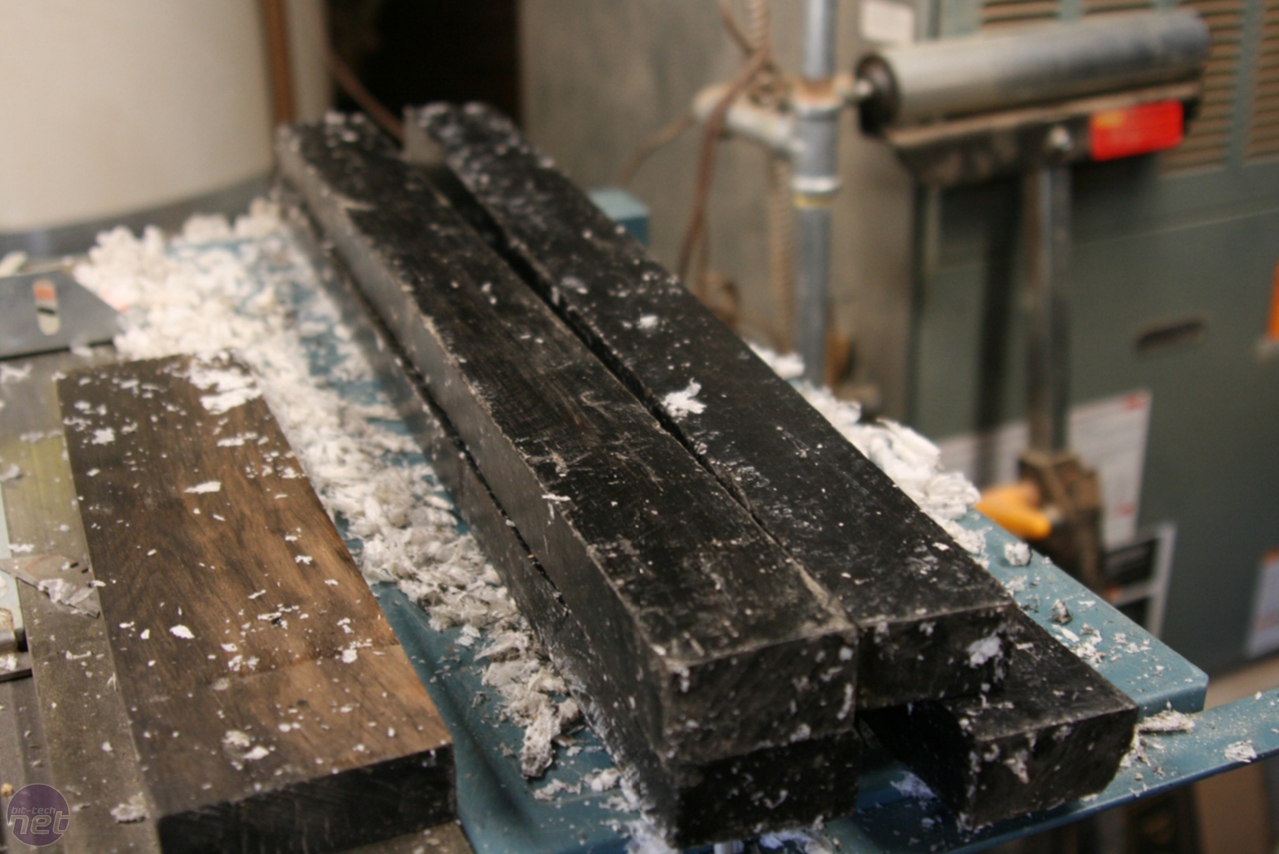
I chose ebony as the primary wood of the cube for a few reasons. First of all, it has a feel unlike most woods in that its actually hard to tell if its wood at all. It feels dense like stone and since it is all black (no paints or stains involved), it enables the design to be the primary focus instead of a busy grain pattern.Also, you never really see things made out of solid ebony as it is very expensive (the wood cost was about $200 USD with very little waste) so I wanted to give it a shot.
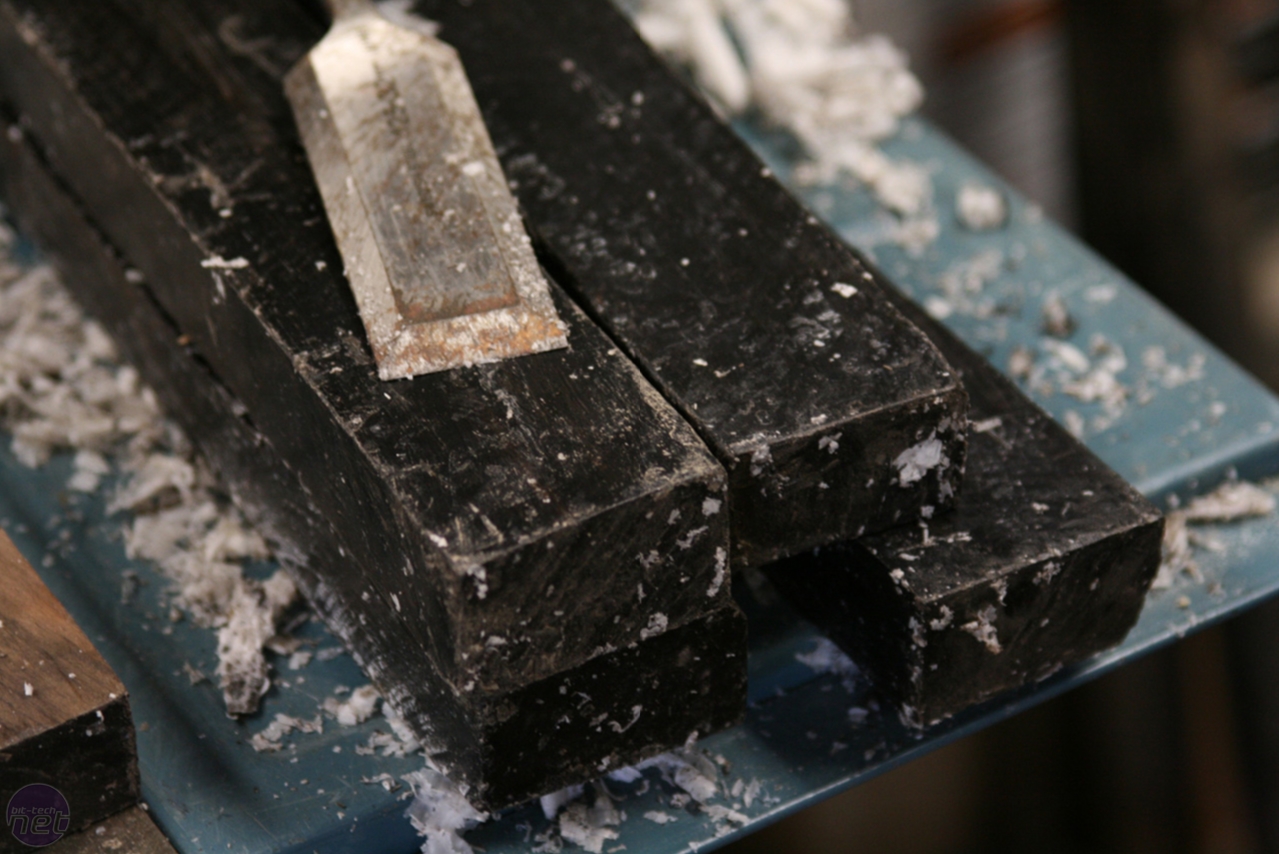
The wood comes from Africa and it comes covered in wax. This is used to keep the moisture inside the wood and to protect it while it is in storage. The first thing to do before running it through the surface planer was to scrape off all the wax with an old chisel.
Click to enlarge
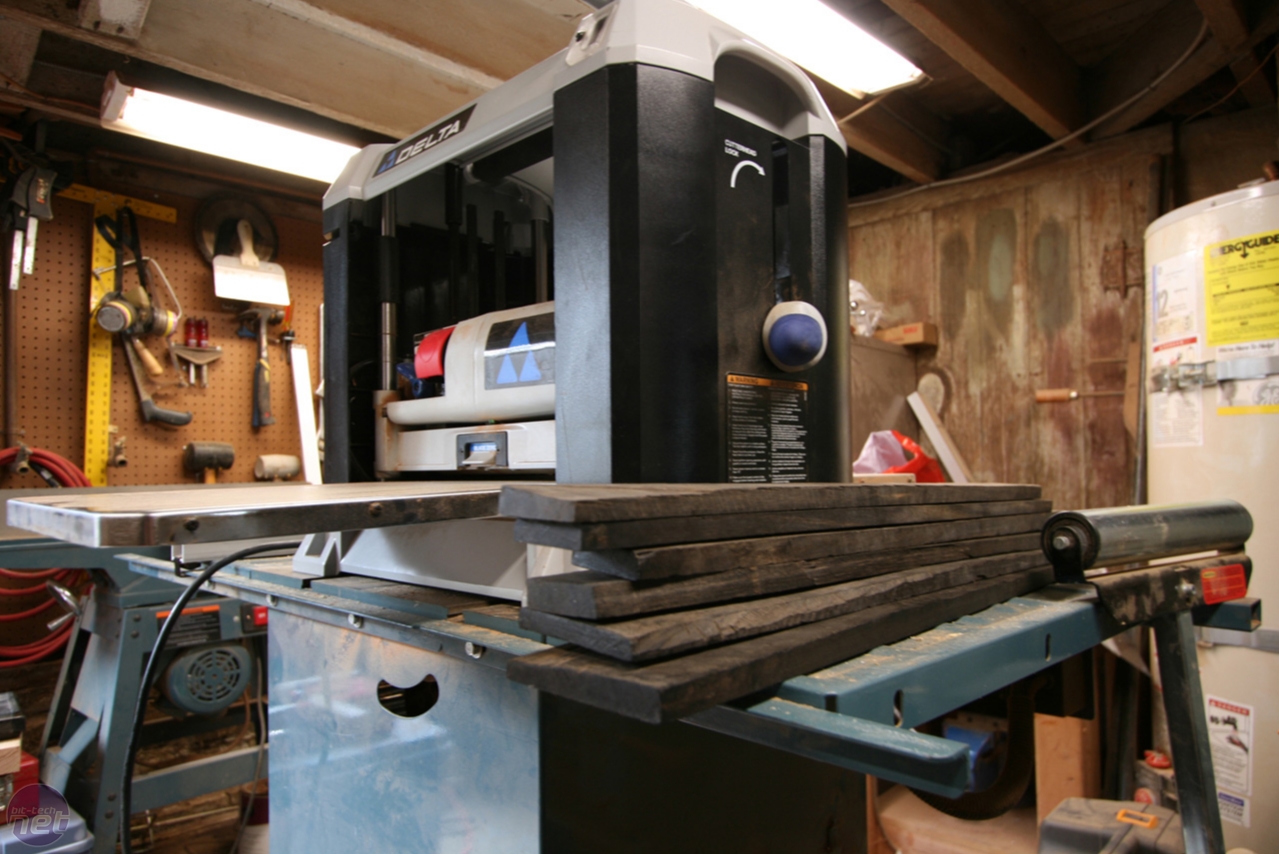
Once this was done, I ran all the pieces through the surface planer. I had two thicknesses of wood to plane - the outer frame would be about 2.5cm while the inner pieces would be about 1.2cm (I designed this while I was in Italy, so I figured I might as well use the metric system).

Click to enlarge
After the wood is finished being planed, it has a beautiful shine - this is another reason why I used ebony; its density enables a very polished finish (more on this later).
Templates
In order to ensure the accuracy that I wanted with the side panels (and avoid wasting expensive wood), I decided to make templates out of MDF of every piece that I would make.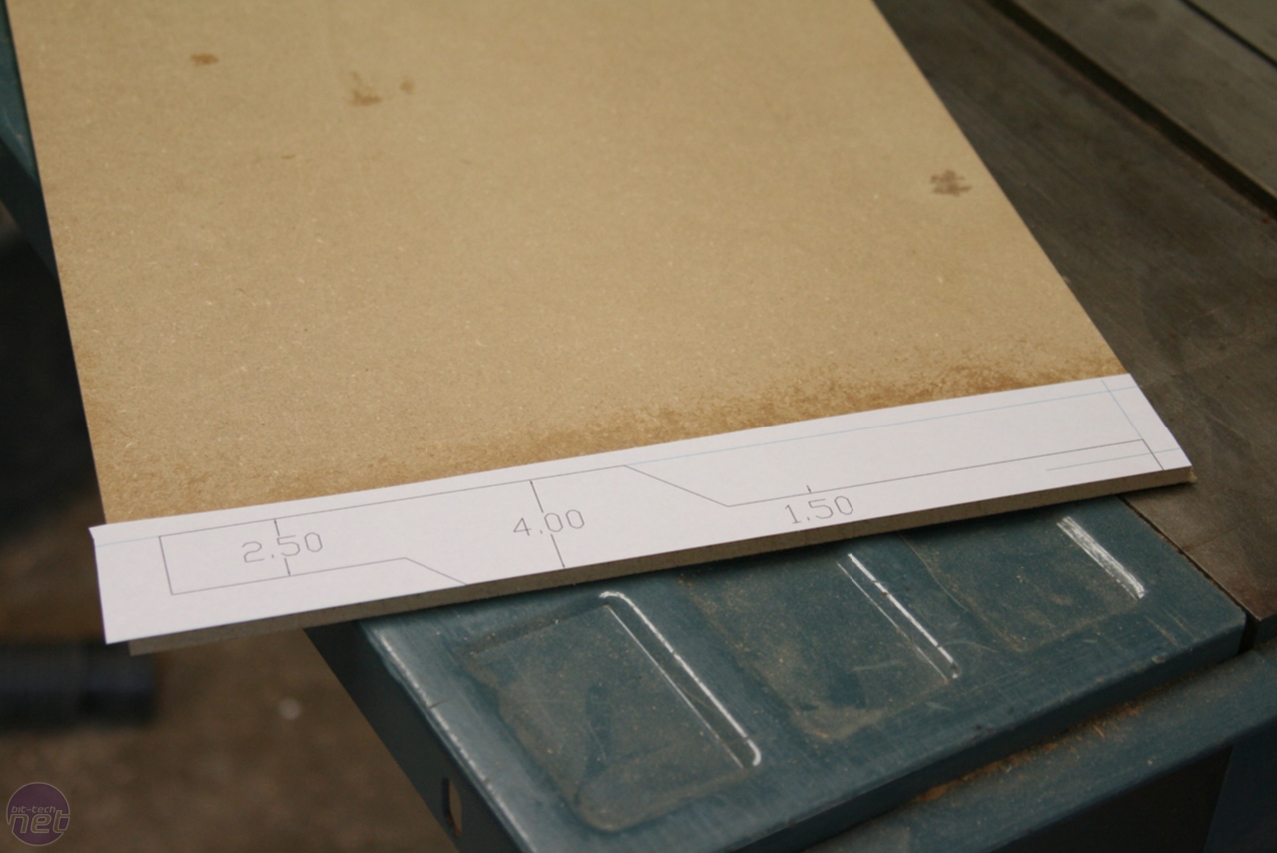
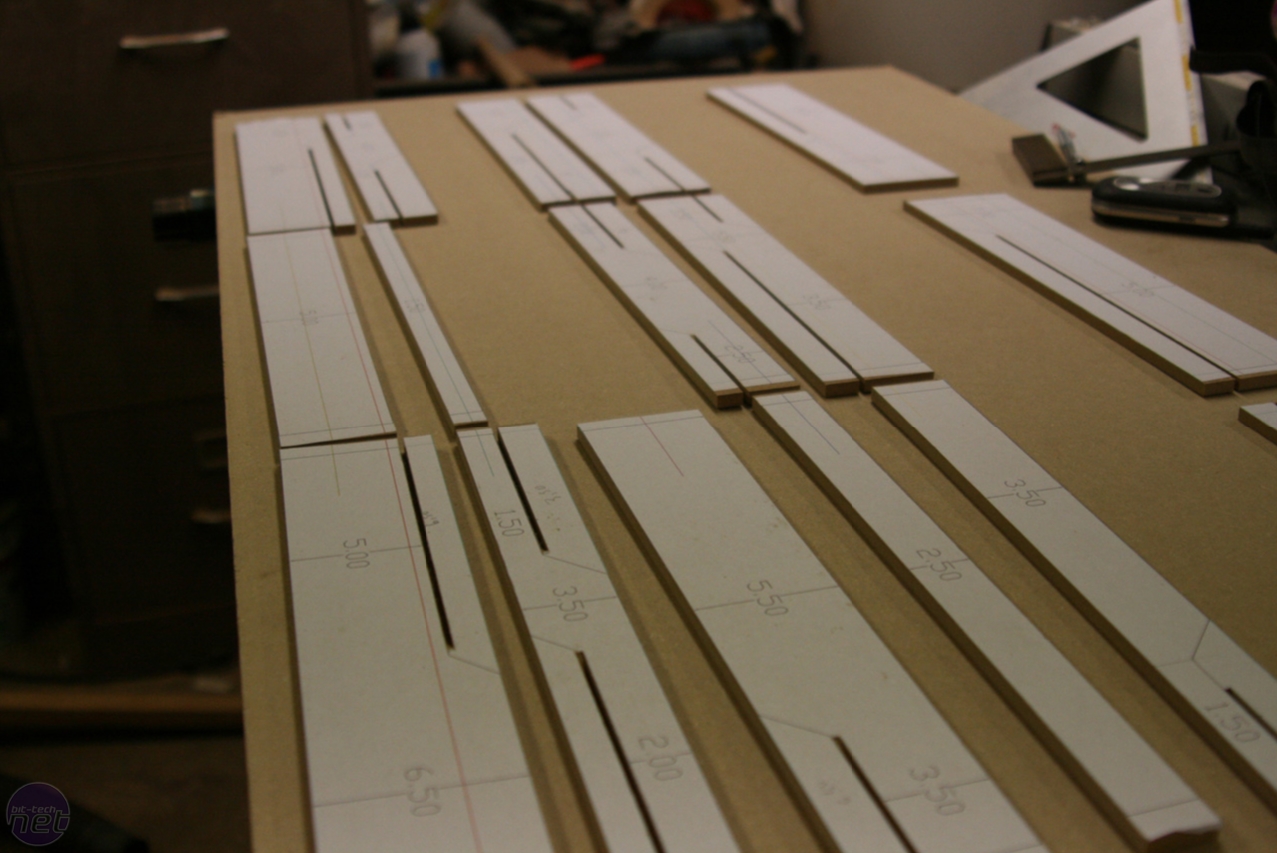
Click to enlarge
To do this, I first had to make perfectly precise drawings of each piece. For this, I used AutoCAD and printed out the finished drawings and glued them onto the MDF.
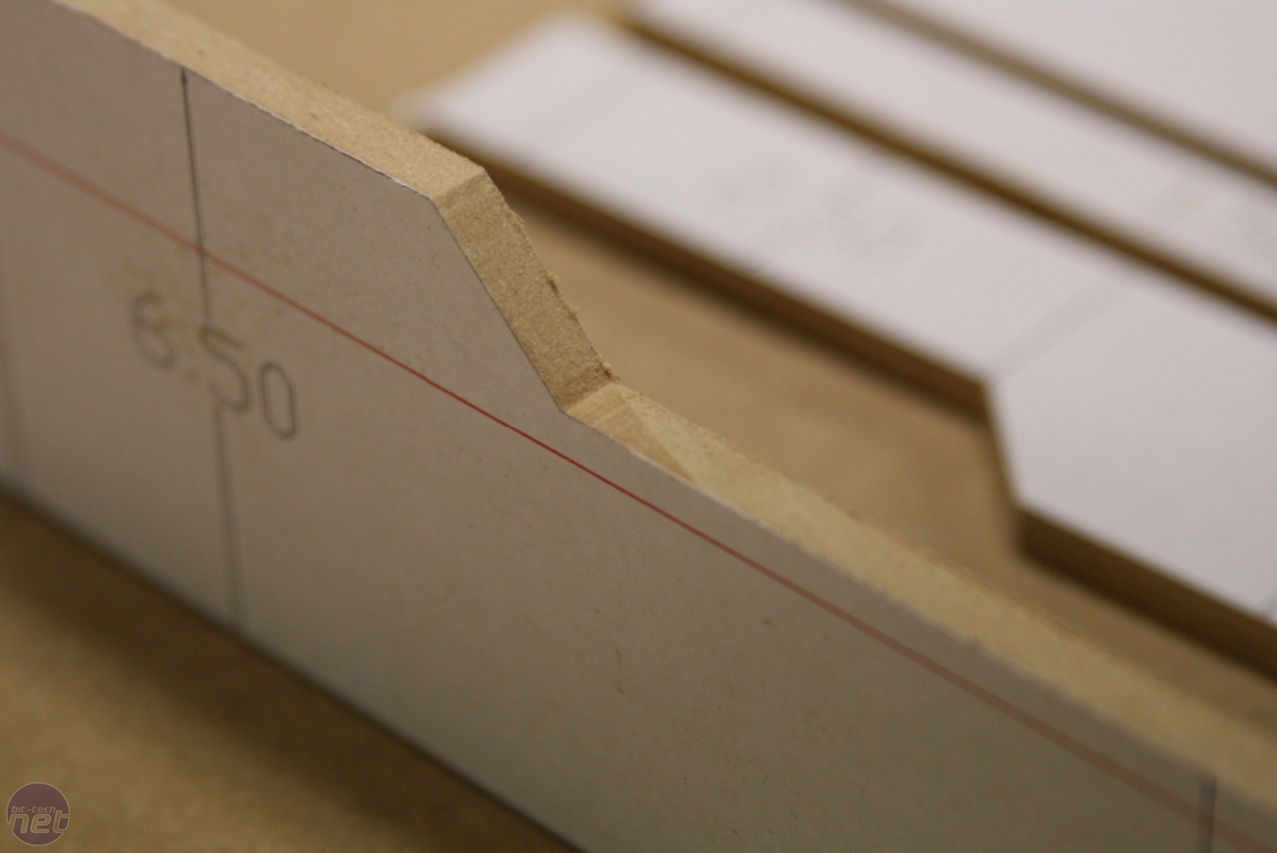

Click to enlarge
I then cut all of the lengthwise cuts on the table saw for the best accuracy and then I cut the diagonals with the scroll saw. After that, I shaved off the excess with a sharp chisel.

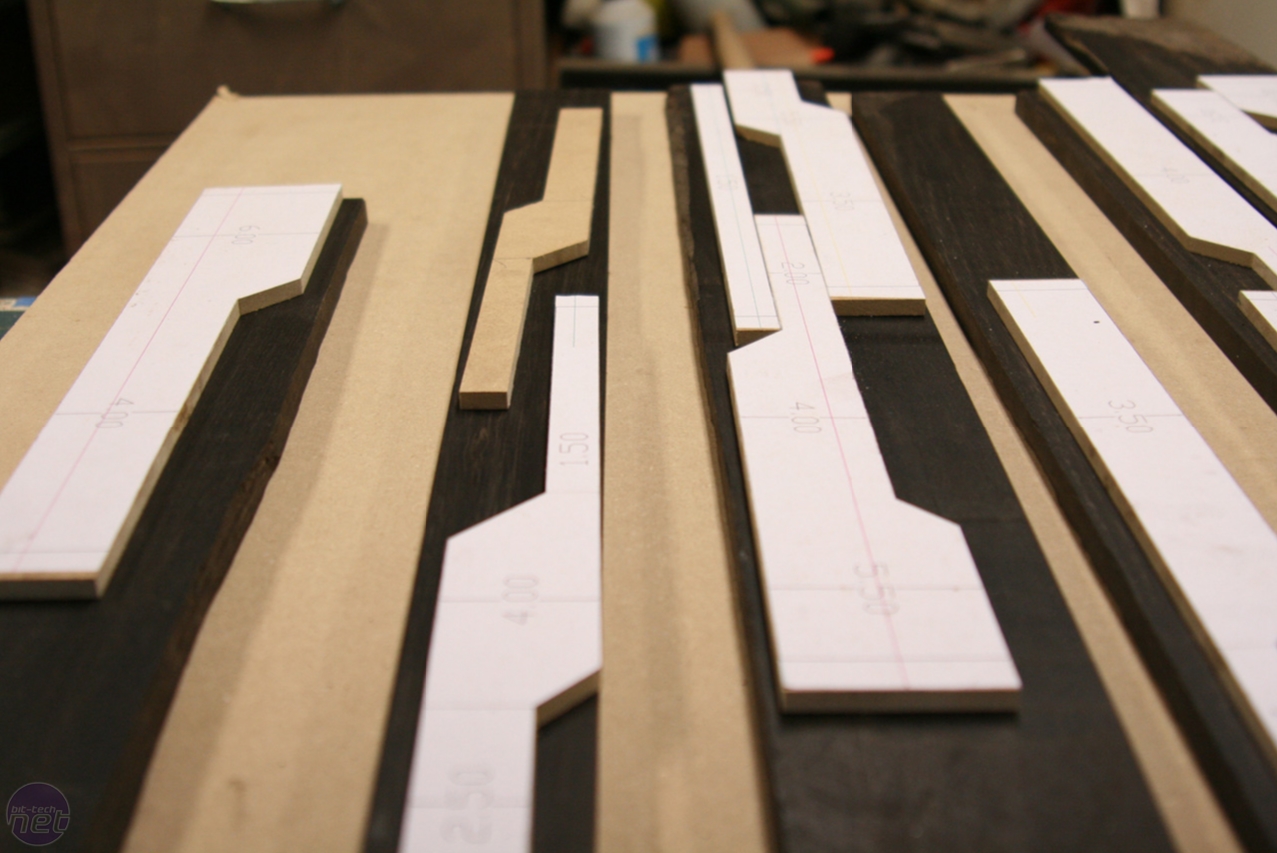
Click to enlarge
Once I had all of the templates cut out, I had the laborious job of trying to fit them all on the wood that I had bought. Amazingly, I only needed one more small piece than what I originally purchased.
RELATED ARTICLES


MSI MPG Velox 100R Chassis Review
October 14 2021 | 15:04


Want to comment? Please log in.