Water-Cooling System
Under normal circumstances, the pump would require 12V, as would the temperature gauge I picked for this build, so I ideally wanted to find out how to hook these up. I searched everywhere to find the blueprint of the Wii's motherboard, but I unfortunately couldn't find any of the advice I needed to wire up these components.The only option (since I’m no electrical wiz) was to hook them straight up to the Wii's main power plug. This would then mean that the pump and gauge would be powered on all the time unless I turned off the switch at the wall.
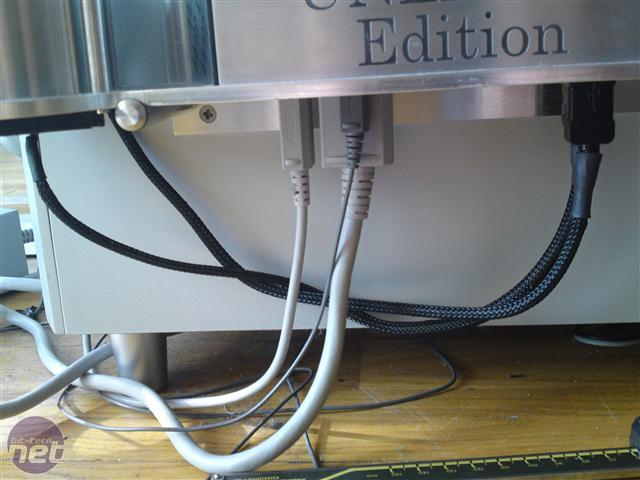
As luck would have it, the Wii doesn’t require much power and I found out that the pump and gauge both run fine on 5V. As such, I decided to power them via a couple of USB plugs that I stole from a memory card reader and another USB-wire. Since I have no need for the two USB plugs at the bottom of the Wii this is the perfect solution, and it required no soldering on the motherboard either.
The waterblock itself had to look special. Since it ultimately sits as a centre piece, I couldn't bring myself to just make a standard-looking block. I also decided to make it from aluminium, even though copper is much better at conducting heat.
There are several reasons for this. Firstly, copper just wouldn't fit in with this project aesthetically. Also, aluminium doesn't oxidise like copper and finally, galvanic corrosion could be a real issue if I used a copper waterblock with so many other aluminium components in the loop.
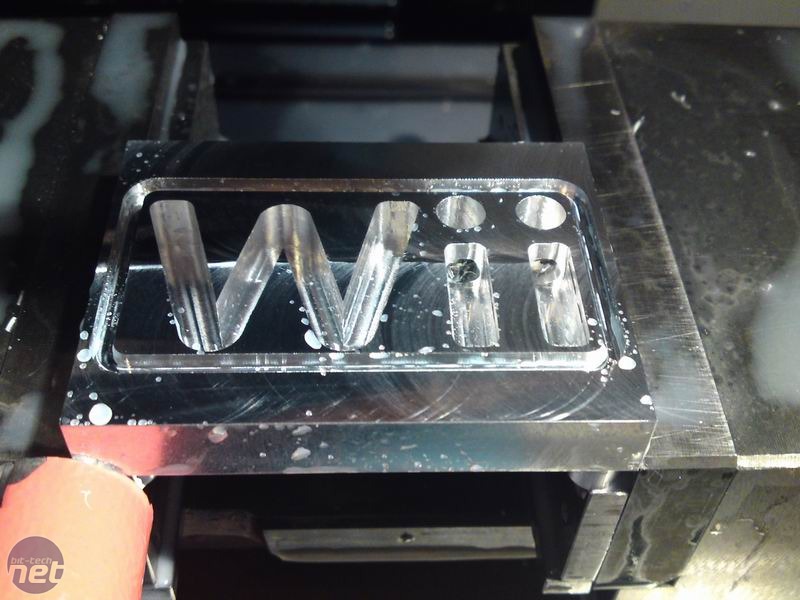
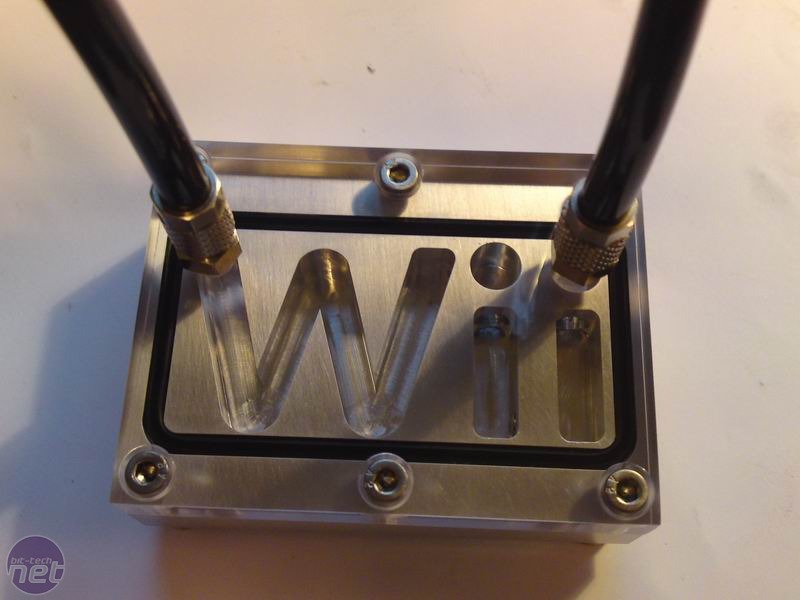
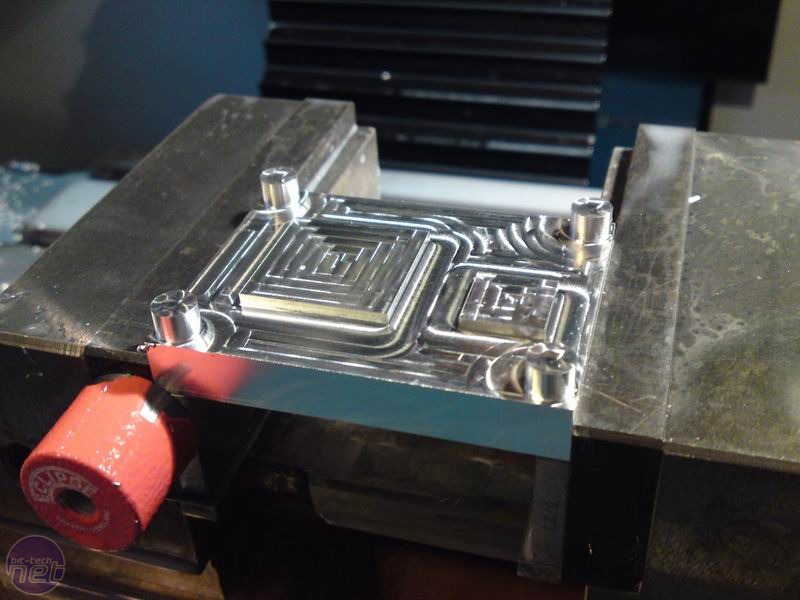
My original idea was to create a flat block with an outside tracing of the Wii logo. That didn't quite work out as well as I'd hoped, though, so I went back to the drawing board. I then made a block, imported an image of the Wii logo, and just cut the logo into the block as you would with a dot-to-dot drawing in a children's book.
However, the problem with this was that freeing up the flow channel between letters, as there are walls in the way where one letter meets the next. I solved this by drilling new channels in the sides, and putting plugs in the block where I needed to guide the water - for example, from the top left of the 'W' to the dot over the last 'i'. I had done this with a GPU block some time ago and it worked perfectly.
I had originally planned to put the inlet and outlet in the acrylic top, but there wasn't enough room so I instead cut these into the sides of the block.
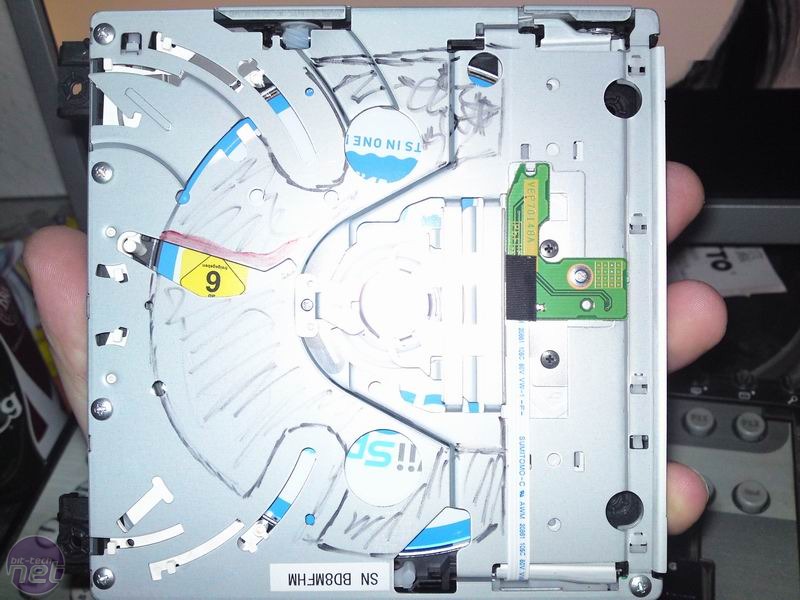
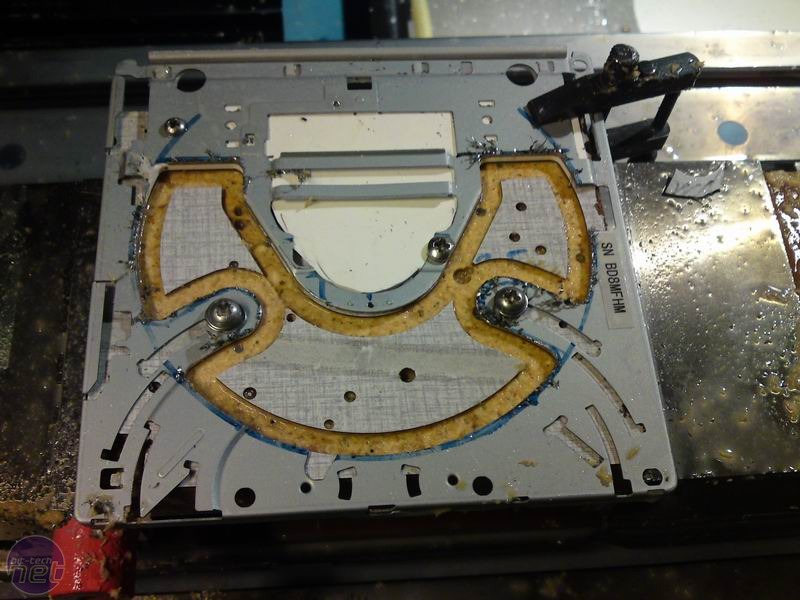
The Wii's optical drive itself doesn't look that interesting, so I milled out as much as I dared without breaking any of the pins that make everything work. I then painted it black, to make it look much more striking.
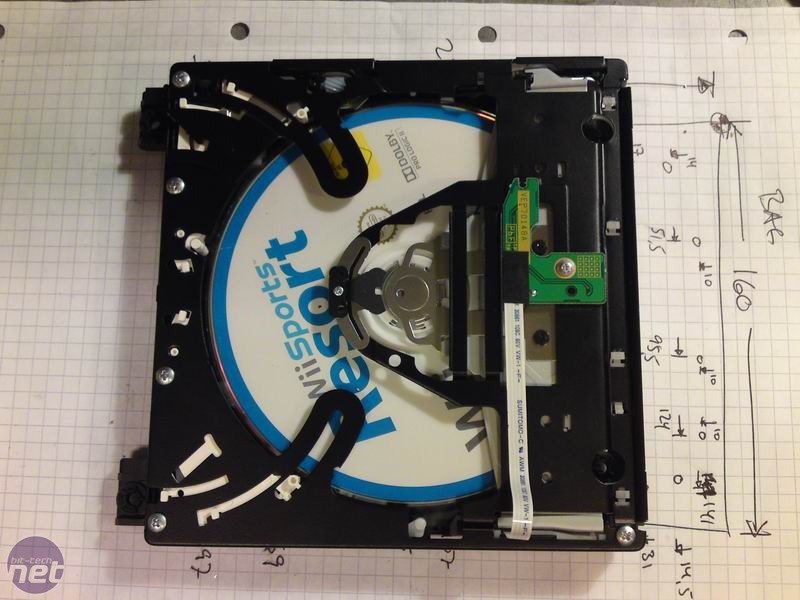
The bottom part took a lot of measuring to get right (well, everything did, but this was the worst part). I had to make sure everything was lined up, since the plugs had to fit into the bottom. Luckily I made a test part before I started, and could then tweak a couple of bits that didn't fit perfectly.
RELATED ARTICLES


MSI MPG Velox 100R Chassis Review
October 14 2021 | 15:04


Want to comment? Please log in.