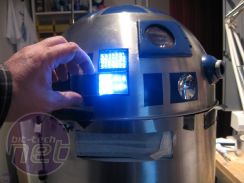
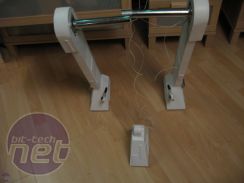
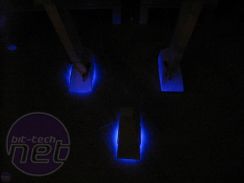
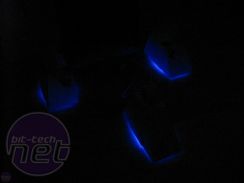
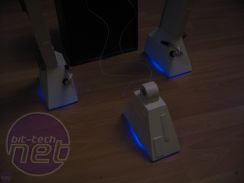
The LEDS in the dome and feet light-up nicely! I experimented with some matte plexi because I thought they were too bright but I didn't like it in the end.
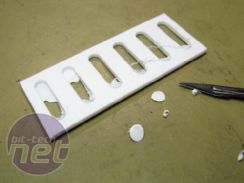
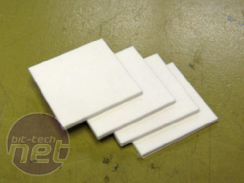
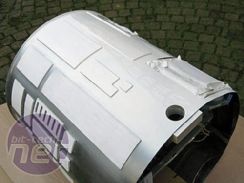
In the front of the R2 there is a "coin slot", and having calculated the size from the blue-prints I cut it out from Vikureen polystyrene (a soft thermoplastic).
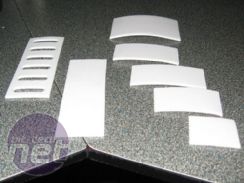
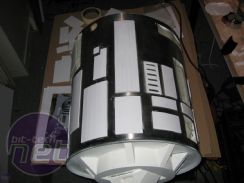
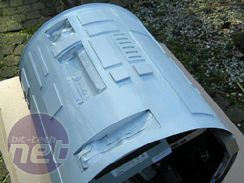
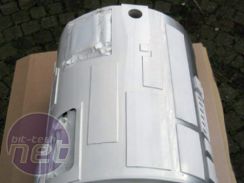
In addition, I also cut some other panels and used a heatgun to get the right curve shape in order to fit them neatly to the can. I came across a problem where the long straight one wouldn't bend like I wanted it to, so I had to change it by cutting strips in the back so it would create a curve.
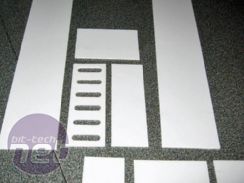
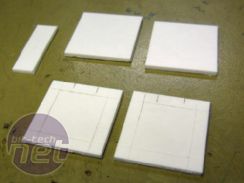
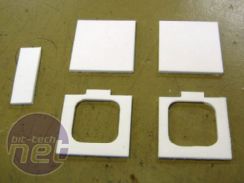
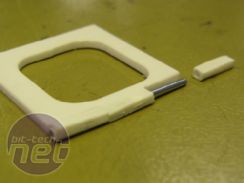
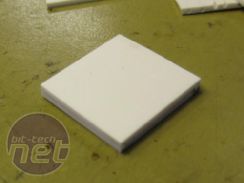
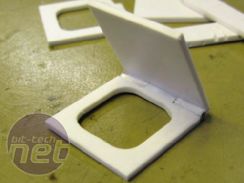
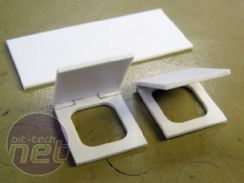
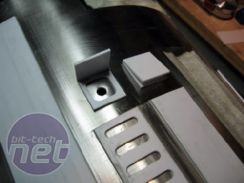
I needed something to hide the front switches - I wanted them stealthed and looking like the rest of the plastic I had stuck to the front so I cut some squares and then an internal rectangle out from half of them.
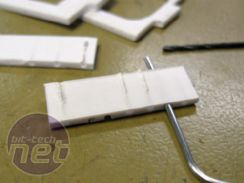
Now for the tricky bit: drilling a 1.4mm drill in the topside of a 2mm polystyrene plate. As you can see, a lot of times it just didn't go so well, but I got there in the end. With four minute little blocks of about 2mm² and a hole in the top plate of 1.4mm, this provided the basis of a hinge. With the top glued on it has provided the stealthed box for the power and reset switches.
Next I started painting it up with layers of white paint - after the third layer I added some pinstripes as well.

MSI MPG Velox 100R Chassis Review
October 14 2021 | 15:04




Want to comment? Please log in.