
Click to enlarge
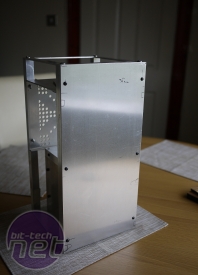
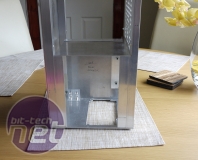
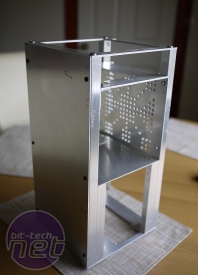
The next step was to drill and thread all the holes for the main side panels. 24 holes in total, six per panel, It was a total nightmare at the beginning, because I knew that if I broke the thread during the process, I lost the whole and ruined the rod. However all went well. and the PSU exhaust hole was also cut out
Click to enlarge
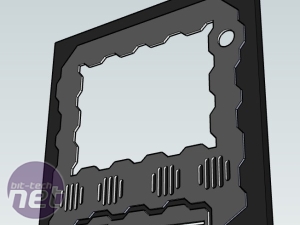
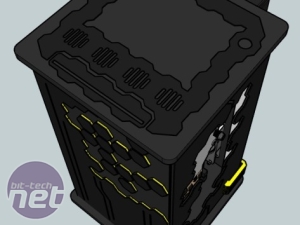
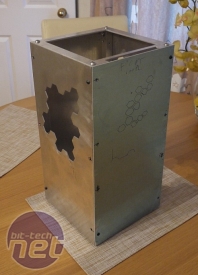
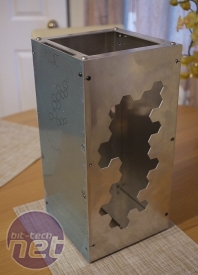
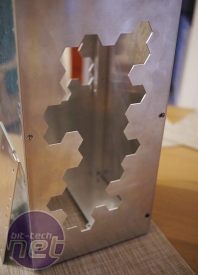
The main side panels (first layer) were ready with a nicely cut hex design. I installed all panels and they all aligned perfectly, I was happy to see that all this planning time was worth every single minute.
Click to enlarge
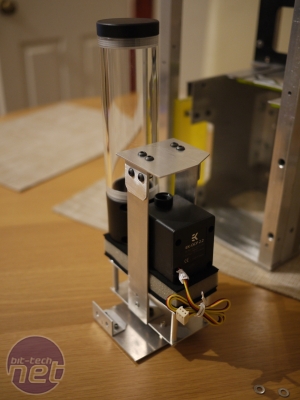
Next step was to design and make the pump stand. I needed a lightweight stand that wouldn’t take a lot of space in power chamber. I cut it out of a 2mm aluminium sheet and used 6mm aluminium pipe rods as standoffs. The pump got a nice foam base to make sure it won’t vibrate.
Click to enlarge
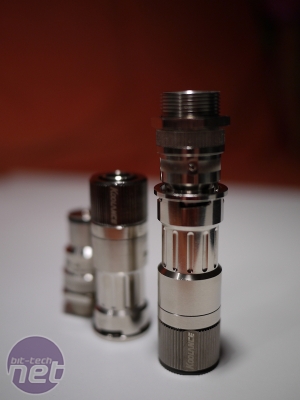
To make it easy to disconnect, I had to use quick release connectors – one for the pump and one for the radiator routes. I received them from Aquatunning, another supporter of my project.

MSI MPG Velox 100R Chassis Review
October 14 2021 | 15:04



Want to comment? Please log in.