Cosmos Dragon by Martin Blass
November 9, 2009 | 09:11
Companies: #bit-tech #coolermaster #cooler-master #dremel #lian-li #mod #silverstone

Acrylic and custom reservoir
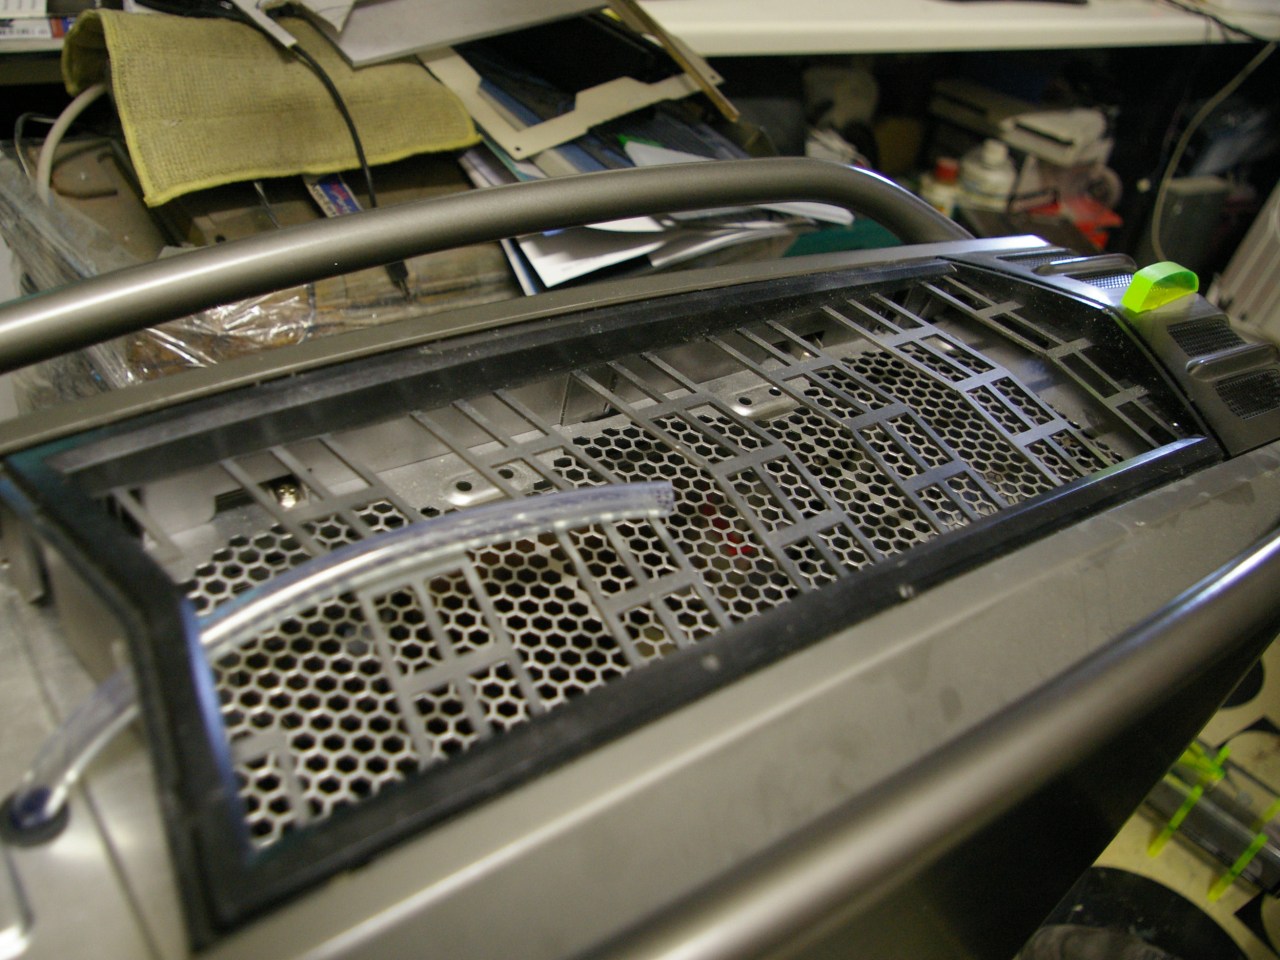
Next, we started to build the first add-on part for the side panel. For this we took a 50 x 50cm sheet of UV reactive acrylic and cut out a few holes and stripes with a rotary tool and router tips. This gave it a far more interesting look.After the reservoir was completed we prepared the mesh on top of the case so the spikes that would hold the reservoir in place could come up through it. This meant that the reservoir could safely be mounted under the mesh surface. We then cooled it using three 120mm fans, which are all temperature controlled.
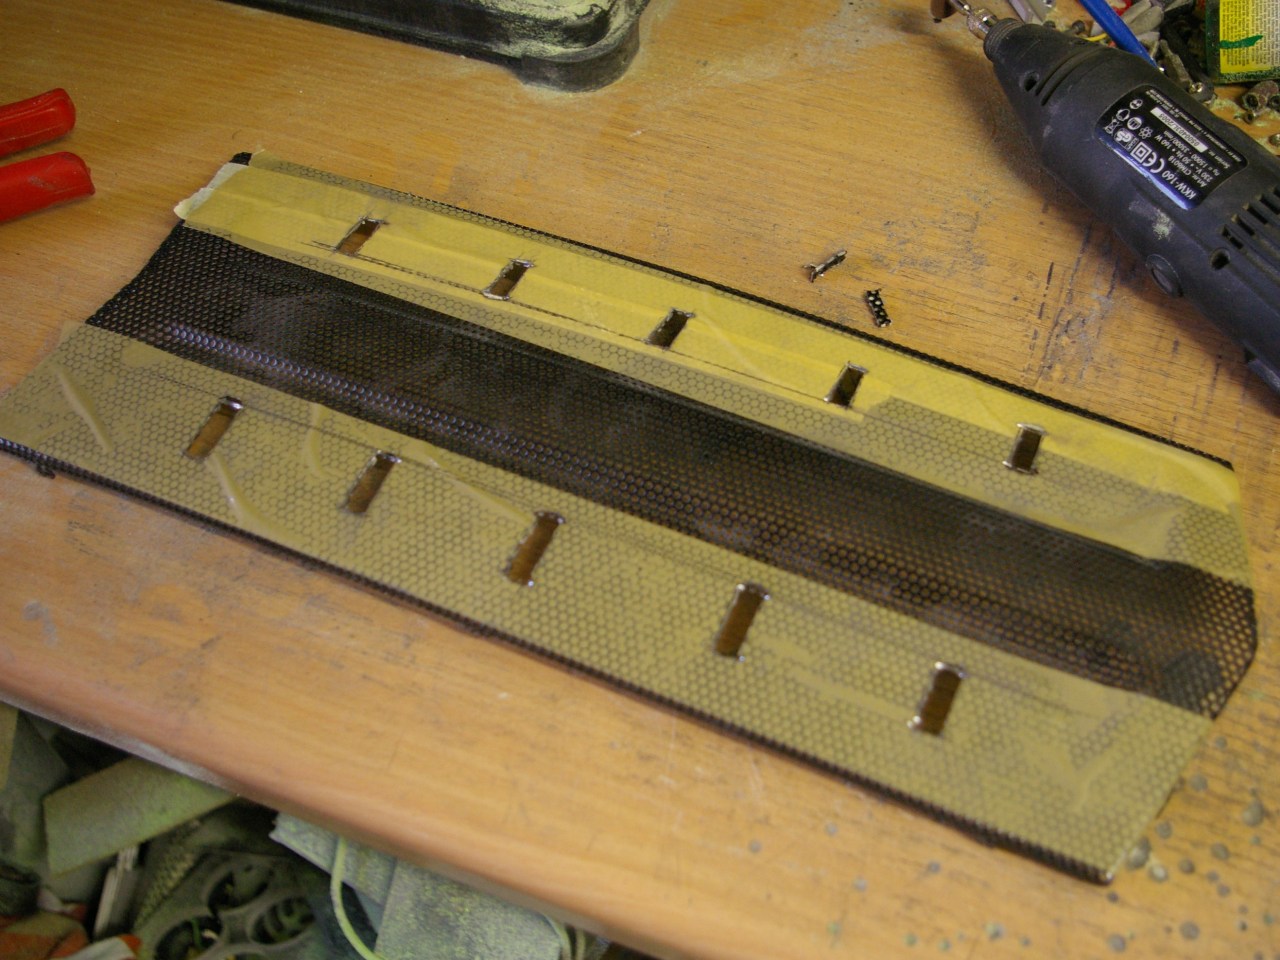
For the small sliding cover which slides over the front I/O ports we bent a small piece of Plexiglass in the shape of the outer case at this section and then we added some acrylic spikes. The spikes were made of three layers of Plexiglass, which were cut out and then glued together so that we could sand them as one single piece.
Click to enlarge


Click to enlarge
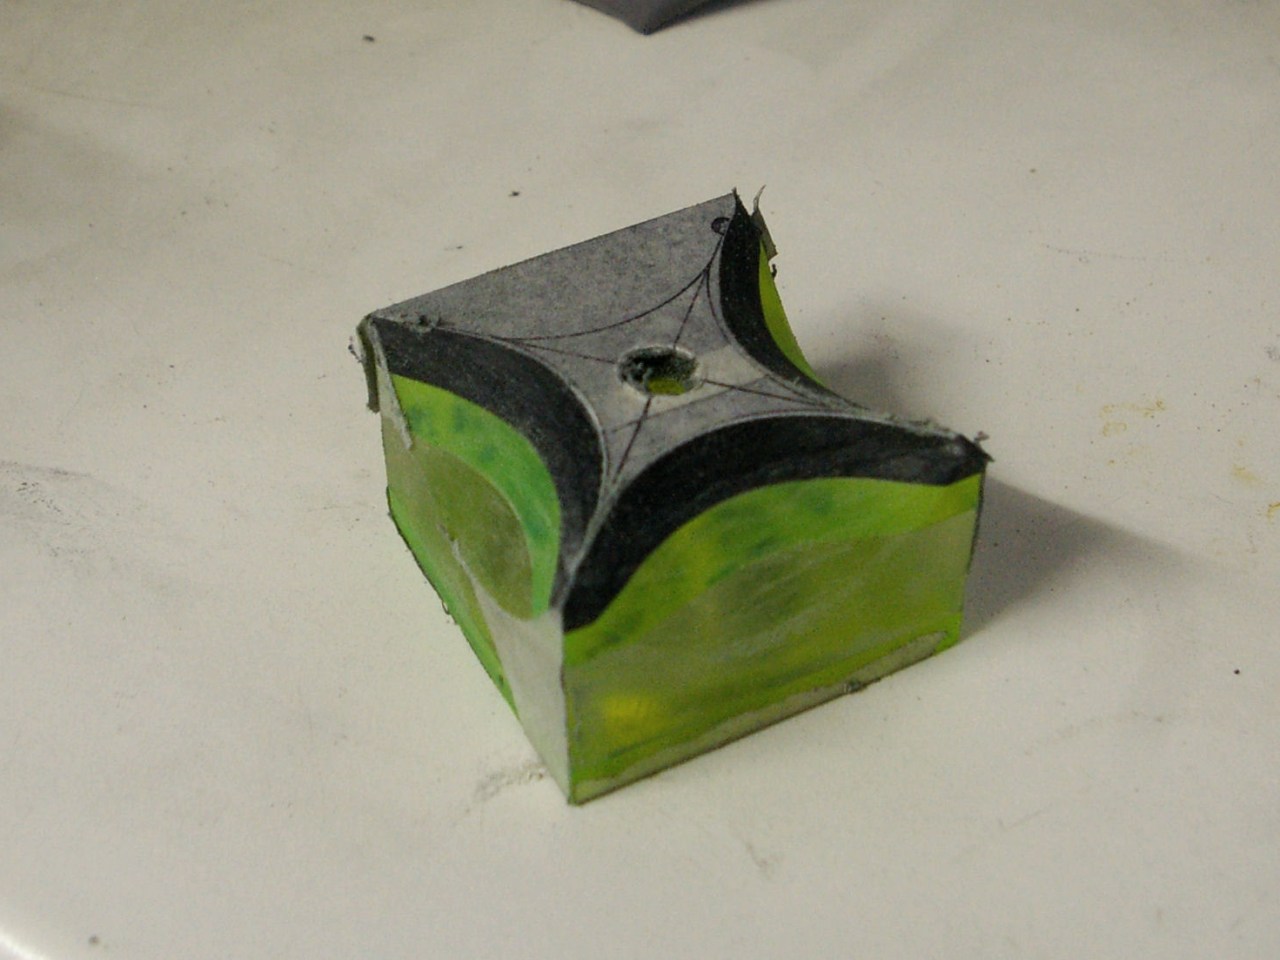
Next, we built the first of two custom pump tops for the Laing DDC we’d be using in the water-cooling setup. In the end we made two tops because after a short while we decided that a revised design would look better inside the Cosmos. To make the pump top we cut several Plexiglas layers of different thicknesses and in various colours.
Click to enlarge
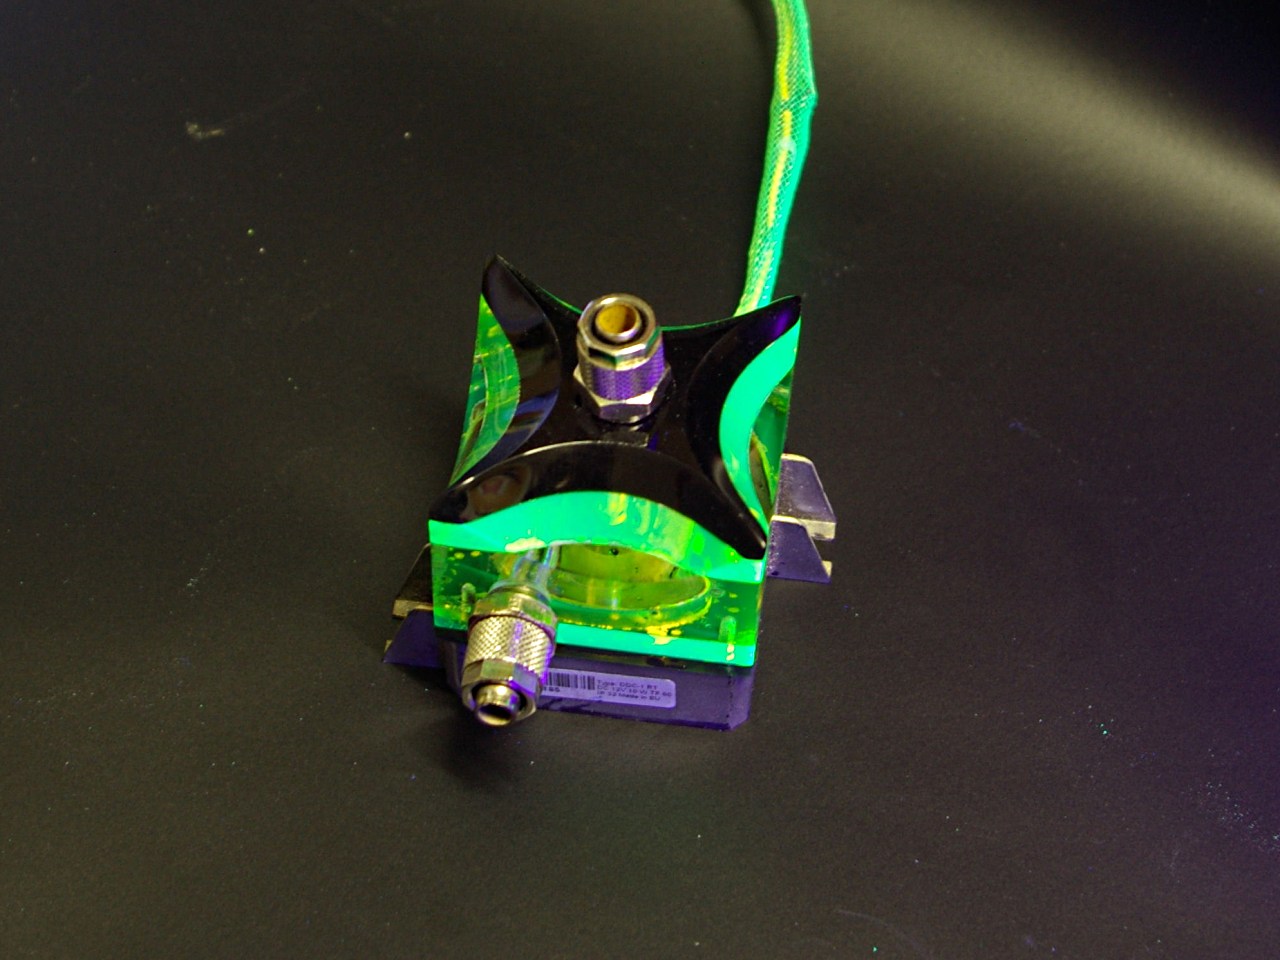
Next we cut and drilled them in groups to get the right shape and also to make holes for the coolant to flow. The final step was to glue all the pieces together. We wanted a nice, smooth edge to the top layer so we sanded and polished the complete pump top so that it had a nice glossy finish.
Click to enlarge
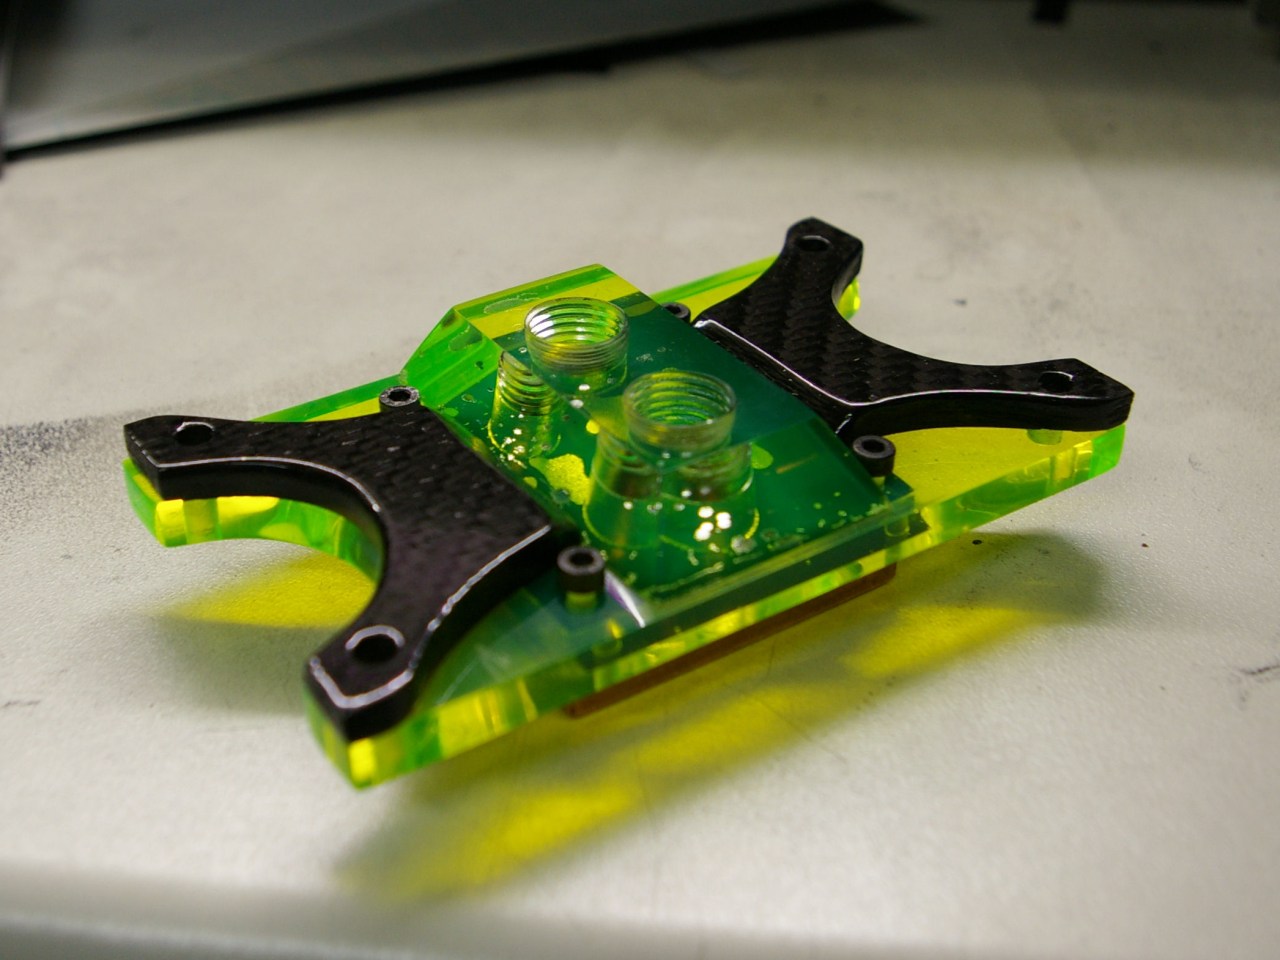
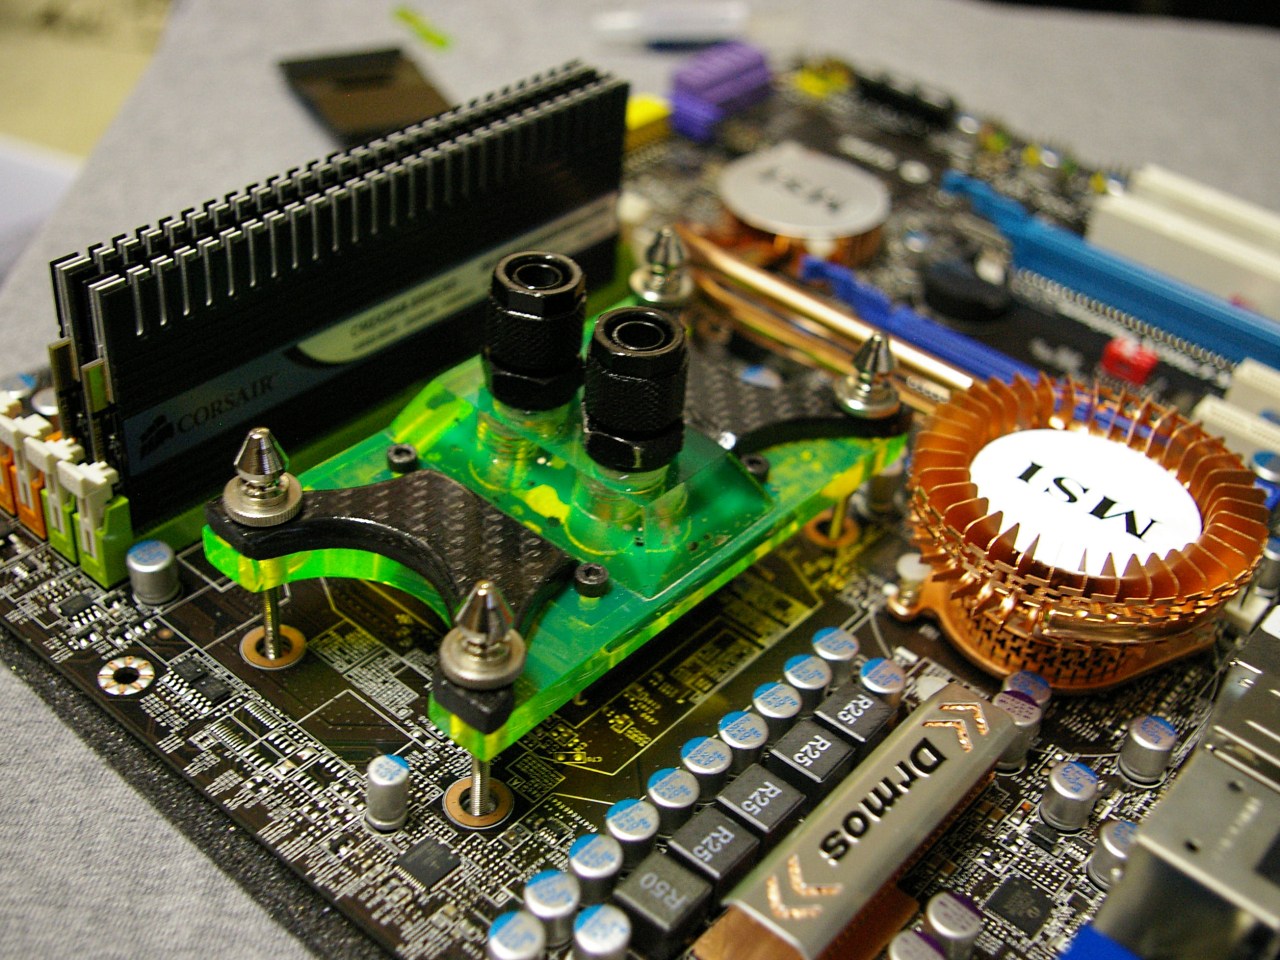
We also built a custom CPU water block using a copper base from an old block, enhanced with two layers of Plexiglas on top of it. We made sure one of the layers had mounting holes drilled into it, so that we didn't need a special mounting bracket or anything like that. On top of the cooler we added some decorative carbon elements, which we’d cut out of a 5mm thick sheet of carbon fibre. After a rough cut we sanded both parts and then added a thick layer of clear coat over them.
RELATED ARTICLES


MSI MPG Velox 100R Chassis Review
October 14 2021 | 15:04


Want to comment? Please log in.