Water-cooling feature continued
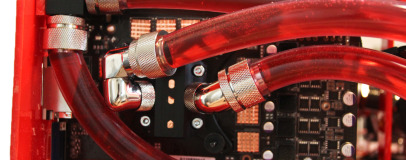
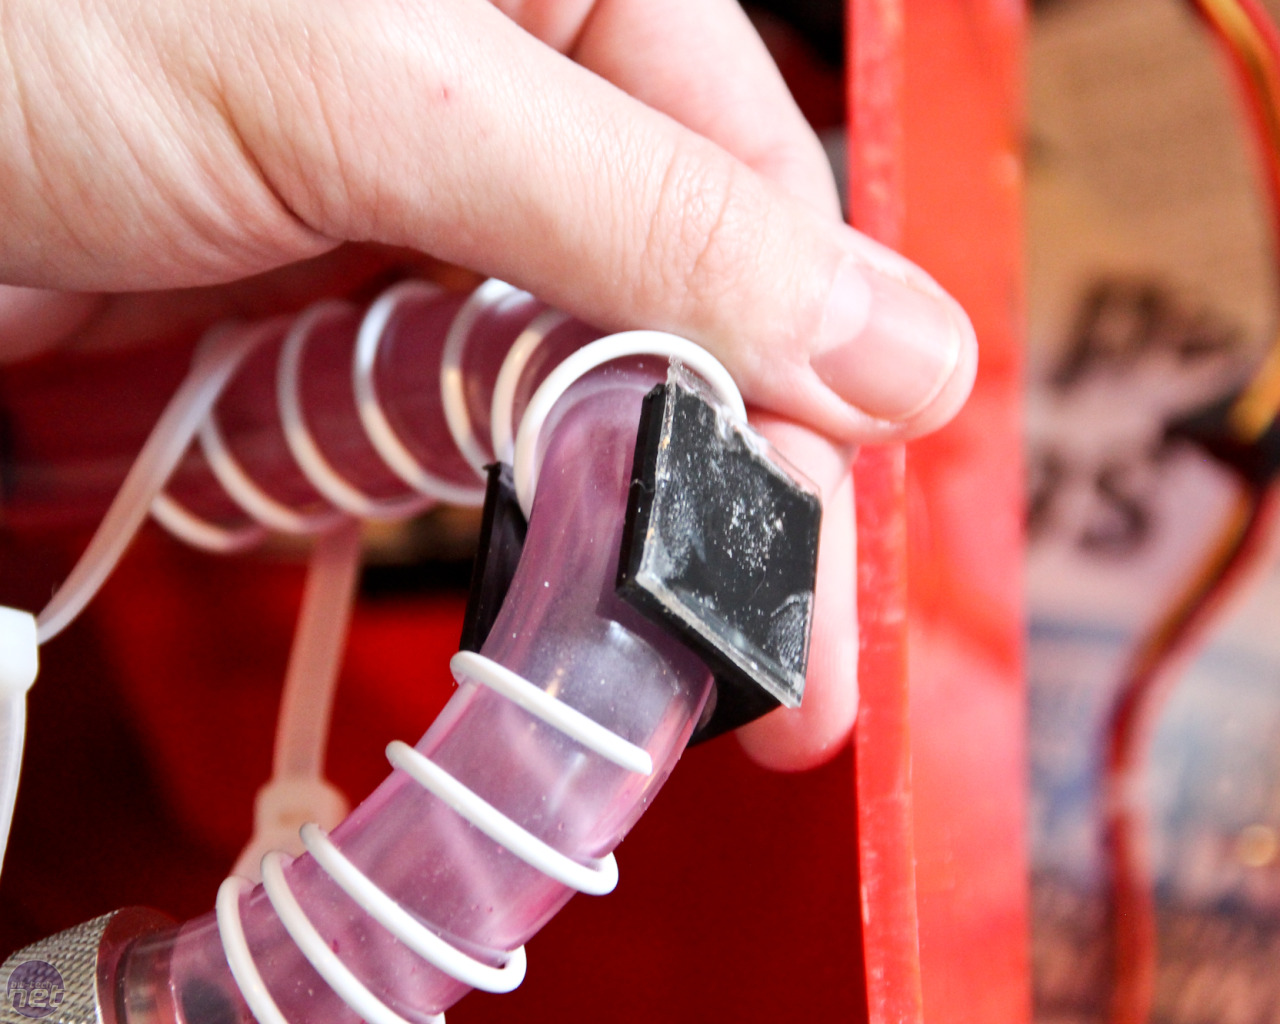
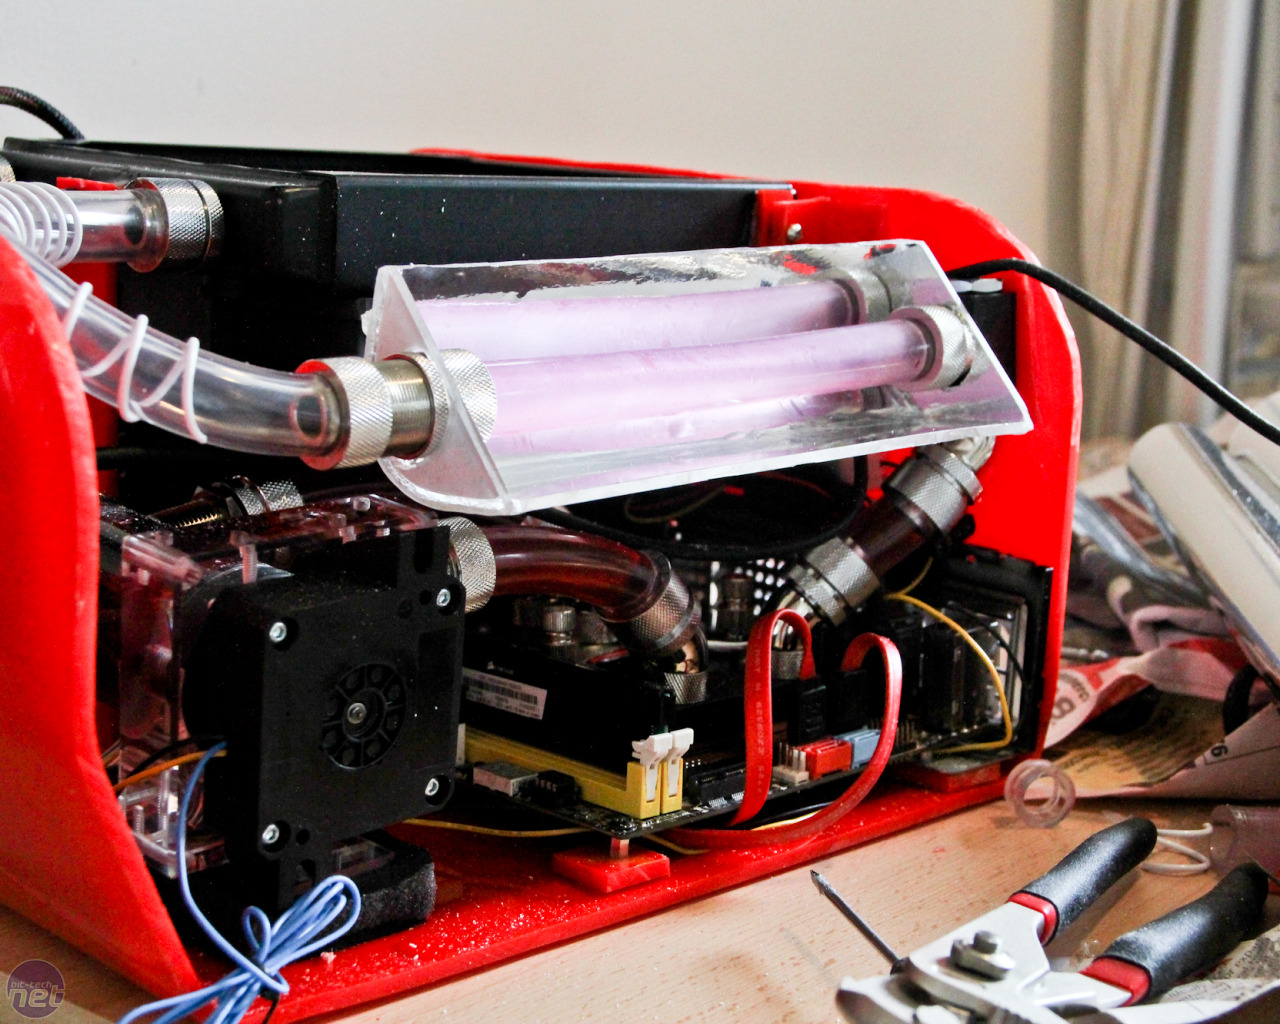
As you can see below, the tubing was prone to slight kinking. With some warm coolant and and few day's running, this would get worse so some support was clearly needed. Our Phobya support off-cut just needed some 3M mounting tape to secure it to the case and we were ready to insert our tubing, already donning some anti-kink coils to further reduce the chance of it getting kinky.
Click to enlarge
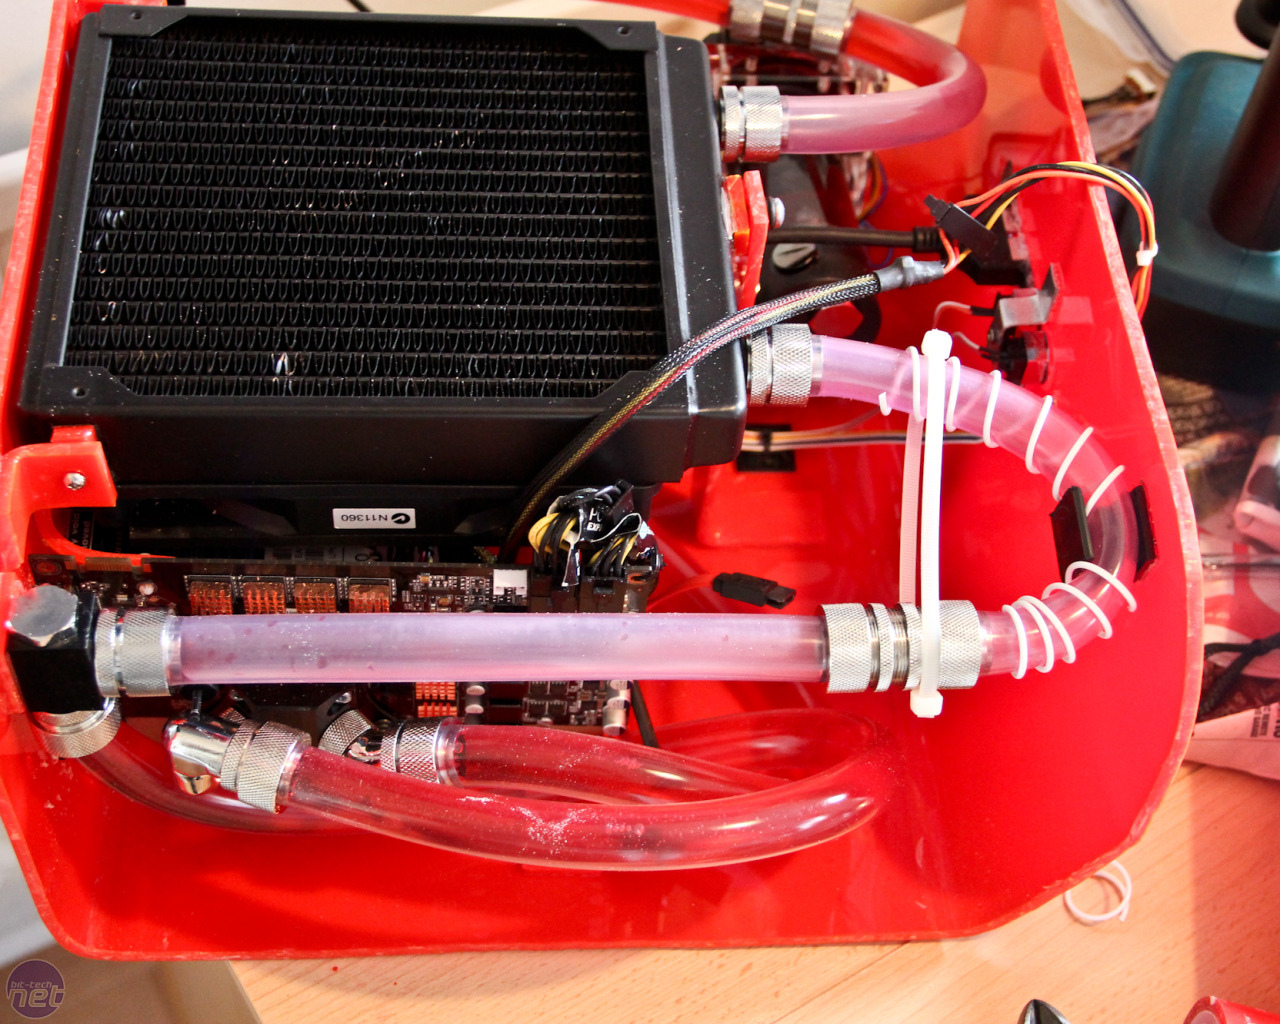
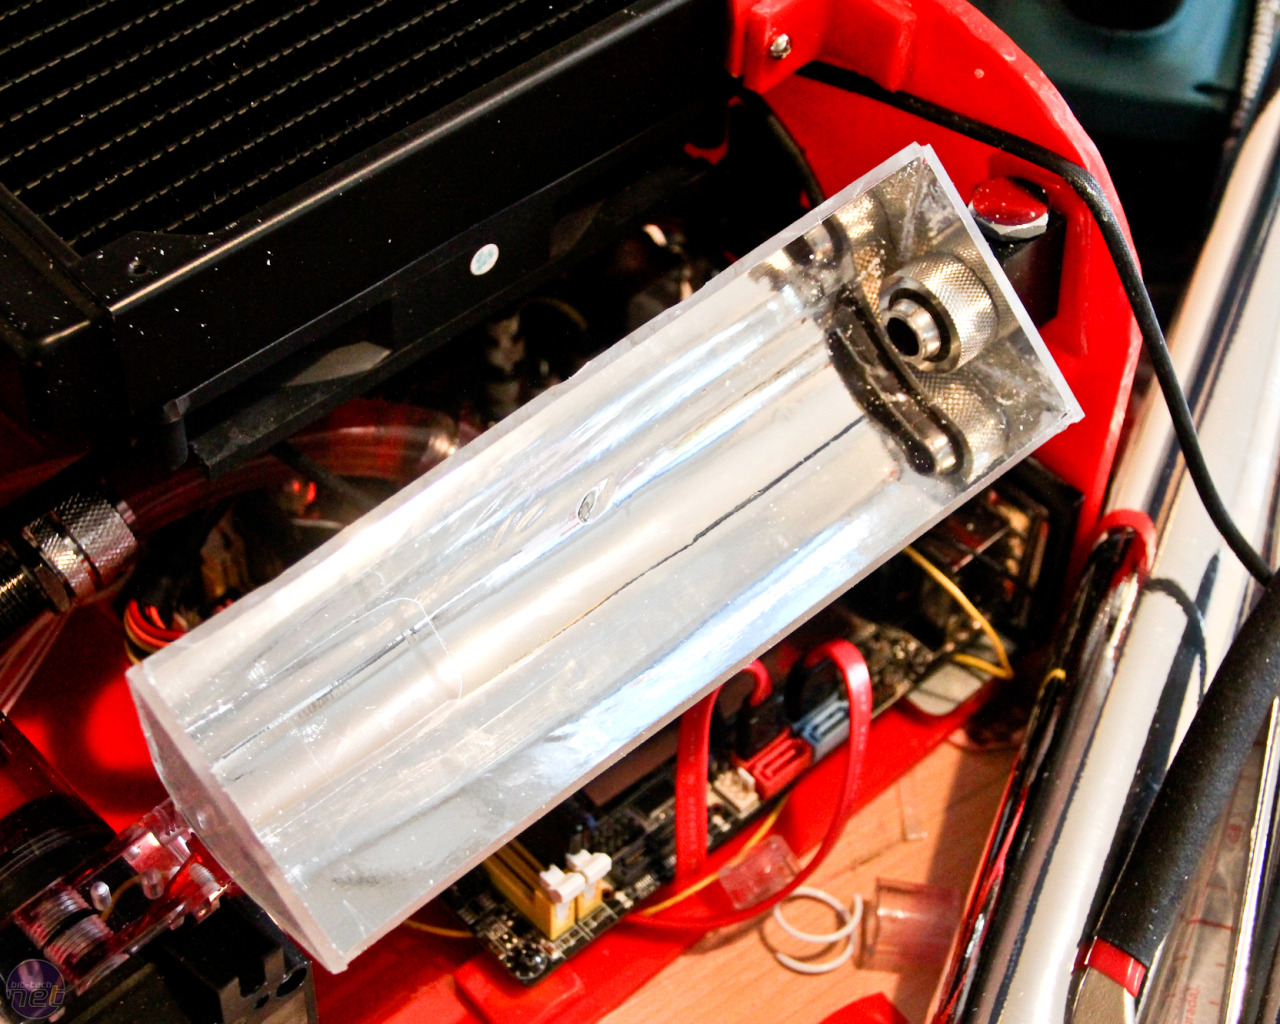
We also lined up the tubing while sticking the off-cut in place so it would run in straight line from the front to the rear of the case. To get the tubing to pass through the ends of our half-pipes, we used some aptly-named pass-through compression fittings. These have barbs at either end and locking rings located on a thread that goes all the way down the fitting, allowing you secure them in place wherever you need to - great if you want to pass tubing through a mid-section plate in your case for example. Having drilled the right-sized hole at one end of a half-pipe, the fitting slots into place.
Click to enlarge
Click to enlarge
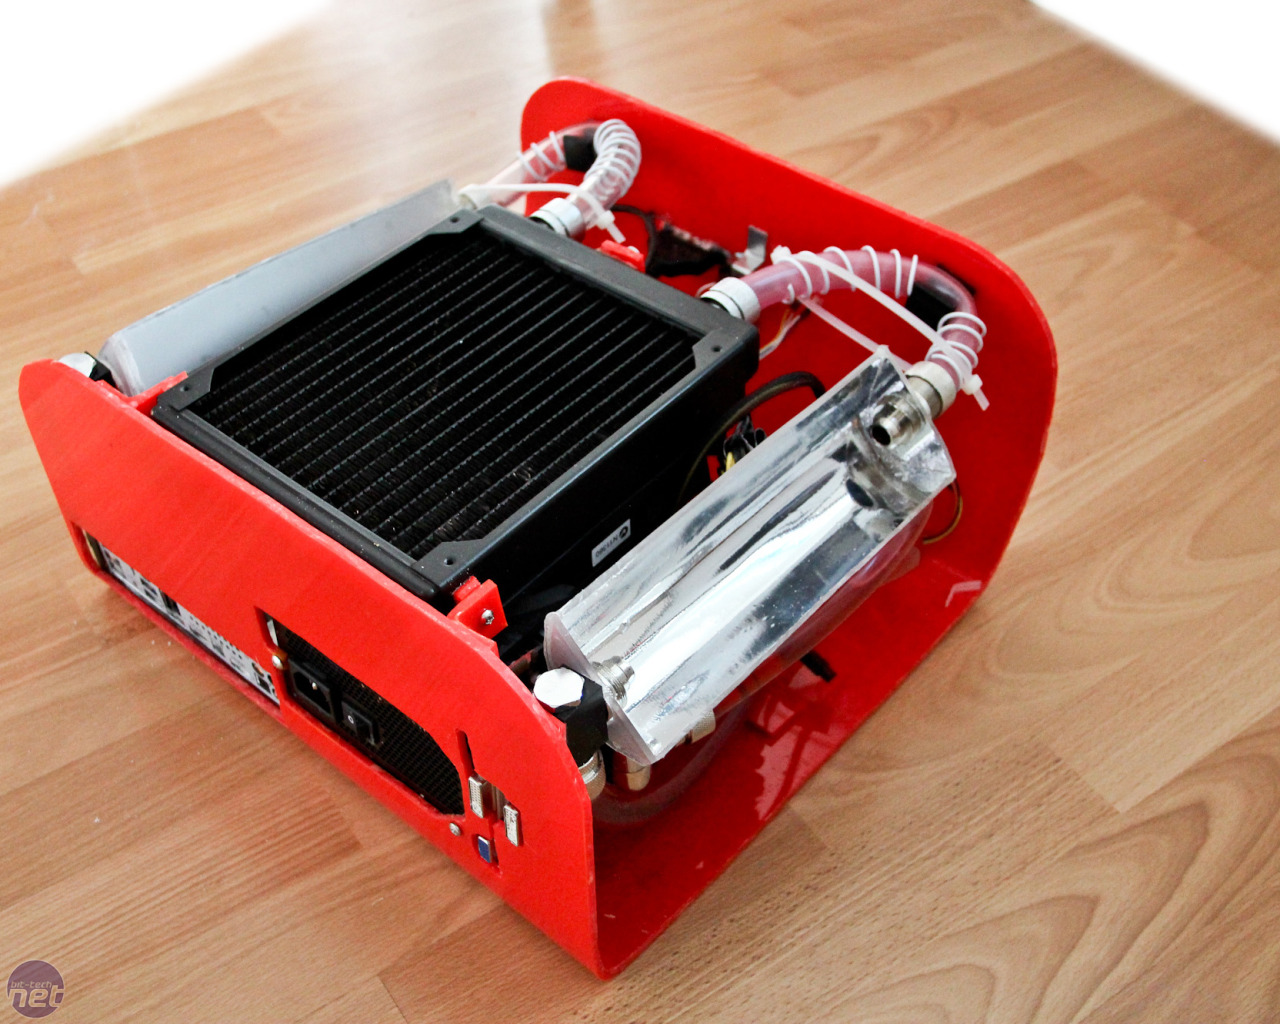
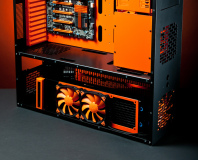
We carried on and did the same tweaking to the other half-pipe and once it was installed, along with the tubing and pass-through fittings, we finally had a completed water-cooling loop. It remains to be seen whether we opt for something more elaborate to hold the half-pipes in place - only their innards will be visible after all. We'll see what happens when we finally get around to making the curved acrylic lid.

Click to enlarge
That's all for Part Six. If you have any comments, be it praise or constructive criticism, do let us know in the comments. We'll be back soon with more guides, features and our regular modding updates and competitions.
RELATED ARTICLES


MSI MPG Velox 100R Chassis Review
October 14 2021 | 15:04


Want to comment? Please log in.