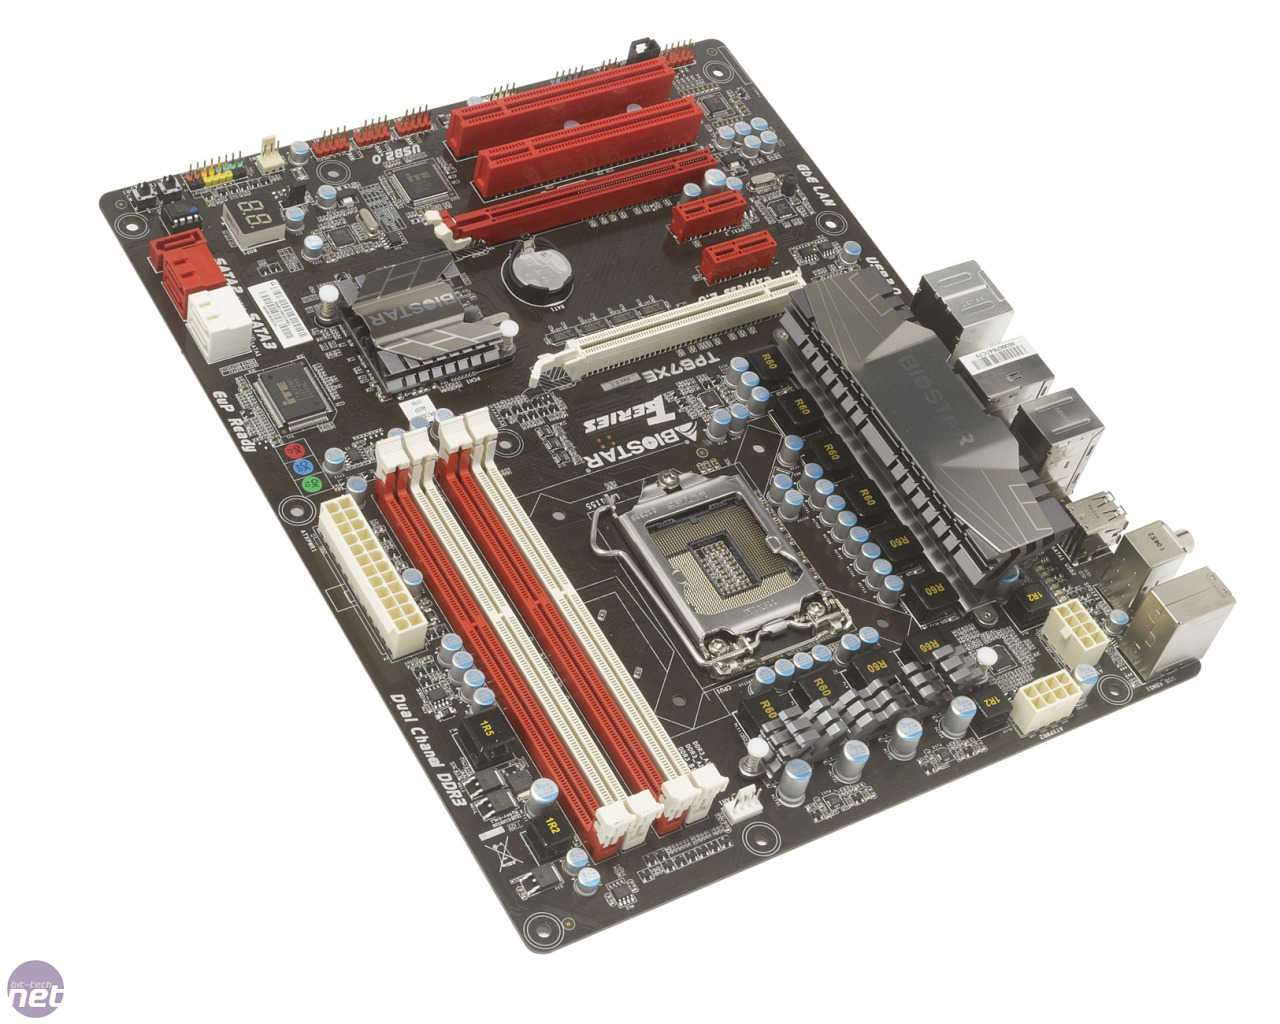
Biostar TP67XE Layout
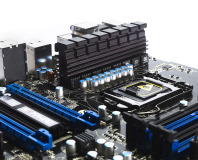
The rest of the board is sensibly laid out, with the large 24-pin ATX power socket located close to the edge of the board; a pair of 8-pin EPS12V power connectors are also conveniently located. You would be forgiven for just doing a little double take there, though, as it’s very unusual for an LGA1155 board to carry a pair of these connectors, especially at this price point.The board will function with either one supplying power, but Biostar recommends that you use both sockets if you’re planning any heavy overclocking. We’re dubious about this claim, as even a heavily overclocked Sandy Bridge CPU shouldn’t need more power than a single 8-pin EPS12V connector can supply. We could see the reason to have two such sockets on a top-end LGA1366 motherboard or a dual CPU board such as the EVGA Classified SR-2, but on a board of this type it seems to be more of a gimmick than a necessity.
Our one niggle when it comes to the board’s layout is that the DDR3 sockets are relatively close to the CPU socket. They didn’t interfere with the Be Quiet! Dark Rock Pro cooler we used for testing, but they could be a problem if you’re using a large CPU cooler and DIMMs with tall heatspreaders.
Click to enlarge
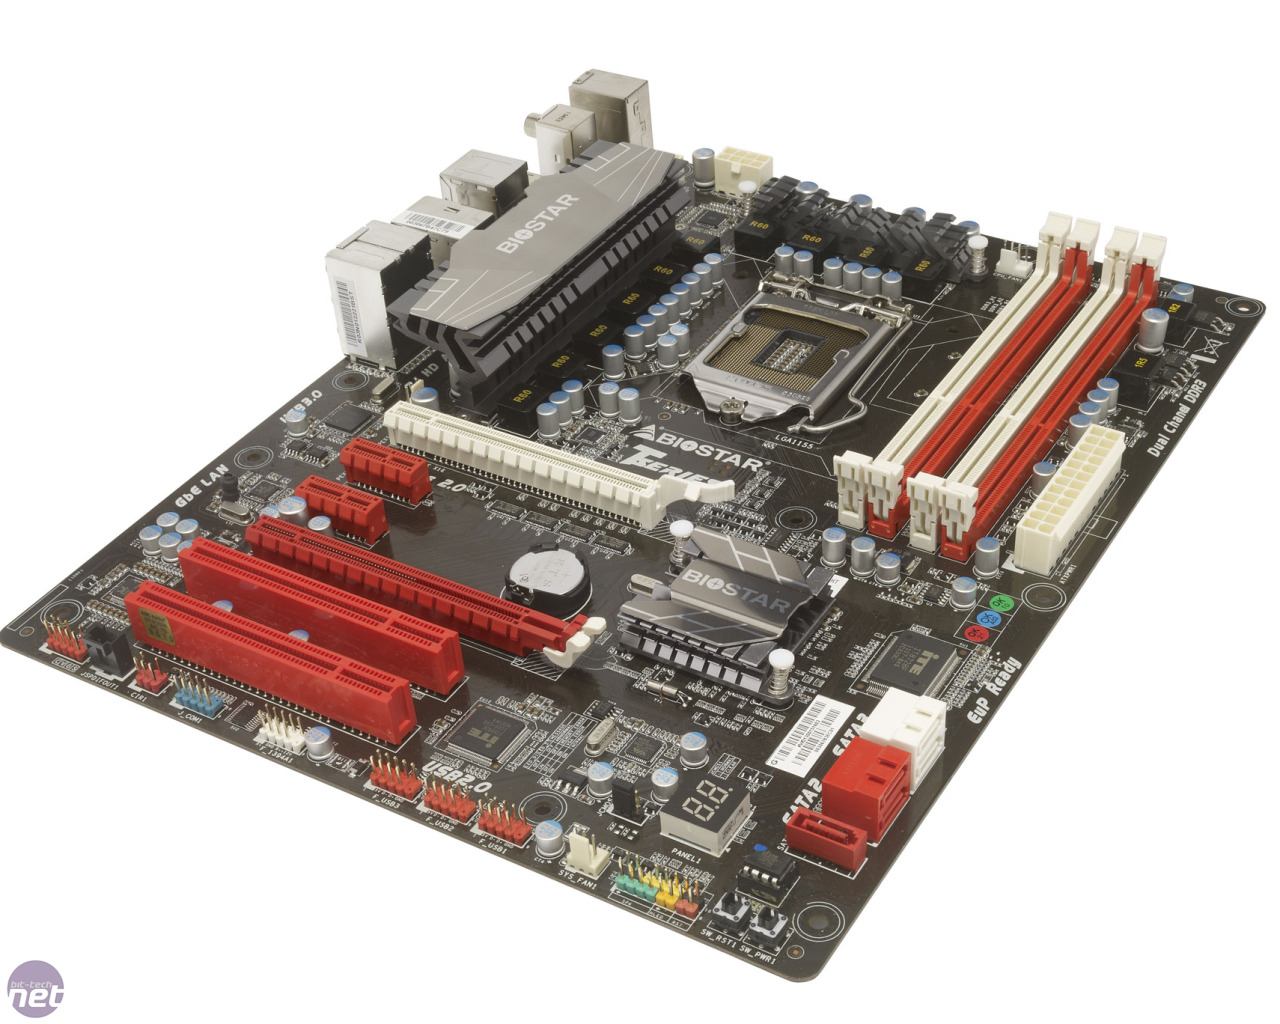
The board also boasts a ten-phase VRM design, which should prove meaty enough to cope with any overclocking you throw at it. Biostar claims that it uses low RDS(on) MOSFETs throughout the power circuitry too; these have a lower operating temperature thanks to reduced resistance between the drain and source of the MOSFET when the unit is in the ‘on’ state.
Meanwhile, the board's rear I/O panel is well specified with a pair of USB 3 ports, six USB 2 ports and the single eSATA port from the P67 chipset. Plus, there are six audio jacks, a FireWire port, an S/PDIF out connection and a single PS/2 port for those who still use a legacy mouse or keyboard.
Biostar TP67XE Overclocking
To determine whether the Biostar is as overclockable as the previous P67-based motherboards we've seen, we had to dive into its EFI. This looks confusingly like a regular BIOS, despite being based on a more modern technology, although it’s sensibly laid out, with all the relevant overclocking options grouped into a single menu.Click to enlarge
We managed to settle on a stable overclock of 4.9GHz, which isn't bad but it's still below the level of which we know the CPU is capable. To achieve this, we had to increase the core voltage to a hefty 1.5V. This is more voltage than any other motherboard has needed to take our i5-2500K to 4.9GHz. This overclock also required us to set the CPU PLL to 1.912V, the Vcc SA to 1.105V, the Vcc IO to 1.2V and the phase-control setting to its ‘full on’ setting.
If you're struggling to overclock your LGA1155 CPU, read our guide on How to Overclock the Intel Core i5-2500K or for more general advice, our guide on How to Overclock an LGA1155 CPU.


MSI MPG Velox 100R Chassis Review
October 14 2021 | 15:04


Want to comment? Please log in.